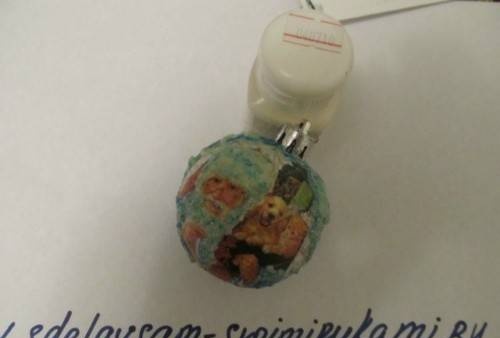
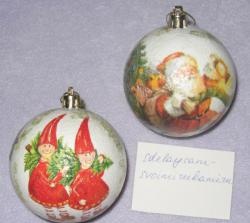
In this master class we will decorate the ball using the technique decoupage and craquelure (aging effect).
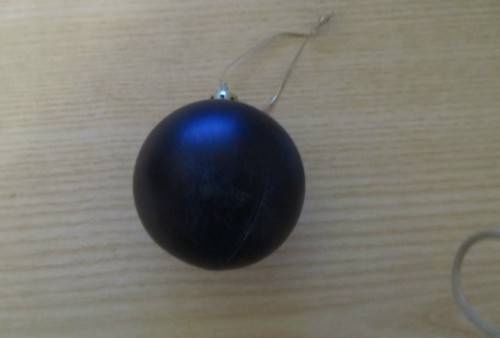
So, we will need a very ordinary ball, maybe an old one that was lying around in your Christmas tree decorations.
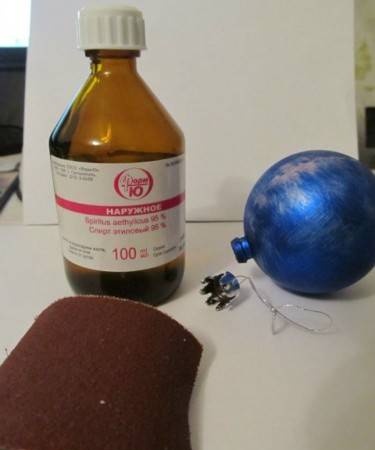
To begin with, its surface needs to be sanded a little, for better adhesion of the surface of the ball to the acrylic paint. Then wipe well with a cotton swab moistened with alcohol.
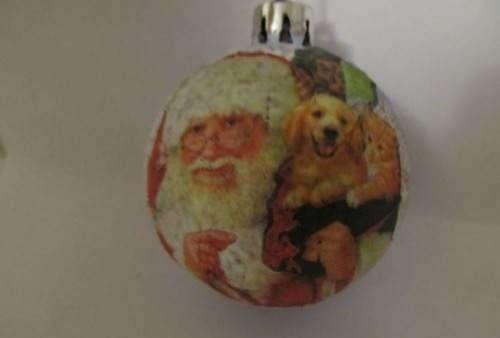
We print out the New Year's motif on the printer in the required size. There are plenty of New Year's pictures on the Internet. It is better to print on a napkin, which must first be stapled to an A4 sheet or on sandwich paper (not to be confused with baking paper). You can use a ready-made napkin. The resulting print needs to be sprayed with hairspray 5-6 times on both sides to prevent the paint from spreading during the process.

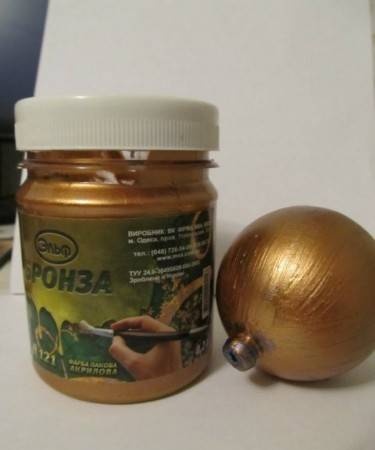
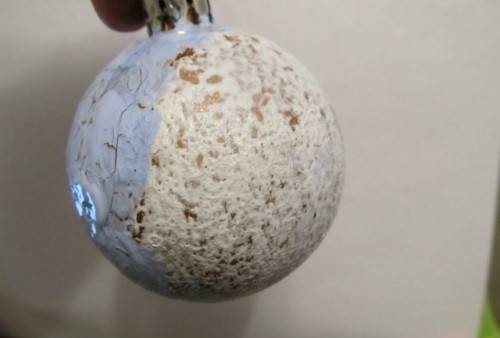
We cover the ball with bronze acrylic paint. Let it dry.
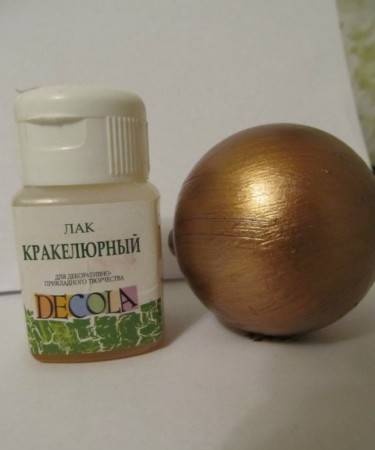
Then we apply the craquelure varnish in one layer and also let it dry.
We apply acrylic paint to the varnish layer, while covering a large area of the surface with blue, and where we will glue the motif with white. Let it dry.Almost immediately cracks appear on the surface - crackle.
After the acrylic paint has dried, glue our motif onto PVA glue, carefully smoothing the surface of the design so that wrinkles do not form. Since the surface of the ball is not a plane, wrinkles may still appear, but they can be easily eliminated after the glue has completely dried by sanding with the finest sandpaper.
Let's cover everything with one layer of acrylic varnish.
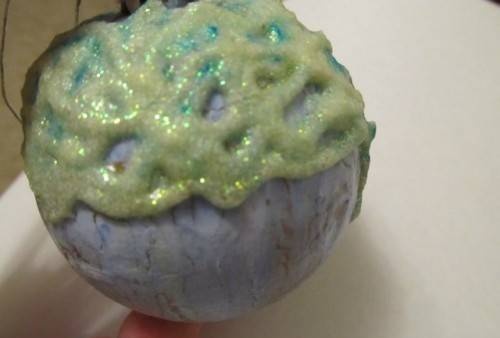
For the final decorative touches, we will need semolina and PVA glue, which must be mixed to the consistency of thick sour cream.
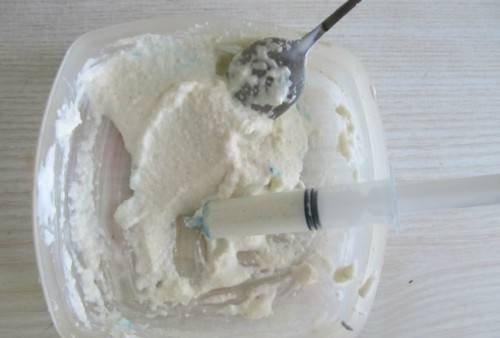
We fill the syringe with this mixture, naturally without a needle, and, pressing the piston, we decorate our toy. Let it dry and apply glitter glue to the surface.
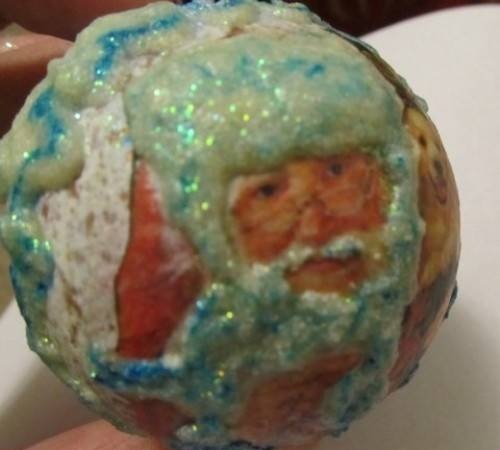
Cover the top again with acrylic varnish.
Ready!