During operation, it is impossible to monitor the gas level in the container. It remains unknown how much gas has been used, how much is left, and when to refill the soldering iron. You can, of course, refill the soldering iron before starting each job. But it is better, when purchasing such a product, to choose a product with a transparent body in order to constantly monitor the gas level. Well, if, nevertheless, you have already purchased a soldering iron with an opaque body, then modifying it will not be difficult. You just need to cut out a small window in the housing, in the place where the gas container is located.

This is completely safe, because we will not touch the container itself. In addition, this window will help determine whether the container is leaking gas or holding it as it should. To do this, after filling the container, you just need to mark the gas level in the container with a marker or pen, and before the next use, check visually whether the fuel level in the container matches the mark. If the gas level has dropped even a millimeter, then it is better to stop using this tool.In principle, you can check whether a soldering iron is leaking gas or not immediately after purchase. You just need to disassemble the device, fill the container, mark the level, and wait a day. Or at least until the morning. Well, or let it go into the water... If a leak is detected, the tool can always be returned back to the store, provided you have a sales receipt, of course. And only if you bought this tool in a real store, and not on the Internet. Then the return can turn into a complete headache. However, this is not what we are talking about now. In my opinion, it is much more convenient to use a tool, knowing its capabilities and resource, knowing when the consumables will run out, and based on this, make calculations - save, or not limit yourself in consumption. Especially if we take this instrument somewhere with us where we will have to work with it. After all, we won’t be carrying a gas cylinder with us everywhere. This work does not take long, is practically dust-free, and safe.
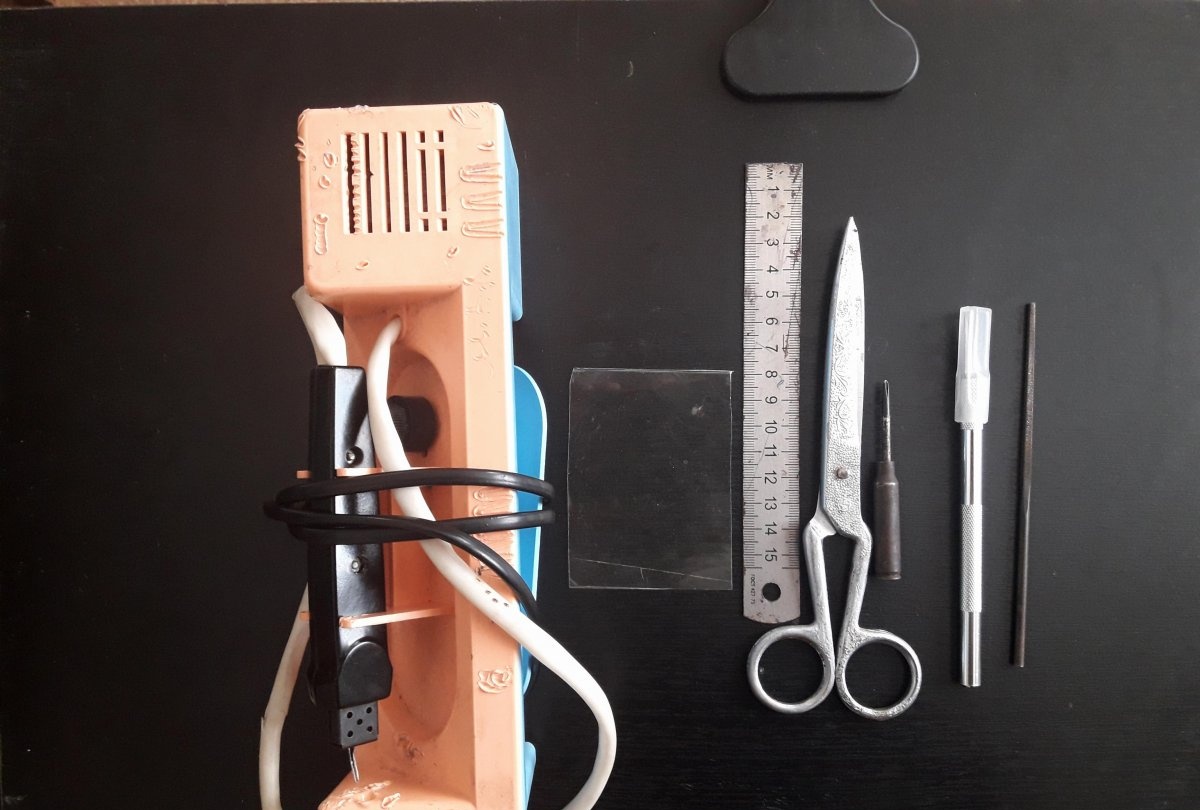
Will need
- Marker.
- Ruler.
- Cautery on wood.
- Screwdriver.
- Scissors
- File or needle file.
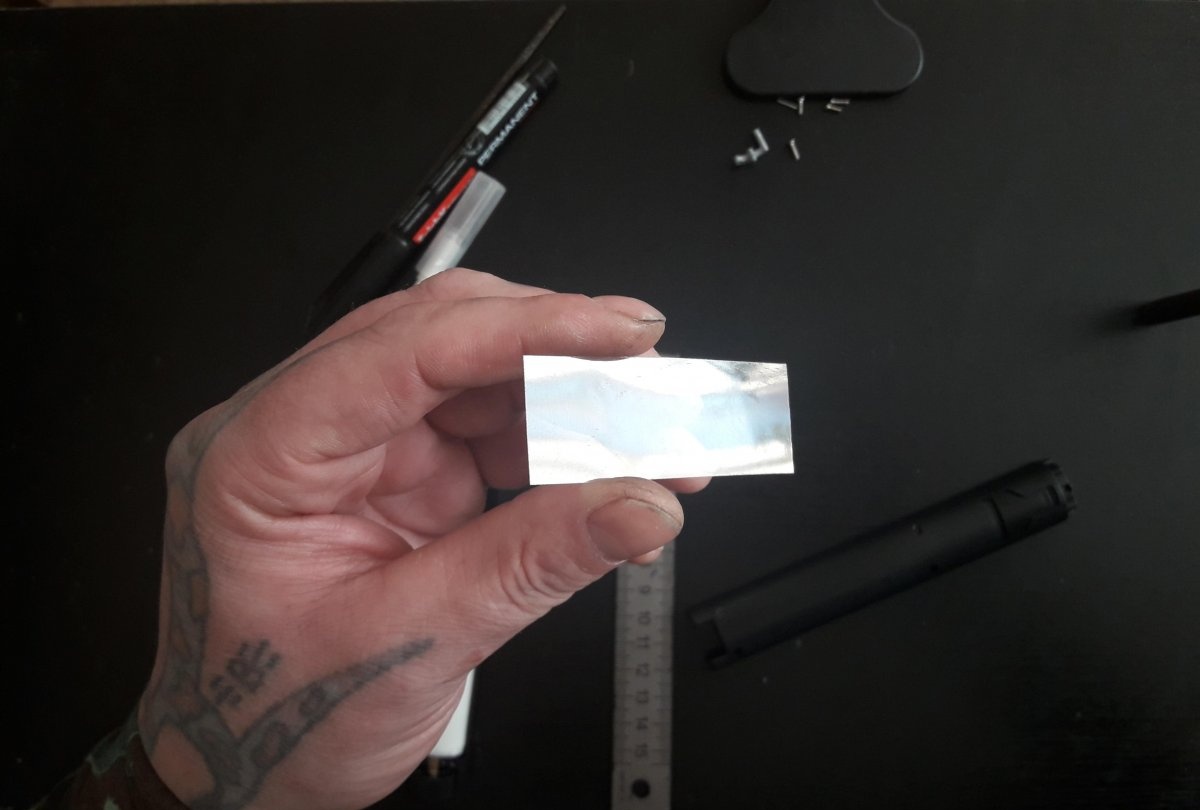
- A piece of transparent polyester (can be from a bottle)
- Secondary glue.
Making a window for monitoring the gas level:
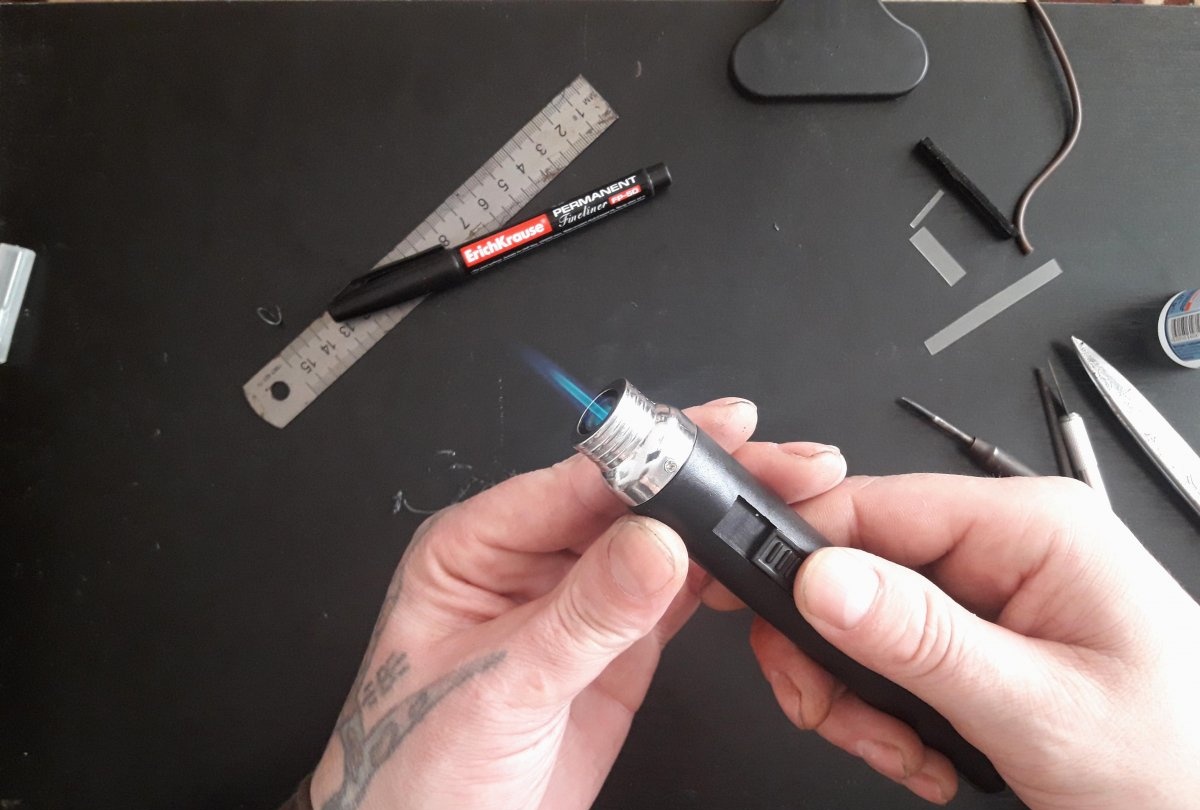
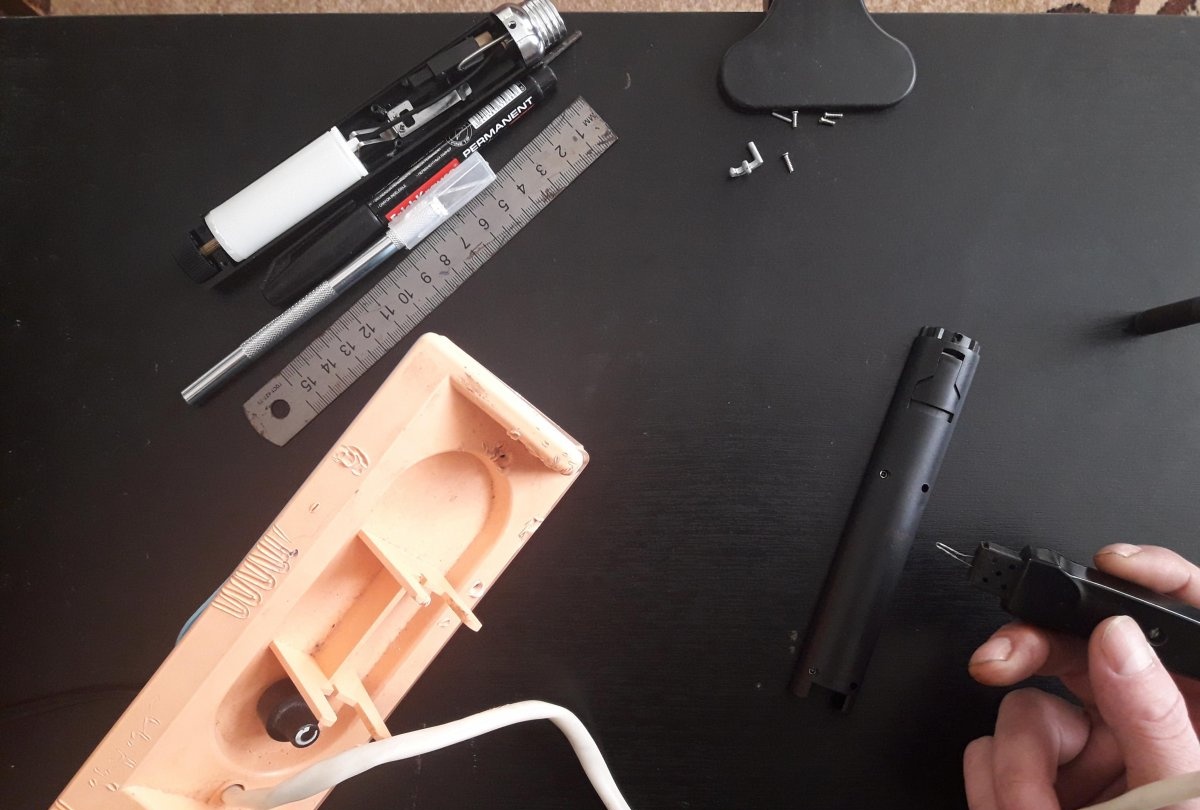
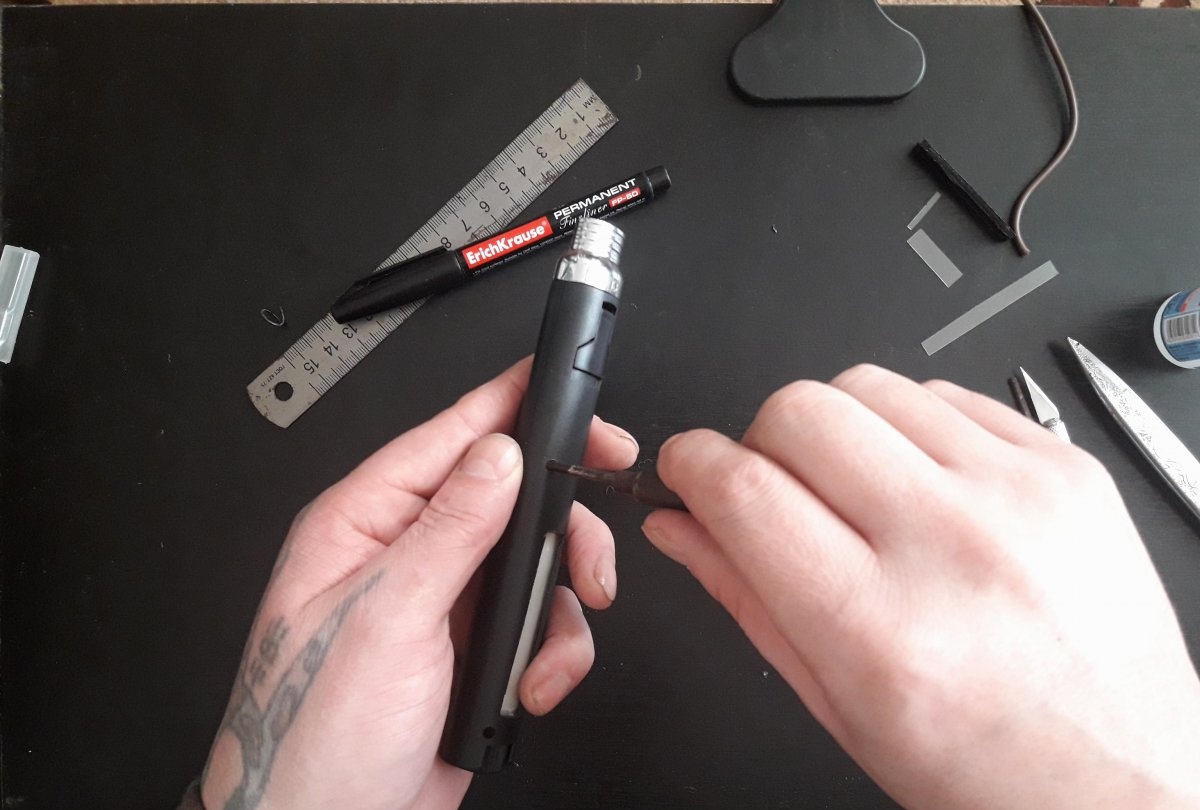
First, you need to bleed off the remaining gas from the soldering iron, for safety. We go outside or onto an open balcony, and using a knitting needle, pressing the filling valve, we release the gas from the container. Now you can start disassembling the soldering iron itself. To do this, using a suitable screwdriver, you need to unscrew the screws that hold the soldering iron body together.
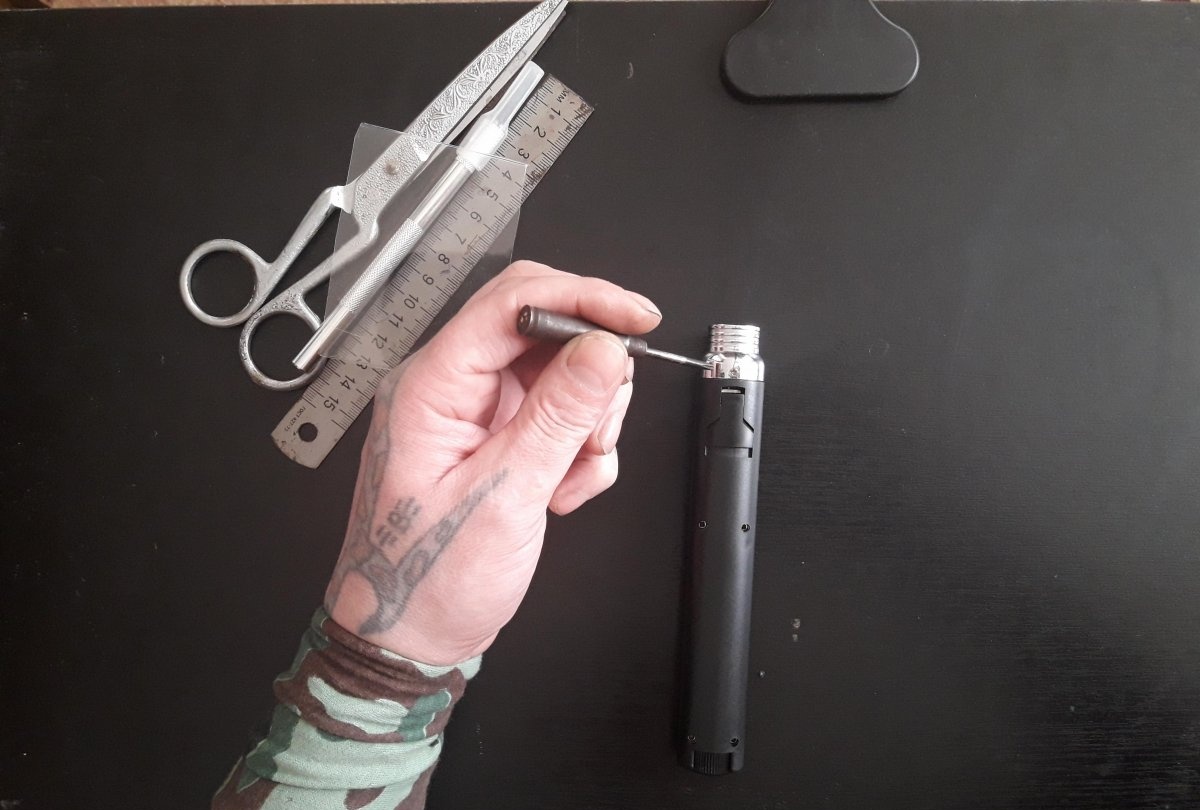
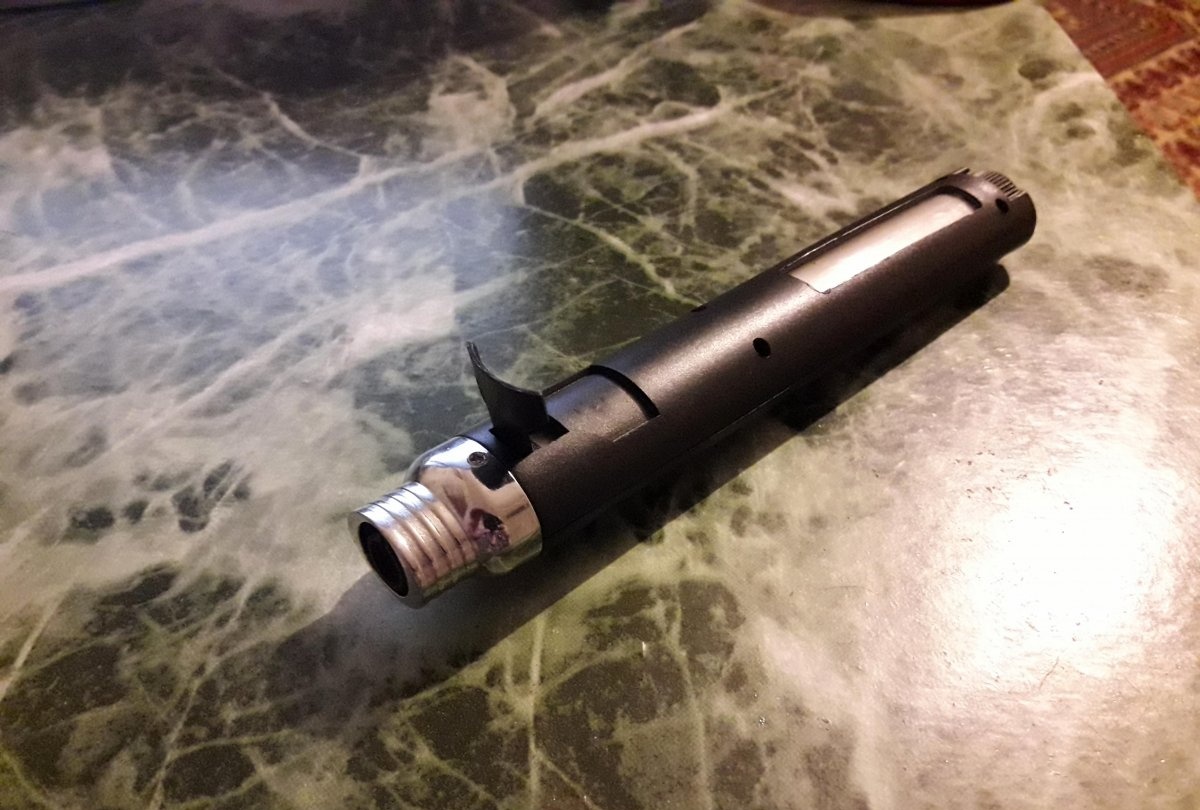
It is not necessary to perform a complete disassembly; it is enough to remove only the back half of the case (although it all depends on the model of the soldering iron). In general, we remove the part of the body near which the gas tank is located.
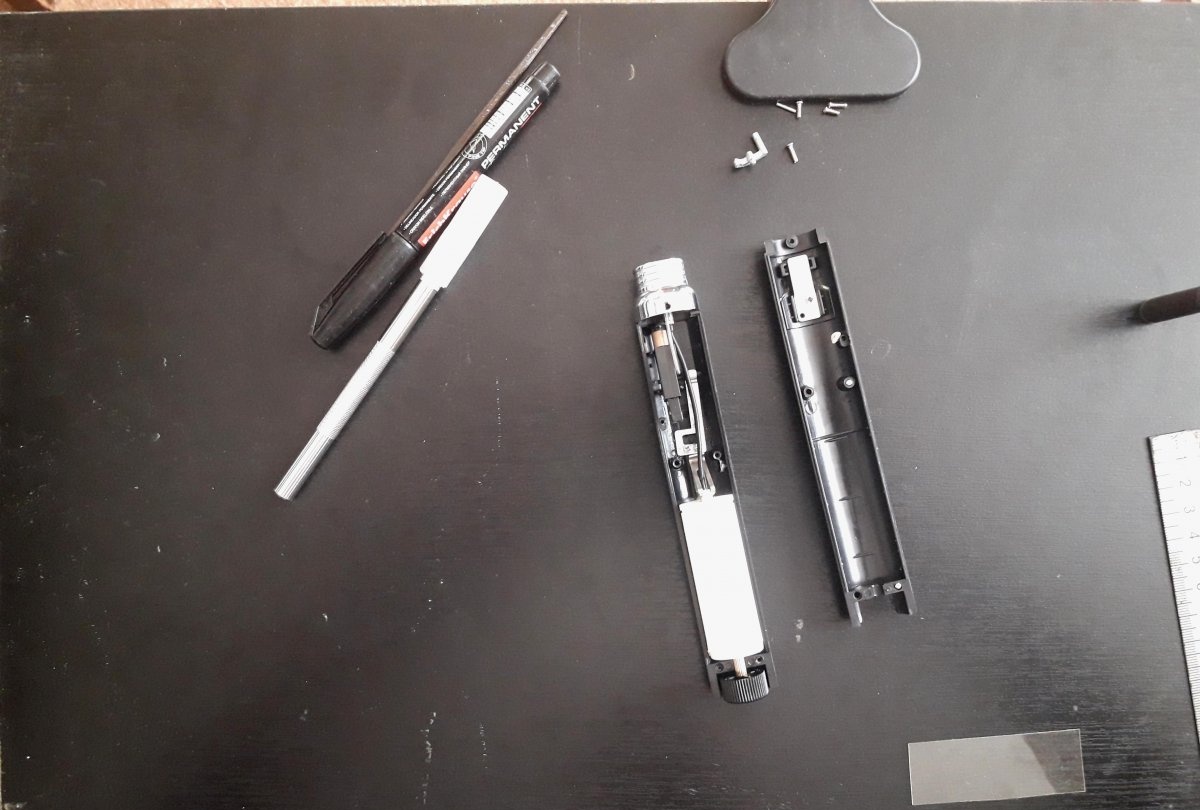
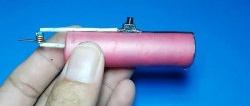
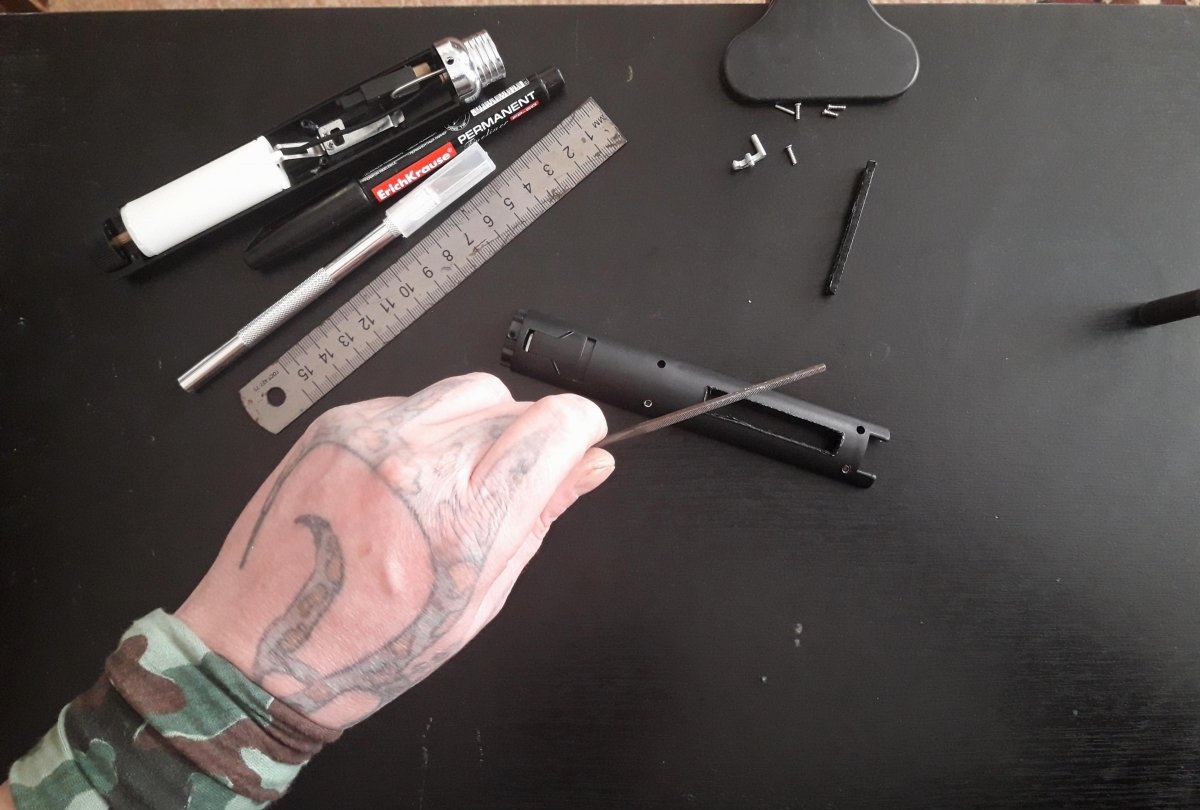
Now you need to take measurements. Let's look at which part of the body the gas container is adjacent to. Mark the place with a marker. Next, we measure the parameters of the container (length and width) with a ruler and transfer them to the place where the container will be located.
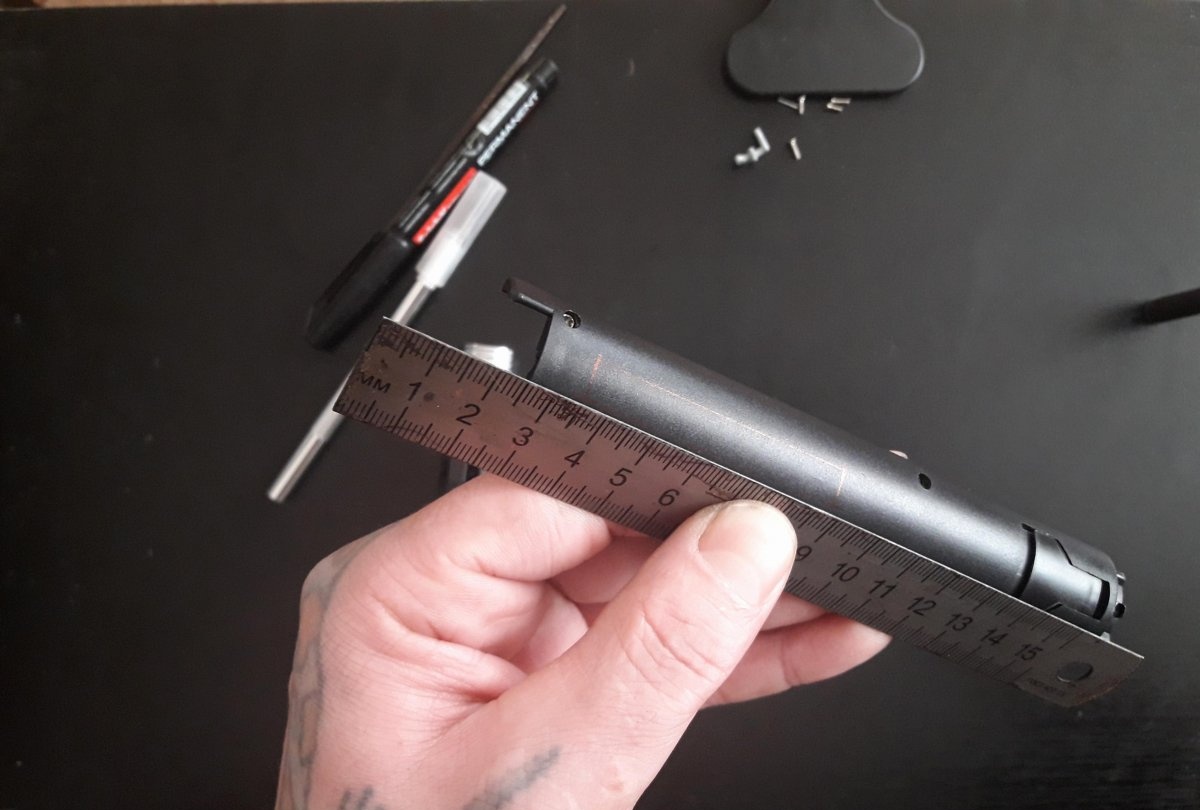
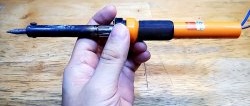
The transferred parameters should be reduced by five millimeters in width so that the window is narrow but long. Now you have to work as a burner with a thin tip. You can, of course, use a burr machine with a thin cutting disc, but this is noisy and dusty. We connect the burner to the outlet, wait until the tip gets hot, and burn a rectangular hole in the body according to the drawn parameters.
After the required hole is cut, the melted edges should be processed; Use a utility knife to remove burrs from the inside and outside and process them with a file or needle file.

Now you should put a piece of transparent polyester to replace the cut piece of the body. To do this, cut a piece of polyester slightly larger than the cut window, apply instant glue to the inner edges of the window, and apply the polyester to the window. Press and hold for ten seconds until the glue sticks the polyester to the plastic of the case

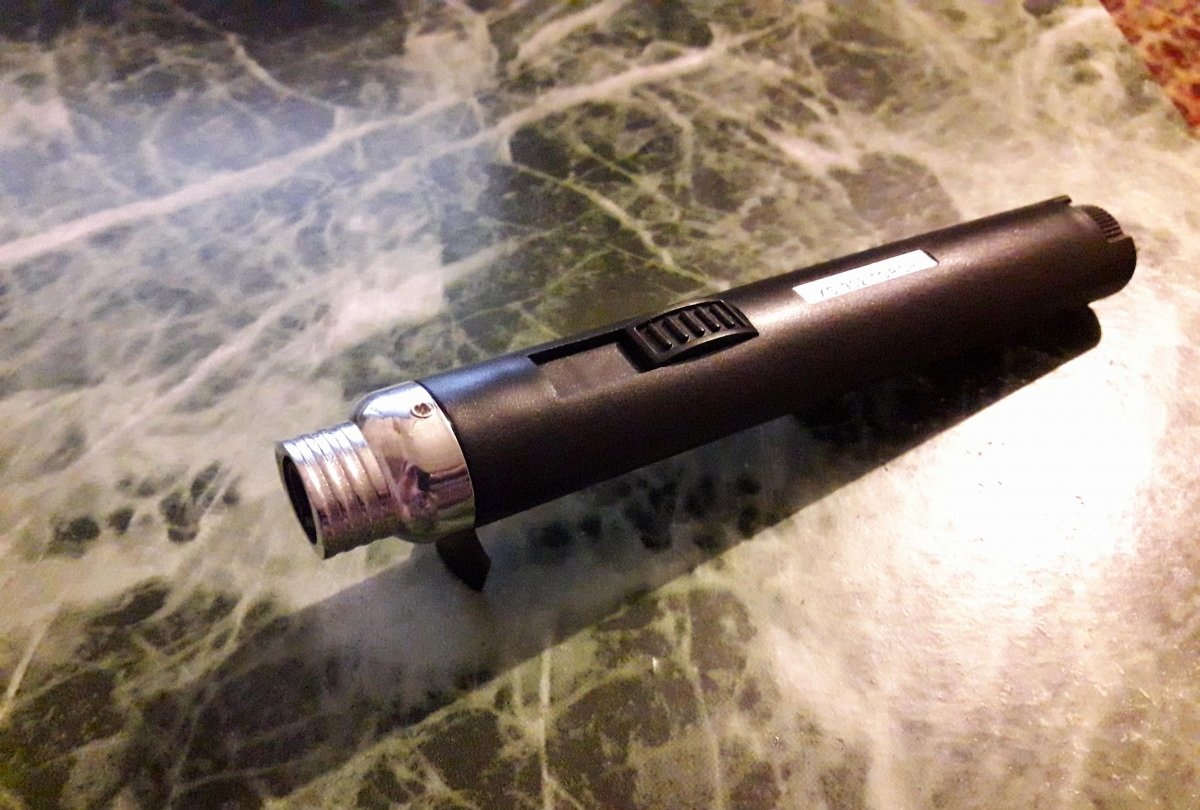
Now let's put the soldering iron together.
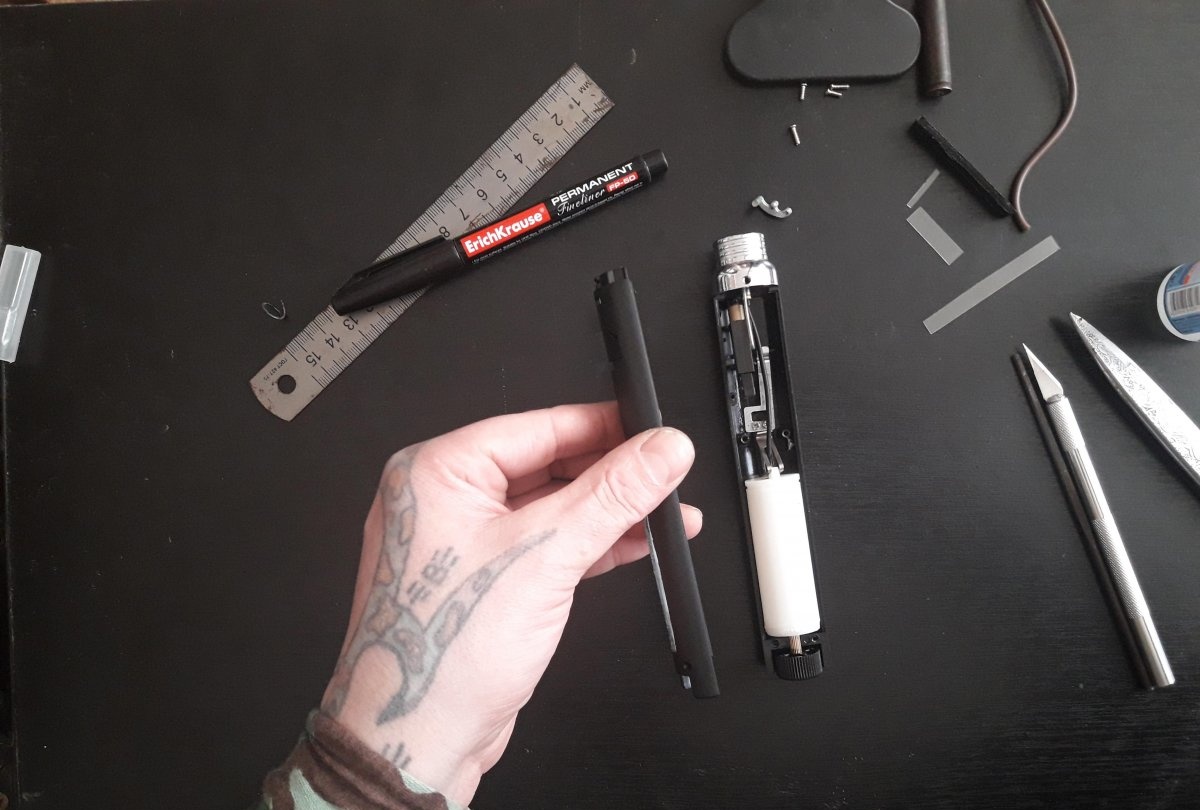
It turned out to be a very nice window through which you can subsequently monitor the gas level in the container.
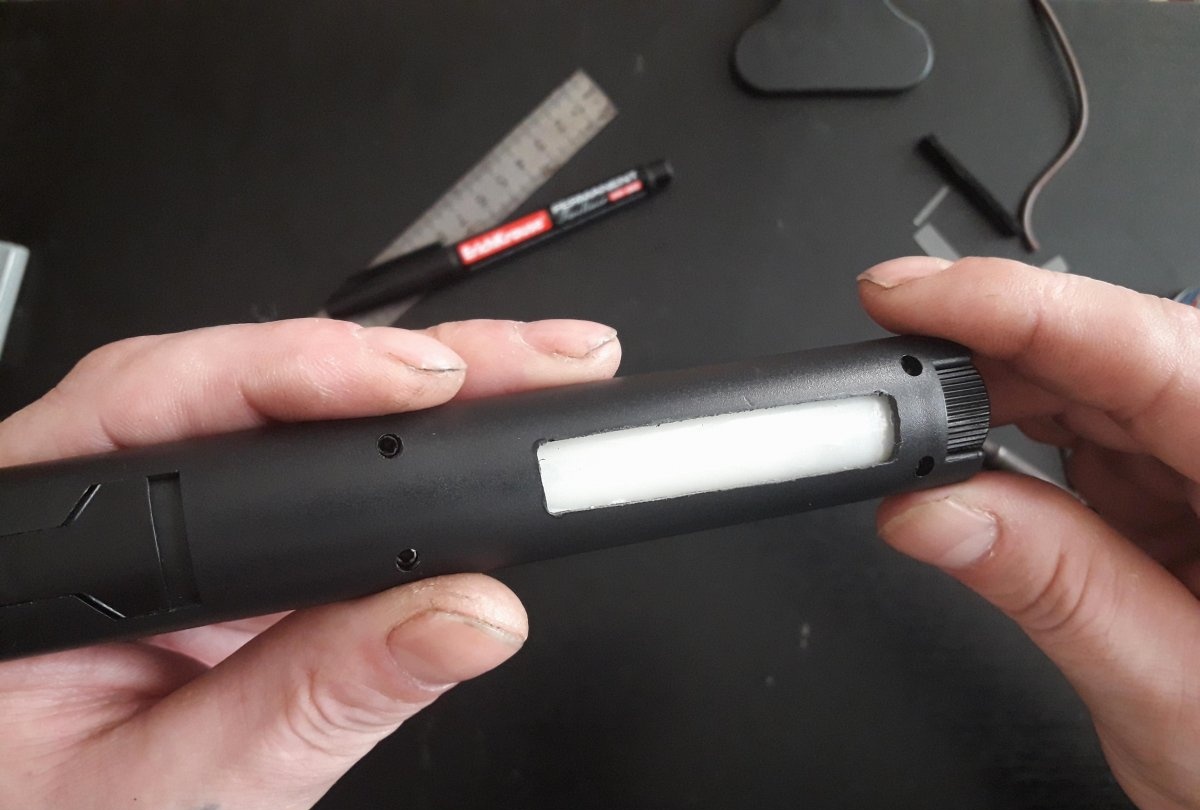
During the work, we did not in any way influence the container itself, so the tool remains at the same level of safety at which it was purchased.