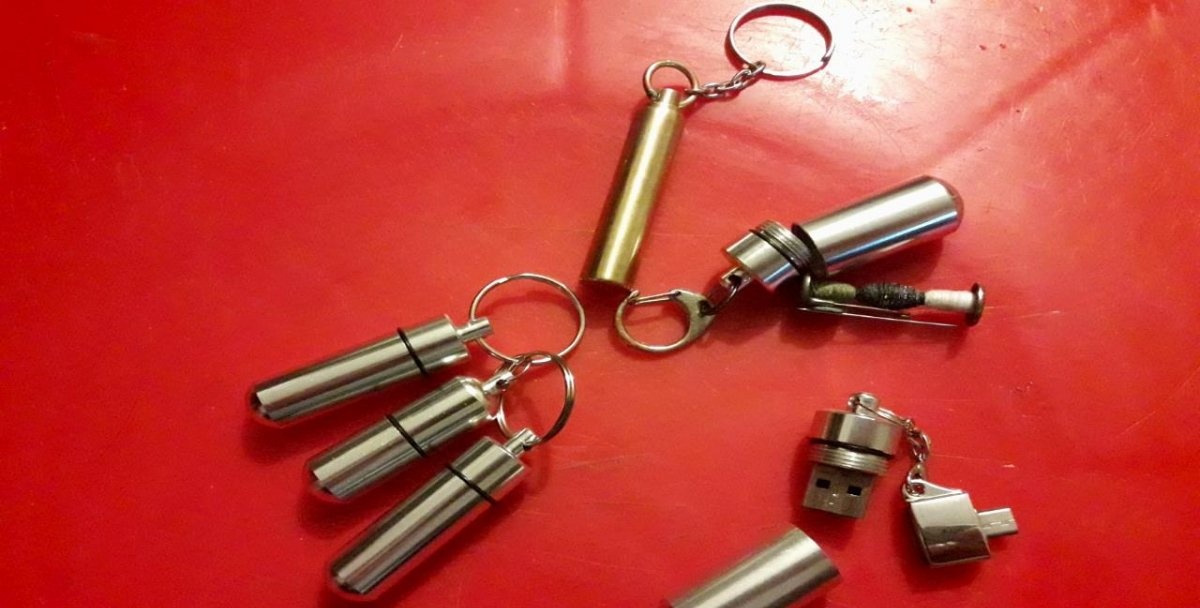
Trinket containers, as a rule, are very small so that they are more convenient to carry with keys. Such capsules are intended primarily for transporting tablets. For people who need constant medication. But this interesting little thing can be purchased not only for pills and tablets. There are a huge number of such containers, of a wide variety of types, sizes and purposes, which can be adapted to a variety of purposes.
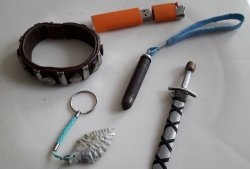
They are especially good for backpackers, fishermen and other outdoor enthusiasts. In them you can keep, without the risk of loss and getting wet, such things as matches (both simple and hunting), kindling for flint, threads with needles, flash drives, micro CD cards ... whatever! There are even metal sealed flasks for cigarettes, for that matter! One thing is bad; I have never met them in open sales. At least where I live. Only in online stores. But here there is a risk that the goods will not reach the addressee - of the eleven different containers I ordered, only six came.
Make yourself such a container, it will not be difficult. I have previously made such containers on the thread, only very tiny. Tiny.
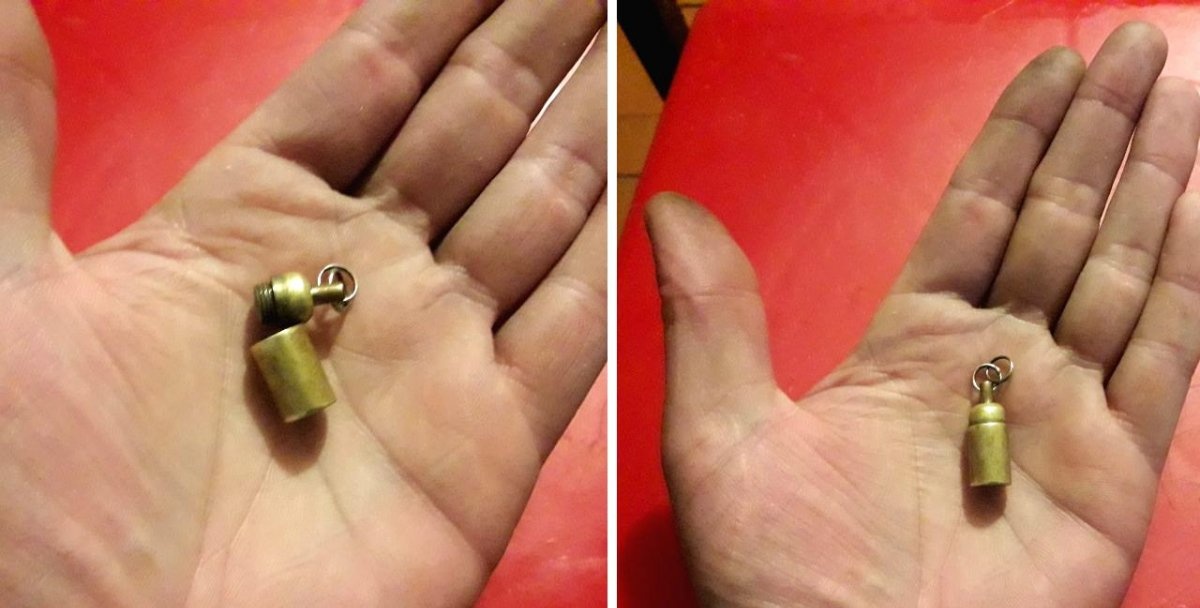
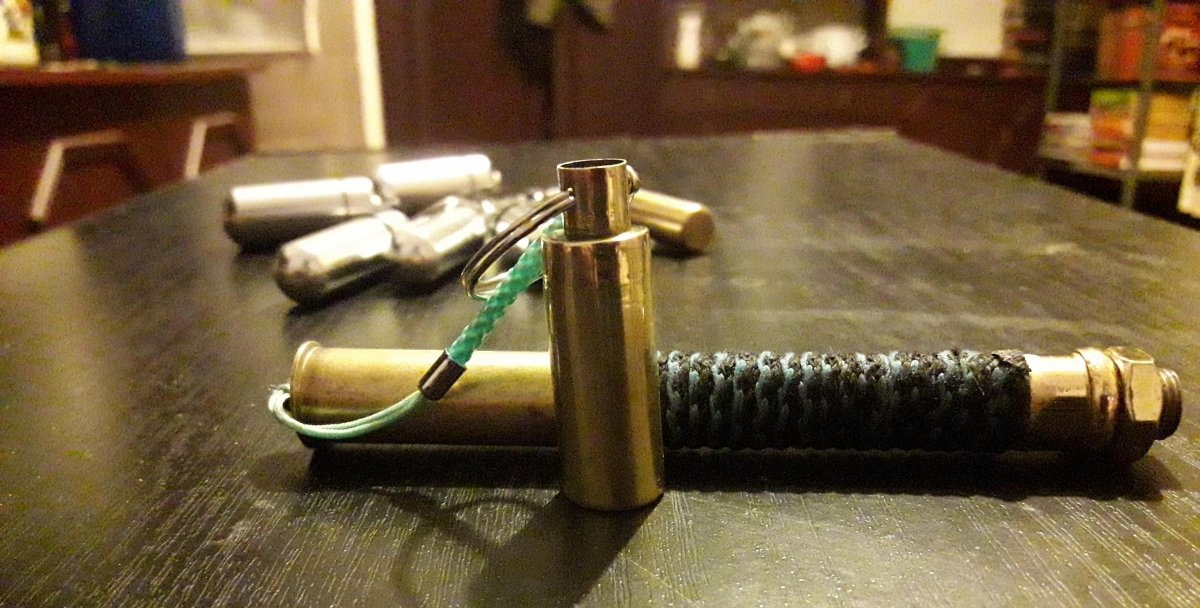
And to make a tank on a larger thread, and quite simply. If someone does not want to order on the Internet (for example, not wanting to wait for a long delivery), but such a thing is needed, this master class can help a lot. Once, in one of the master classes, I already described how to assemble a metal shell-flask for a flint. Today, we will talk about its complement - a kindling container.
Will need
- A pair of brass sleeves (any caliber you like).
- Thin brass tube (from the antenna, for example).
- Brass or copper threads (external and internal), suitable for the diameter of the sleeve.
- Rubber o-ring that fits over the external thread.
Tool and consumables for work:
- Boron machine or engraver with cutting, grinding and felt disks, as well as a 3 mm drill, and a steel brush.
- File or file.
- Sandpaper.
- Clamp.
- Scissors.
- Thin, flexible wire.
- Soldering iron, tin and flux.
- Paste GOI.
Making a sealed container
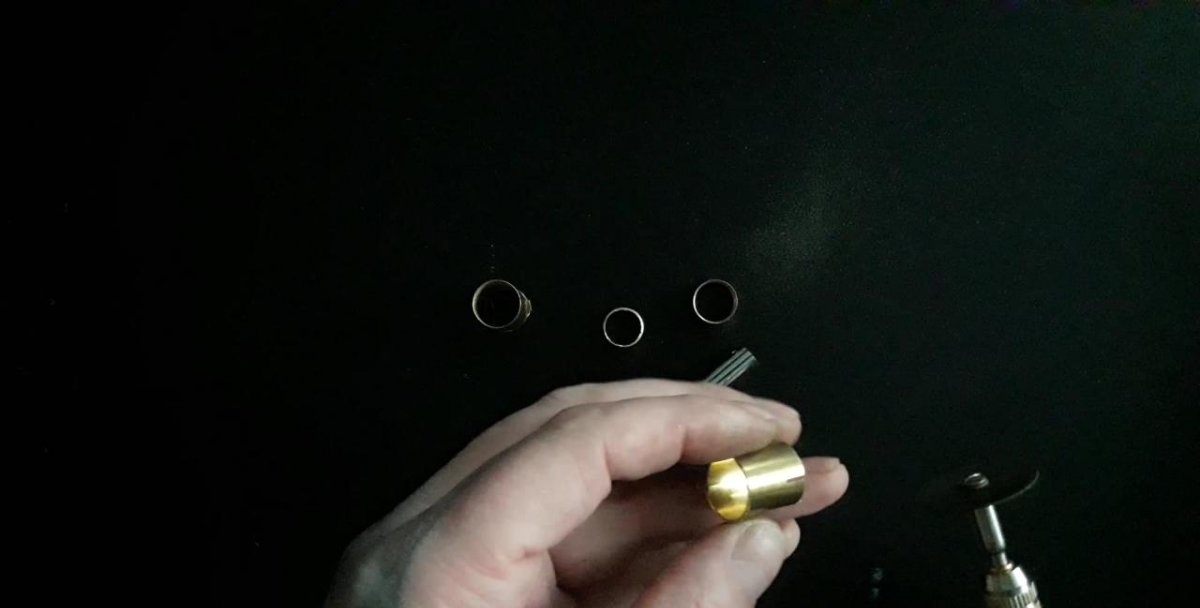
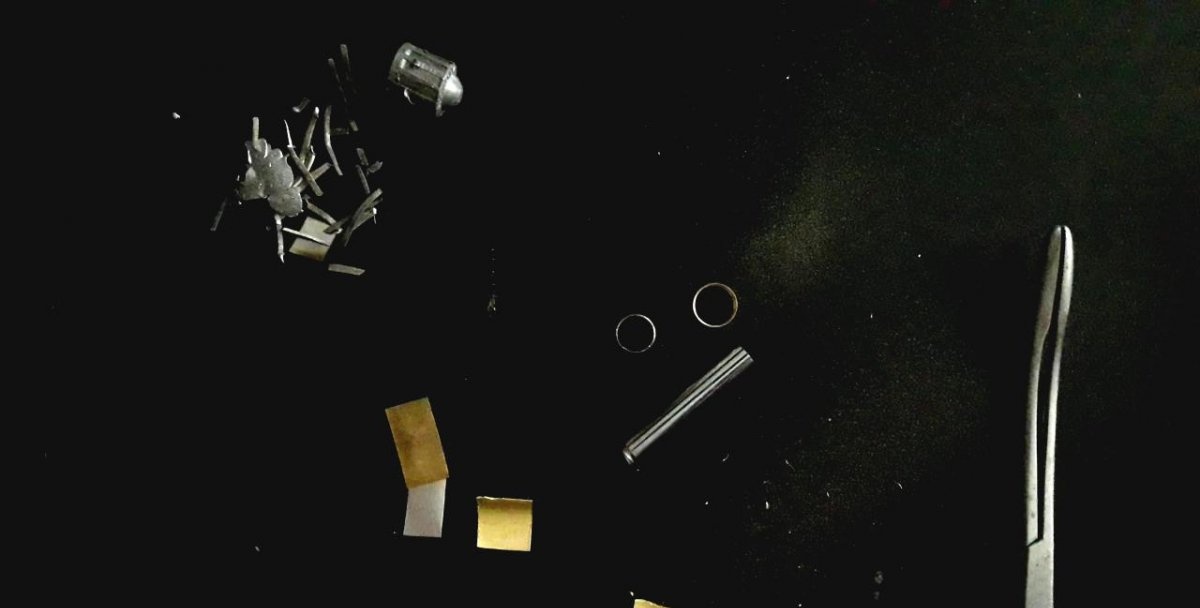
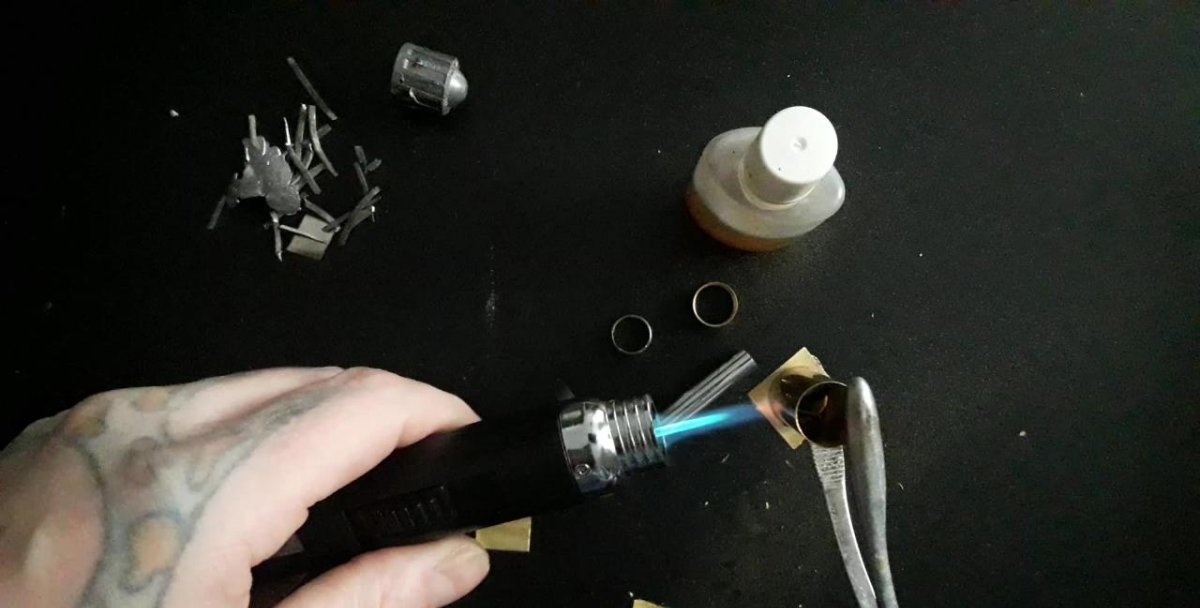
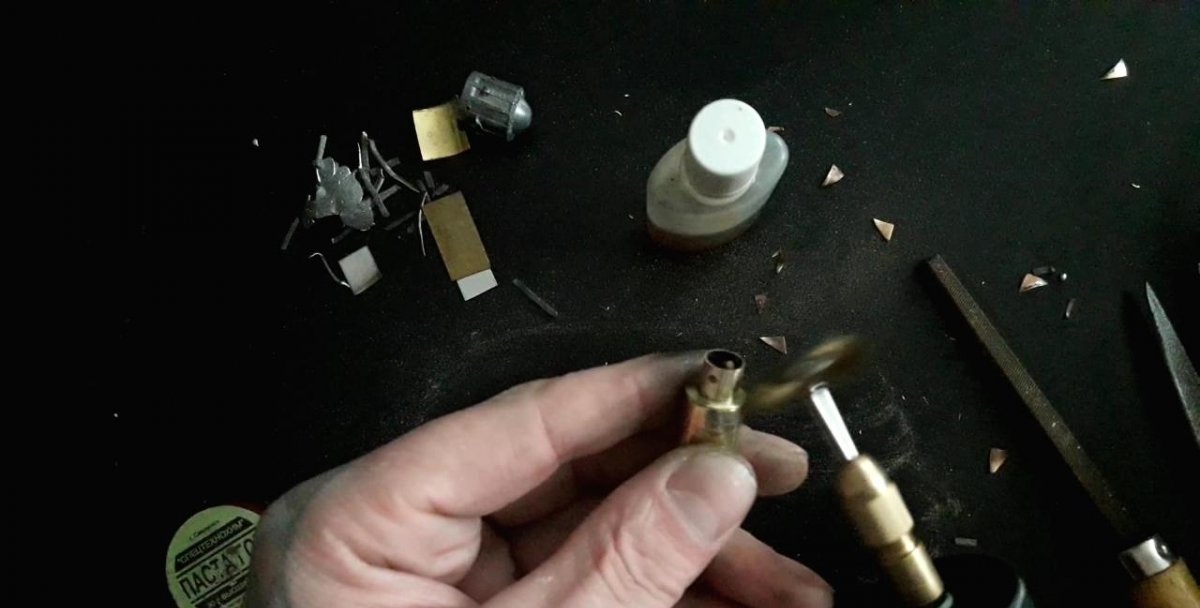
The first step is to determine the size of the container. We selected its width when we selected the sleeve we liked. If you need a longer container, then you can seal the hole for the capsule with tin at the sleeve, thereby obtaining not only the maximum length, but also immediately the bottom of the container. But for me it is too much, so I sawed the sleeve in half. I left that part with the bottom on the pegging pegs for the tent, and I will make a container out of the remaining tube. I also had another segment from the top of the sleeve, from which I will make the bottom and cover. So, first you need to solder the bottom. The work is not long, easy, and quite interesting. Cut a short length of the brass tube along and align it to make a plate.
We cut this plate into squares, which in size will overlap both ends of the future container.
We flux one of the squares and the end of the brass tube.
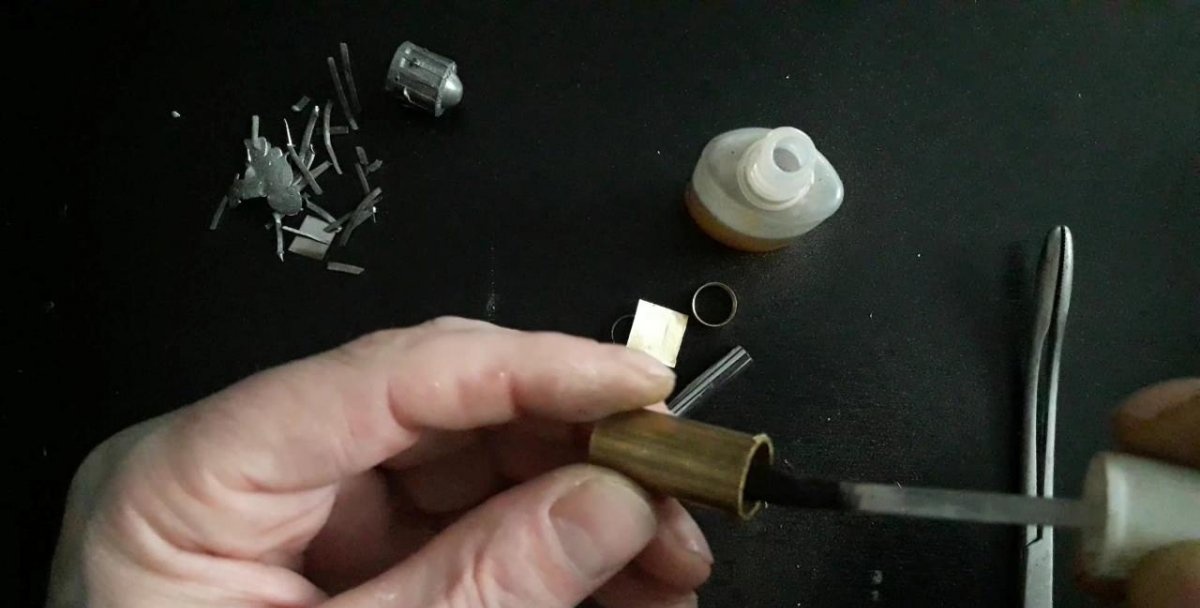
We press them to each other with a clamp or tighten with wire.Throw a piece of tin inside, and heat it with a soldering iron until the tin melts and spreads around the entire perimeter of the bottom.
We wait until it cools down. It’s cold. Cut off the protruding corners with scissors and finish the edges with a file or an engraver.
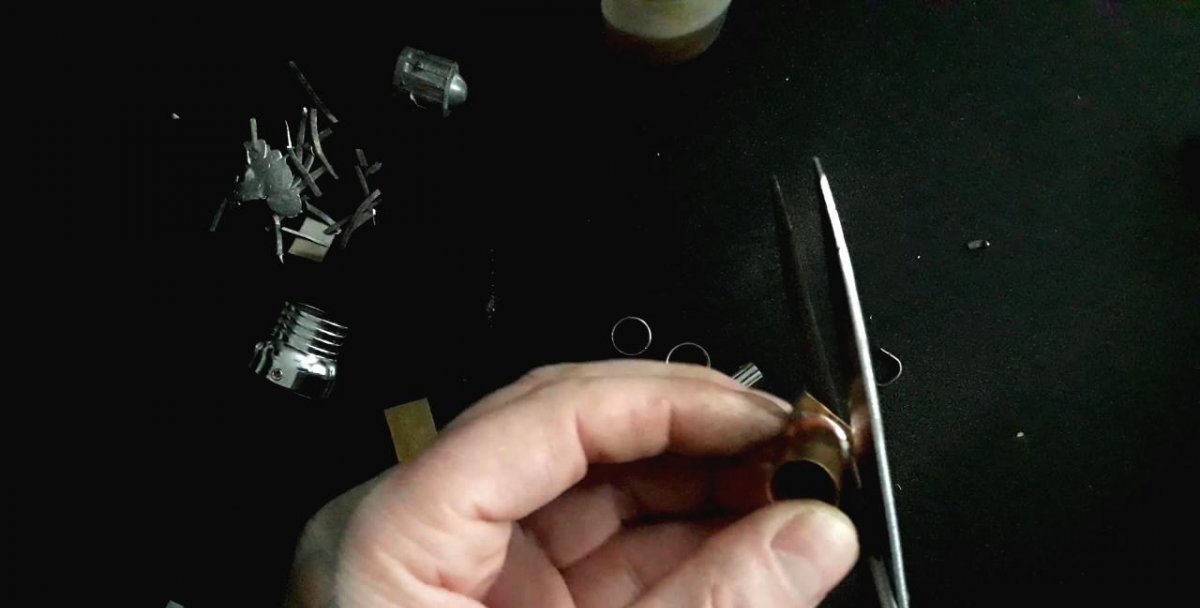

Next, solder the internal thread. The principle is almost the same; Coat the connected edges with flux, heat with a soldering iron and tin tin.
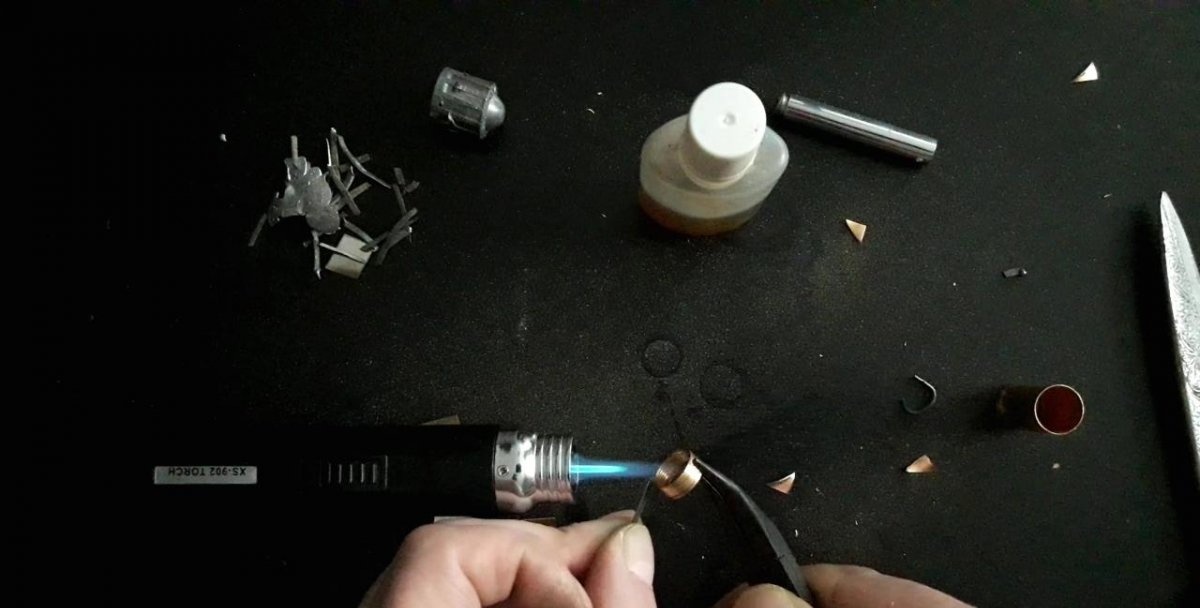
Now we apply the thread to the case, fix it with wire, and heat it with a soldering iron until the tin spreads.

You can put the container (more precisely, until only its workpiece) to the side and take up the lid. To do this, take the second brass square, coat it with flux, apply an external thread to it, put tin inside, clamp it, and heat it with a soldering iron.

Then, after it has cooled, we wrap the lid on the container blank, and also cut the protruding edges and corners with scissors. Align the edges with a file. It remains to solder the holder for the ring to the lid. I used a brass tube from the antenna for this. We drill a through hole in the tube, three millimeters below the edge and saw off the tip with the hole, about a centimeter long.
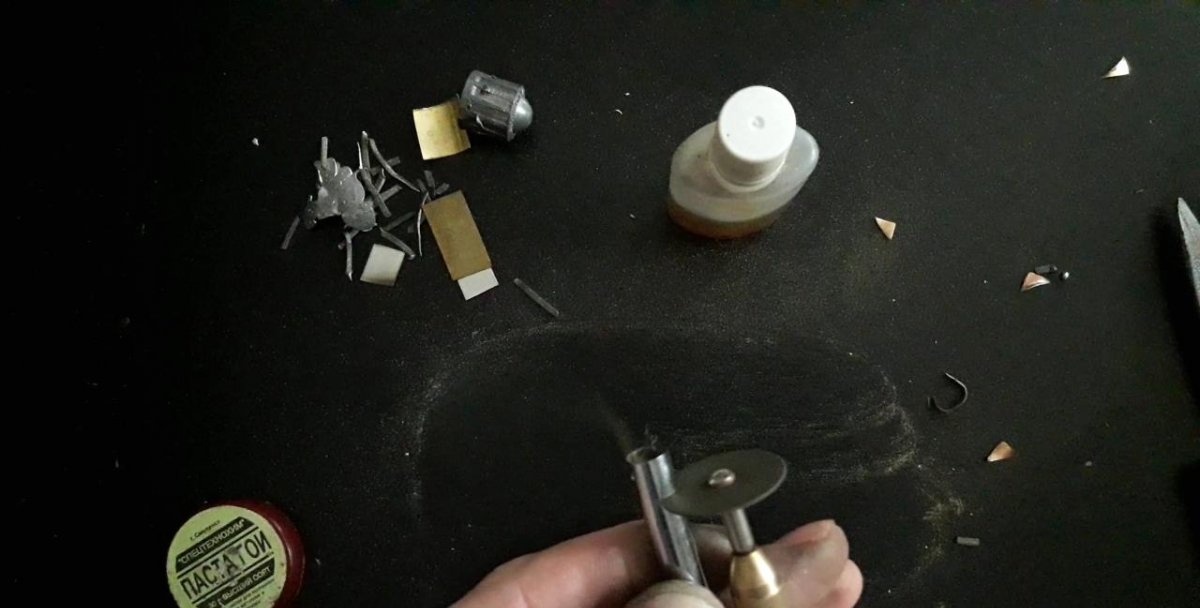
And in the same way as described above, solder the tube to the lid. Also, with a file, remove the tin that comes out after soldering. Now we thoroughly and thoroughly pass sandpaper (or a metal brush) over the entire surface of the container body to remove carbon deposits and dirt remaining after soldering.
Grind with felt with goy paste. We put a rubber sealant on the thread of the cover (I, unfortunately, tore it up, because on the sample without it). That's done. Fill the container with kindling. The best kindling, in my opinion, is magnesium shavings - it can be set on fire even in the rain.
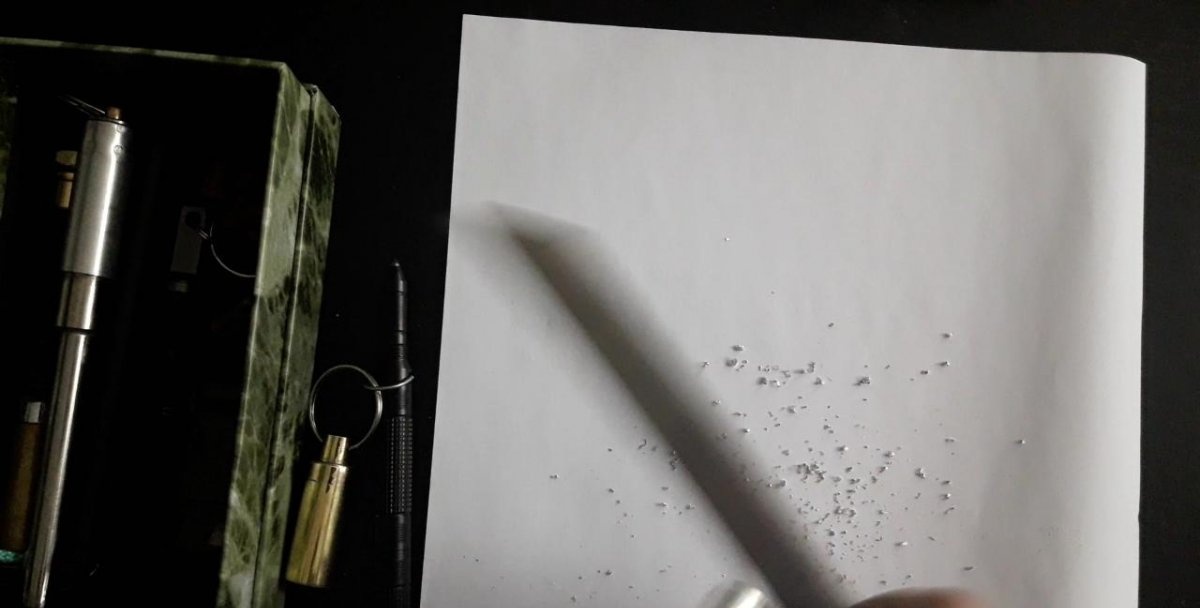
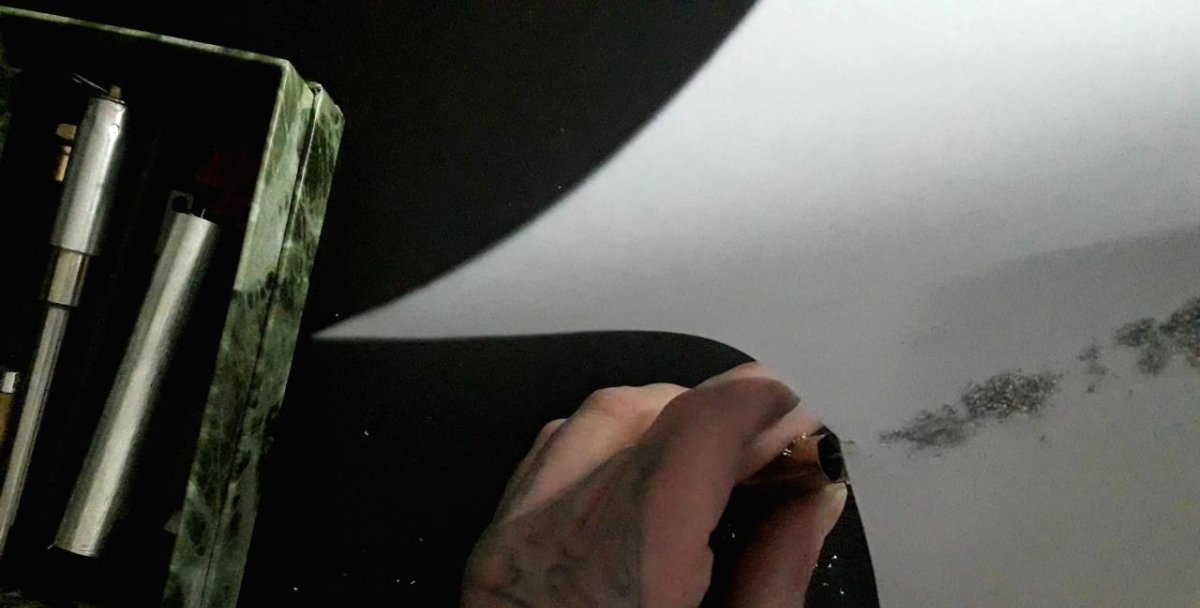
But shavings from resinous wood (best of all from the root of a tree of coniferous species) also come down quite well, it also quickly ignites from a spark. We cling to the flint, and use it with pleasure.
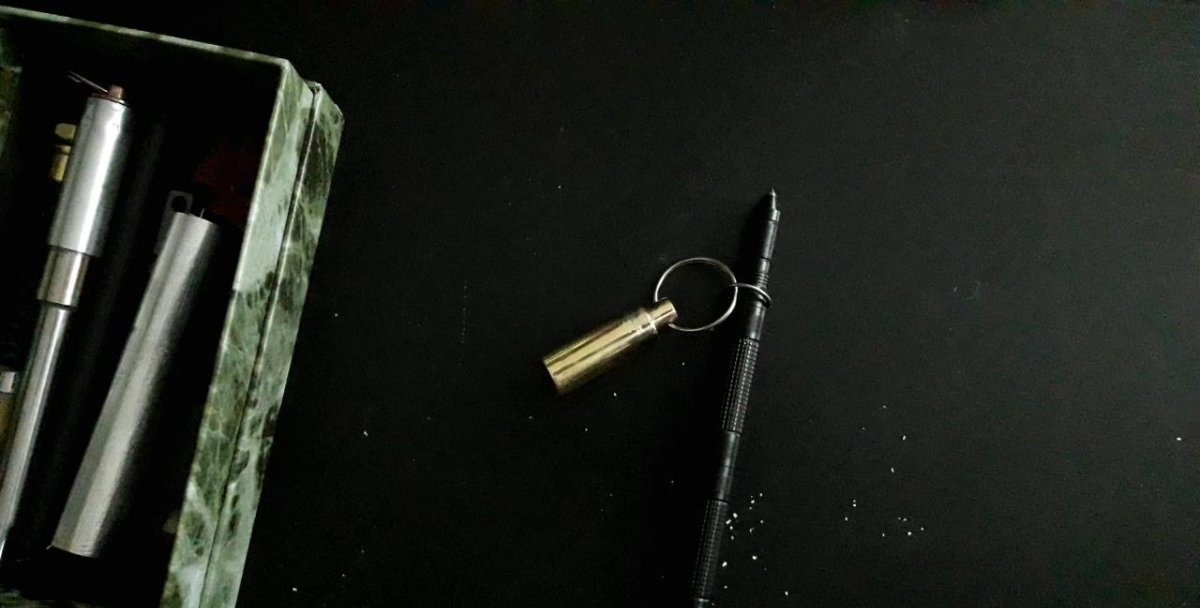
An hour of exciting and interesting work, plus - no need to wait for a long delivery.