Although, probably, the price depends on the model, and the degree of popularity of the manufacturer’s brand. If you often use adhesive tape a lot, the dispenser can greatly facilitate the work. Yes, even just when packing, for example, some gift box or parcel. Also, I think, this gizmo and a roll of thick adhesive tape can help to close up cracks and holes (if they are not very large) in a polycarbonate greenhouse that appeared over the winter. At least for the first time, before major repairs, or before the acquisition of new polycarbonate sheets. But why buy the necessary thing if it can be made independently, and literally in half an hour. There is nothing complicated in the design of the dispenser. It is possible to make its simplest version both from plastic and from metal. Of course, it will turn out of plastic faster, but metal is more reliable and stronger. And then, as a material, I prefer metal than plastic, so I decided to make this thing out of it. And how to do it, and what will be needed for this, I will describe below.
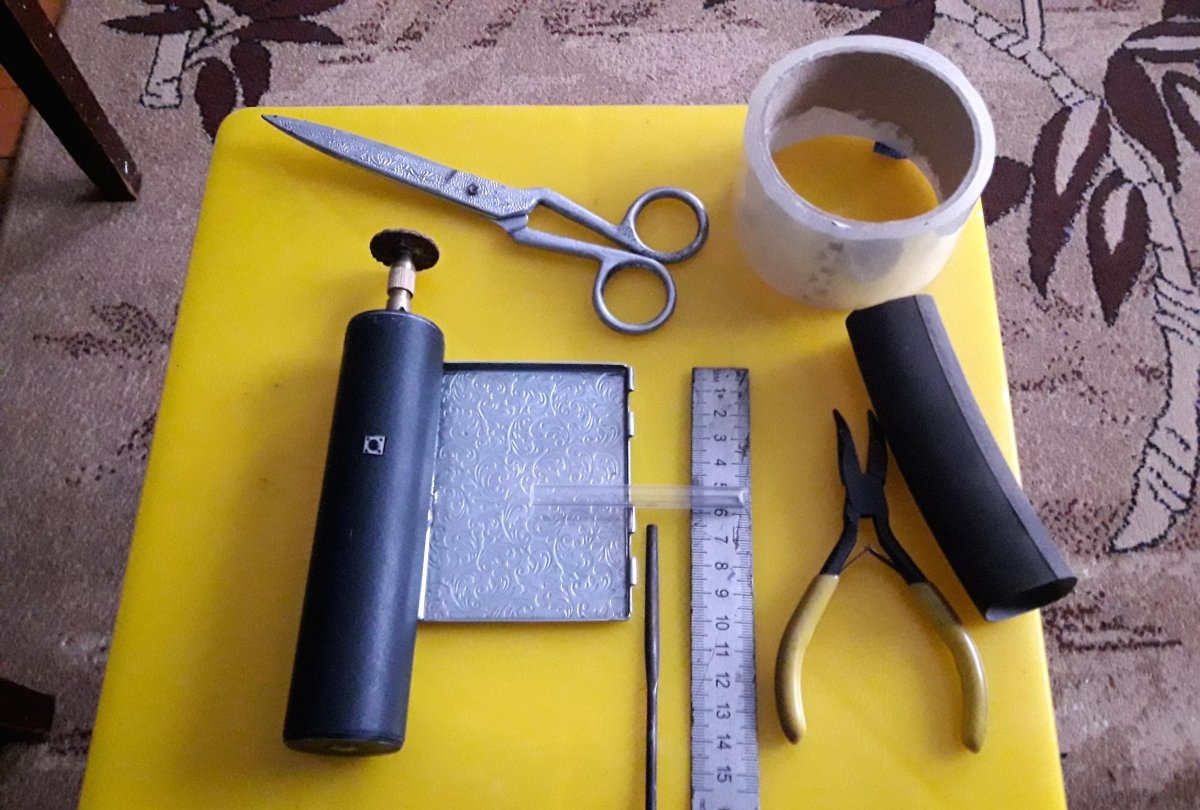
Will need
- A piece of sheet metal, approximately, approximately 70 × 70 × 1 (possible with a margin).
- Ruler.
- Marker.
- Emery machine with cutting blade.
- Bor machine or files.
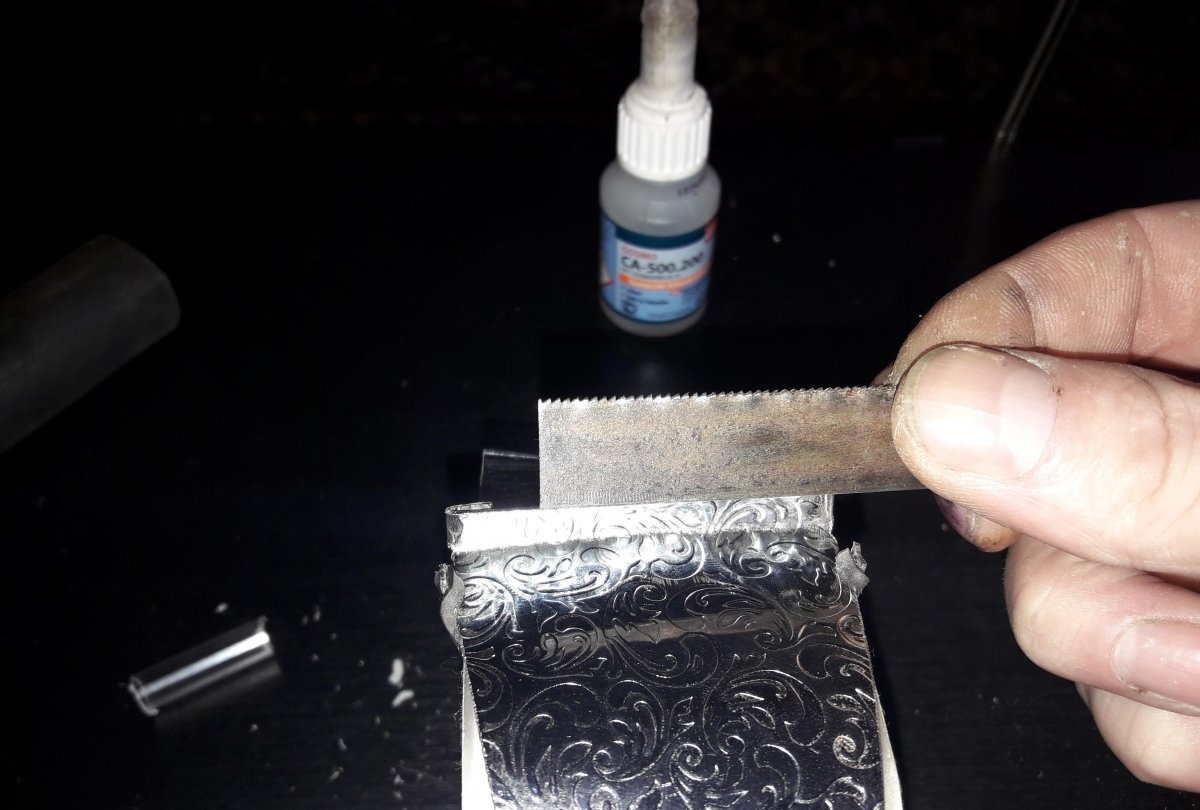
- Second glue and soda.
- The tube from the handle body.
- A small segment of the bicycle chamber.
- Scissors.
- A piece of metal sheet (at least 50 mm).
Dispenser manufacture
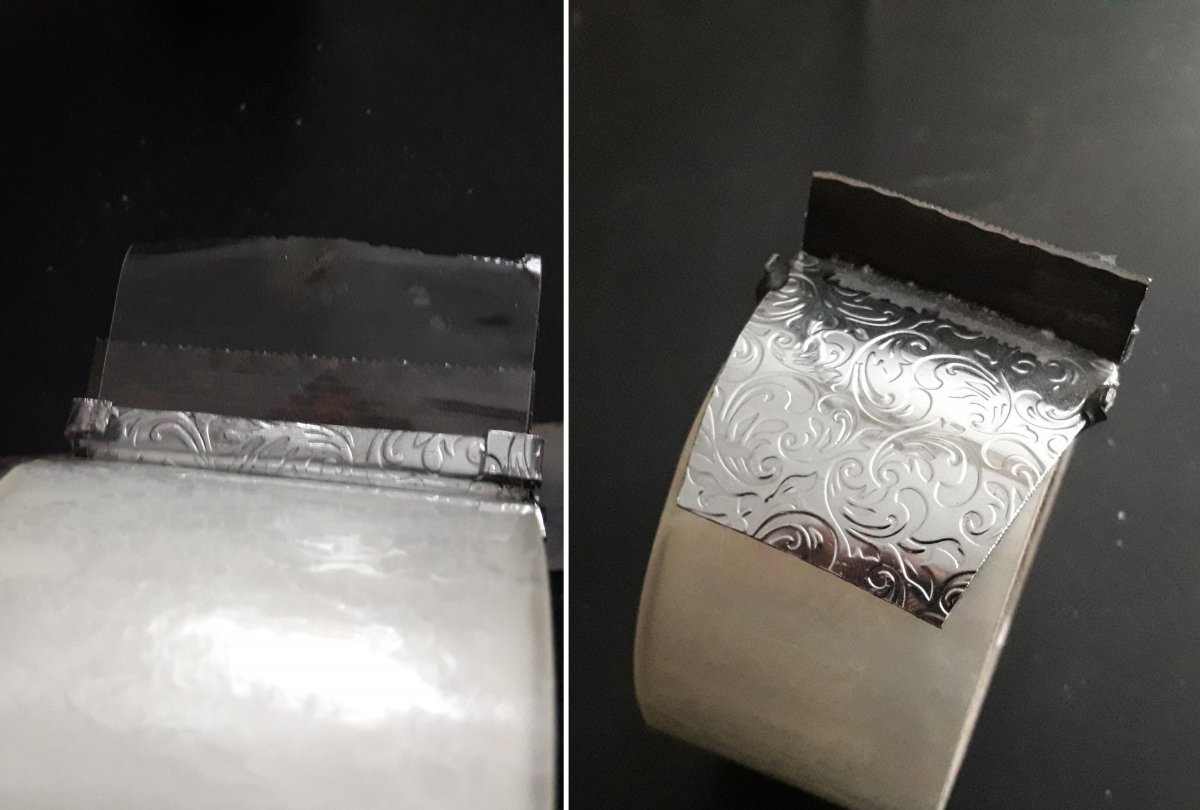
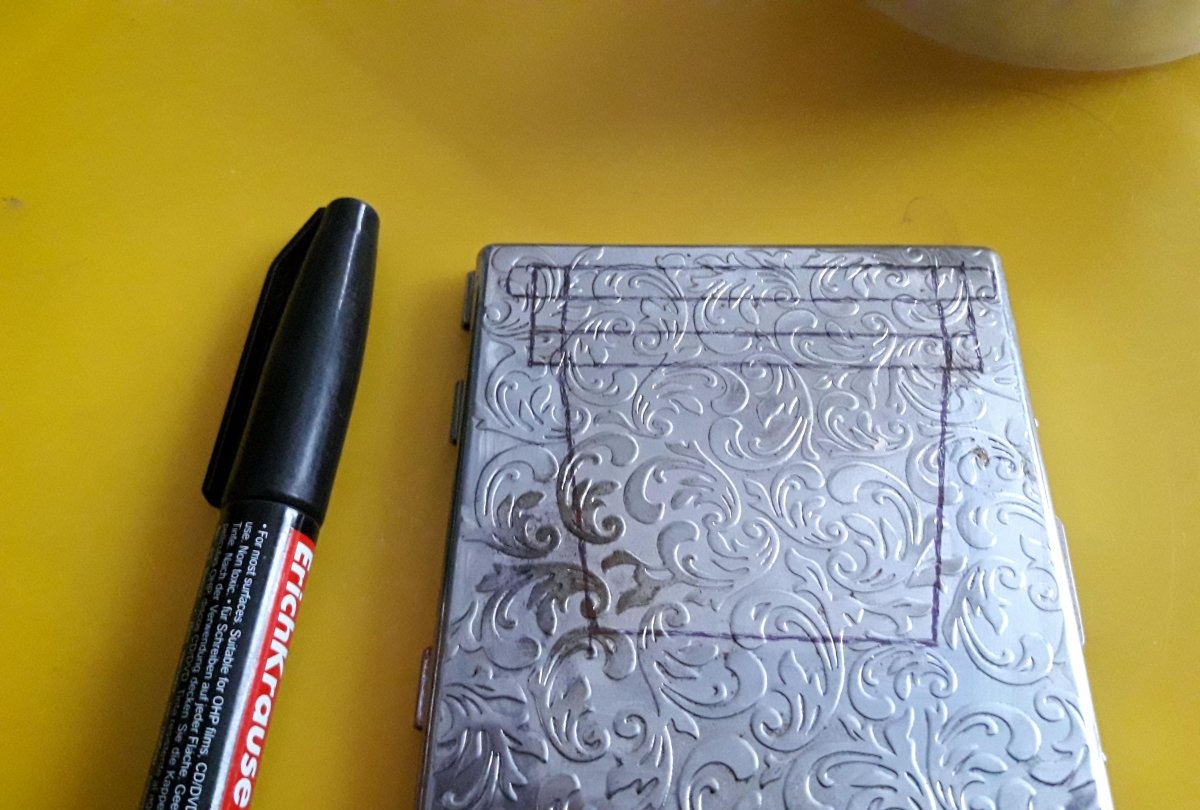
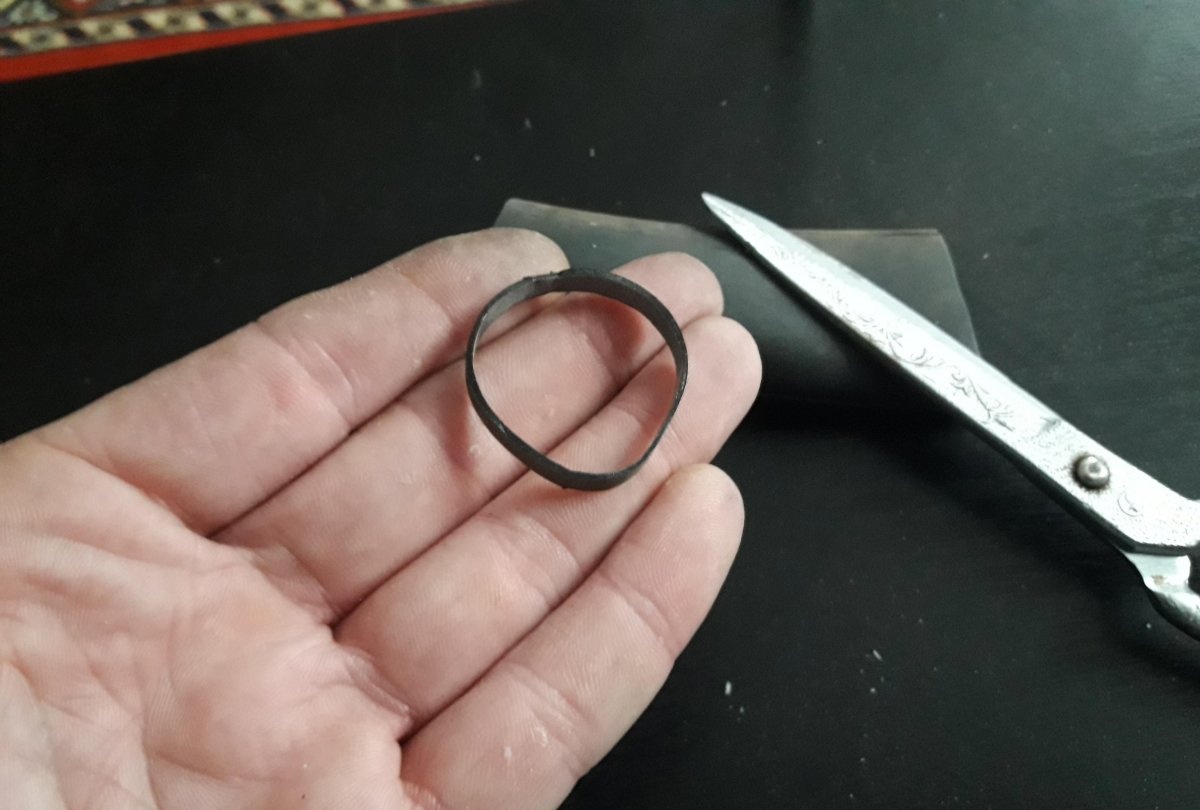
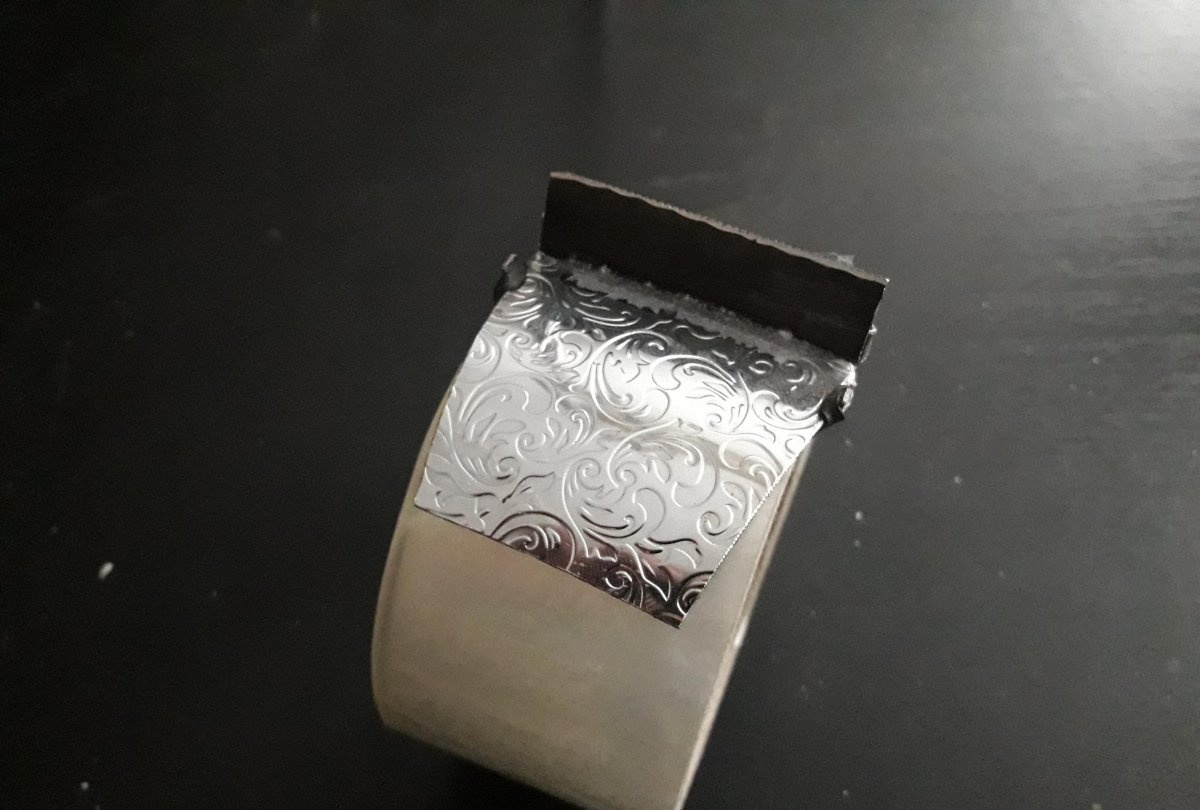
First you need to draw a marker contours of the workpiece on a sheet of metal. I took half of the broken cigarette case for this purpose. So, measure the width of the tape. An ordinary, standard adhesive tape has a width of 50 millimeters.
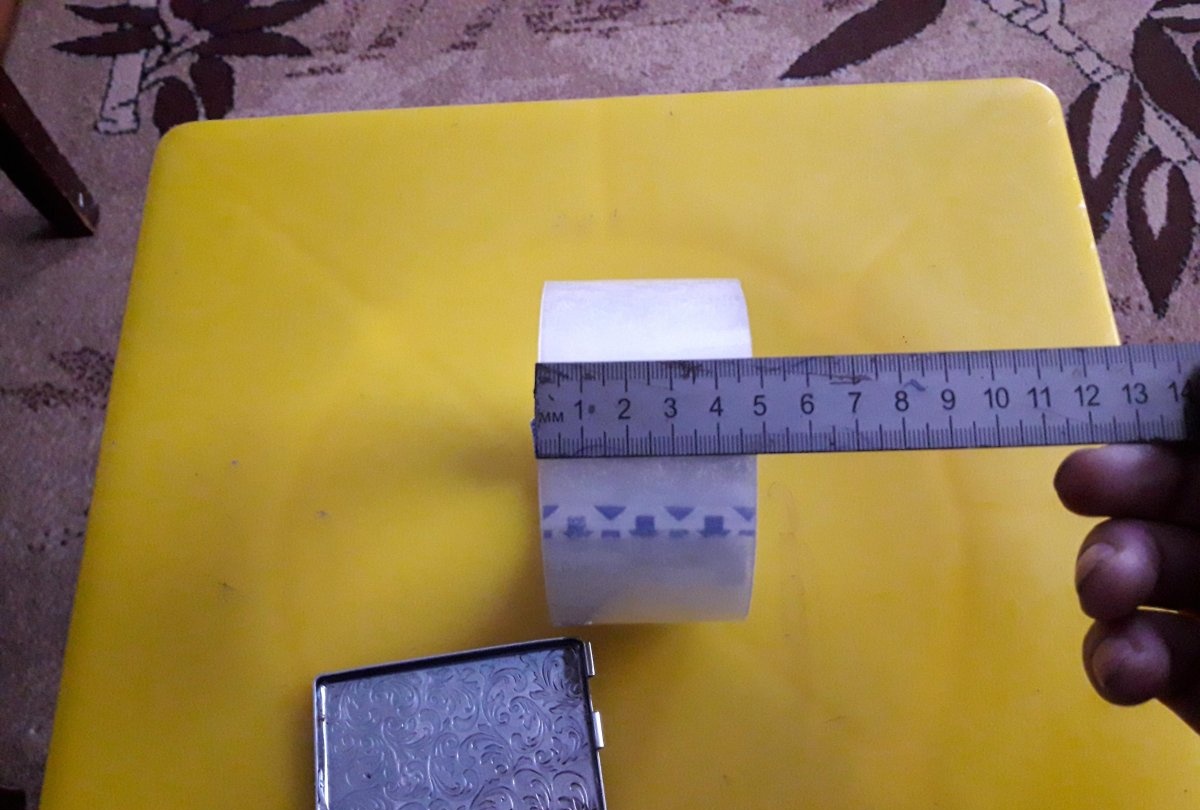
Although the rolls come across wider or already a couple of millimeters, so it is better to play it safe and measure. Mark with a marker on the metal a strip with a width of 50 millimeters and a length of 20 millimeters. We divide this strip into three equal parts with a marker. Draw to the two lower divisions on the sides for another 5 mm, and to the upper division - 7 mm. Now draw the tail of the workpiece tapering downward. In general, it should look like this:
We cut along the contour the workpiece on the emery machine and make cuts on the painted continuations of the divisions.

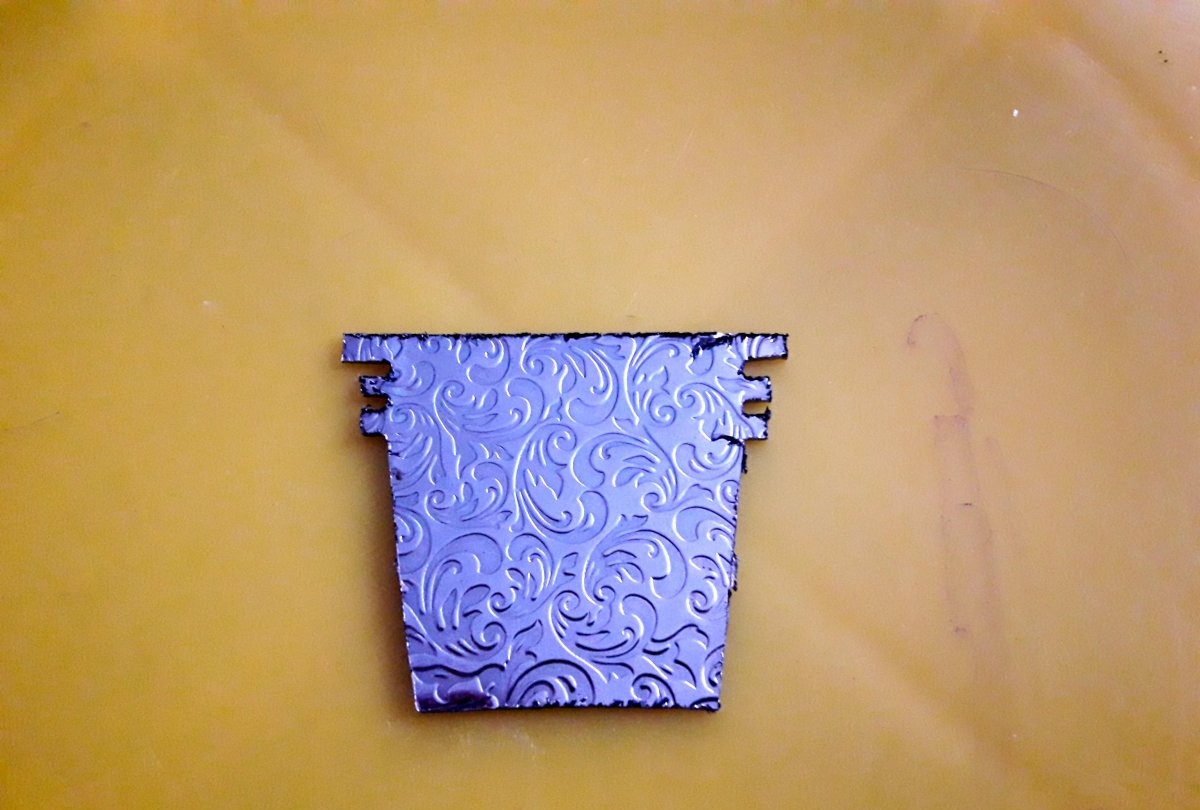
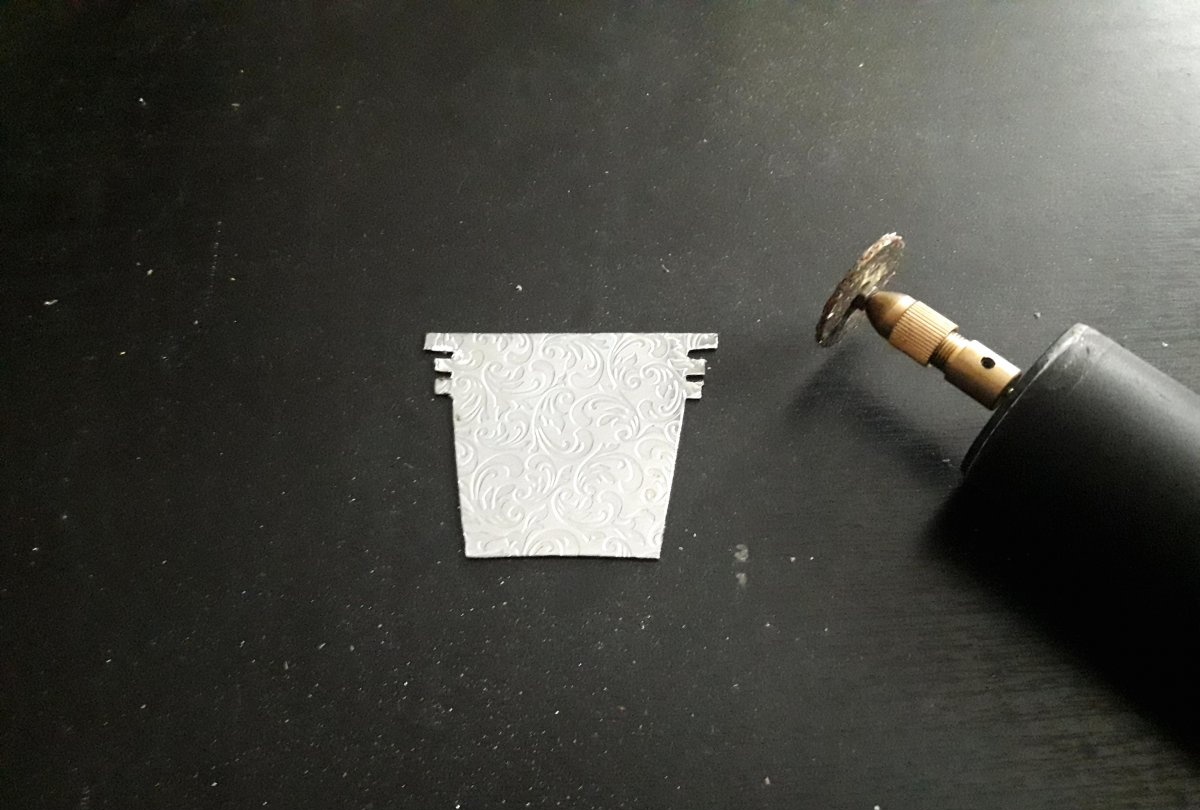
It is also necessary, with the help of a needle file or a boron of a machine, to remove burrs from the workpiece so as not to get cut during further work.
Now you need to bend the workpiece in the right places, namely; rather, the division that we got the widest, we bend upward, over the entire width, by 90 degrees. The protruding ends from the middle division are bent down, and the ends of the last division are again up. Here's what you should get:
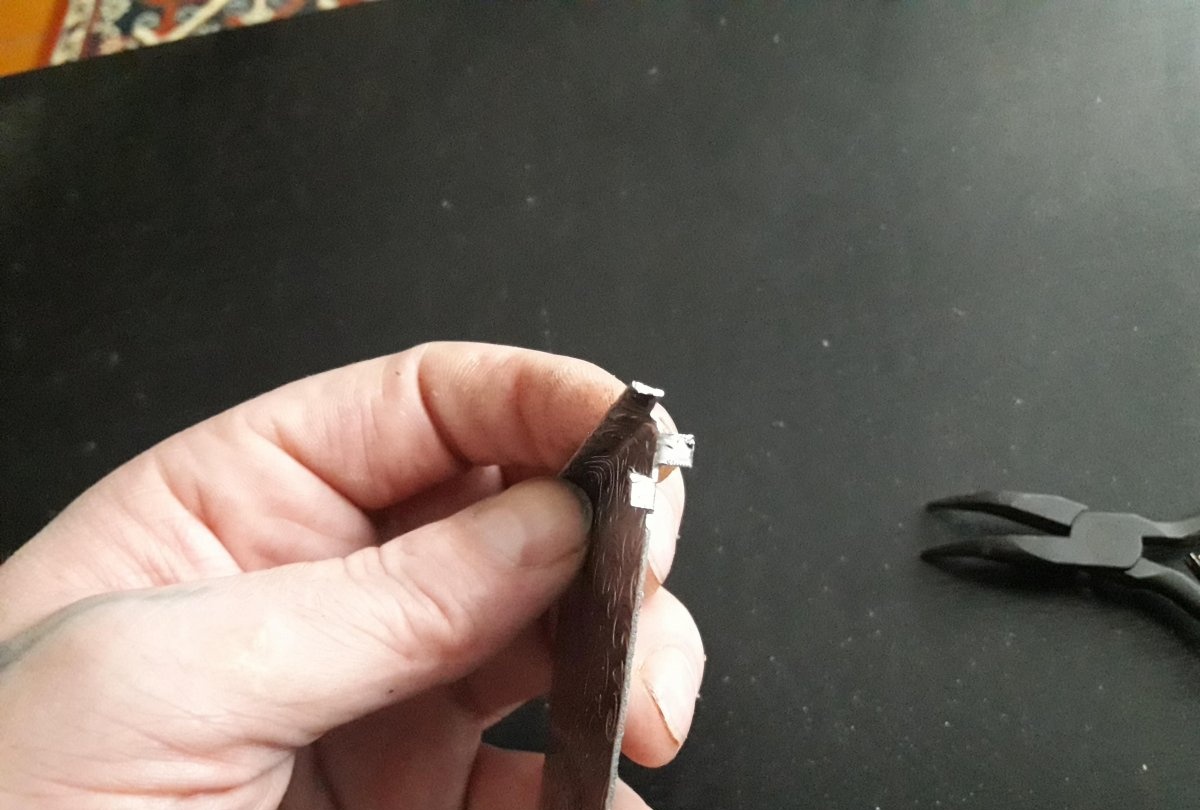
Now we bend the tail of the workpiece down so that it further clings to the roll.
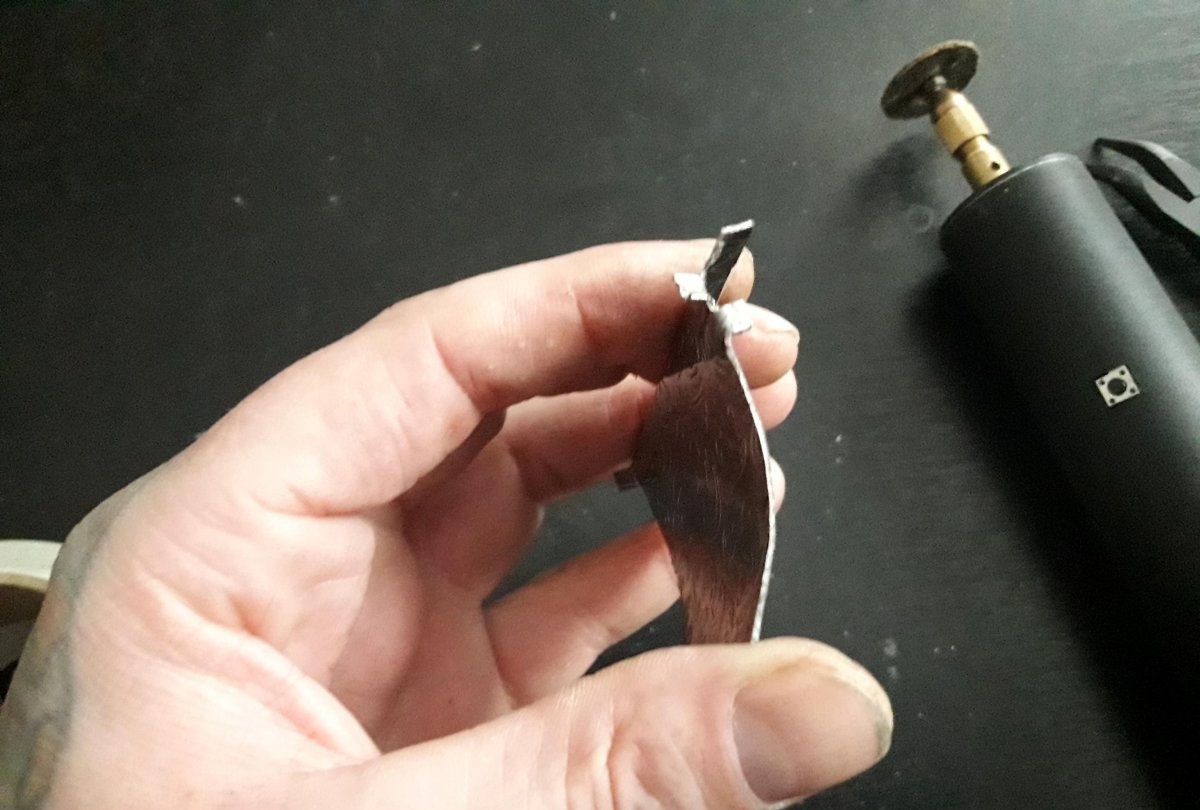
Try on the blank.
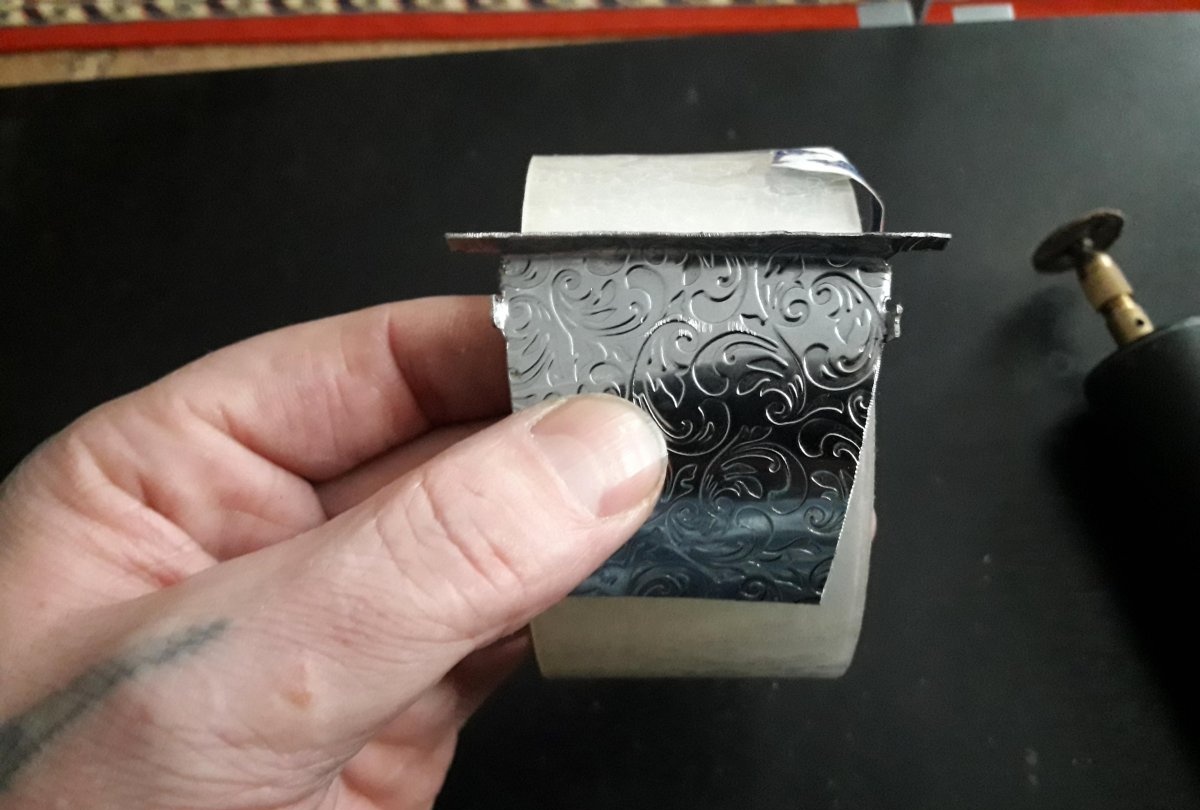
If everything is in order, move on. We bend the protruding ends at the upper division. Like this:
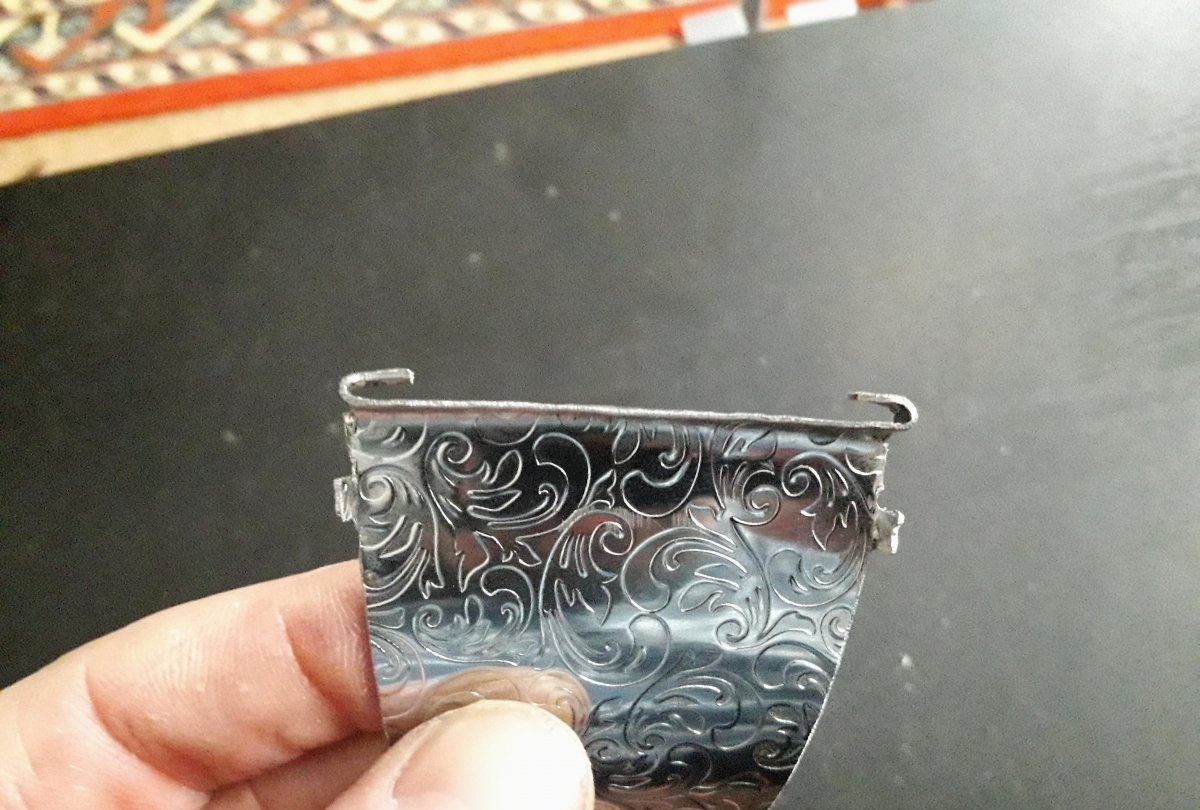
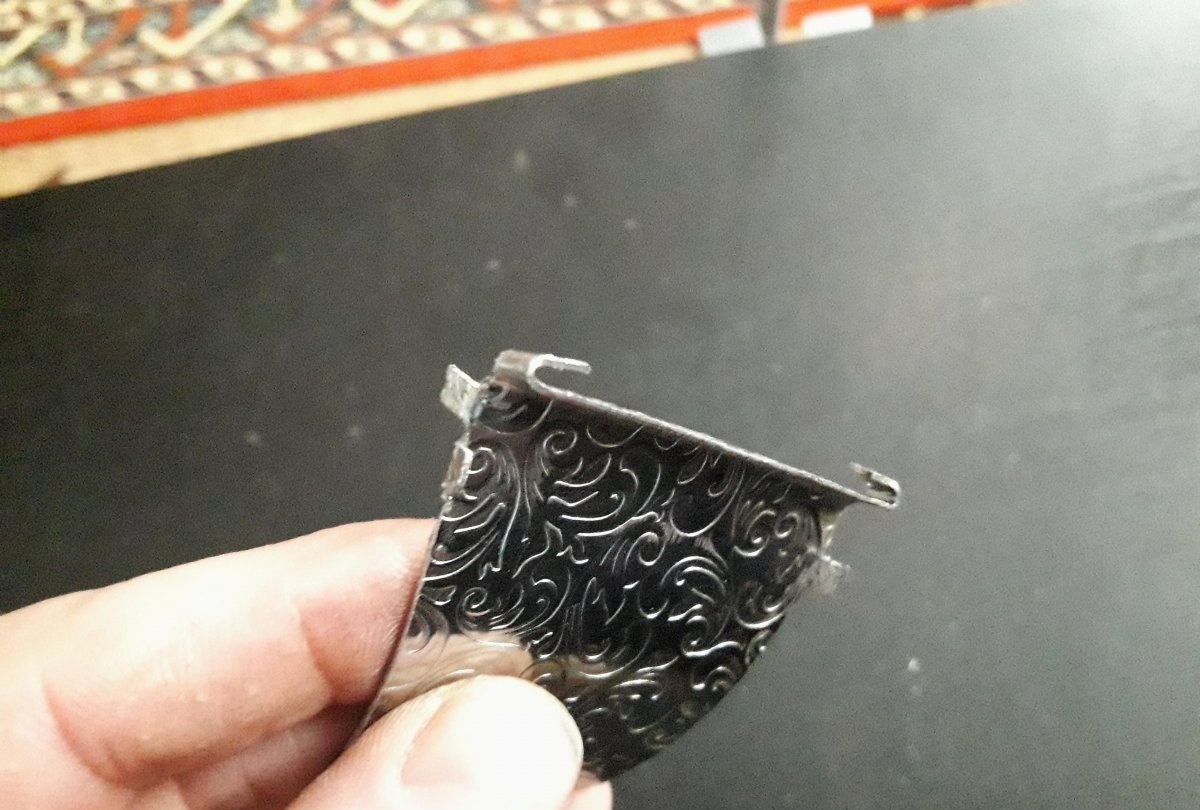
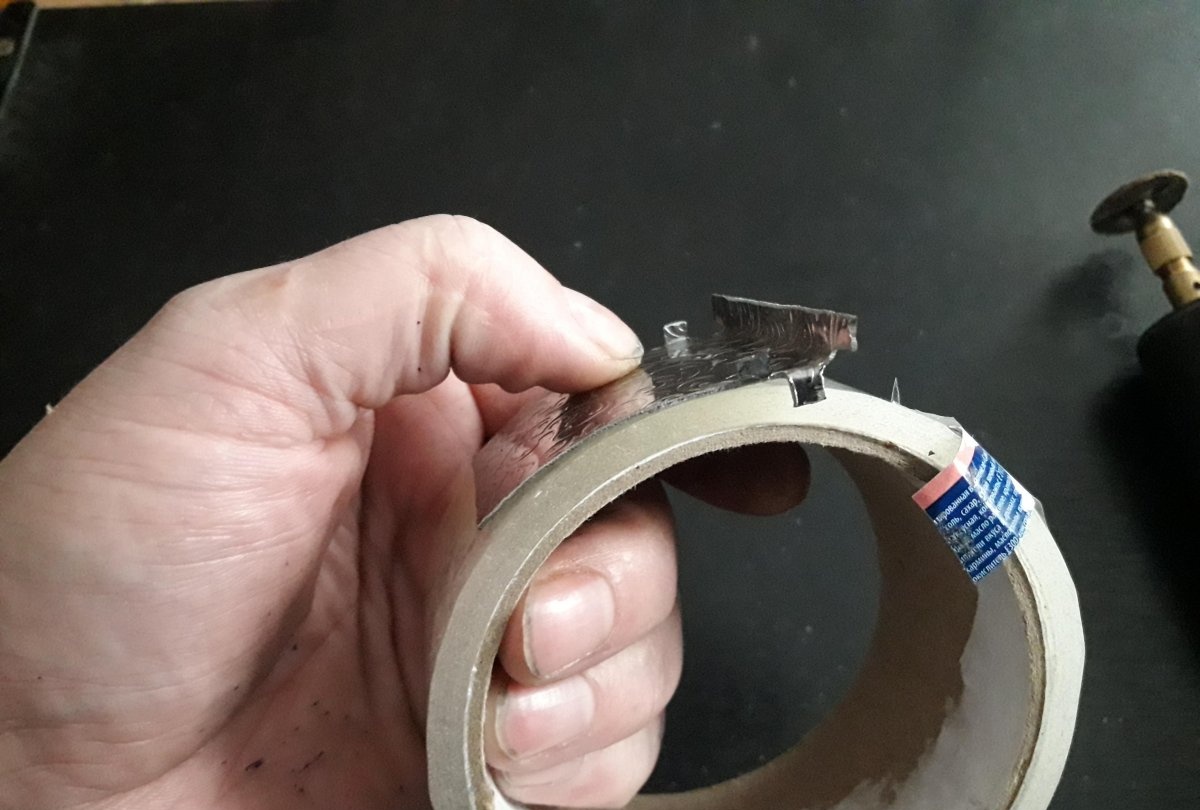
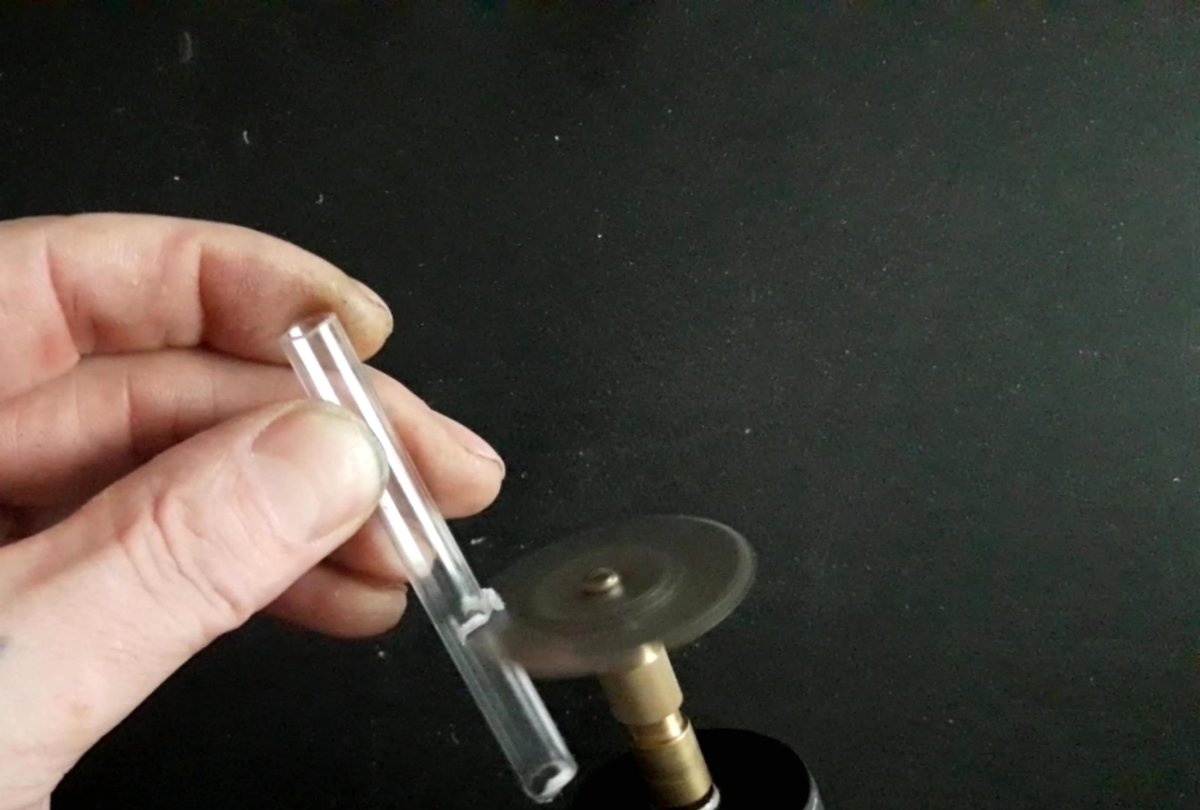
They will continue to hold the end of the tape so that it does not stick back to the roll. The main part of the work is done. Only a little remained; we cut off the plastic tube, the length of the roll, we remove the burrs with a file.
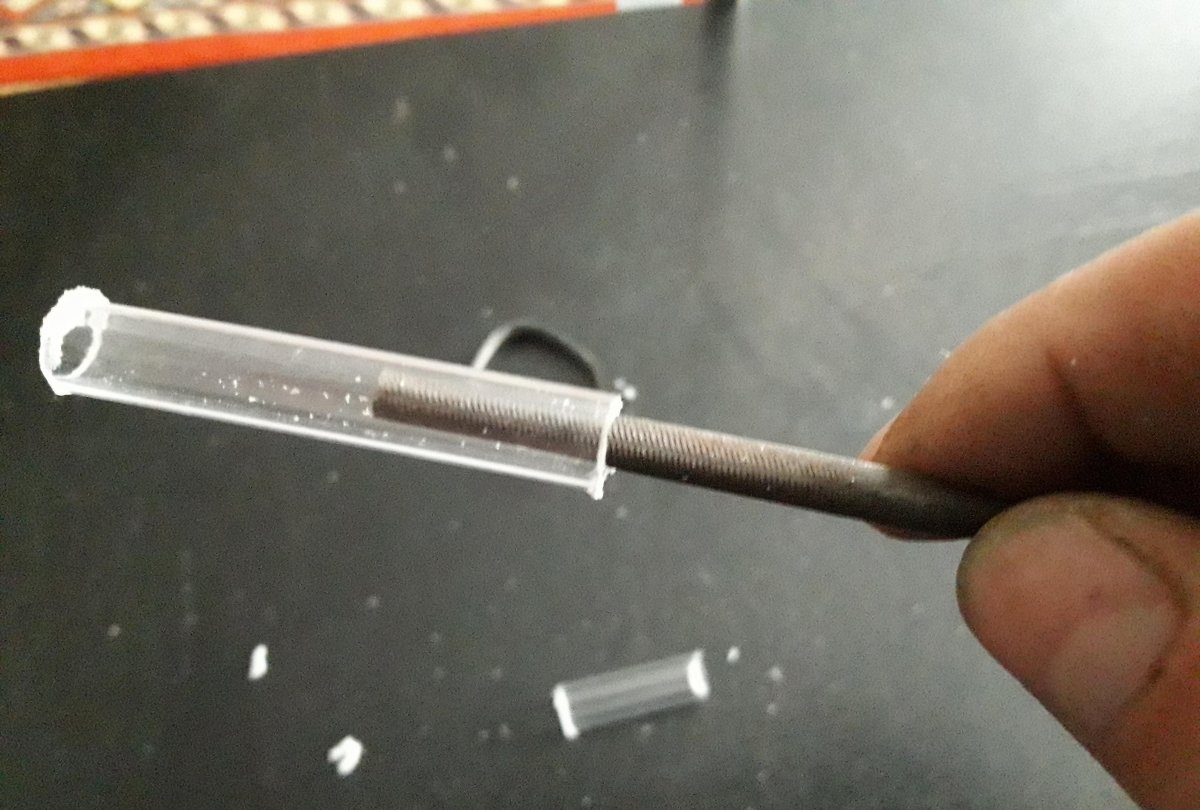
Cut rubber from a piece of the camera, a width of 2-3 mm.
We thread the gum into the tube, and we put on the inside of the roll the loops obtained from both ends on the ends of the workpiece protruding upward, which lies on top of the roll. It turned out that the tube inside the roll presses the rubber blank lying on top of the iron blank to the roll itself.
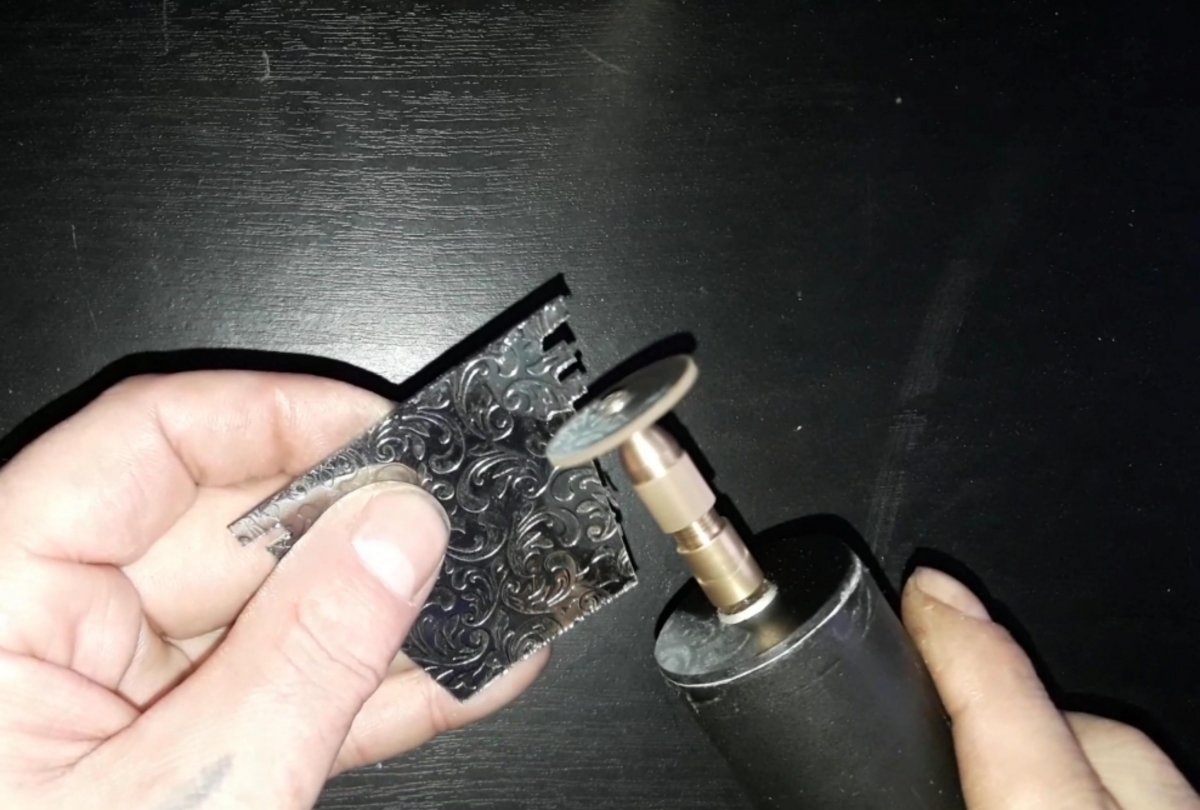
Now cut a piece of cloth on metal, the width of the same 50 mm.
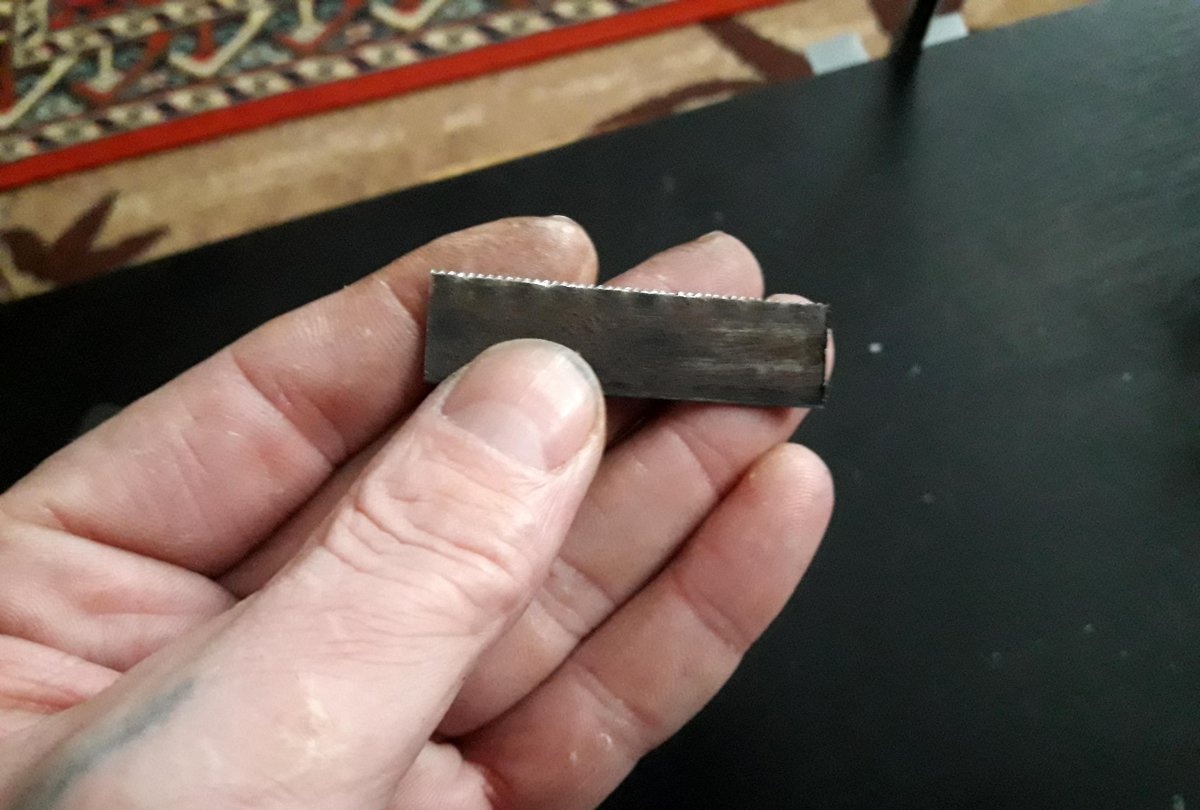
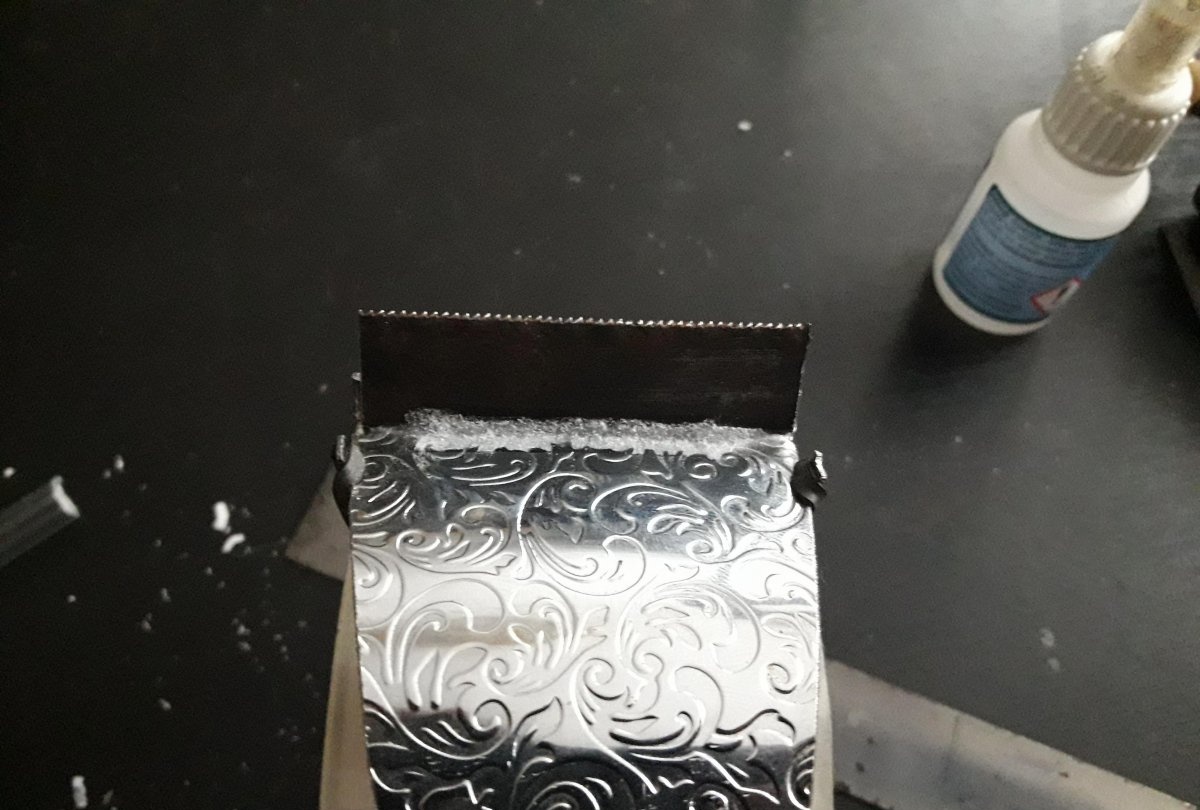
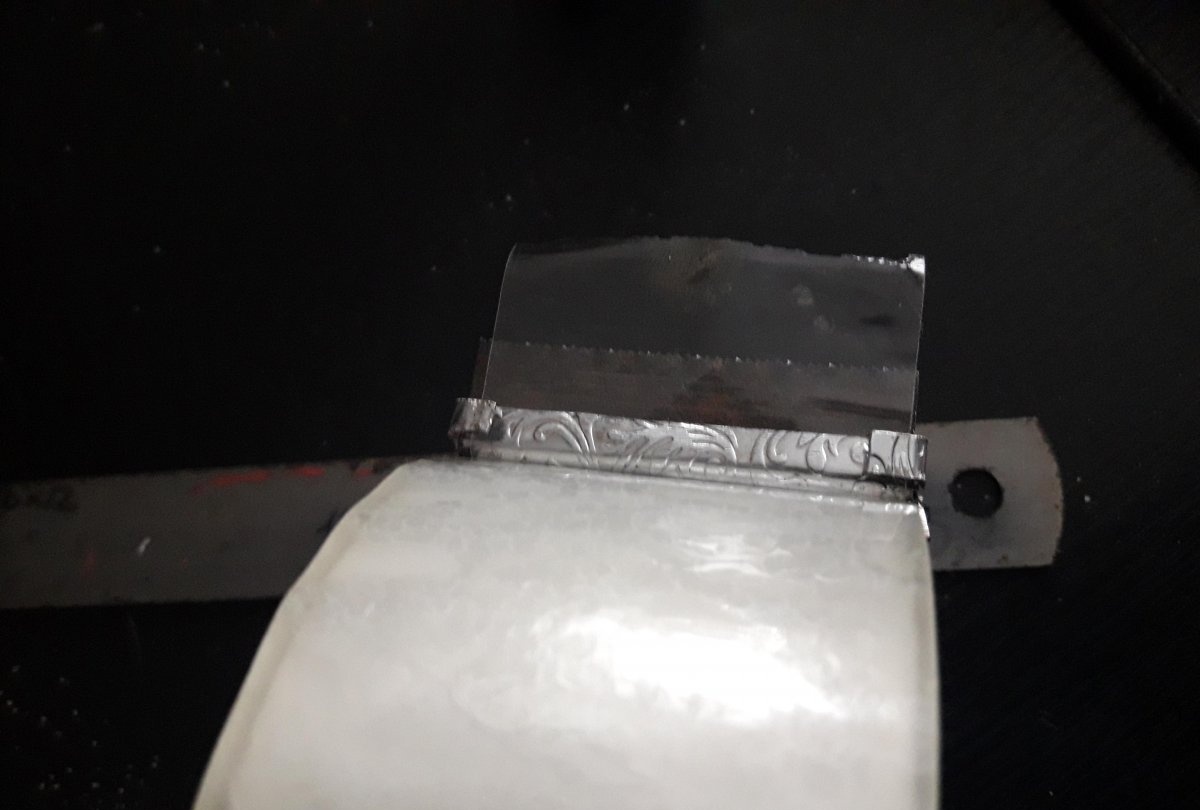
We sharpen its toothy side at a section of the web, and glue it with glue and soda to the curved upper division, sharpened side up. Like this:
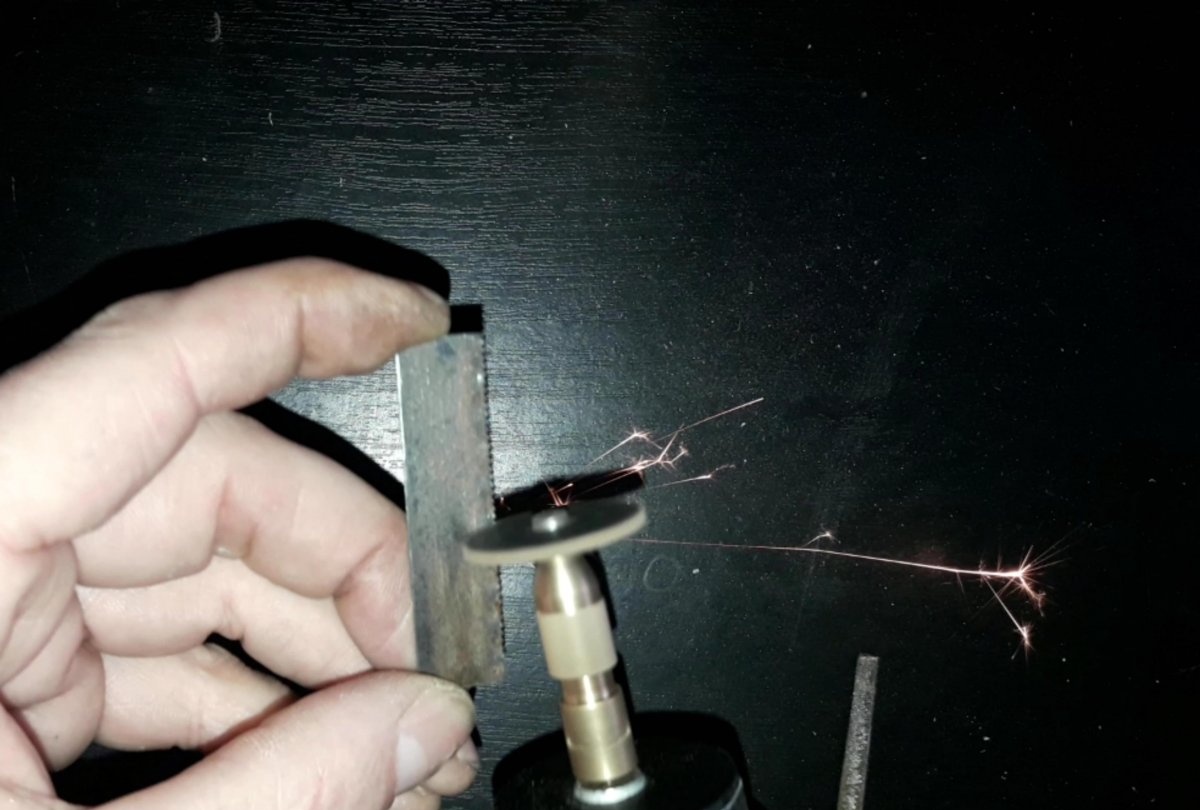
Done. We check for performance and use it with pleasure. We fill the end of the adhesive tape between the antennae bent inward, and pull out the required amount.
To tear off the stretched strip of tape, press the tail of the dispenser so that it is pressed against the roll and does not slip on it, and bend the tape to the side of the blade with teeth - it will come off exactly along the edge of the blade, while the curved antennae will not allow the torn end of the tape to stick back to roll. All the work took about half an hour.
I repeat once again that you can use plastic instead of metal - here someone likes it.