All these questions can be answered in the affirmative. What is, for example, a system for leveling tiles (SVP) and a do-it-yourself comb for leveling tile glue on the base.
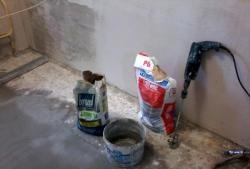
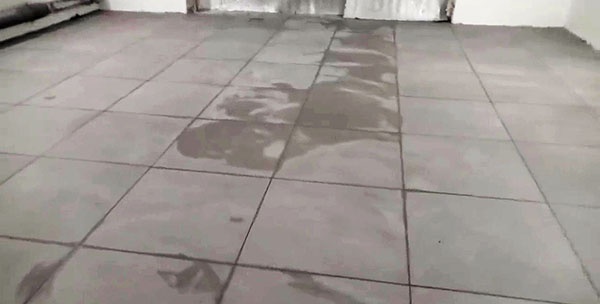
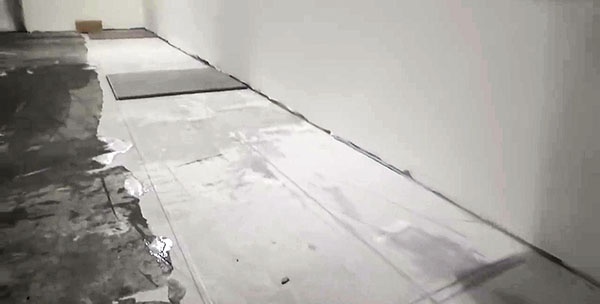
As an object, we chose a heated garage of 35 sq.m. The base is a bulk cement floor with the addition of fiber and primed. That is, simply, this is an ordinary cement screed with reinforcement.
In general, a well-prepared base is a prerequisite for quick and high-quality work on laying tiles, especially large sizes or in the presence of defects on it.
The process of laying tiles using SVP and homemade comb
The material that we will use is not conditional, so it makes sense to see what it is. Most often these are products that did not pass the output inspection due to geometry defects. Usually, they are marked with a dot either on the glaze, or from the end. Also, tiles with any imperfections on the glaze or the presence of large chips on the edges belong to non-condition.
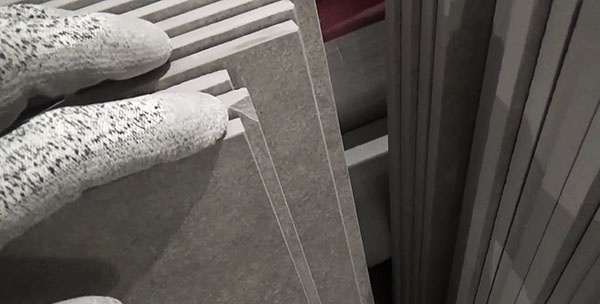
But one should not consider non-condition as unsuitable material for anything. It can be used with advantage for trimming or for laying in less visible places for viewing.
This substandard tile was specially purchased at a low price, and for the garage, in our opinion, it is just right. Of course, working with it is somewhat more difficult, but the result with some effort will still be excellent.
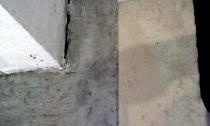
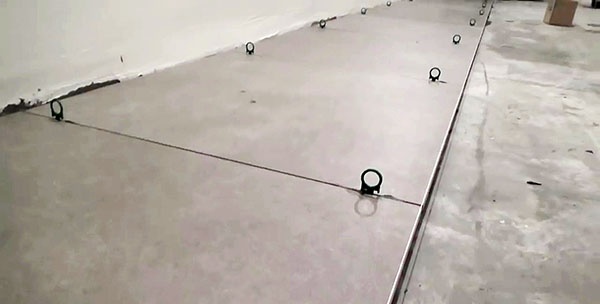
The most responsible and longest stage is laying out the first row. But before that it is necessary to estimate and evaluate what flatness the walls have. On large volumes, it is best to use a building cord for this, although laser use is not forbidden. But with a cord it will be much simpler, more convenient and more accurate. Moreover, we will use it only to control the line along which the tile is laid.
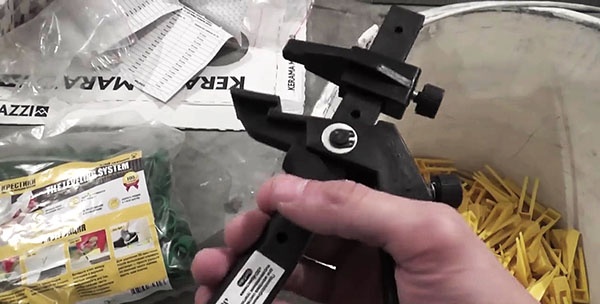
Also in our work, we will use the 3D cross tile alignment system and test a new tool, which is completely made of plastic, and is designed to facilitate and accelerate the reliable and tight insertion of the wedge into the clip.
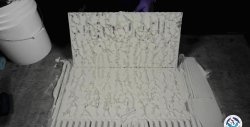
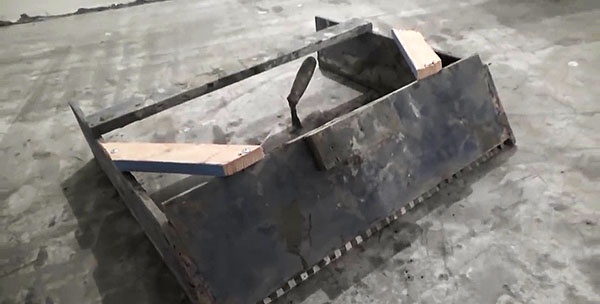
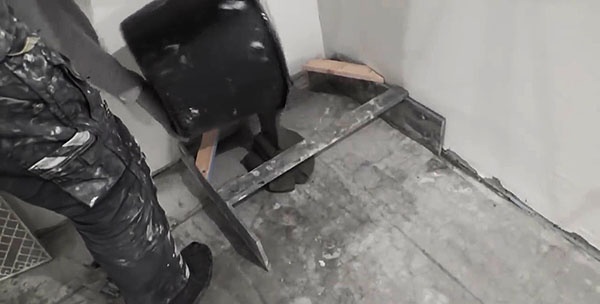
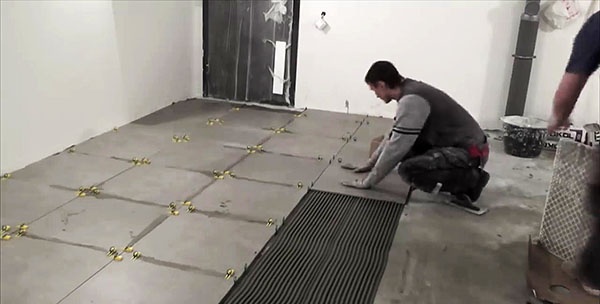
The main home-made device in our work will be a comb inclined in the direction of movement. It is attached to two wooden sidewalls, which are connected by a cross member and two jibs to an inclined comb to give them rigidity. The sides are attached to the ends of the comb and parallel to each other.
This modernized tool allows you to quickly and, most importantly, accurately apply the same thickness layer of tile adhesive, which is an indispensable condition for fast and high-quality work. After all, when the adhesive solution is applied evenly, tile laying will be carried out quickly and as simply as possible. Such a comb can be made directly at the facility in just half an hour from improvised materials.
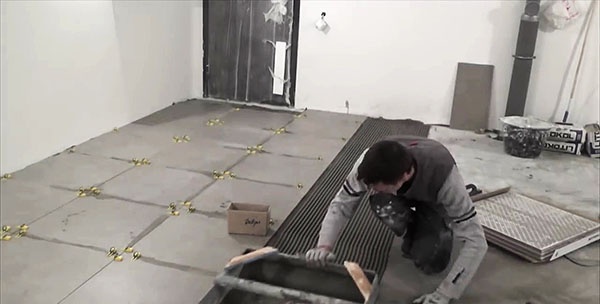
To work with such a homemade tool is very simple and at the same time productive. Tile glue is laid out in front of him, and is evened out with a trowel. Then, comb, pressing to the ends of the already laid tiles, and slightly to the floor, we move forward, adding more new portions of tile glue along the direction of the tool.
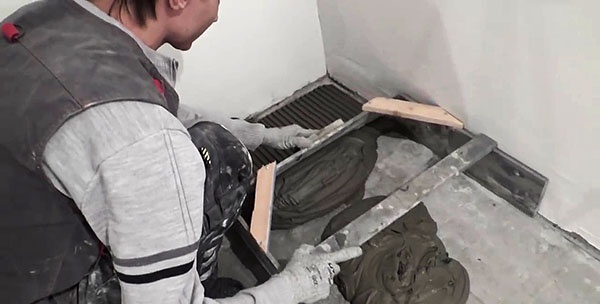
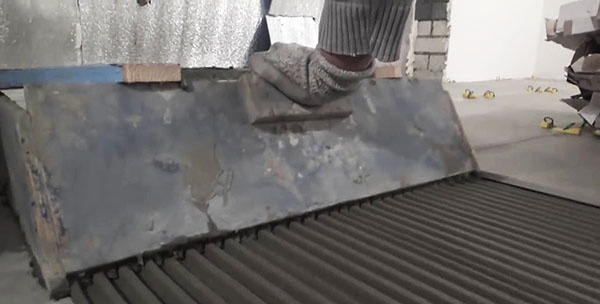
At the same time, such an improved device retains the same thickness strip of adhesive solution with ridges and depressions on the surface parallel to the laid rows of tiles. They are a guarantee that when laying tiles on glue, and when it sways across the strips, there will be no air left under it, and the tile will be glued over its entire surface.
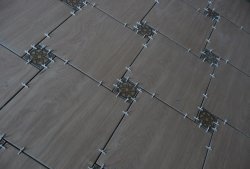
Then, at least two clamps are installed on each side of the tile to be laid, otherwise it will be difficult to ensure the same width of the tile joints. Since the tile is laid on a flat base, there is no need to lubricate it from the back. This can be clearly seen by lifting one of the laid tiles. It can be seen that glue in the form of shagreen leather is also present on its back side, and this is a sure sign that it is glued along the entire base.
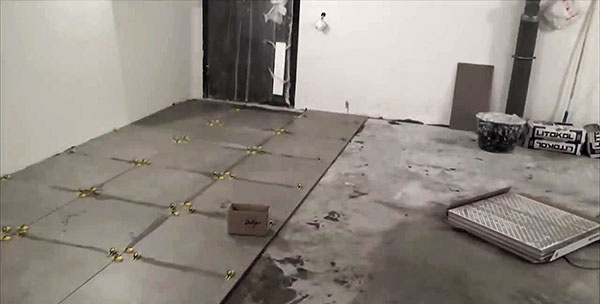
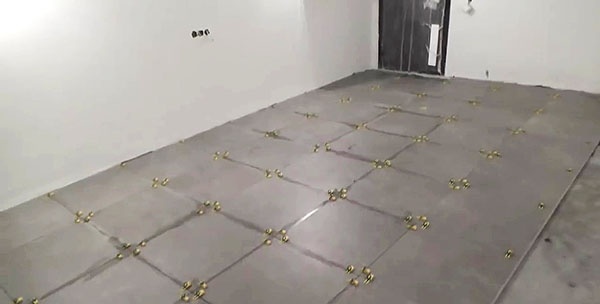
After laying 5-6 tiles, it is necessary to insert wedges into the clamps and seal their connection using the previously demonstrated special tool. As a result, not only the size of the joints is maintained, but also the same level of tiles between themselves is ensured. At the same time, there is no need to use a level gauge, the use of which takes a lot of time, and requires considerable experience.

Working with SVPs is especially effective when working with an assistant, when everyone clearly knows what he needs to do at every moment in time. At the same time, the performance of laying tiles increases by about 4 times compared to the traditional method, and the quality is ensured almost automatically, provided that the base is properly prepared.
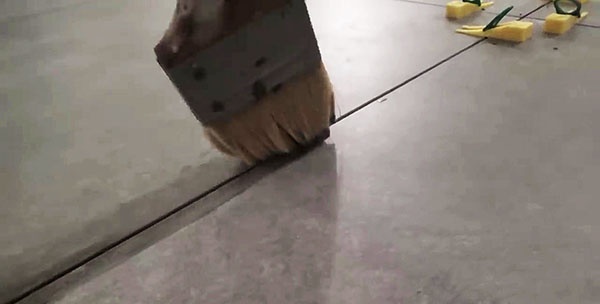
Just do not forget about the masonry composition, which is squeezed out through the seams between the tiles. It must be removed immediately with a narrow brush dipped in water. This will prevent unproductive work to remove dried glue, which is not only difficult to perform, but also fraught with damage to the edges and glaze of the tiles.
In order to make sure that there are no errors, it is necessary after every second or third row to control the accuracy of laying with a construction cord.
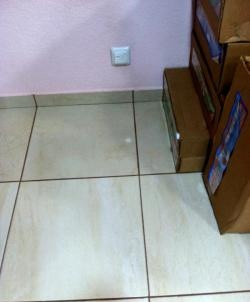
Laying the last row at the opposite wall will require the use of a tile cutter. This is where tiles rejected at the beginning with defects in geometry, damage to the glaze or chipped edges will come into play.
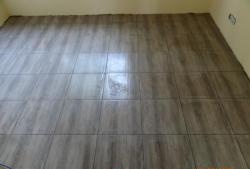
Having finished laying the tiles, you must leave the cover with the SVP at night. The next day, when the glue has hardened enough, you can remove the upper part of the clamps and wedges, simply knocking them down in the shoes.
Depending on the material of the SVP, some clamps cannot be knocked down without wedges, while others can be easily removed, both with wedges and without them. It remains only with a brush on the handle to sweep the wedges and the upper parts of the clamps in one place. Wedges can be reused up to 50 times, and parts of the clamps will have to be thrown out, since they are a one-time material.
Remarks at the end
Experienced tilers are strongly advised to spare no effort and time to prepare the base for laying the tiles, and the larger it is, the more thorough the preparation should be. Otherwise, using the SVP method will not give the desired result.
When knocking down the clamps, some of them can break off over the tiles, which can be easily removed using ordinary pliers or pliers. When the clamp fragment cannot be grasped with pliers, it can be removed so that it does not interfere with the grouting of the seams, by means of a narrow disk mounted on the drill spindle or grinder.