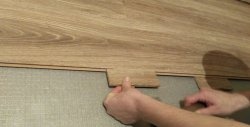
After renovations, sometimes there are remnants of various building materials in the house, and I still have several strips of laminate flooring. How can you use these leftovers? A hot stand, a small cutting board for the kitchen, a shelf for the garage, I’ve already done all this, but the laminate still hasn’t finished. Laminate flooring boards are quite durable and can be processed relatively easily, so why not try making a boomerang out of it. Making this toy will not take much of your time and effort, and both adults and children will want to play with it.
So, greetings readers, in this article I invite you to find out how you can make a boomerang from leftover laminate flooring.
Will need
Required materials and tools:
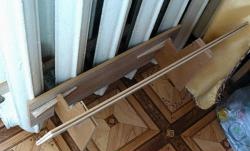
- - Laminate board approximate size 19x40 cm.
- - Square.
- - Ruler.
- - Pencil.
- - Jigsaw or jigsaw.
- - File.
- - Emery cloth or sander (optional, you can do everything by hand).
Boomerang making process
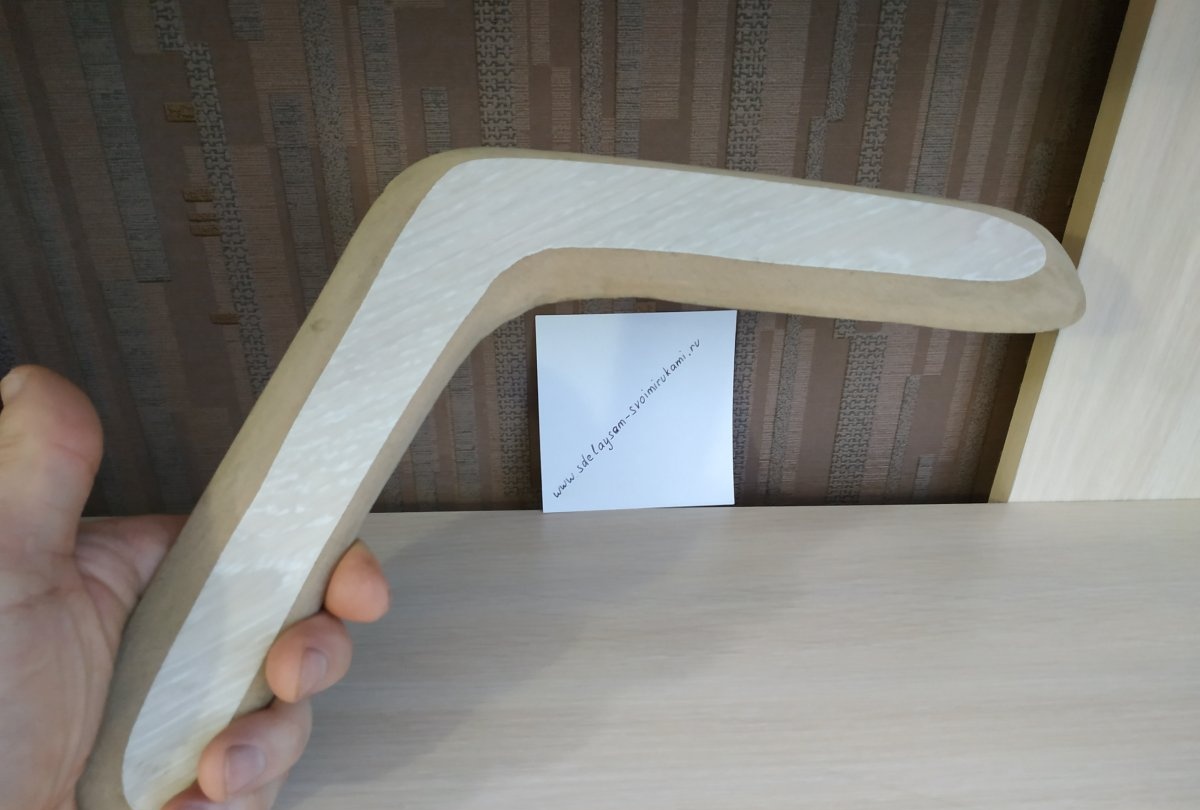
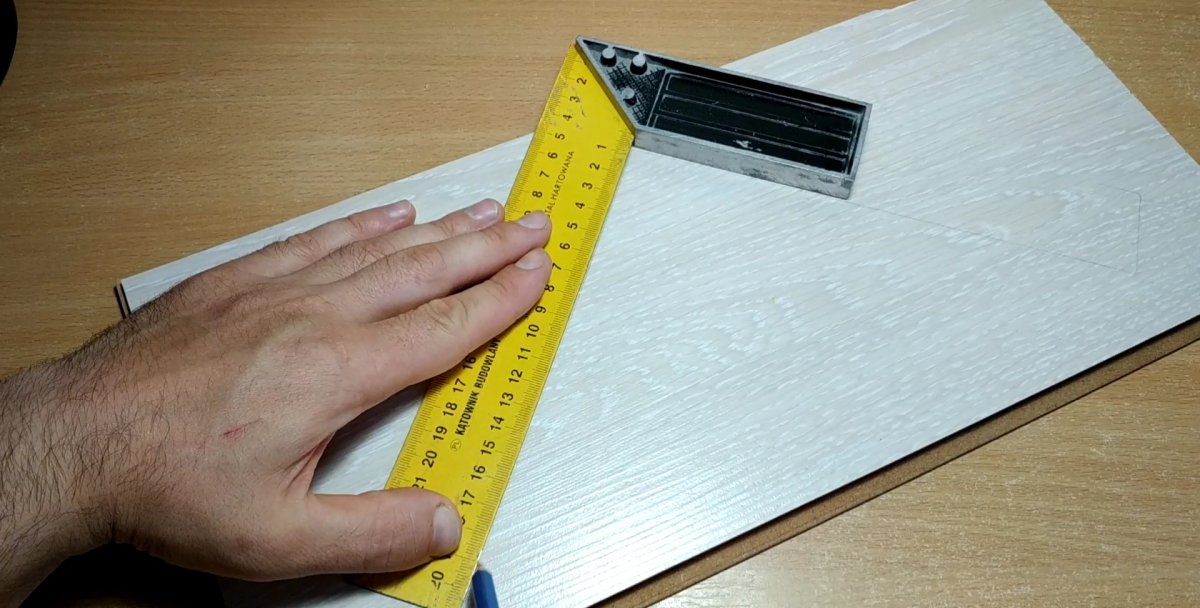
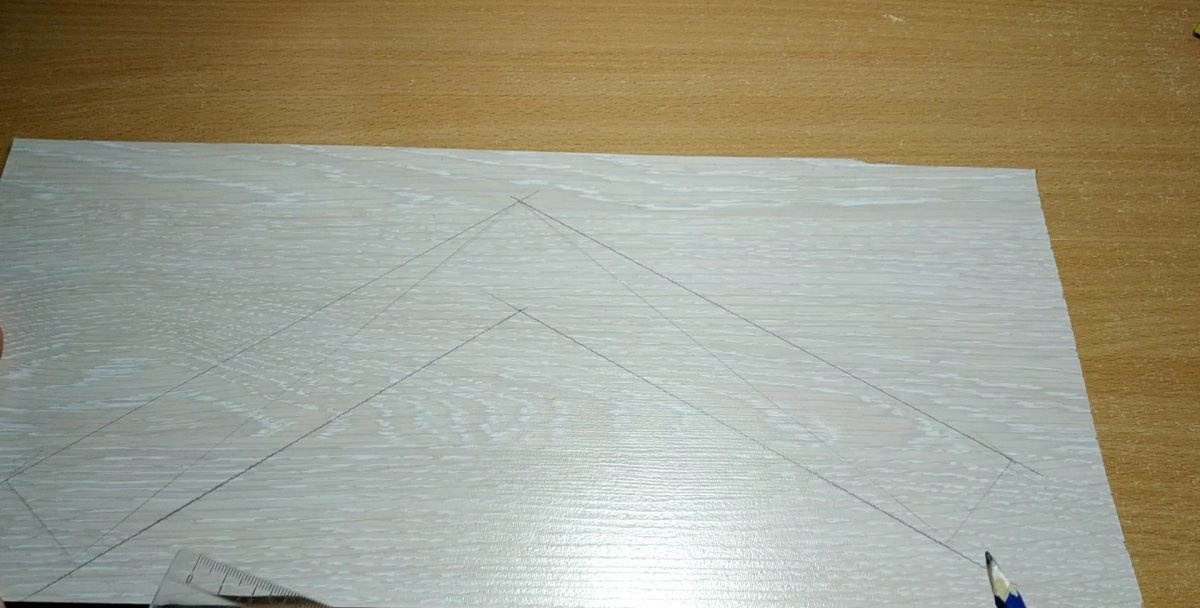
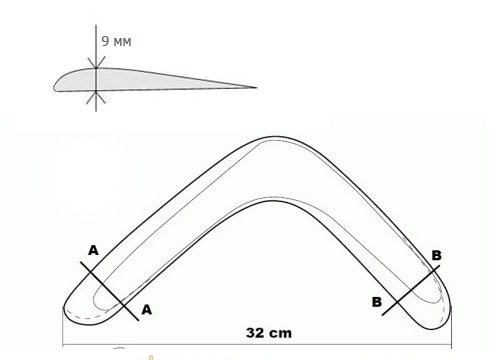
The first thing to do is to draw a sketch of our future boomerang on the board. To do this, you need to arm yourself with a square, ruler and pencil.Ideally, we should get this boomerang shape.
For those who have a printer, you can try printing this drawing and transferring it to the board. But it seemed to me that it would be easier to draw a sketch using a square than to play with the printer settings in order to adjust the size of the image to the size of the board.
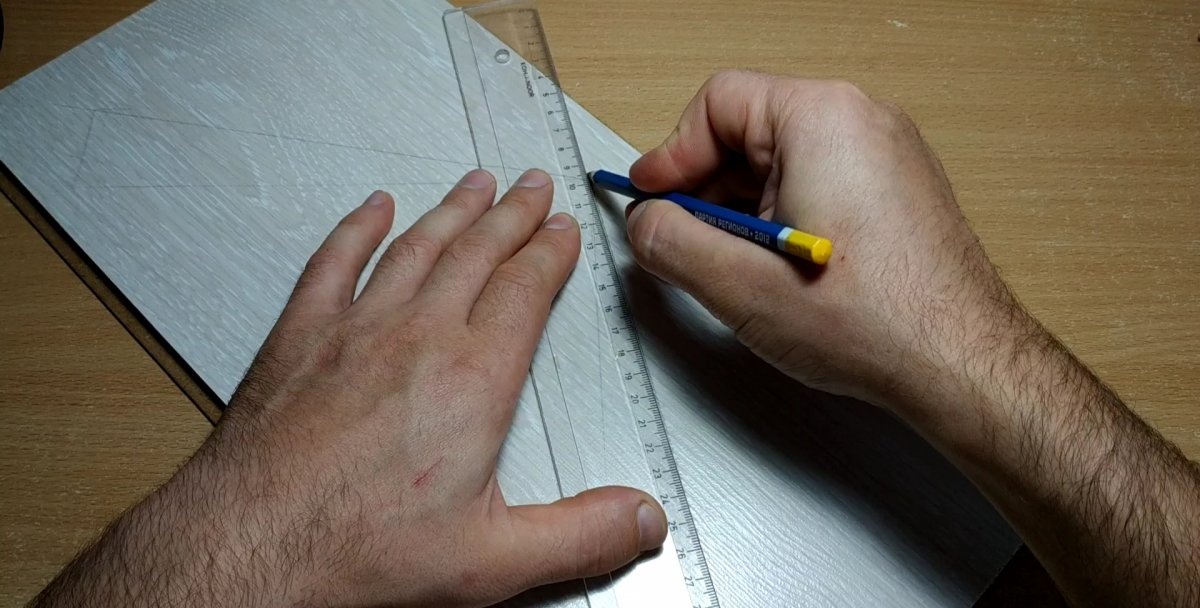
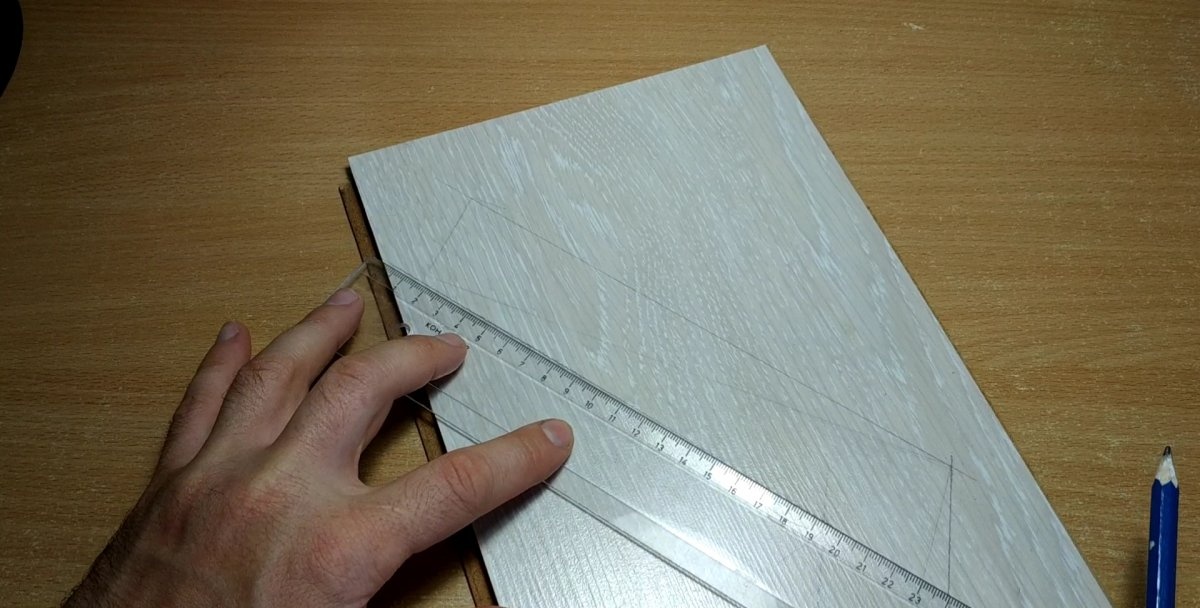
You need to place the square in the center of the board so that the inside of the square is as high as possible.
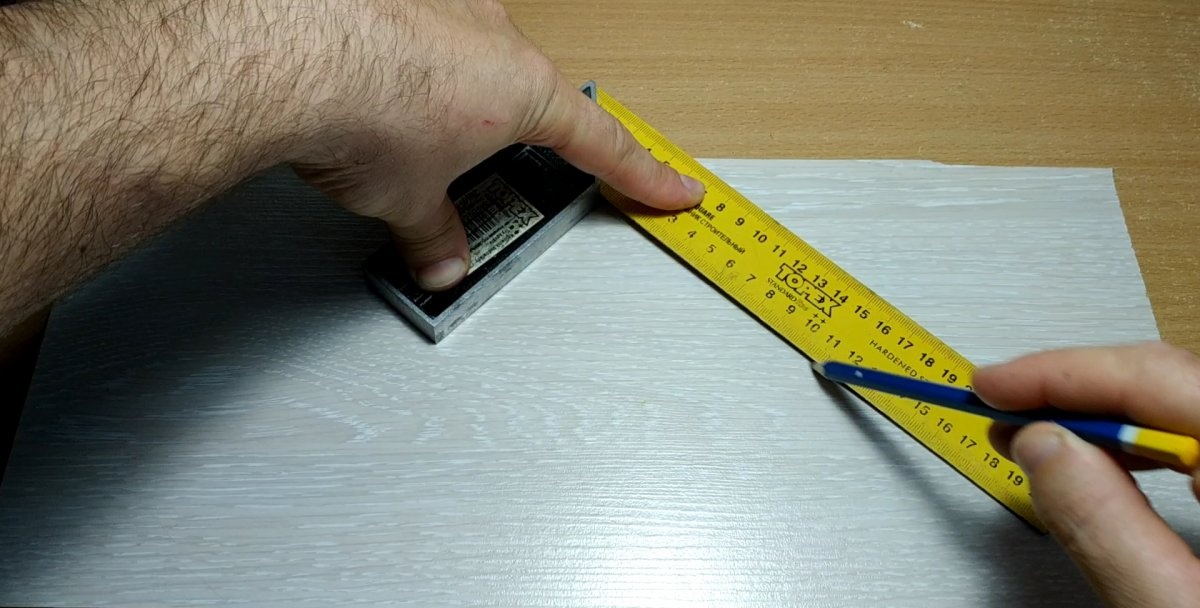
Outline the inner corner and make a mark where the outer corner ends.

We turn the square over, align it with the drawn line and repeat the previous operation again.
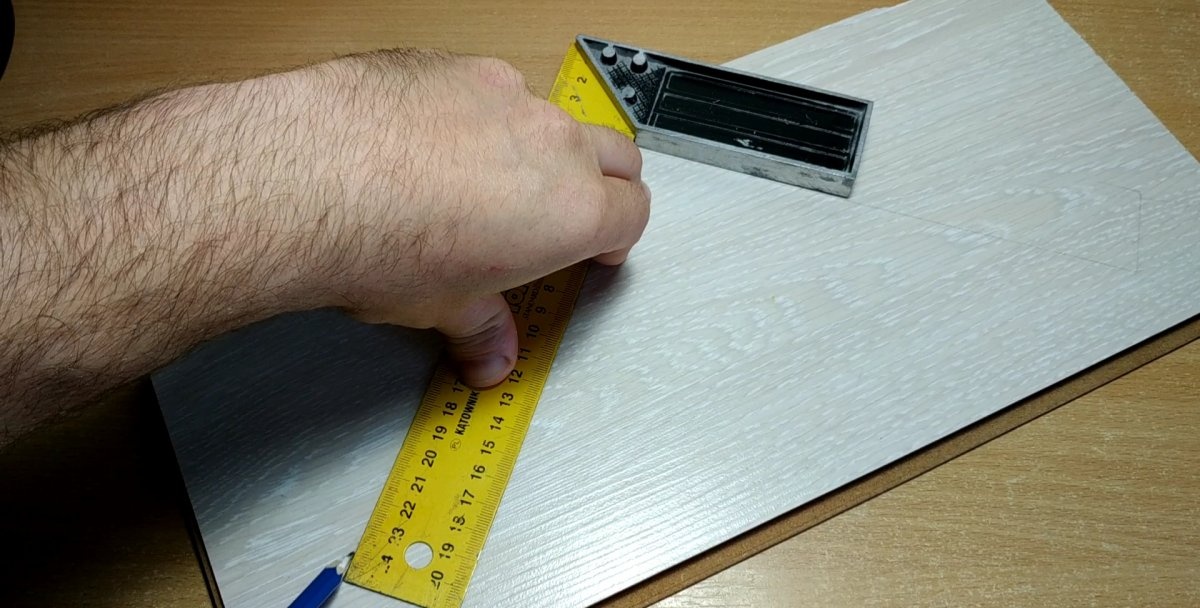
Thus, we drew an angle of 90 degrees and made some strange marks)) But in a boomerang, the angle should be about 107 degrees. In order to slightly expand our 90 degree angle, we need these marks.
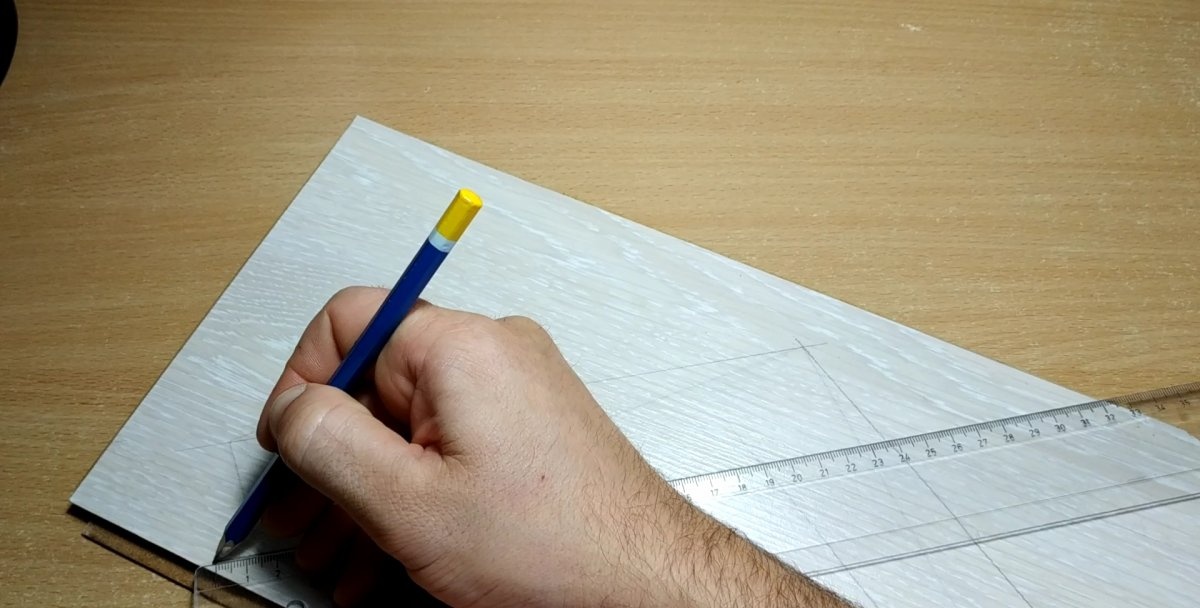
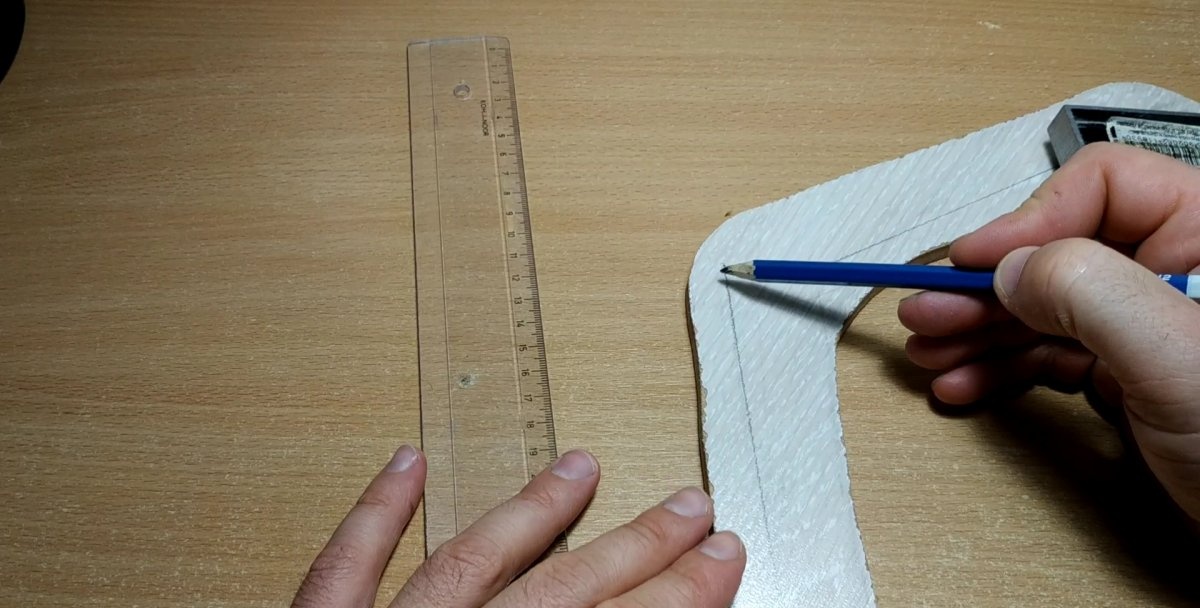
Now you should connect the vertex of the drawn angle with the marks.
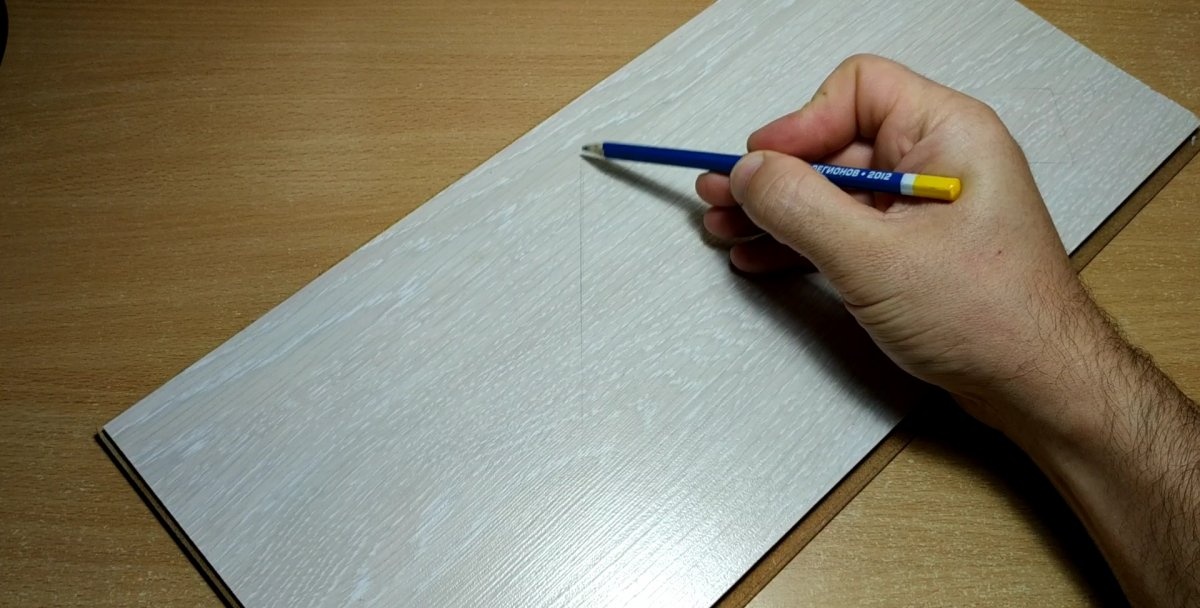
So we got the outer part of the future boomerang, the angle is of course not exactly 107 degrees, but we don’t have to run around Australia with this boomerang riding a fleet-footed ostrich and don’t hunt kangaroos.
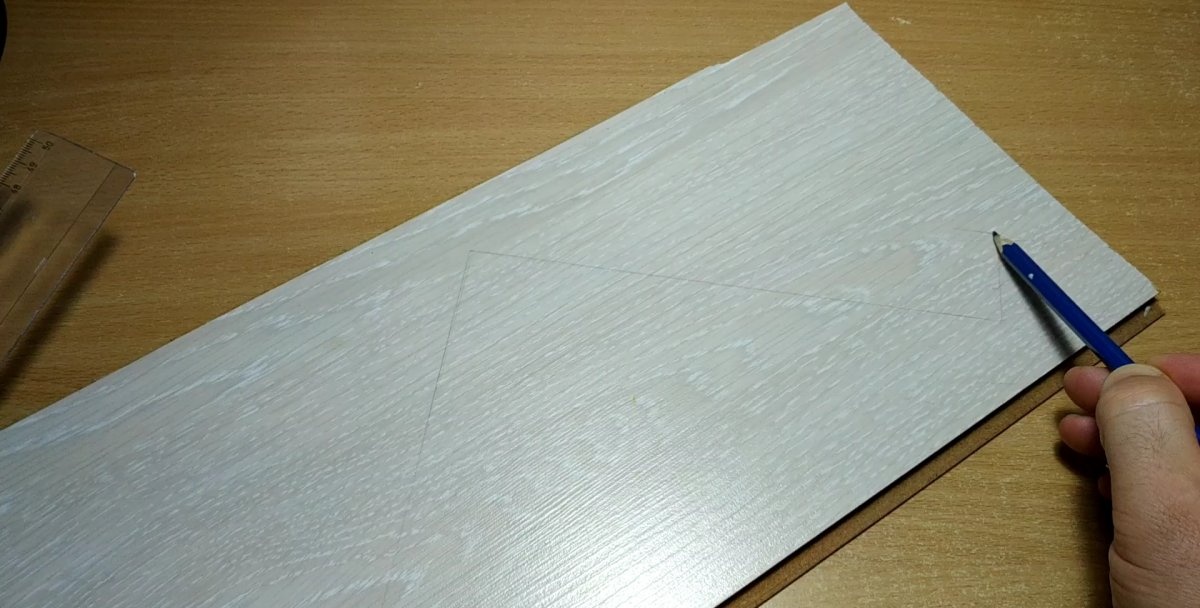
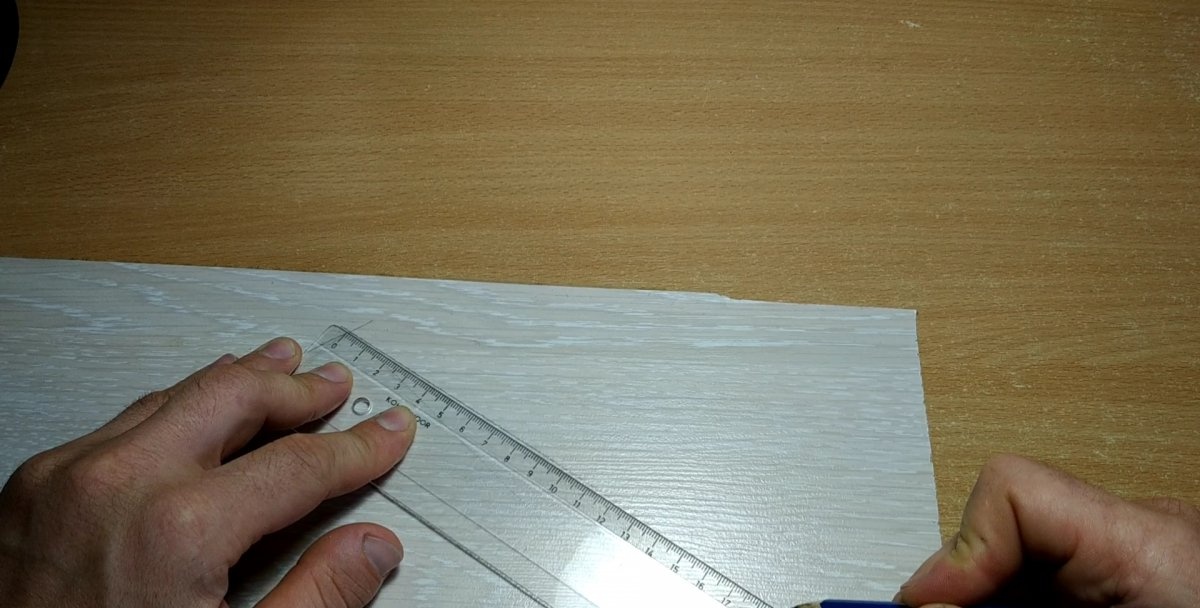
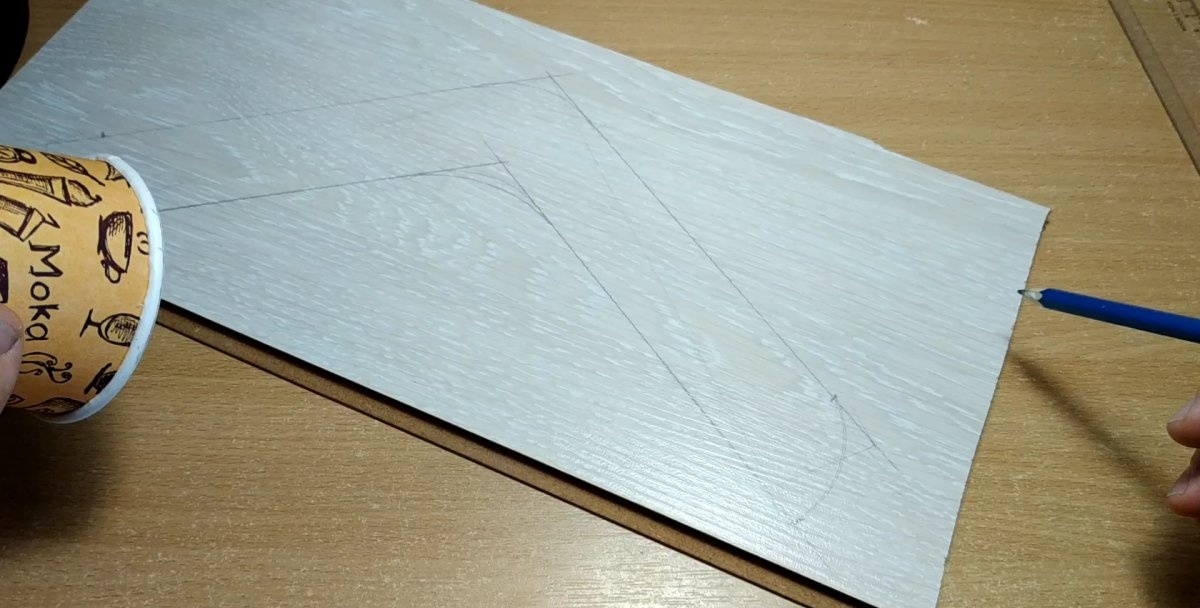
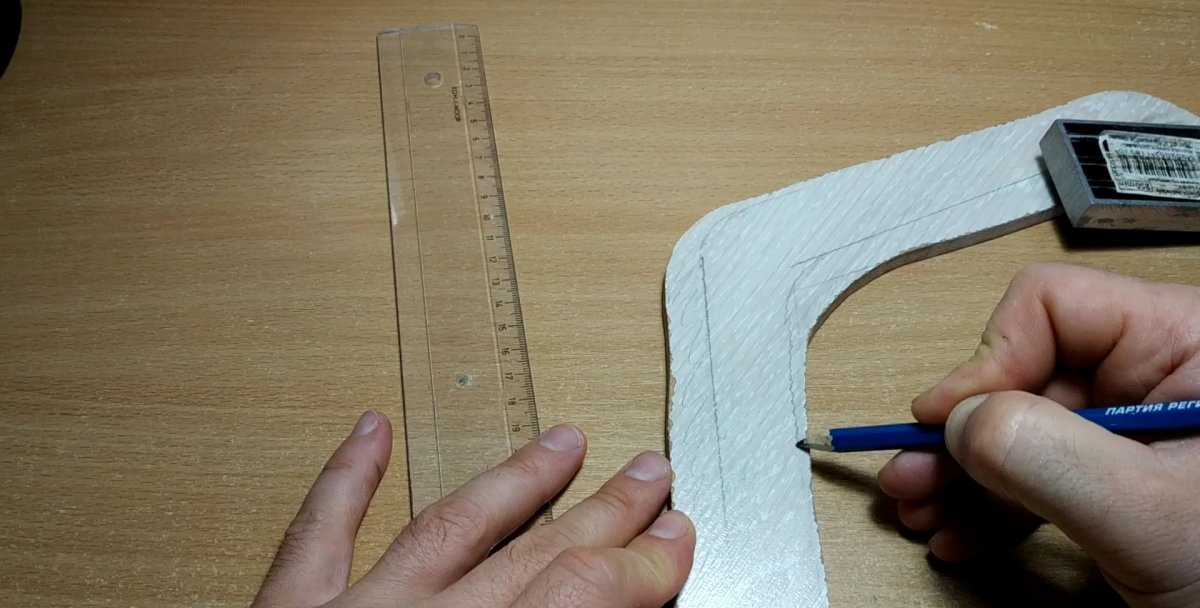
To form the inner part of the boomerang, you should retreat 5-6 cm from the drawn line and draw parallels.
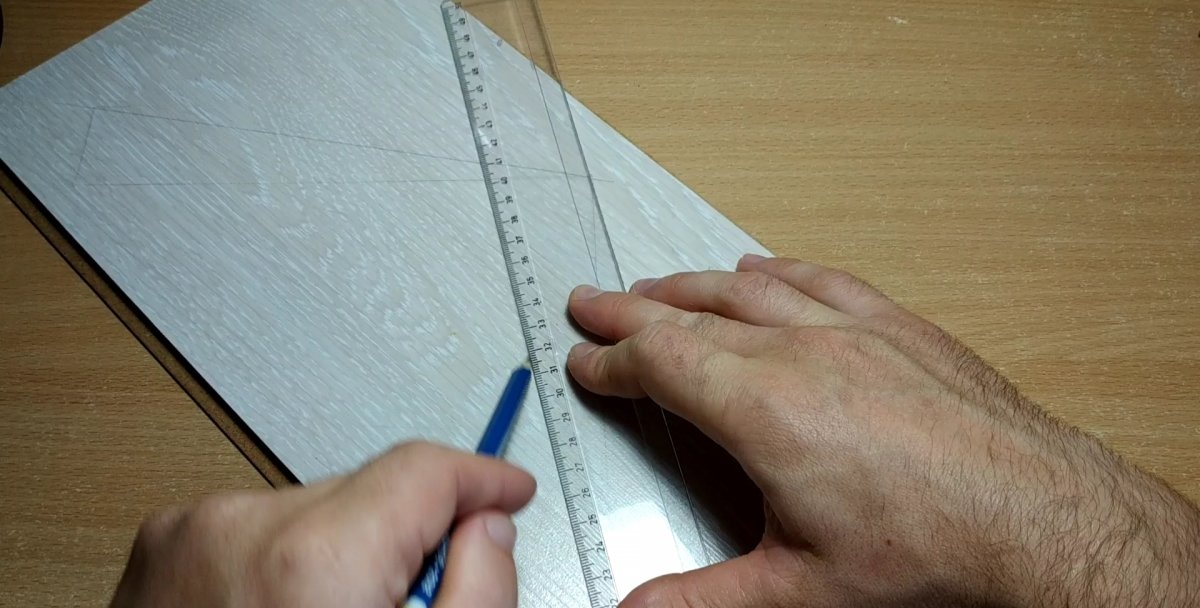
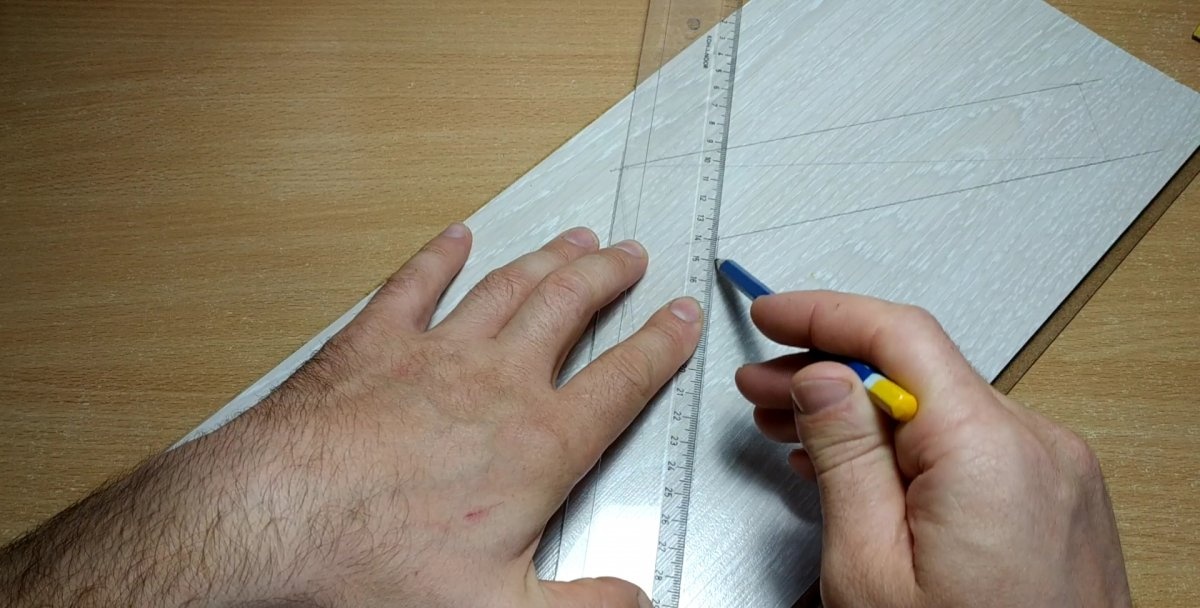
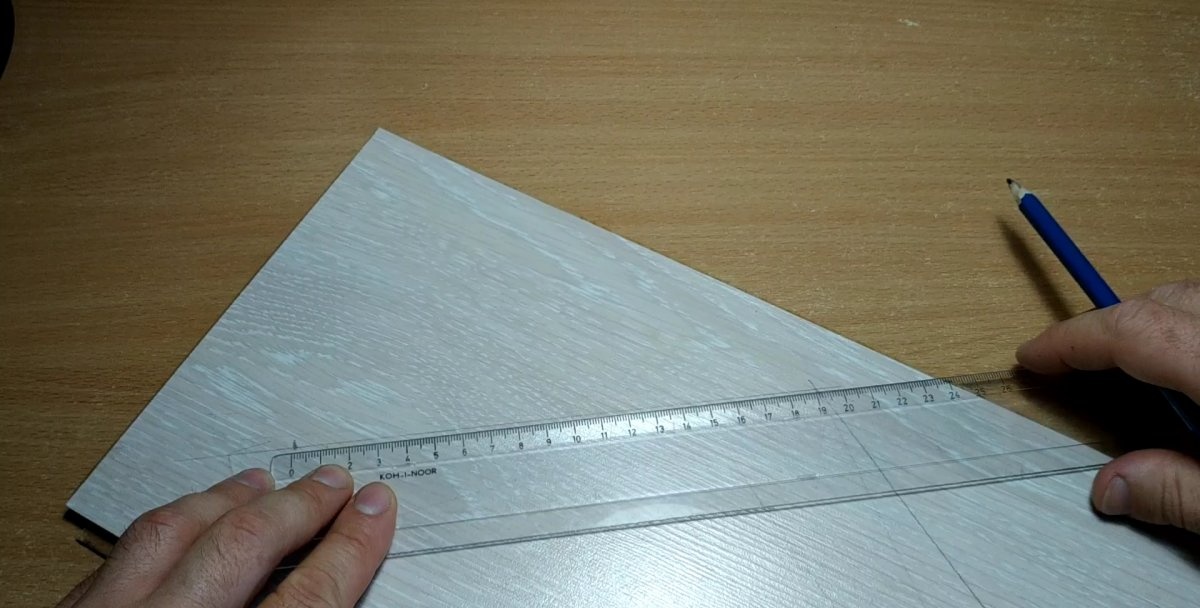
Now we need to find out how long each side of the boomerang will be; to do this, we need to attach a ruler to the inner lines and measure the distance to the edge of the board. In my case it turned out to be 19 cm from the center to the edge.
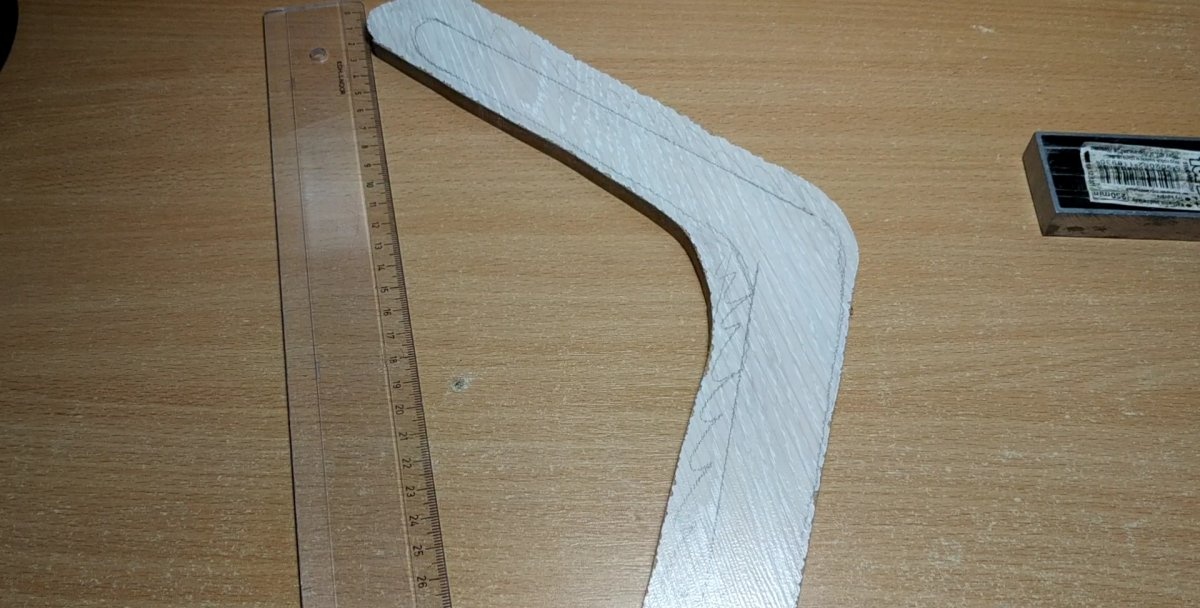
We make marks 19 cm from the center on all four lines.
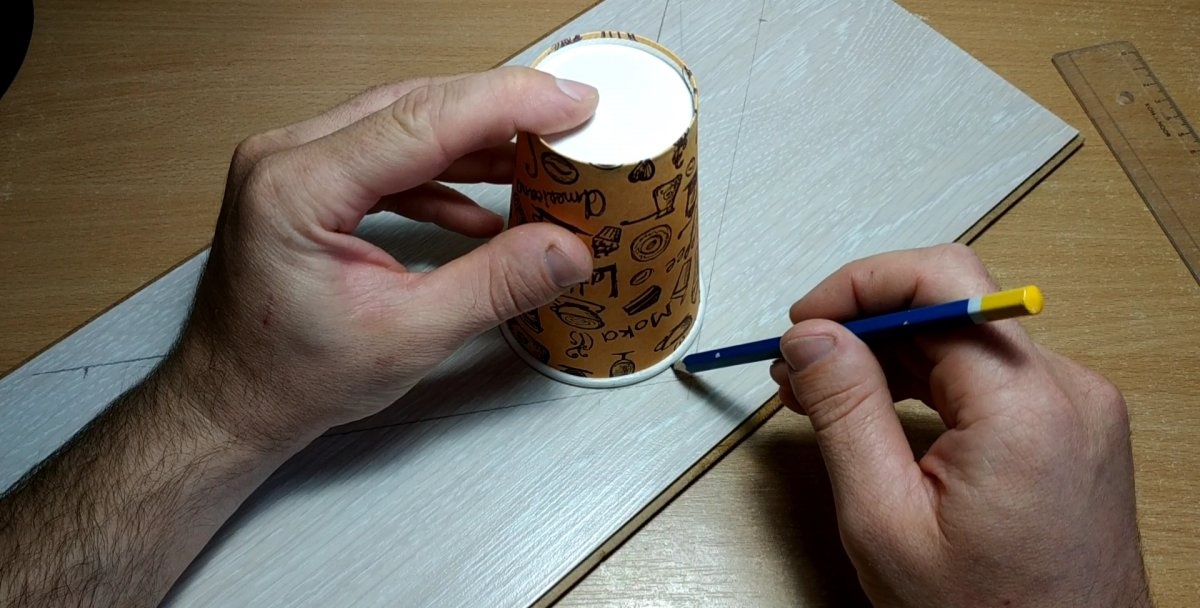
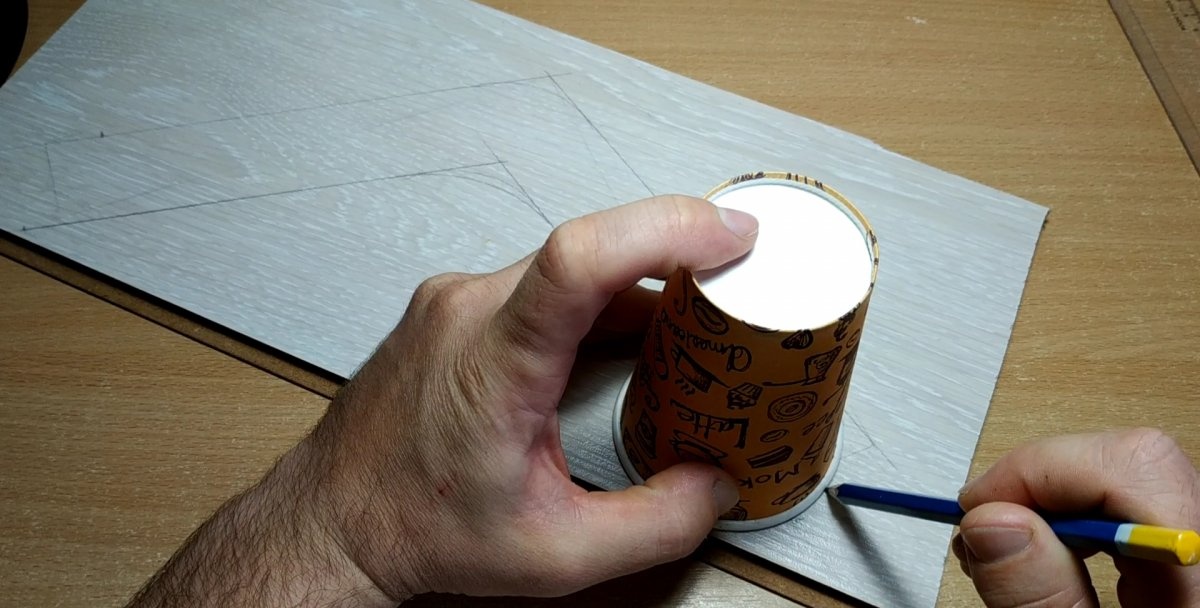
Now you need to round off the central part, as well as the edges of the boomerang. To do this, I use a special tool in the form of a coffee cup. The diameter of the cup is 8 cm.
For the inside of the boomerang, the circumference of the cup was not enough, so I had to use another special tool.

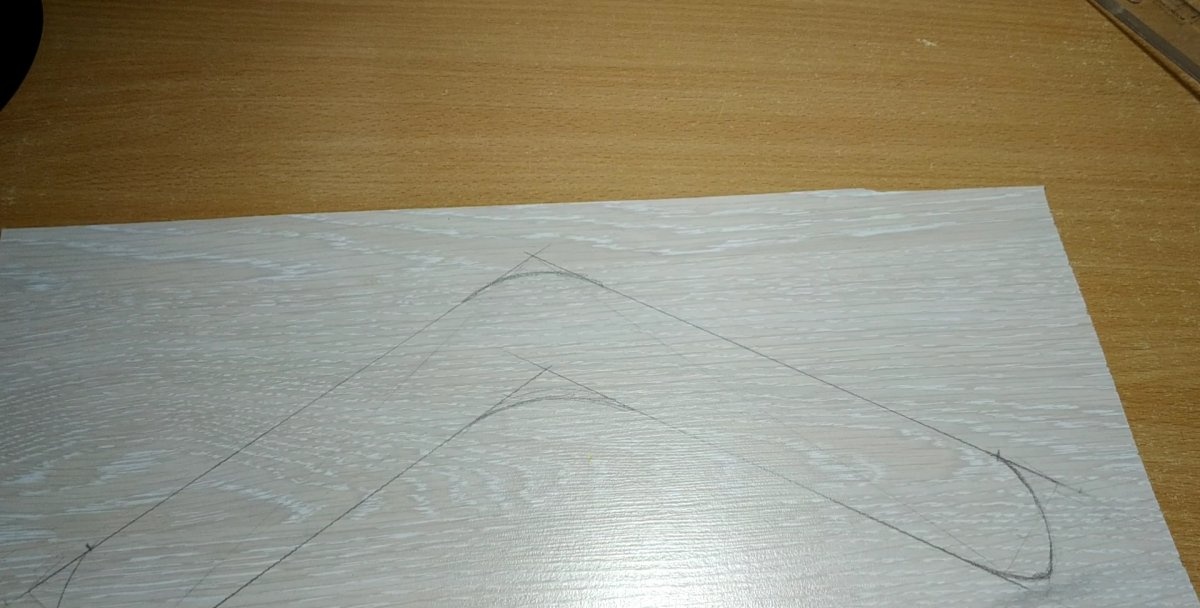
We do the same with the edges, just put the glass on the marks and trace it.
The final shape of the edges can be drawn freehand.

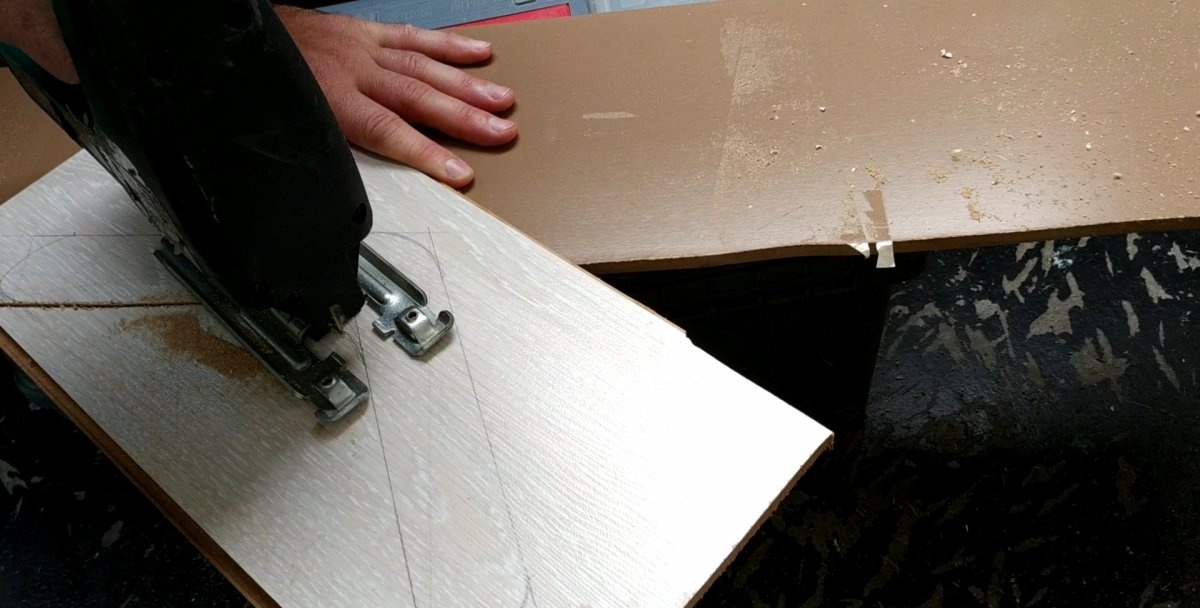
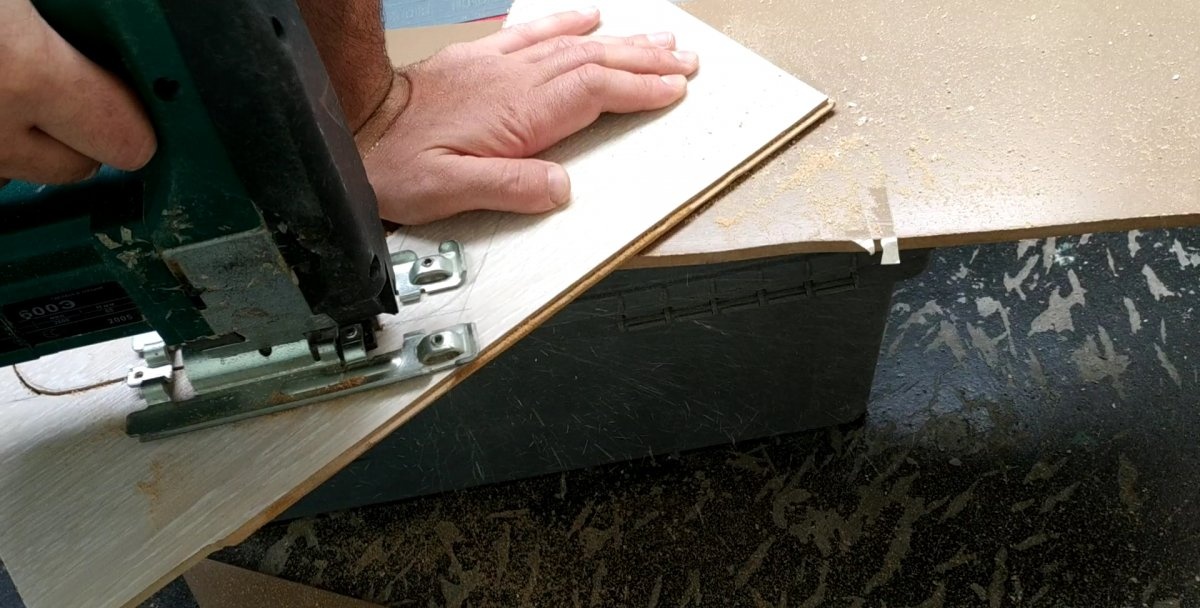
Now we can cut out our toy. I used a jigsaw for this, but you can also use a regular jigsaw or file.
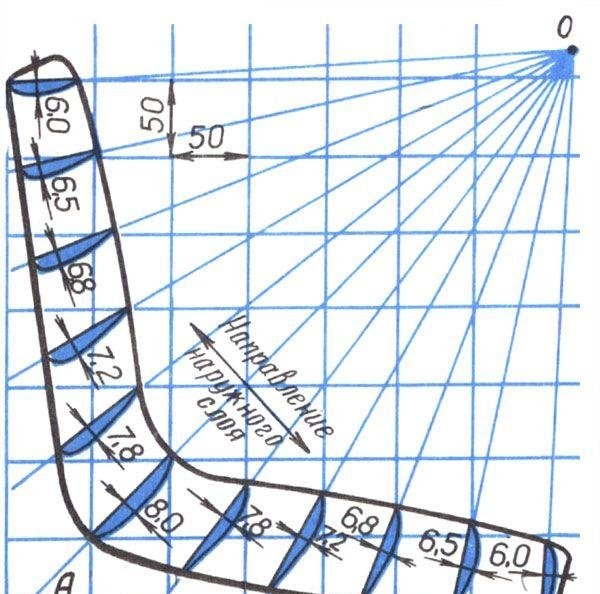
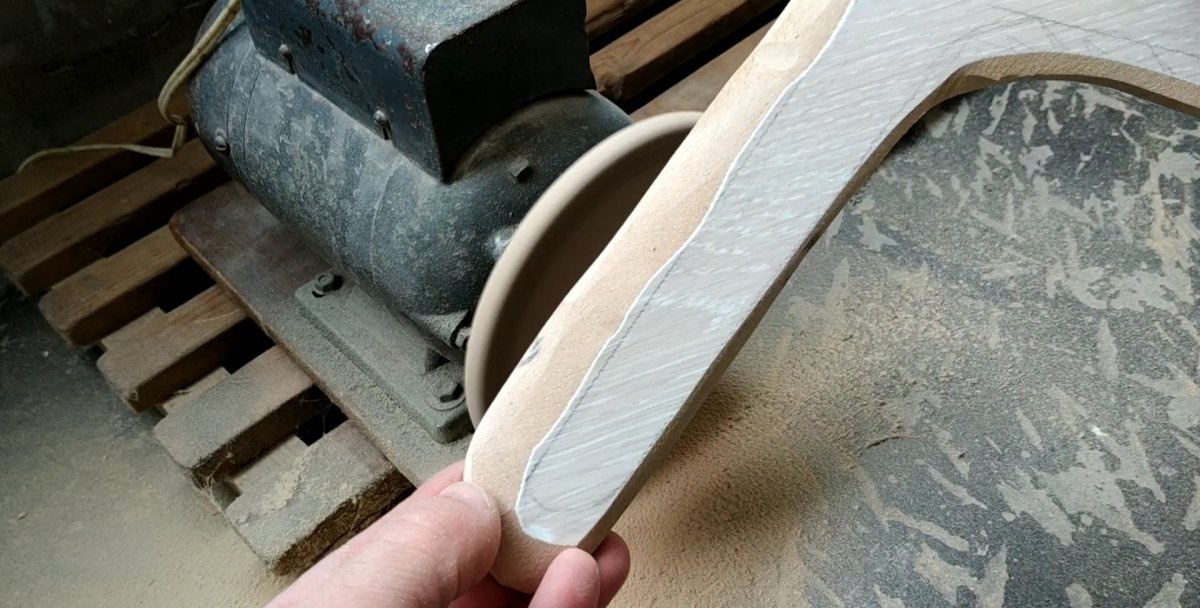
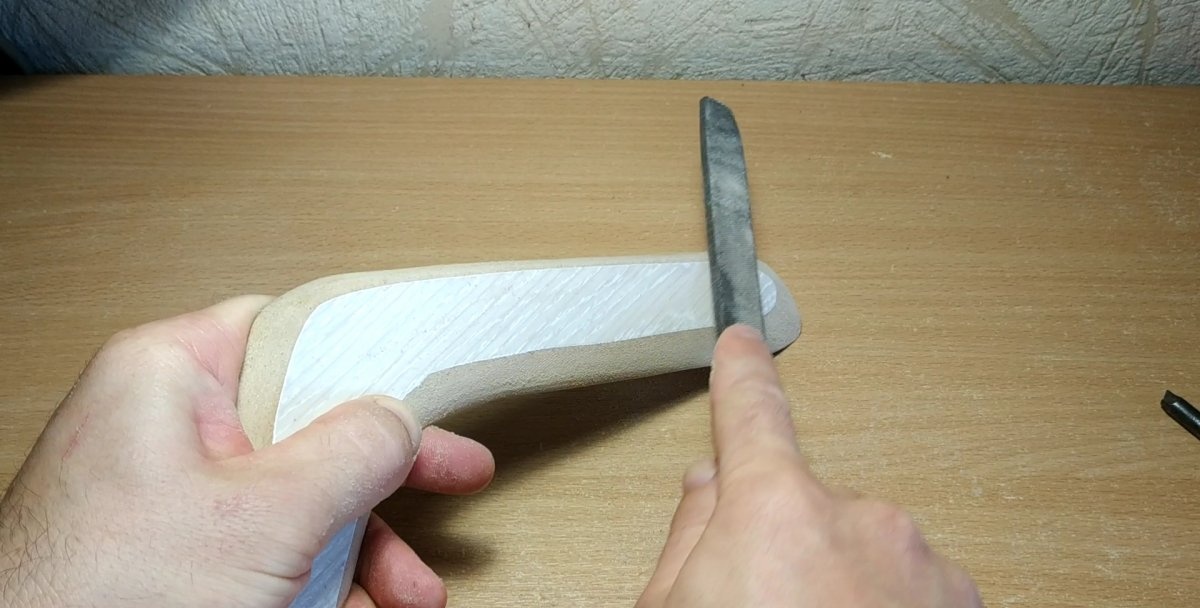
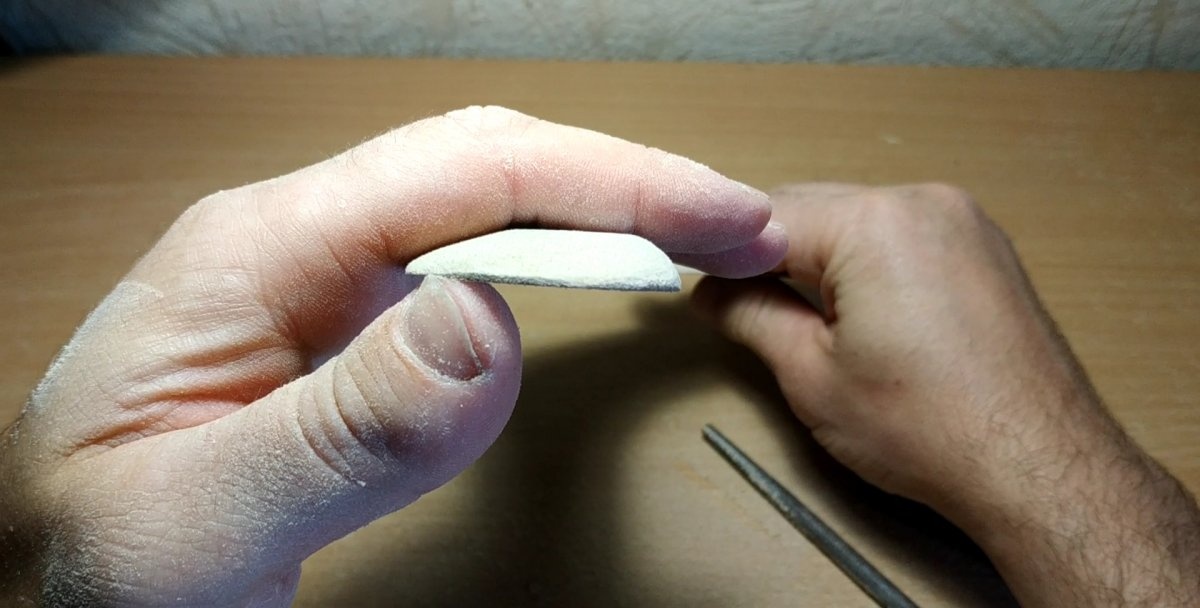
In order for our boomerang not only to fly, but also to return, its blades need to be given a wing profile, I used this scheme.
The point is that on one blade you need to grind off the inner part and on the other blade the outer part. To do this, I again armed myself with a ruler and a pencil and began to draw. It is worth noting that I did everything by eye.
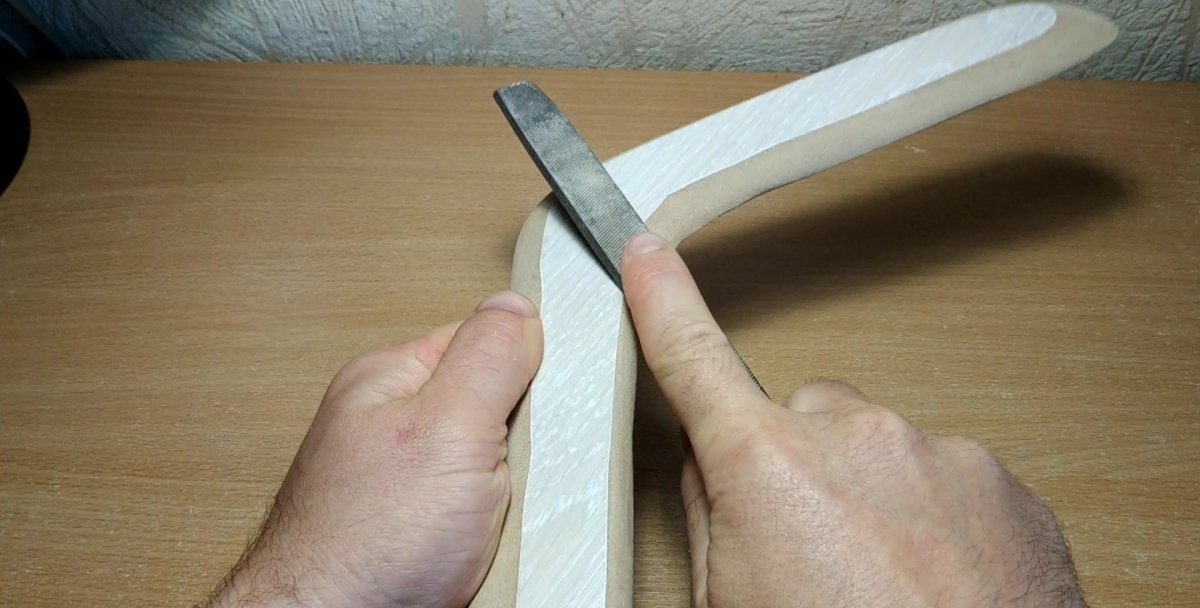
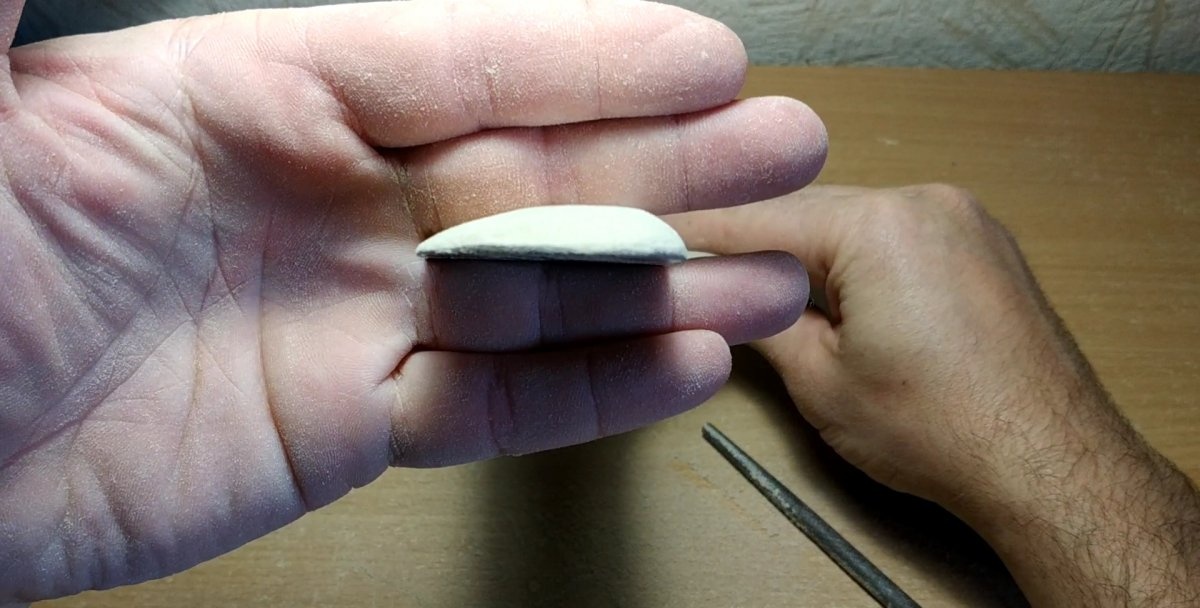
Now we need to grind off all the excess, you can use a regular file for this, but I have emery on my balcony, why not speed up the process?
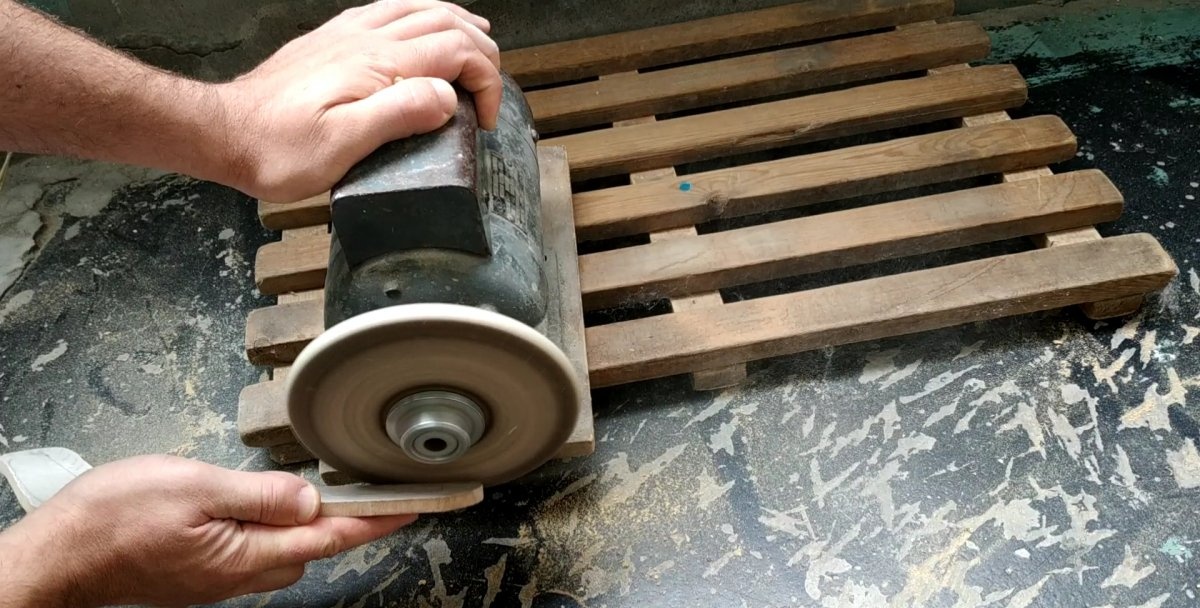
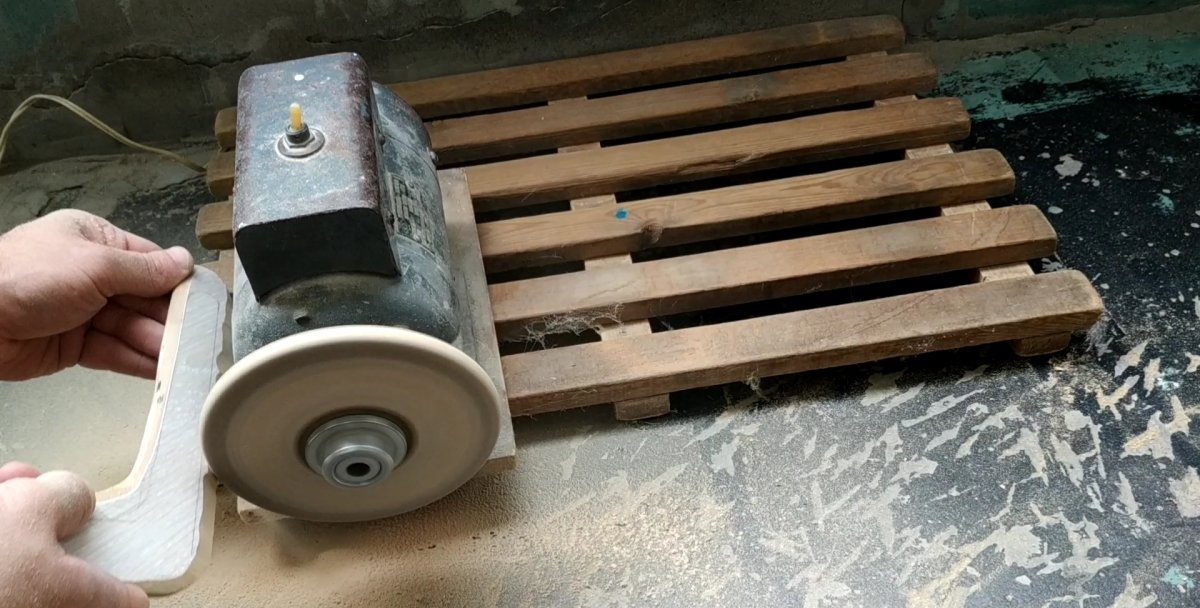
Once the bulk of the material has been removed, the final profile will need to be shaped using a file.
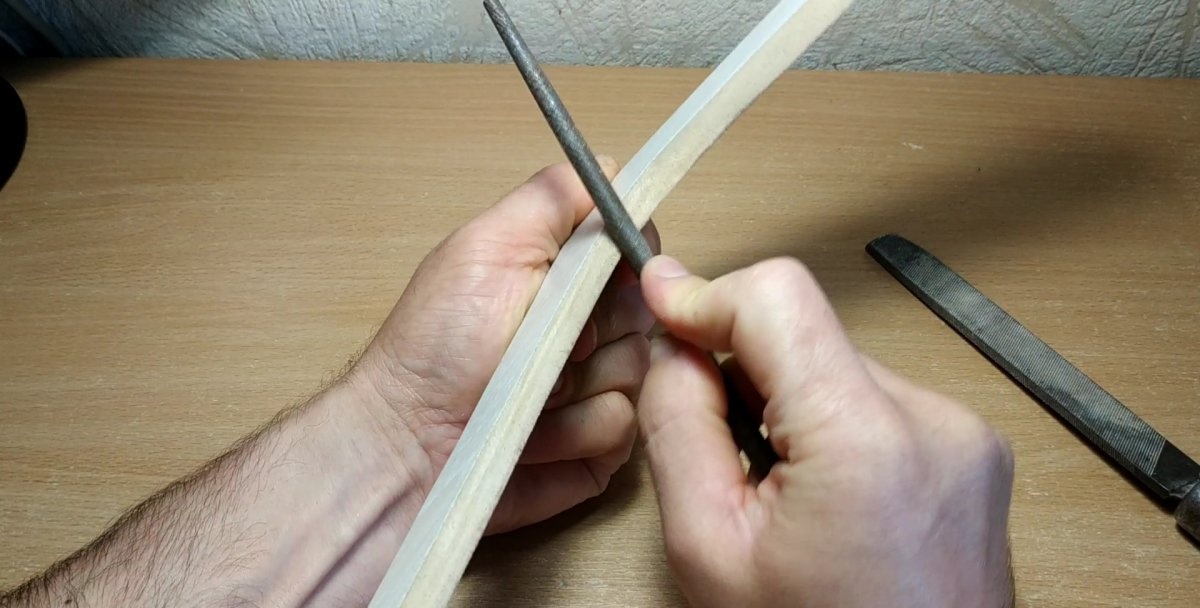
And don't forget about the wing profile.
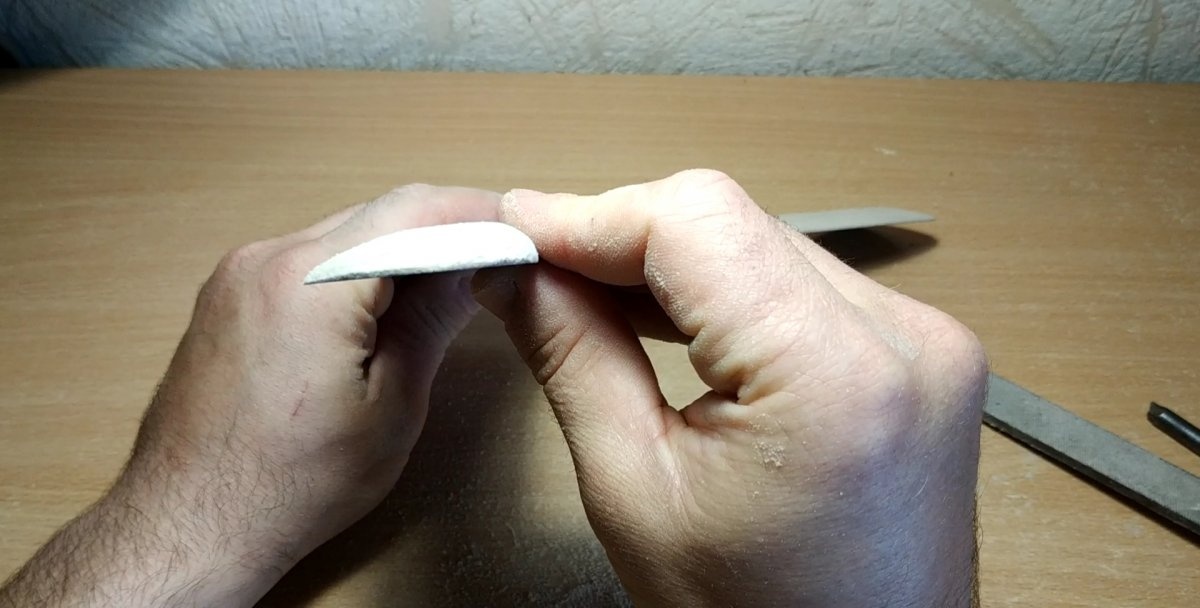
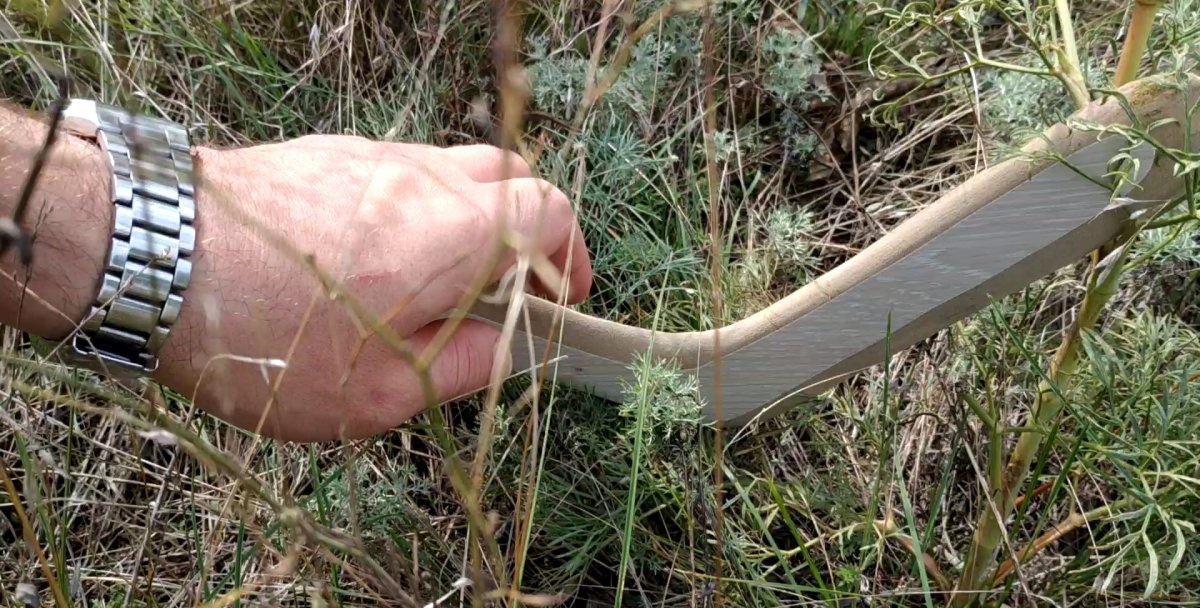
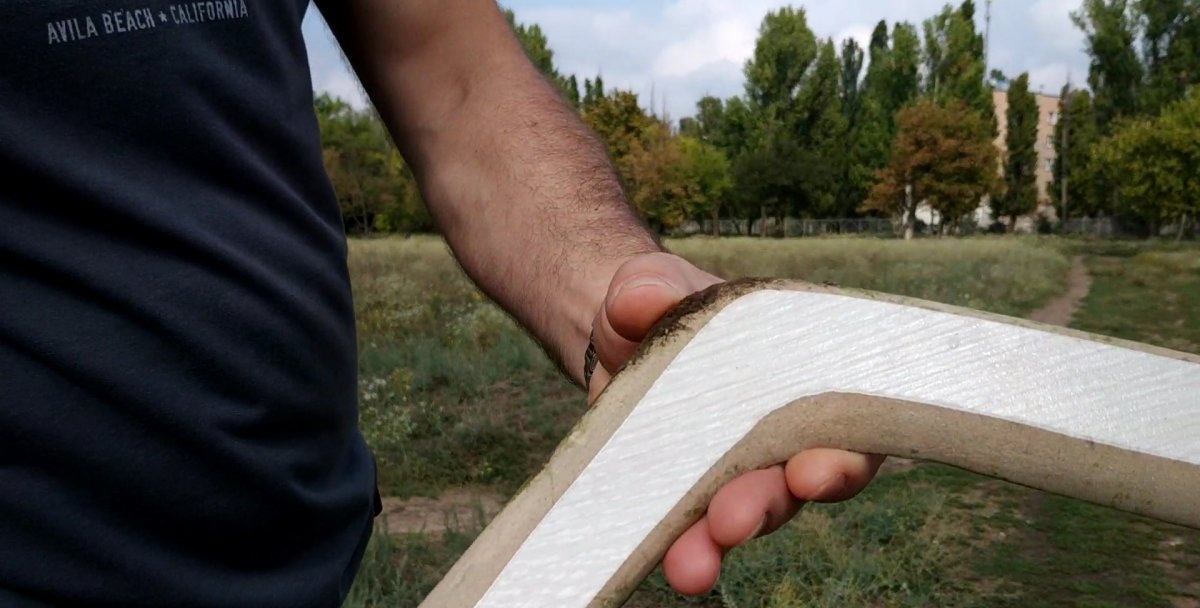
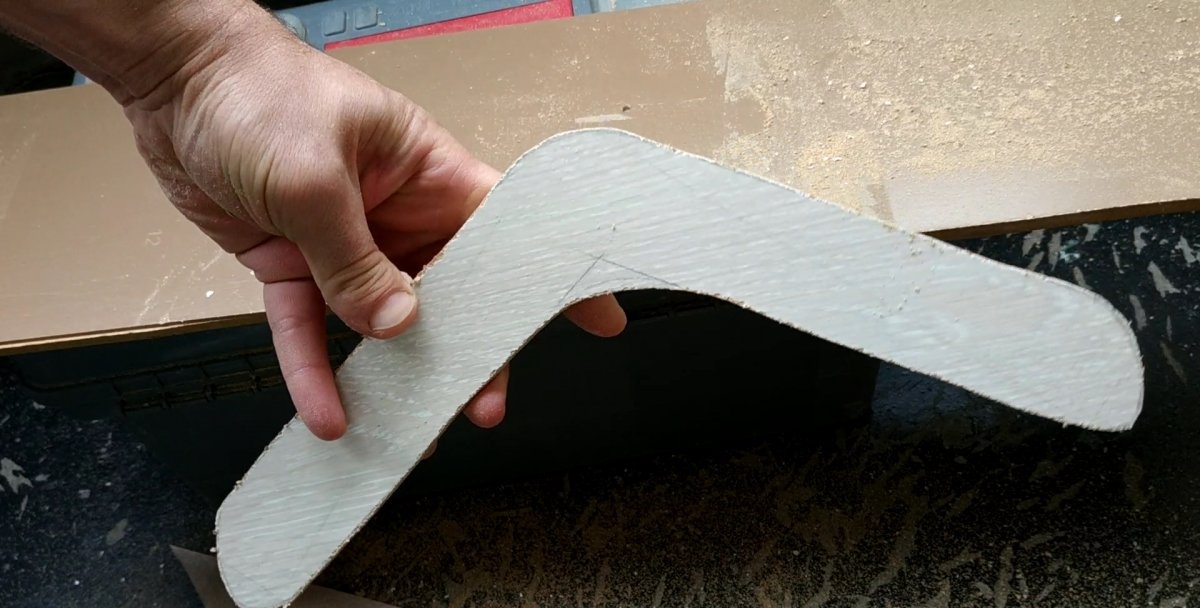
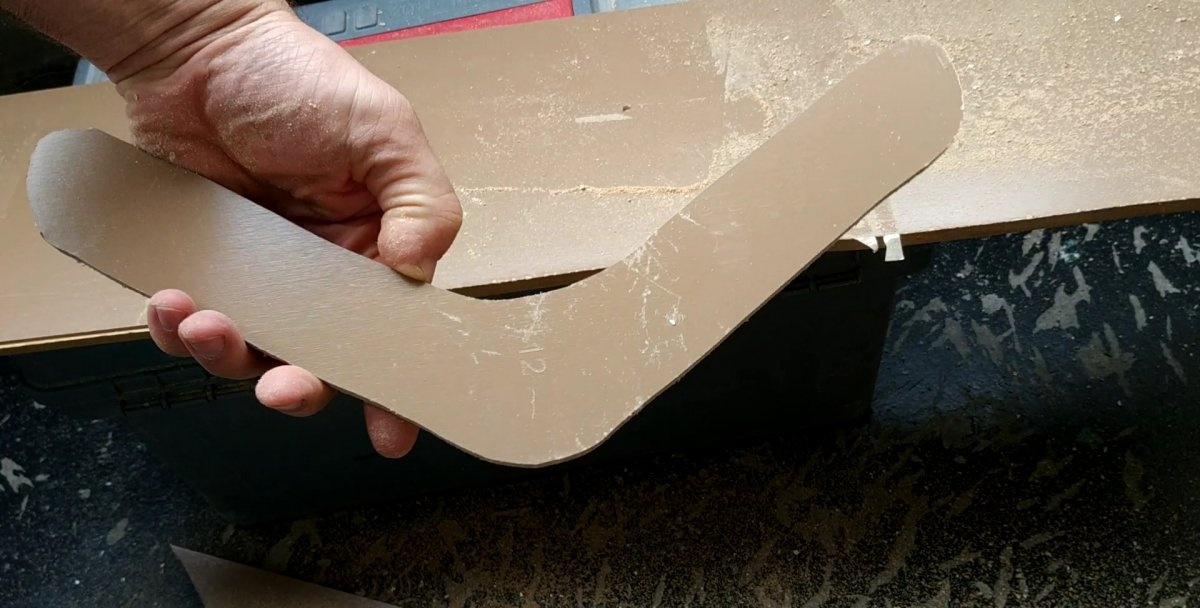
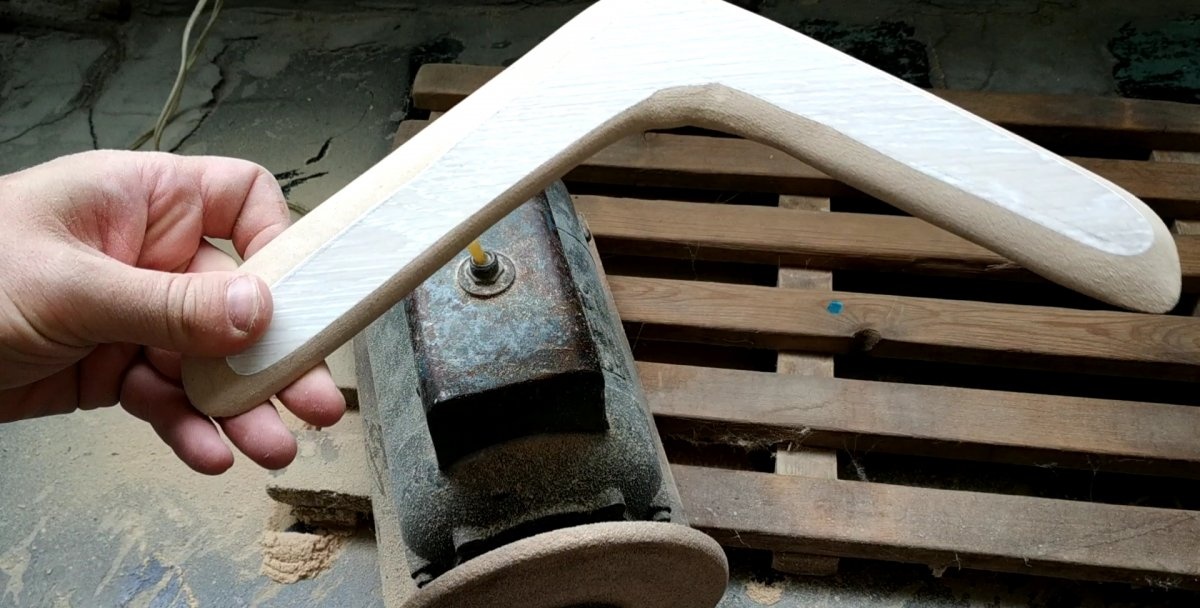
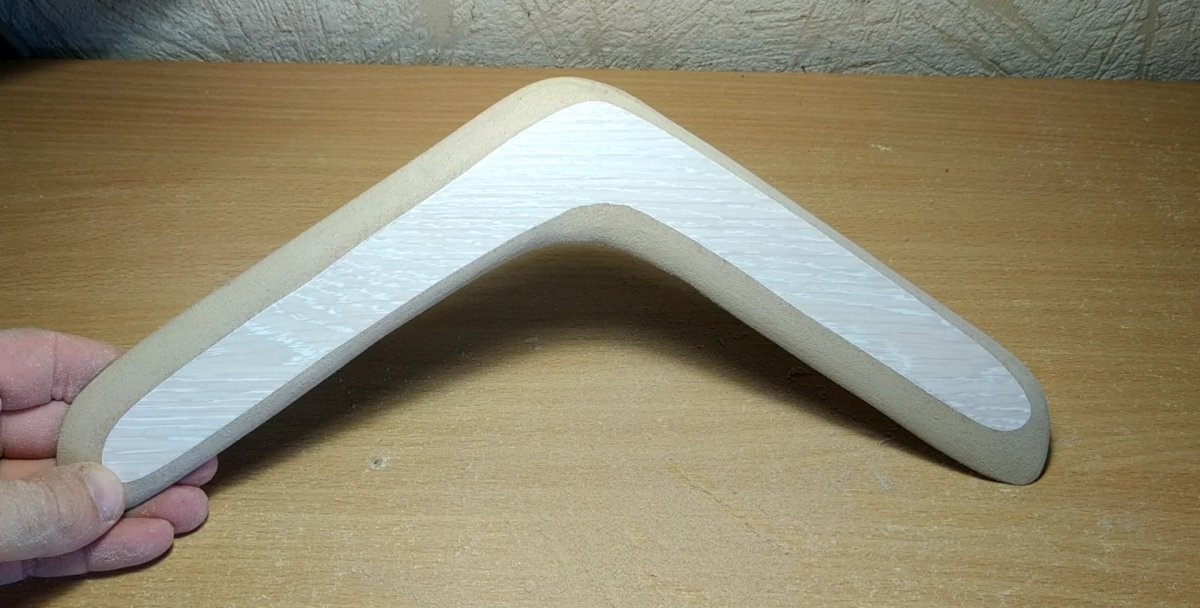
That's probably all, the boomerang is ready, all that remains is to check how it flies.
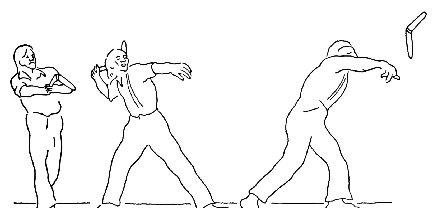
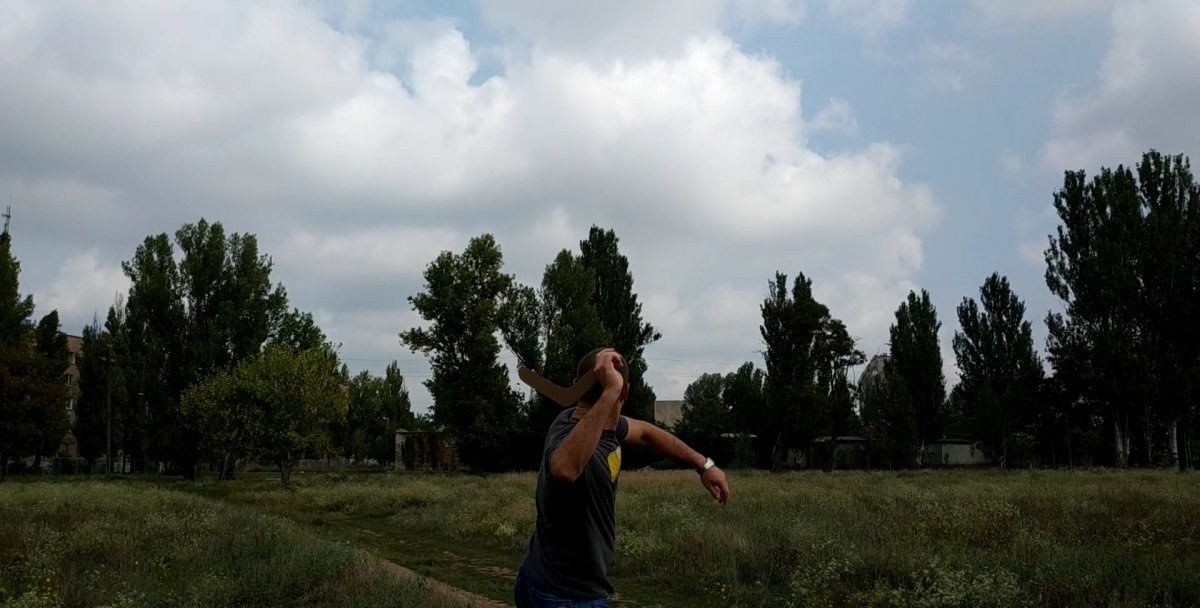
It is worth noting that in order for the boomerang to return, you need to be able to launch it correctly. The boomerang should be launched in a vertical position with the right hand, with a swing from behind the head, and it should be held so that the convex part of the boomerang is on the side of the thumb.

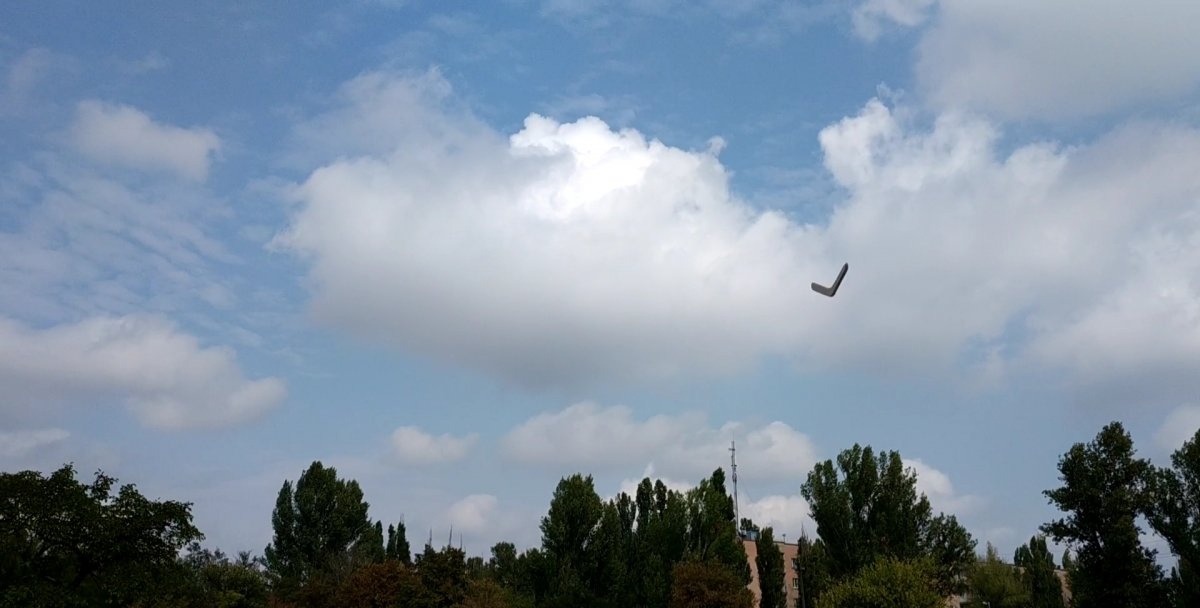
It is worth saying that playing with a boomerang takes a long time; you can spend more than one hour outdoors playing with this toy, but be extremely careful not to injure yourself and others. It is better to launch a boomerang in open, uninhabited places.
This boomerang successfully passed the most severe tests, it hit trees, got stuck in the ground, got lost in the grass, but remained unbroken.
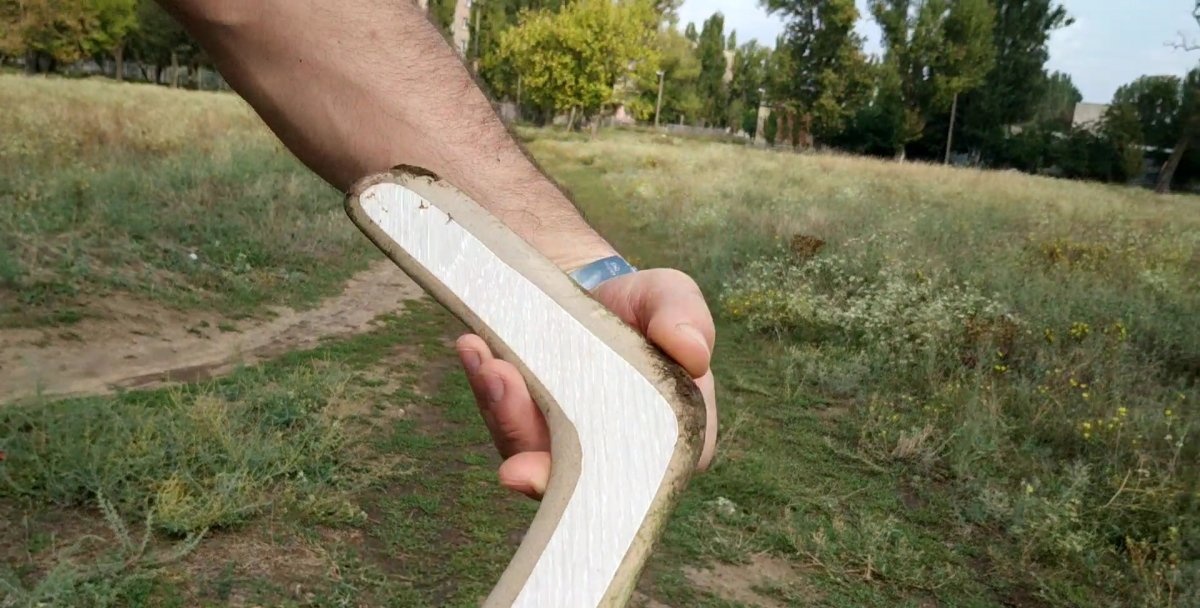
I would like to add one more piece of advice: when you make this toy for yourself, don’t be lazy and paint it in bright colors, because finding a boomerang in the grass can sometimes be very difficult.