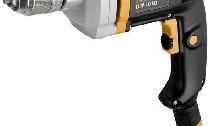
A more affordable tool for many amateur craftsmen is an electric drill - a fairly compact device, convenient to use and affordable.
The main purpose of this device is to drill and drill holes in various materials. But there are many home-made devices with which you can use the ordinary drill to perform milling operations on wood and wood materials.
Below we consider one of the possible options for such a device, almost completely made of wood. Let's see what tools we need for this?
Necessary tools and materials
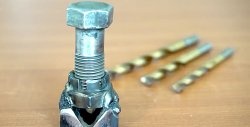
As a drive for almost all the tools we use, there will be a drill, for which we make a device for milling operations. We will need the following instrumental positions:
- circular drill ("ballerina");
- twist drill;
- feather drill (“feather”);
- core drill ("crown");
- hacksaw for metal;
- sandpaper;
- milling heads;
- ruler and marker;
- clamps.
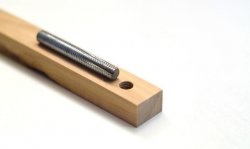
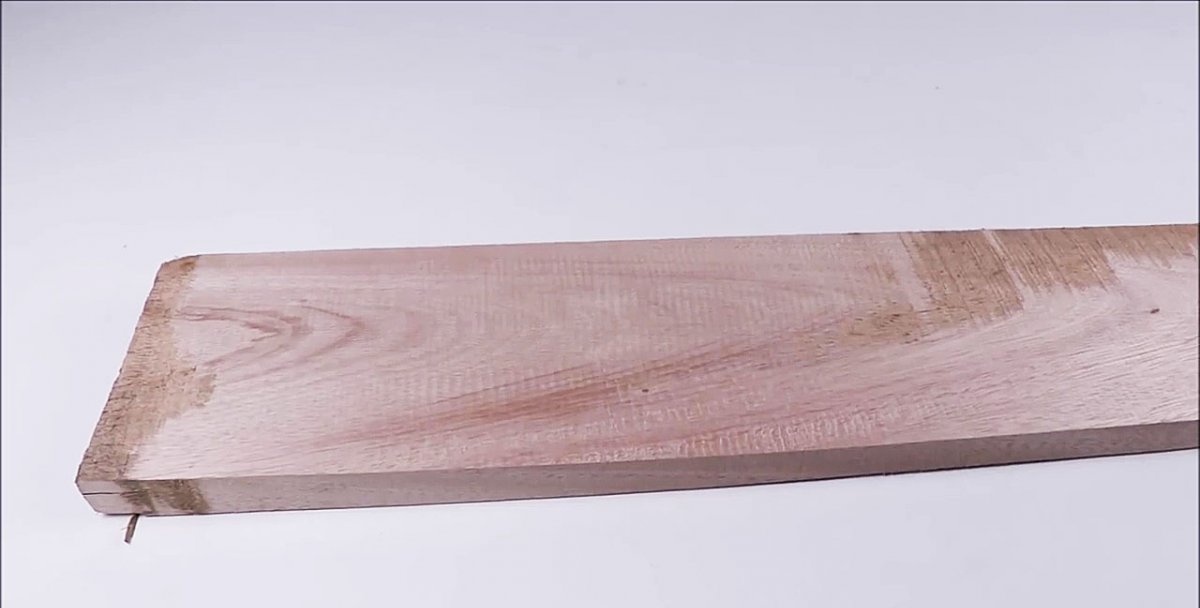
As a blank for the manufacture of fixture parts, we use a piece of hardwood board (oak, beech, birch, etc.) with a thickness of 25-30 mm. Also, for fastening the elements of homemade work, we need screws (screws), bolts and nuts of the corresponding diameter and length.
Making a device for milling with a drill
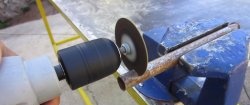
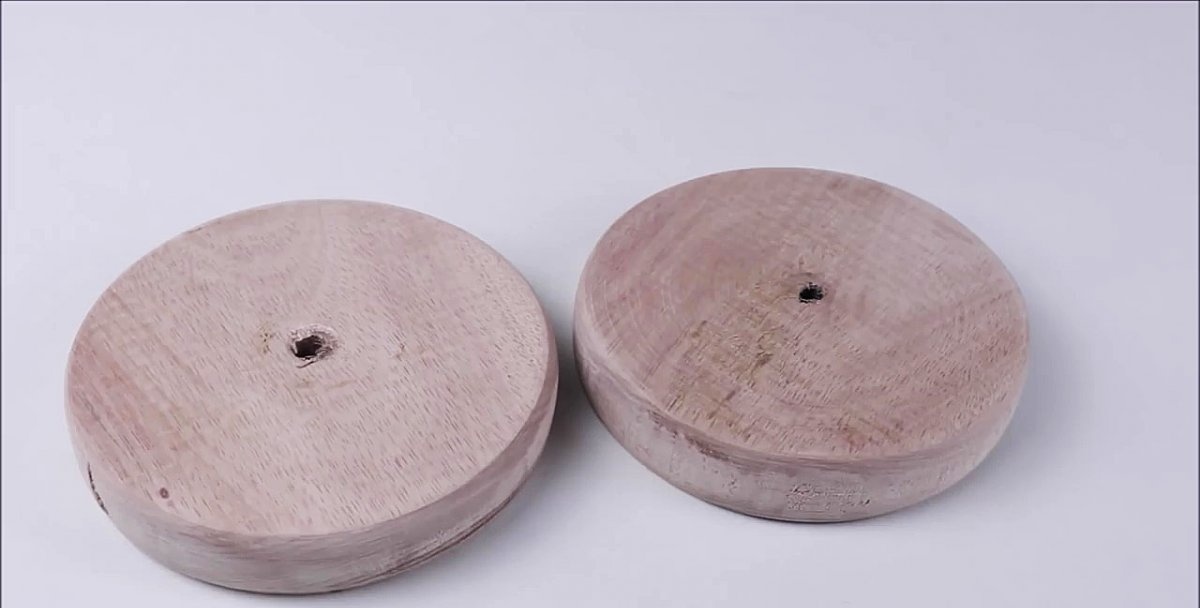
Without swinging, we get to work. We lay the blank board on a flat base. We fix the shank of the circular drill in the drill chuck and cut one after another two circles of the required diameter (100-120 mm).
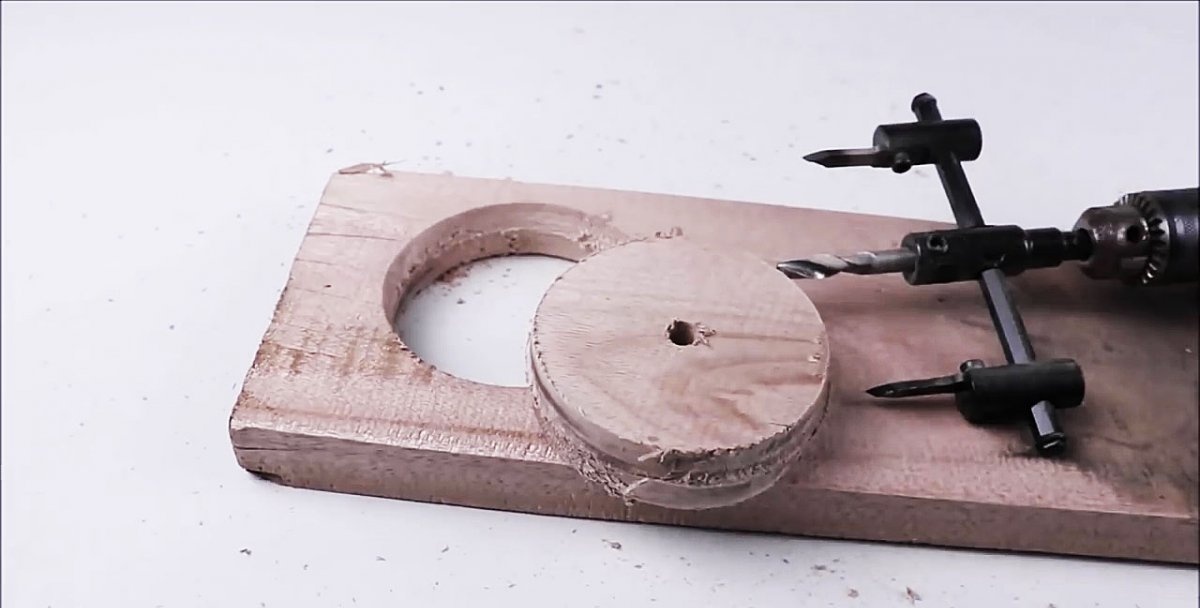
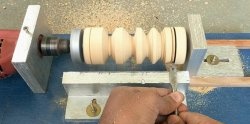
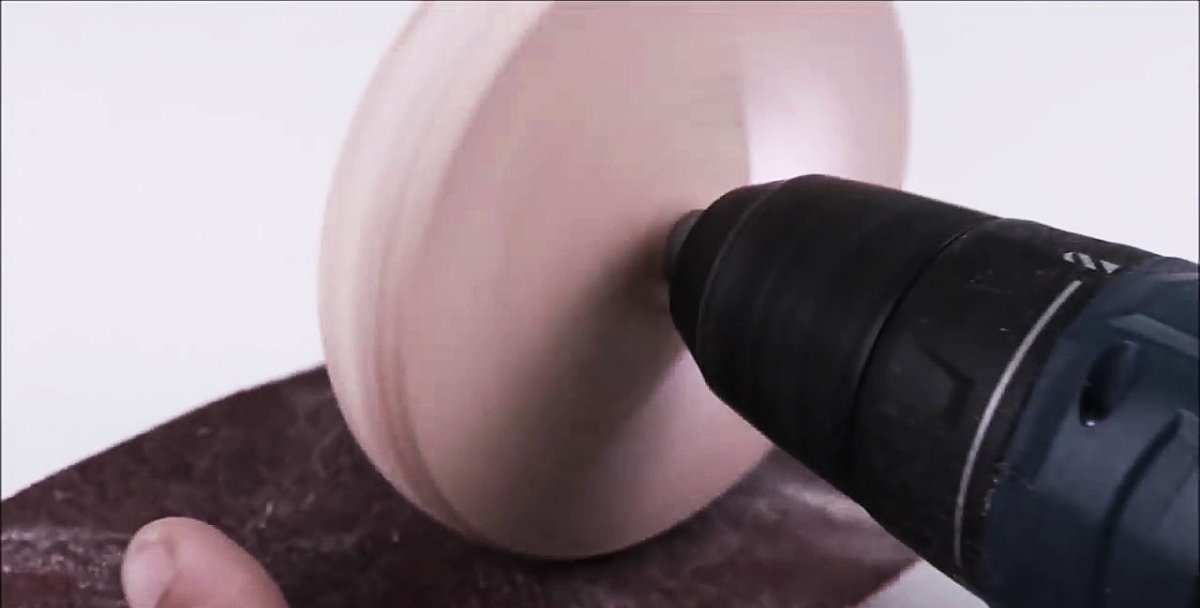
We put each of the cut circles in turn on the mandrel, fix it in the drill chuck, turn it on and use the sandpaper to grind the wooden discs.
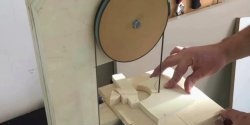
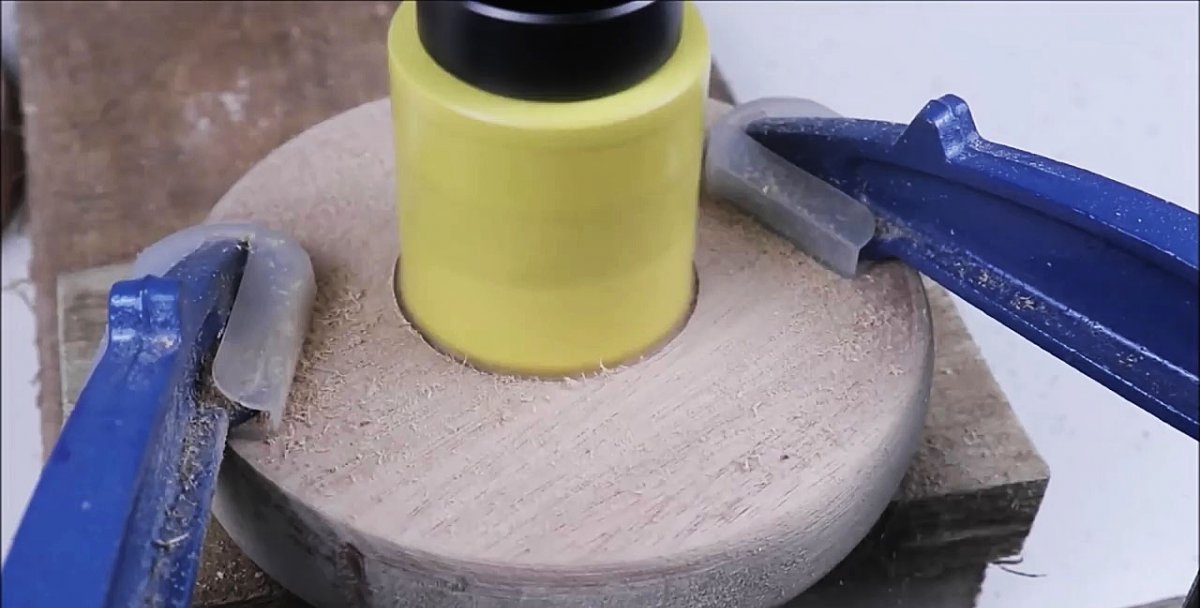
We fix the circles with clamps to a reliable base and, using a core drill, drill a hole in their center with a diameter equal to the size of the part of the drill body adjacent to the spindle (about 50 mm).
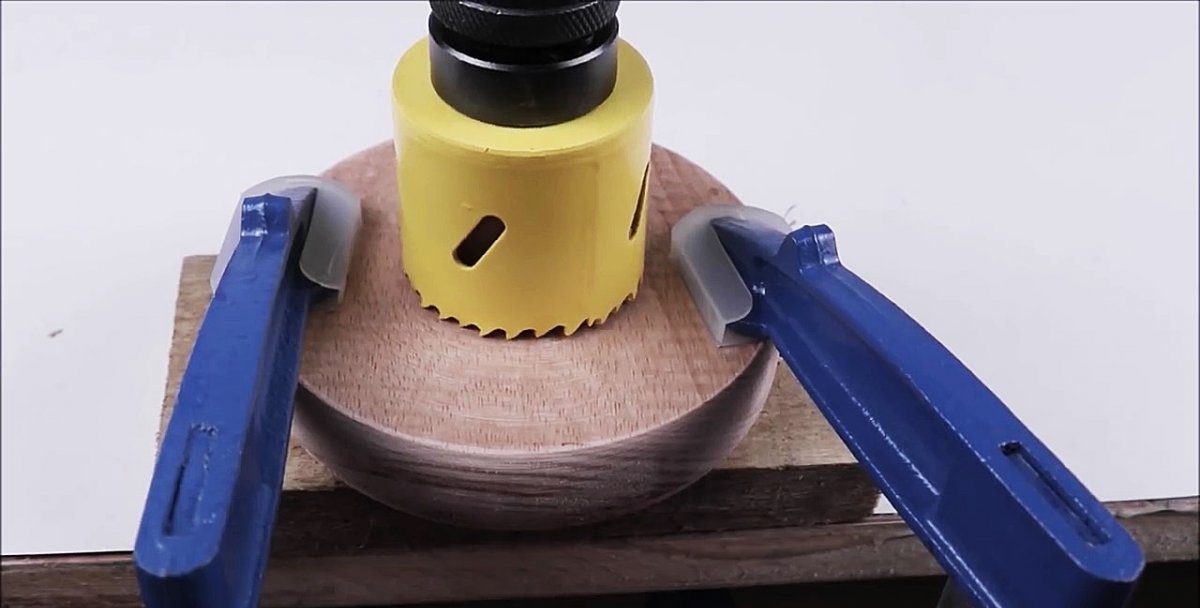
We also process the resulting holes with sandpaper.
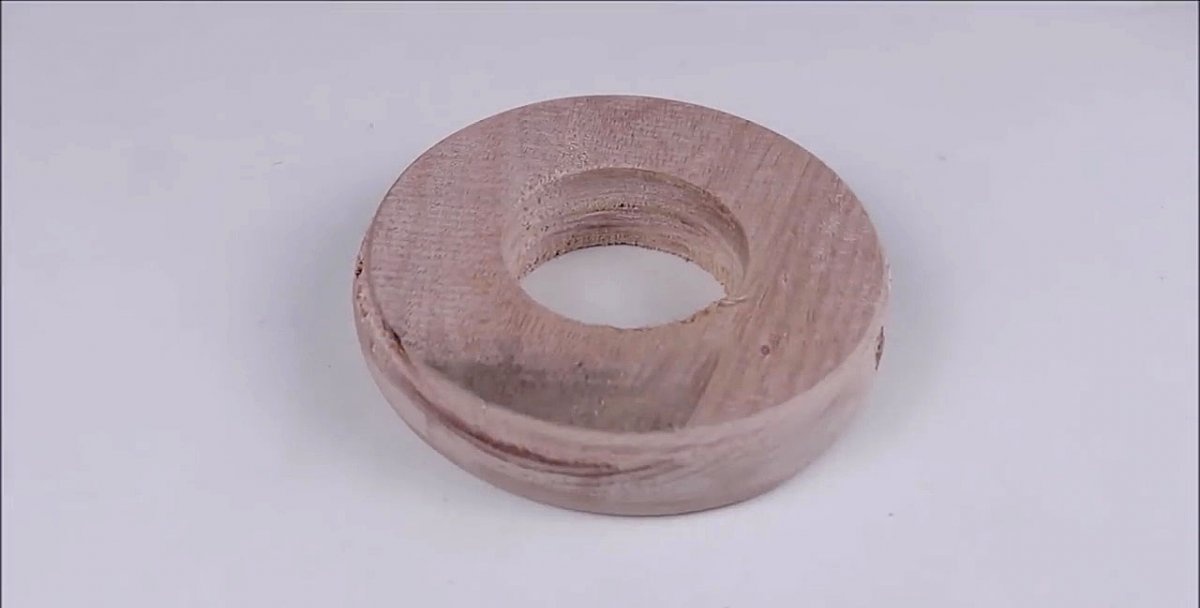
We make another hole under the neck of the drill.


We mark one of the disks so that we get four identical cutouts symmetrically located around the circumference.
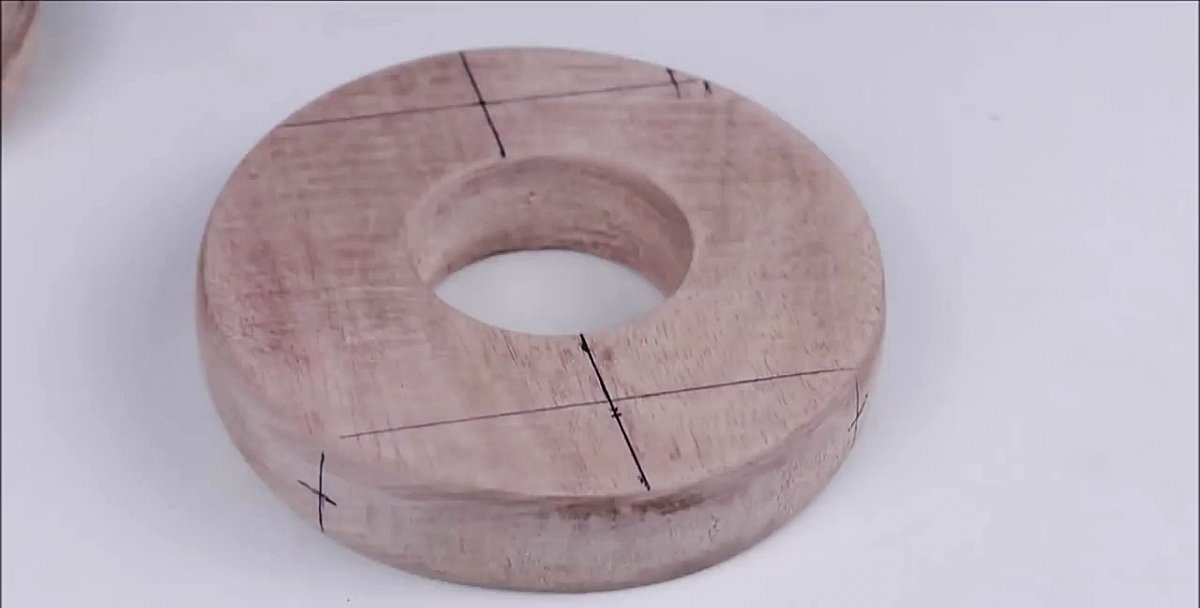
Moreover, the cutouts should be limited to perpendiculars that intersect not in the center of the circle. The marked elements are cut with a hacksaw.
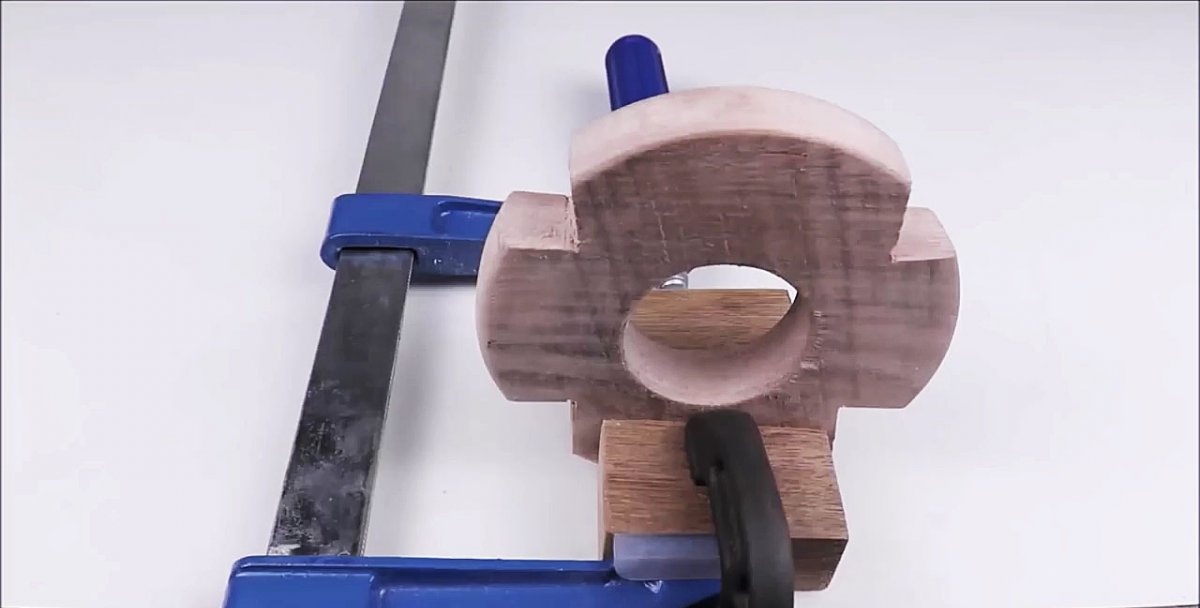
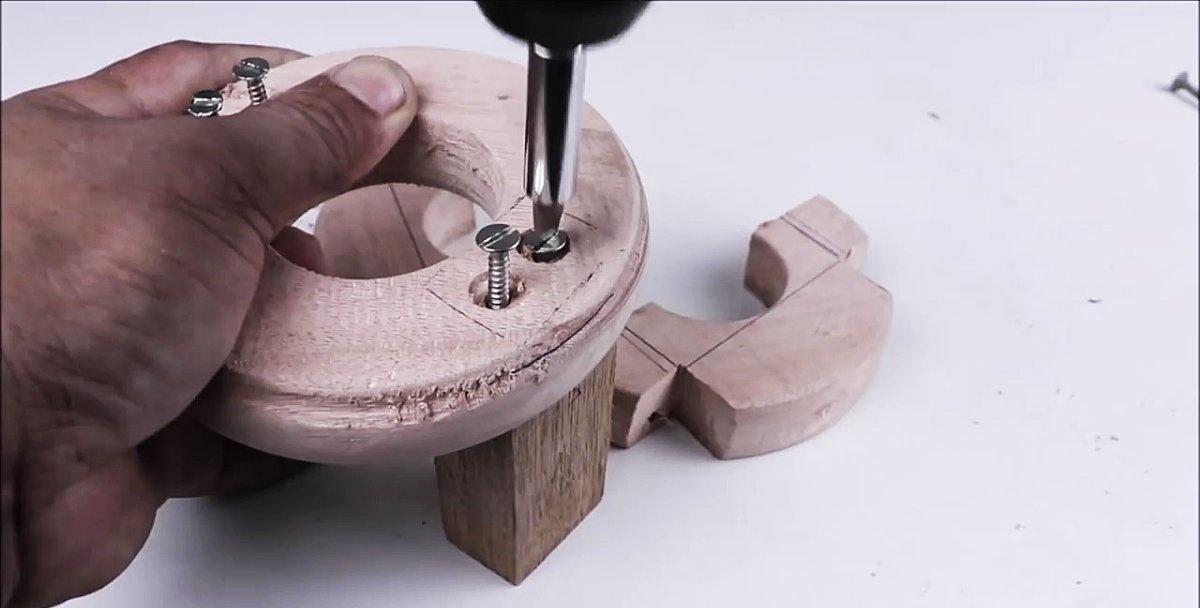
We fix the circle with cuts "on the edge" with clamps and on horizontal shelves we drill successively the recesses under the nuts and, as their continuation, through holes for the tightening bolts, respectively, using a feather and twist drill.


Next, we cut this piece into two symmetrical parts (halves) with a hacksaw.

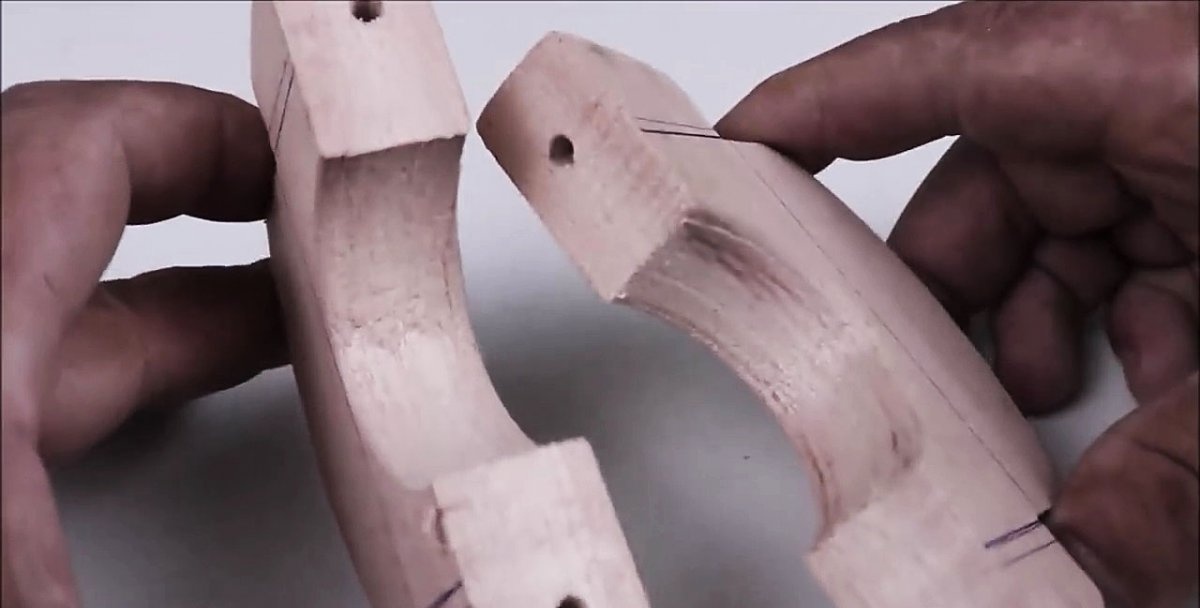
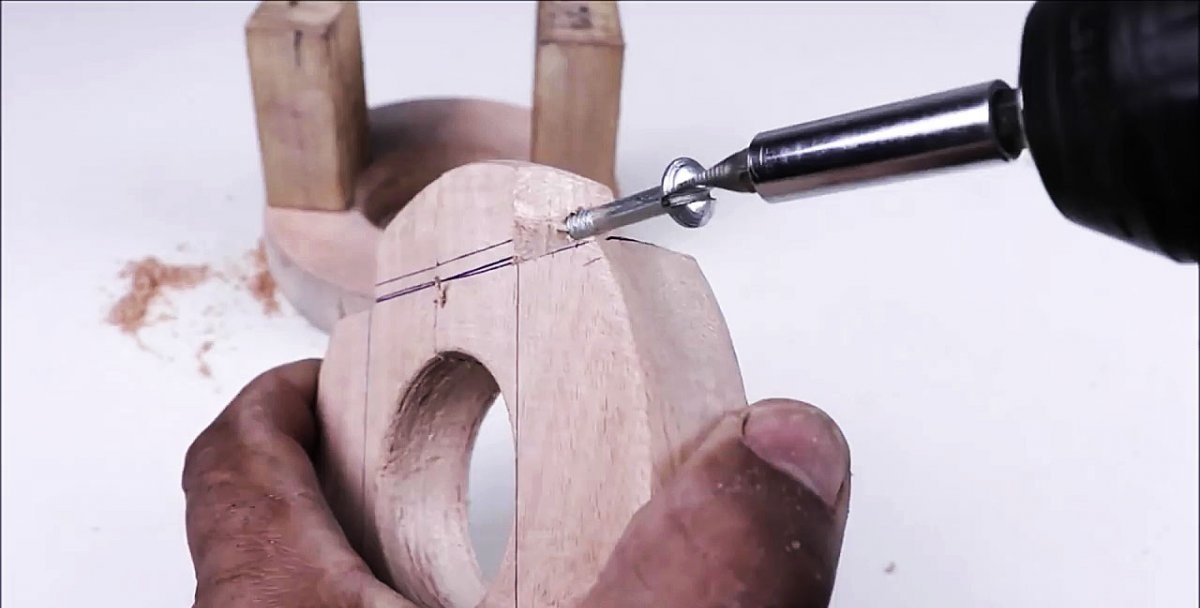
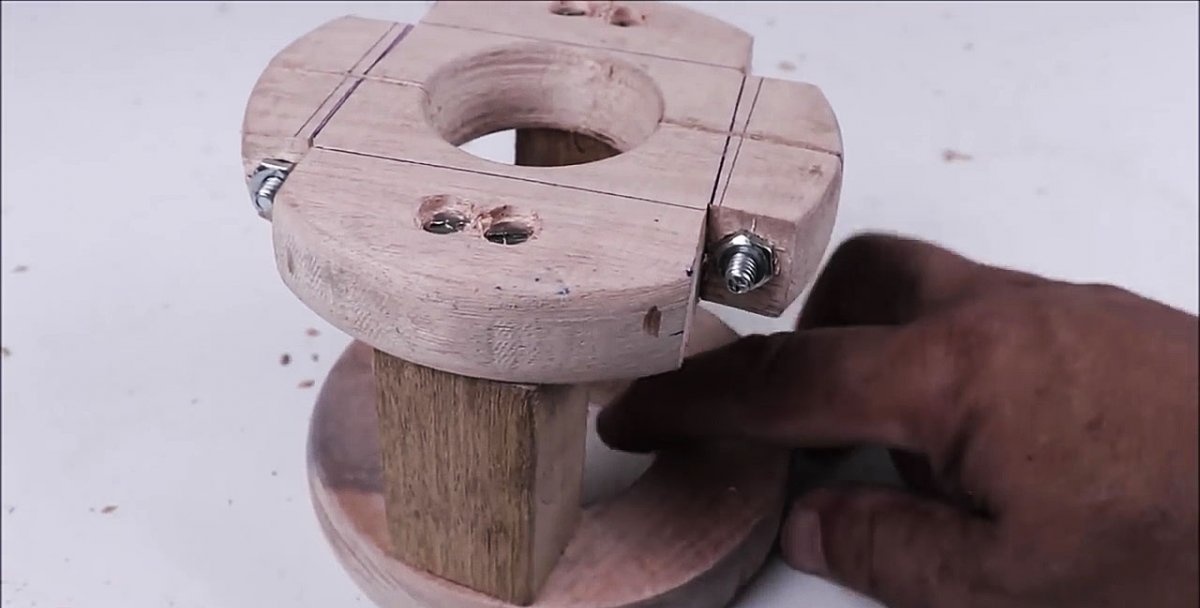
Using a pair of identical cubes of the necessary height and section, as well as the corresponding marking, we connect with the screws to the second circle.
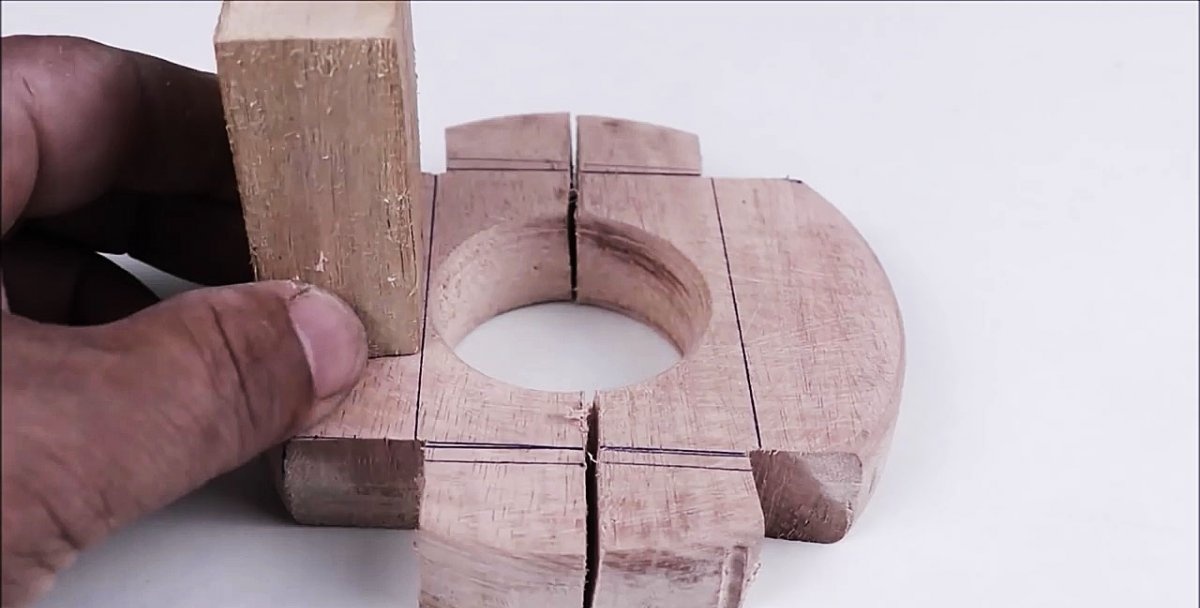

Pre halves of the circle with cutouts are tightened with bolts and nuts. We fix all the heads of the used hardware flush.
Top:
Bottom:
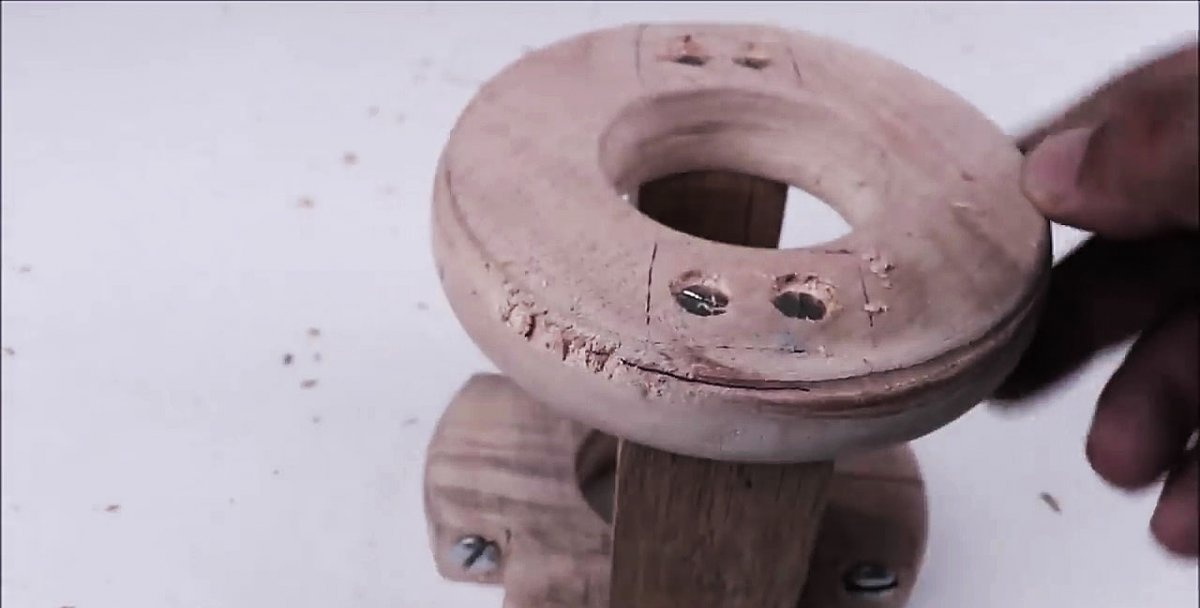
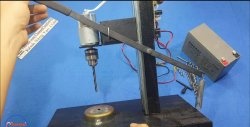
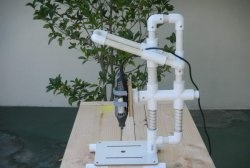
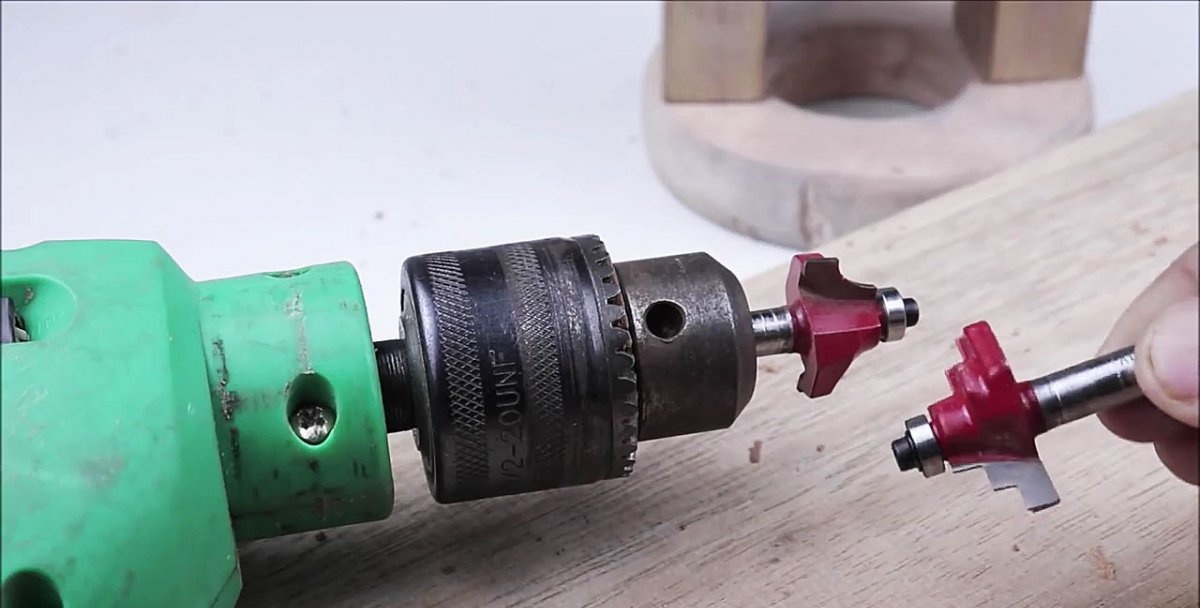
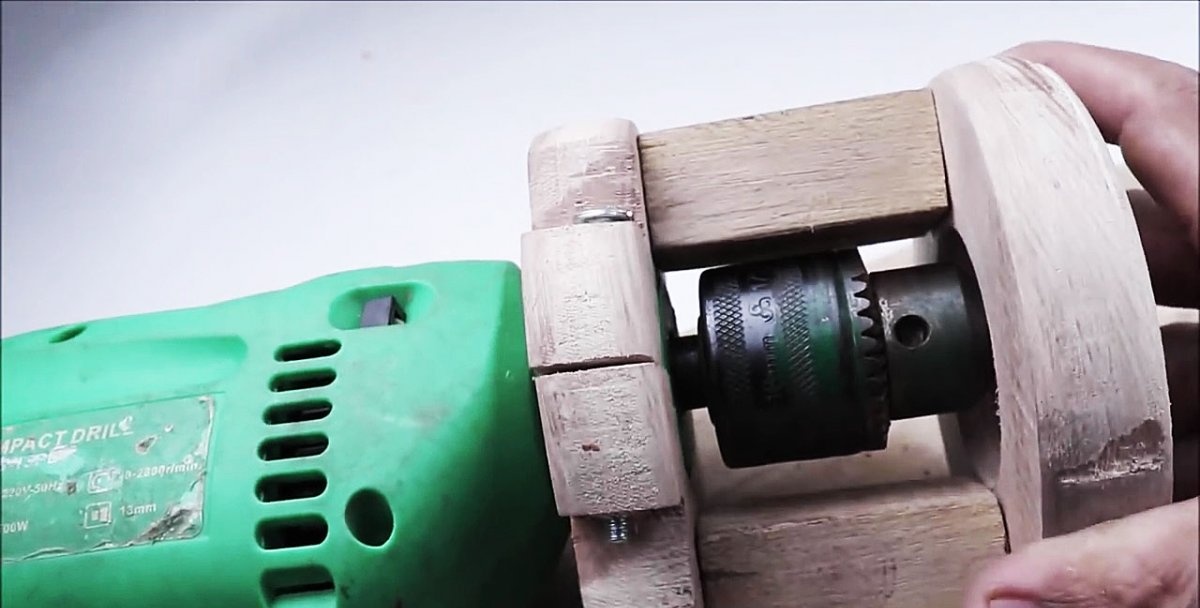
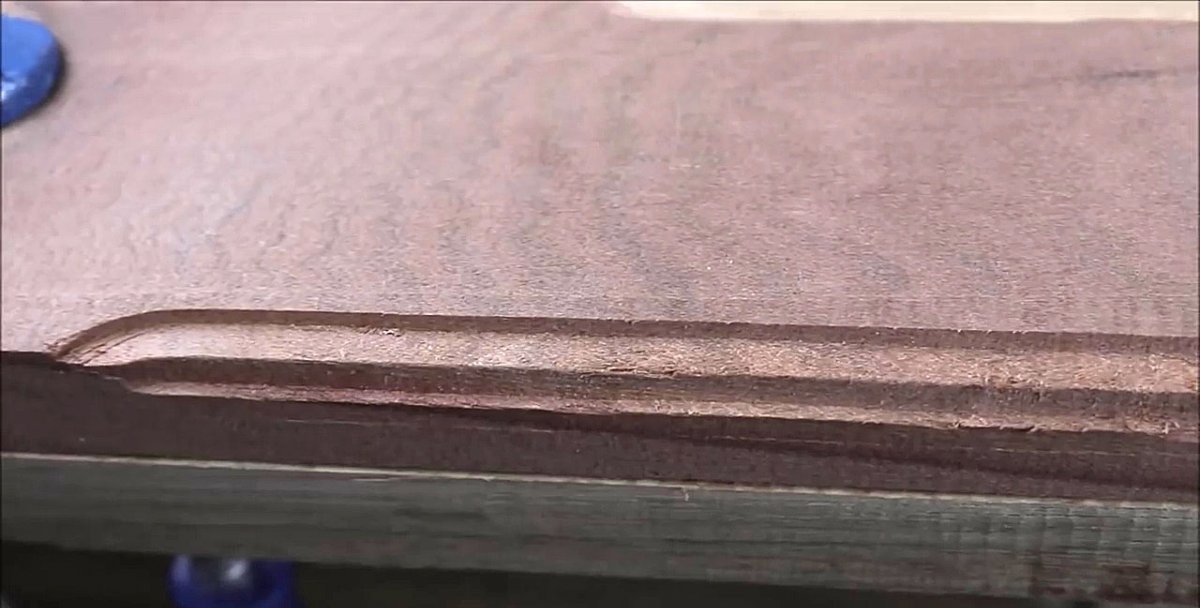
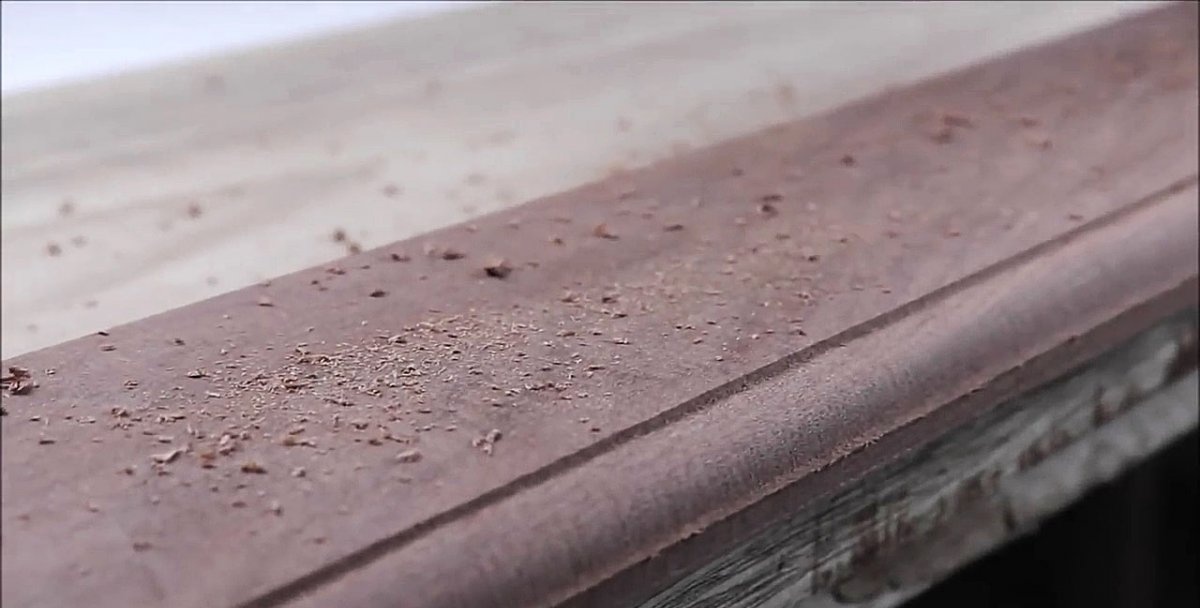
It remains only to fix the fixture that we just assembled on a drill, and in its cartridge there is a milling head, and any curly grooves in wooden details can be easily and simply made.
Insert the cutter into the chuck.
Dress up the device.
And milling.
The cutter can be different.
Work Safety and Improvements
Since the ballerina, and especially the core drill, creates a large torque during operation, for safety reasons it is better to secure the workpiece securely when cutting circles and holes using the same clamps. You should also wear safety glasses and wear gloves on your hands.
In order to make it easier and more convenient to work with our home-made device, it is better to screw the wing nuts instead of the usual nuts on the bolts that tighten the "clamps" to the drills. Twisting and unscrewing the “thumbs” is undoubtedly easier and faster than standard nuts.
Also, work on the device will be simplified if, instead of spiral and feather drills, a combined furniture drill is used (at the same time it drills a recess for the head and a through hole for the fastener rod).