When water starts to flow from the faucet in the kitchen or bath, it’s bad on either side. It’s unpleasant to see a wet tap body, a sink or a sink every day and pay extra money for unused liters of water. But, what is most dangerous is the risk of a possible flood due to a device not repaired in a timely manner.

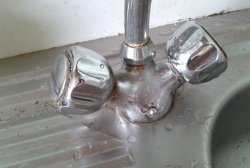
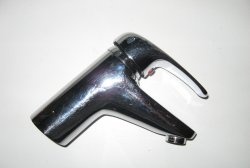
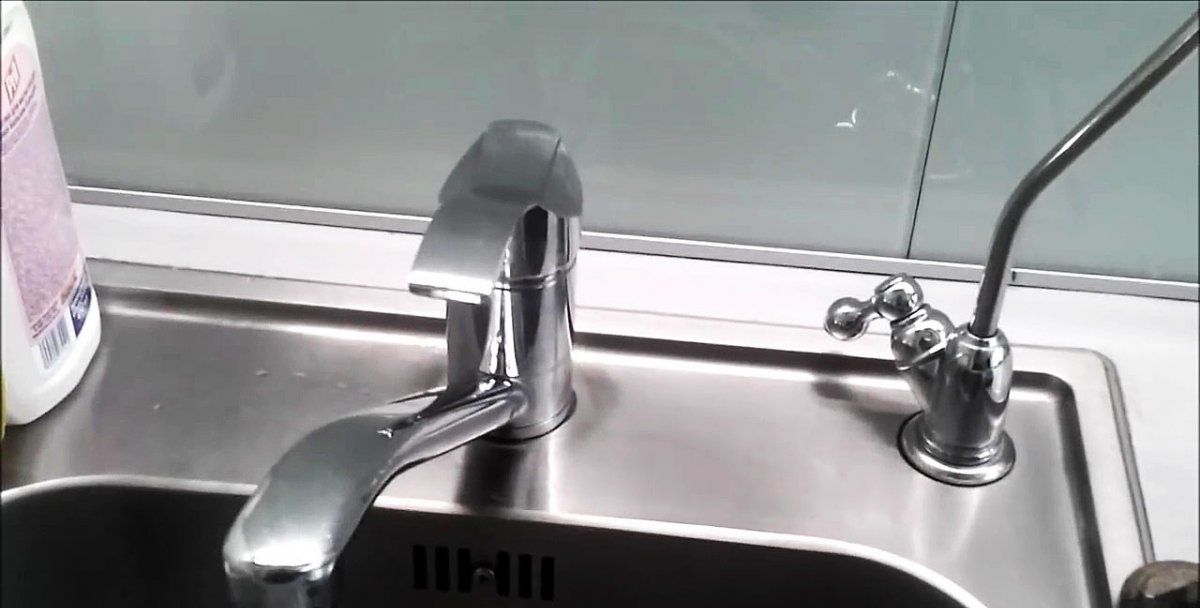
Consider one of the most common plumbing products - a cartridge type single lever mixer with one control lever. If you notice that water seeps between the body of this faucet and the adjustment knob, then the cartridge is probably out of order, which is either worn out and needs to be replaced, or it is very dirty and needs to be thoroughly cleaned.
To accurately determine the cause of a tap leak, it should be disassembled. It is not so simple to do this, especially if the device has served without disassembly for many years, and the water is stiff because of the content of impurities in the form of calcium and magnesium salts.
It should be noted that at first, the appearance of a leak can sometimes be stopped with a few turns of the handle in all directions. But then these manipulations do not give the proper result.
Do you really have to change the whole crane? But it is better to return to this costly option when other options are exhausted. It is worth trying to disassemble it and see what the breakdown is. It may be possible to reduce costs by replacing only the worn part. Most often, the cartridge itself turns out to be such.
Replacing an old cartridge with a new one
We don’t need too many tools for work: a flat-blade screwdriver or a suitable hexagon and a wrench or gas wrench.
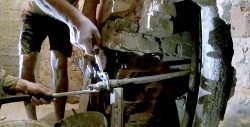
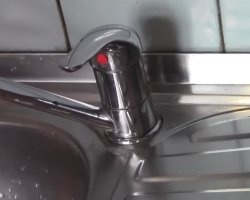
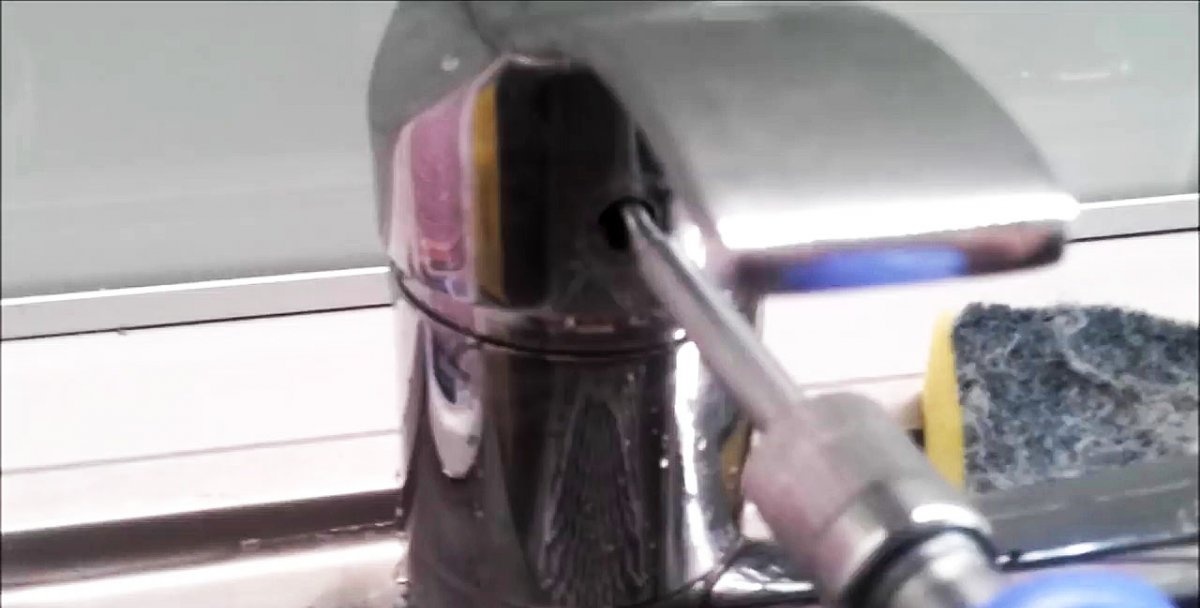
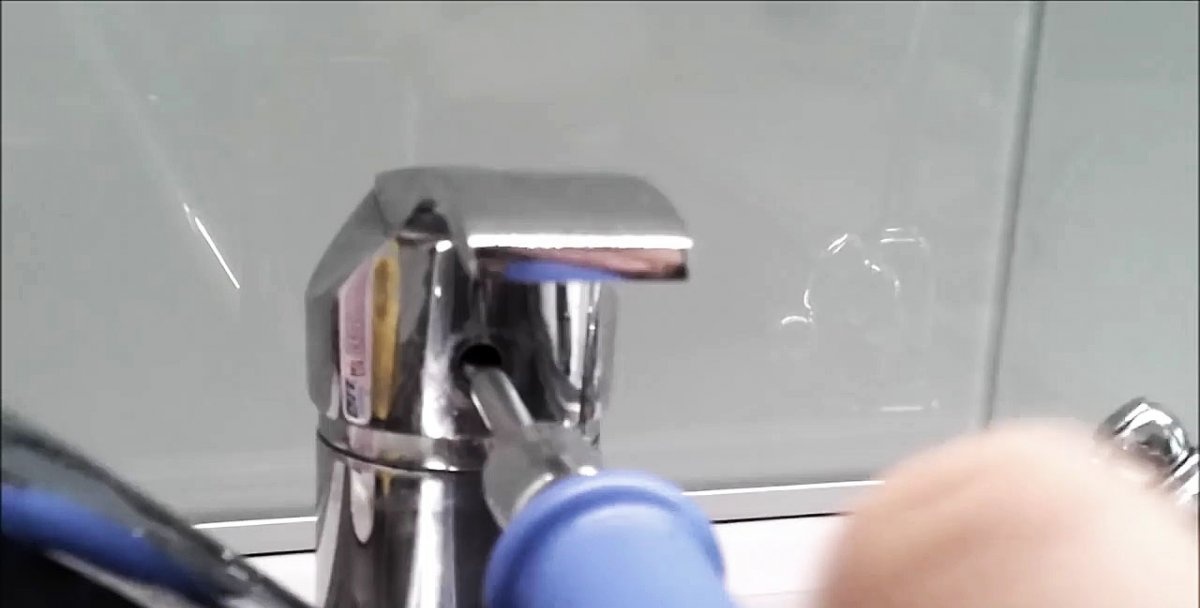
The first thing to do is to remove the hot and cold water indicator plug in front of the handle. Its second function is to close and protect the screw, which fixes the handle on the tap, from moisture and dirt.

Sometimes it is possible to remove it without difficulty, it is enough to pry off with a sting of a flat screwdriver on one or the other side, and now it is already leaving its place. In other cases, over many years of operation, it is so clogged with dirt, grease and other garbage that there is no way to move it from its place and at the same time not to damage it. But what to do, you have to go for it, otherwise you can’t get to the latch that holds the handle on the tap.
The screw can be completely unscrewed, the main thing is that it does not interfere with removing the handle. By the way, most often its dismantling does not go smoothly.
The problems are the same: dirt, grease, hardness salts, containing in water, etc.
A decorative cap is located between the handle and the crane body, which simultaneously serves as the base, and the joystick’s seat moves along it when opening and closing the water and adjusting its temperature. It should also be unscrewed. If you are using a tool, you must be careful enough: the part is very delicate and easy to damage.
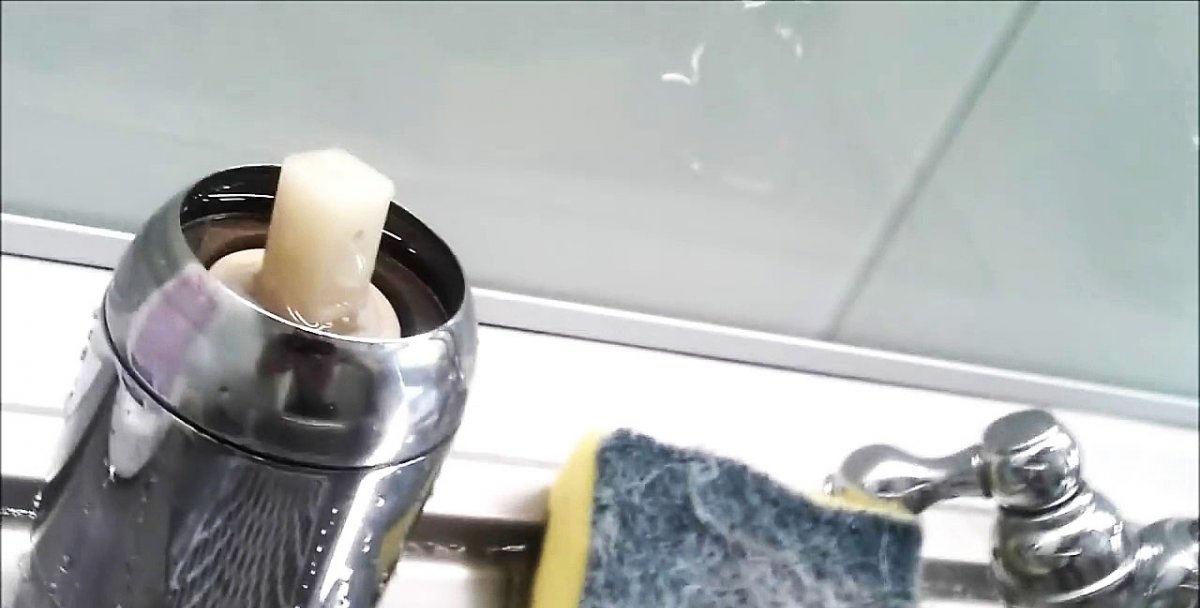
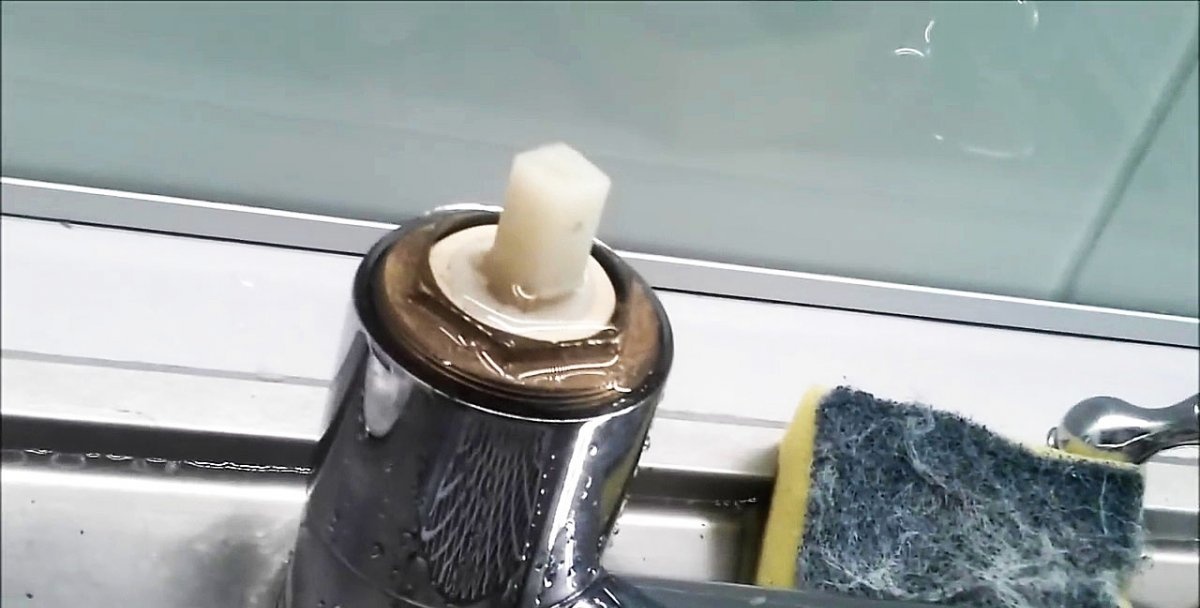
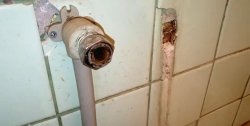
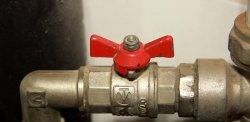
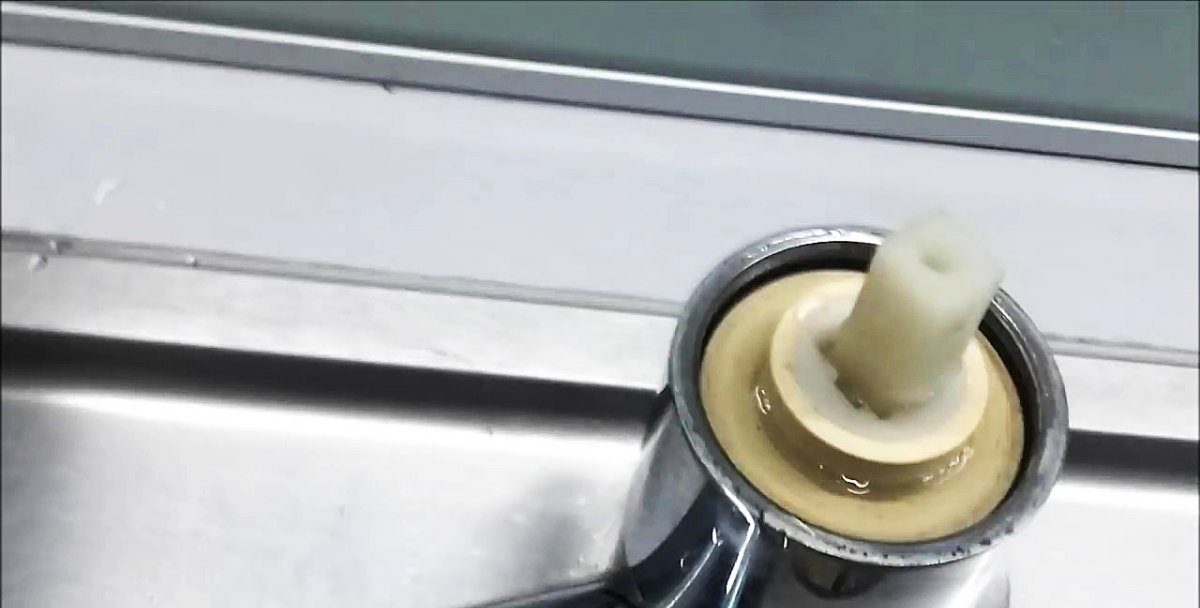
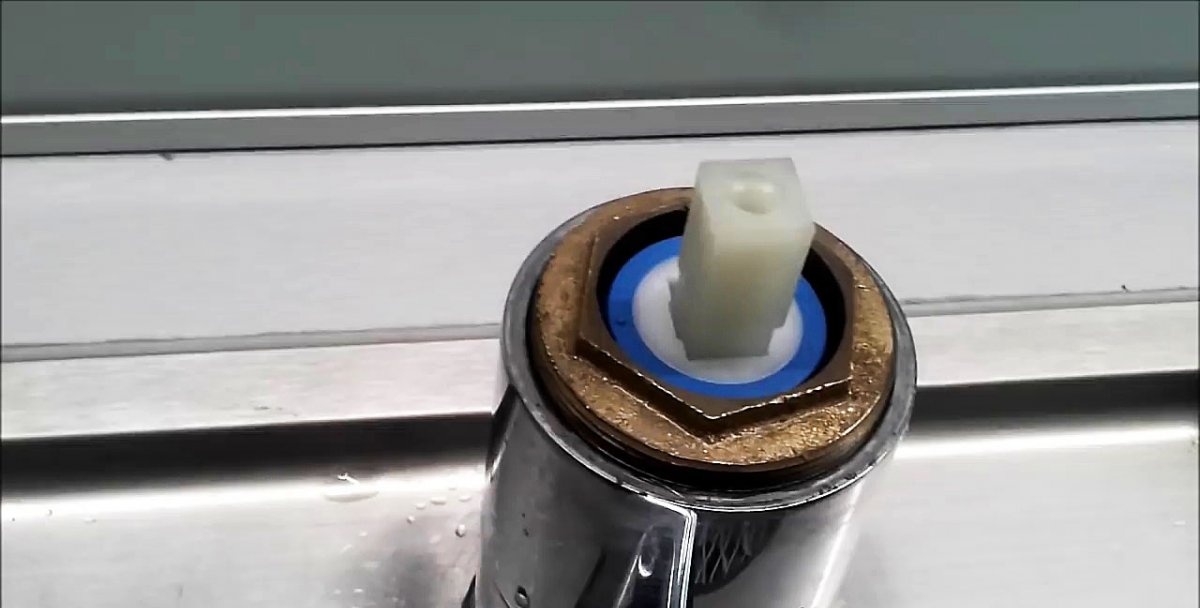
After removing the cap, a plastic cartridge opens to us, fixed with a nut in the mixer housing. The most crucial moment of disassembly comes, but before that it is necessary to turn off the flow of hot and cold water.
We unscrew the nut using an adjustable or gas wrench, the jaws of which are able to extend up to 32 mm. Then it is necessary to lift the cartridge vertically upwards to pull its protrusions out of the holes in the mixer body.

Now you need to go to the store with the old cartridge to buy exactly the same.
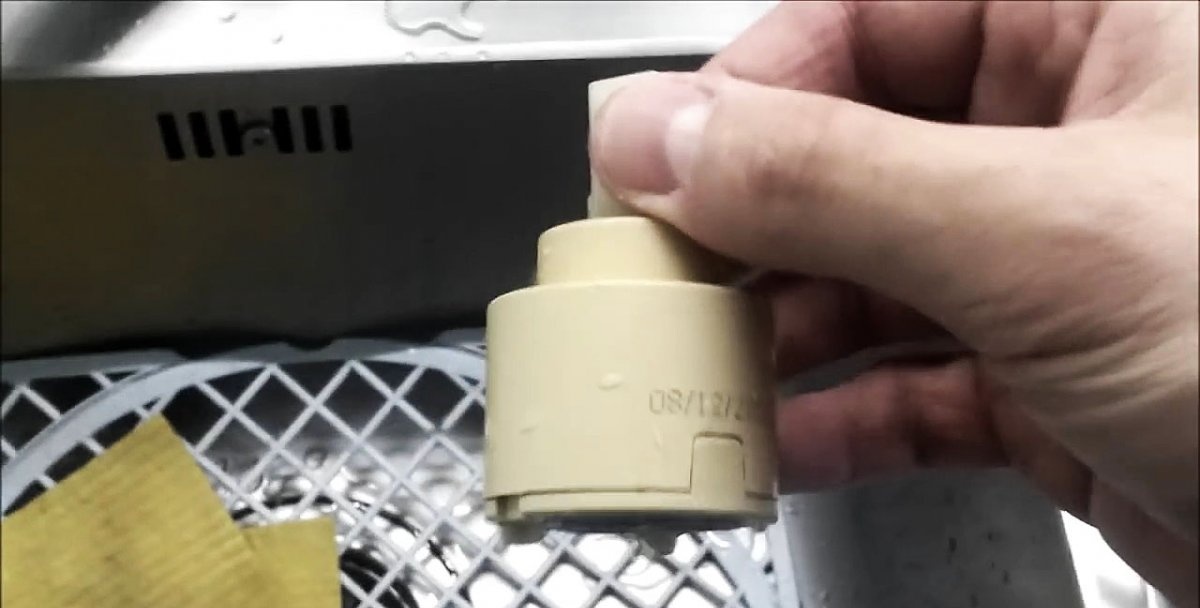
Without this, it is difficult to acquire a similar specimen, since they differ, both in size and in the location and configuration of the holes.

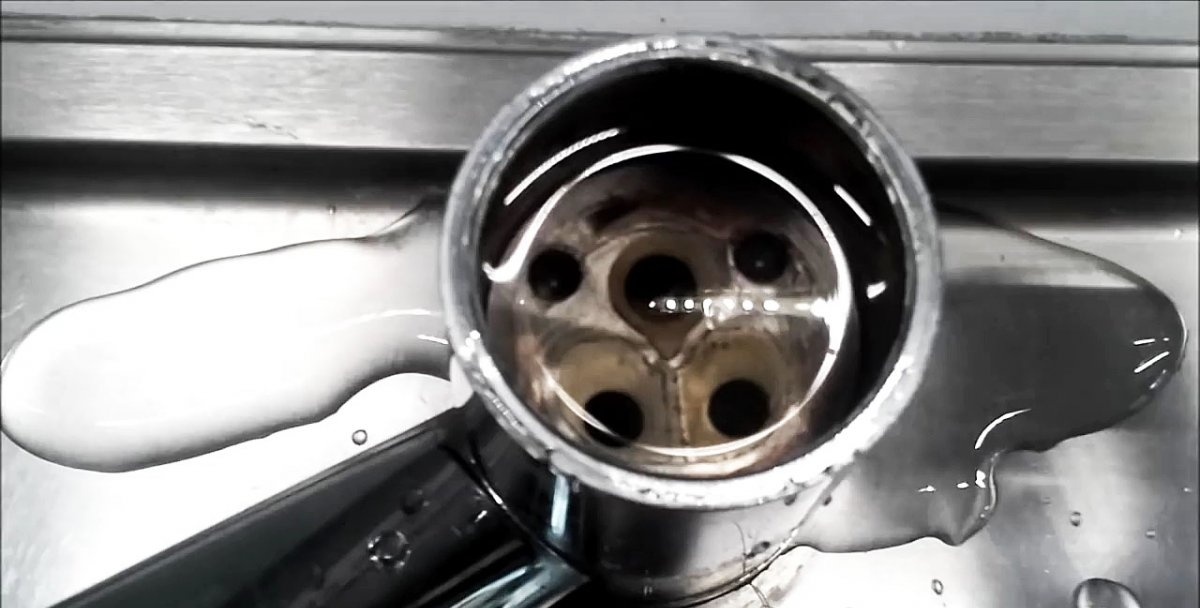
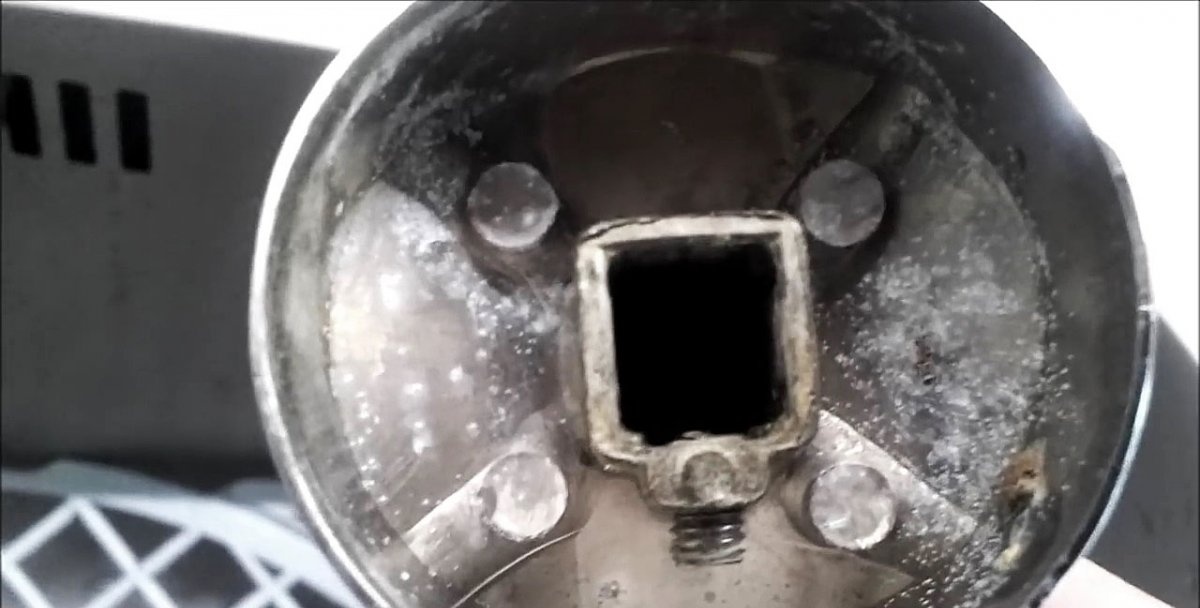
We insert the new cartridge into the tap body in such a position that it is aligned with the holes in the tap for hot and cold water, and the tabs on the cartridge coincide with the holes in the mixer seat. Correct installation should also be duplicated by the angle of rotation of the handle (it must coincide with the range of movement on the old cartridge).
Next, tighten the nut that holds the cartridge. The degree of tightening should be optimal. If it is weak, then the crane will continue to flow, if you pull it, you can break the cartridge case. Also, excessive tightening of the nut will make it necessary to apply great force to the handle and cause unnecessarily quick cartridge wear.
Now you should put the handle back in place, making sure that the locking screw does not interfere with this (its tip should not protrude into the clearance of the square of the seat), and check the operation of the crane in various modes by changing the position of the joystick.
Then, having removed the handle, we replace the decorative cap. Finally we put the faucet control lever in place, tighten the fixing screw to the end and close it with a decorative and protective stopper, making sure that it stands in the correct position, indicating which side is hot and which side has cold water.
Cartridge Repair
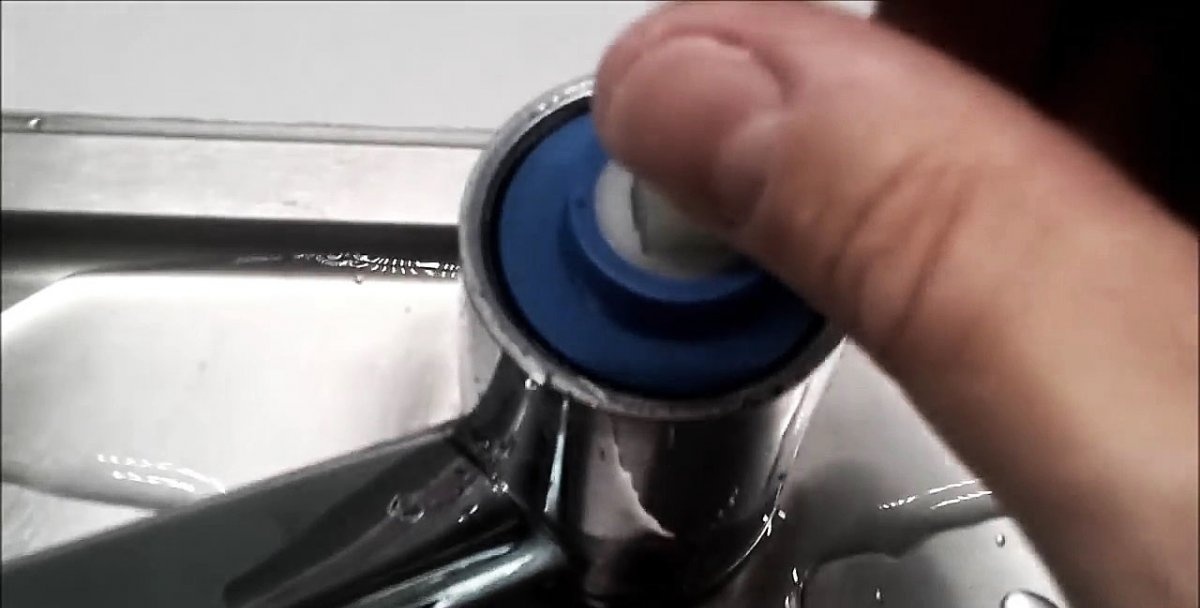
In some cases, leaks in the mixer can be eliminated without replacing the cartridge. It is enough, having removed the handle and the decorative cap, slightly tighten the clamping nut, but do not overdo it, otherwise the cartridge case may crack.
If tightening the nut does not help, then you can try to disassemble the cartridge, which consists of two halves, the upper of which is movable, and the lower is motionless. Sometimes it is enough to wipe them with a cotton cloth, grease the surfaces with neutral oil and reassemble the device.
In other cases, grinding of ceramic plates may be required. Work is best done on a flat glass surface. To do this, you need fine sandpaper or sanding paste. Then the plates must be thoroughly washed and a thin layer of silicone grease applied to their surface.
If there is no desire to deal with the disassembly and repair of the cartridge or it is non-separable, then there remains a replacement. For it to be successful, before installing a new cartridge, you need to prepare a place for it, removing dirt and ceramic particles that have accumulated over the years of operation of the crane, which can form when the plates rub against each other.