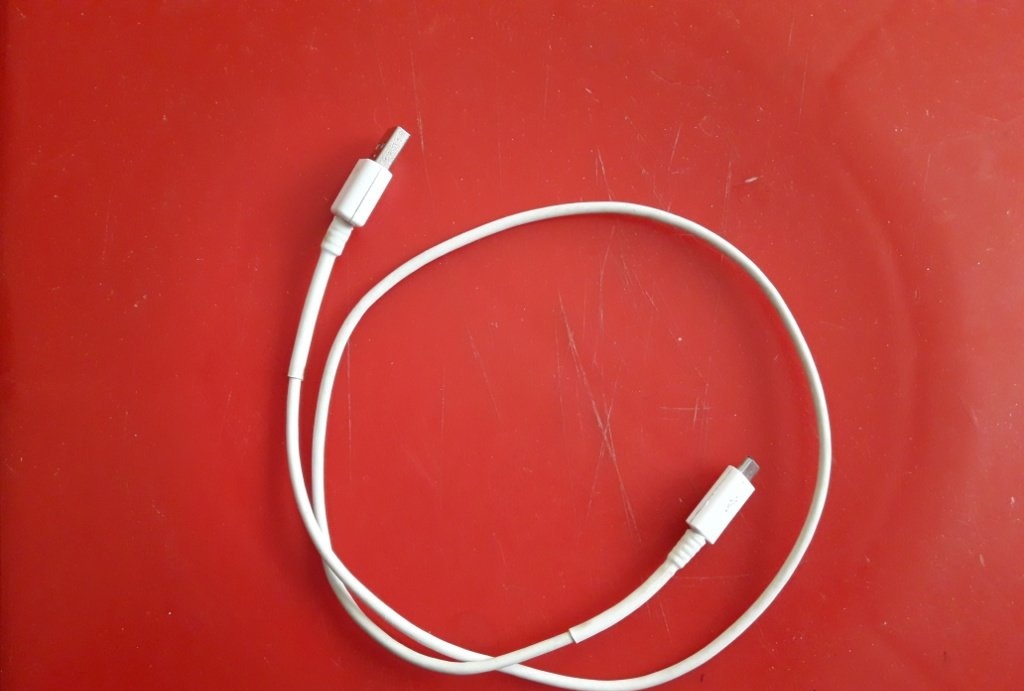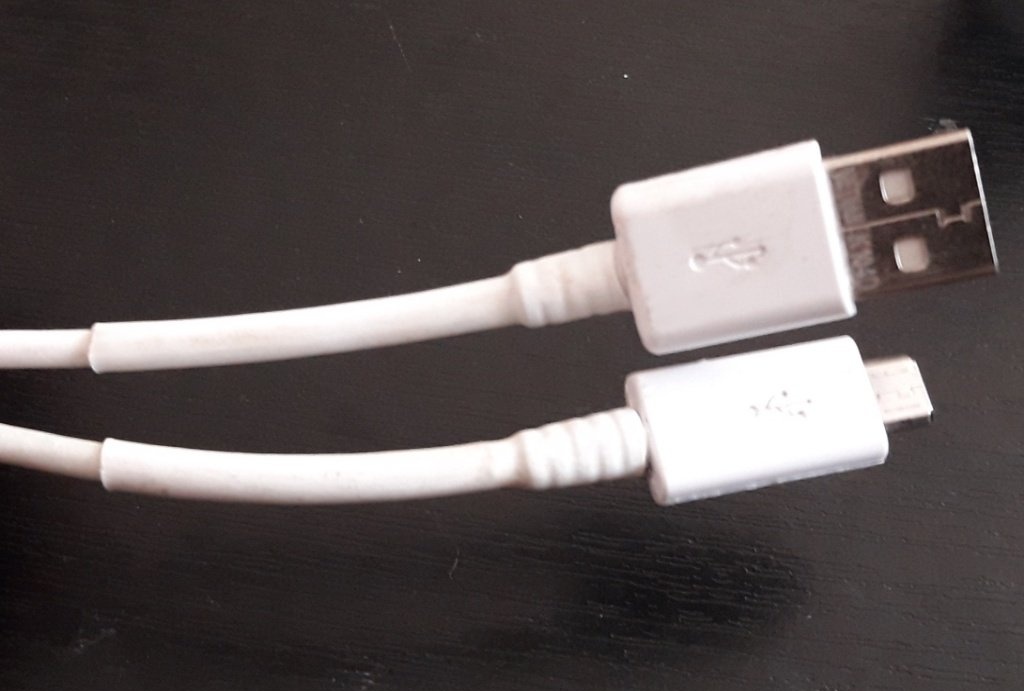
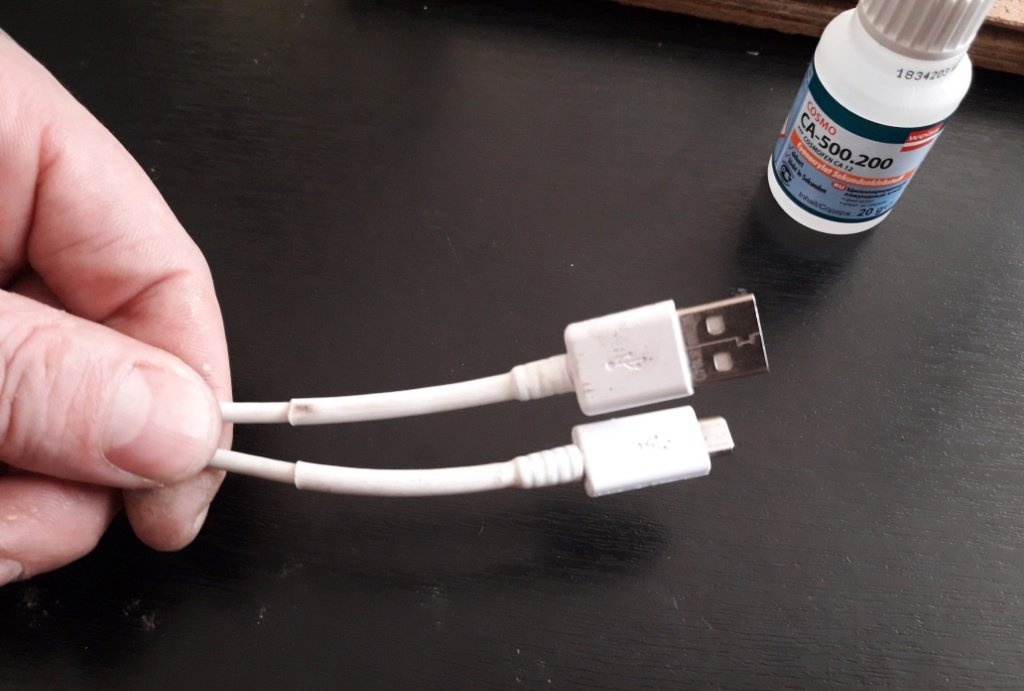
It is extremely difficult to find a good cable with a good, durable plug for charging your phone in a store. Often, the quality of a product stated on the packaging does not correspond to reality. If the micro usb plug itself, which connects to the connector of your phone or other gadget, is made of low-quality steel, it will very soon become loose, or bent, and will not sit tightly in the connector, thereby causing failures when charging the battery. Or it will stop sending and receiving files from other devices, for example, from a computer or flash drive. And it’s very unpleasant when a cable you have with a good plug suddenly stops working due to a break in the cable cores near that same plug. This happens due to constant bending of the cable during use. When this happens is a matter of time. Depending on the intensity of use. You can go and buy a new one, or you can repair the old one - this is an individual matter for everyone. Personally, I prefer the second option. Not so much because of the fuss of choosing and going to communication shops, but for the sake of my own interest. And, again, you won’t have to spend money...In general, my daughter recently brought me such a faulty cable. I don’t know what she did with it, but it was damaged at the base of both plugs – usb and micro usb.
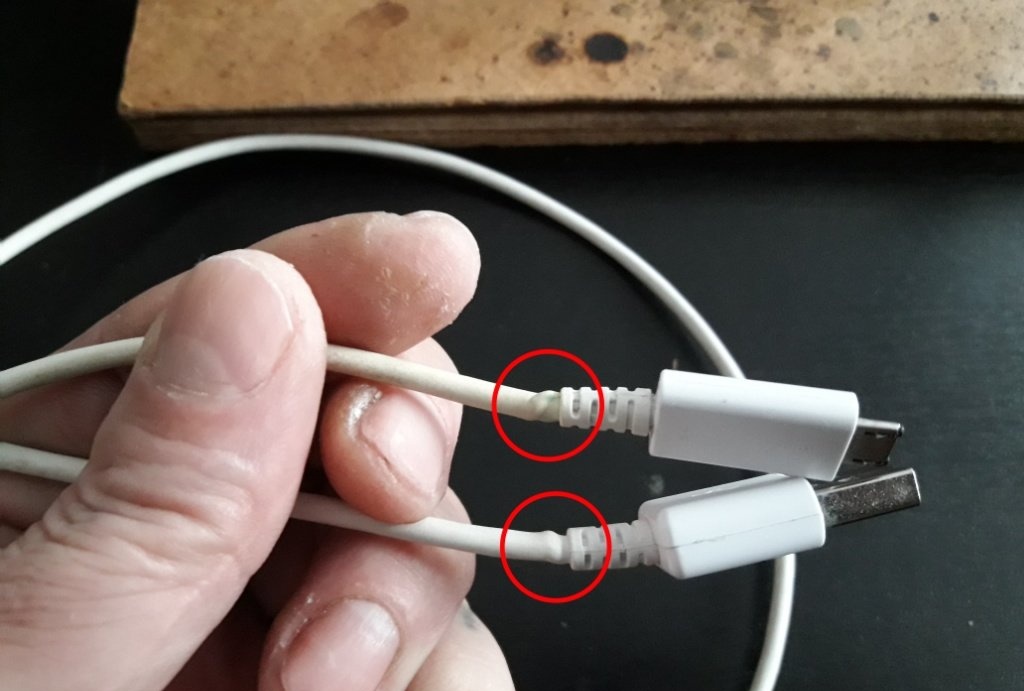
I took up this matter also because this cable was “original” from her phone, which came with the phone, charger and headphones. She categorically refused to use another one, for fear of ruining the phone. And I didn’t want to buy an original cable either. I had to give her mine (luckily, we have the same phones) and repair the broken one for myself. The work took me about an hour.
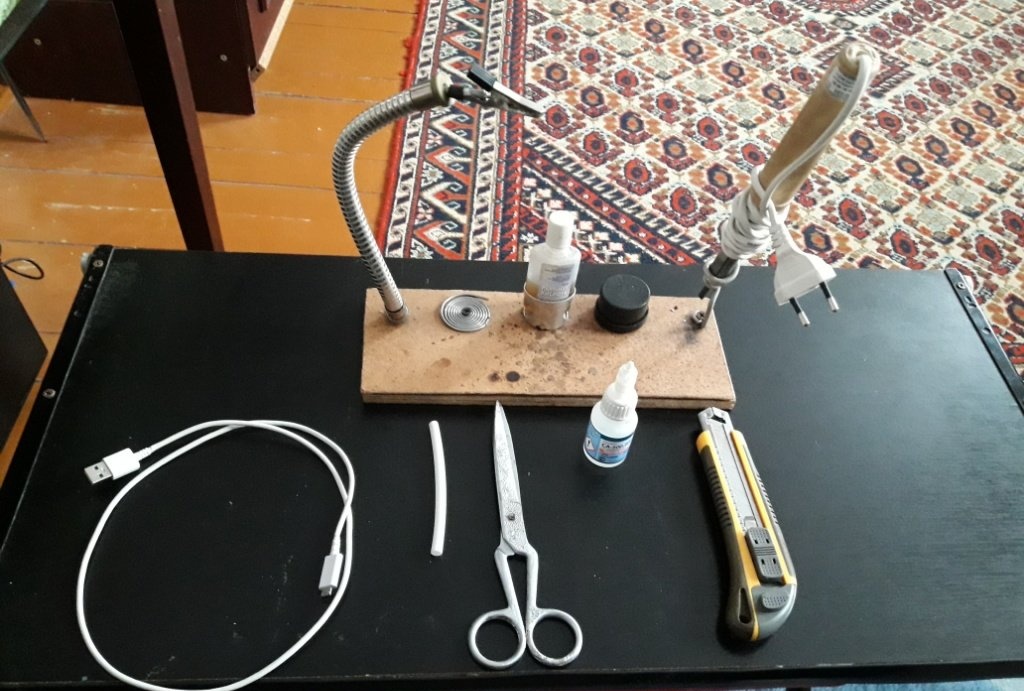
Will need
- Soldering iron, tin and flux.
- Scissors.
- Stationery knife.
- Secondary glue.
- Heat shrink tube (preferably matching the color of the cable).
- Lighter.
- Small nippers.
Cable repair
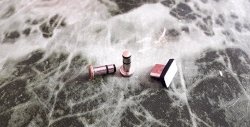
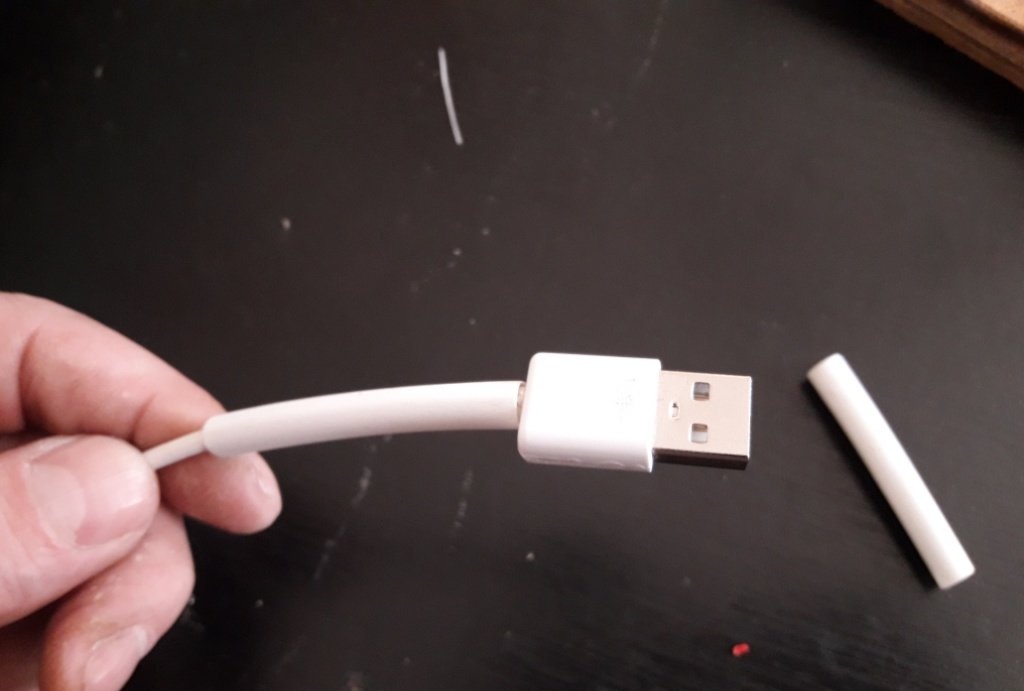
To begin with, without further ado, we cut off the damaged plug from the cable. In my case, both plugs.

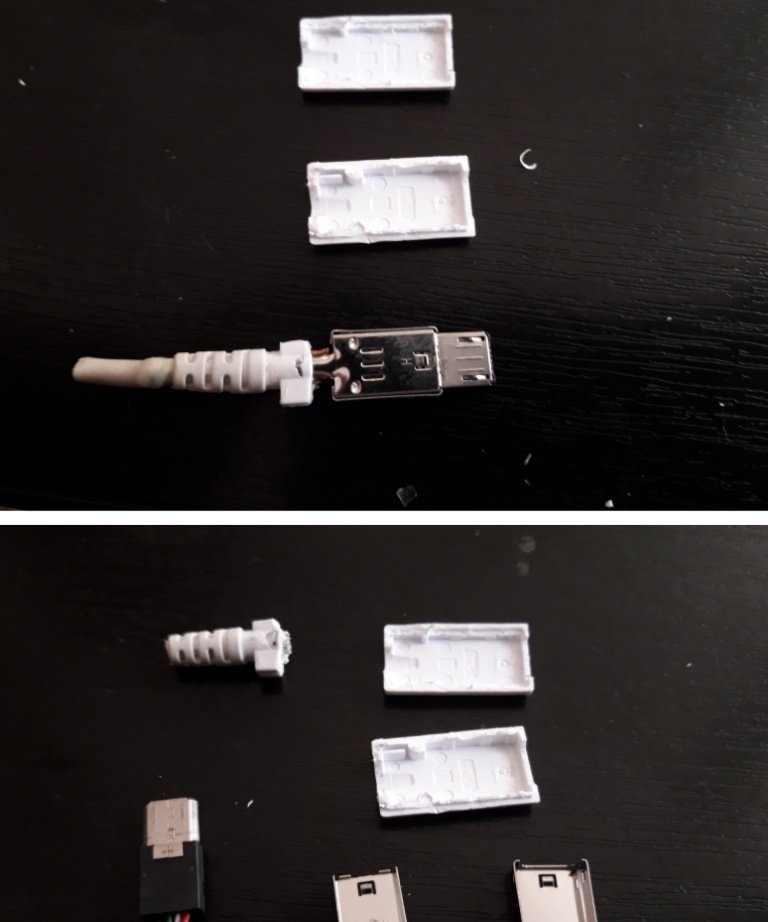
Next, using a utility knife, cut the plug along the seam. My plug bodies were soldered at the seam, so I had to tinker. But there are plugs with a collapsible housing - depending on your luck. However, after running a new utility knife blade along the seams of the body several times, I separated it quite easily and quickly. Having removed the housing, we disassemble the plug into its component parts.
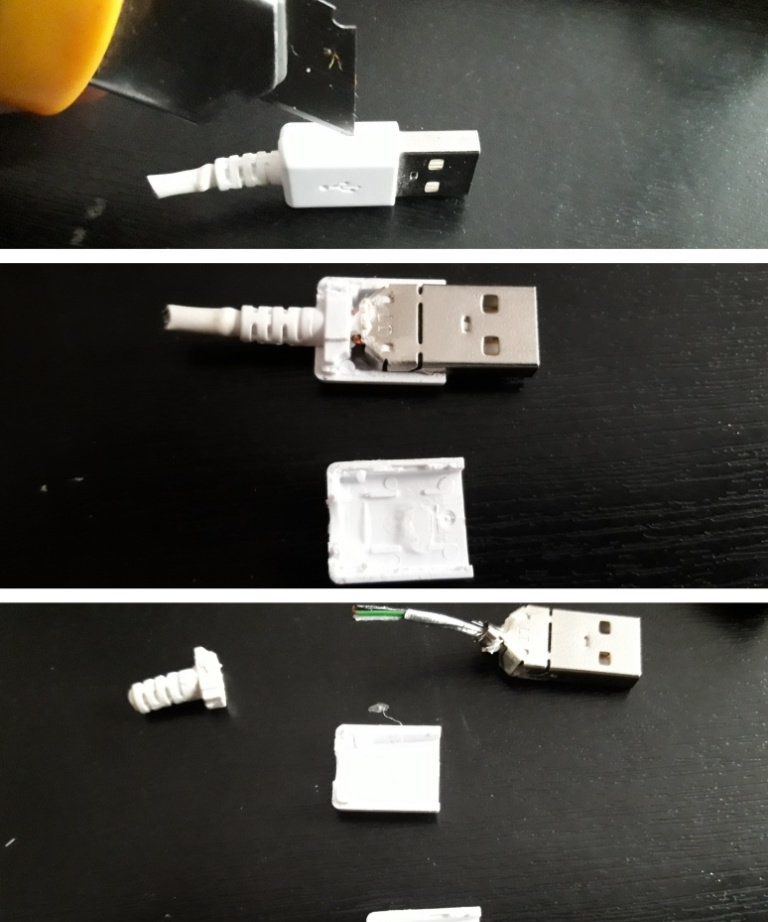
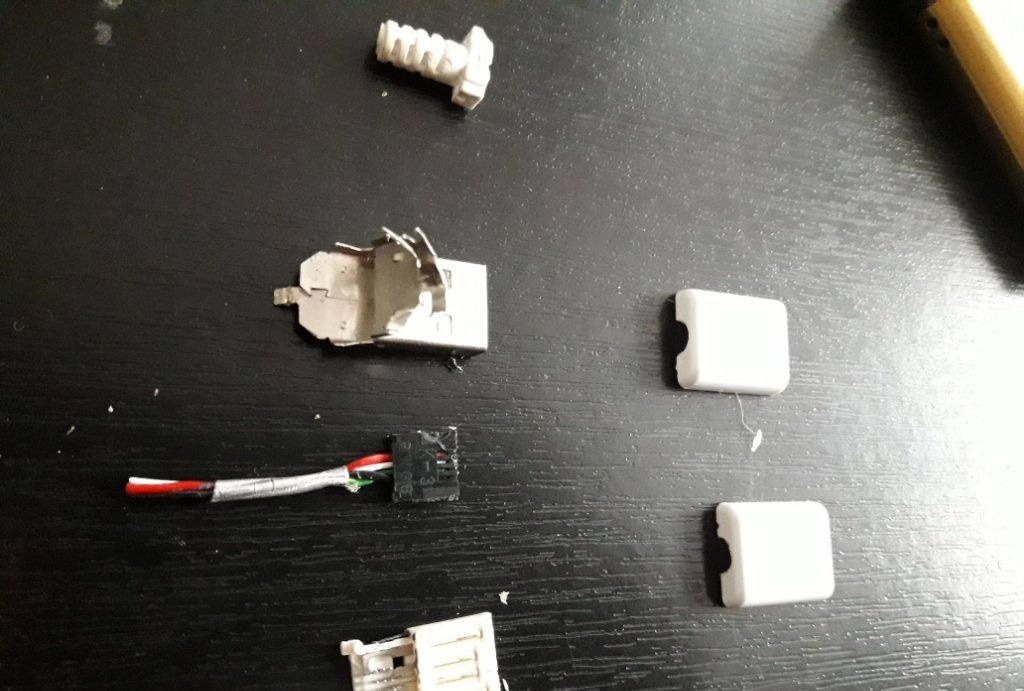
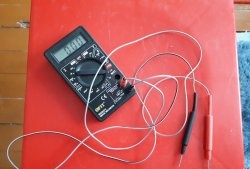
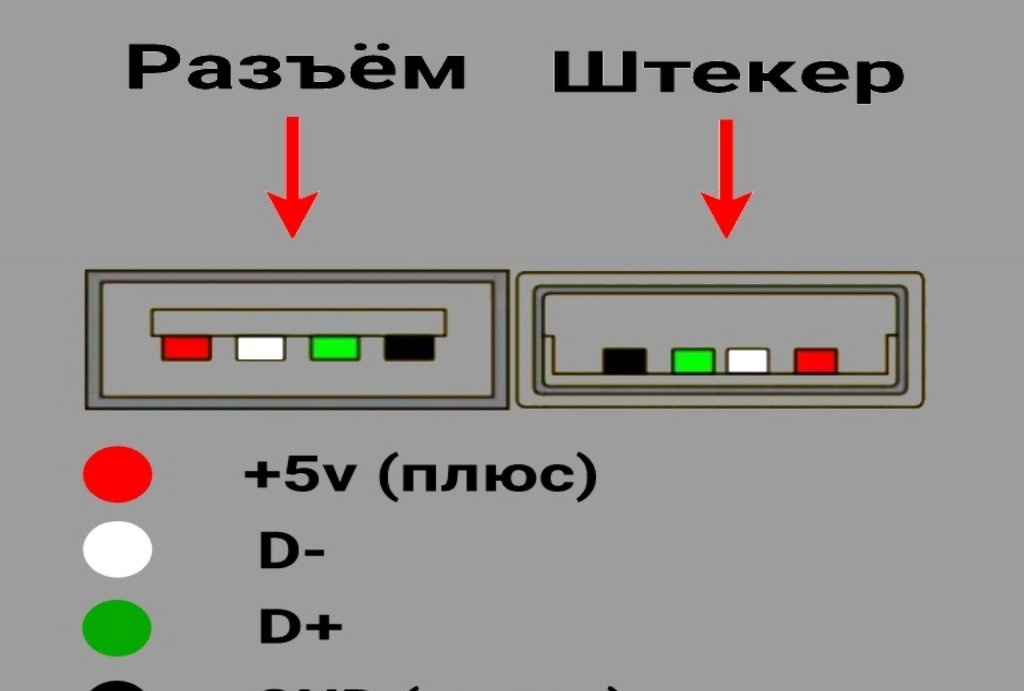
You have to be careful here. In terms of plug contacts: which wire is soldered to which one. To avoid confusion, you can mark the contacts with multi-colored markers, matching the color of the wires. I don’t need this, I’ve known the USB layout by heart for a long time... Just in case:
Now let's move on to the cable. We measure the distance from the edge to the length of the rubber seal, and also add here the length to the plug contacts. We cut the braid from the cable according to the calculated length.
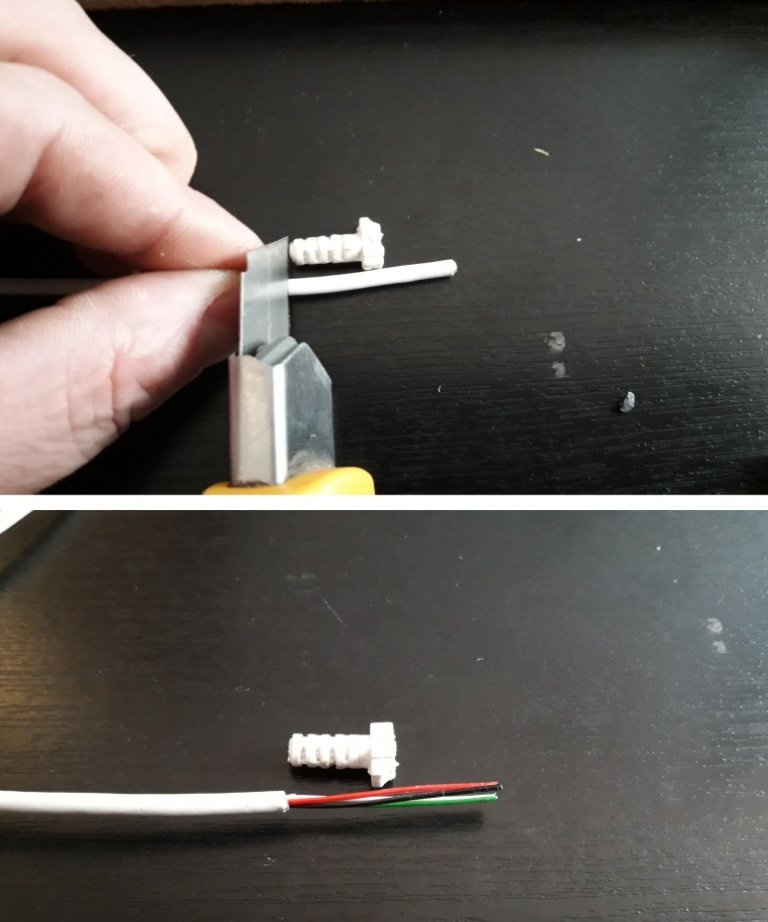
We put a rubber seal on the wires, solder the colored wires to the corresponding contacts and insert the block with contacts into the metal plug.

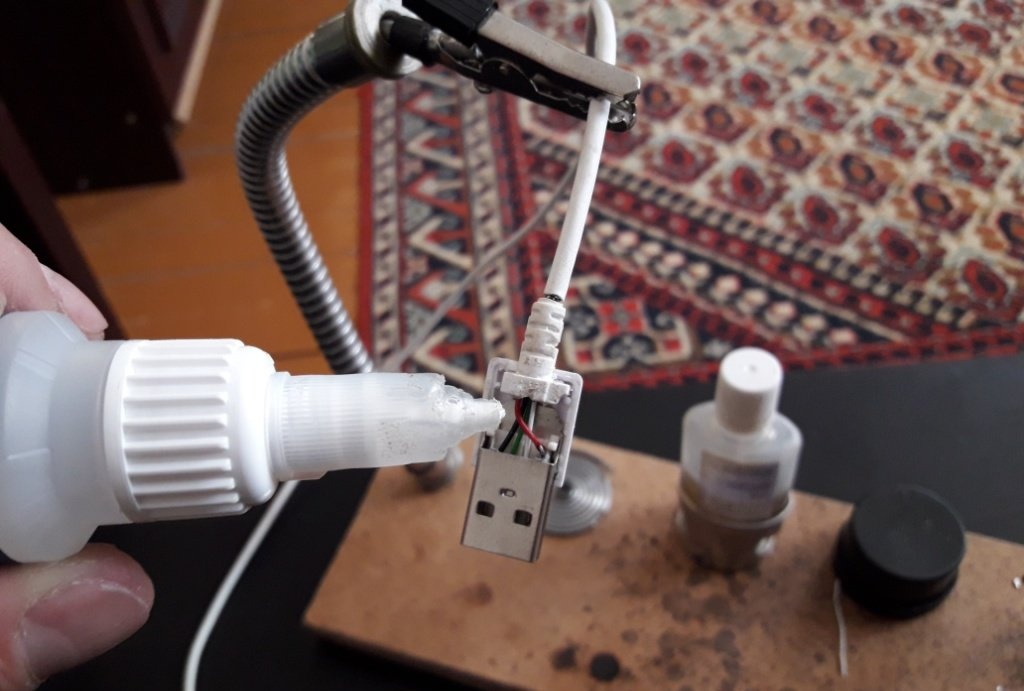
After making sure that everything is in its place and nothing is sticking out anywhere, we glue the plastic case to the plug with a second of glue. We carefully ensure that the glue does not get on the plug contacts.
Next, we put a heat-shrinkable tube on the cable (from the other end), and seat it with a lighter. One more note: if you are repairing only one plug, make sure that the thermal tube is put on the cable before you solder the plug to the cable and glue the housing, otherwise later you will have to disassemble everything again to correct this oversight. After shrinking, the tube will tightly grip the cable along with the rubber seal; you will get an almost monolithic braid, as before.

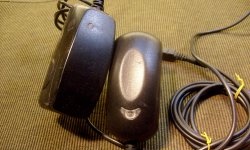
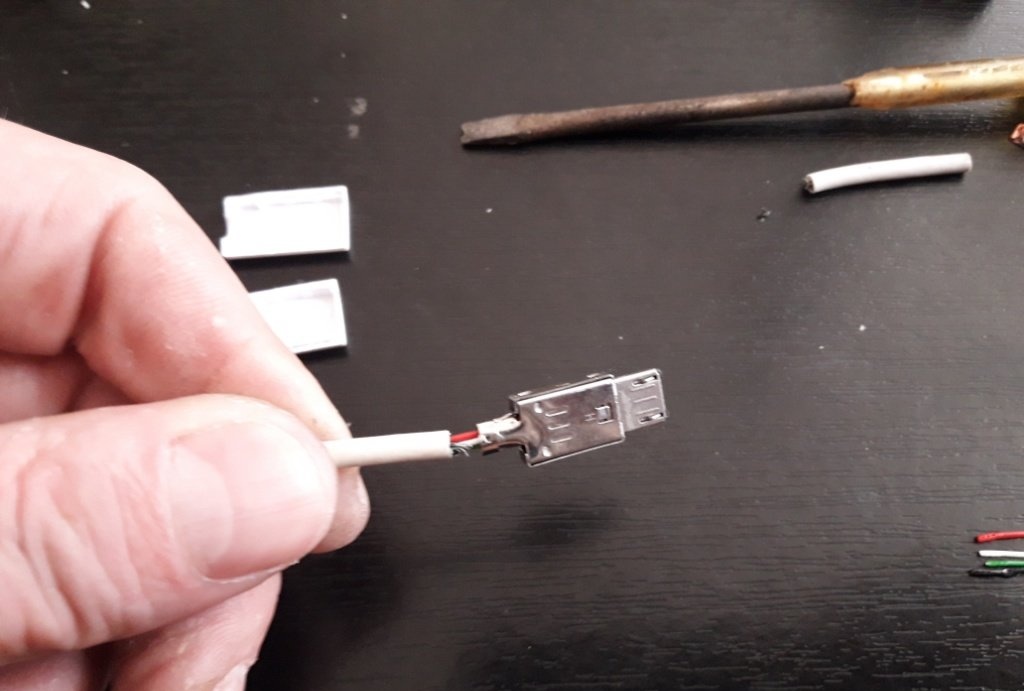
Now the second plug is micro usb. We thread the thermal tube onto the cable in advance so that we don’t forget later. We disassemble the plug. The same as the previous one: using a stationery knife.
Here the design turned out to be even simpler than that of a USB plug - the wires are simply plugged into the upper part of the plug directly in their braid, and when connected to the lower part of the plug, this braid is pierced by the notches present on the contacts located on the bottom of the plug. The main thing here is not to confuse the layout of the colored wires.

Next, we assemble the plug together, like the previous one.
We put the thermal tube, which we previously threaded onto the cable, onto the damaged cable braid. We hang up the phone.
That's all - the broken cable is back in service, with the same functions for which it was intended in the instructions. Moreover, without any external and visible violations of the braid, such as wound electrical tape. Looks like new.We connect to the phone and use it with pleasure!