This master class will focus on a snow shovel. In the northern regions, this item is in great demand most of the year. Therefore, a snow shovel, as a rule, does not “live” for a long time. Store-bought plastic shovels break especially quickly - no plastic, even the most frost-resistant one, will last long against the severe cold (although, for residents of more southern regions, it will probably be quite good). Aluminum shovels are good for everyone, they are light and do not burst, but they quickly wear out and bend.Shovels made of galvanized steel are more durable, but you can’t work with such a shovel for a long time - your hands will “fall off” after half an hour, or a maximum of an hour of work! The best option at especially low temperatures is wood! A shovel made of plywood is lightweight, it doesn’t withstand any frost, and repairing or assembling a new shovel in case of wear or breakage does not take long. The older generation probably remembers how such shovels, of different sizes, used to be made in schools and in labor lessons. So I thought, the new is the well-forgotten old! Moreover, everyone has the material for such a shovel.
Will need
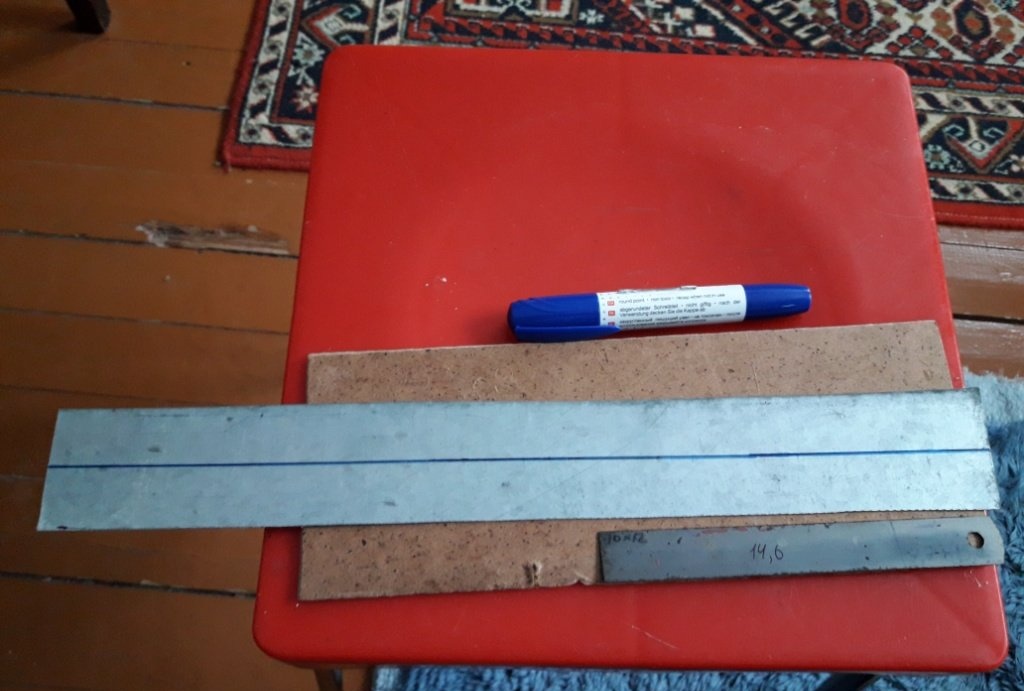
- Sheet of three-layer plywood.
- Board, 25-40 mm thick.
- Galvanized sheet steel, 1 mm thick.
- Shovel handle.
- Wood screws (black, 15 mm).
- A bolt with a wide head for fastening the handle to plywood.
- Handle for handle (top).
- Aluminum wire, 4 mm thick.
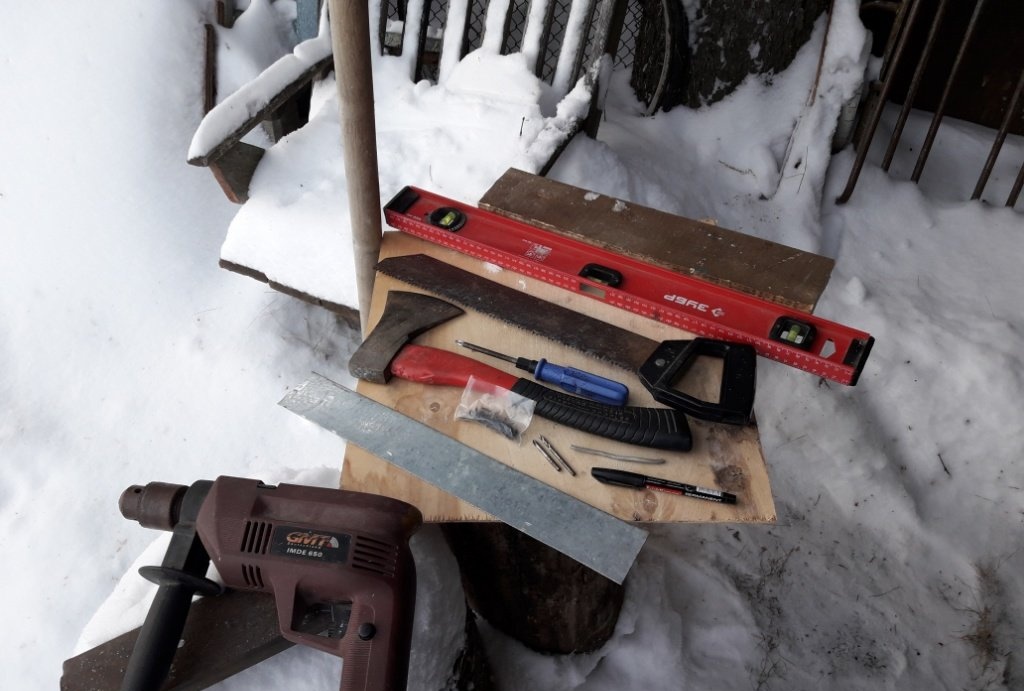
Tool for work:
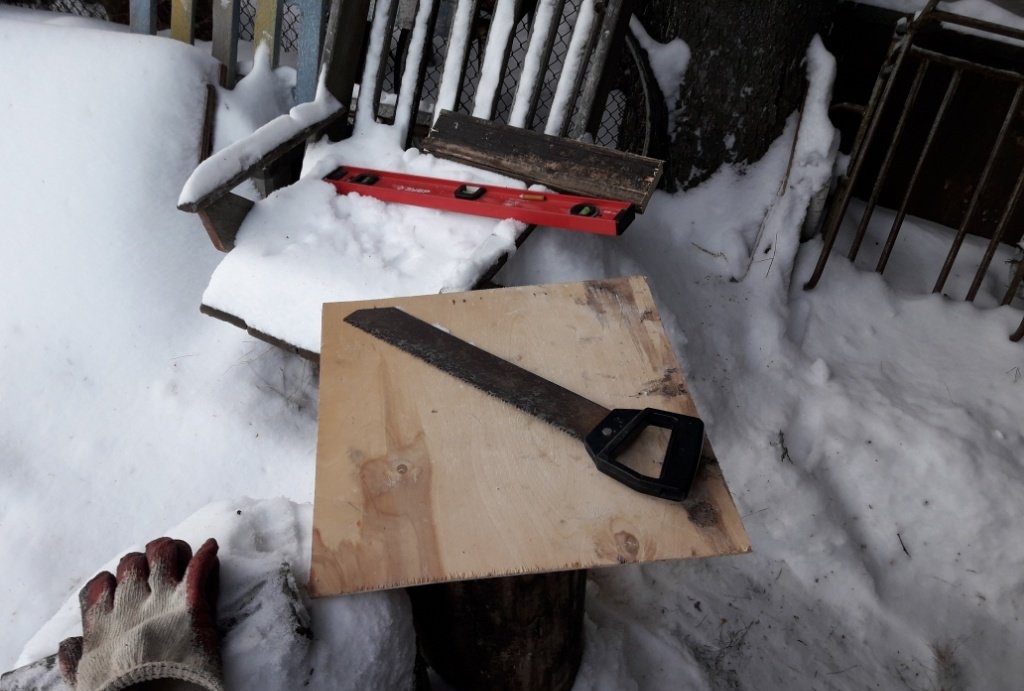
- Hacksaw.
- Ax (or plane).
- Phillips screwdriver.
- Knife.
- Marker or simple pencil.
- Drill and 4 mm drill bit.
- Emery or grinder for cutting galvanized steel.
- Hammer.
- A small anvil (or something similar).
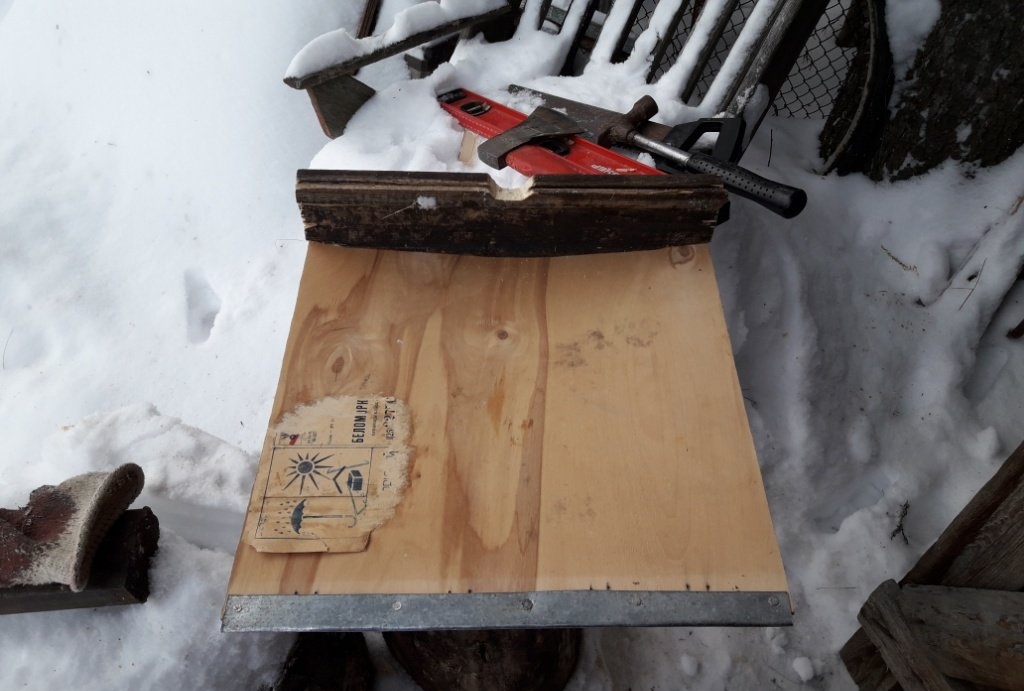
Making a snow shovel
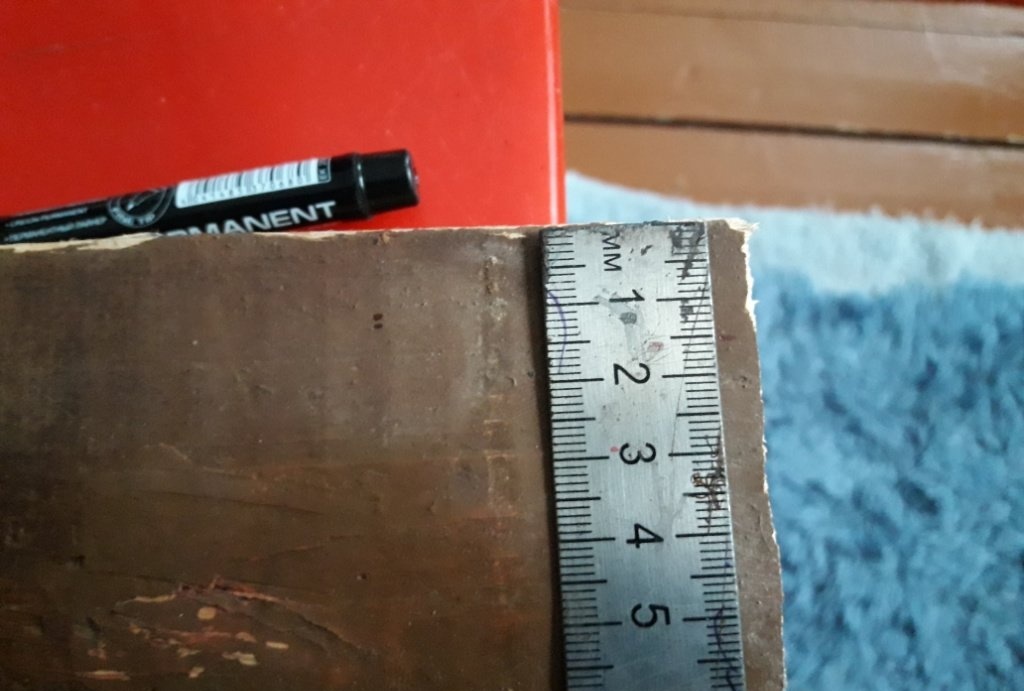
First, you need to figure out what size the shovel will be. This is an important point. Especially for the one who will wield this shovel. So that your back does not get tired, but at the same time the shovel is not too small. To prevent the shovel from breaking quickly, you should not make it too wide - the snow can be heavy during thaws. 40-45 centimeters wide will be just right. Well, everyone should calculate the height of the shovel for themselves, depending on their height. In my opinion, the most optimal length of the handle of such a tool is when the handle of the pommel reaches the worker’s chin.If you make it shorter, your back will quickly get tired; if it’s longer, your arms and shoulders will get tired. So, we cut out a sheet of plywood, 40 centimeters wide and 45 centimeters long.
This will be the base of the shovel and we will stick to the same width (40 cm) for further work. Next, we saw off the same 40 cm from the pre-prepared board.
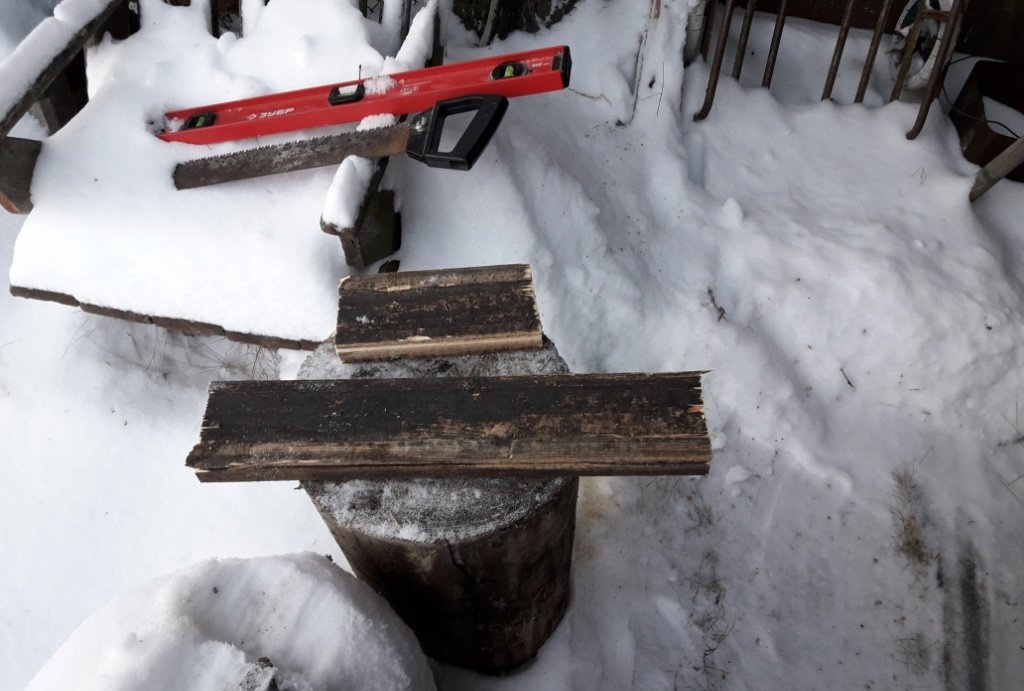
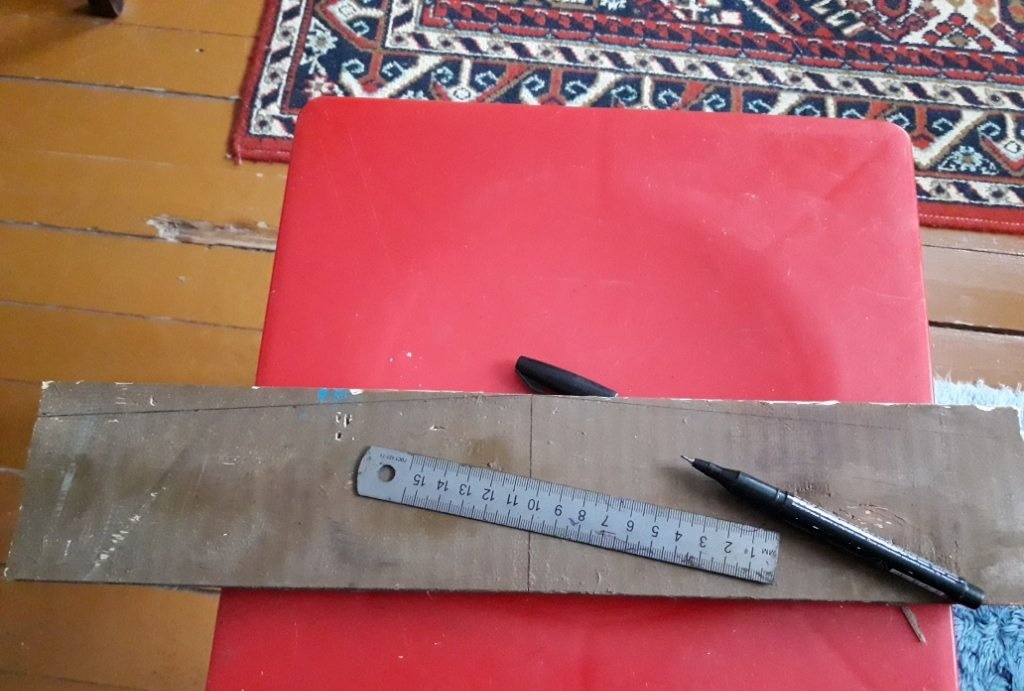
We need to slightly round the bottom of the board to which the plywood will be attached, so that the shovel is not completely flat. To do this, we determine the middle of the board segment.

We choose which side we will round. Preferably one without knots. Now we measure one and a half centimeters from both ends of the segment, from the side that was chosen for rounding. We draw lines with a marker from the center to the end marks and, along these lines, cut off the long corners.
I’m used to working with an axe, for me it’s faster and more convenient, but if someone doesn’t know how to use an axe, then you can take a plane. So, this is what we got:
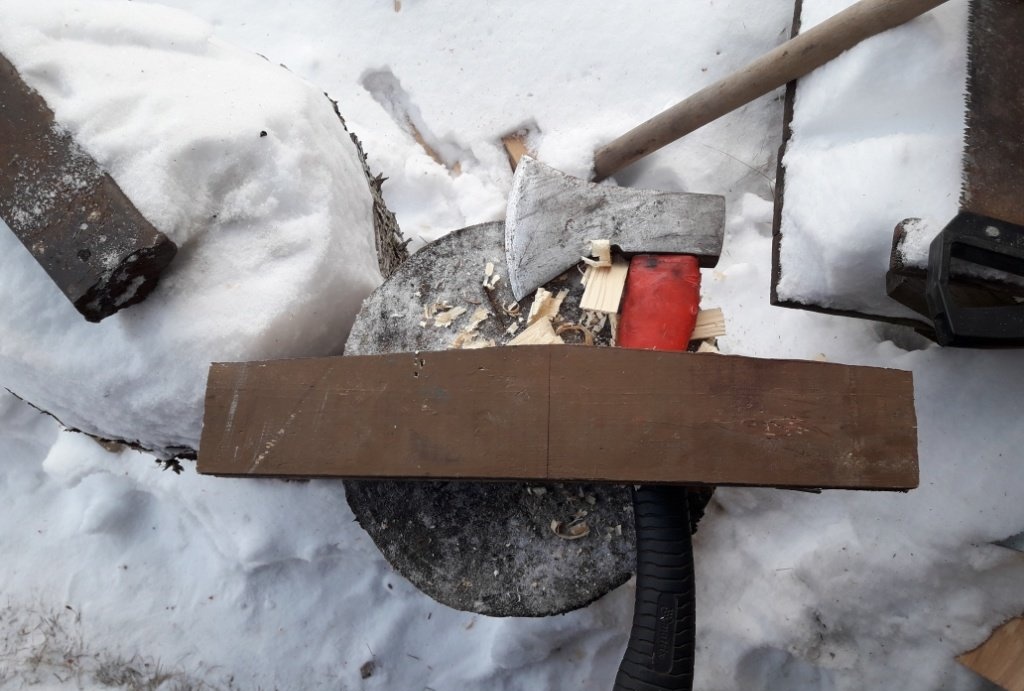
Later we will screw the plywood to the rounded edge of the board, and on the opposite edge, in the middle, we will use a knife to make a small cut-groove for the handle.
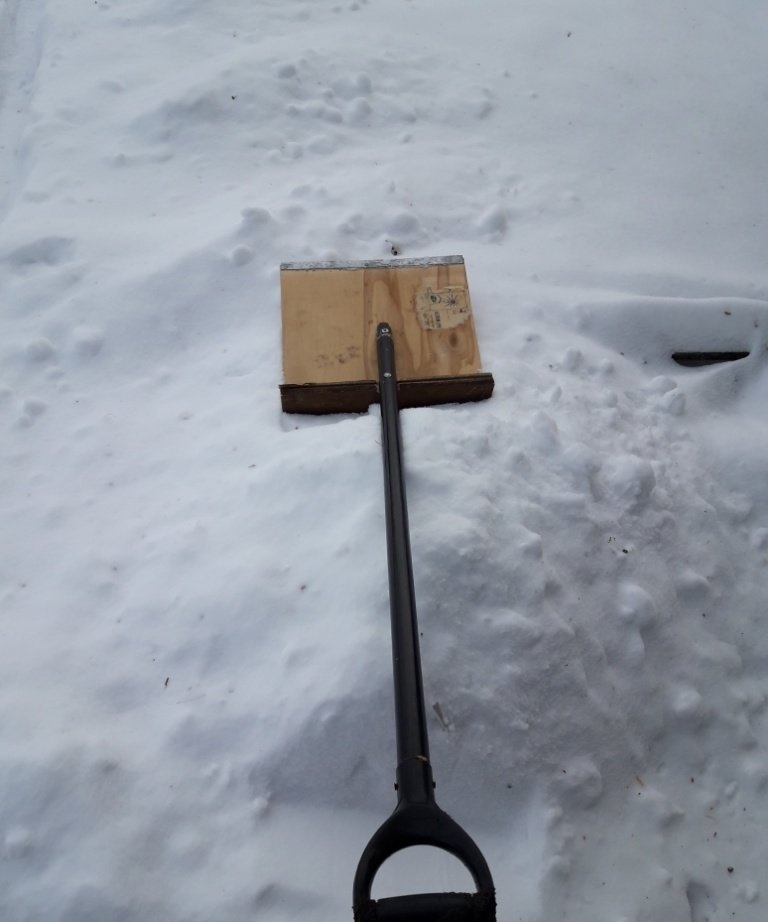
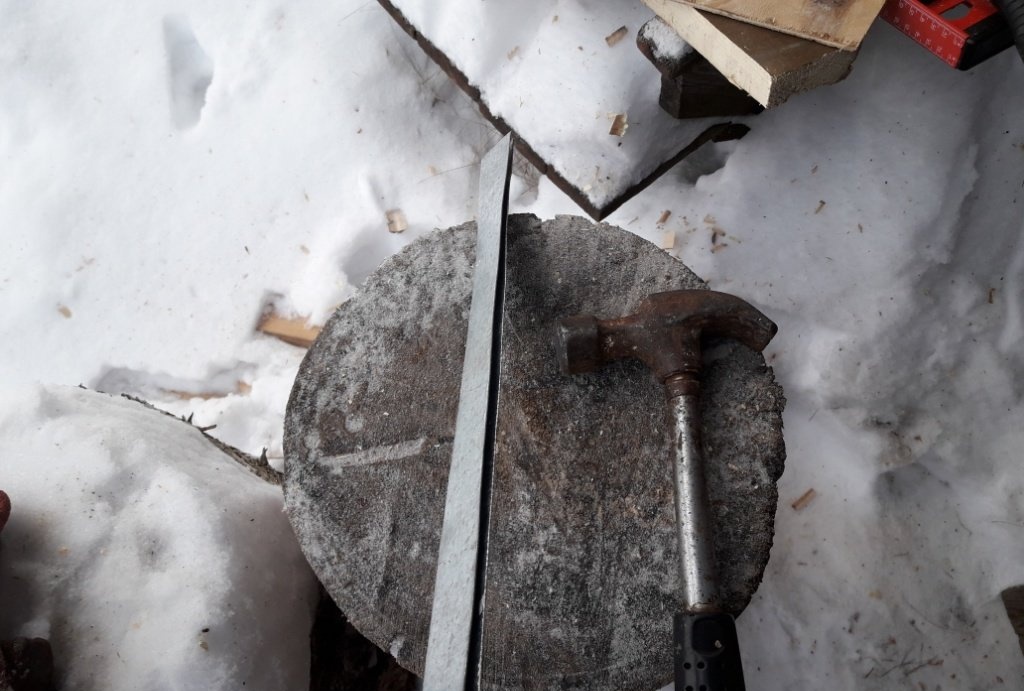
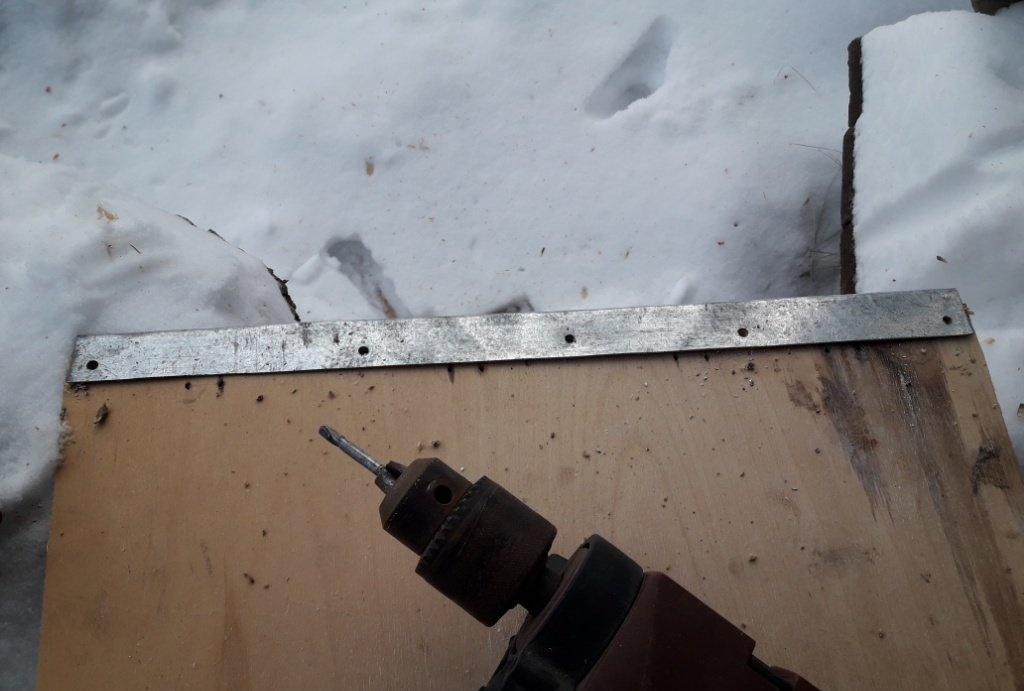
Let's put this piece aside for now and let's work on strengthening and protecting the plywood. Some craftsmen make the protective edge of a shovel from tin, but I am not a supporter of such protection; tin is very soft, it bends and wears out very quickly, especially if you constantly scrape snow from a tiled surface or poured concrete. Therefore, I always make the protective edge of the shovel from galvanized sheet metal, at least 1 mm thick. This is the most painstaking part of the work. You need to cut a strip 5 cm wide and 40 cm long from a galvanized sheet. You can also cut it with metal scissors, but this is an even more tedious process, so I advise you to use a grinder.Next you need to bend the strip exactly in the middle, along, along the entire length. To do this, make a mark with a marker and bend the metal along it.
First, we bend it a little with pliers, and then, tapping along the entire length with a hammer, we bend it to the desired state. Like this:
Now we put this protective strip on the front edge of the plywood sheet.
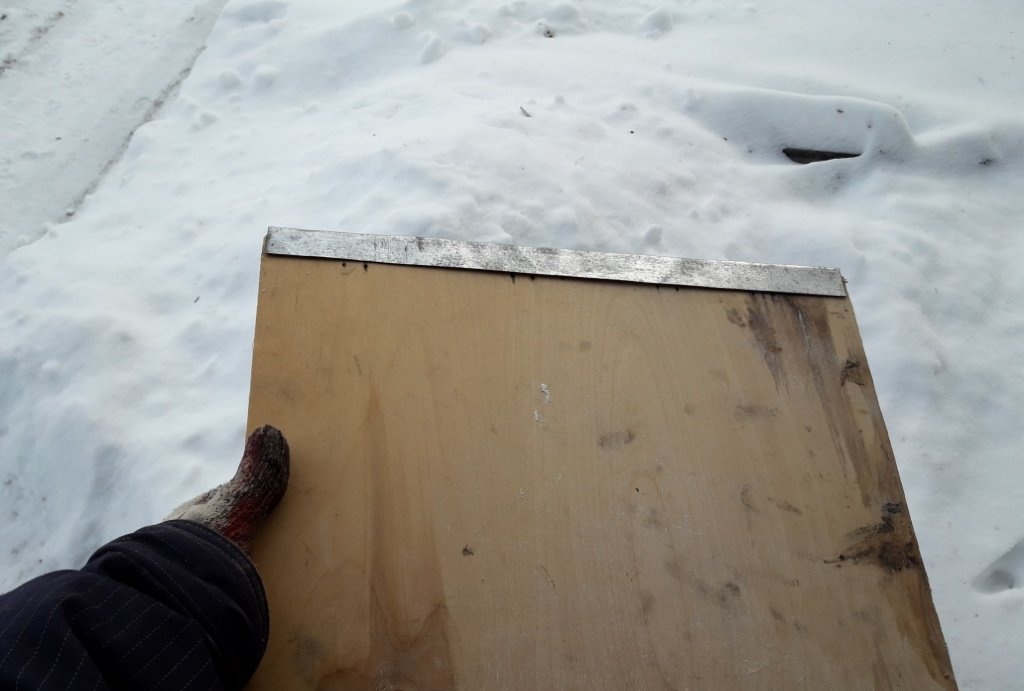
We drill holes for rivets, 4 mm. Five holes along the entire length, evenly distributed, will be sufficient. We cut five pieces of aluminum wire, these will be rivets.
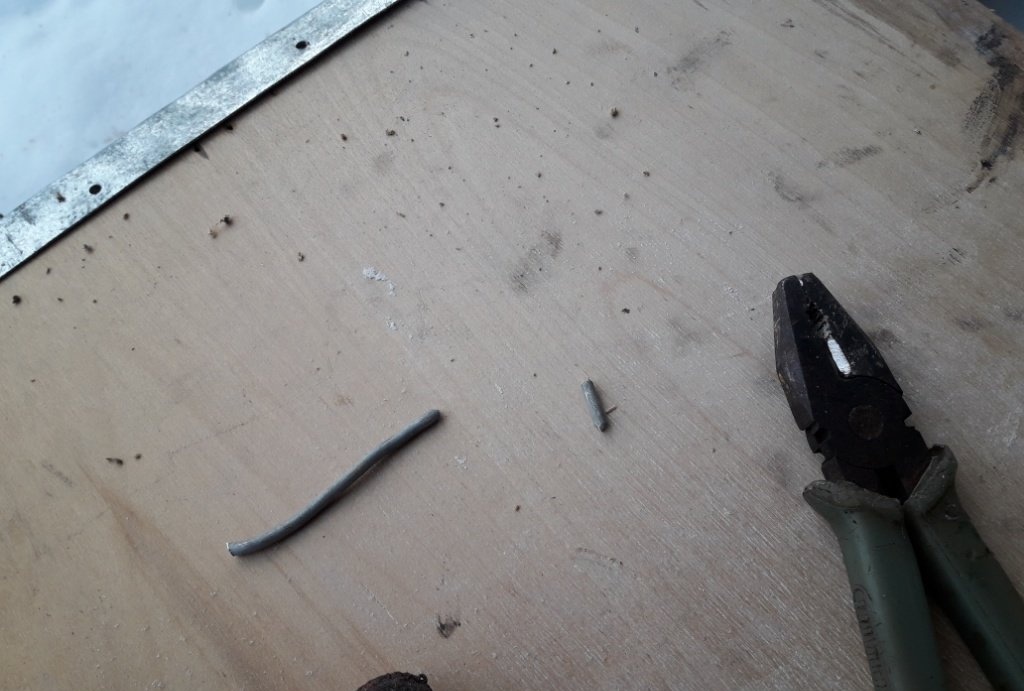
The length of the rivets is determined based on the thickness of the protective strip with plywood inside. Don't forget to add another one and a half mm. on each side to flatten. Starting from one of the edges, we rivet all the holes one by one.
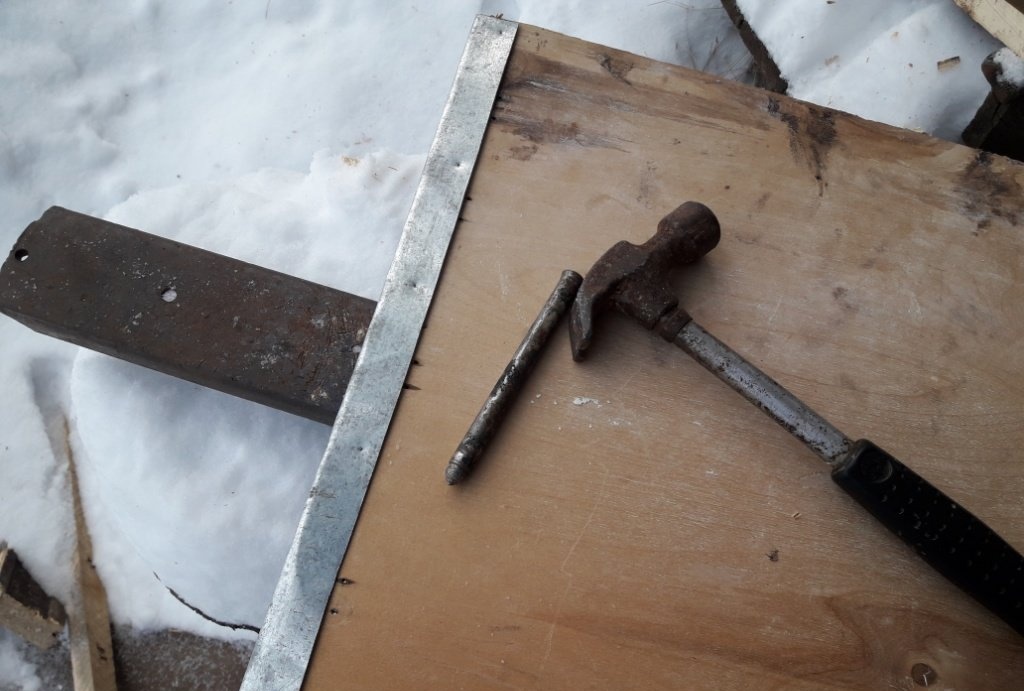
Now you can attach the sheet to the prepared board, with the corners cut off. We lay the board with the rounded side up, apply a sheet of plywood as evenly as possible, and fasten it with screws. Seven pieces will be enough.
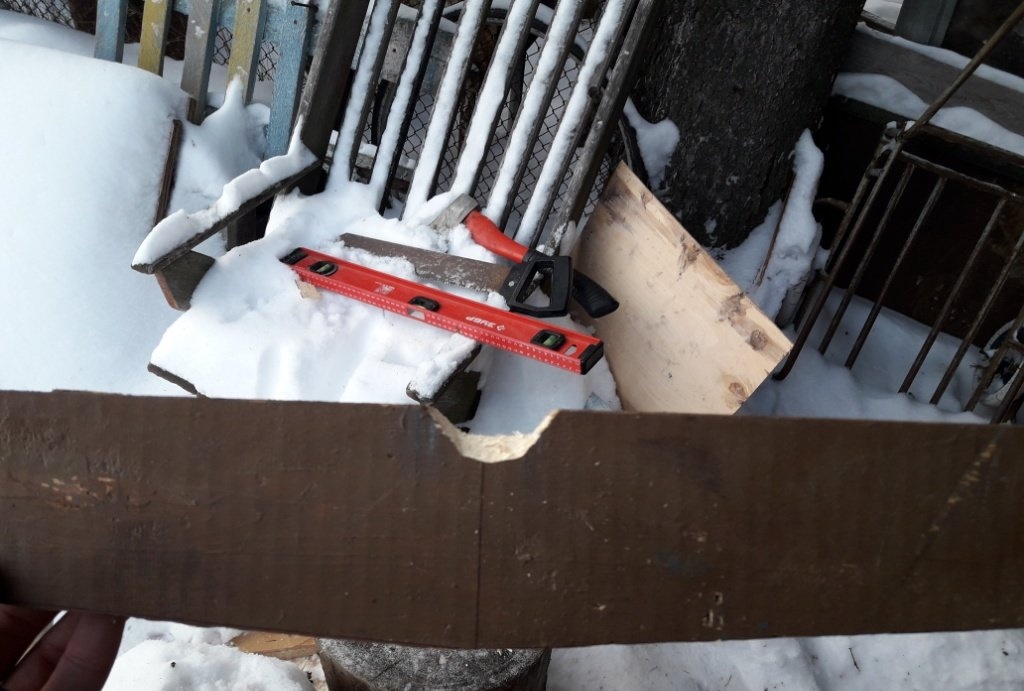
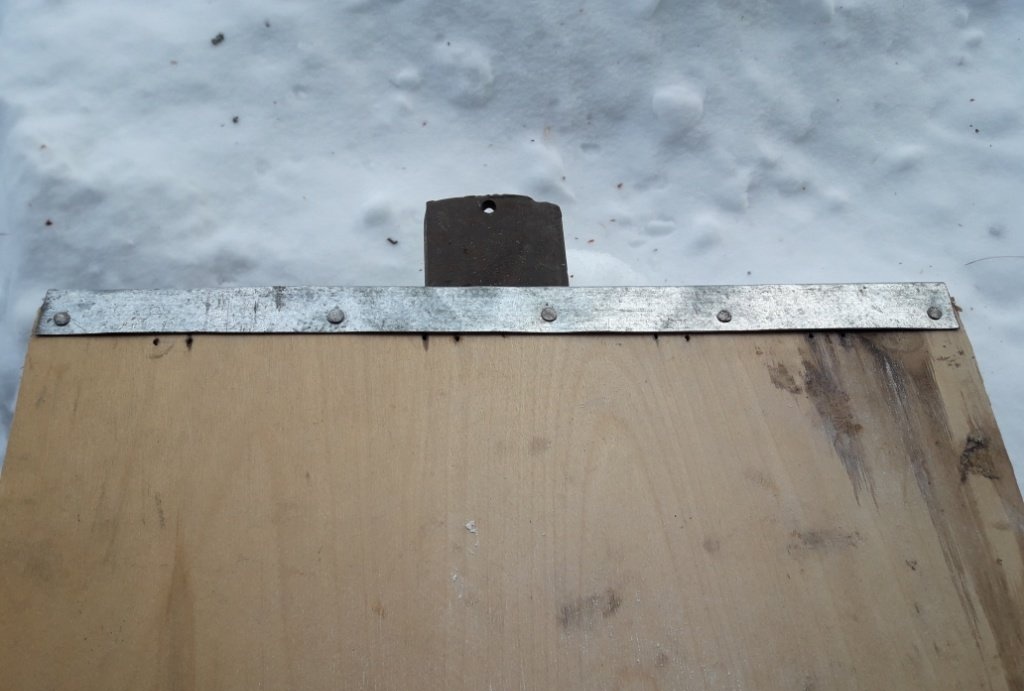
Now we cut off the top of the cutting at an angle of approximately 35-45 degrees.
Place it on the middle of the plywood and mark it with a pencil. We drill through holes in the handle and plywood.

We fasten it all together with a bolt.
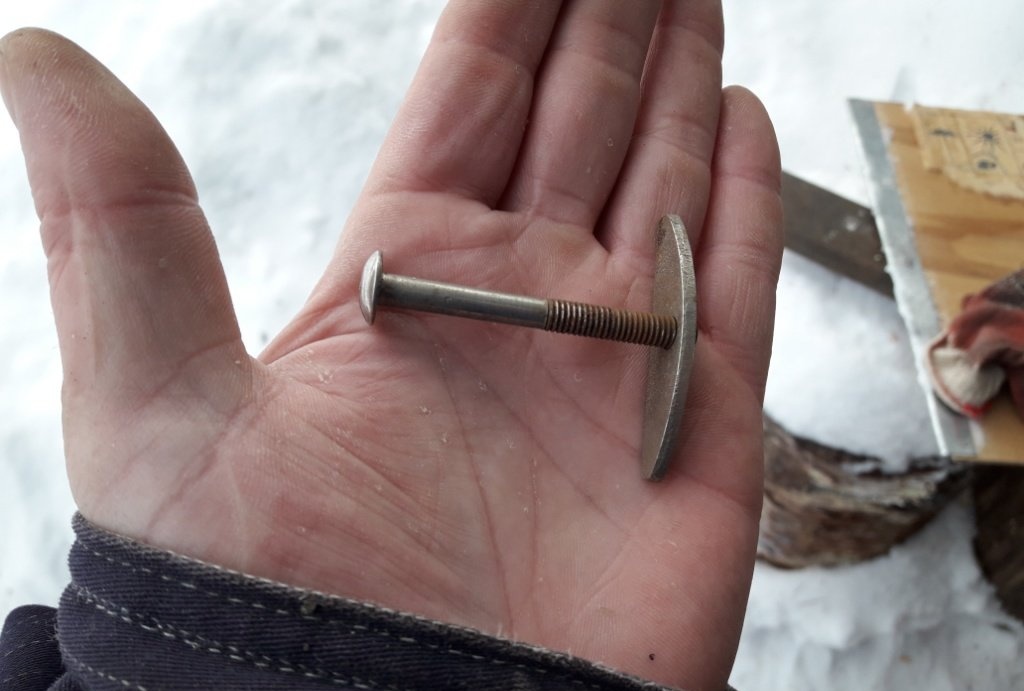
If there is no bolt with a flat and wide head, cut out a washer from galvanized steel.
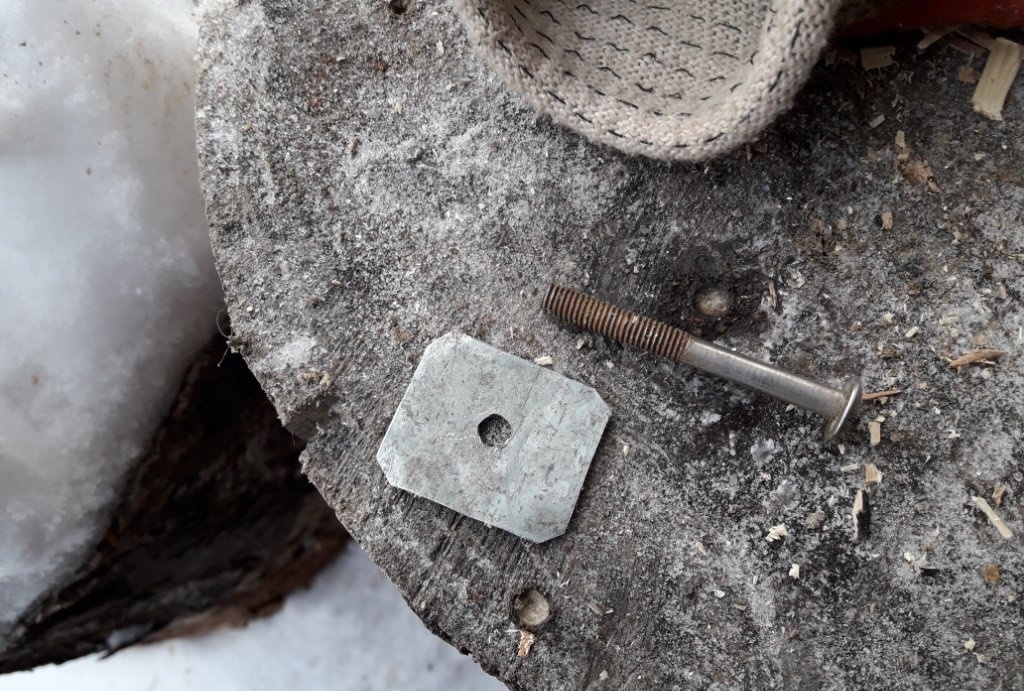
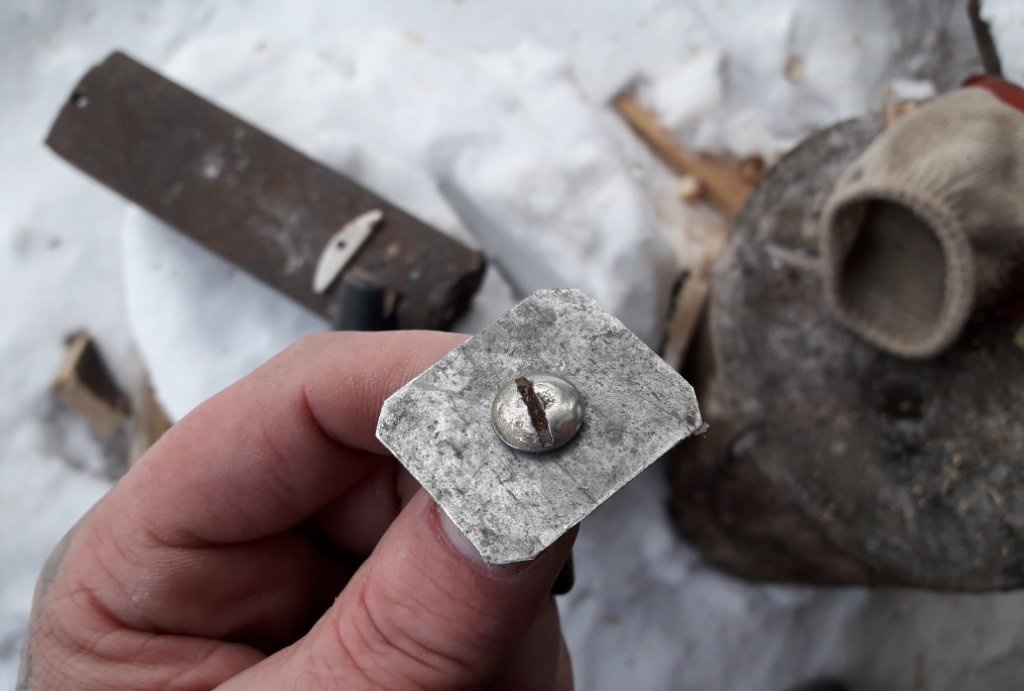
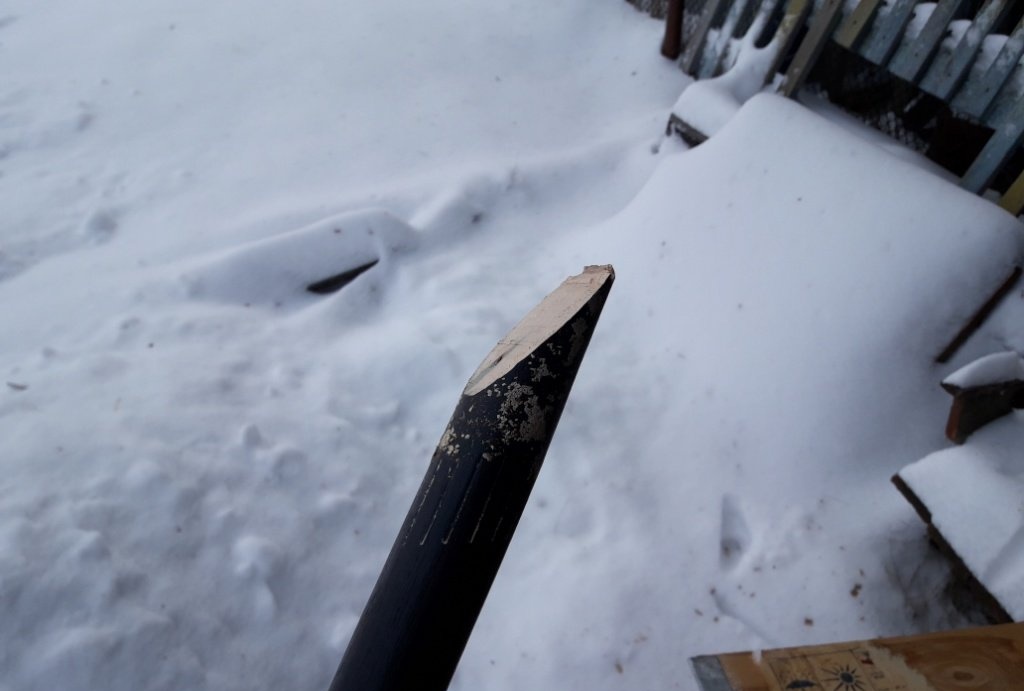
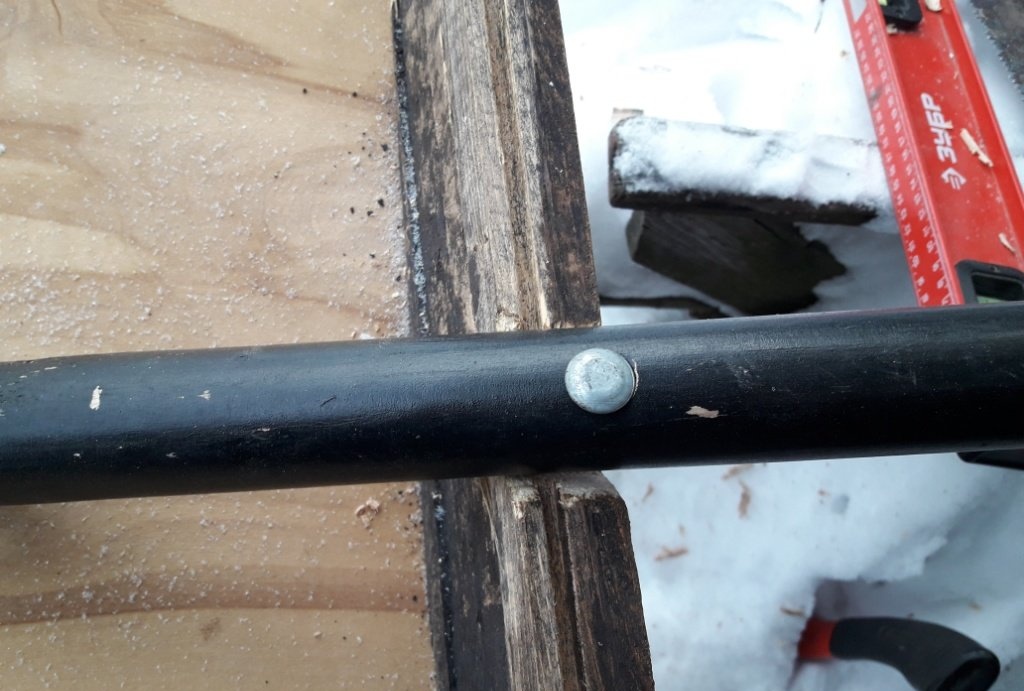
This is so that the plywood does not break under the screw head due to the weight of the snow. Now there is one more fastening, a handle to the end board. Here it is enough to simply drive the nail in more powerfully. I took the slate one.
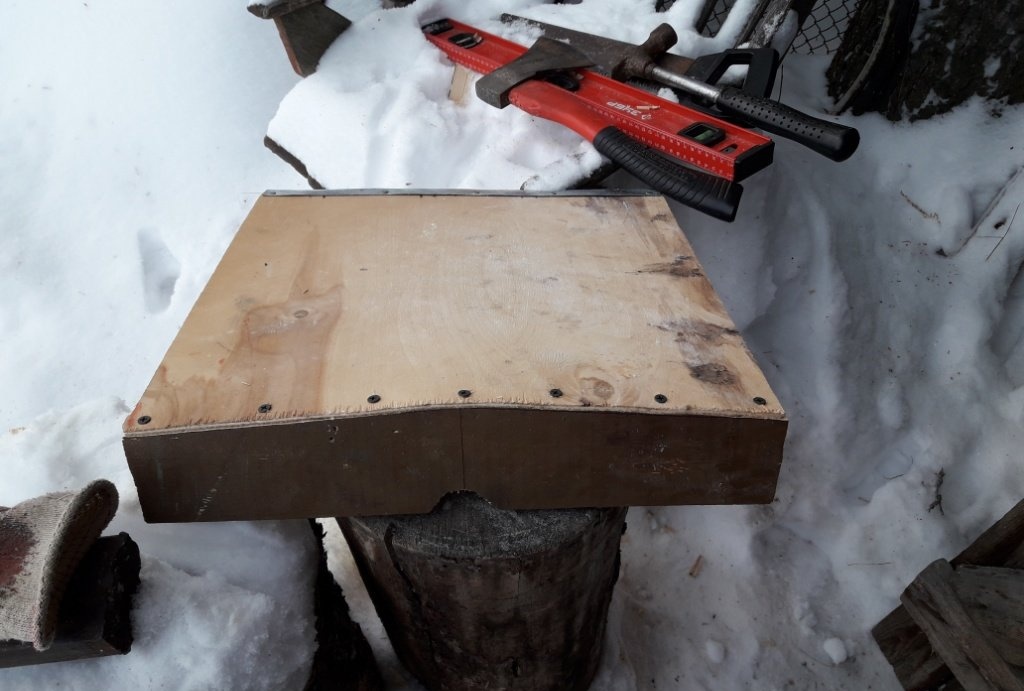
Well, at the end, I attached a handle-top to the handle, which I brought from work along with the handle, having removed it from a broken plastic shovel.
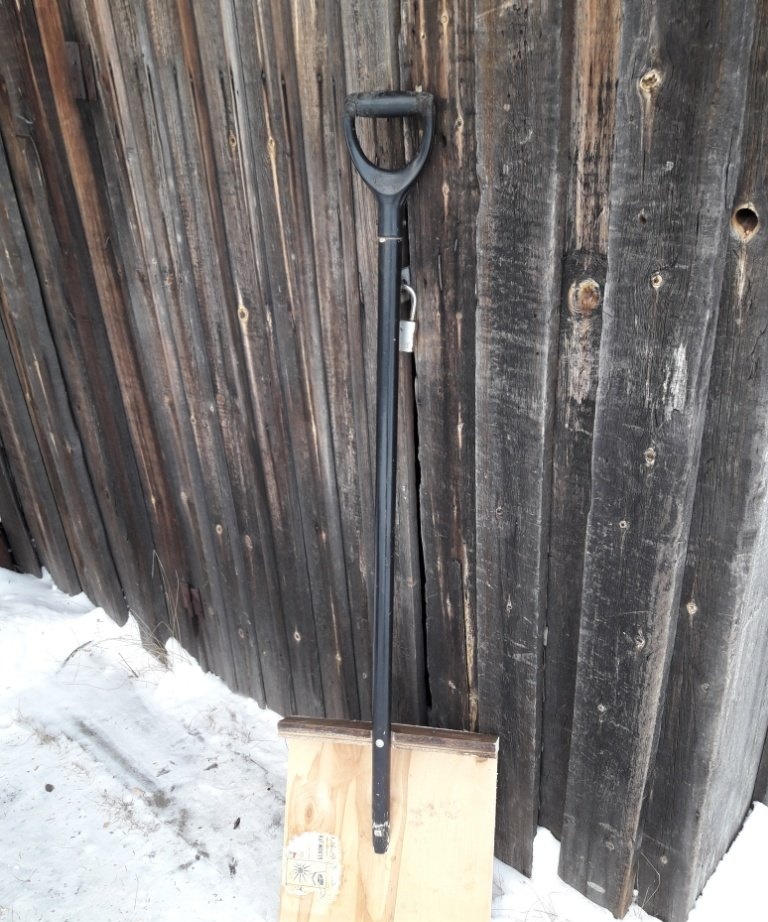
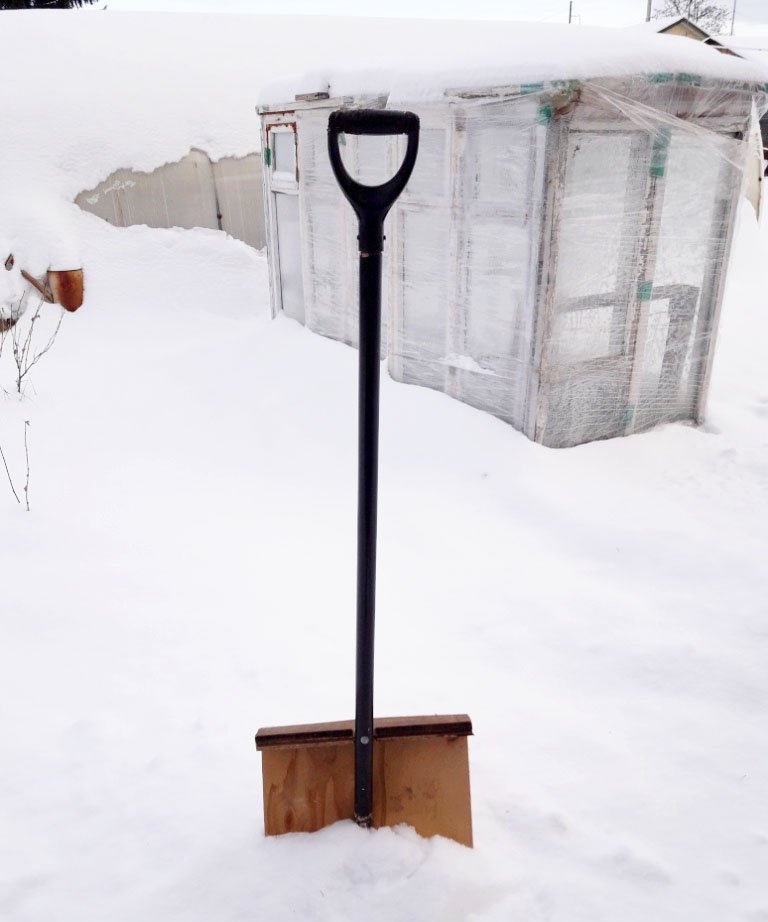
Such a good shovel cost us the price of a bag of screws. Well, and also at the price of the top of the handle, if you buy it.The same previous wooden snow shovel served me well for four winters, taking into account minor repairs in the fall, before the start of the snow season.