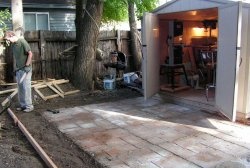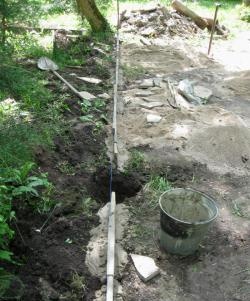
After the base is prepared (cutting the turf, deepening the area by 20-25 cm, backfilling with medium-sized gravel no less than half, and on top with sand with a thorough ramming of both), you can proceed to paving.
To do this, you can buy ready-made paving slabs, which is not cheap, and there are not enough guarantees that it will remain whole after the first winter. But you can try to fill the tiles right on the site, having the appropriate shape and the finished cement mixture.
Anyone familiar with at least the basics of construction can do this job. In principle, physical strength is needed here more than serious professional skills.
Necessary materials, tools and devices
From the materials we need a ready-made cement mixture for molding concrete tiles, water for mixing the mortar and washed river sand (preferably up to 0.2 mm) to fill the joints between the tiles after they have completely cured.
It is also necessary to prepare the following tools and devices:
- Capacious container for mixing concrete.
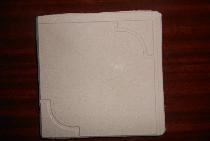
- A set of molds of a certain configuration with a “cover” for forming faces with slopes (it can be purchased at a hardware store or ordered in China. - ).

- Electric drill and nozzle for mixing the mixture, and water.
- Construction trowel for leveling the surface of the mold filled with mortar.
- Waterproof (rubberized) gloves.
- Garden trolley for sand transportation.
- Brush for sand distribution over the surface of the paved area.
- Spray hose for sand dampening.
- A shovel to remove excess sand.
Terrace paving sequence
We mix a cement mixture - a 40-kg bag - into a container for kneading. Add the required amount of water there (about one small bucket). All details of the preparation of the mixture can be found in the instructions printed on the package.
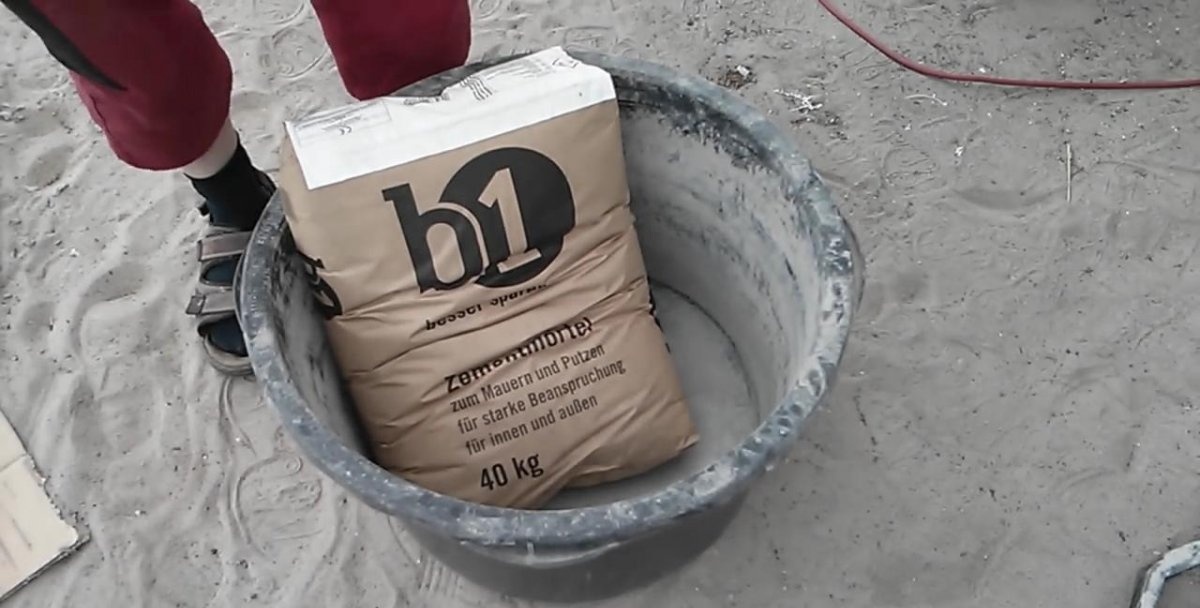
Using a nozzle and a drill as a drive, thoroughly mix the contents of the container for several minutes until a homogeneous mass of medium consistency is obtained.

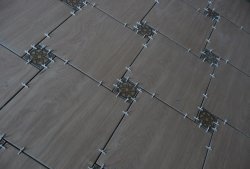
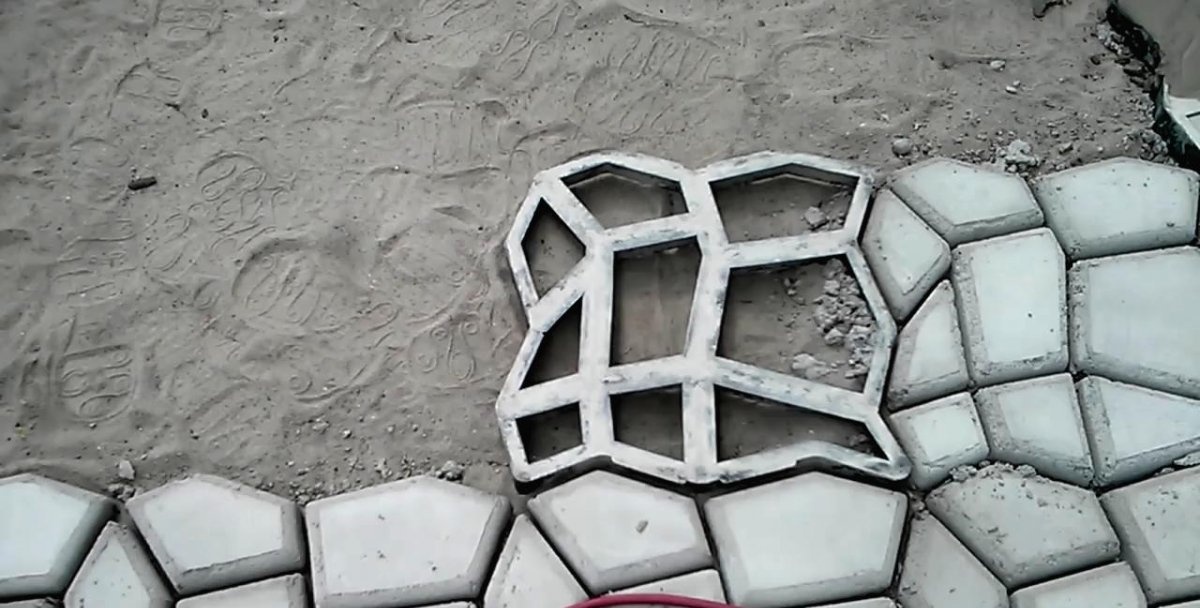
Then we lay the mold in the right place, observing the lateral gaps with the already cast concrete tiles. Using a level gauge, we check its horizontalness in the longitudinal and transverse directions.
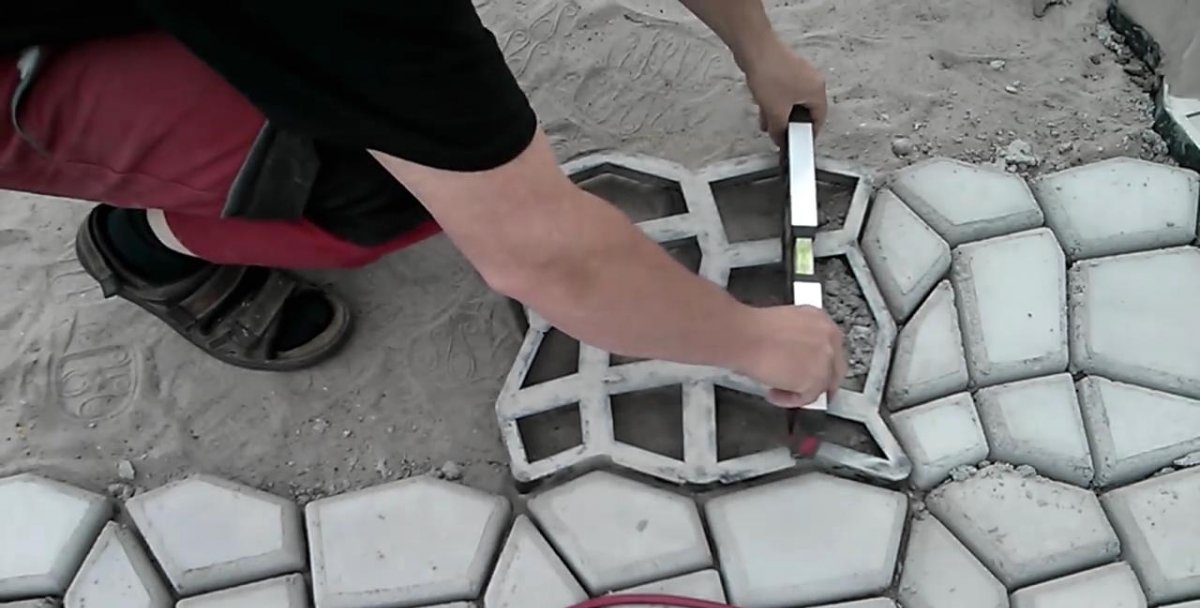
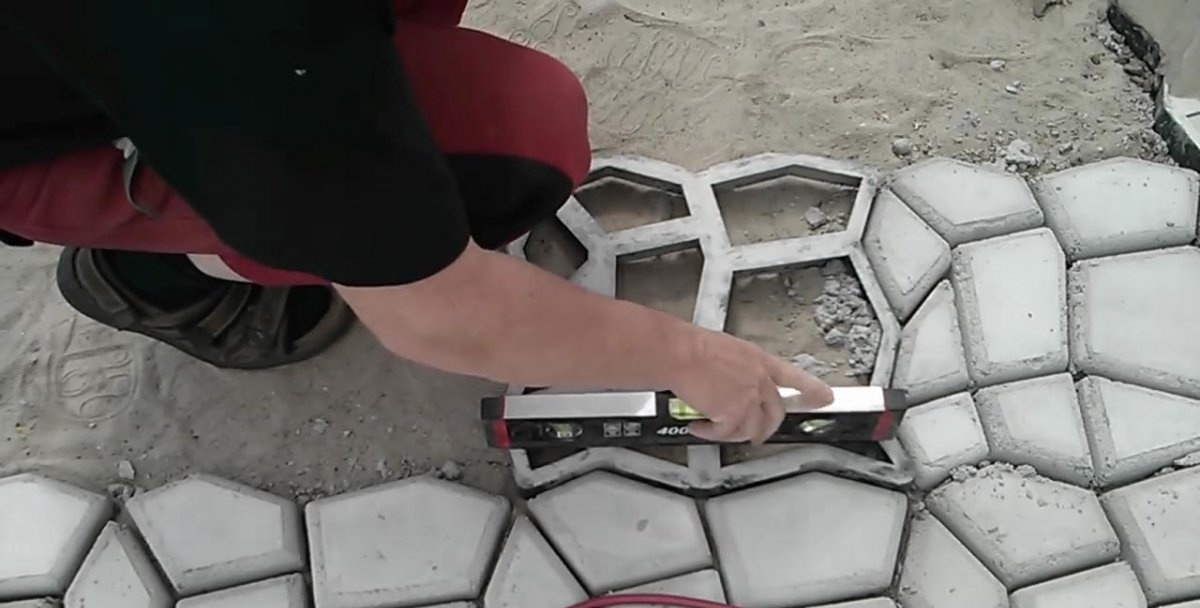
If necessary, we make adjustments to the location of the molding element.
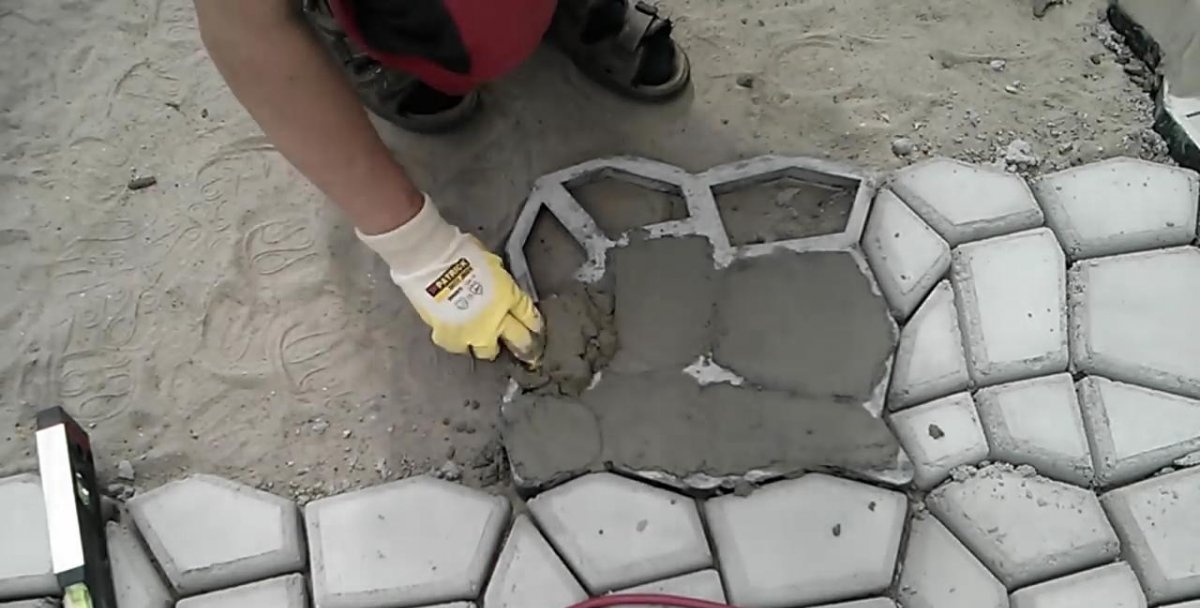
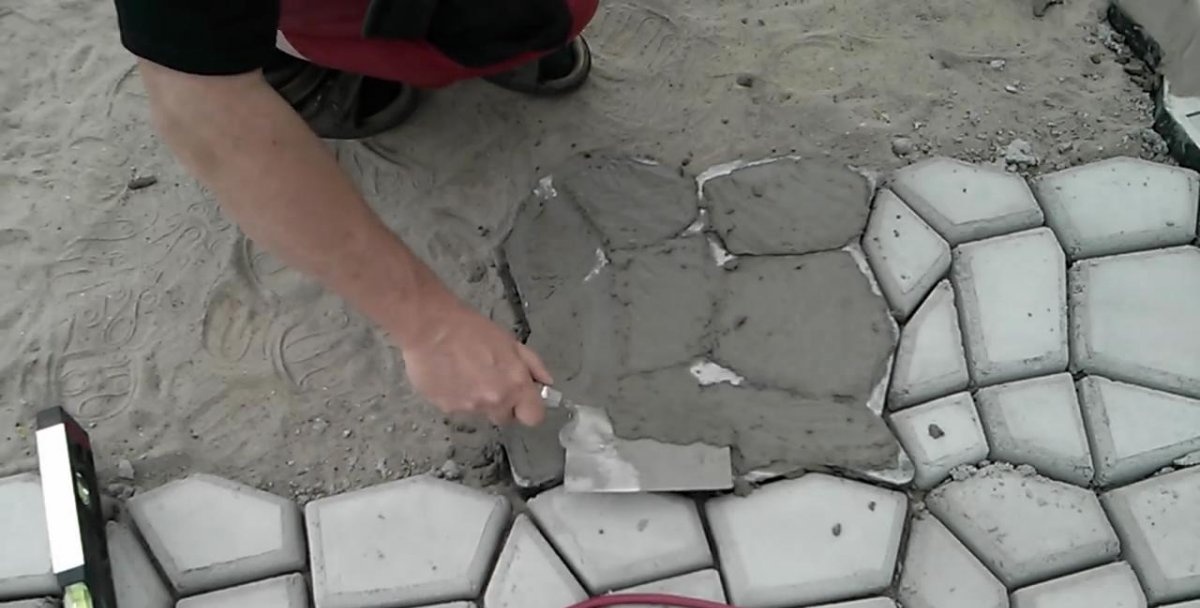
Next, we put the mixed cement mortar into the “windows” of the mold, carefully tamping it, especially around the edges (you can use your fingers with gloves), with a small “slide”.
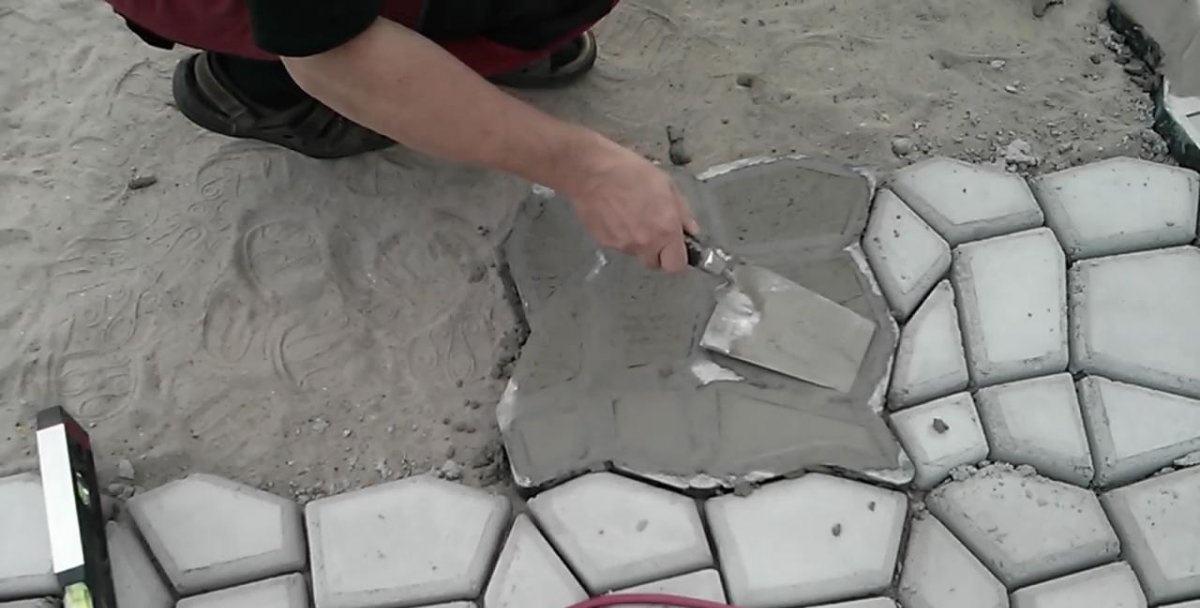
Then we "cut off" the excess solution with smooth oscillating movements using a construction trowel flush with the surface of the mold, and send it back to the container with concrete mortar.
The mixture in the “windows” of the forming element is wiped using the same trowel to obtain a flat and smooth surface.
We put the “cover” on the mold and press it firmly against the mold so that inclined faces are formed along the boundaries of the concrete tile elements. The chamfered edges after hardening make the tile stronger (sharp corners do not break off from it).
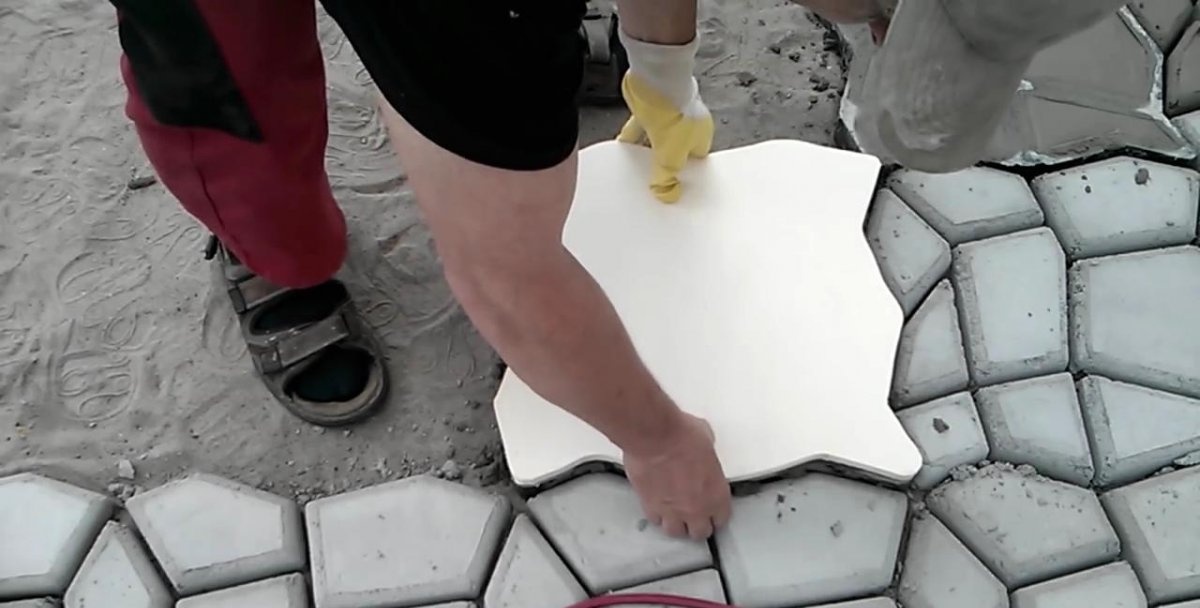
After making sure that the “lid” tightly and evenly “sat down” over the entire plane of the mold, we hold them together for a while, and then we carefully start lifting both molding elements, not moving them to the side, but lifting them evenly upwards.
This operation not only strengthens the edges of the tile, but also squeezes the excess solution with its ribs into the mold. But since there is nowhere to go from above the concrete mass, it is compacted, and the top of the finished tile turns out to be absolutely smooth.
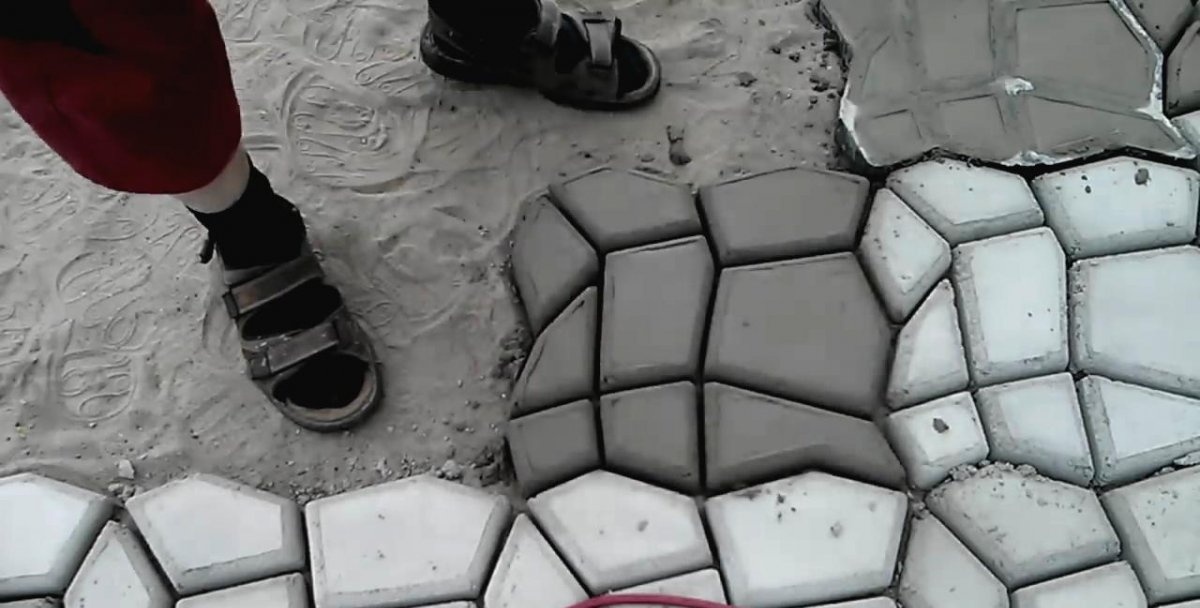
After removing the molding kit, we make sure that the newly cast concrete tile has no defects. And only after that we proceed to the formation of the next tile.
Sand filling between tiles
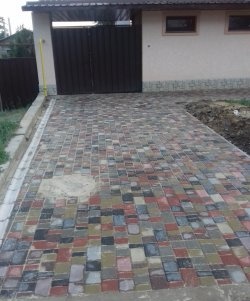
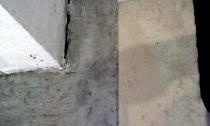
The easiest and cheapest way to fill in the gaps between completely dried and hardened concrete tiles with building sand of river origin.
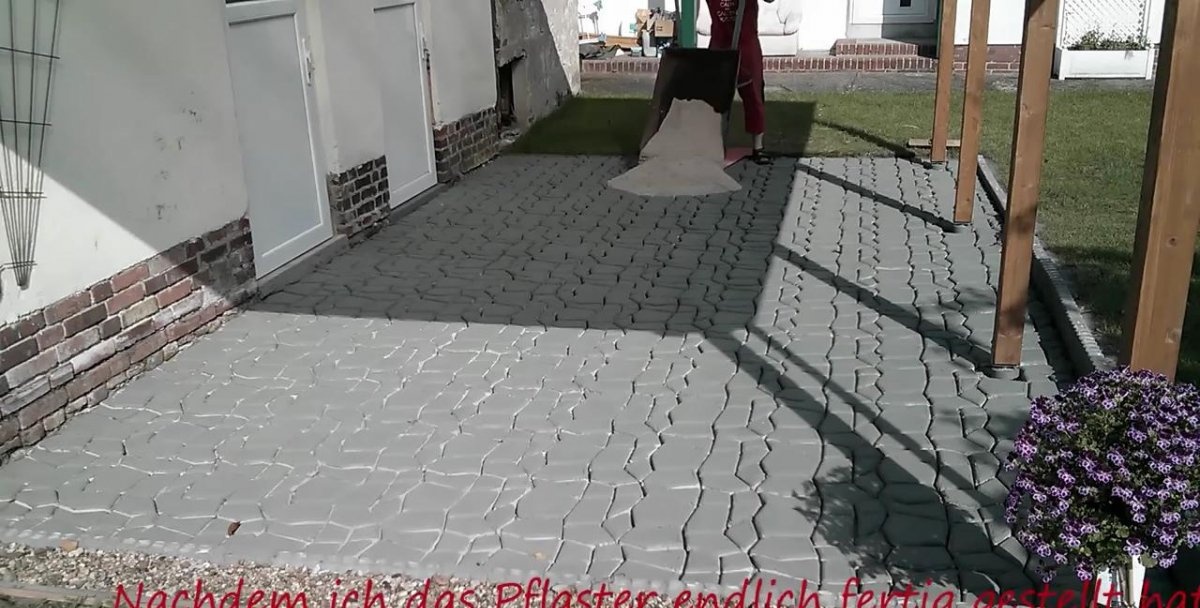
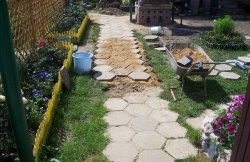
This should be done in stages from one end of the completely paved area. In our case, the portion served is the volume of sand placed in the garden cart. Pour sand around the centerline of the site, backing off some distance from the edge.
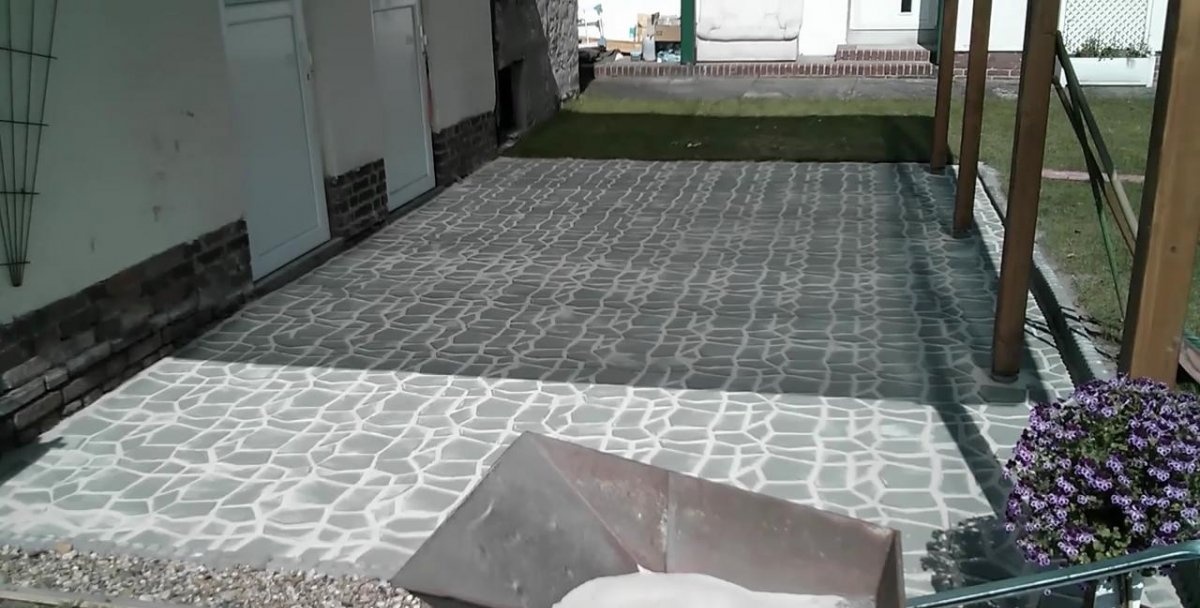
We pick up a brush on a long handle and, starting from two edges, evenly distribute sand towards the center of the site, carefully filling the seams between the tiles.
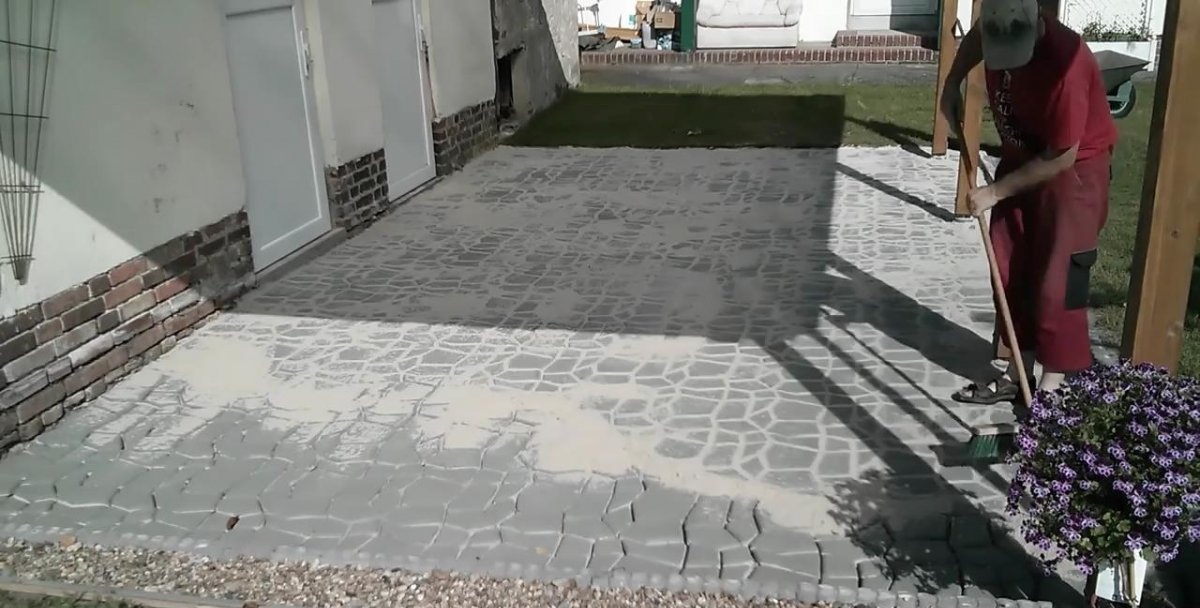
Then we bring up the second carriage of sand, pour it also along the center line at the border between the covered area and still clean. In the same way we distribute sand with a brush from the edges towards the center of the site. And so on until the entire platform, and therefore the cracks, are filled with sand.
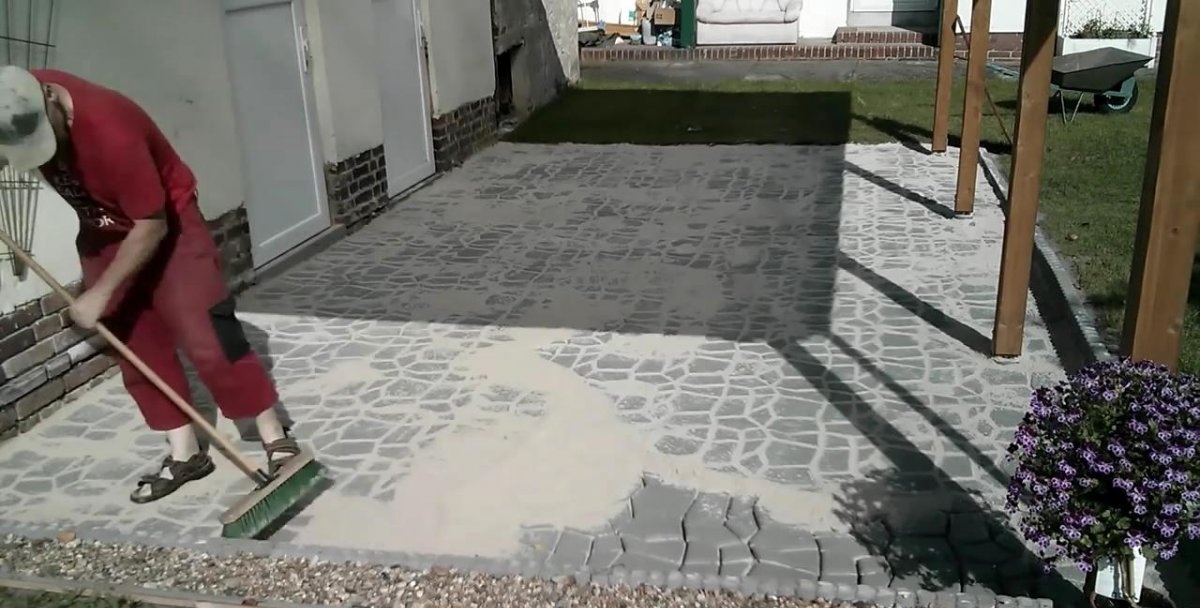
We check the quality (uniformity and density) of filling the cracks throughout the site, we correct where necessary with a brush, remove debris (large pebbles, leaves, grass).
Now we stretch the hose with a spray at the end and from the beginning of the site we begin to moisten it abundantly with a not very strong pressure of water so as not to wash the sand from between the tile slots, but rather ram it there with water.
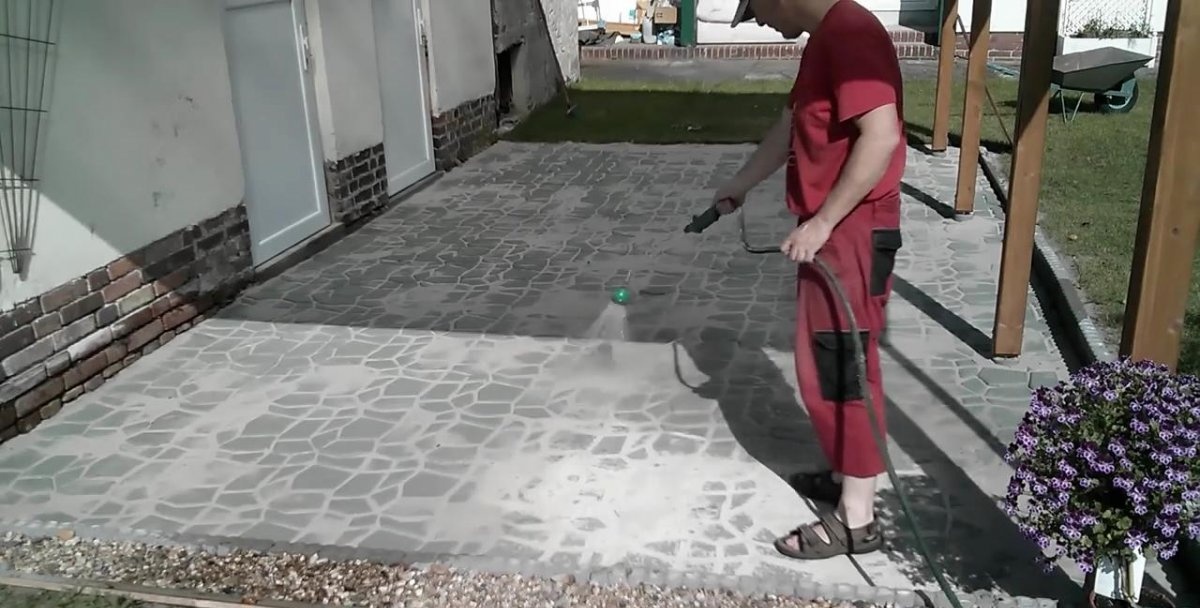
We allow the moisture to absorb a little, and the sand to compact in the cracks, and begin to sweep it off with a brush from the beginning of backfilling of sand. At the same time, most of the sand remaining on the tiles falls into the cracks, and the collected volume at the end will be no more than 2-3 shovels, which we load into the garden cart.
Separate comments and tips
If the paved area is in the open, it is necessary to form a slope so that rain or irrigation water does not accumulate on the tiles of the site. To make matters worse, she, falling into the seams between the tiles, can freeze and ruin the masonry.
Sand for filling the seams must be absolutely clean. For reliability, it is better to sift it, otherwise vegetation may appear between the tiles, which, of course, will not contribute to the paving strength.
Instead of pure river sand, in some cases it is better to use a garching to fill the joints - a mixture of dry sand and cement in some proportion. Over time, such a mix sets and strengthens the tiled coating, taking part of the load on itself.