Nowadays, quite a lot of attention is paid to traditional crafts; we are learning again to do what our ancestors knew how to do. And this is good, because this way we can understand how these people lived, what they believed in and what they were afraid of.
One of the traditional crafts is folk dolls. The dolls were different, sometimes children simply played with them, and sometimes they had important ritual significance. In this article I will tell you how to make a talisman doll called “rvanka”.
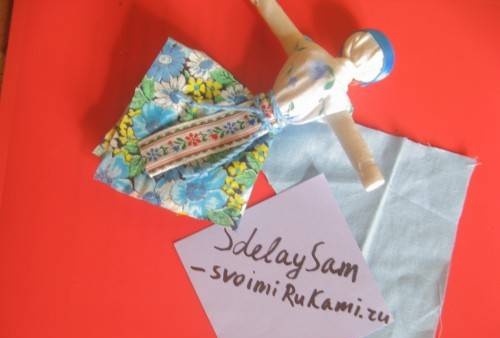
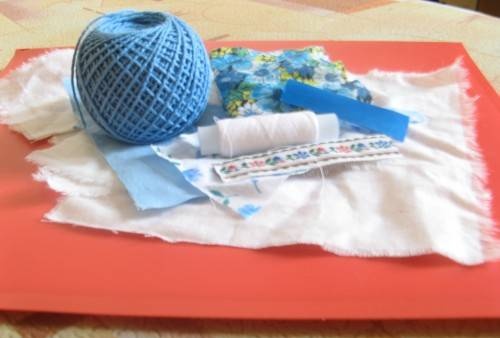
You need several scraps of white calico and multi-colored calico, a little cotton wool, ribbon and braid, white spool threads, and some bright threads for knitting.
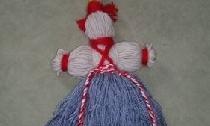
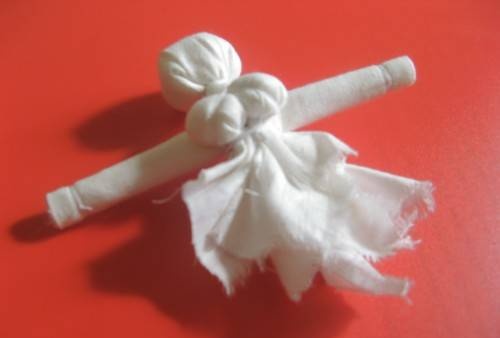
We take a square (16 X 16 cm) of white calico and silent cotton wool. We place the cotton wool in the center of the square, cover it with fabric and tie it with bobbin thread. This is what you should get:
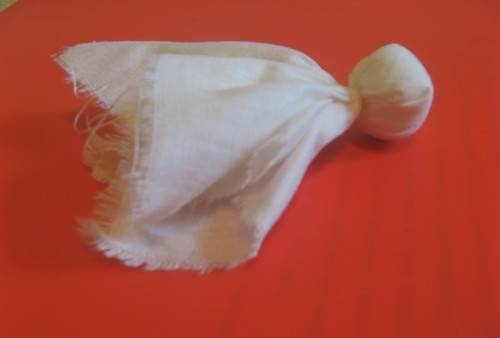
This is the head for our doll. Now we make handles: we fold a rectangle of white calico (16 X 12 cm) along the edges and roll it into a tight roll, we pull the edges of the roll with threads. We put the arm part between the ends of the base part and tie it crosswise.
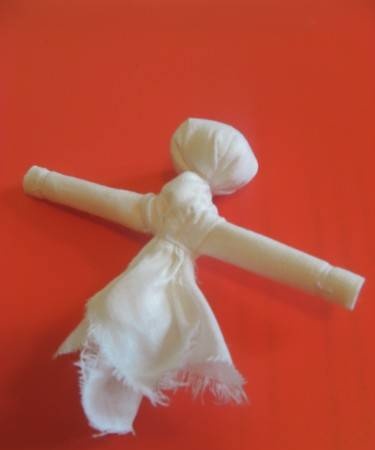
We make the chest parts in the same way as the head, from 7 X 7 cm squares, then tie them to the base.
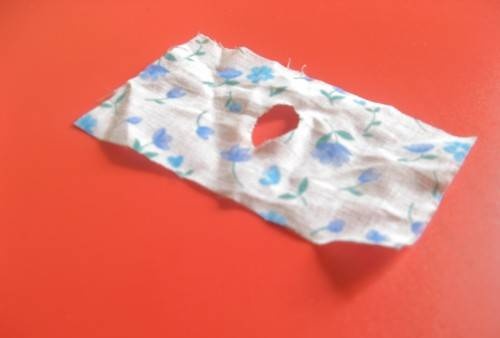
Now we take a piece of chintz (10 X 6 cm) for the shirt and make a hole in it for the head.
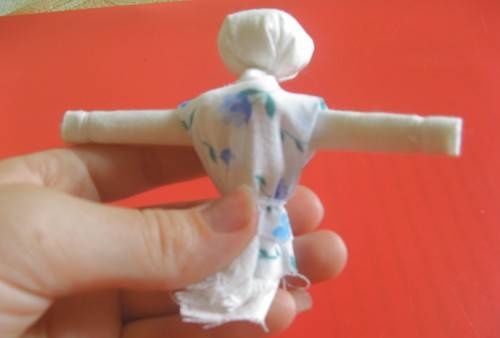
We turn it on both sides and put it on the doll, fastening it with threads along the “waist” line.
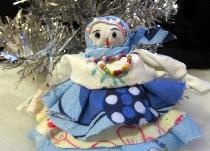
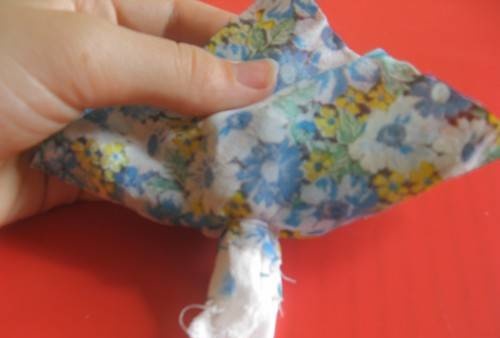
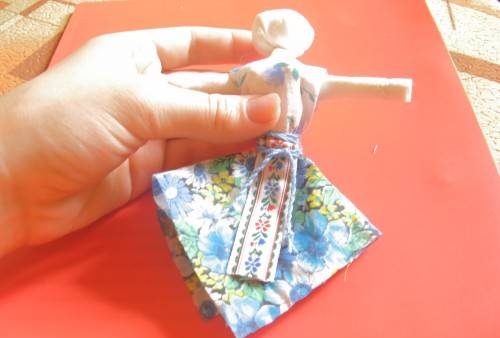
Then you need to dress the doll in a skirt. On a square of chintz (14 X 14 cm) we make a cross-shaped cut in the center and put it on the doll, as shown in the photo.
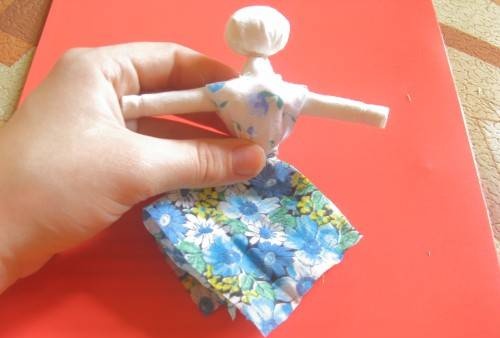
After this, we bend the skirt, lay it in even folds and tie it with threads along the waist.
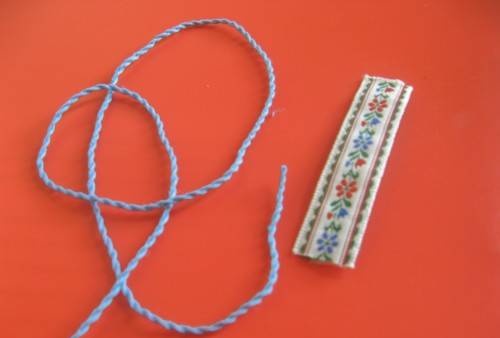
Well, we make the belt itself with an apron. We cut off about a meter of knitting thread and twist it into a cord, and also take a piece of braid (8 cm).
We bend the end of the braid and put the lace there.
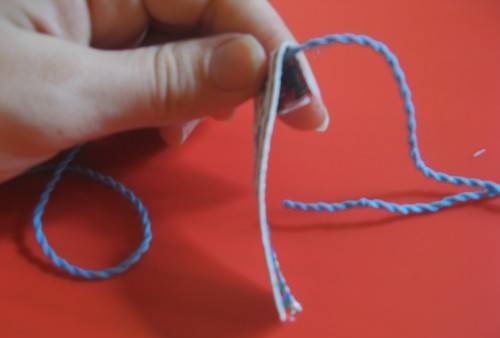
We adjust the structure into place, wrap the cord around the belt several times to hide all the bobbin threads.
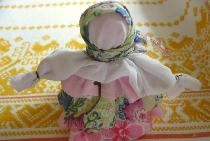
All that remains is to design the head. We place a small piece of tape (6 cm) around the doll’s head and secure it with several stitches. We are preparing a chintz scarf (a right triangle with a side of 13 cm).
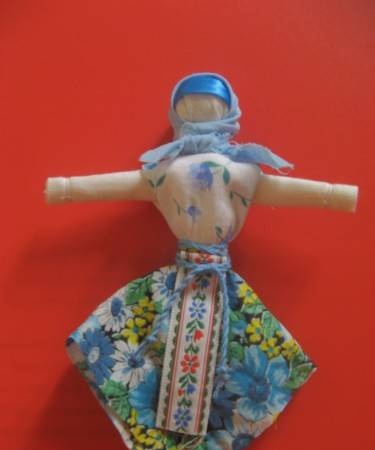
Fold the scarf over the larger side and tie it over the ribbon.
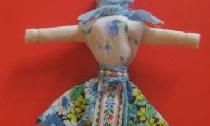
The doll is ready!