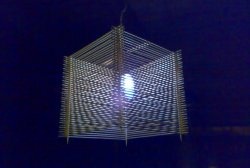
One of the rooms clearly lacked light night lighting, so it was necessary to install some simple lamp. I decided to make it with my own hands from wood, which will allow it to fit into the overall interior much better than using store-bought plastic or metal night lights. I'll tell you in more detail.
Materials used
To make the lamp, I used almost the cheapest materials:
- rail 30x20 mm – 1.2 m;
- board 150x20 mm – 0.45 m;
- board 200x30 mm – 0.9 m;
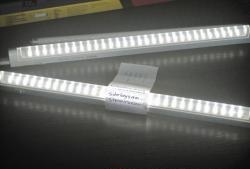
- LED strip – 1.5 m;
- copper stranded electrical cable 1.5 sq. mm – 2 m;
- terminal block;
- 12V power supply;
- small cloves;
- wood glue.
Manufacturing and assembly of LED lamp
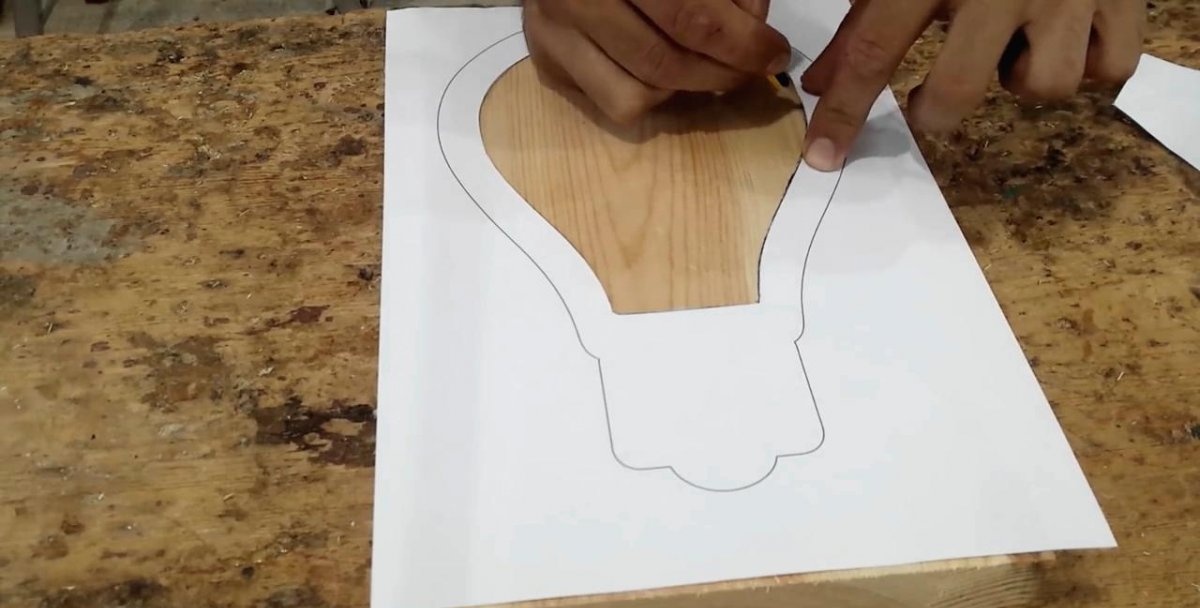
First you need to make a light bulb template. It is drawn or printed on a sheet of A4 paper. Next, using a knife or scalpel, you need to cut it out.

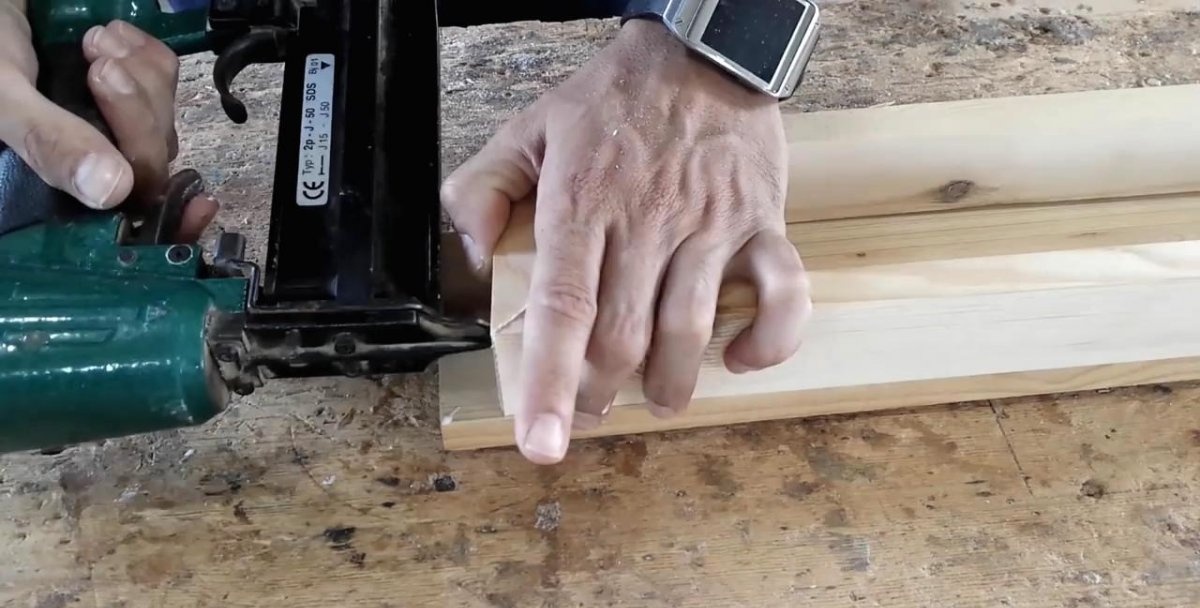
I cut the existing board 200x30 mm into 3 pieces 30 cm long. I put the template on them one by one and trace them with a pencil. As you can see, first I draw only the inside of the lamp.
Now I make a through hole on the inside of the circled workpiece, insert a jigsaw into it and cut along the contour.Since the width of the file does not allow it to be rotated 90 degrees, I first make a rough cut and remove the excess, and then carefully cut it to fit the pencil line. I will prepare all 3 light bulbs this way.
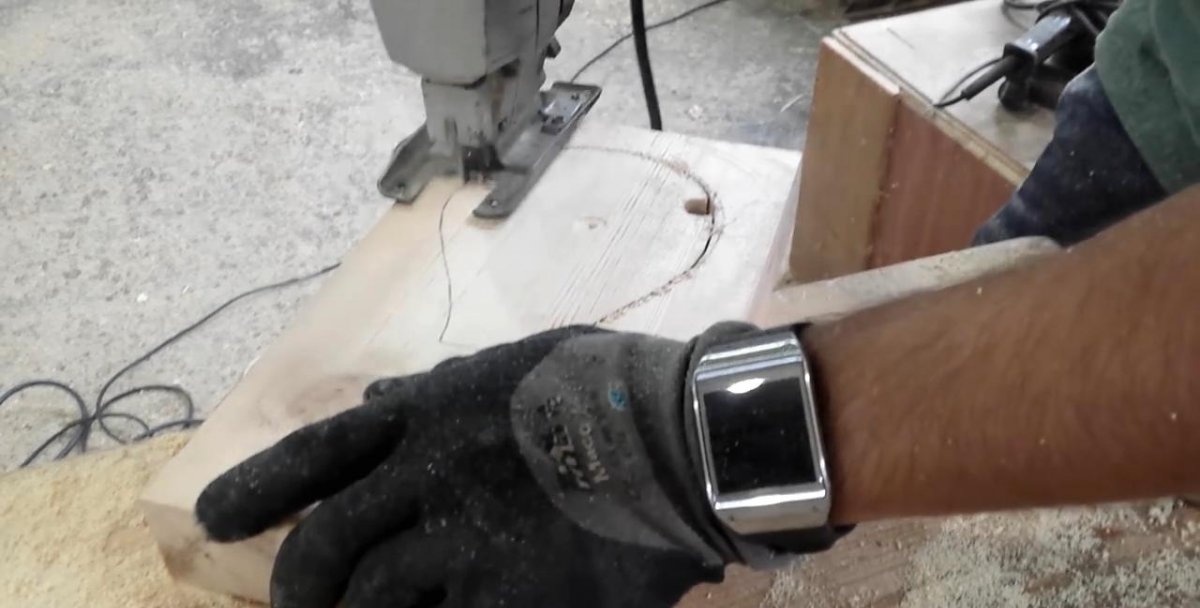
A jigsaw is an imprecise tool, so the cut is rough. Taking a rasp, I bring the surface to perfection.
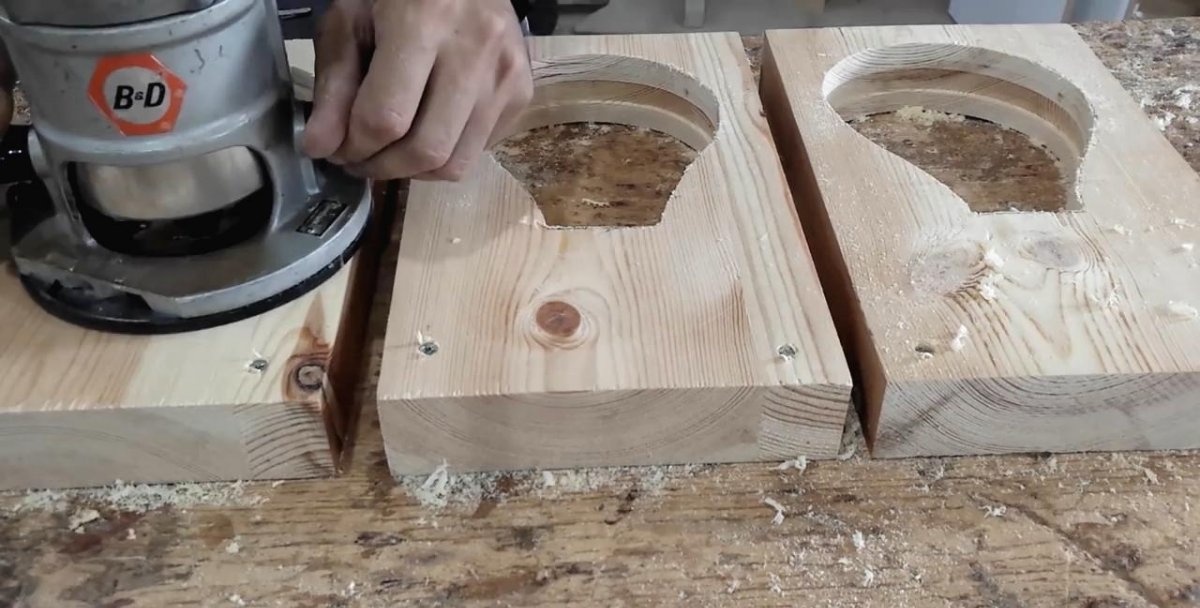
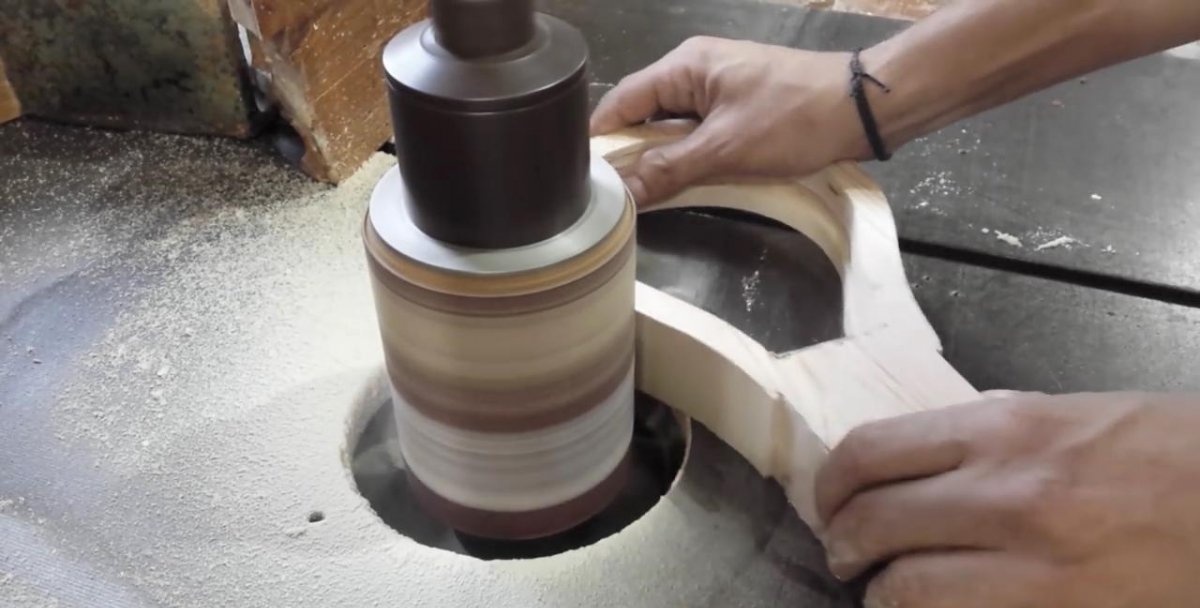
I fasten the workpieces to the workbench tabletop with screws so that they are securely held during further processing with power tools.
Install cutters for cutting a groove 10 mm wide on a hand router. I set the depth of the upper groove processing line to 10 mm and pass the inner ends of the workpieces along the perimeter cut out with a jigsaw. The result is a groove 10 mm wide and the same side walls.
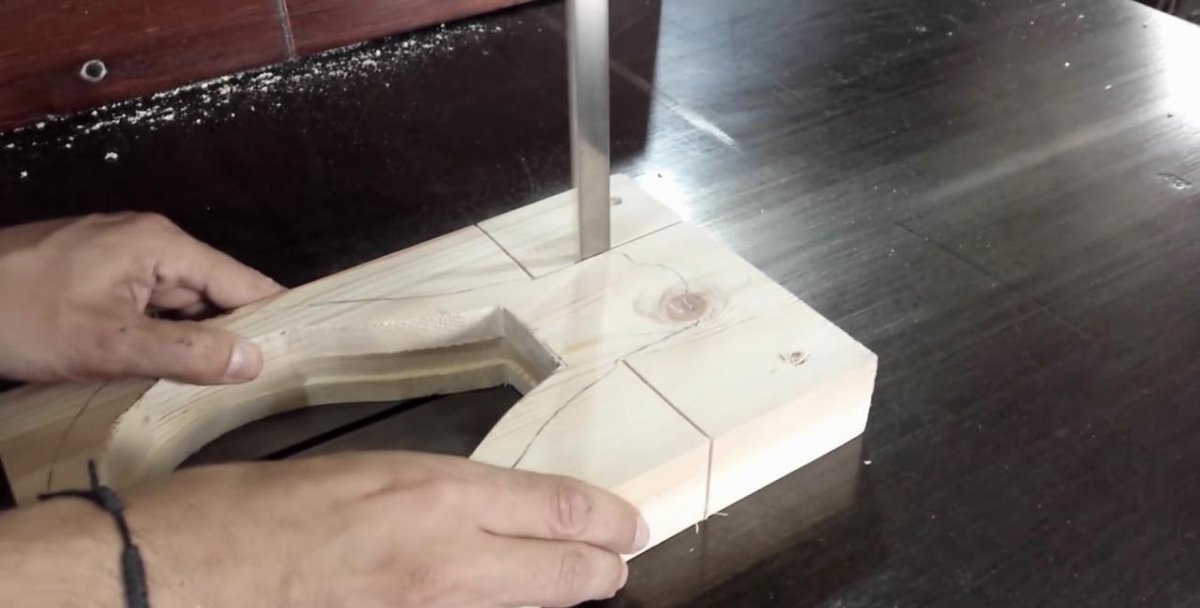
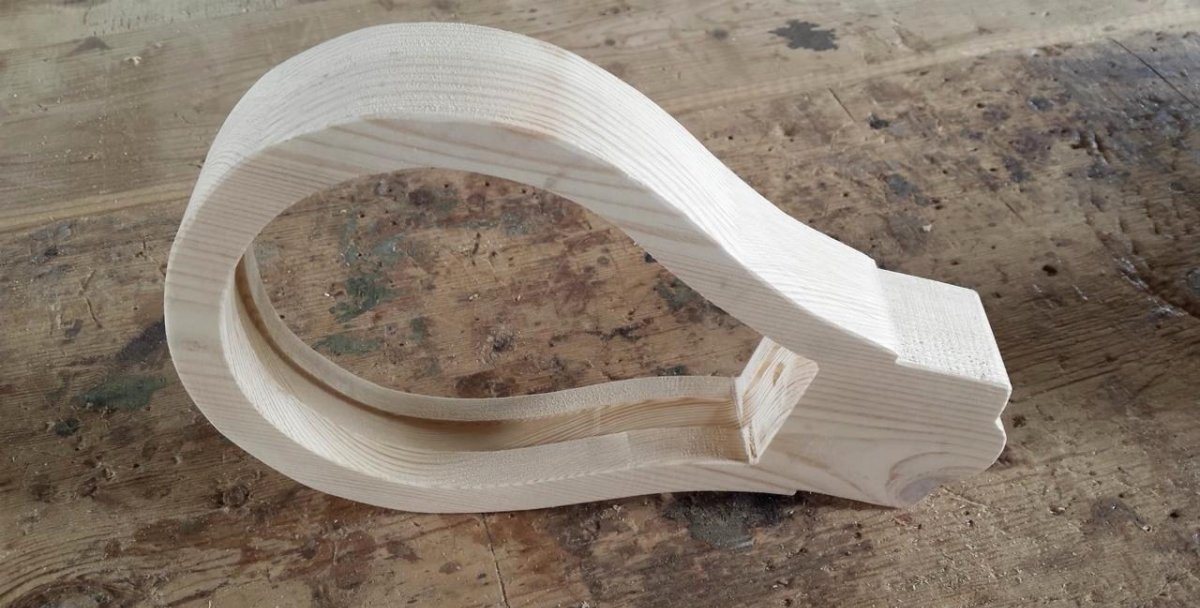
Next, I cut out the paper template to the end and apply it to the processed workpiece. I outline the external dimensions of the light bulb. The main thing here is to keep the paper pressed tightly so that it does not move, since in the future such an error will be noticeable on the finished part.

Now I cut the outer side of the workpiece. This is convenient to do on a band saw, since it precisely maintains a 90-degree angle between the sides of the part. Of course, in its absence, you can use a jigsaw.
Next you need to process the rough cut from the saw. I do this with a cylindrical sander. A few passes are enough and the outside becomes smooth. Of course, the grinding cylinder is not a panacea, so I finish the corners in the part of the lamp base with ordinary sandpaper attached to a wooden block.
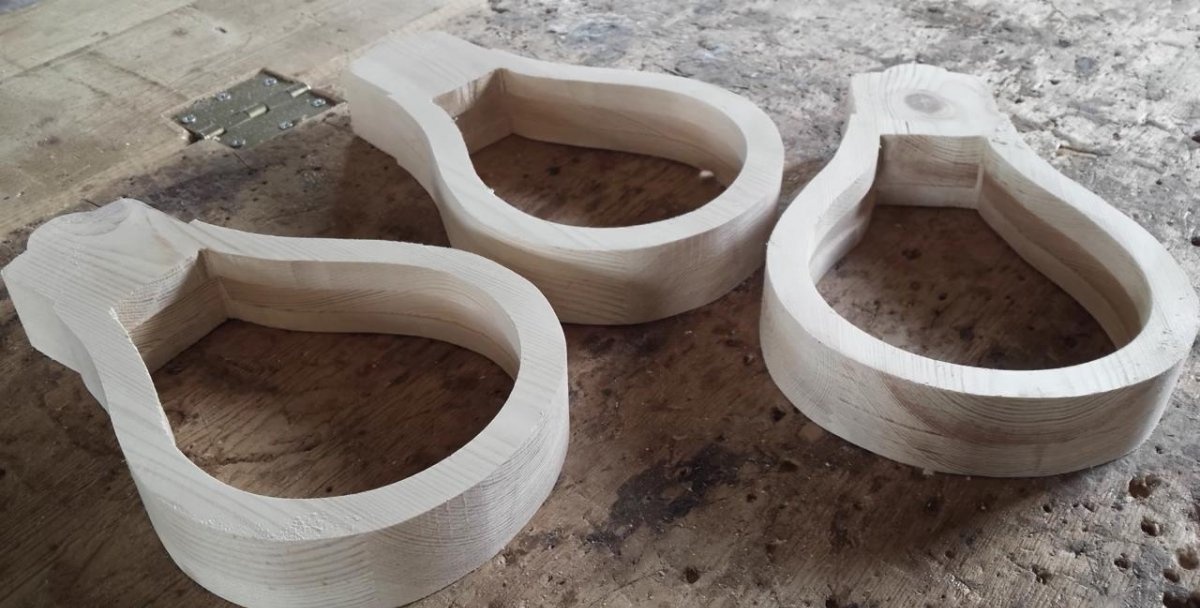
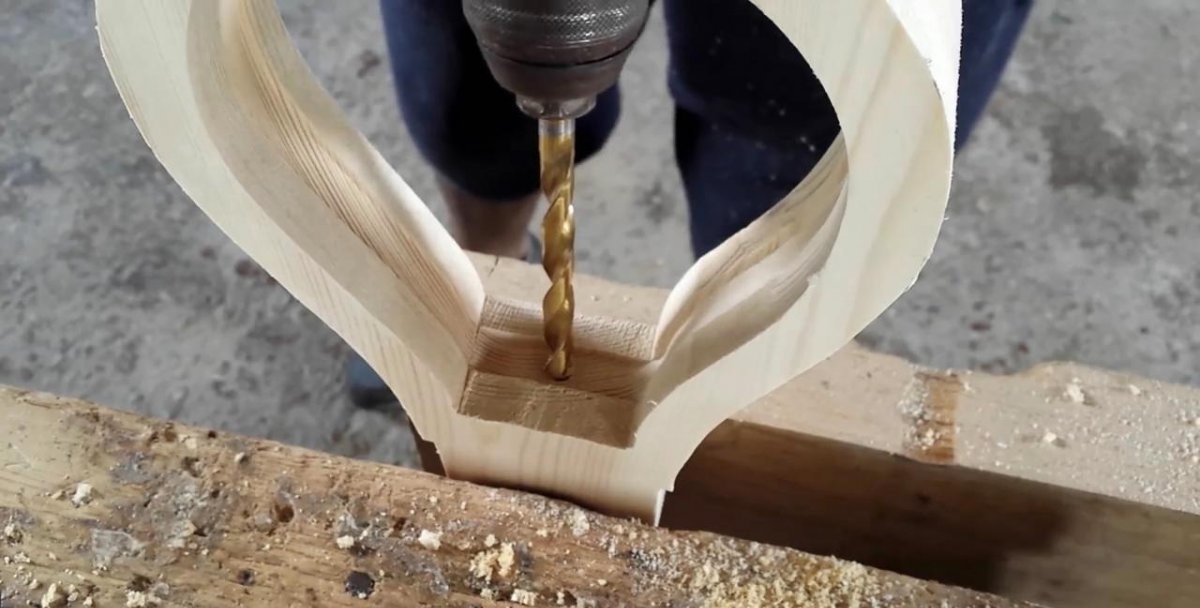
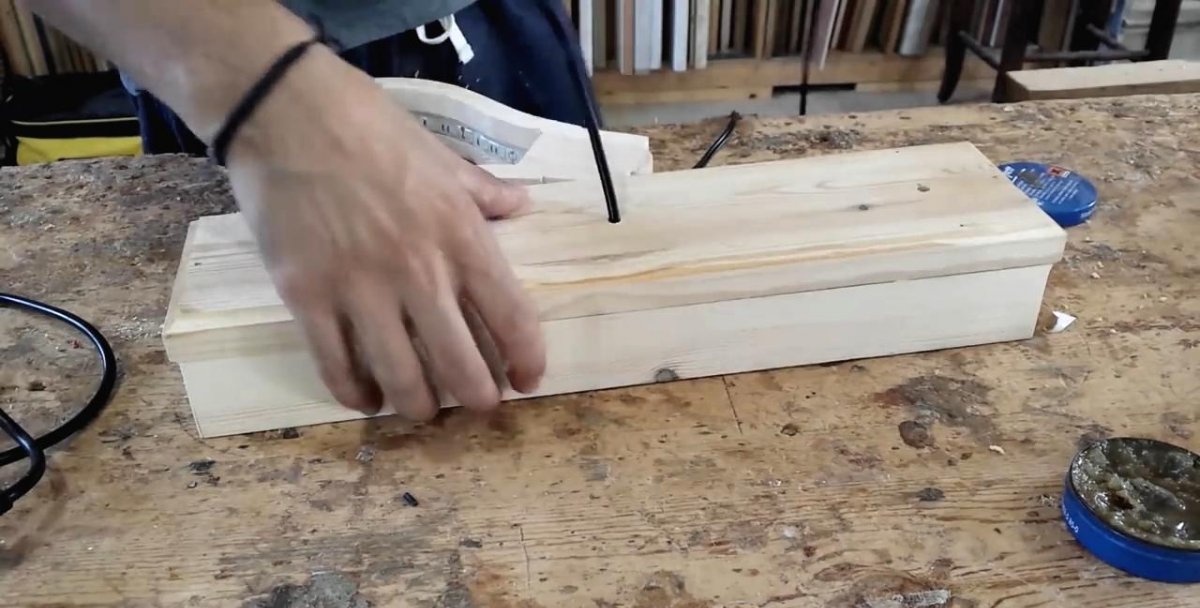
To mount the resulting light bulb in the lamp and connect the electrical wire to it, you need to drill a through hole at the end of the base. To do this, you can use an 8 mm drill. On the back of the hole you need to make a countersink with a 10 mm drill.So we prepare all 3 blanks.
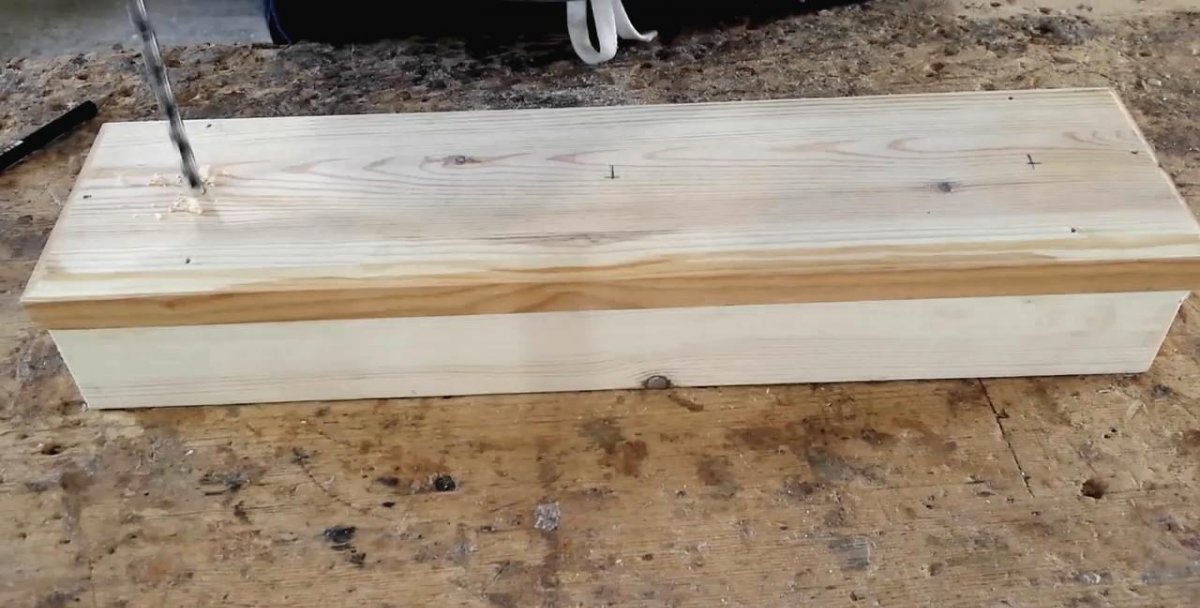
Now I'm fixing the lamp. To do this, I use a router to chamfer a 150x20 mm board.
Next, I take a wooden strip and cut it into four pieces. Of these, 2 are 45 cm long and 2 are 15 cm long. Adjusting their ends to 45 degrees. Next, I fold them into a frame, pre-coating the ends with glue.
In order not to use clamps and not wait, I additionally hammer small nails into the frame. I coat its lower part with glue and glue it to a chamfered board, also strengthening the structure with nails.
As a result, I got a box. On the outside of its bottom, I drill 3 holes at equal distances from each other, making a 4 cm indent from the edges.
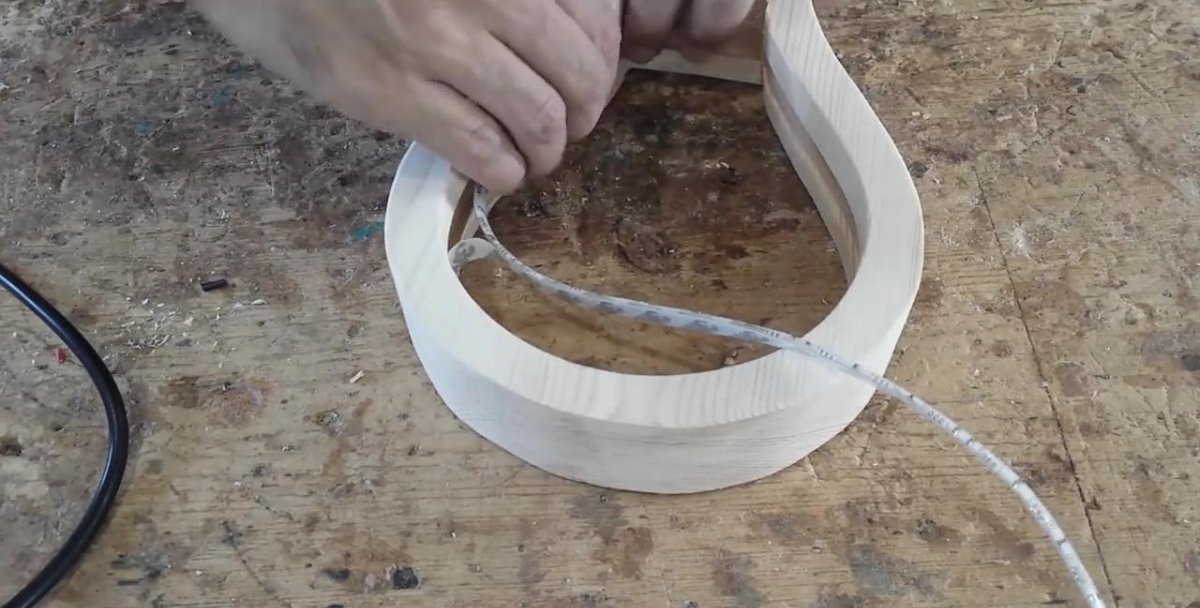
I take a roll of LED strip and insert it into the groove of the light bulbs to measure the required circumference. Next, I cut 3 pieces of tape. I turn on the soldering iron and solder wires on the strips to connect to the power supply. The length of the wires is different for each workpiece. I use lengths of 40, 50 and 60 cm.
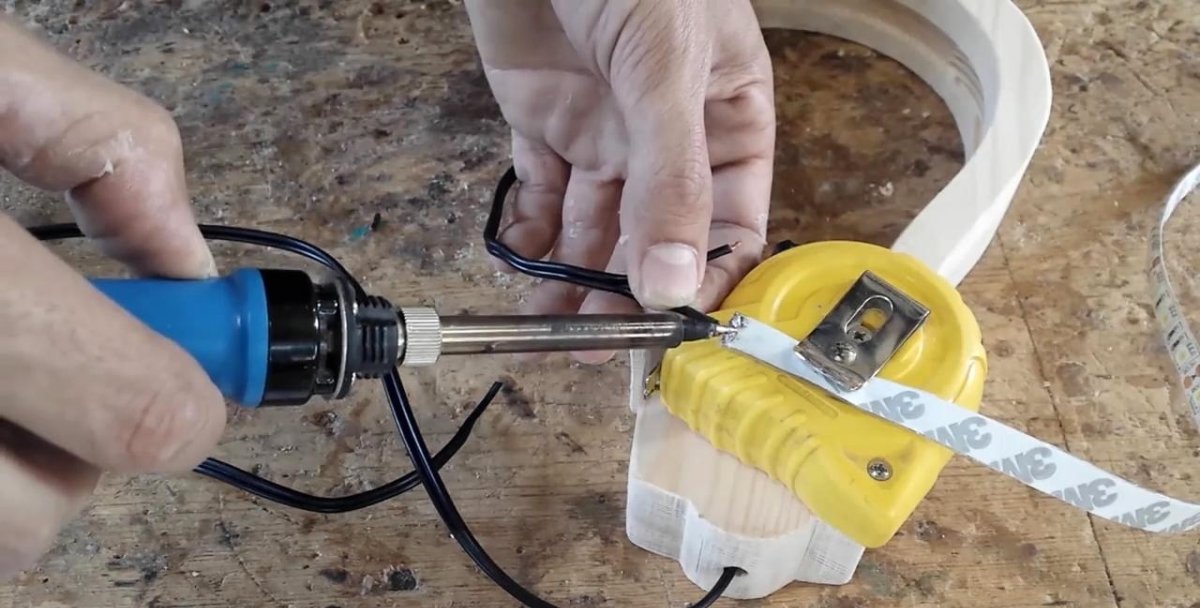
Now I tie a knot on the wire from the side of the LED strip and insert the free end through the hole in the lamp base. The knot will prevent the wire from coming out.
I tear off the protective film on the tape and glue it into the groove of the light bulb. I do this on all workpieces.
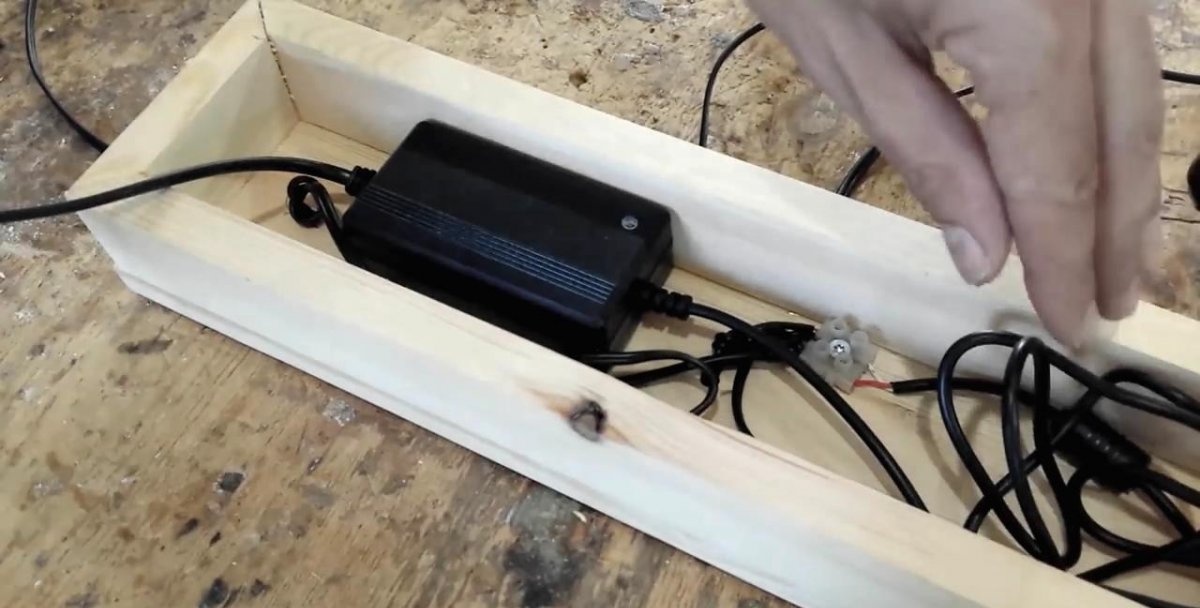
I feed the wires coming out of the light bulbs into the holes in the box. I also make knots at the inserted ends so that the wires do not slip out. I connect the remaining small ends of the wires together in the terminal block. I fix it myself in the bottom of the box.
I fix the cable coming from the 12V power supply to the second part of the terminal block. I put the unit itself in a box, leaving only the wire and plug coming out for plugging into the socket.

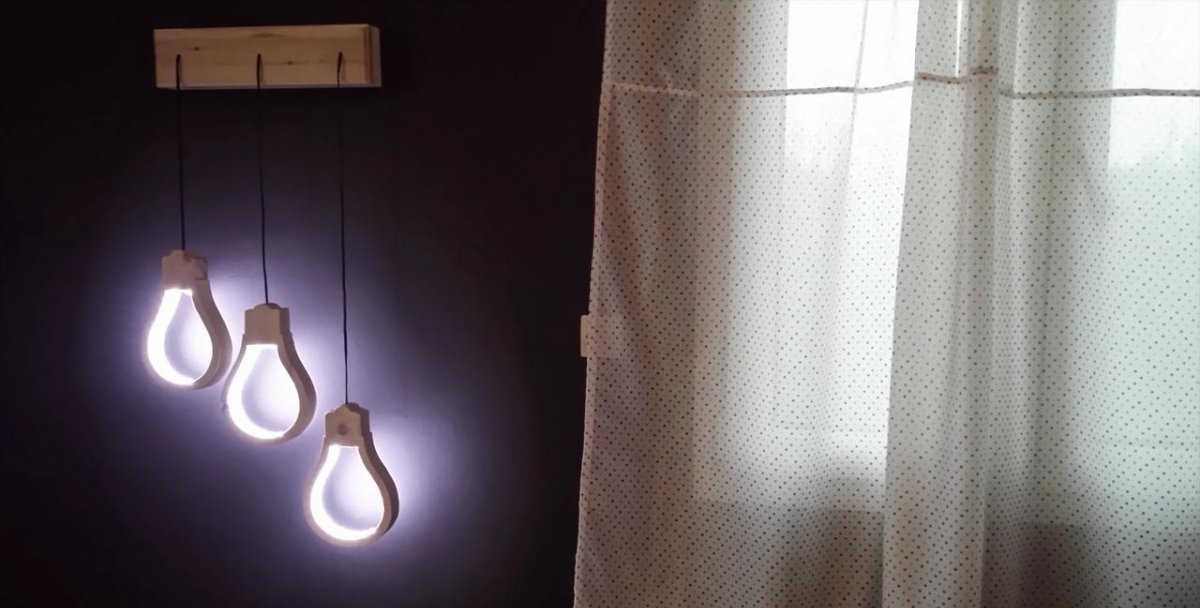
The lamp is ready. I install it on the wall and turn it on.Since I do carpentry professionally, I have a full set of tools and equipment at my disposal, which greatly simplified the manufacturing process. The beauty of this lamp is that, if desired, it can be made even with only a hand jigsaw, a knife, a screwdriver with drills, a rasp, a short chisel, emery cloth, a plane and a hammer.