Also, often when gluing wooden elements with each other, there is a need to carefully remove excess glue from the inner corner formed by the two parts to be glued along the line of contact. For these purposes it is convenient to use a thin plastic tube ("straw").
How to draw a parallel line on a wooden workpiece relative to some base, if there was no regular thicknesser at hand? It can be made from improvised materials very quickly and without much difficulty. Homemade work is no worse than a standard tool.
Sawing
On the surface of the blade with the help of a staff with a smooth edge and a pencil, we apply a cut line parallel to the base of the blade. Using an electric jigsaw, cut off the strip along the previously outlined line.
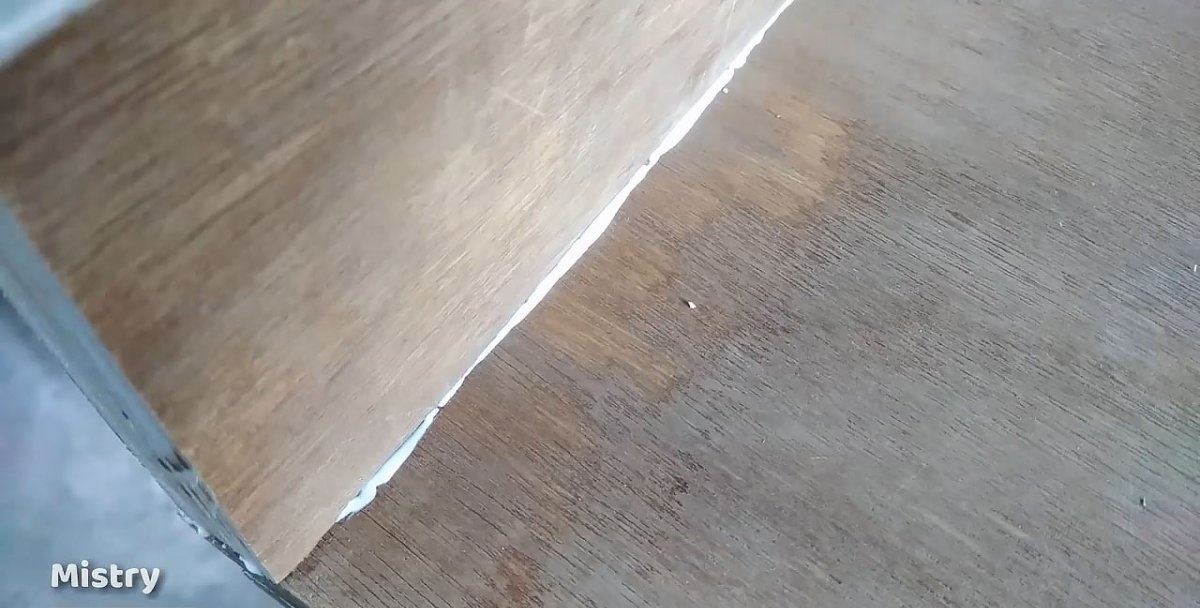
Res, as noted above, turned out to be uneven and completely unattractive. It is not possible to use such material without additional and rather laborious processing.

Is it possible to saw off a strip from the main array and get a high-quality cut without additional processing? Let's try to use construction tape for this purpose. We glue it securely over the entire width of the blade and draw a cut line along the tape.
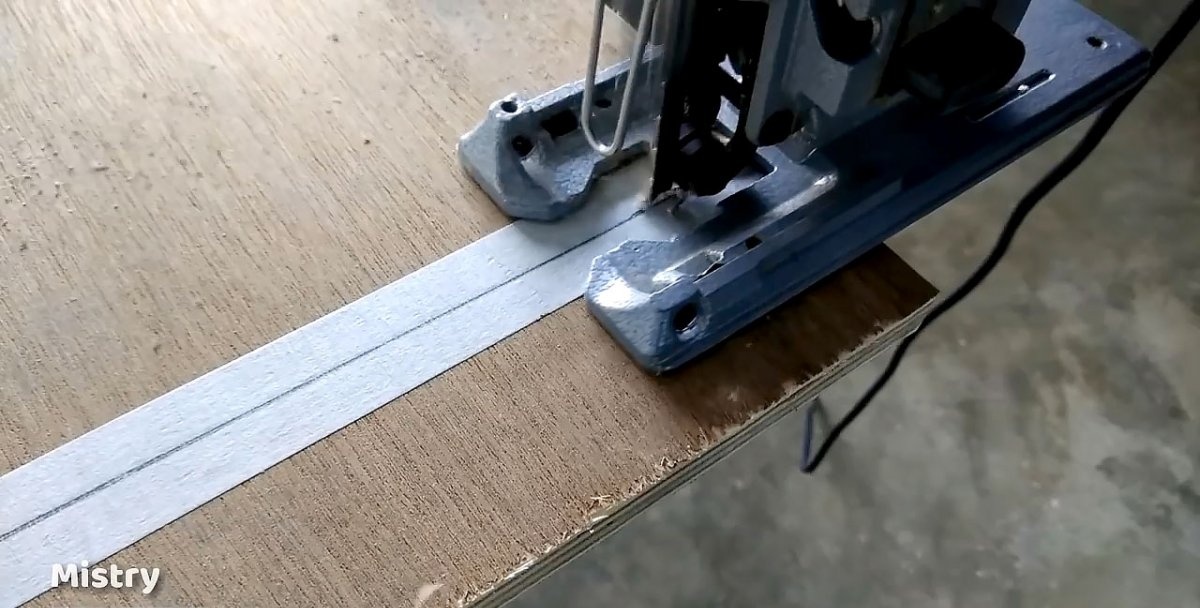
We cut the strip from the canvas again along the line marked on the tape. What have we got now? Remove strips of tape along the length of one and the other surface. Even by sight, the quality of the cut has increased markedly compared to the first case.
Scotch consolidated and strengthened the veneer along the cut line, so it was less damaged and quite suitable for further use without additional processing.

Gluing
In carpentry, one often has to glue one piece of wood or wood-like material to the surface of another. To do this, apply suitable glue to the end of the smaller part and carefully distribute it with an even layer over the entire contact surface.
Then the part with the surface with glue is installed in the place where it should be. For reliability, the parts to be glued are pressed tightly with a clamp. In this case, excess glue will be squeezed out from the inner corner along the entire contact line.
How to remove glue easily and completely? A thin plastic tube, which is often called a straw, will help us in this matter, and is used when drinking various soft drinks.

To do this, it is necessary to squeeze it with two fingers from one end to get an approximately right angle. Then, applying the deformed end of the straw to the corner with glue, and pressing it a little, draw along the entire gluing line. As a result, excess glue will be inside the tube.

Markup
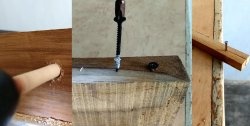
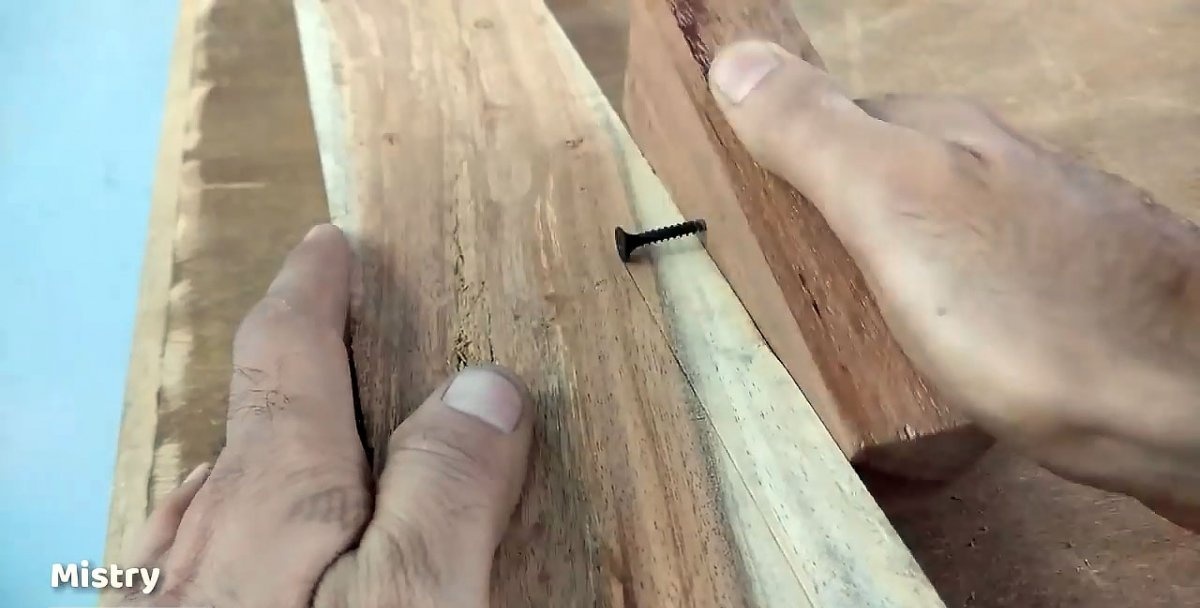
How to mark a wooden blank for further processing, when there is no factory thicknesser at hand? You can get out of the situation quite easily. We take a small wooden block with parallel ribs and find the center of the widest side - the face.
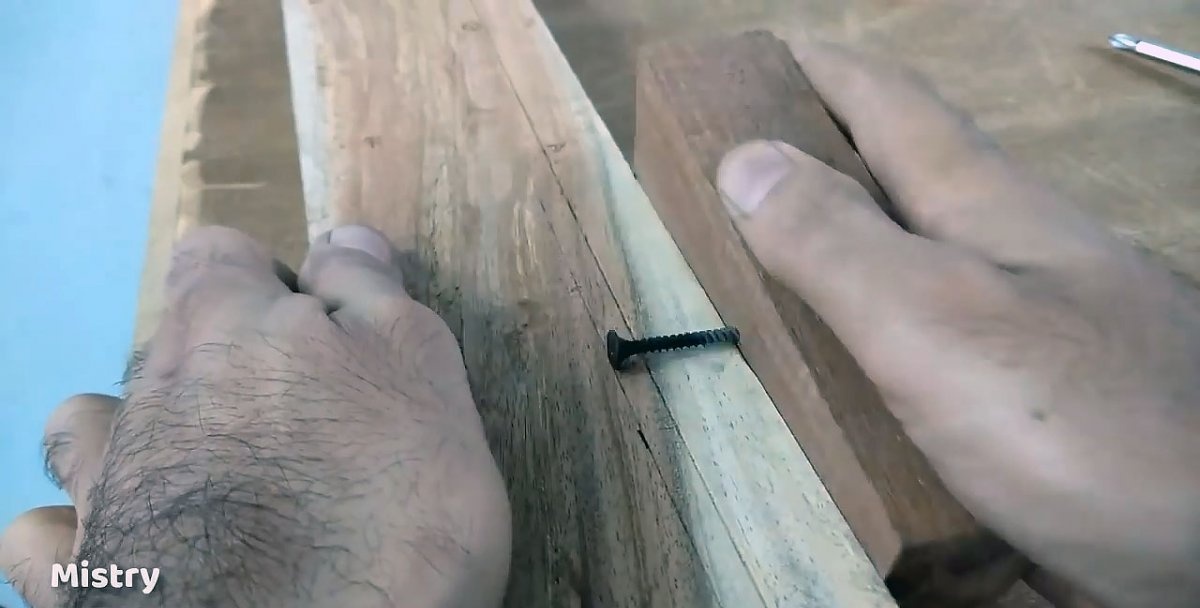
We mark it with the sharp end of a screw, which is still useful to us. With a drill clamped in the drill chuck, we drill a blind hole in diameter smaller than that of a screw. Screw the screw vertically into the hole formed with a hand screwdriver.
Then, tightly pressing the face with the screw to the base surface of the workpiece, several times draw a sharp line with the head of the screw marking line on the surface of the workpiece adjacent to the base.
With a metal ruler, we measure the correctness of the markup. If it turned out to be inaccurate, with the help of the same ruler, we mark on the workpiece the specified position.
Then we compare the verified size with the height of the screw on our improvised thicknesser. If its height turned out to be less than required, we turn out the screw, if it is more, turn it.

Having achieved the coincidence of the marking and the height of the screw, we again draw the line exactly as it did for the first time. The resulting markup is the desired one. To verify this, we carry out control using a metal ruler.
A few concluding remarks
When sawing wood-like material covered with veneer, the sawing place must be thoroughly cleaned of dust and other foreign particles, and use fresh tape. Then the result will be better.
When removing glue, the straw must be kept at a slight angle in the direction opposite to the movement.
It is better to use a tempered screw for making a homemade thicknesser, and a bar made of solid wood.
Used materials and tools
To implement the above operations, you must have at hand the following materials:
- veneered panel;
- construction tape;
- glued wooden parts;
- wood glue;
- thin plastic tube ("straw");
- a small prismatic bar made of wood;
- screw with a sharp-edged head.
Do not do without the following tools to achieve the three above goals:
- electric jigsaw;
- metal ruler;
- a pencil;
- clamps;
- hand screwdriver.