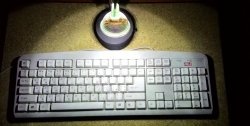
When you do something on the desktop, good lighting is very necessary. I used a fluorescent lamp. Her light was enough for all my needs. Putting things in order in the workshop, I safely broke my backlight. It is very inconvenient to work with ceiling lighting. He made an early decision. Build a new highlight for your desktop. You can apply a ready-made spotlight. Ideal option, DIY lighting.
What do we need for manufacturing?
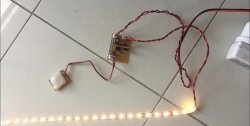
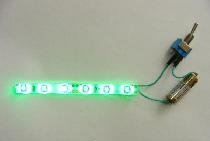
Not so long ago I bought . The tape reel is five meters long. This is just enough for my design, it will still remain, but not much. The tape is assembled on 5050 LEDs. Three LEDs are in one housing. Each is connected via a current-limiting resistor to connect a 12-volt circuit.
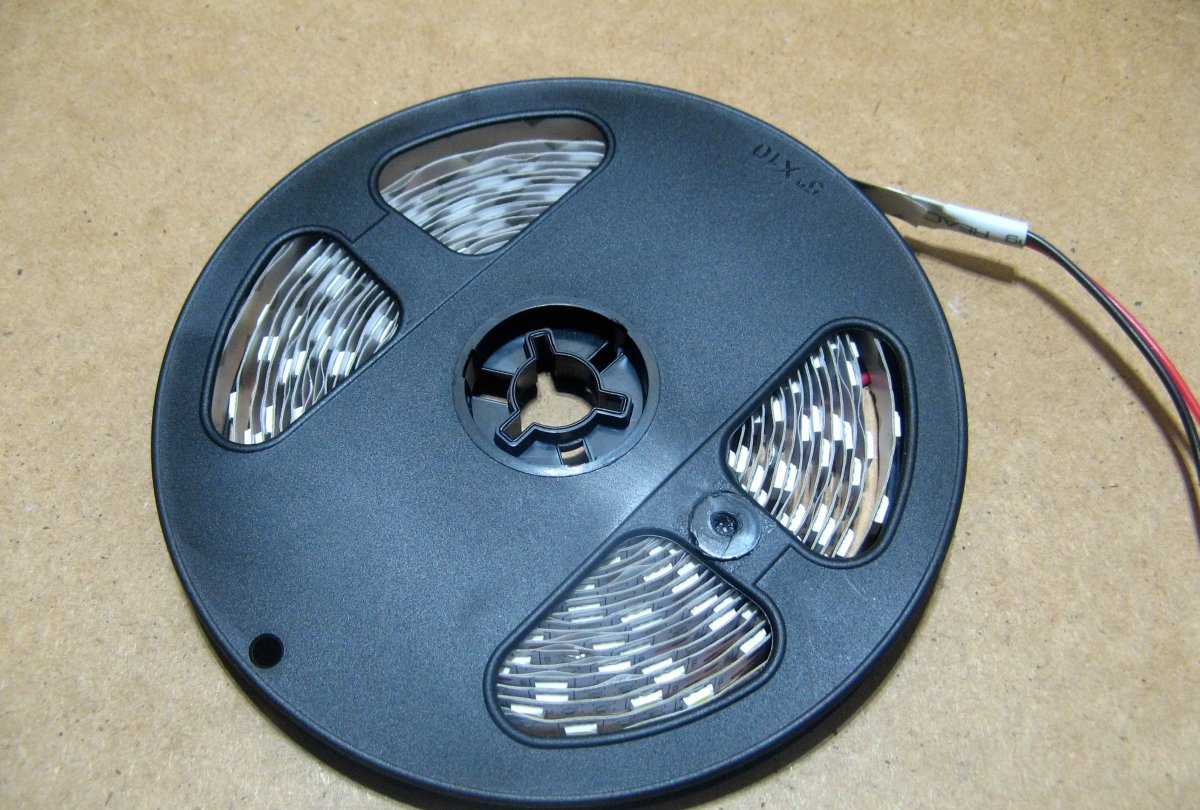
I'm going to feed from a standard computer power supply.

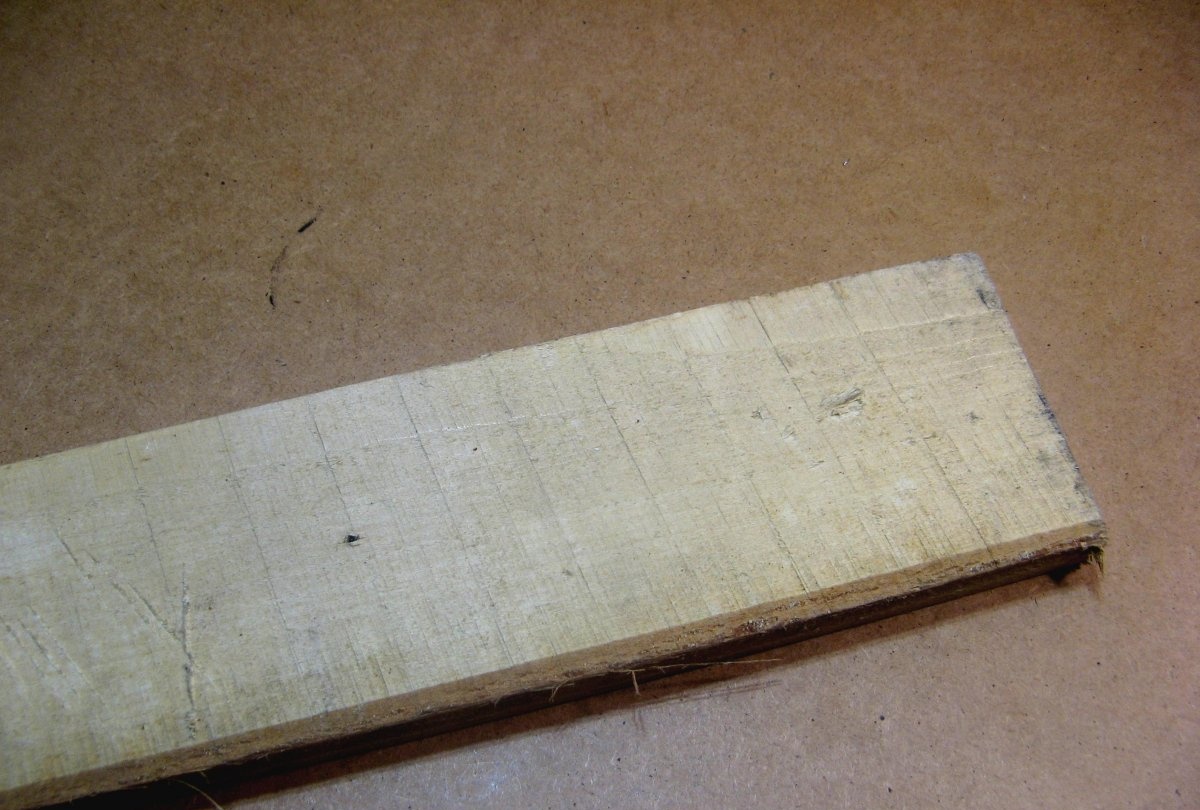
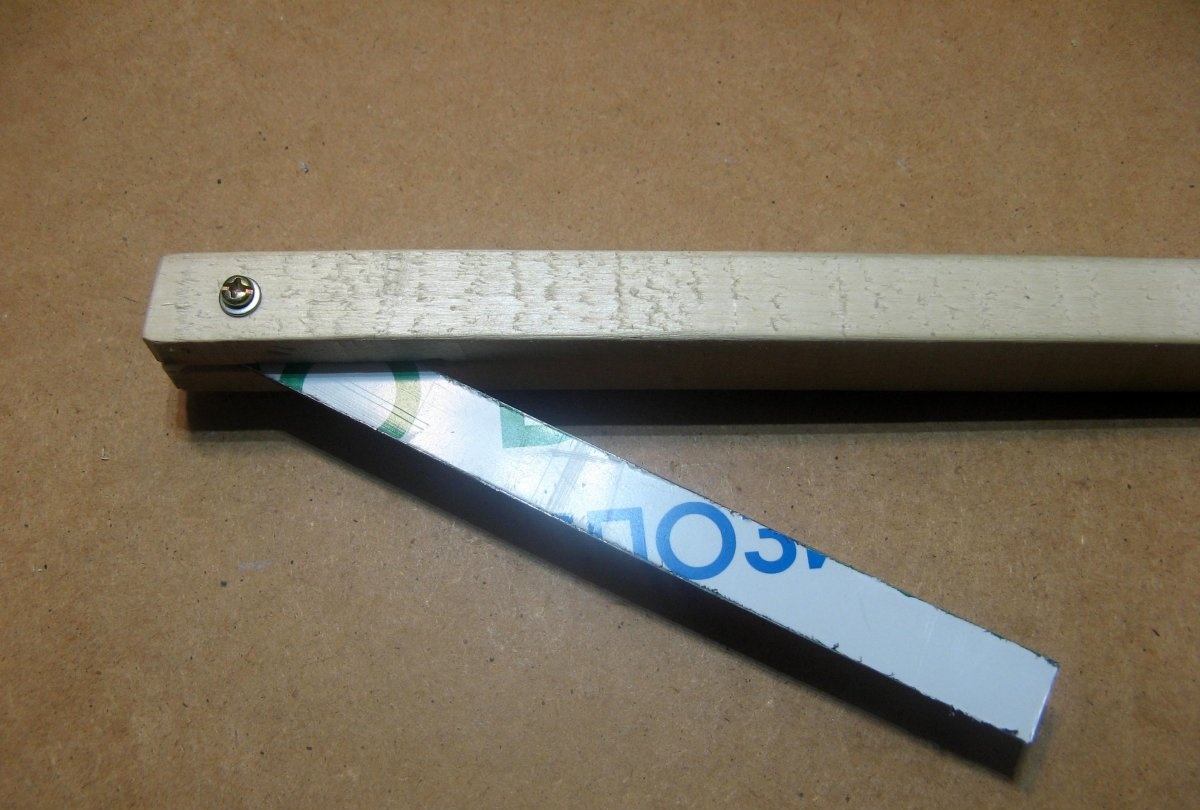
Need a thick rail for mounting panels with LEDs on it. I took a pine board. I’ll saw off a narrow strip from her.
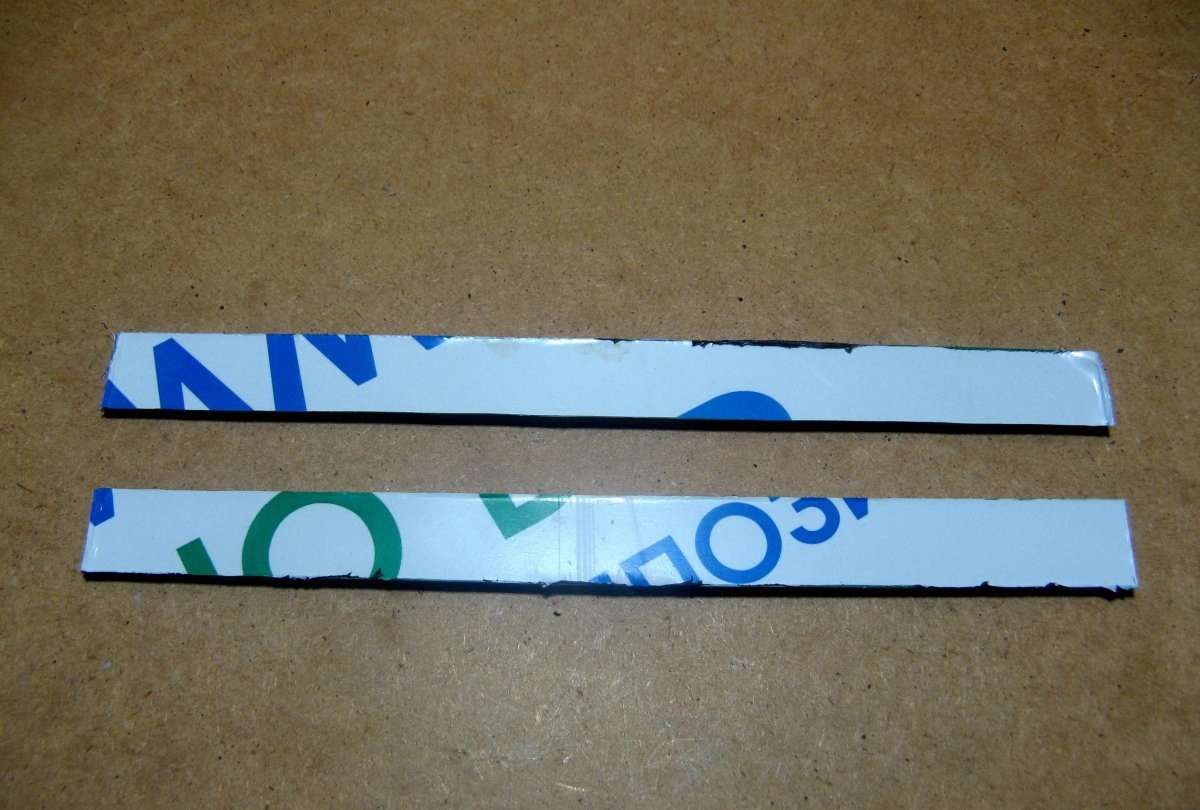
Reflector plates will serve as two pieces of composite plastic. Dimensions of each segment 15cm * 15cm. The size is selected for the segments of the LED strip. The color of the plates does not matter. I have a red color, so far a protective film has been pasted.

Reflectors will be held by strips of composite plastic. It’s possible just from plastic, there’s not a big load.
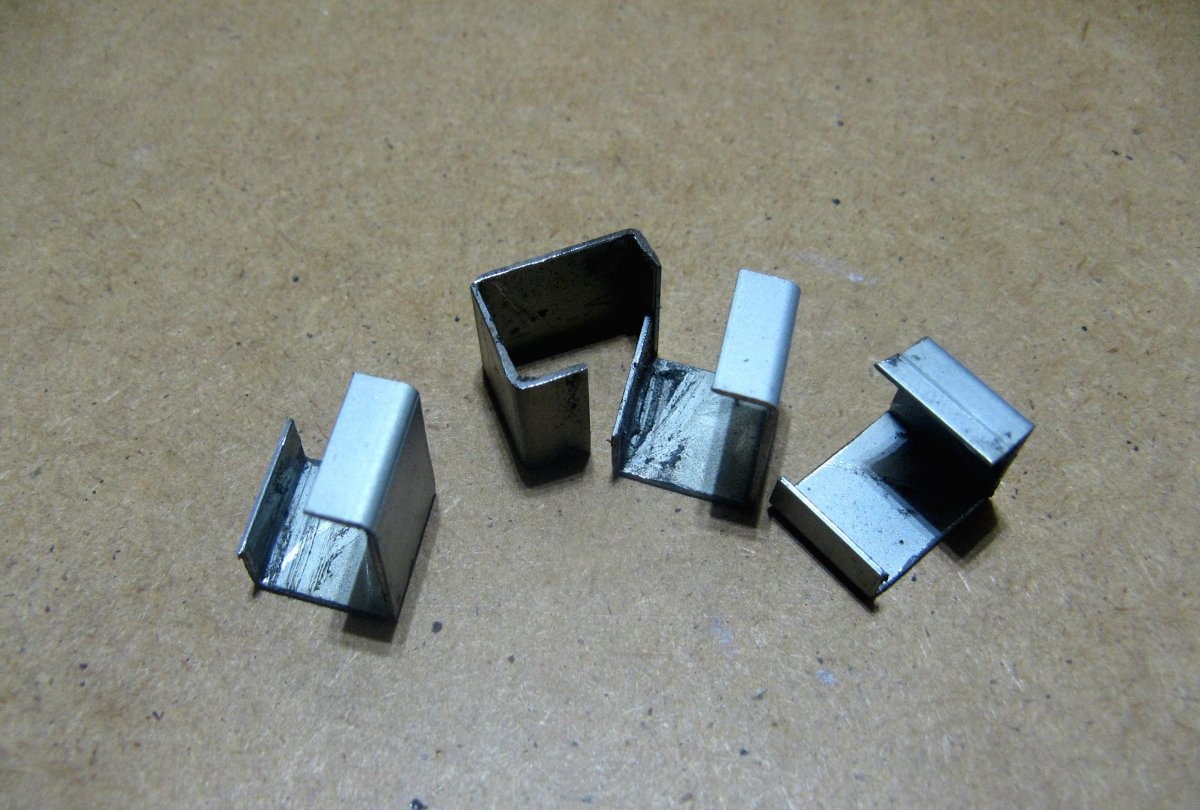
Attached to the reflector racks will be using the corners. You can take ready-made or file from anything. I sawed from a large corner from the old office equipment.
Backlight assembly
I sawed off a strip from the board. Grinded and made cuts on both sides. Propyl made such a depth that the rack was folded at an angle of 45 degrees.

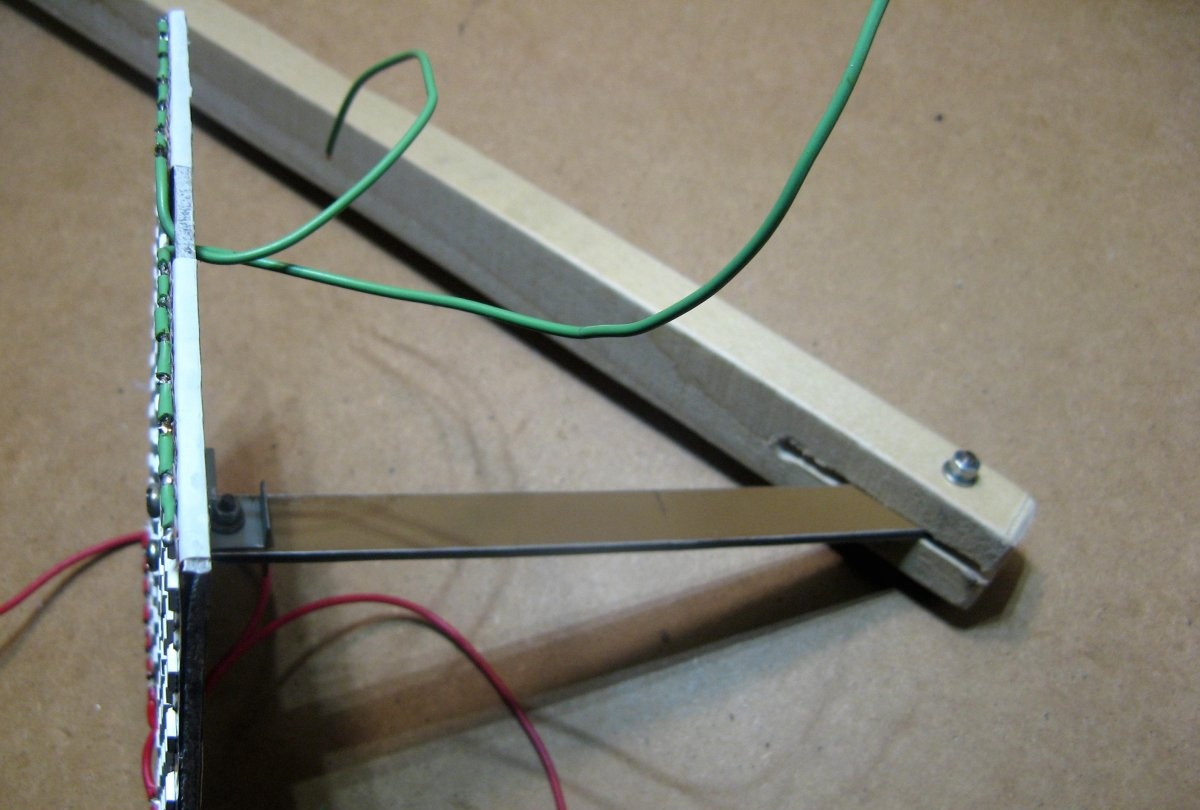
We put the stand in the slot and drill a through hole. The diameter of the hole for the M4 screw. Now you can clearly see the angle at which the rack can be folded. Insert the screw, check the adjustment. We take out the screw, at this stage we do not need it.
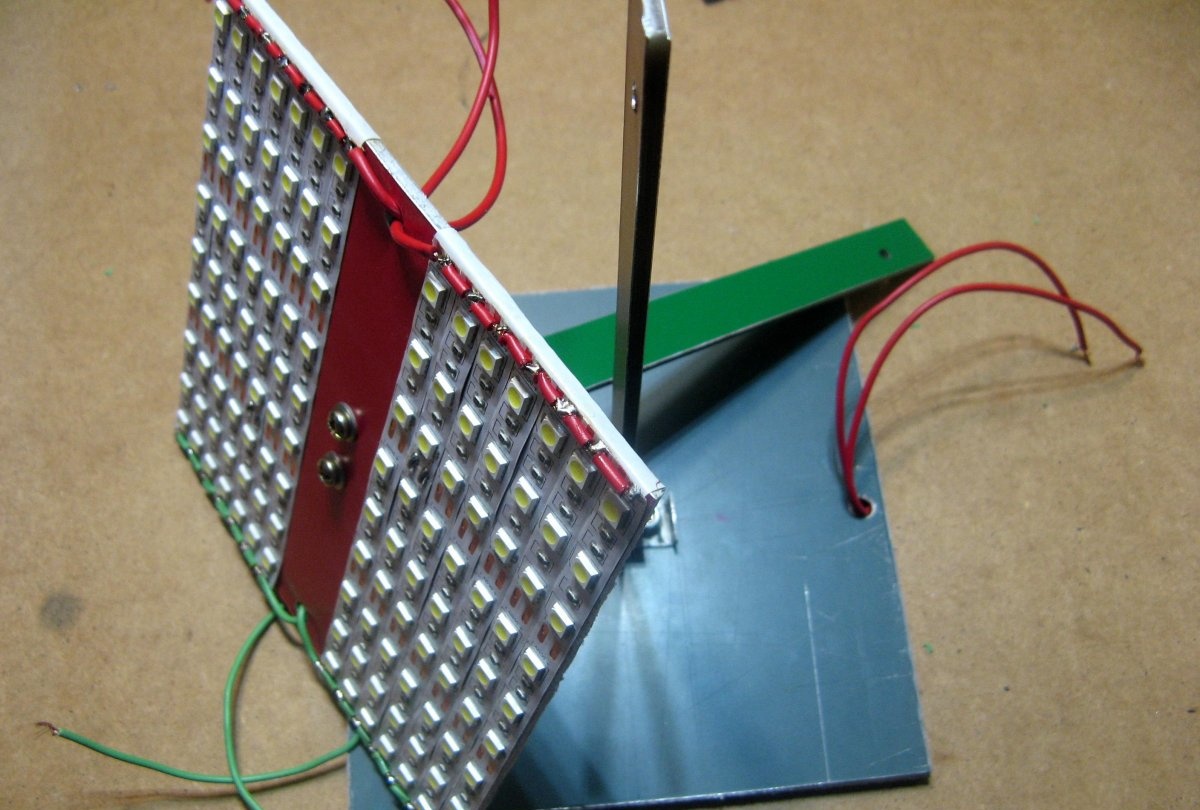
Glue pieces of tape on the reflectors, which are pre-cut. It turns out two of these reflectors.

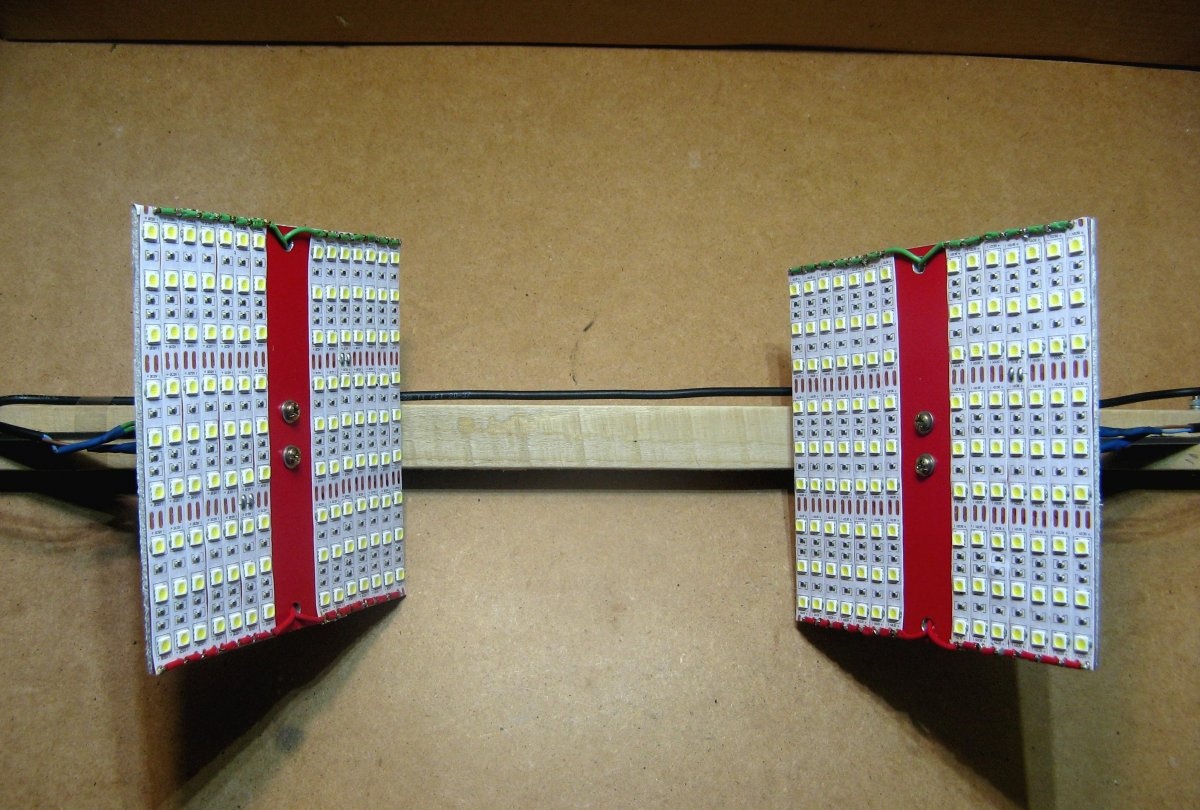
All segments must be soldered in parallel. I also drilled holes for outputting power wires of LED strips. We fasten the racks to the reflectors.
We fix the rack using the previously unscrewed M4 screw. Tighten.
The wires from the LEDs are soldered in color together. We solder the power wires to them.
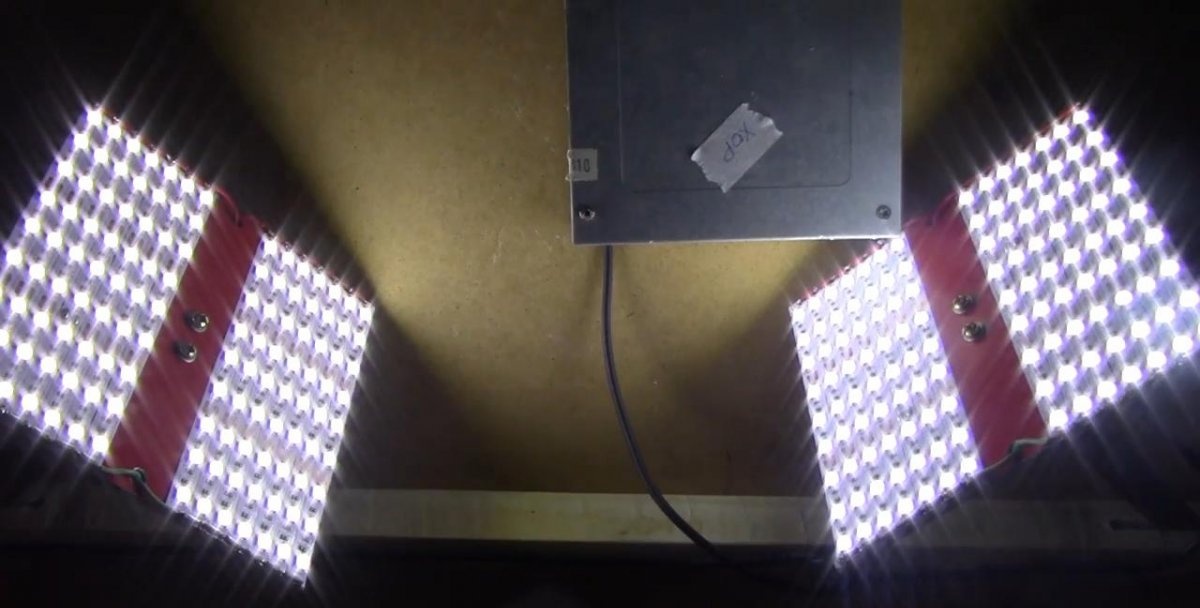
Also, using a strip of tape from a PET bottle, we fix the wires. We connect the wires from the left and right reflectors together. For convenience, I installed the block. In turn, wires from the power supply will be connected to it.

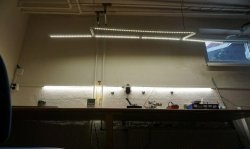
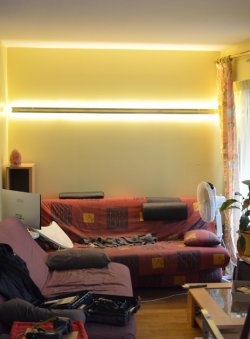
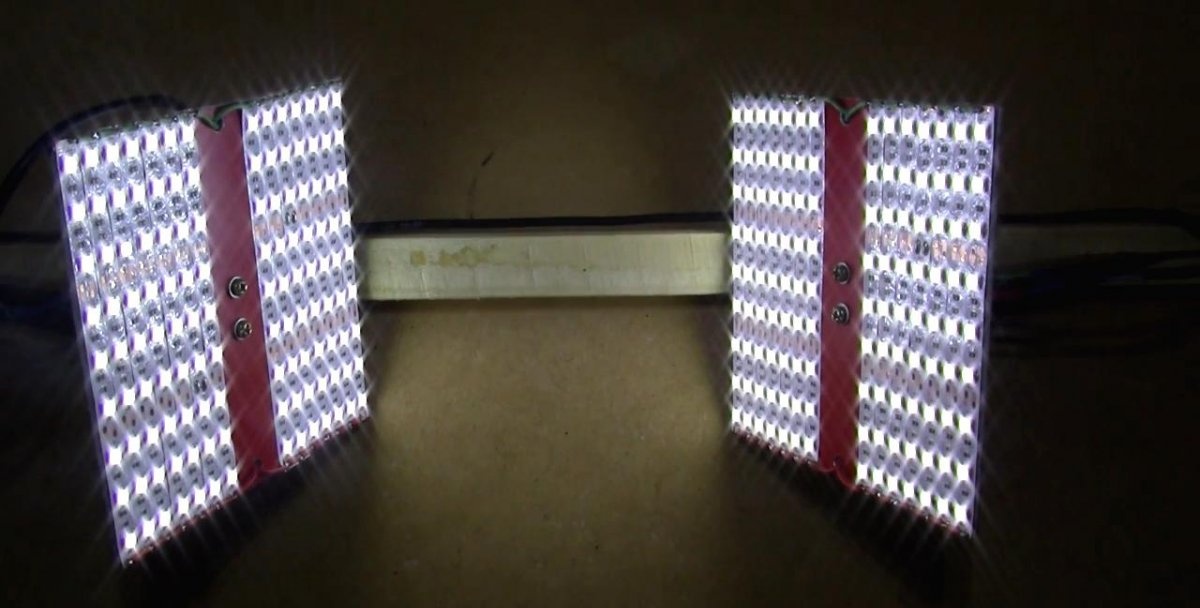
This is how the finished design looks. It will be attached to the wall.