DIY do it yourself
Master classes, instructions, useful tips, recipes.
» » »Repair torn loops
Repair torn loops

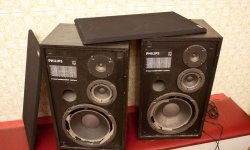
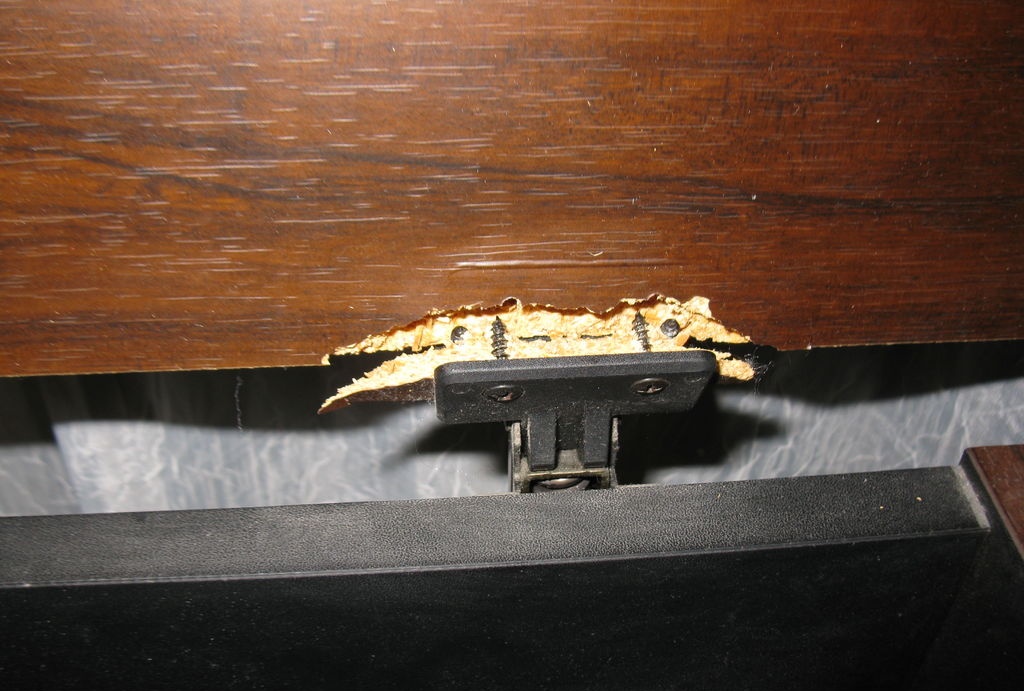
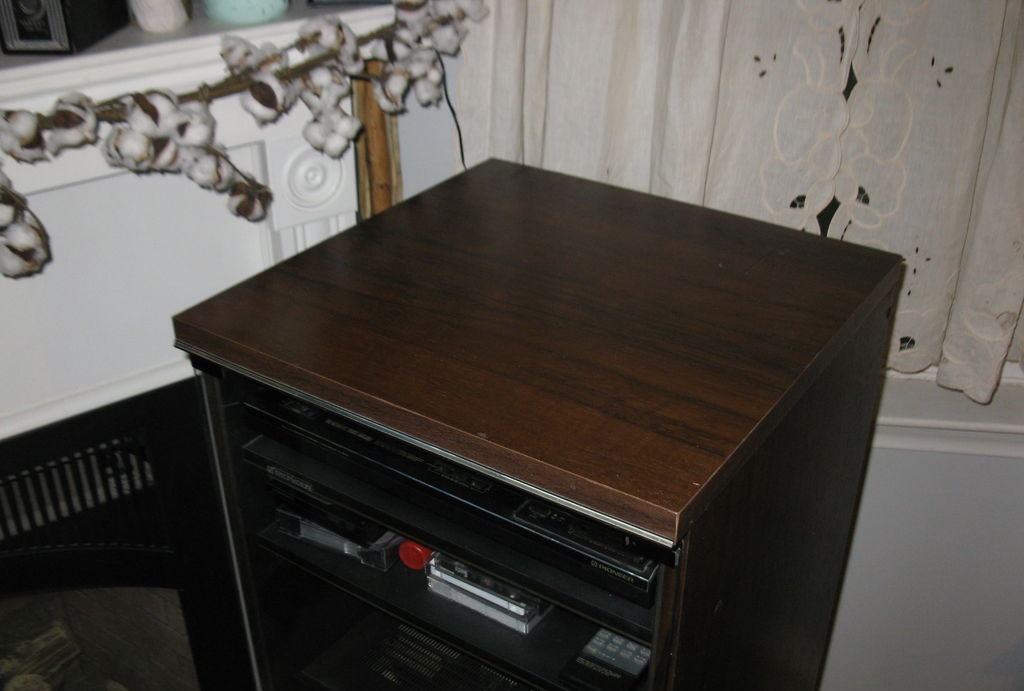
We have a rare thing in our family - a stereo system in a wooden case with a glass facade. Unfortunately, during transportation, the top cover was broken from the canopies. I decided to restore it, at the same time making a small instruction, because the technology I used is suitable for repairing other loops of a similar design.
Repair torn loops

Necessary tools and materials


From the tools you will need:
  • Two clamps or other spacers.
  • Square or square.
  • Insulation tape.
  • Chisel and hammer.
  • Circular Saw.
  • Rasp and sandpaper.
  • Electric drill.

Materials required for repair:
  • Wooden block, preferably hardwood.
  • Joiner glue or PVA.
  • 4 wooden studs.

DIY torn hinge repair


Repair torn loops

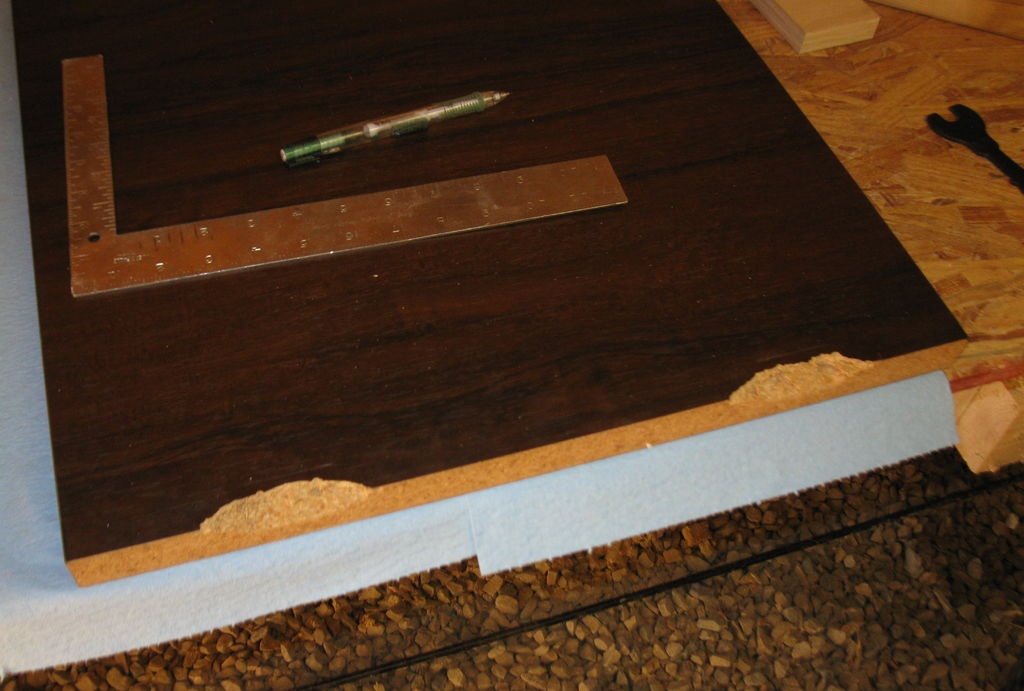
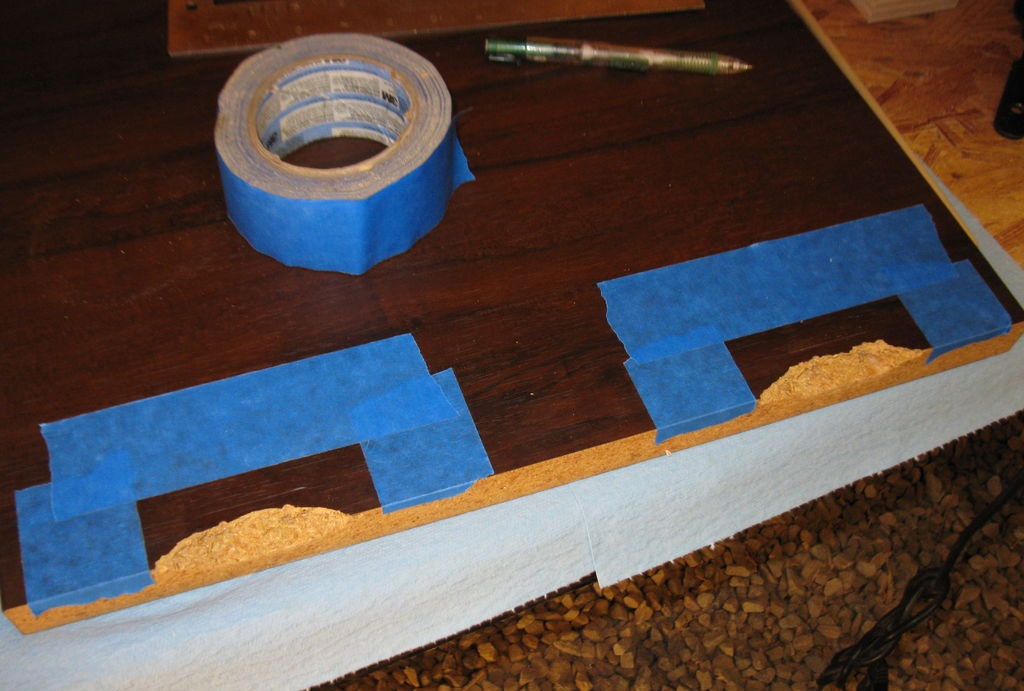
Training. Using a square and a pen, I outlined the area around the damage to the cover, which would then need to be selected. For clarity, pasted over the drawn lines with a blue ribbon.
Repair torn loops

Repair torn loops

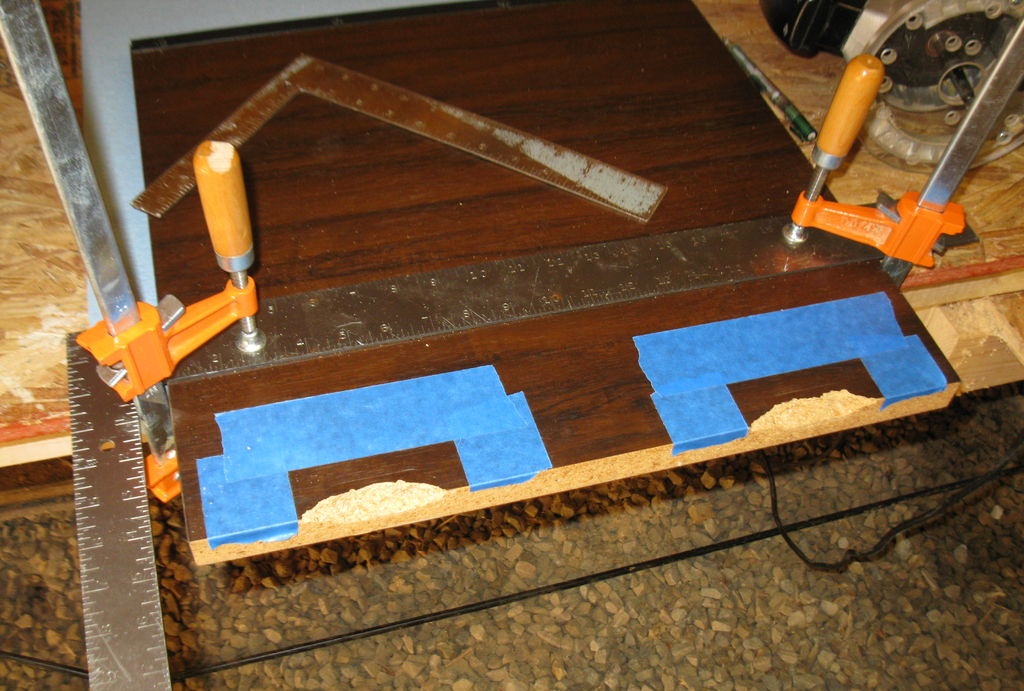
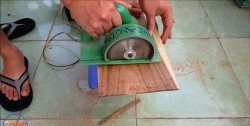
Then he cut the grooves with a circular saw (not to the entire depth of the lid), and gently hollowed out the wood with a chisel. I had to tinker with the corners of the recess, since in these places it was not possible to cut through with a disk. Then the selected grooves were trimmed with a rasp and sanded with sandpaper. It turned out smoothly and accurately.
Repair torn loops

Repair torn loops

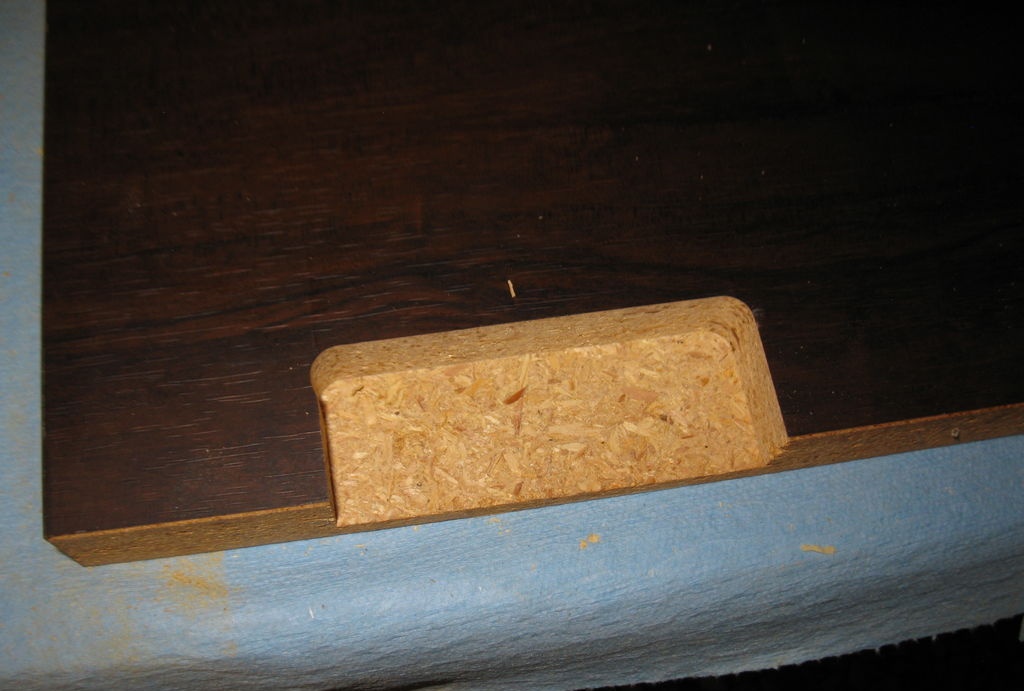
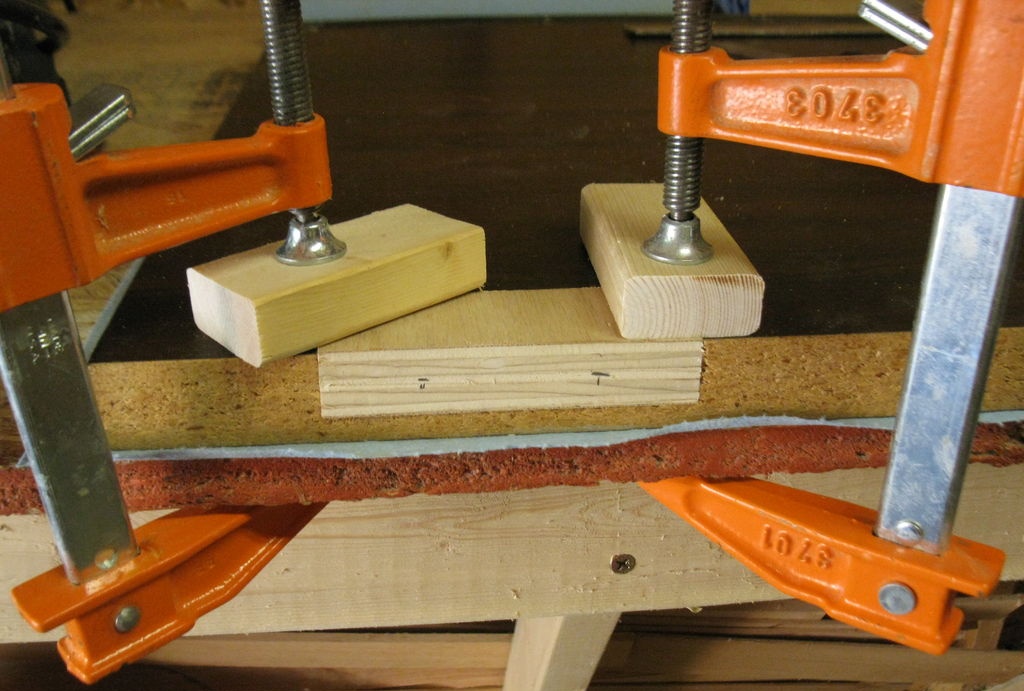
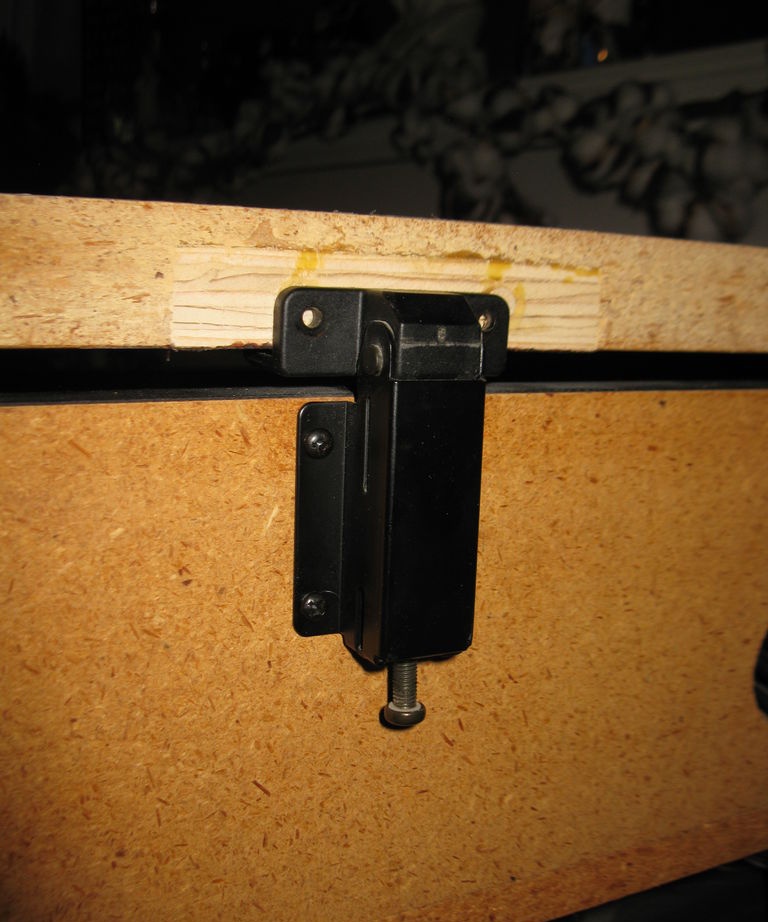
Preparation and installation of a mortgage. The next step is to prepare a wooden mortgage (preferably from larch, as it is harder) for a sawn place. The bar should be carefully sized and fit tight enough. He coated everything with glue and pressed it down with clamps so that it would stick together under pressure.
Repair torn loops

Repair torn loops

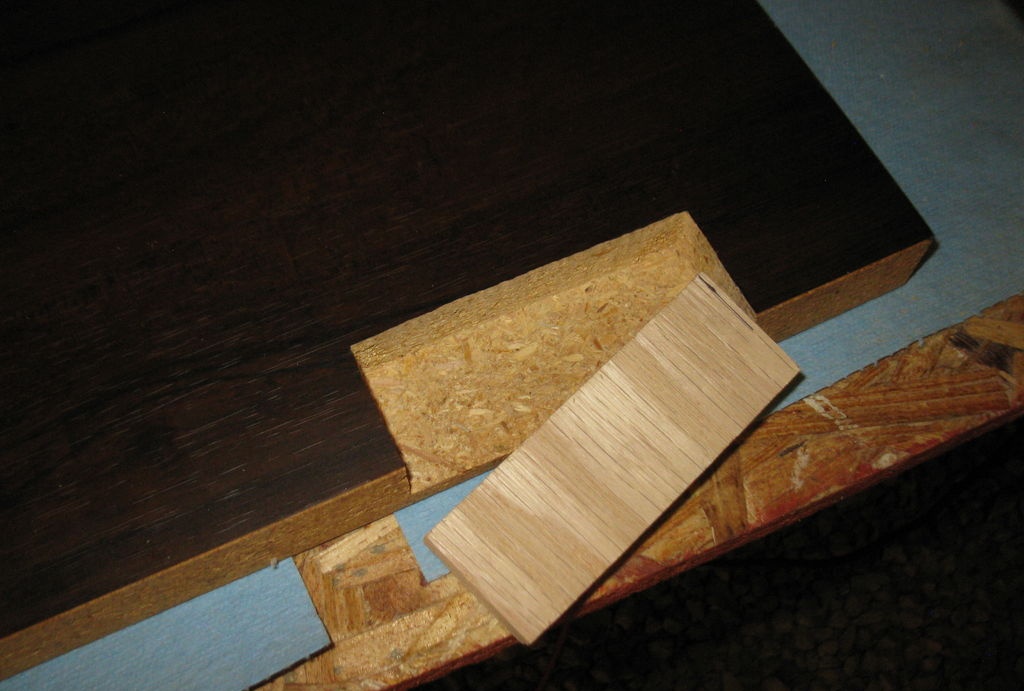
Then, at the ends of the mortgages, I drilled through holes, also drilled a lid 5 cm to use additional fixation with wooden studs.
Repair torn loops

Repair torn loops

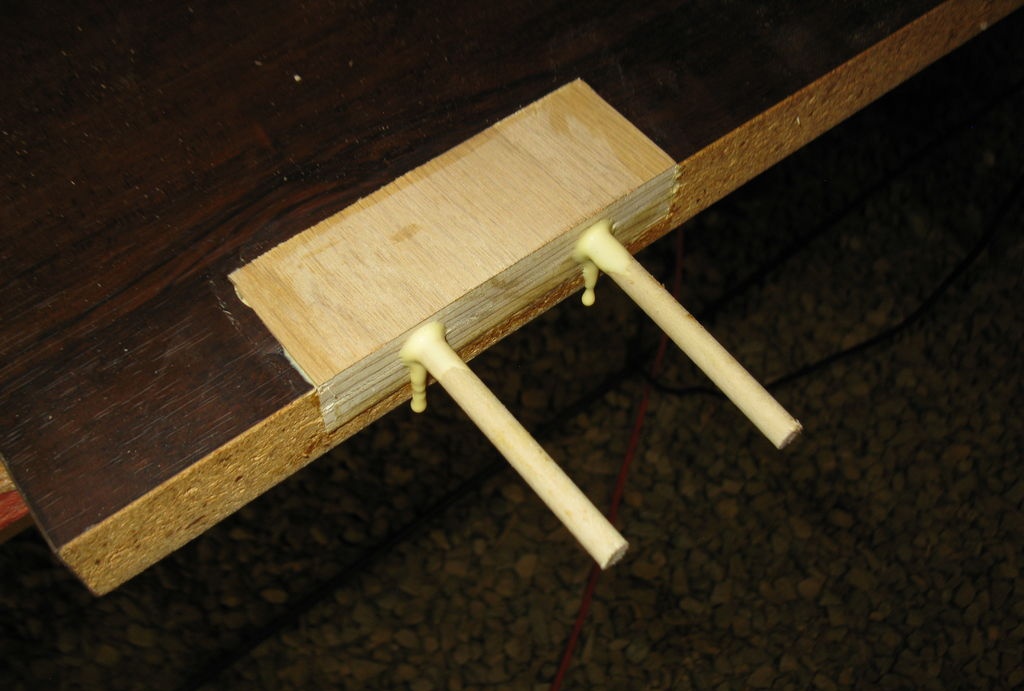
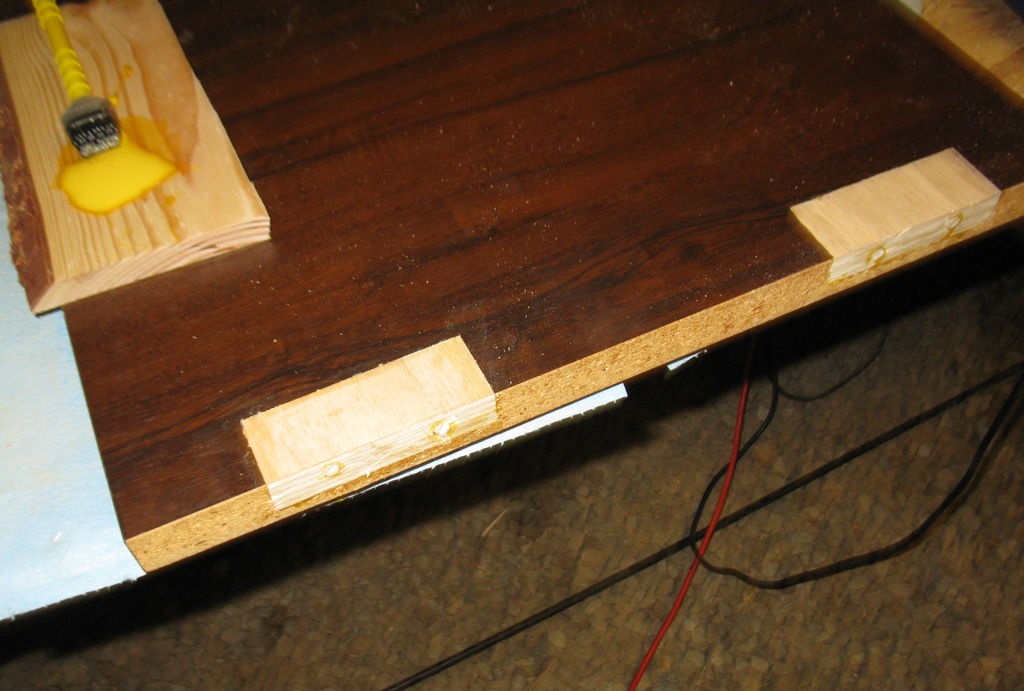
They were also coated with glue and hammered into the prepared holes. Press left for the night to get well taped.
Repair torn loops

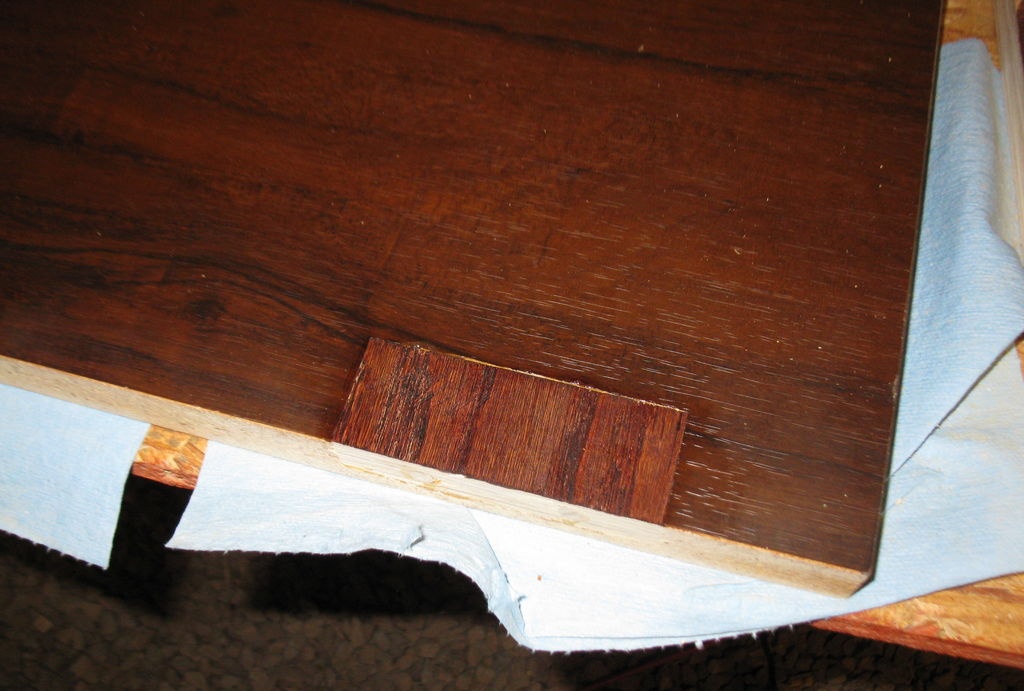
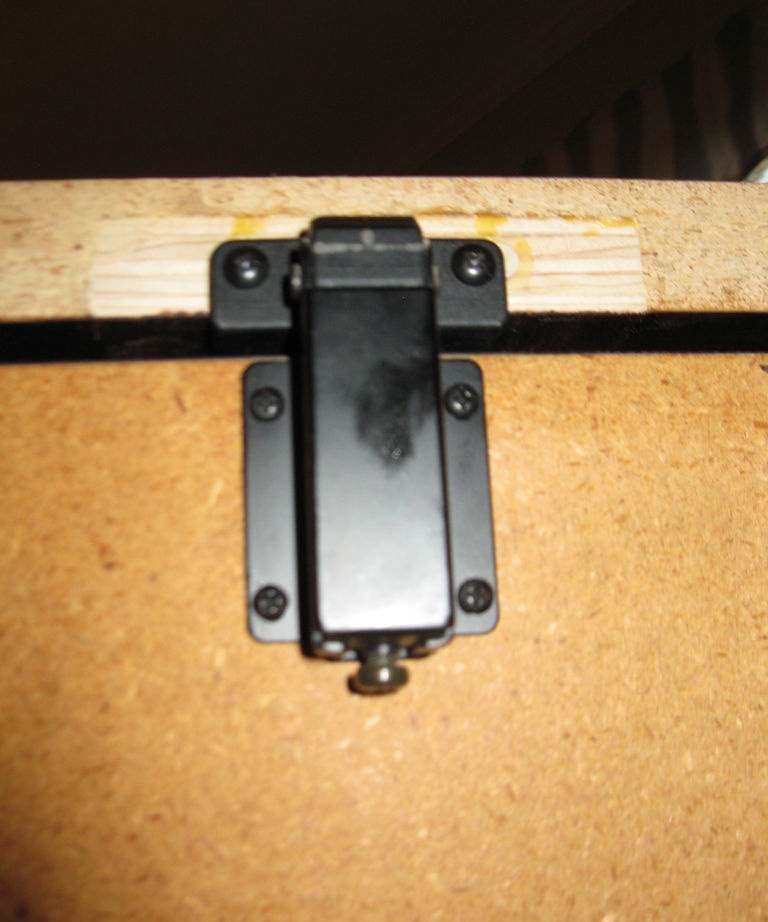
Completion and assembly. The next day I removed the clamps and clamps with which I additionally fixed the mortgages, cut the wooden studs and polished the end face. Then he covered the fresh tree with two layers of stain under the mahogany. It turned out almost in the color of the original coating.
Repair torn loops

Repair torn loops

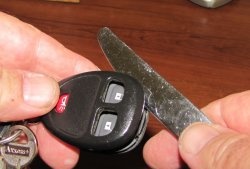
The final stage is screwing the hinge to the lid and adjusting it with screws so that the lid easily walks and fits snugly into place when closed.
Repair torn loops

Repair torn loops

Repair torn loops

That's all, I hope this repair method will be useful to someone in a similar situation.
Repair torn loops

come back
Comments (9)
  1. andmich
    #1 andmich Visitors October 6, 2018 11:32
    4
    great article! for me this problem is also relevant at present. only for the cabinet door, the hinges were also torn out - I think how to recover. I will take this description as a basis.
  2. Julius Ivanovich
    #2 Julius Ivanovich Guests October 6, 2018 15:00
    4
    I would like to see a video of how the DISC SAW is used to select corners here. To do this, you need a manual milling cutter. Which he did on the 4th photo. The rest, in principle, agree.
    1. Guest Sergey
      #3 Guest Sergey Guests October 18, 2018 2:12 p.m.
      0
      It is not necessary to choose angles at all, it is enough to round the corners on the insert with the same radius as the mill.
  3. Alexander Gorshkov
    #4 Alexander Gorshkov Guests October 6, 2018 10:49 p.m.
    5
    It seems that the groove was chosen by the router and not manually
  4. Guest Vladimir
    #5 Guest Vladimir Guests October 7, 2018 01:41
    7
    And the grooves are selected by the milling cutter. Why give knowingly false information?
  5. yutsukeng
    #6 yutsukeng Guests October 7, 2018 2:52 p.m.
    3
    and the tree had to be not across the fibers, but along the lay so that it would not stand out at all. and it would be much easier to insert the wooden studs into the attachment points and fill the entire cavity with epoxy. with wooden dust.
  6. Guest Alex
    #7 Guest Alex Guests October 7, 2018 18:22
    5
    Perversion. You clean the dust, twist a couple of small self-tapping screws (to strengthen it), gently cover everything with cold welding, let it dry, drill holes, and even fasten the anchor chain.
  7. Guest Sergey
    #8 Guest Sergey Guests October 9, 2018 19:40
    0
    And rearrange it in another place, and putty and paint over it - isn’t it easier. Not everyone has a milling cutter. Although about him in the article is not a word.
  8. Kostya
    #9 Kostya Guests October 10, 2018 1:42 p.m.
    2
    Cool! Damn, what a habit to arrange production? Really it’s impossible to think of how simpler ... For example, I dug out the dust inside so that the scraps came together and stuck. And then again screwed the screws first into the holes with glue, laying the choppers.

Read also

Error codes for washing machines