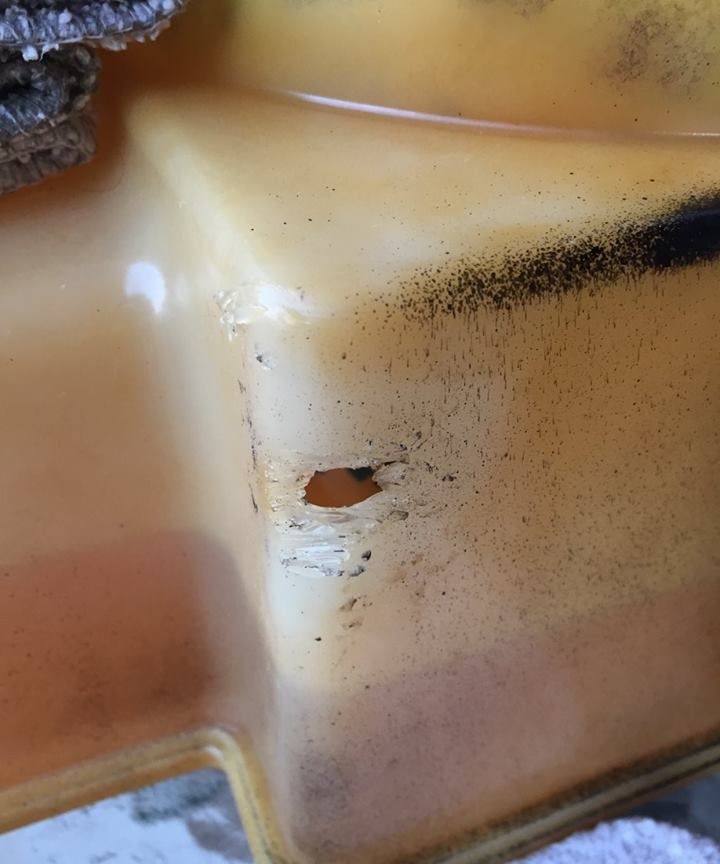
My lawn mower has a serious problem - a hole has formed in the gas tank. Having found out the price of a new tank (about 200 bucks), I decided to repair the old one, especially since I have been repairing plastic parts of medical devices for several years now and am quite good at it.
In fact, most plastic products are very easy to repair, but it requires patience, care and knowledge of the process. The main problem is the limited time for fixing plastic elements, so in addition to theoretical knowledge, a certain skill is required.
Thinking that my experience could be useful to other amateur craftsmen, I decided to share this method, which can be useful for repairing various plastic parts and products.
Necessary tool
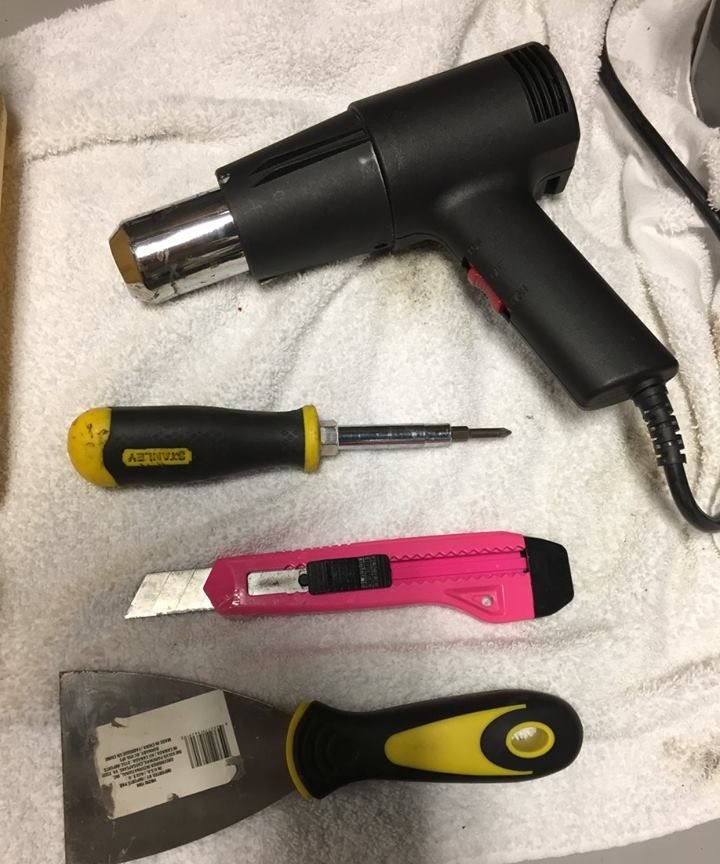
Repairing plastic products does not require many tools:
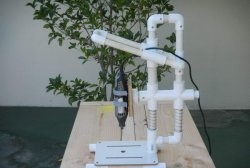
1. A heat gun is the main working tool used to soften plastics. A hair dryer or other heating equipment will not work, as they have insufficient power and heat flow temperature.
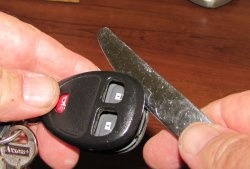
2. Construction knife for cutting plastics and trimming edges.
3. Steel spatula. Used to press down plastic and smooth edges.
4. A flathead screwdriver is used for the same purposes as a spatula. The screwdriver allows you to press down on small areas as needed.
Important! There is no need to use a soldering iron or any other hot object to heat the plastic.
Preparation for repair
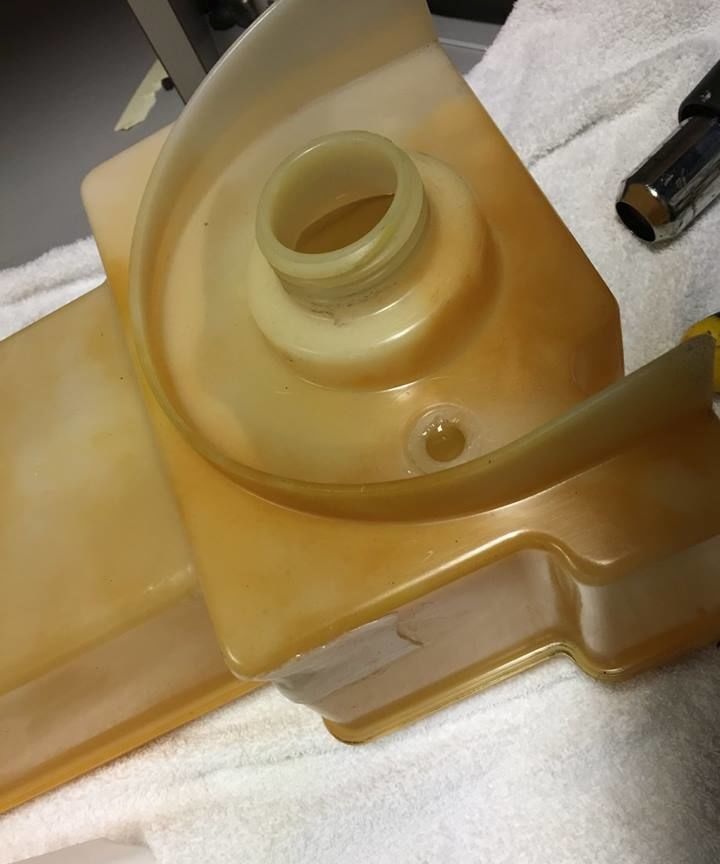
First of all, you need to clean the product that is being repaired. I removed the gas tank and washed it with plenty of running water inside and out. I also used dish detergent, a rag and a stiff brush to remove any dirt. I rinsed the inside until the smell of gasoline disappeared.
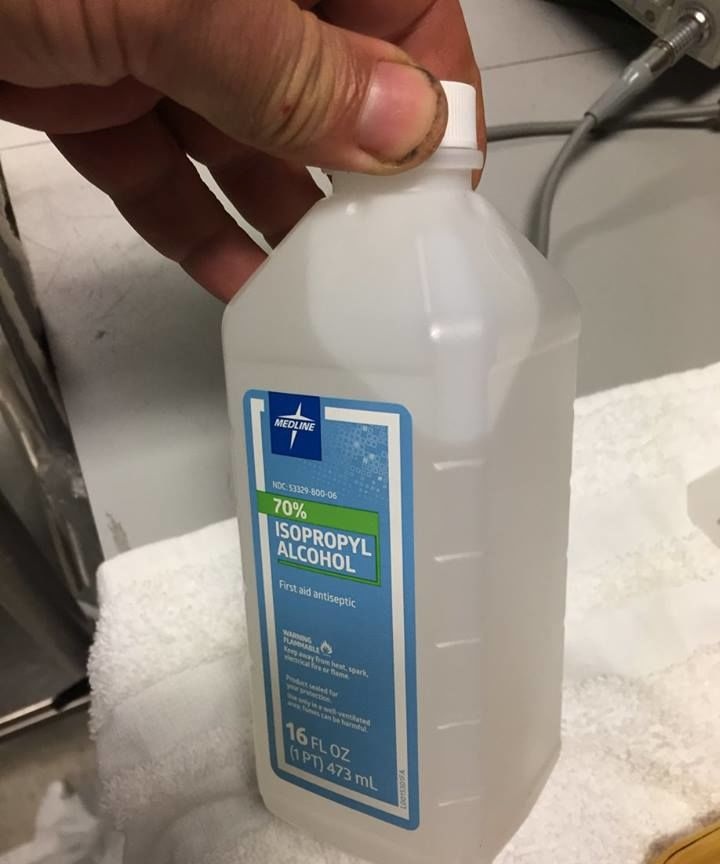
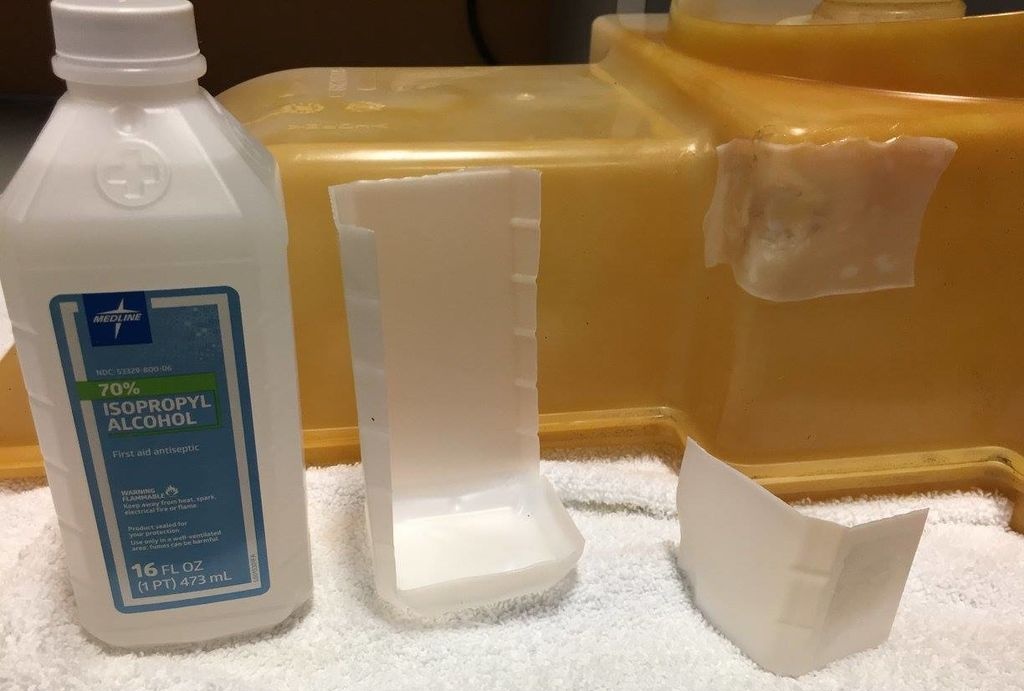
For final cleaning and degreasing of the work surface, I used isopropyl alcohol. Particularly fortunate was the fact that the alcohol bottle turned out to be made of the same plastic as my gas tank. Therefore, in order to use the bottle for making patches, I had to pour the remaining alcohol into another container.
Preparing patches for repairs
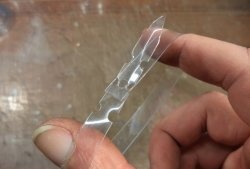
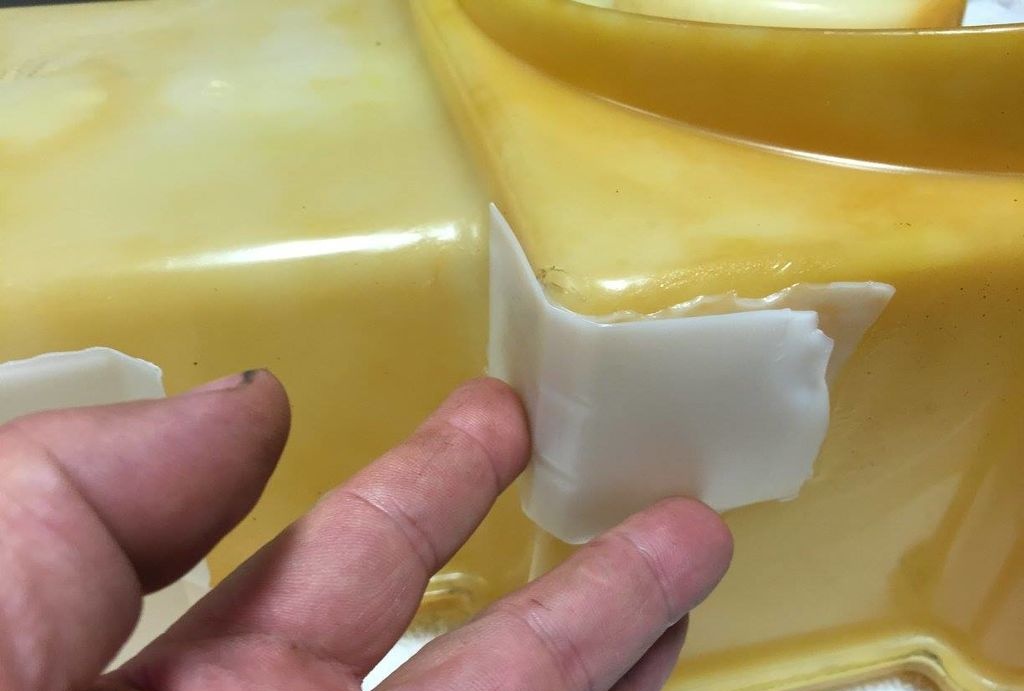
In my case, the repair was complicated by the fact that the damage was at a corner, so the patch had to go around the hole on both sides. To do this, I cut out a corner element from the bottle in such a way that there was a good overlap on all sides of the hole.
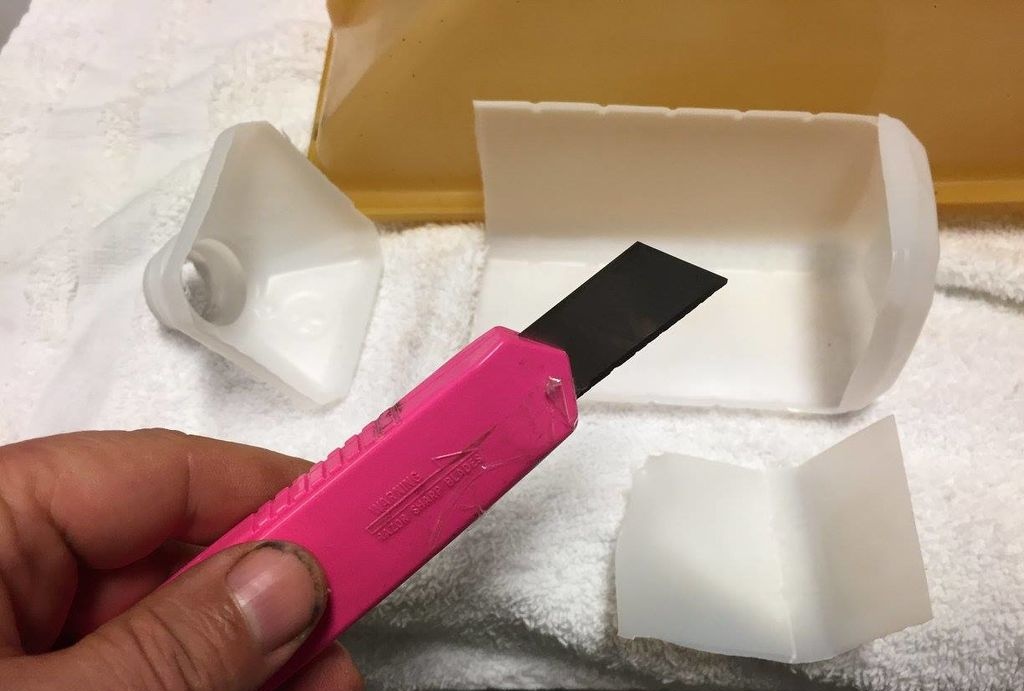
You should also remove any plastic burrs or other rough areas around the damaged area so that the patch fits as tightly as possible.
Applying a plastic patch
The most crucial moment is uniform and correct heating of the work area and the patch. The goal is to soften the plastic and make it sufficiently soft and elastic, but retain its shape and prevent it from spreading. It is important to follow the following rules:
- Keep the gun at a distance from the heated part.
- Run a heat jet over the surface of the part so that it heats up evenly over the entire area.
- Plastic should not melt or flow, much less smoke or burn.
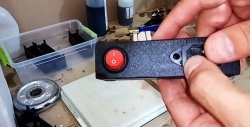
Having softened part of the patch so that the plastic began to look wet, I applied it to the repair area and began to heat it further, while simultaneously smoothing and pressing the part attached to the gas tank with a spatula. As the plastic patch warmed up and softened, I pressed it with a spatula so that it adhered tightly to the surface of the tank.
Advice! When smoothing a patch, it is important not to overdo it with force, as you can push through the softened plastic and make it even worse than it was.
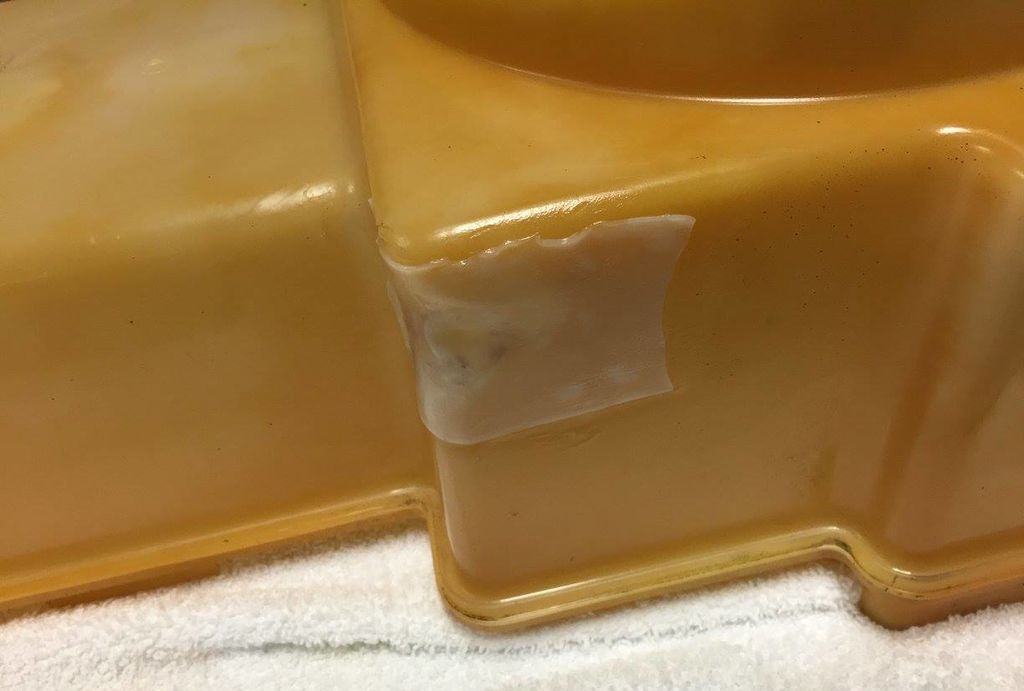
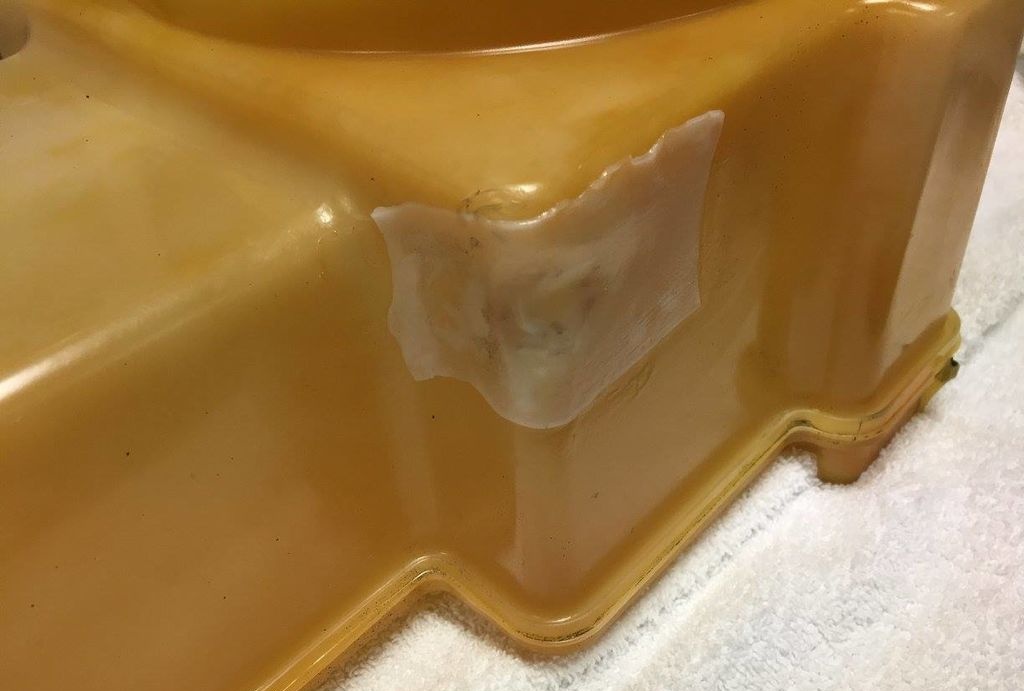
When the patch is completely glued, the parts should be allowed to cool on their own without applying additional effort (do not put them in water).
Examination
After cooling, I filled the tank with water to check for leaks - everything was fine, even if I pressed on the patch area.
Finally, I would like to give a few simple rules for successful repair of plastic products:
- For such “soldering” of plastic, you cannot use hot tools (soldering iron, etc.), as this will lead to melting of the plastic and disruption of the elasticity of the material.
- The working surface and patch must be absolutely clean and free of grease.
- The item being repaired and the patch must be made of the same type of plastic. This will ensure maximum repair efficiency, since different plastics have their own temperature limits for softening and fluidity.
- Heating must be done gradually so that the material does not melt. If you see smoke, it means you are doing something wrong!
Note! Be prepared that it may not work out the first time and you will have to apply another patch of a larger size so that it covers the previous one. This may also be necessary if the plastic chosen for the patch is too thin.
Original article in English