Every pet owner knows how important it is to have a tag with the address or phone number of the owner, be it a cat or a dog, because a beloved pet, even the most intelligent and obedient one, can get lost during a walk. But if there is such a tag on your pet’s collar, the person who finds it can easily return your pet home. In this article, we will show you how to make such a medallion with your own hands.
We will need
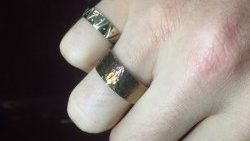
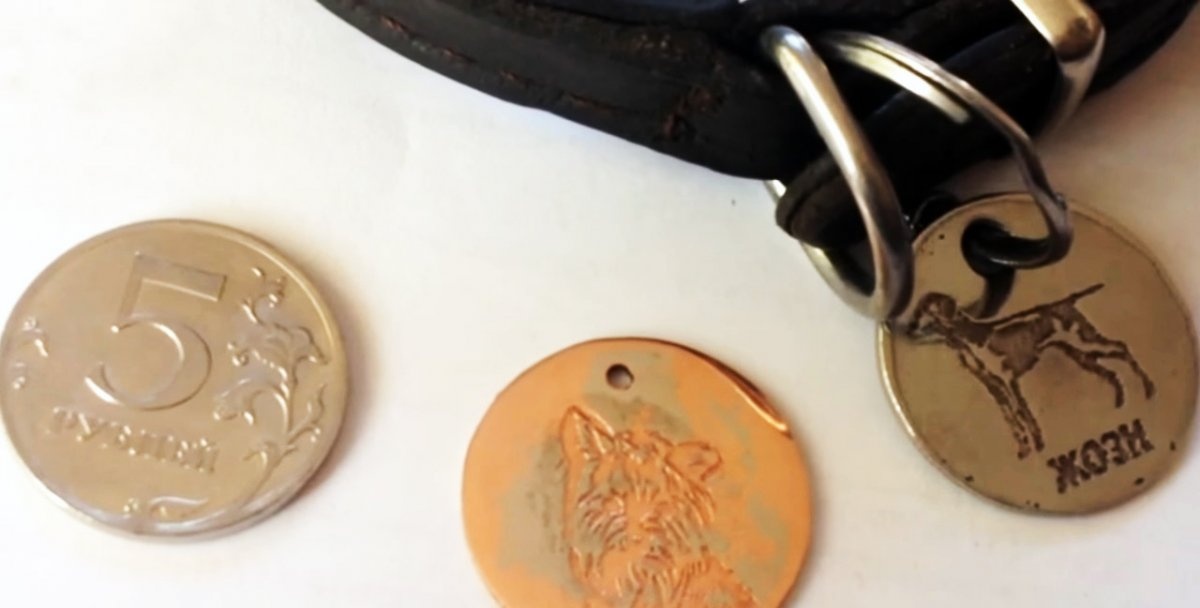
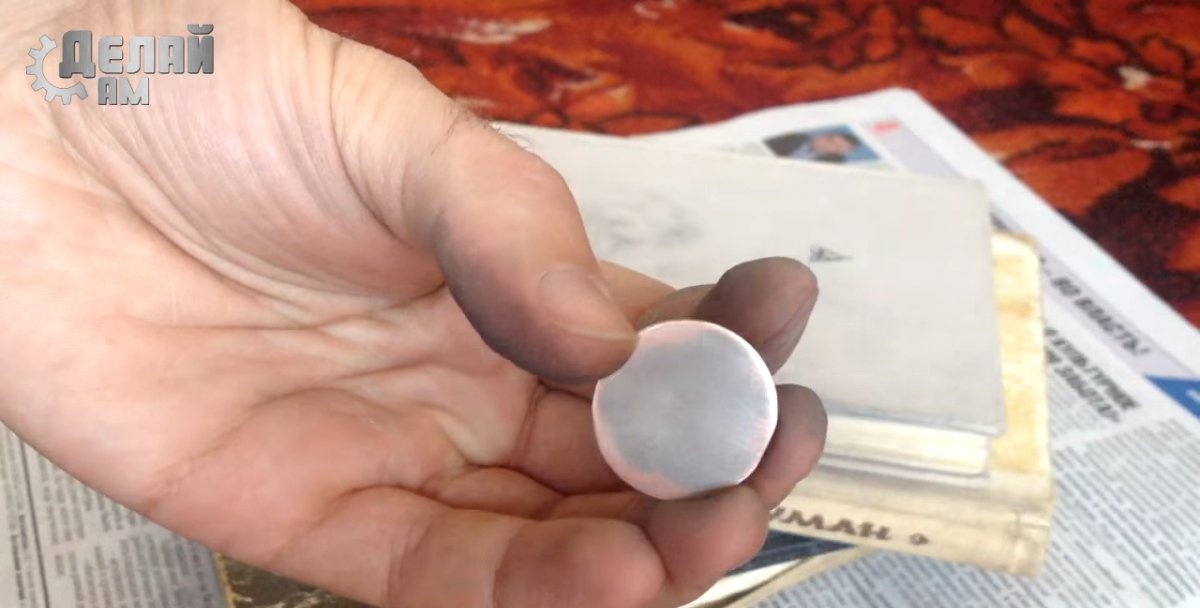
- - 5 ruble coin.
- - Sandpaper.
- - Hammer.
- - Nail polish.
- - Old mobile charger.
- - Aluminum can
- - etc.
Making a token
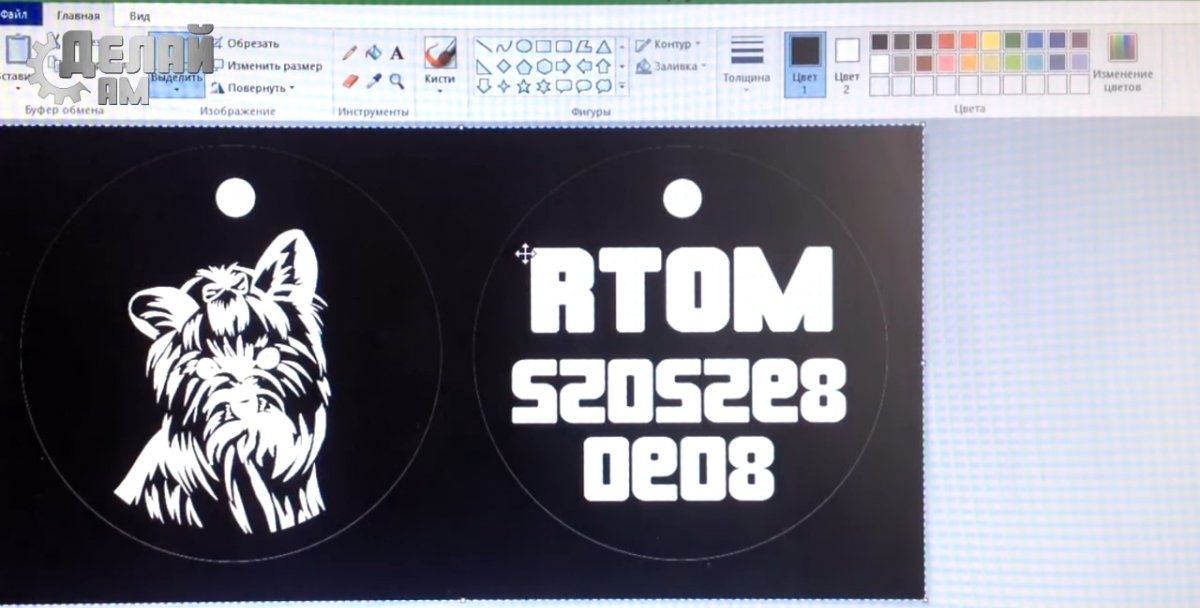
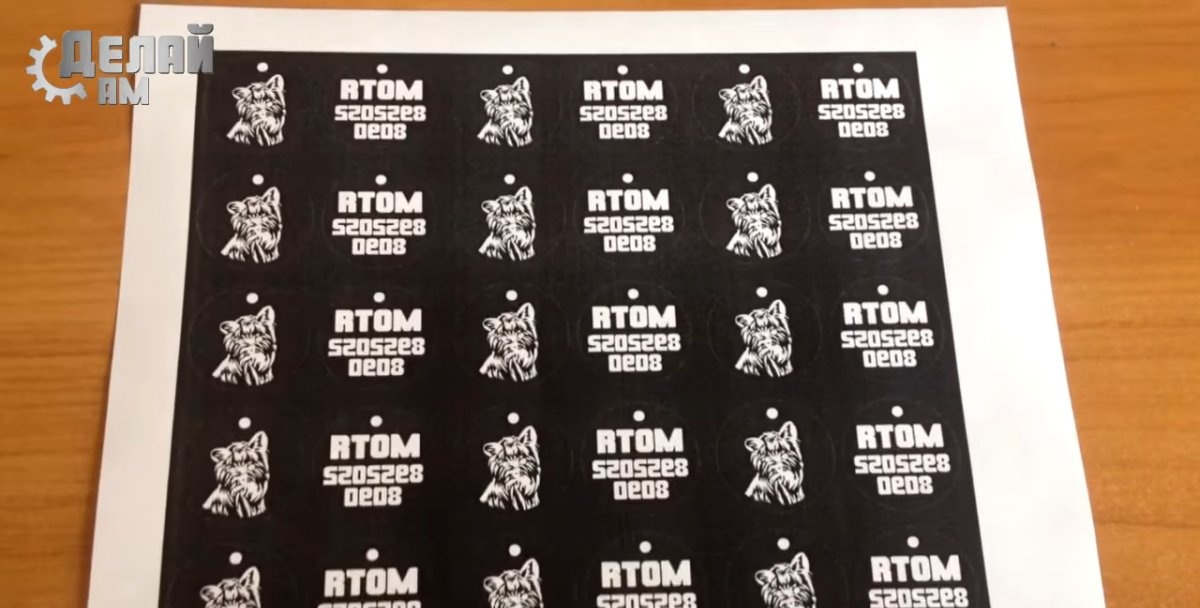
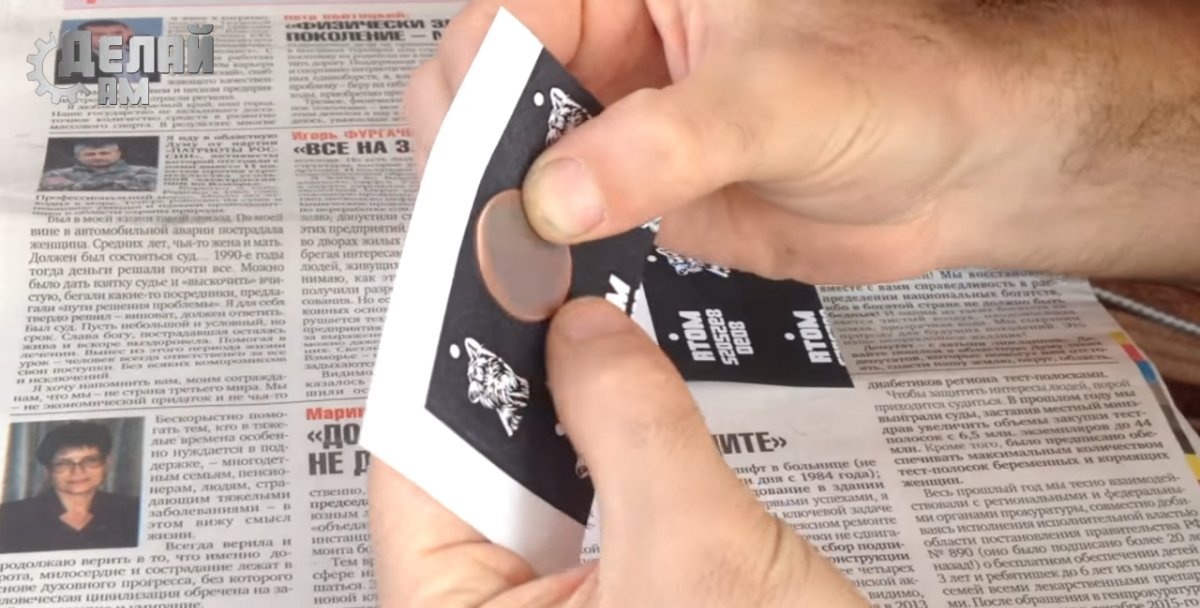
First, in any graphic editor convenient for you, we prepare the drawing that you would like to see on the medallion. The image must be reflected from left to right and inverted. Then we adjust the size of the image to the size of your coin, reproduce it and print it on a laser printer.

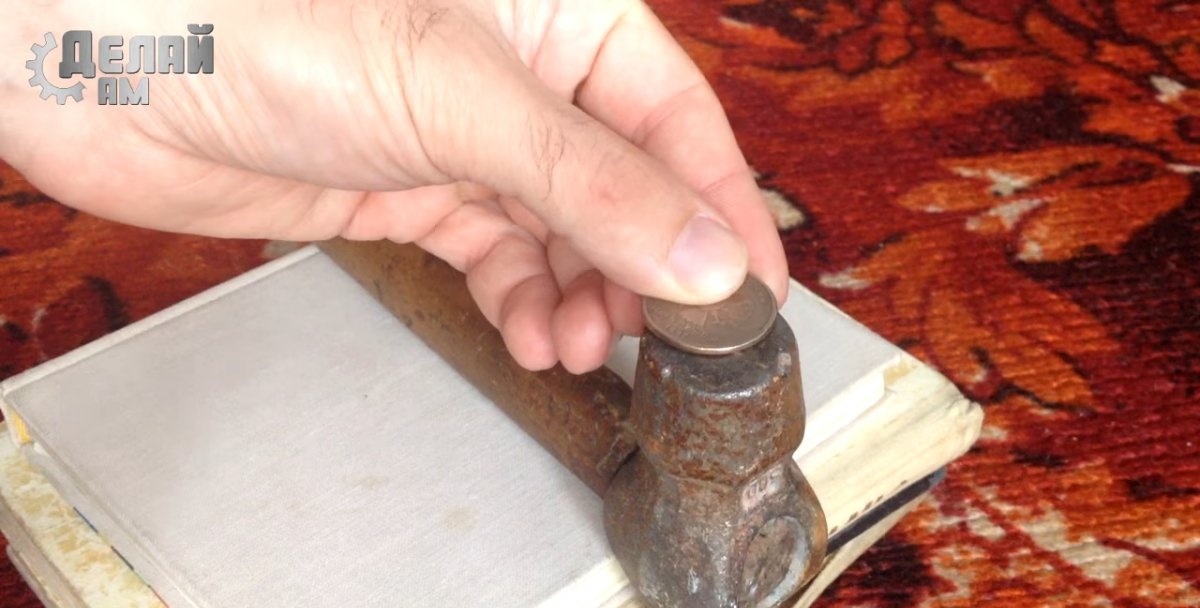
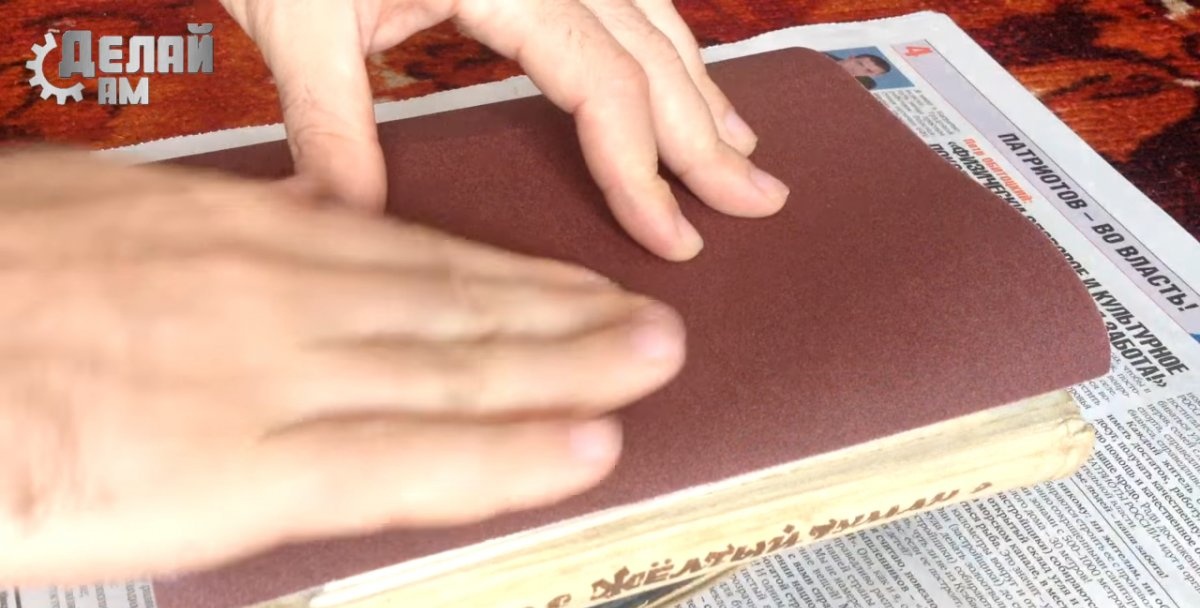
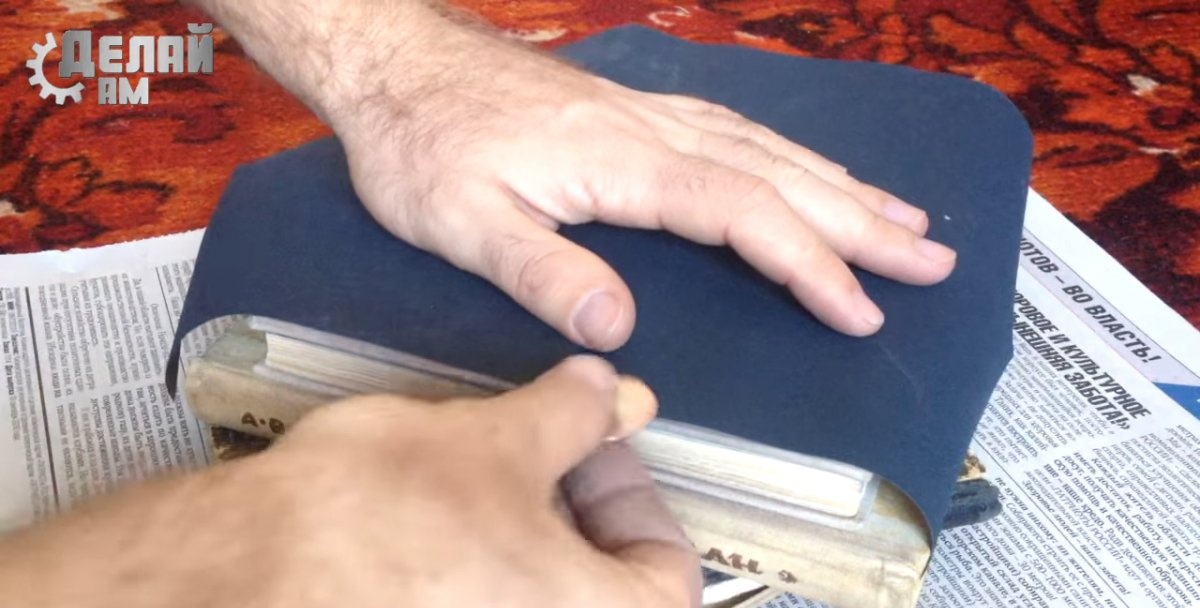
Prepare the coin for the token: smooth out the stamped design of the coin by lightly tapping the coin with a hammer.
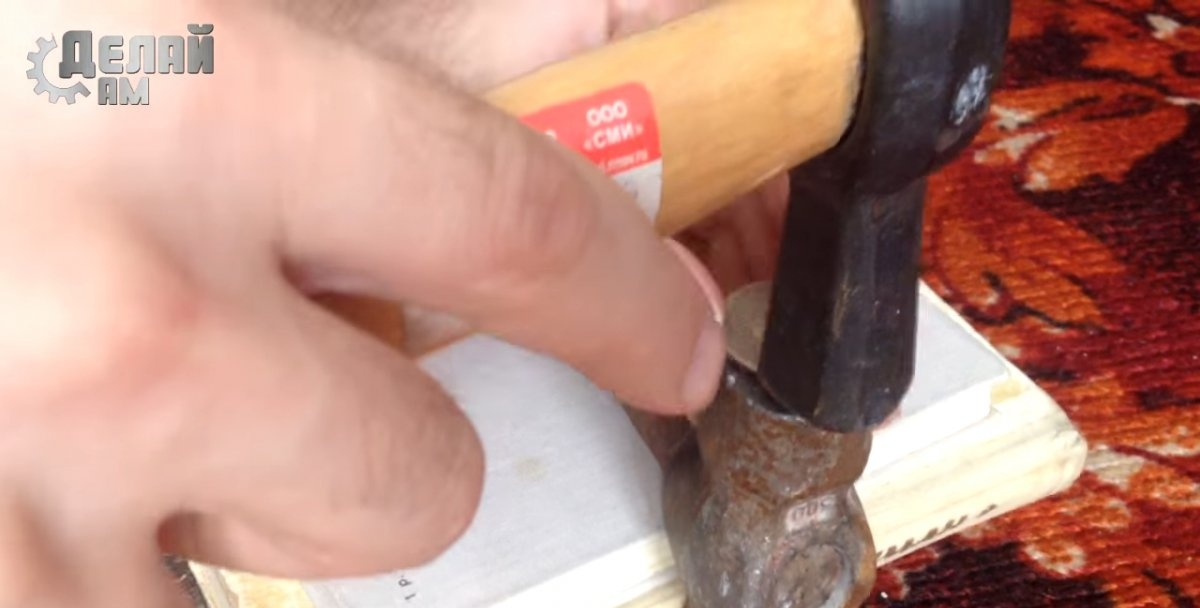
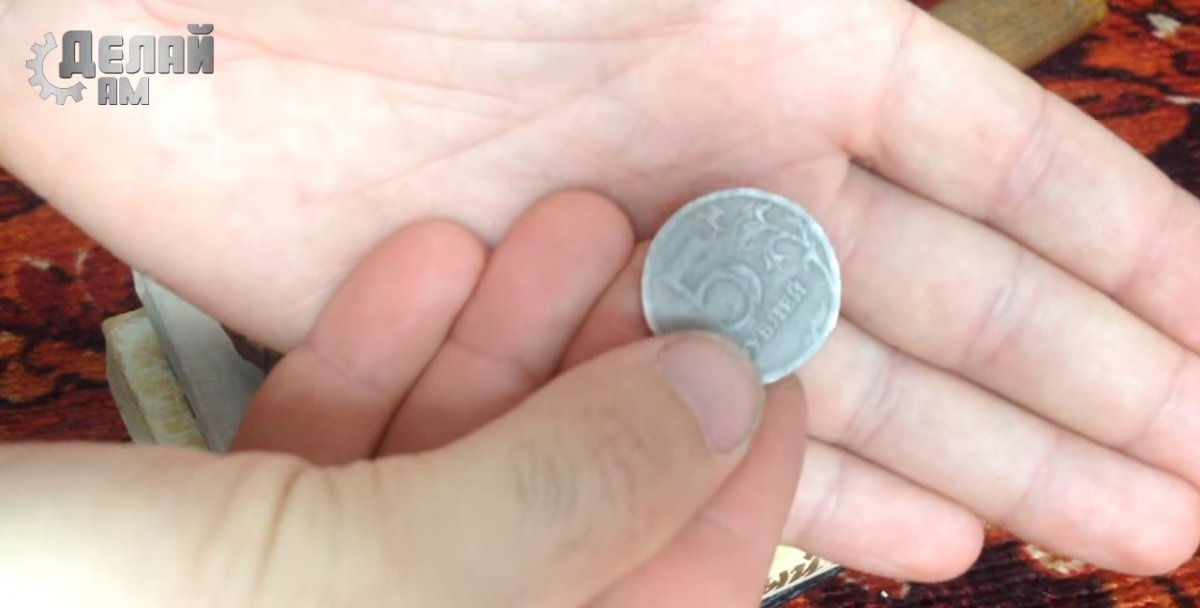
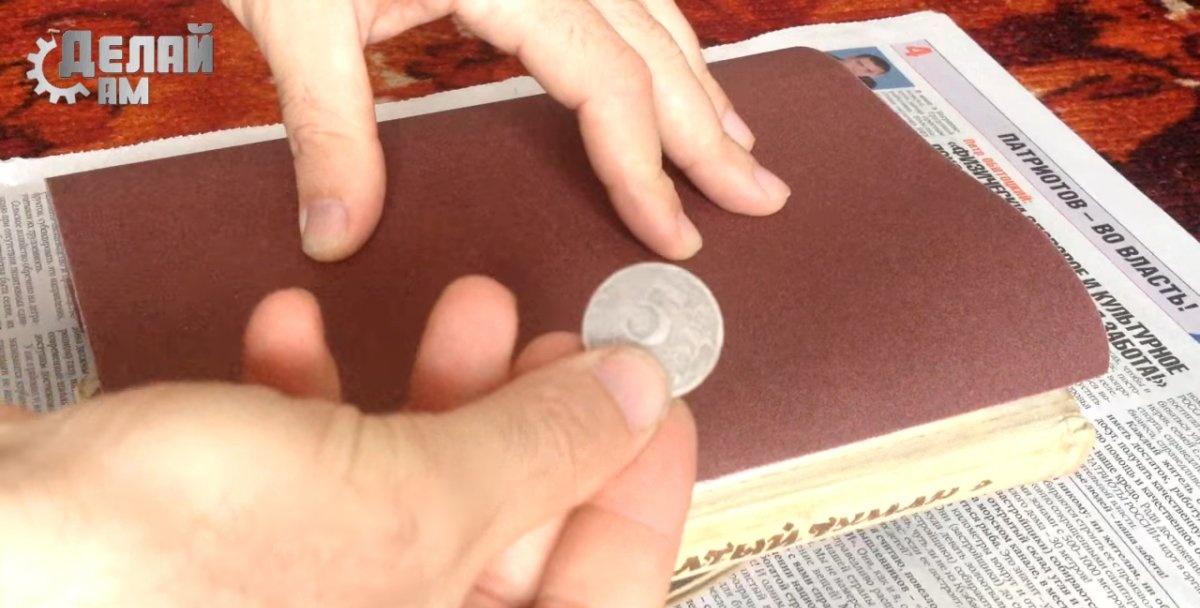
Using sandpaper with different abrasives, we gradually and finally get rid of the old pattern on the coin.
The next step is to cut out the image and place it on the coin blank, folding the edges of the paper.
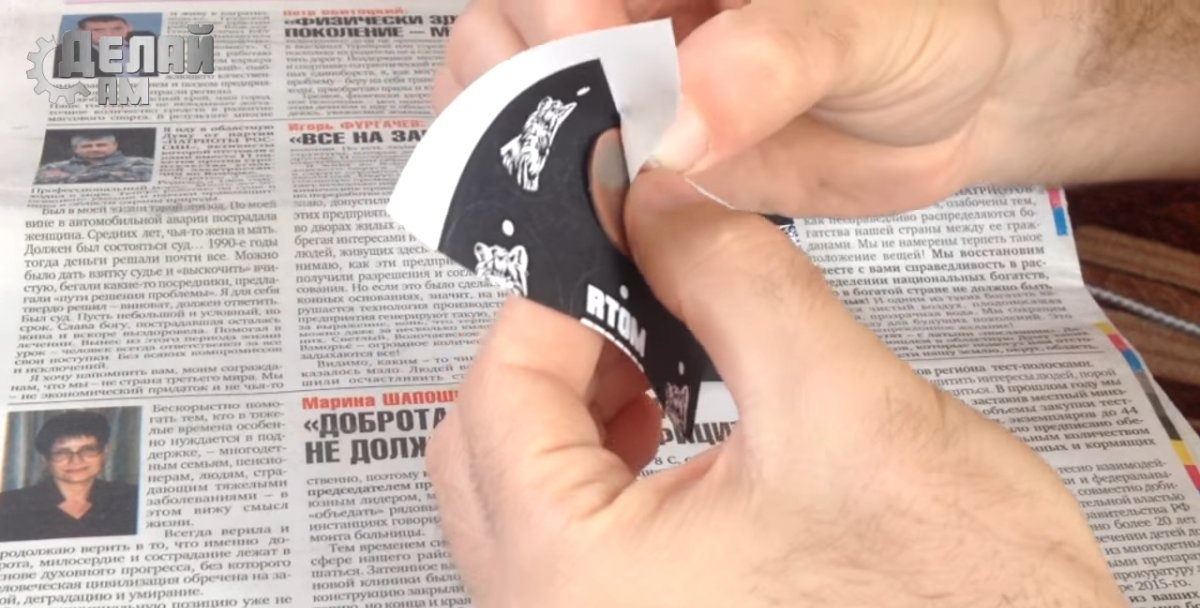
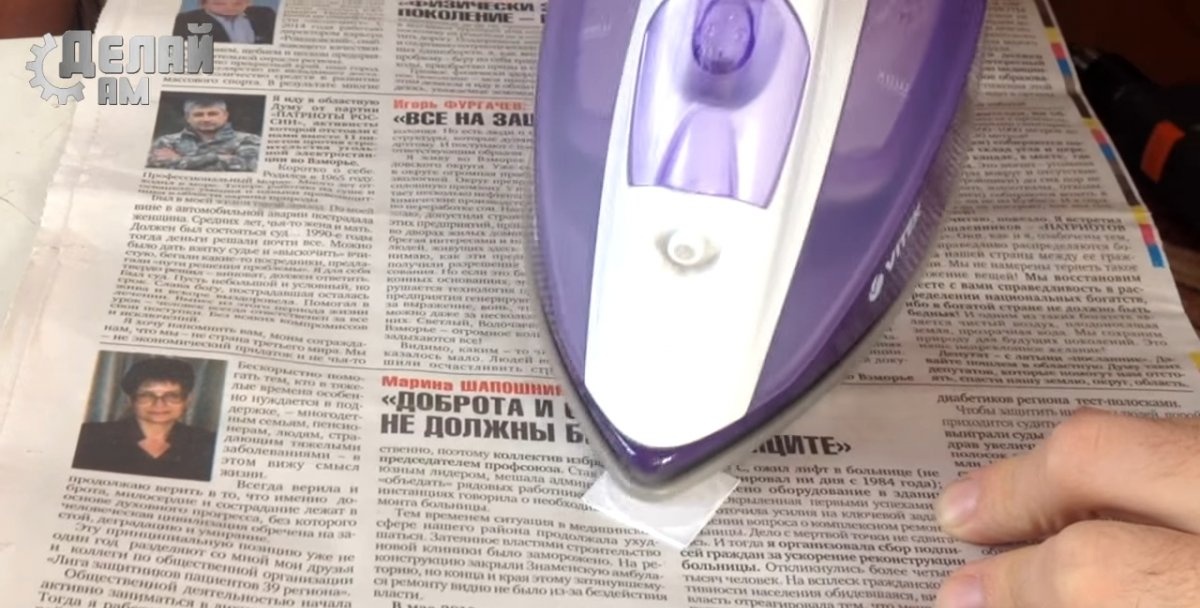
Using a hot iron, iron the coin on both sides for one to two minutes.


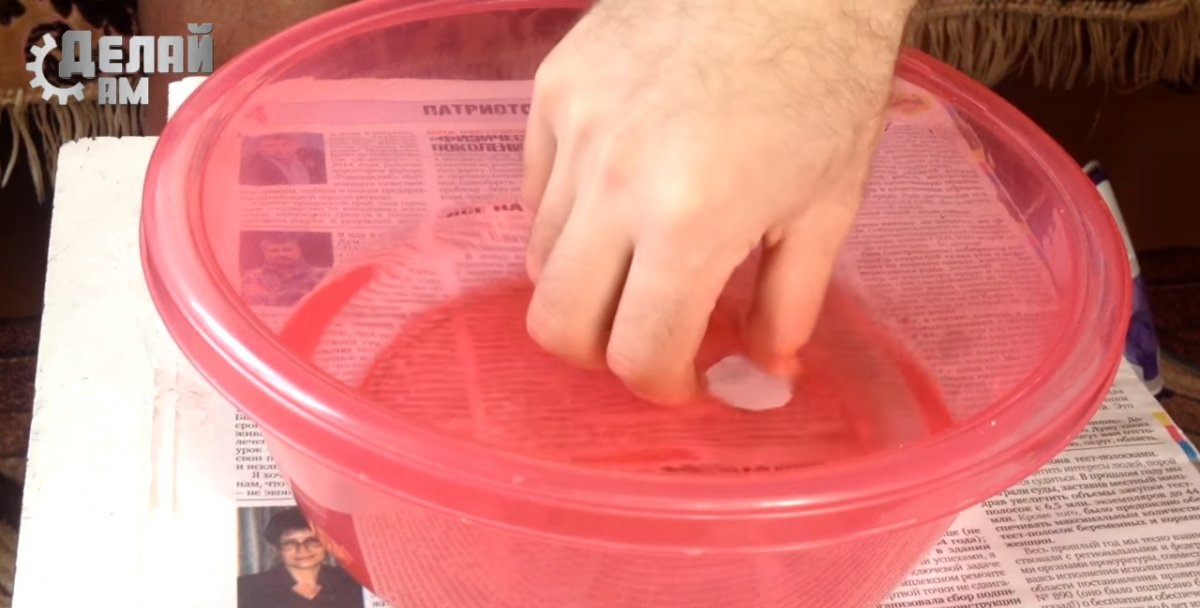
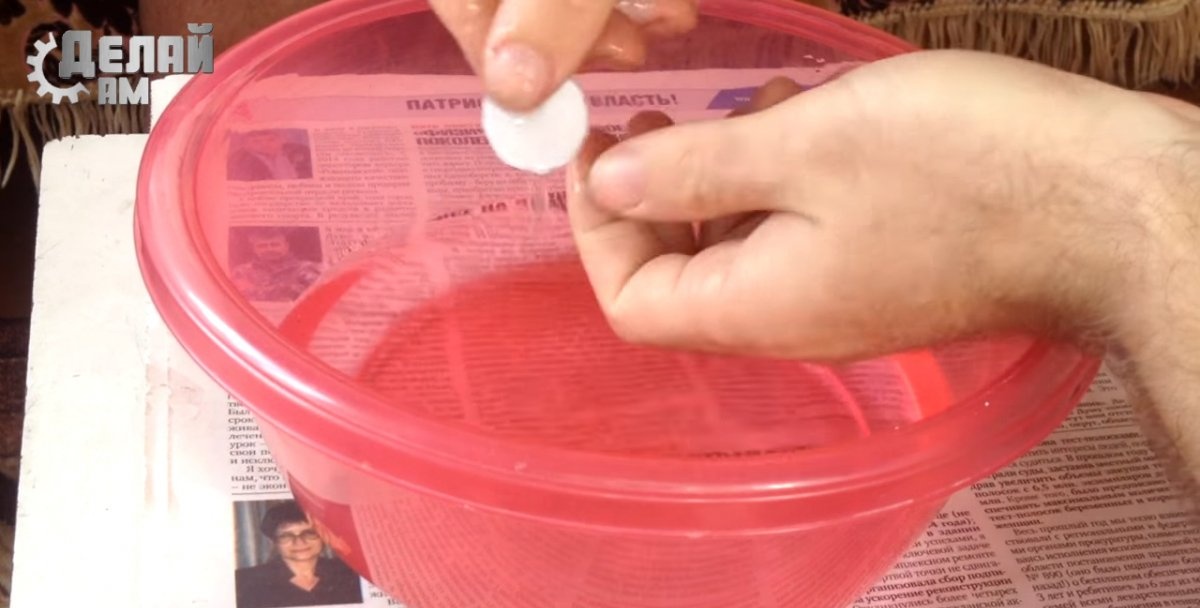
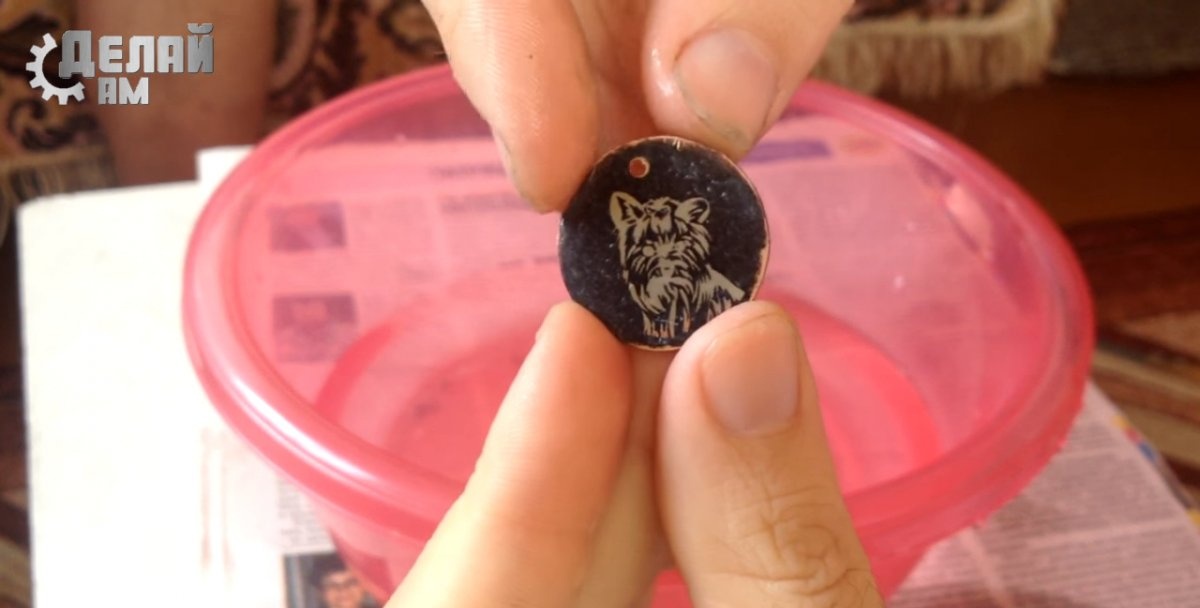
Place the coin in a container of water and wash off the paper with light movements until only the picture remains.
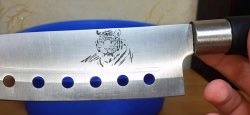
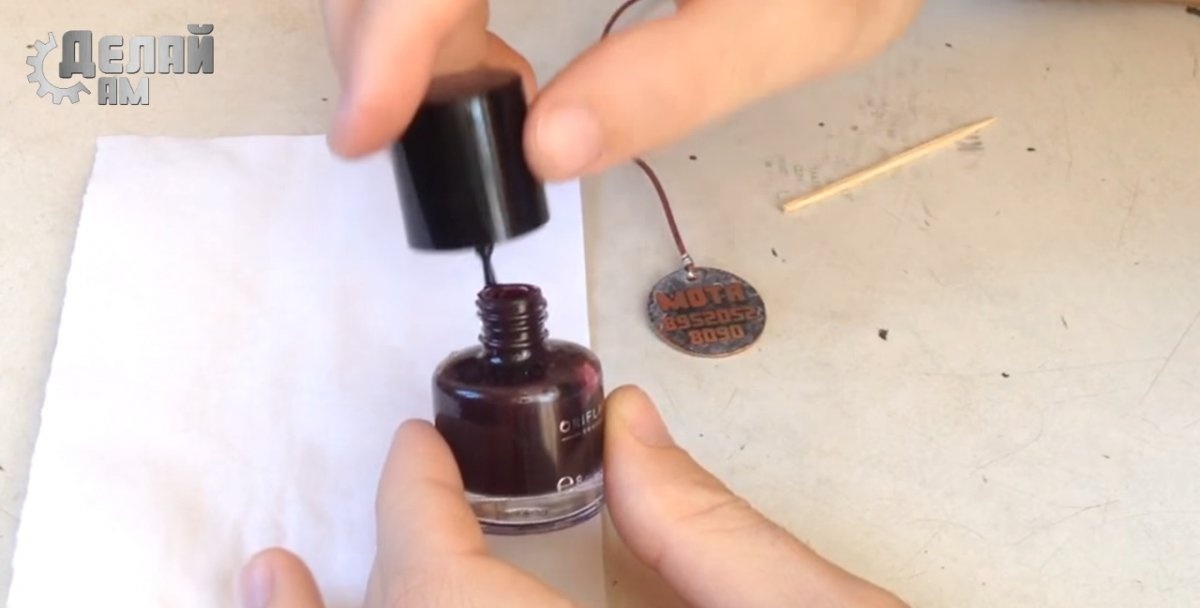
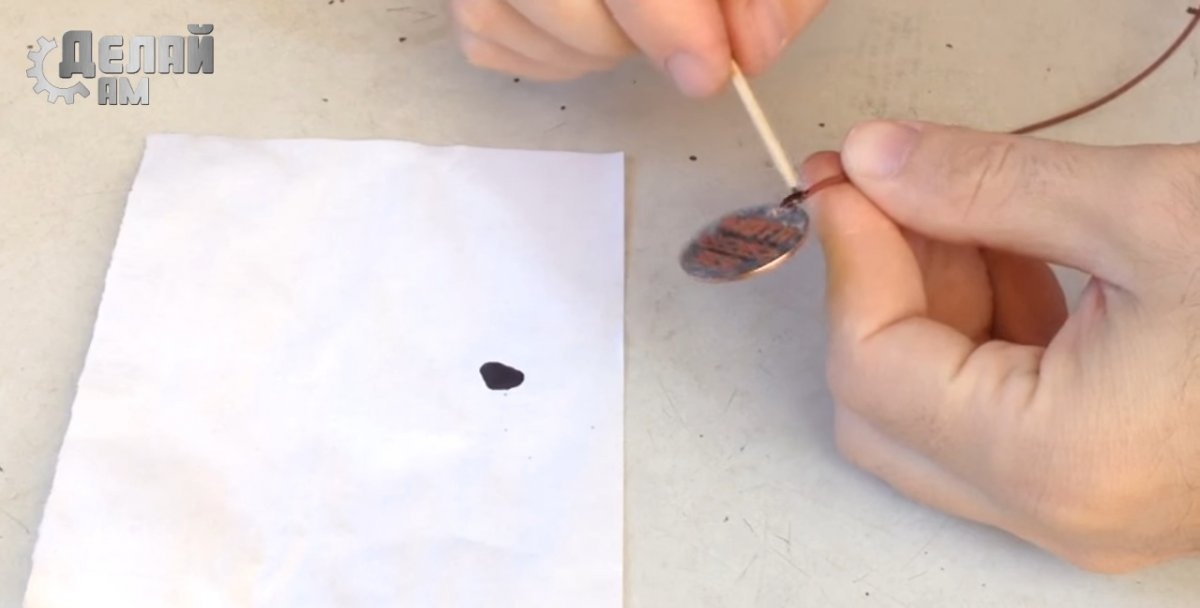
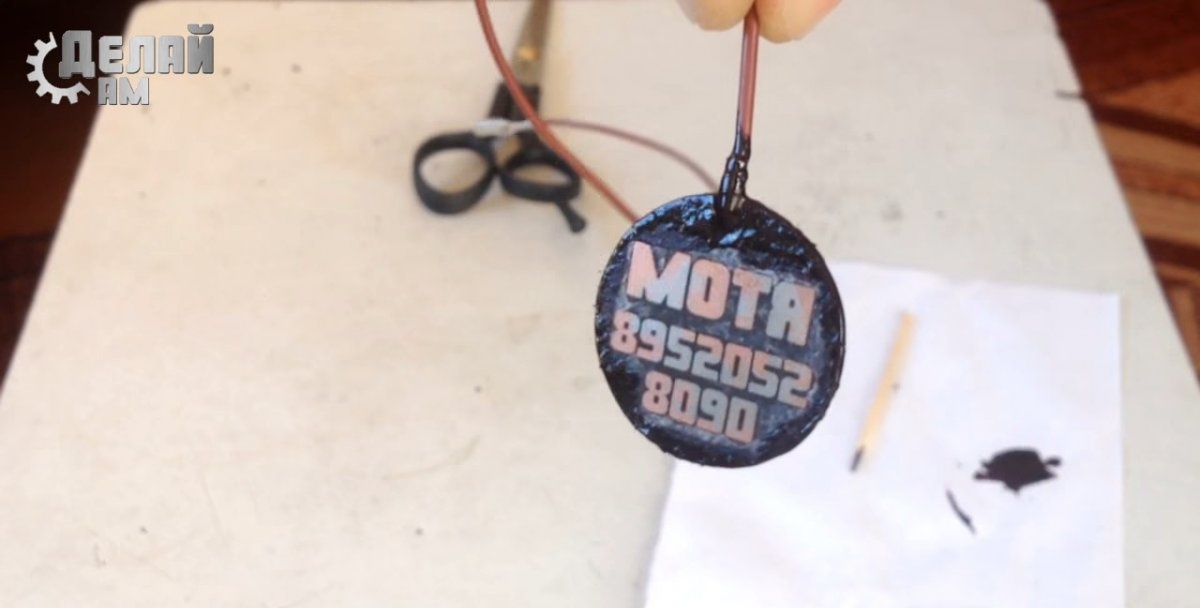
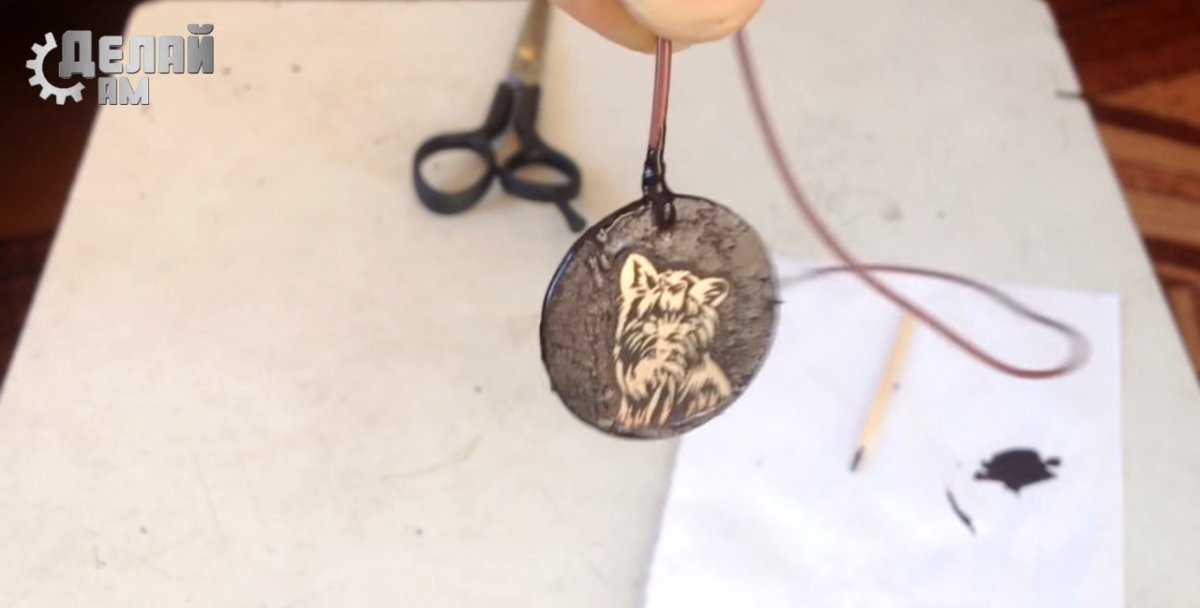
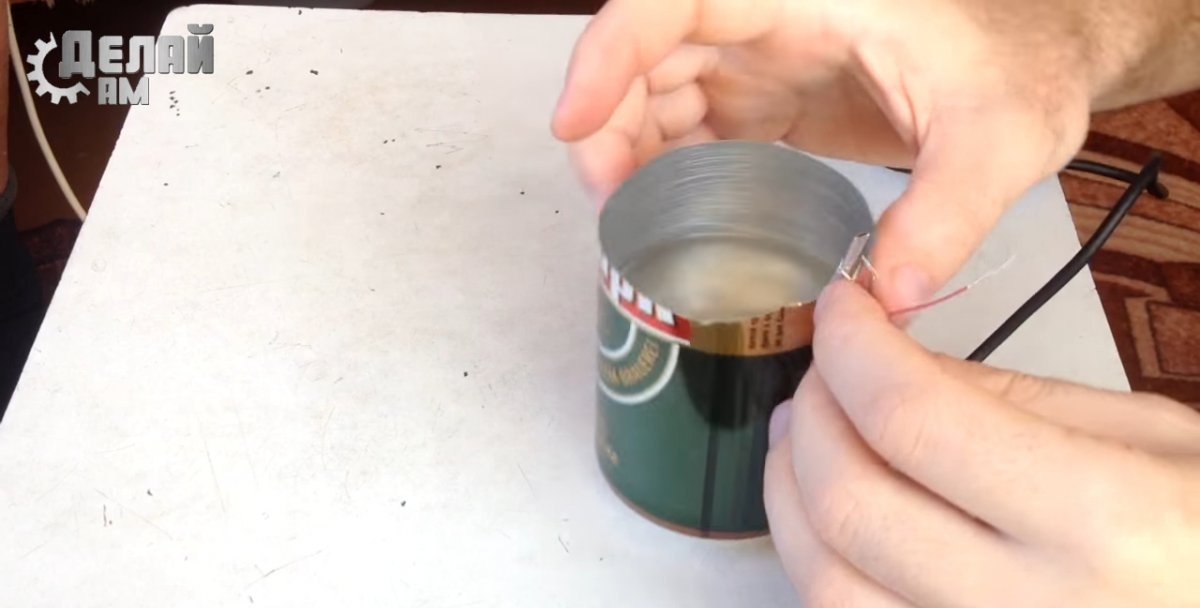
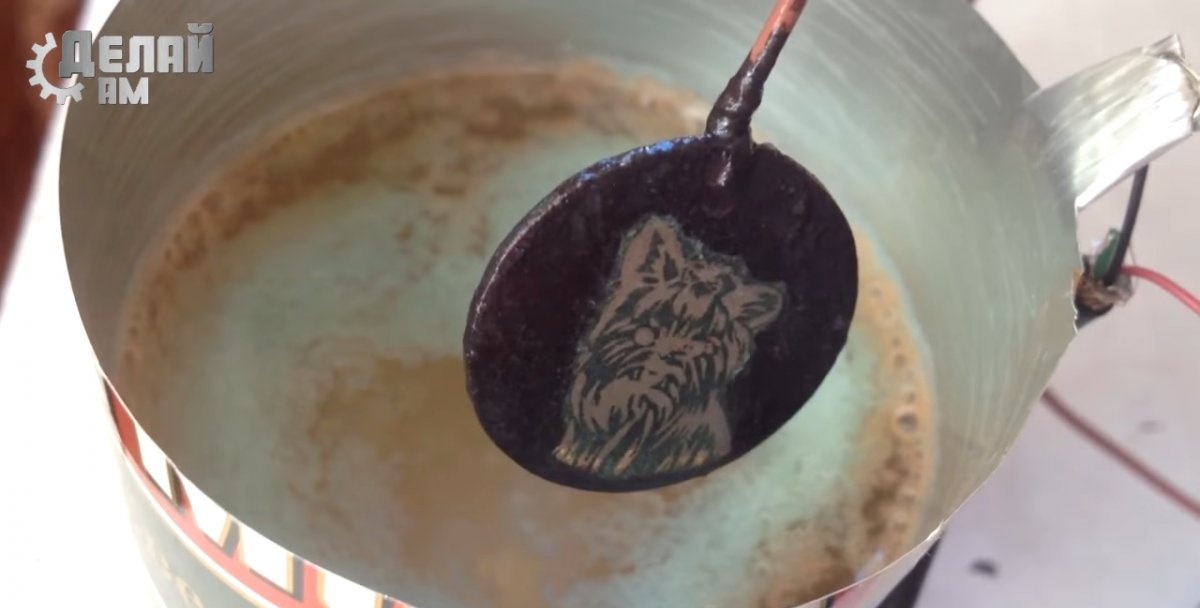
The next step is to make a small hole with a screwdriver and screw the wire. We take the varnish and carefully sketch out the place where the wire is attached, the edges of the coin and the places where the toner has not transferred well.

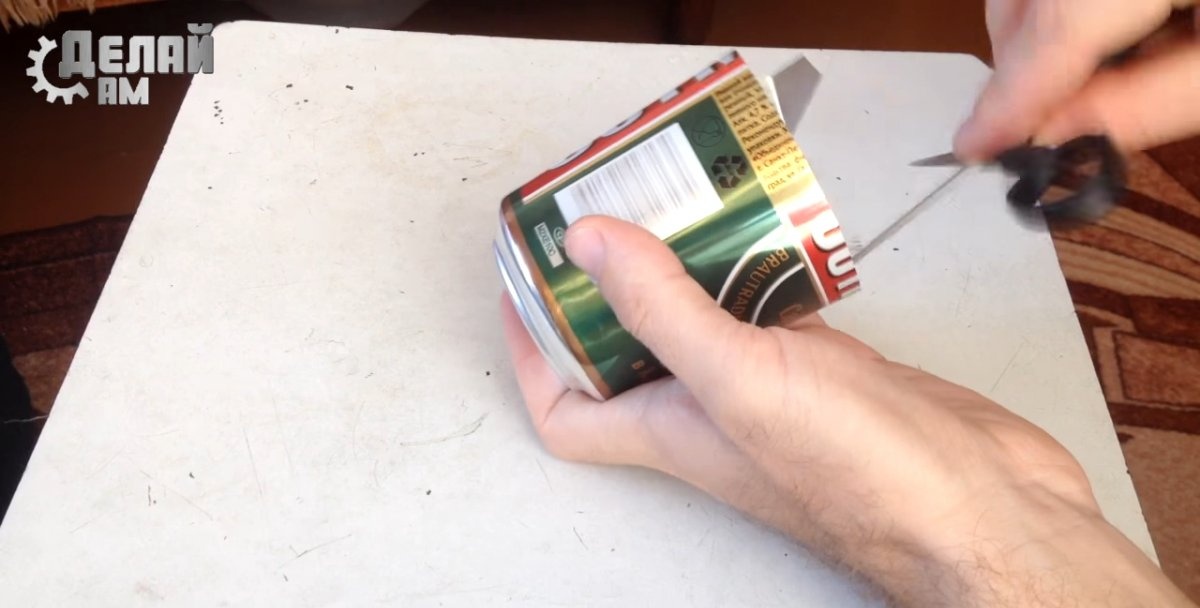
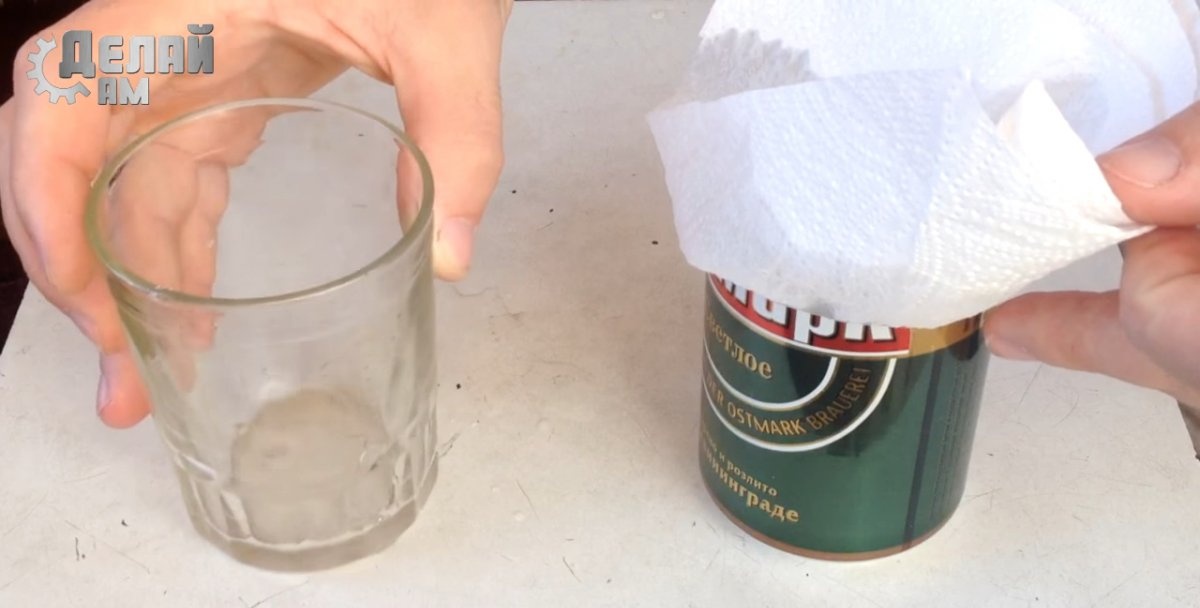
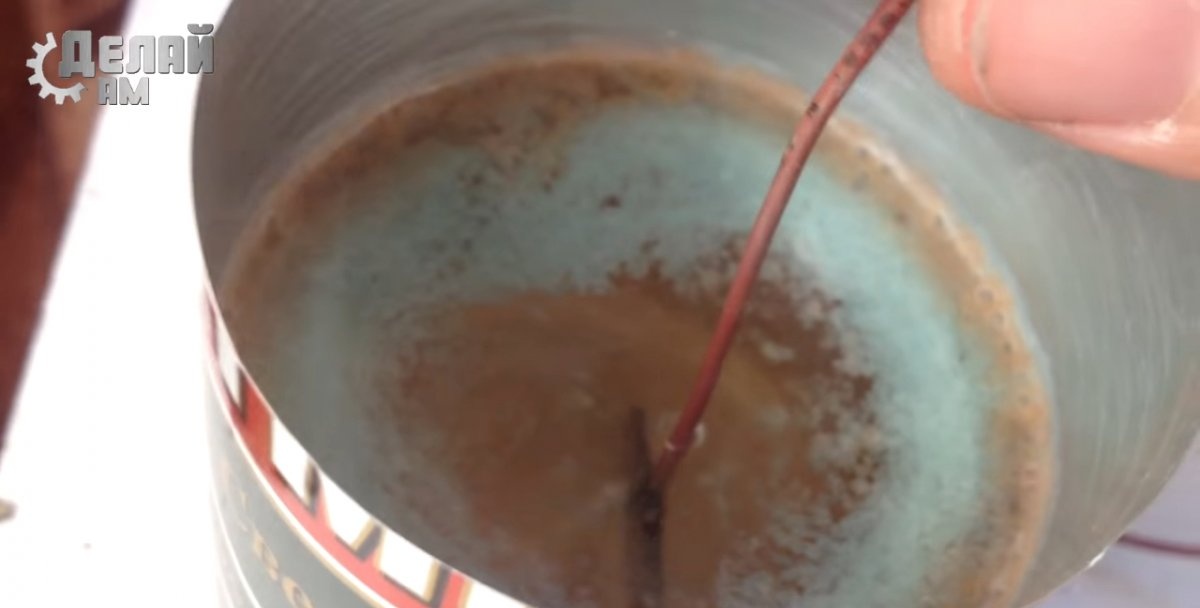
We make a glass from an aluminum can and scratch the varnish inside a little for electrical conductivity.

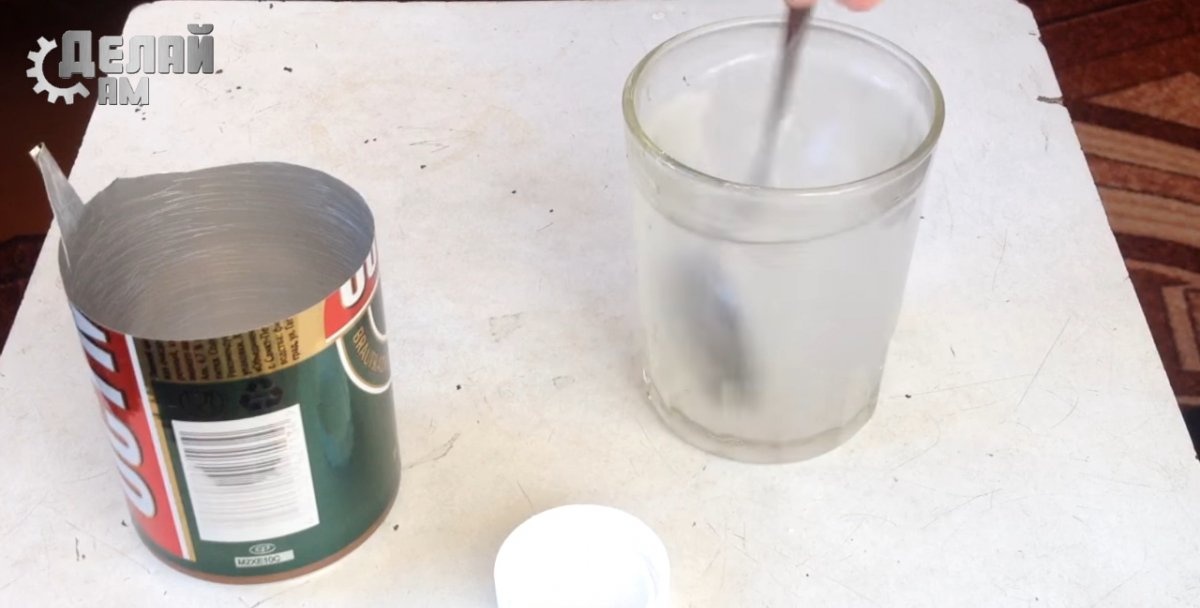
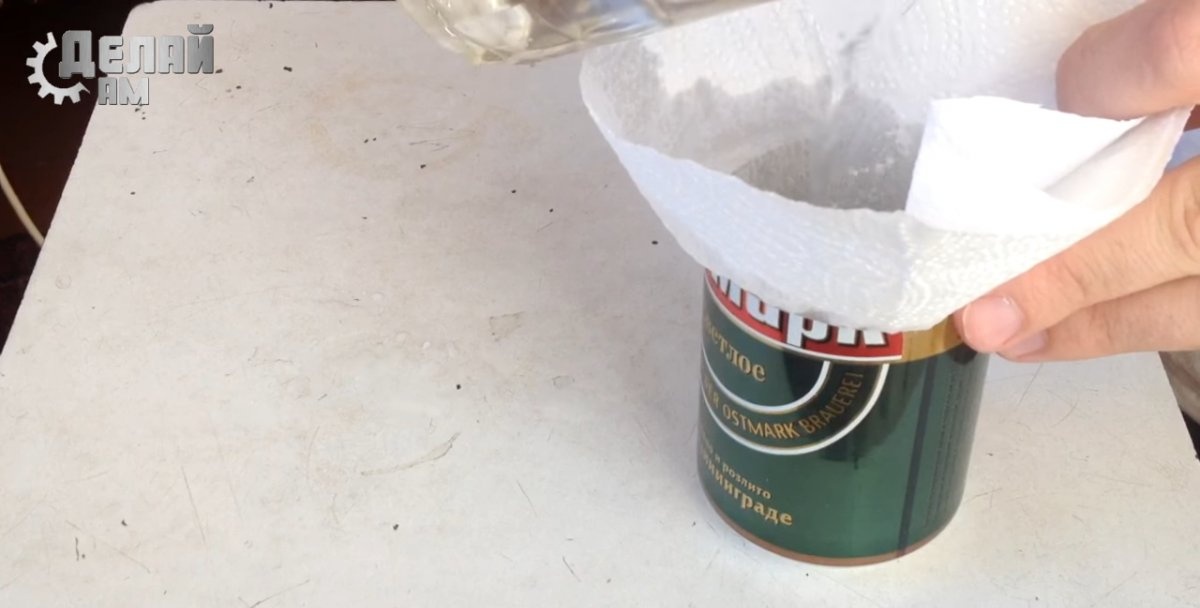
Stir 1-2 tablespoons of salt in a regular glass of water and pour it into an aluminum jar by filtering. 27
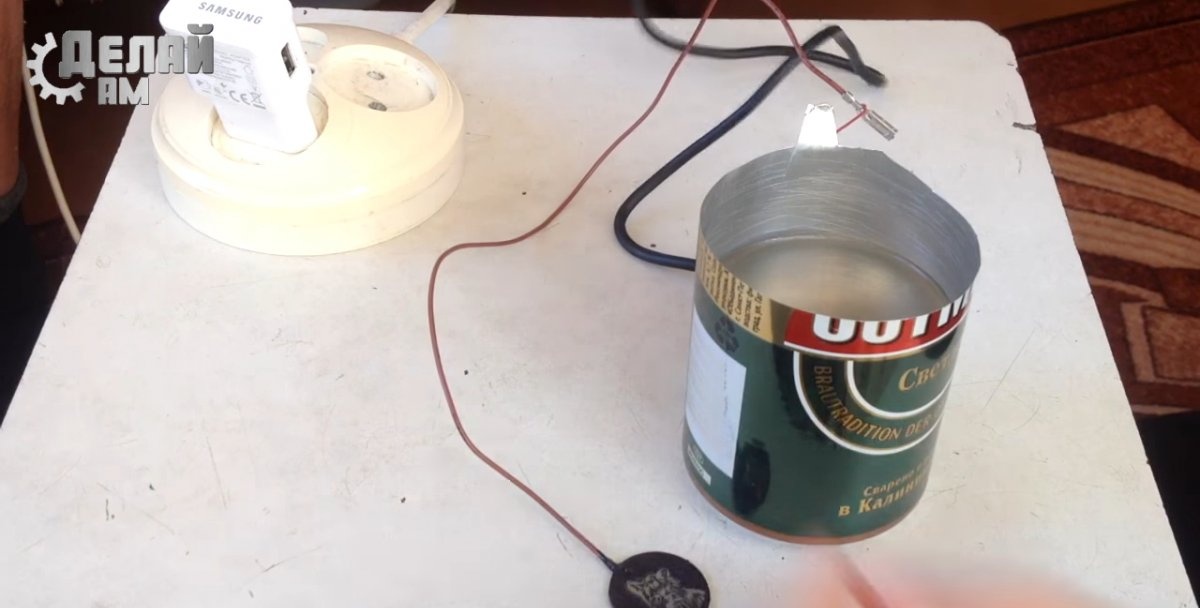
We cut off the wire from the unnecessary mobile charger and screw the red (+) wire to the coin, and the black (-) wire to the jar.
We turn on the charger and lower the coin into the solution for about 10-15 minutes, the reaction speed will depend on the voltage and salinity of the water.
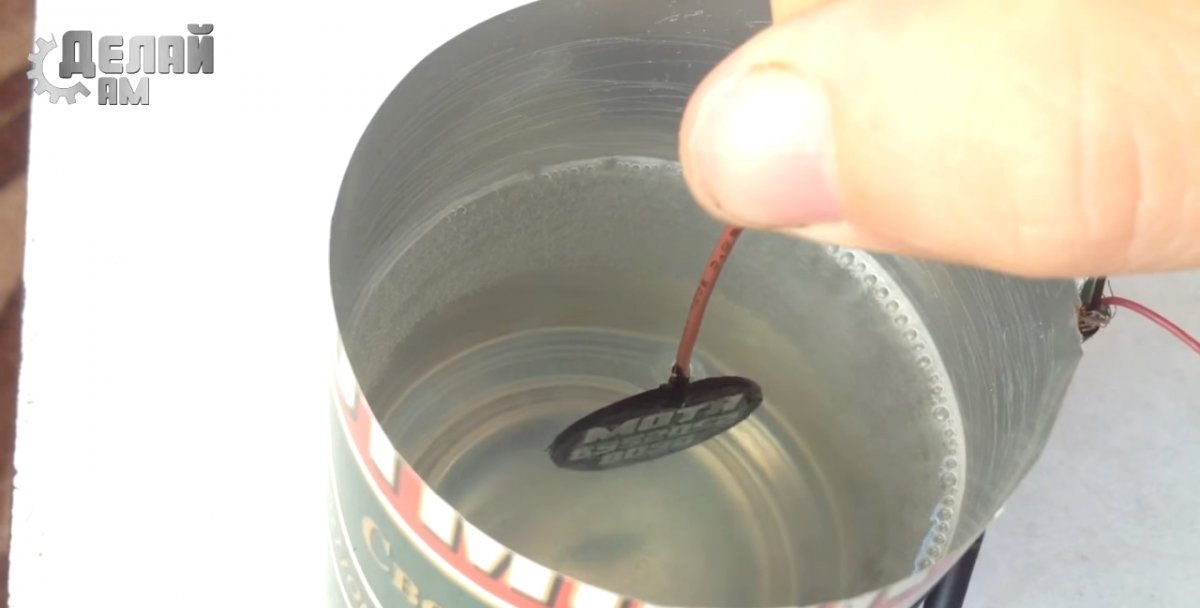
We etch it at will, if we want the text and picture to be deeper, we keep it in the solution longer.
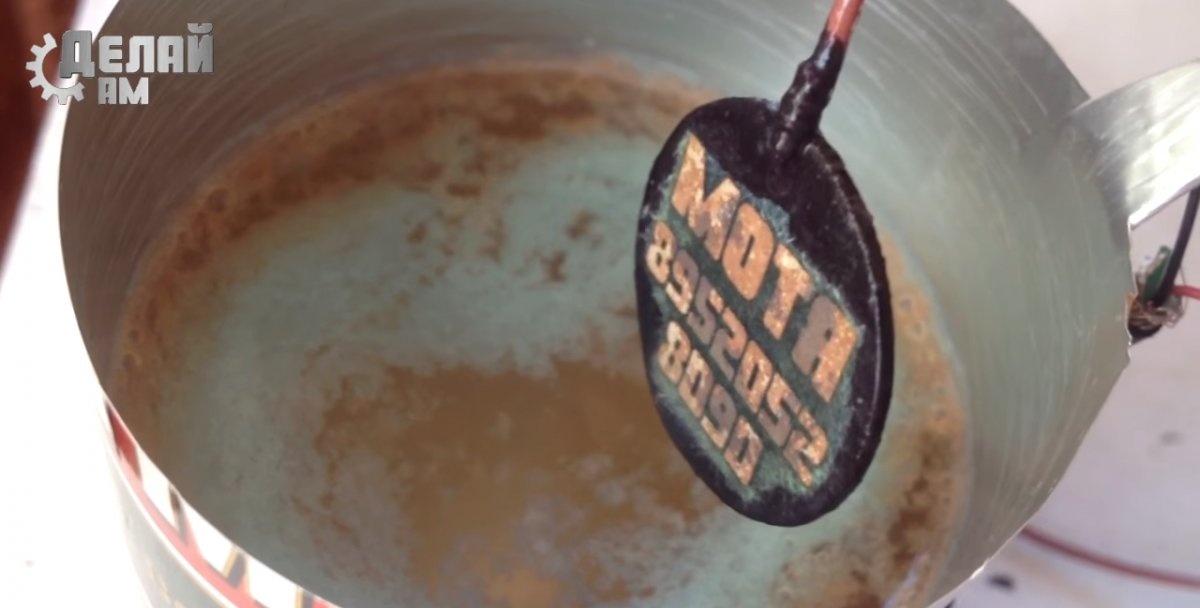
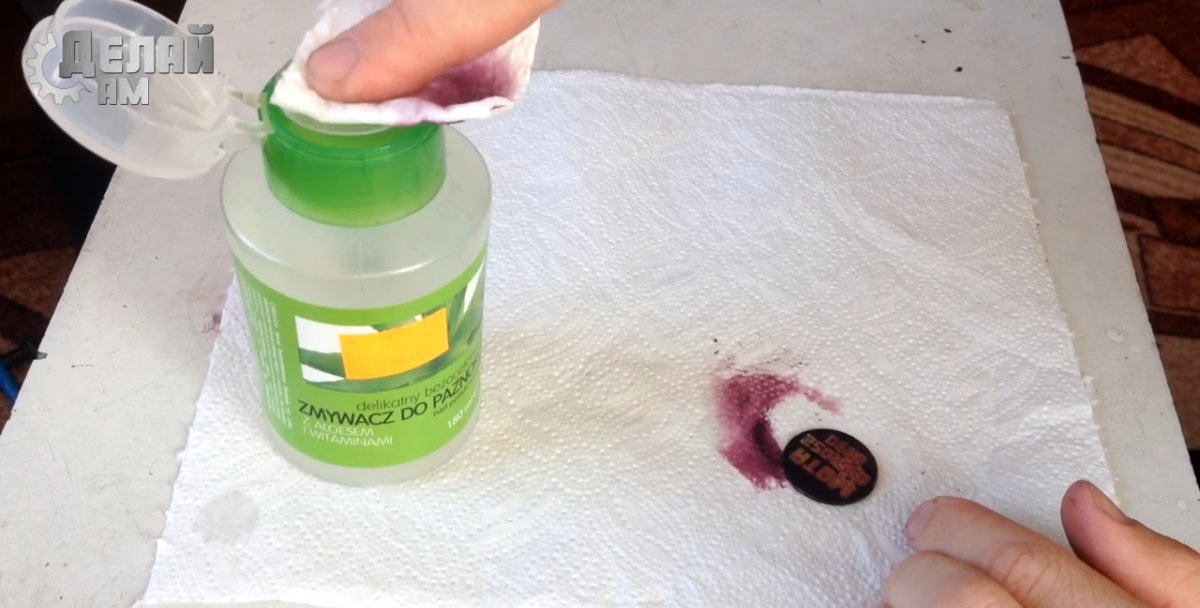
After etching, we get rid of the varnish and toner on the coin using varnish thinner.
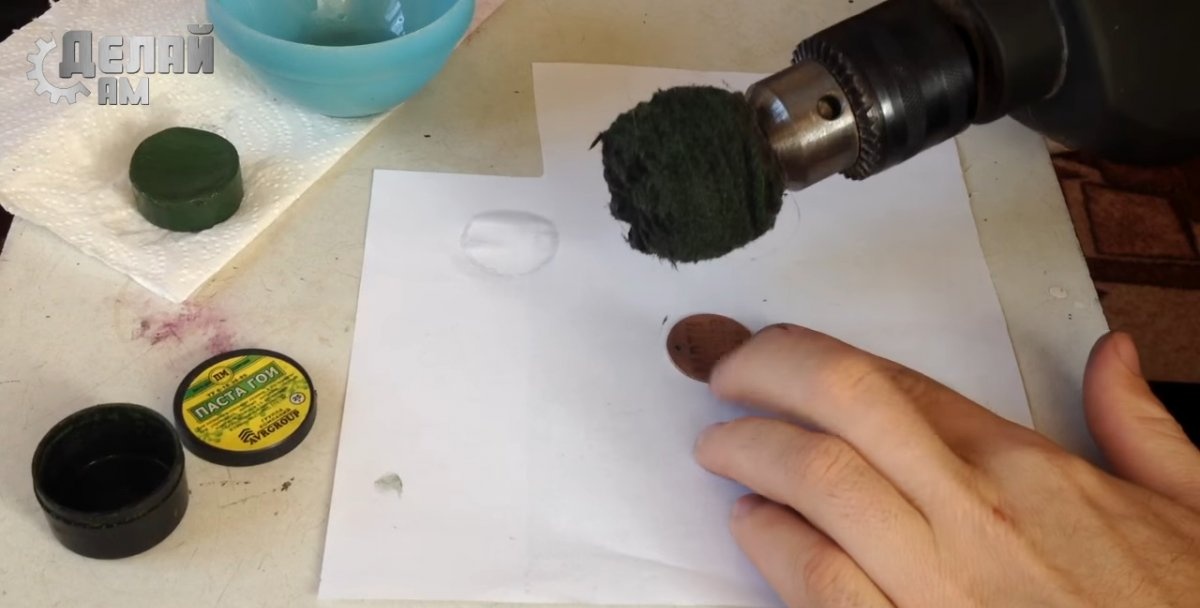
The last step is to add shine to the coin; to do this, polish our token to a shine using goi paste, oil and a regular drill with a felt attachment.


Conclusion
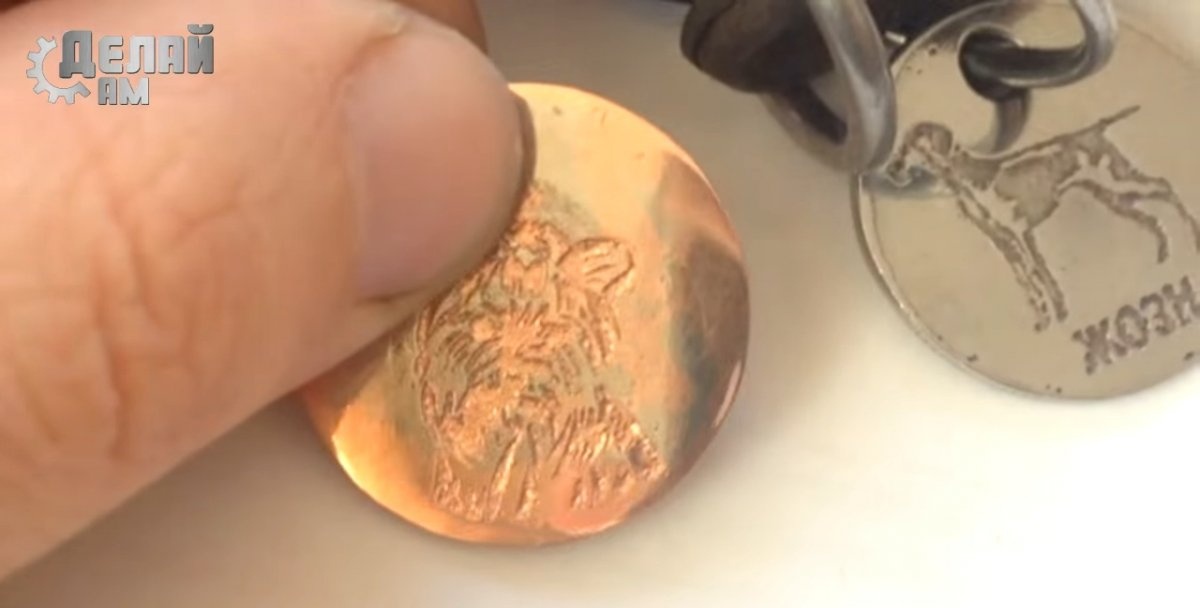
This token does not have to be made from a coin; you can use another blank, for example, make it in the shape of a bone, diamond, etc. The token from the 5 ruble coin came out of a non-uniform color, the coin contains various impurities, and from a white coin we got a medallion with a yellowish sheen in some places.
Watch the video
Watch a video of the token making process.