To replace or install an interior door, it is not necessary to seek the help of a specialist, since even with basic construction skills and the ability to use tools, you can do this work yourself.
Installing an interior door
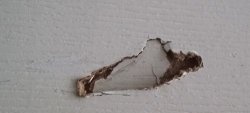
First you need to dismantle the old door. This is done using a hacksaw and a pry bar. Saw one of the side beams with a hacksaw, then split it with a pry bar.

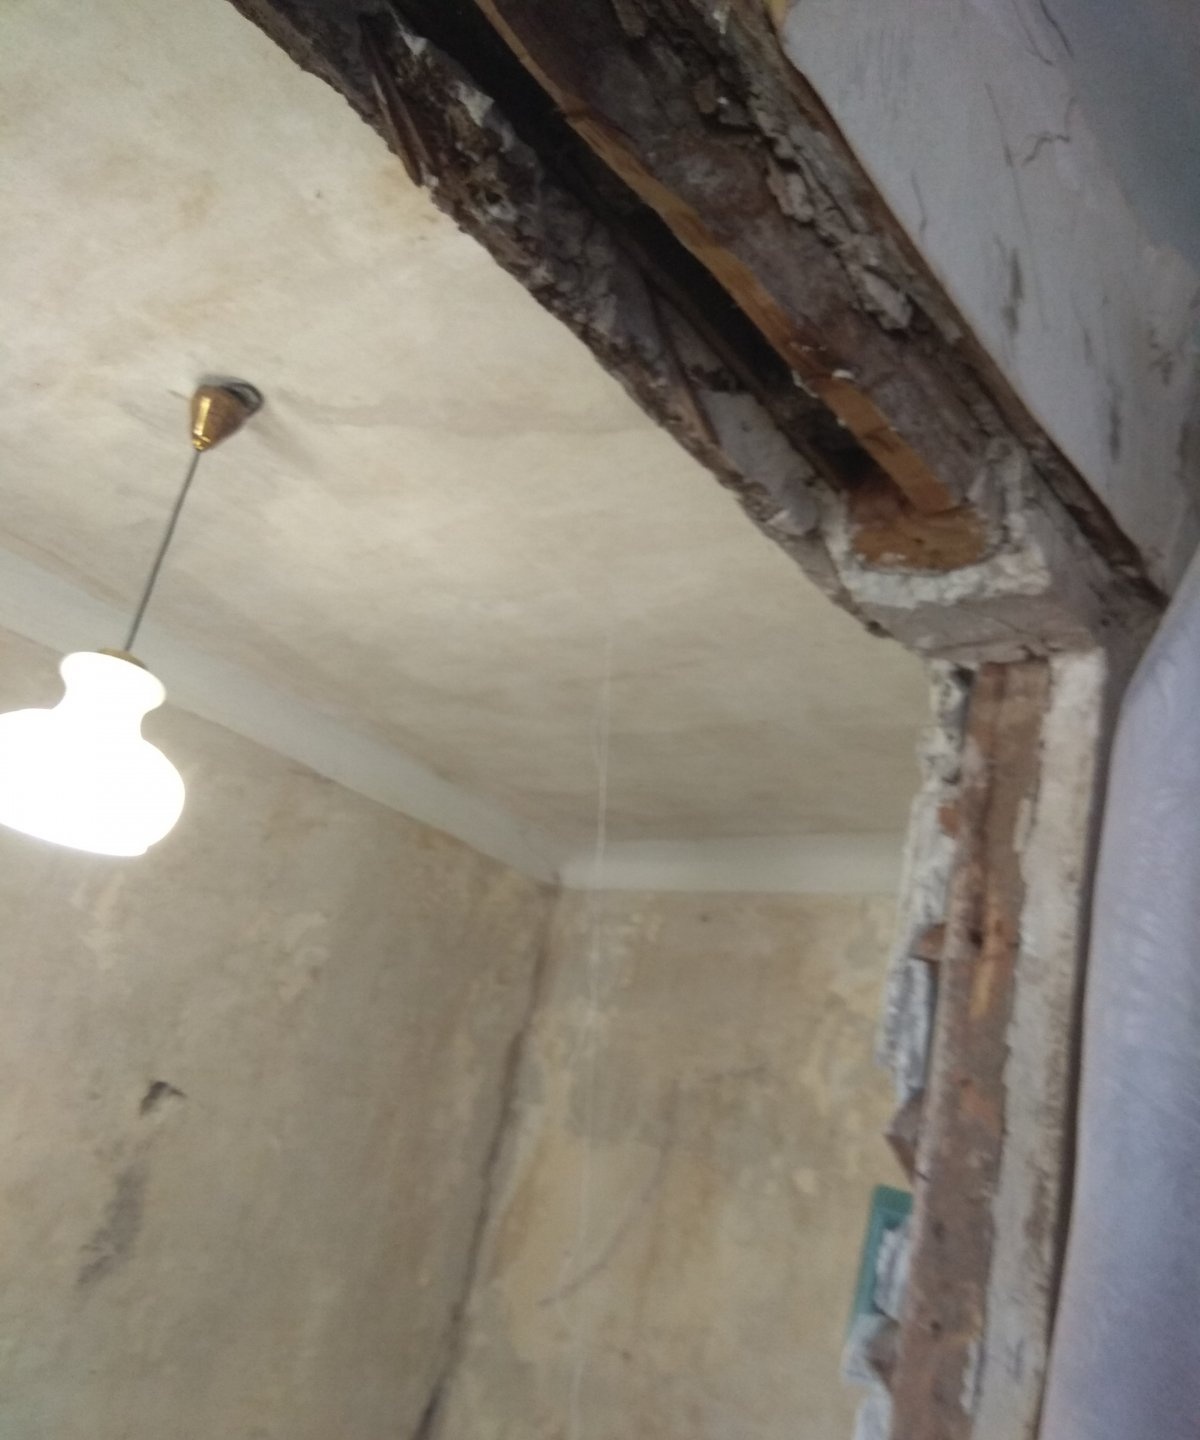
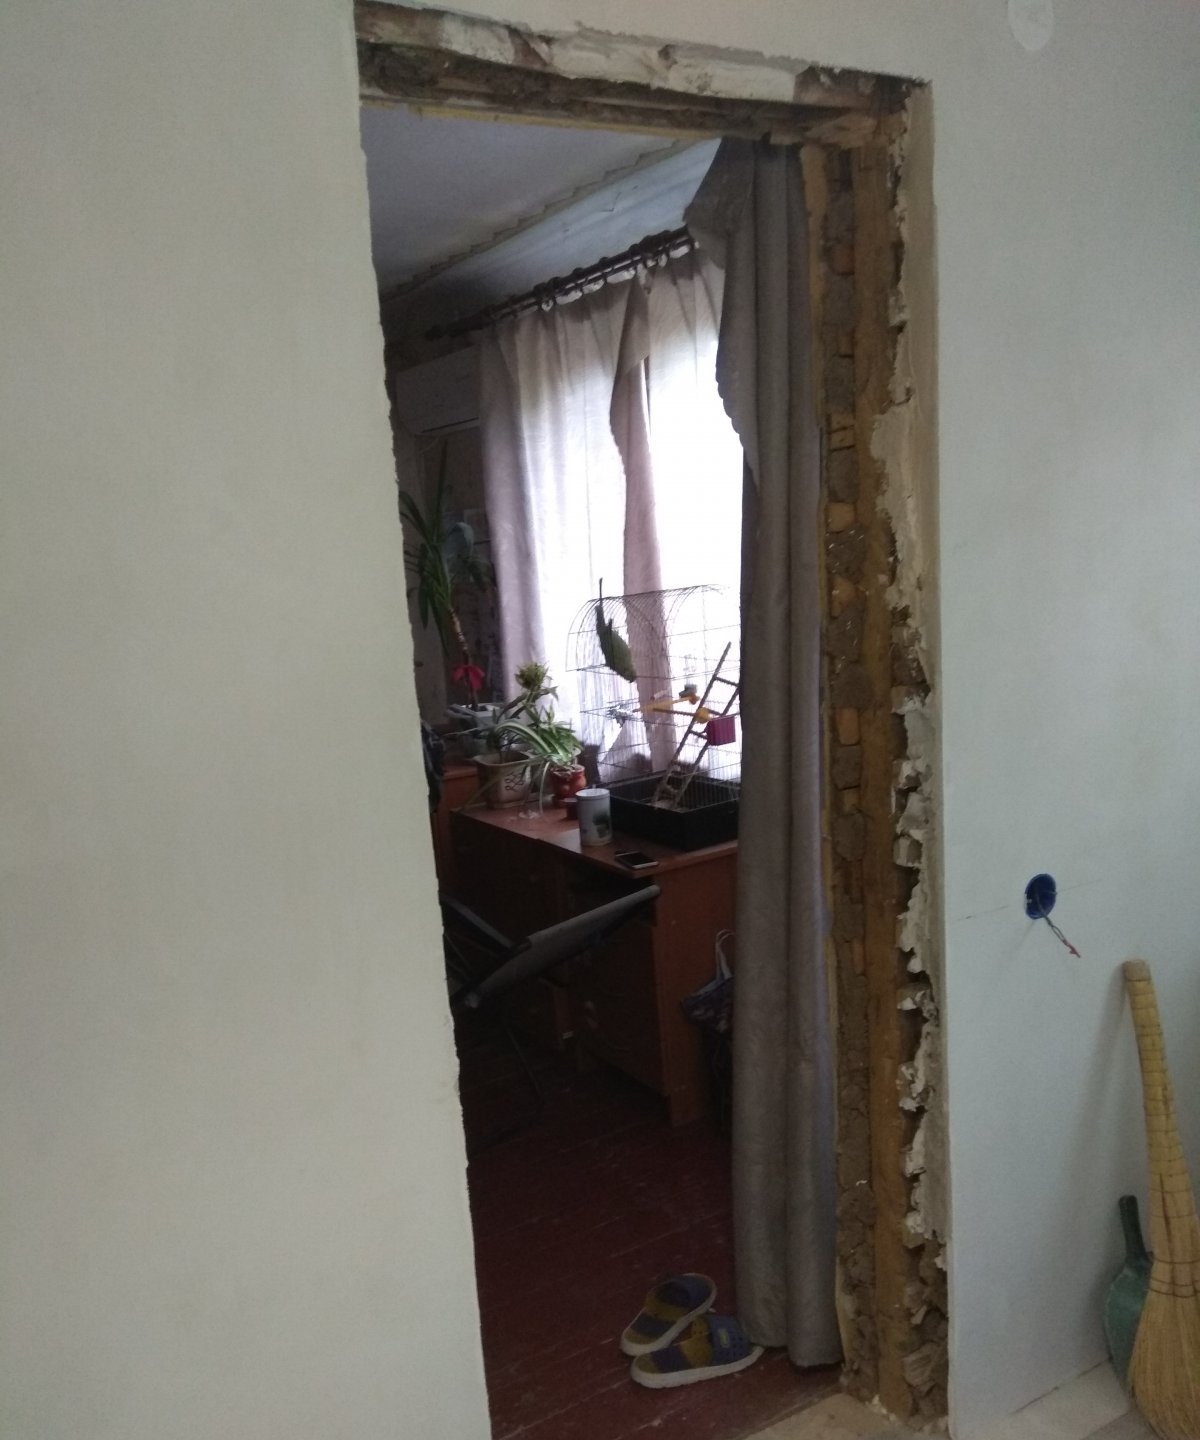
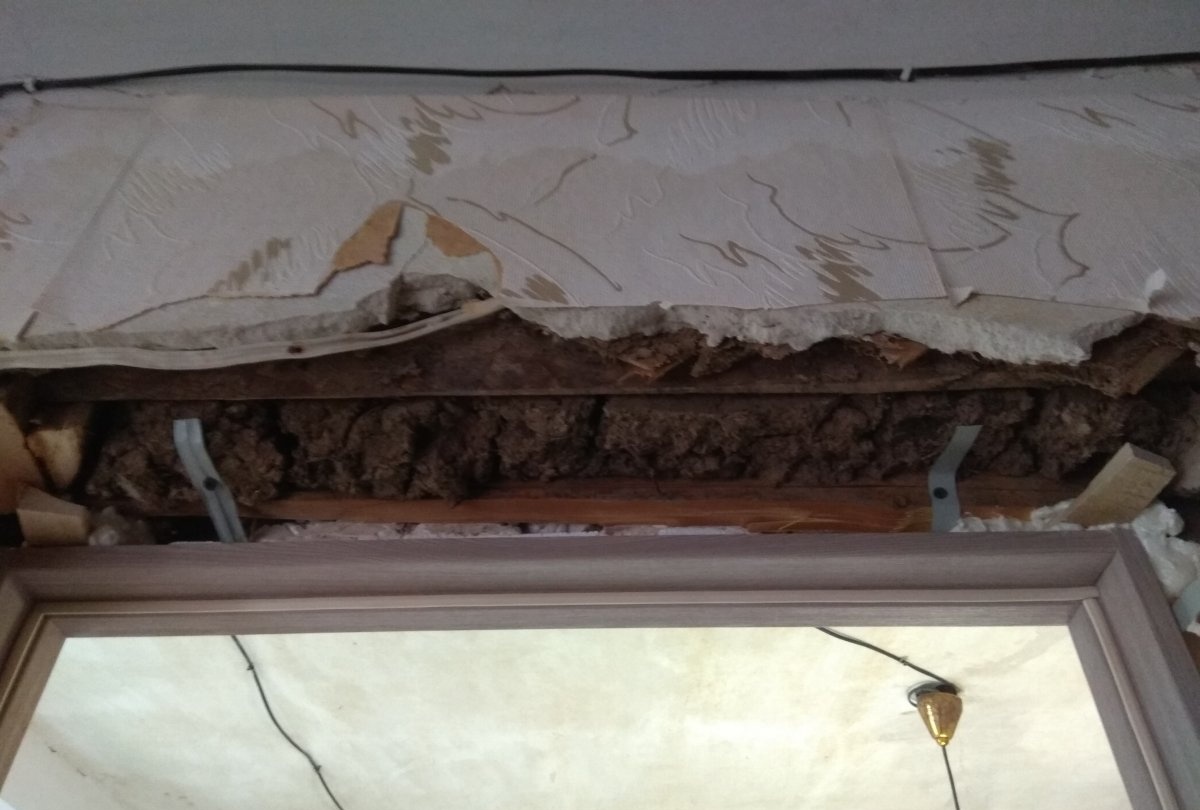
If you have standard door openings, then you can easily buy a ready-made door of the required size. However, it happens that in old private houses the openings may not be standard. Of course, you can buy a custom-made door in the size you need, but it will cost an order of magnitude more, and if you want to change the door again in the future, you will have to order the right size again. It’s easier to adjust the doorway to the standard size you need, 70 or 80 cm. If the opening is wider, it can be shortened with brickwork.
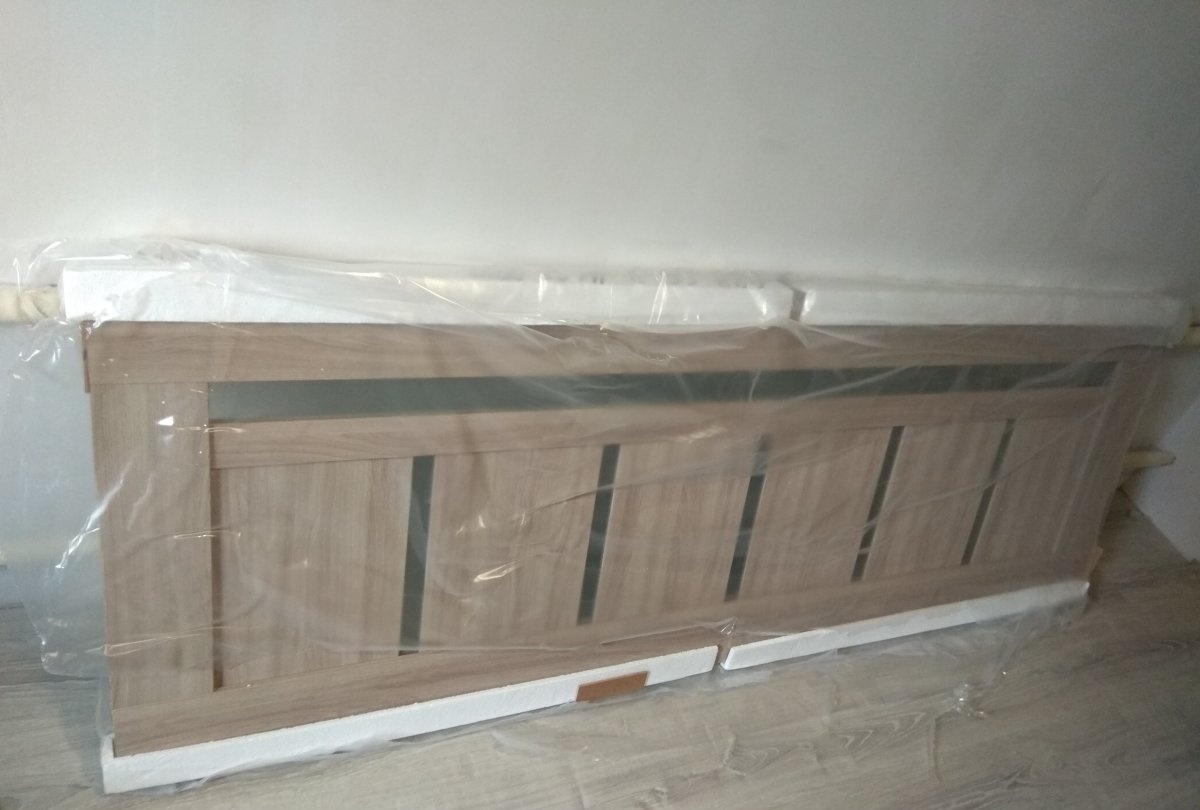
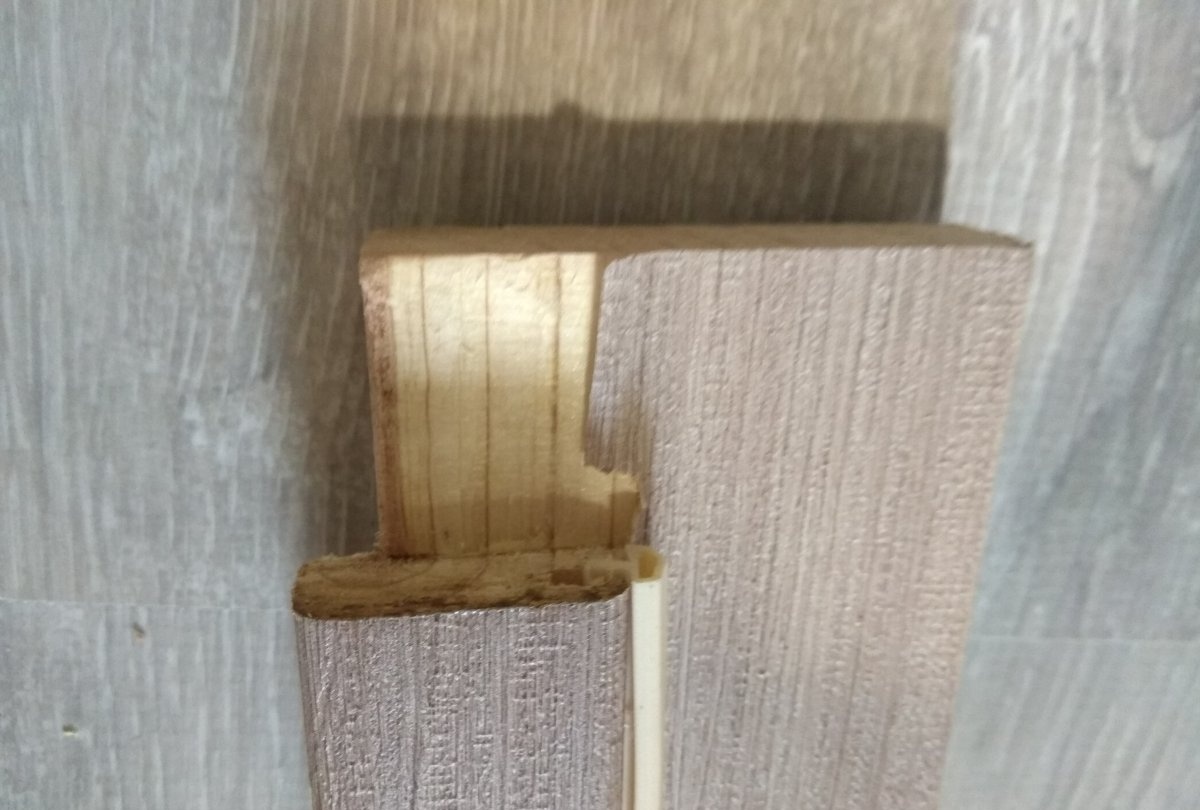
When purchasing a door, you can immediately purchase fittings (lock and awnings). The door will be supplied with a door and platbands.The installation of a door begins with the installation of a door or door frame. Loot items tend to be larger in size, so you will need to trim off the excess. Along the edges of the long elements of the box, you need to break off the strip so that the upper part of the box fits into the groove of the lower part.
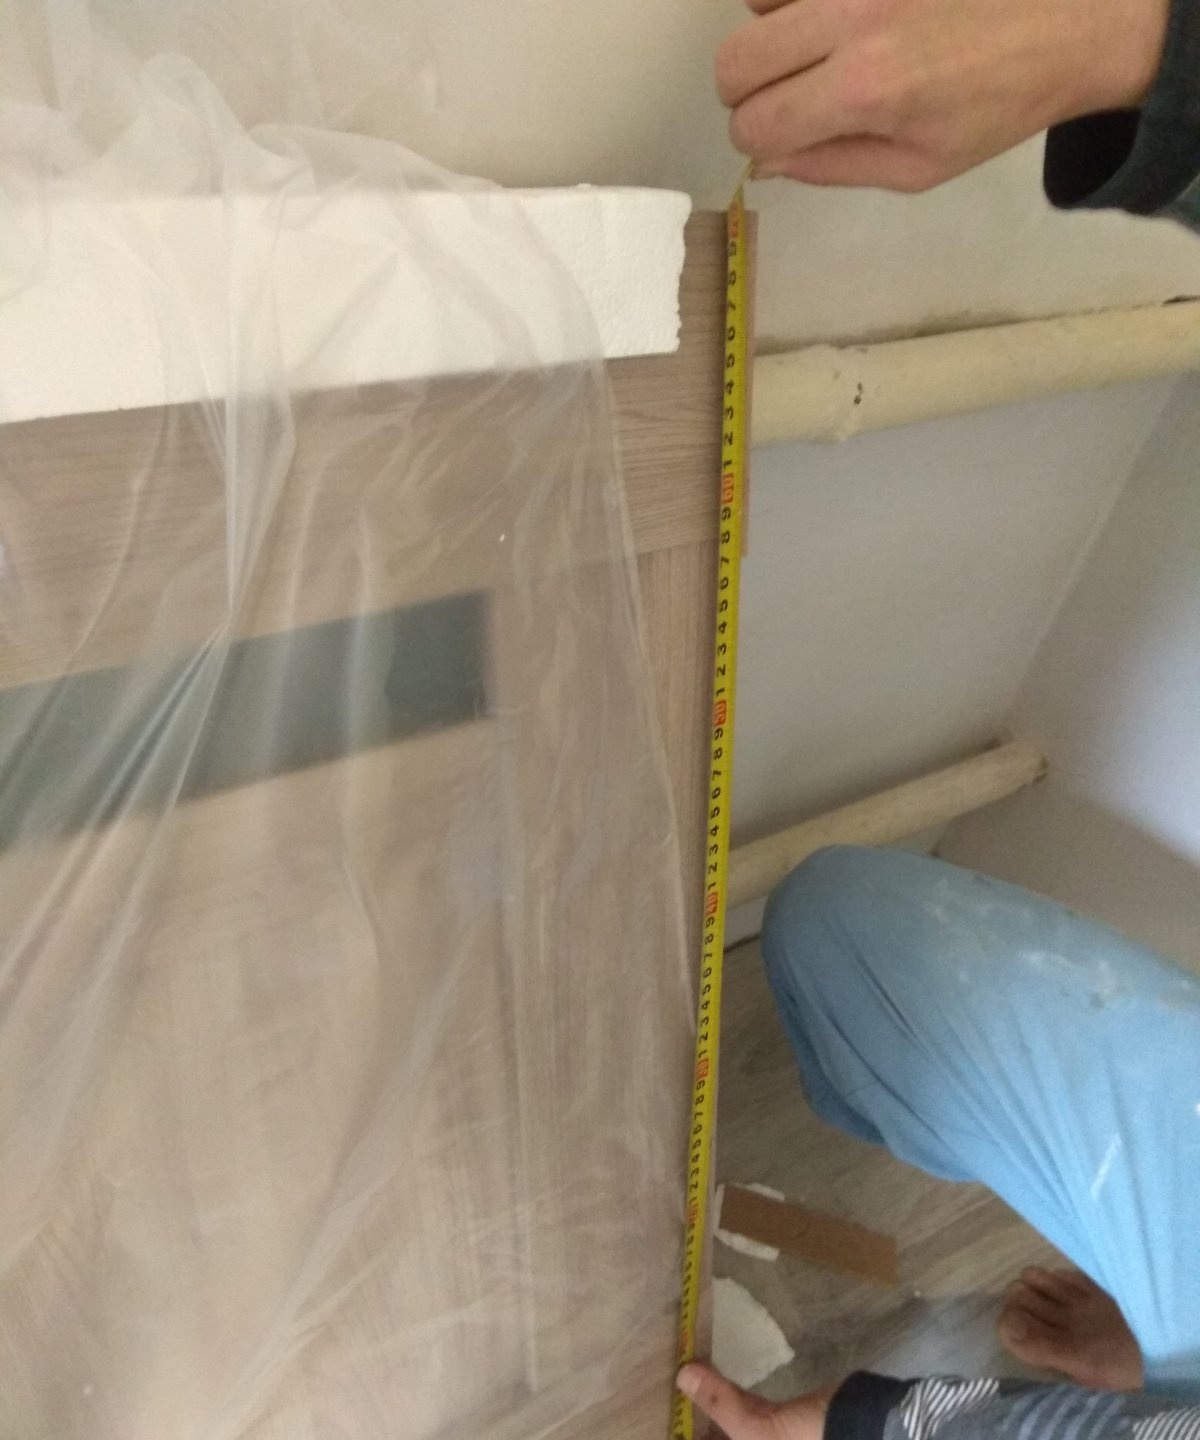
Next, measure the width of the door and add 4-6 mm to it so that there is clearance between the frame and the door.
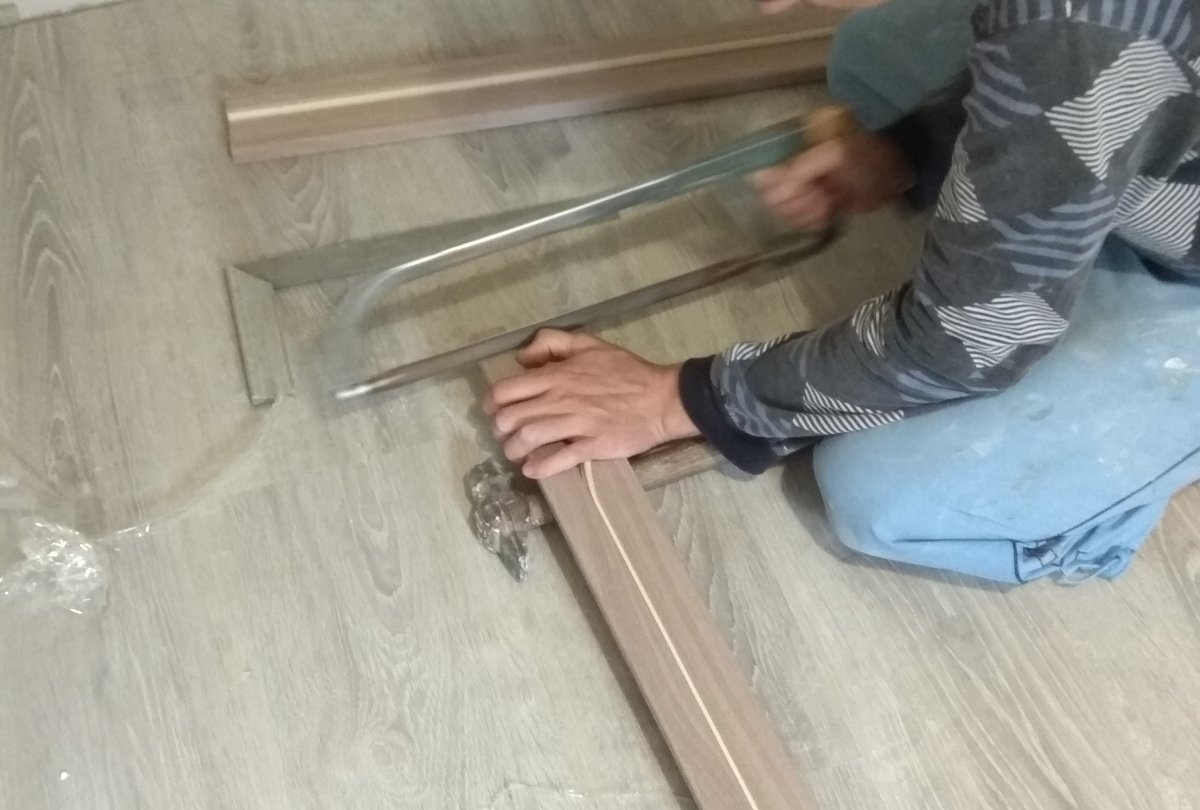
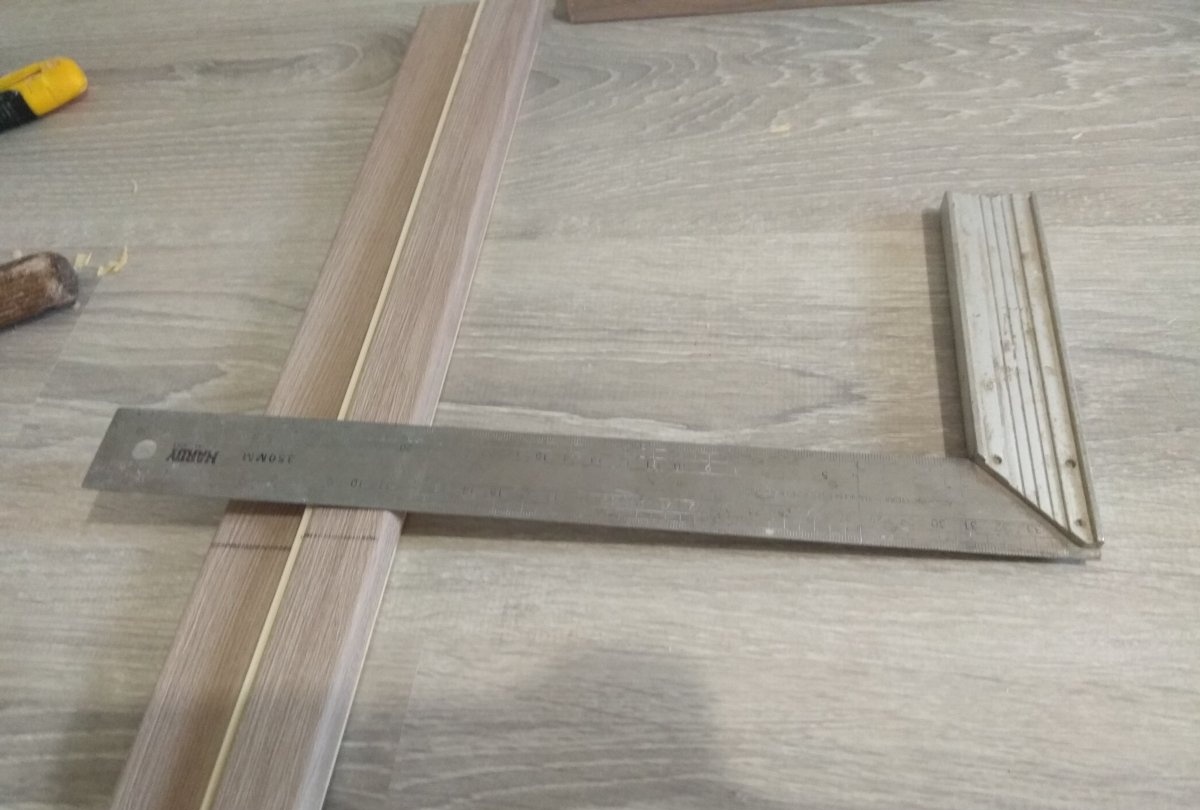
Then cut the desired length of the top of the loot. When measuring, use a tape measure and a square with a pencil to cut exactly 90 degrees. You can cut it with a handsaw or a jigsaw with a thin file.
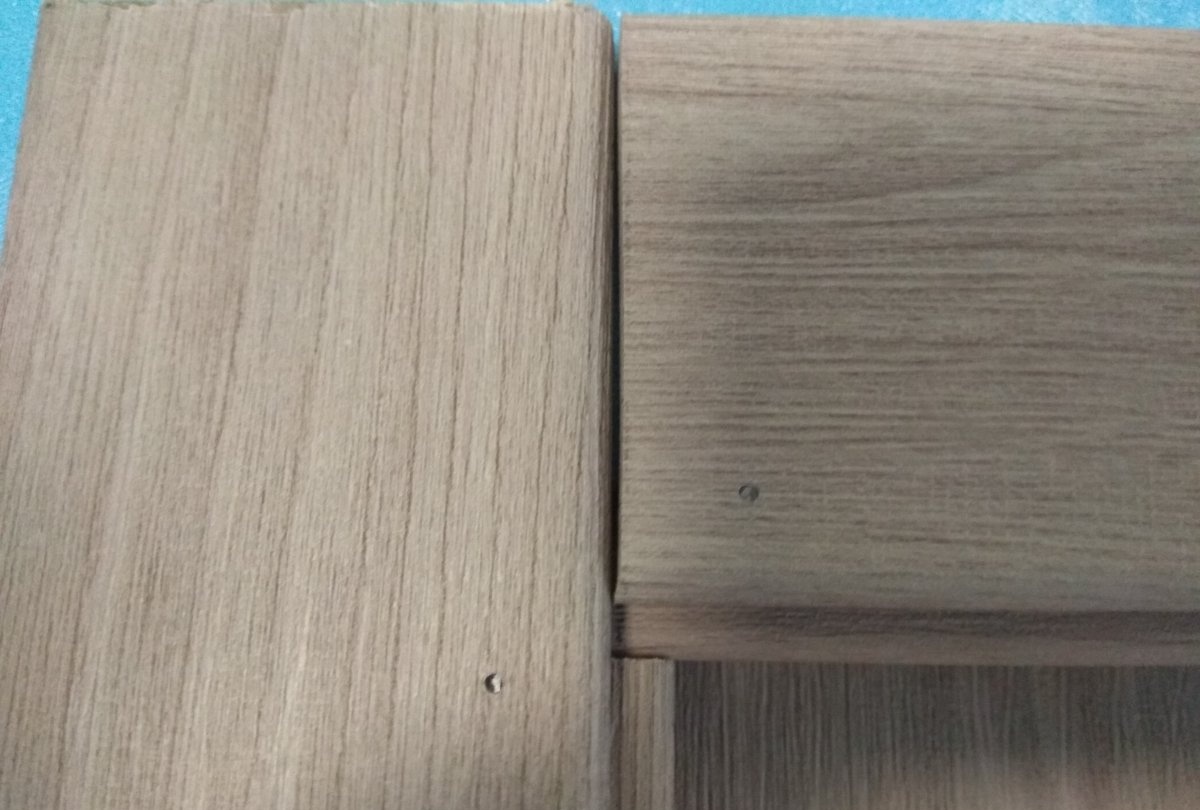
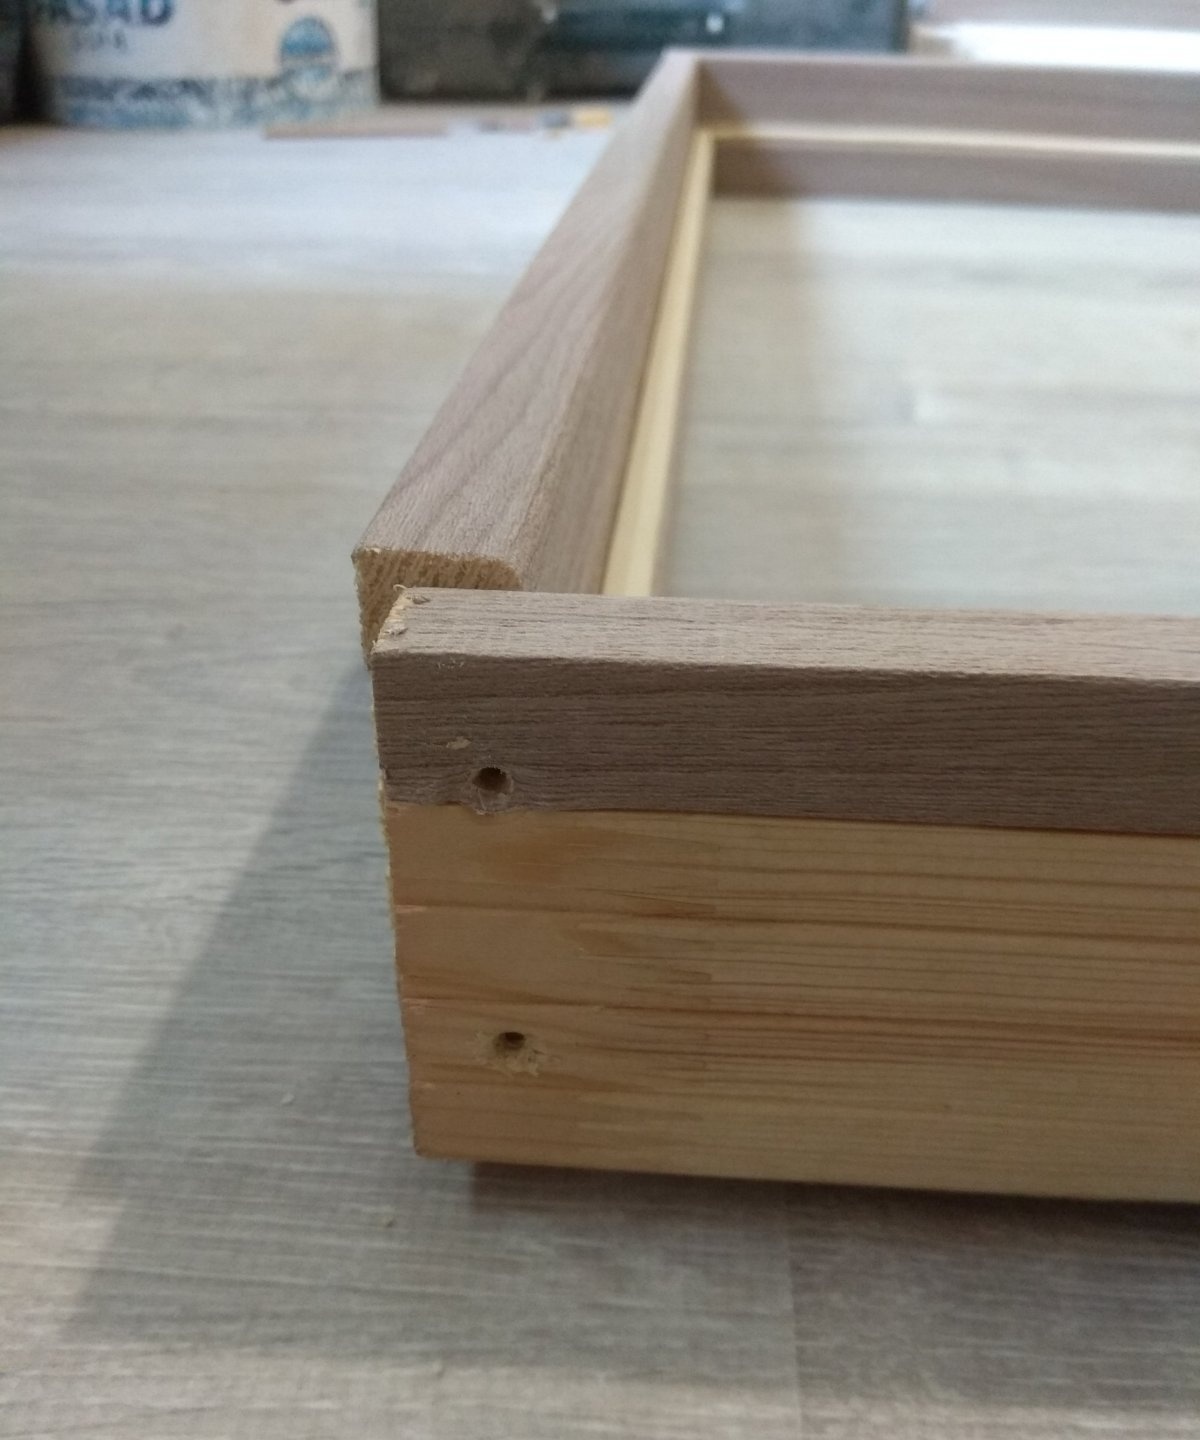
After this, connect the piece, securing it with self-tapping screws. Before tightening the screw, drill a hole to avoid chips and cracks, especially if the door is wooden.

Once you have assembled the door frame, cut off the excess from the bottom pieces along the length of the door.
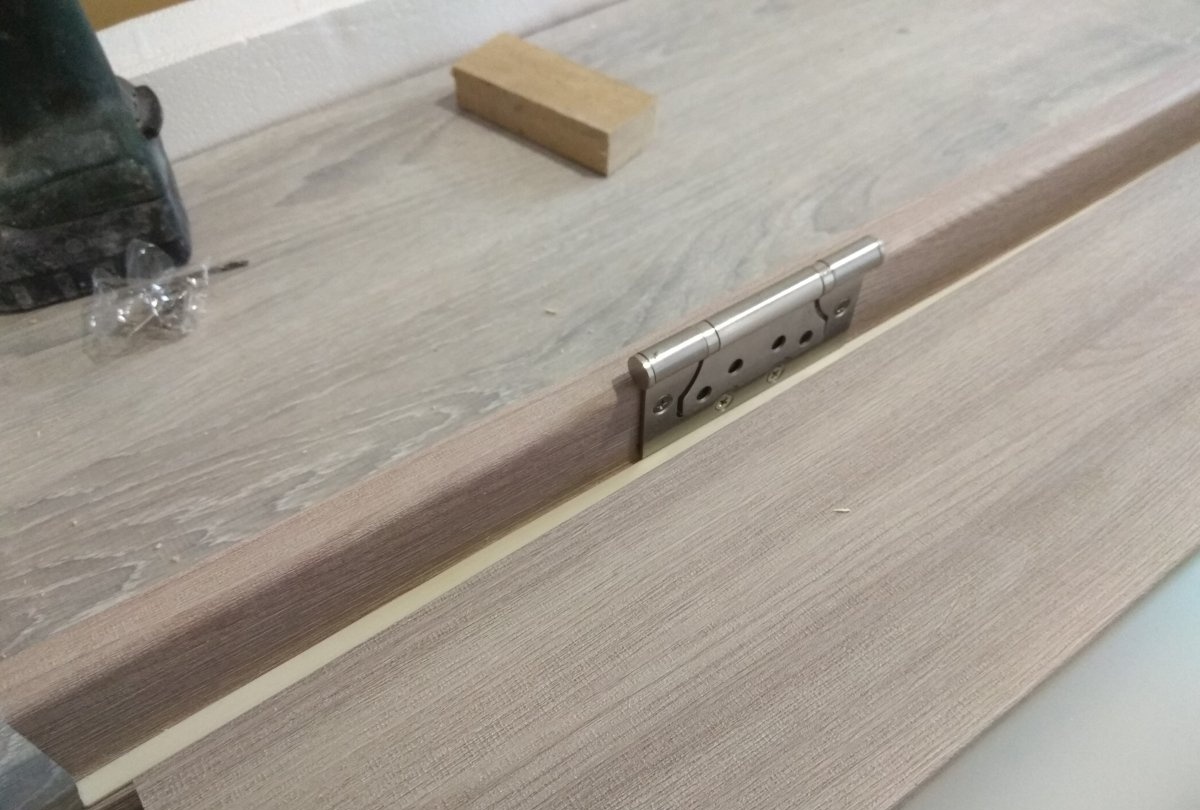
Next, you can begin installing the awnings. Here it is important to decide which way the door will open and attach the awnings accordingly. First, screw the awnings to the door frame, leaving approximately 25 - 30 cm from the edges.
Then place the door in this frame, installing special distributors between the frame and the door. They usually come complete with the door. Thanks to them, the gap between the door and the hatch will be uniform on all sides.

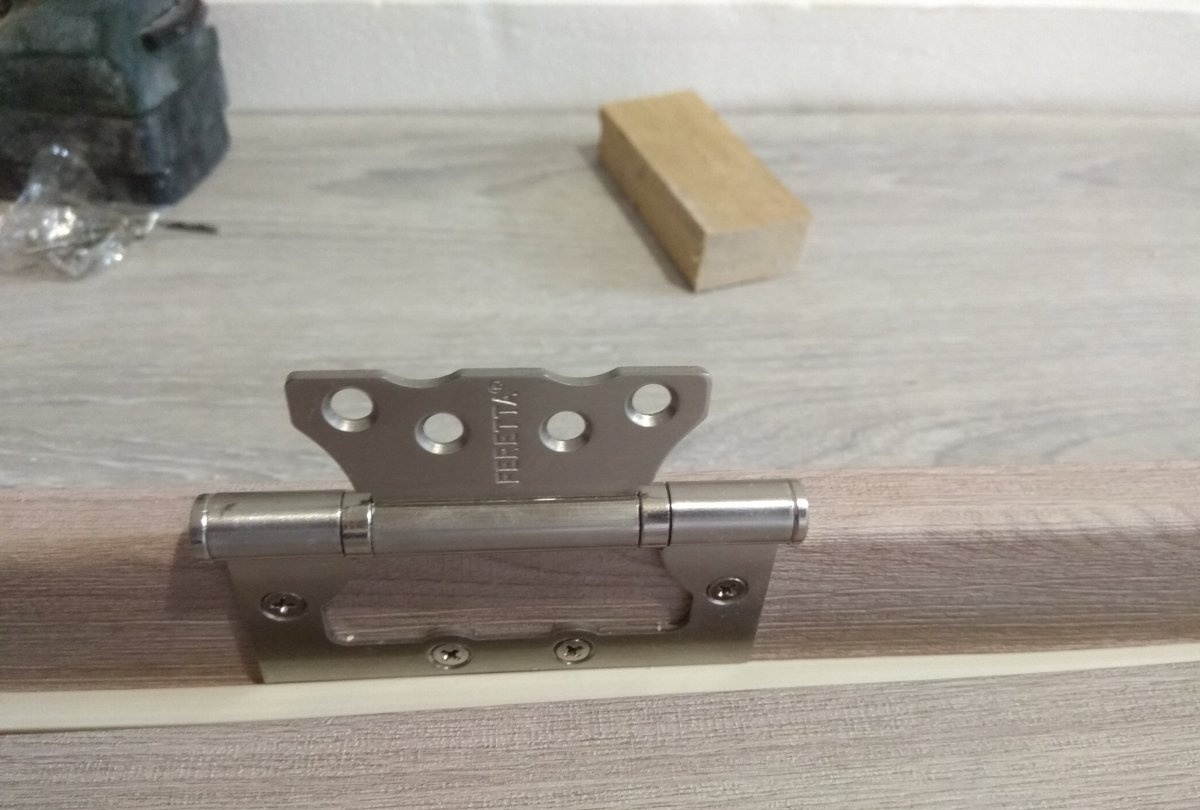
After this, you can screw the awnings to the door. Before tightening the screws to secure the canopies, be sure to drill a hole exactly in the middle of the canopy holes.
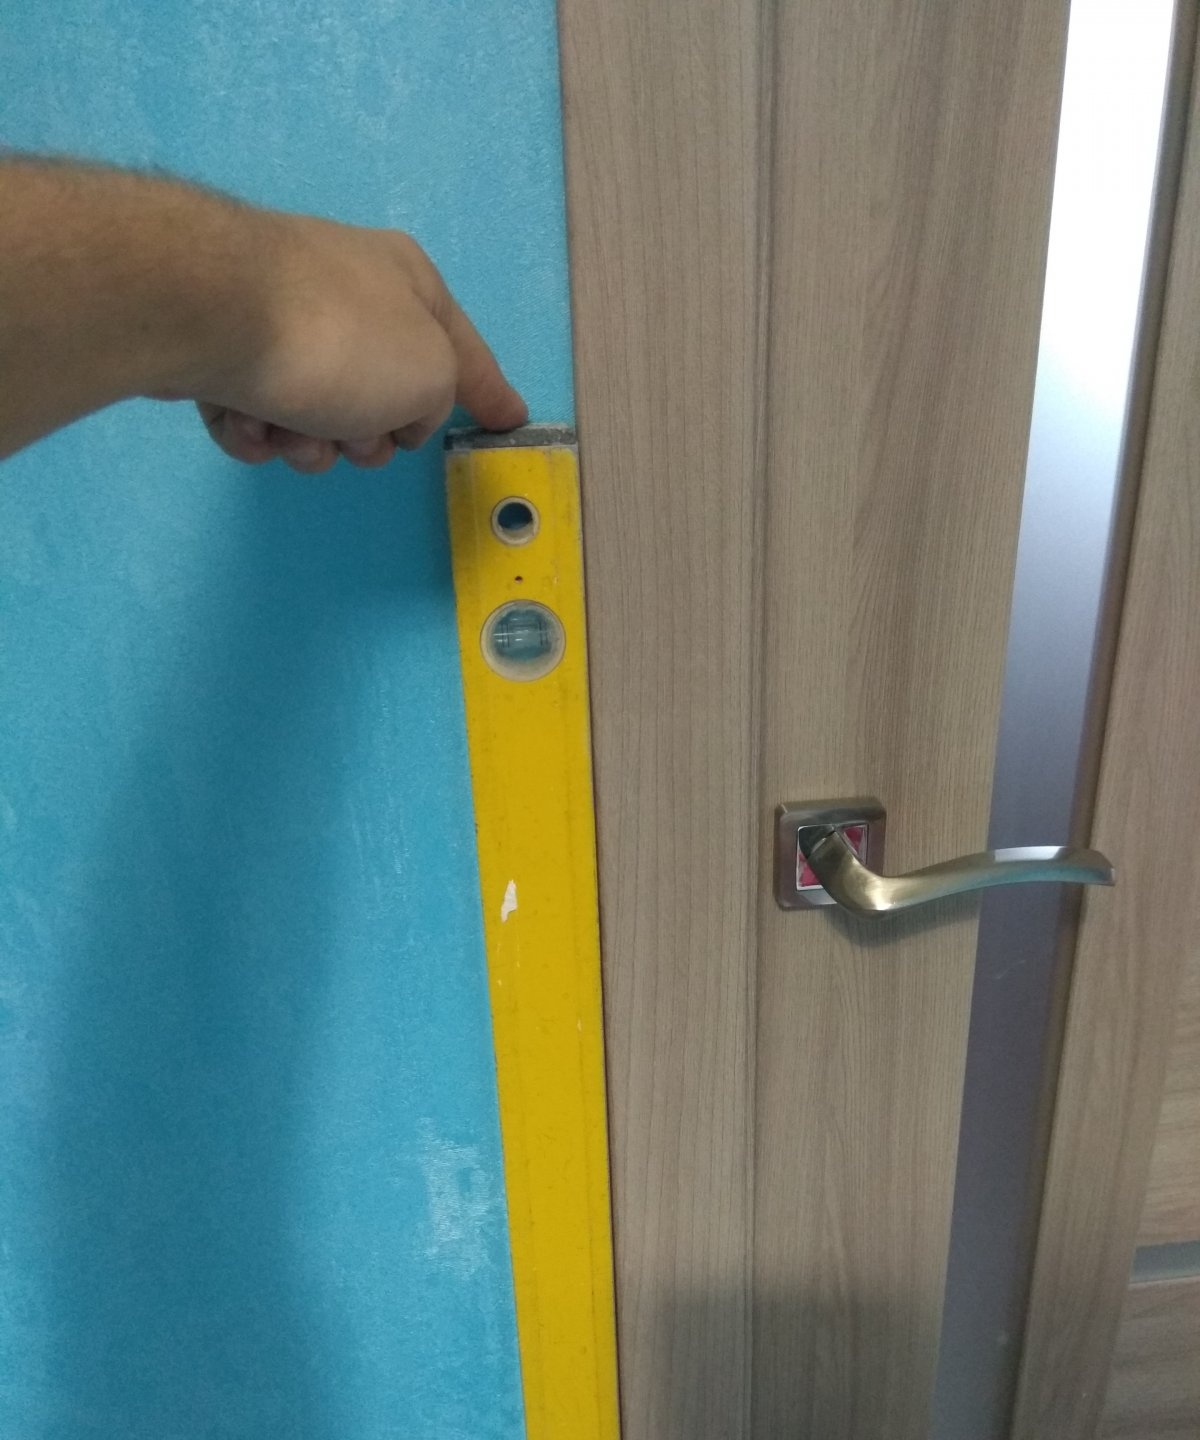
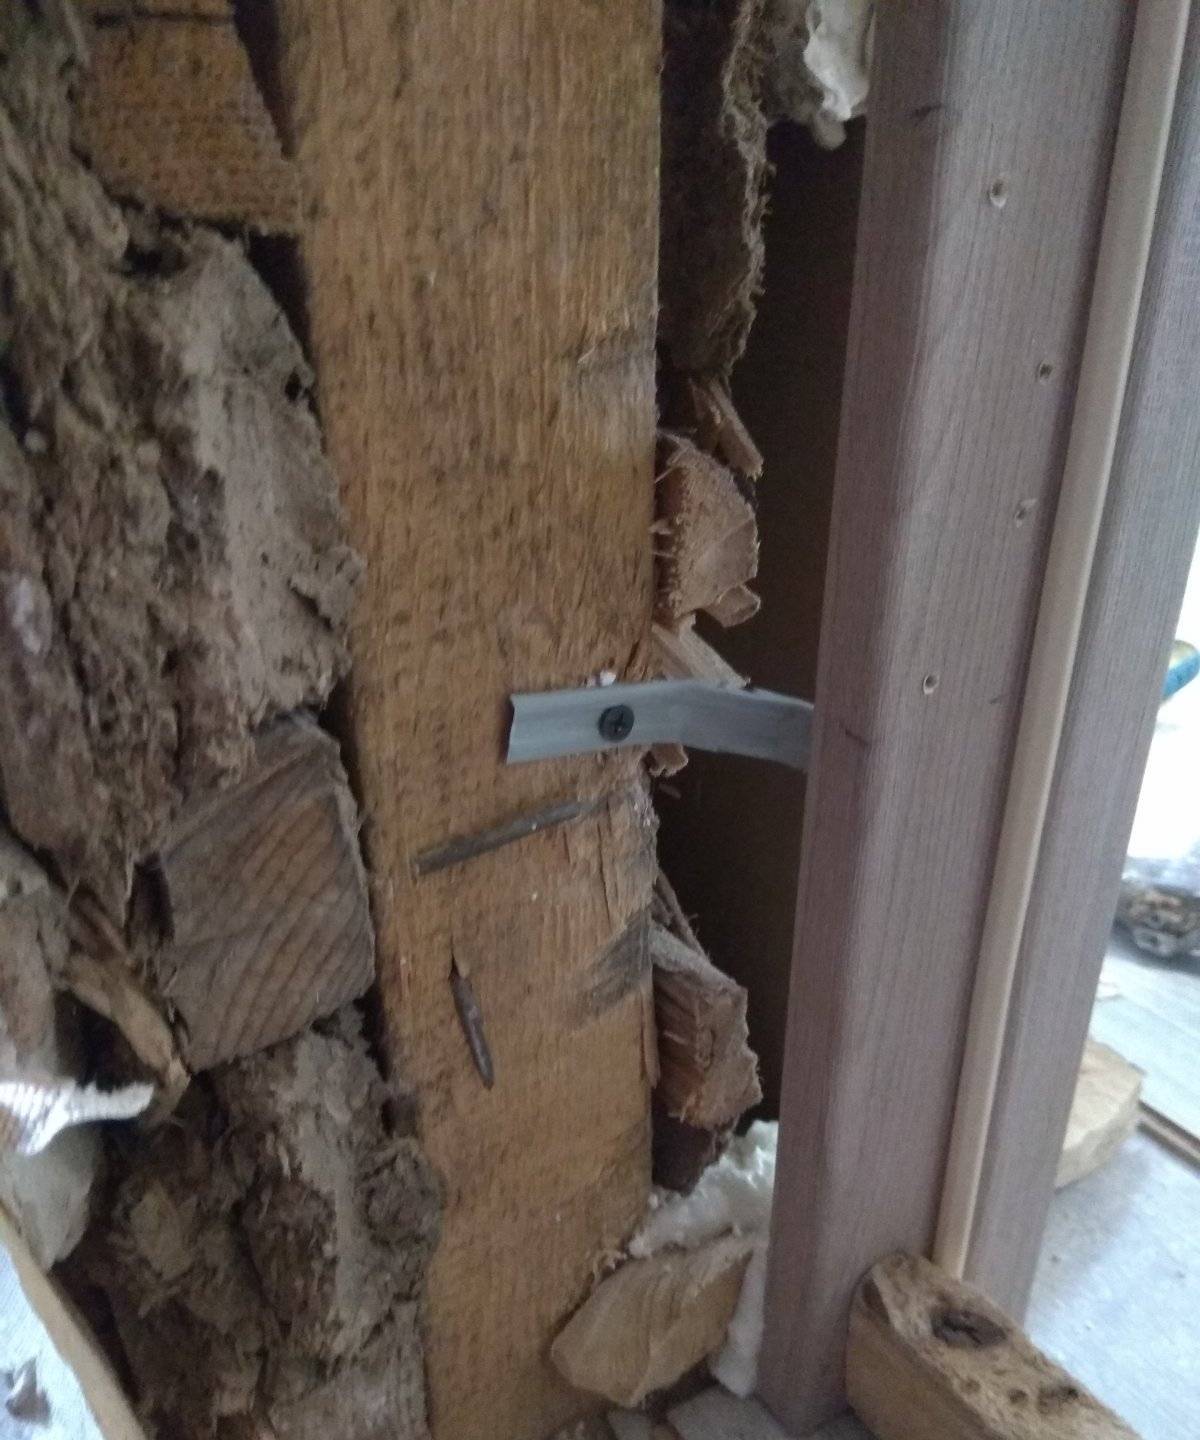
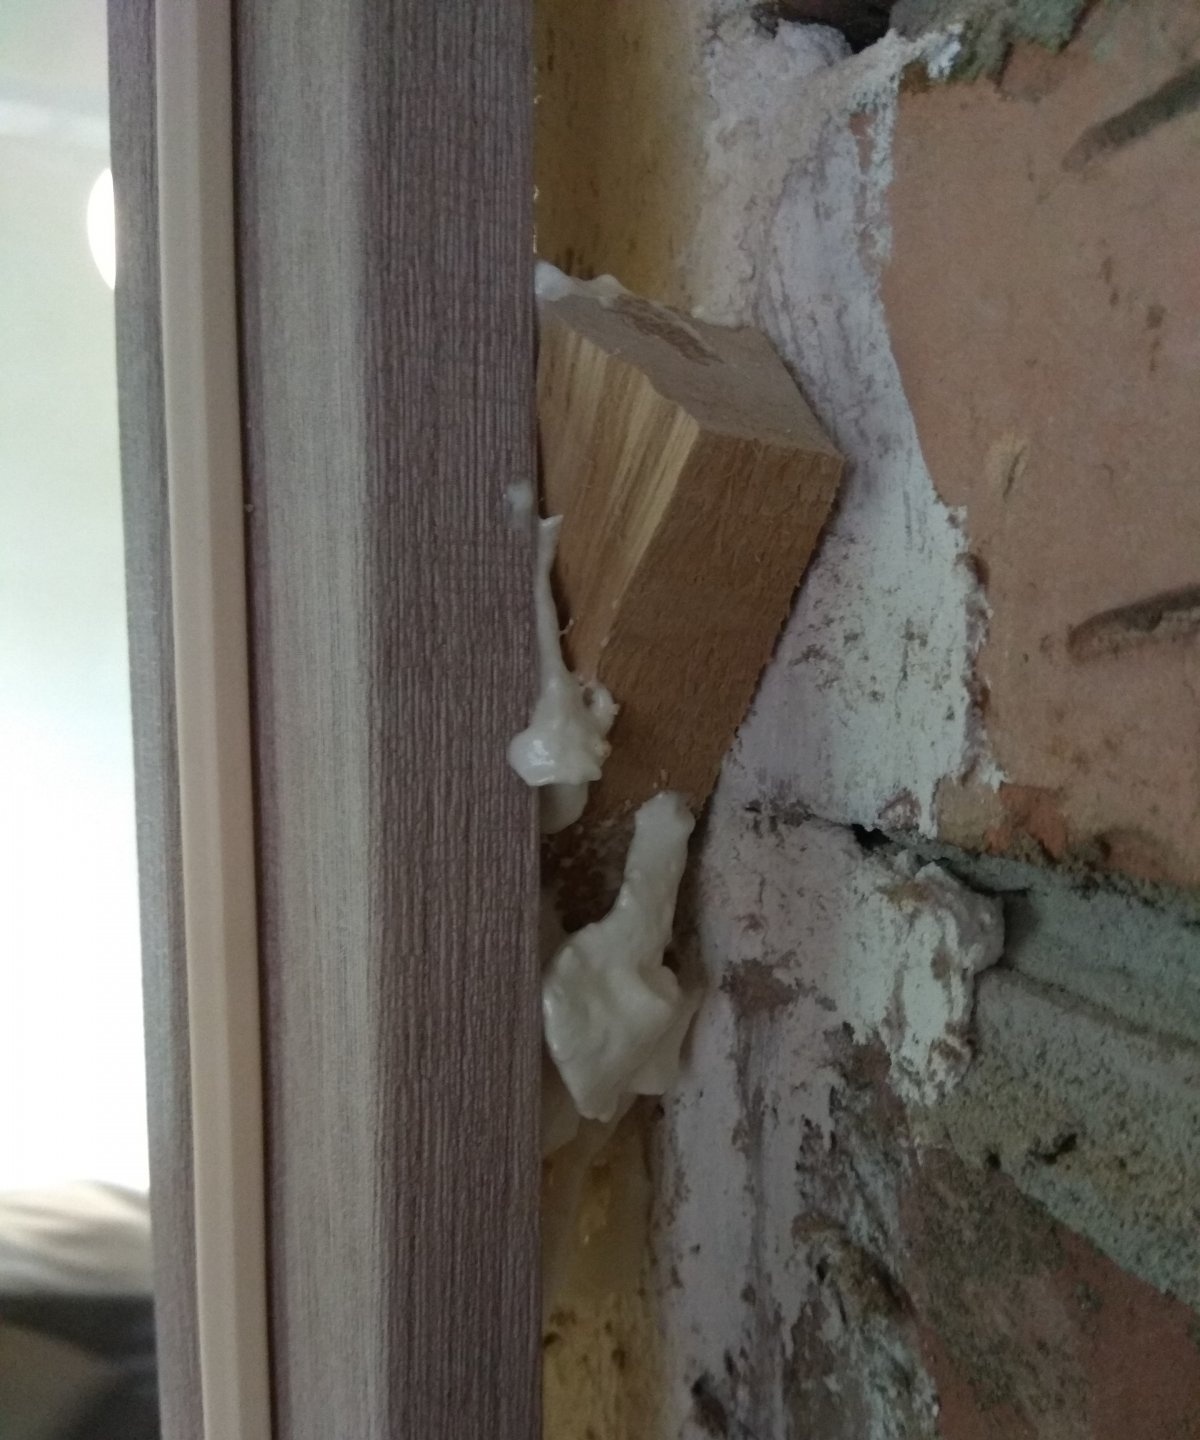
Once the door is assembled, unscrew the door hinges to install the door into the doorway. The door frame is installed on polyurethane foam. However, before you start blowing out the foam, secure the loot with wooden wedges.You can additionally secure the box with a profile by screwing one screw into the box and the other into the wall.
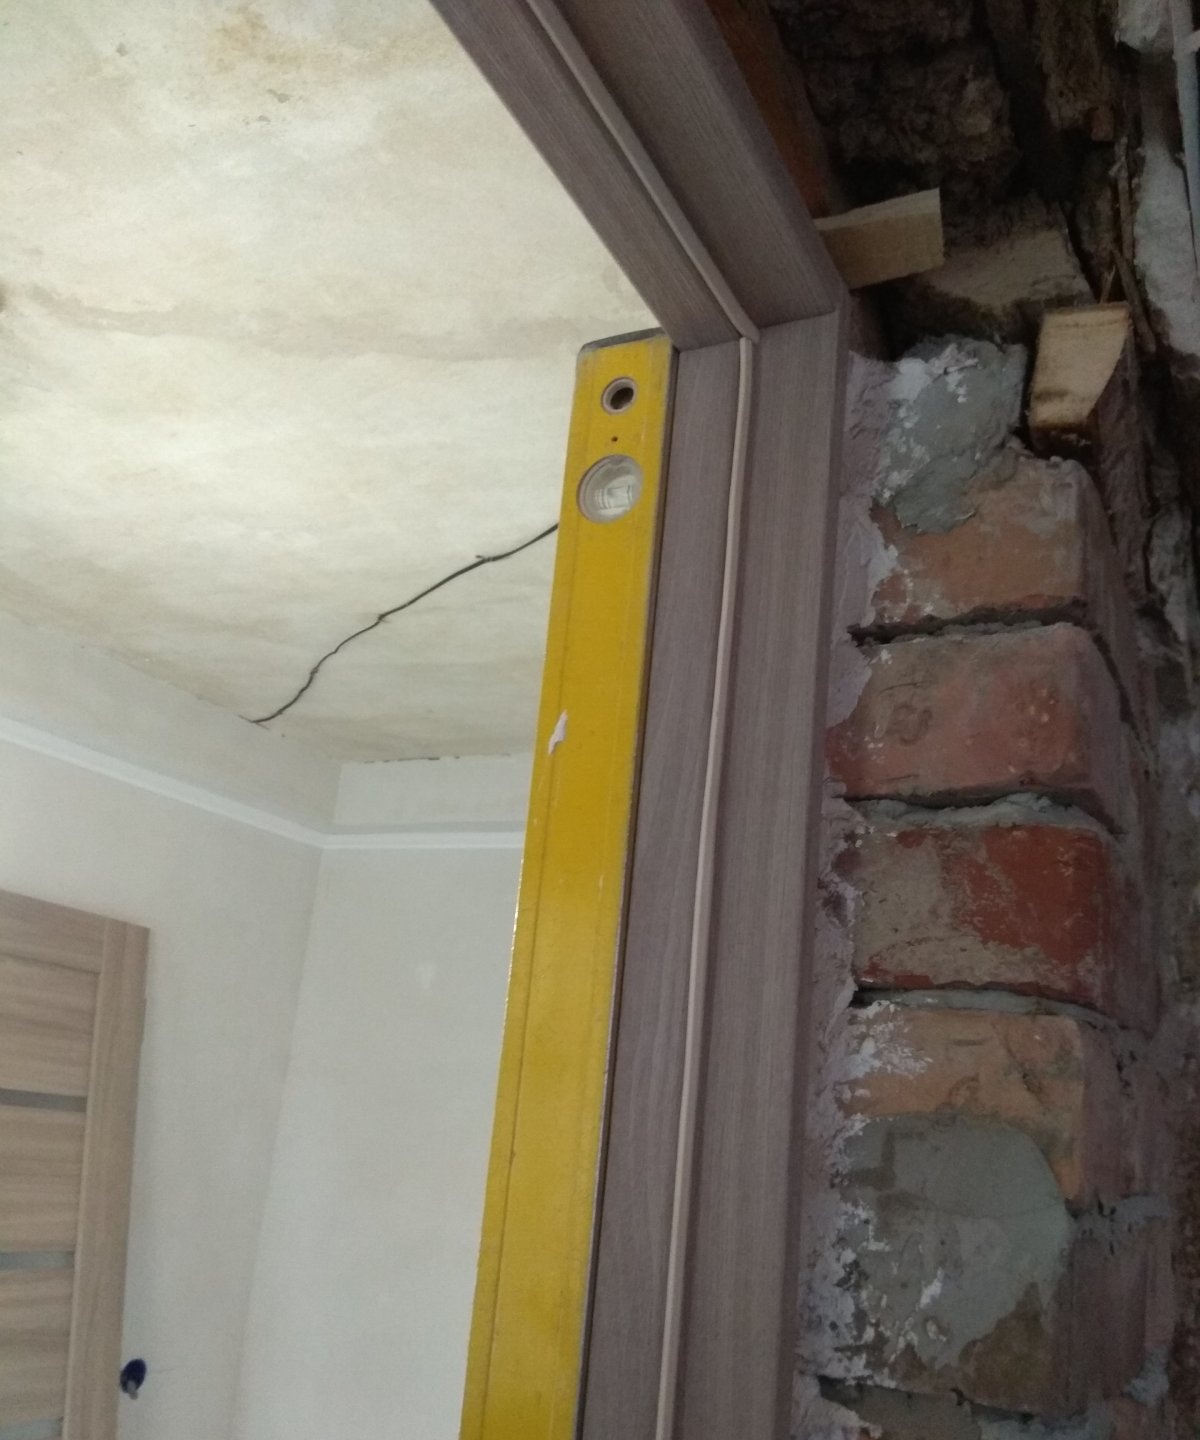
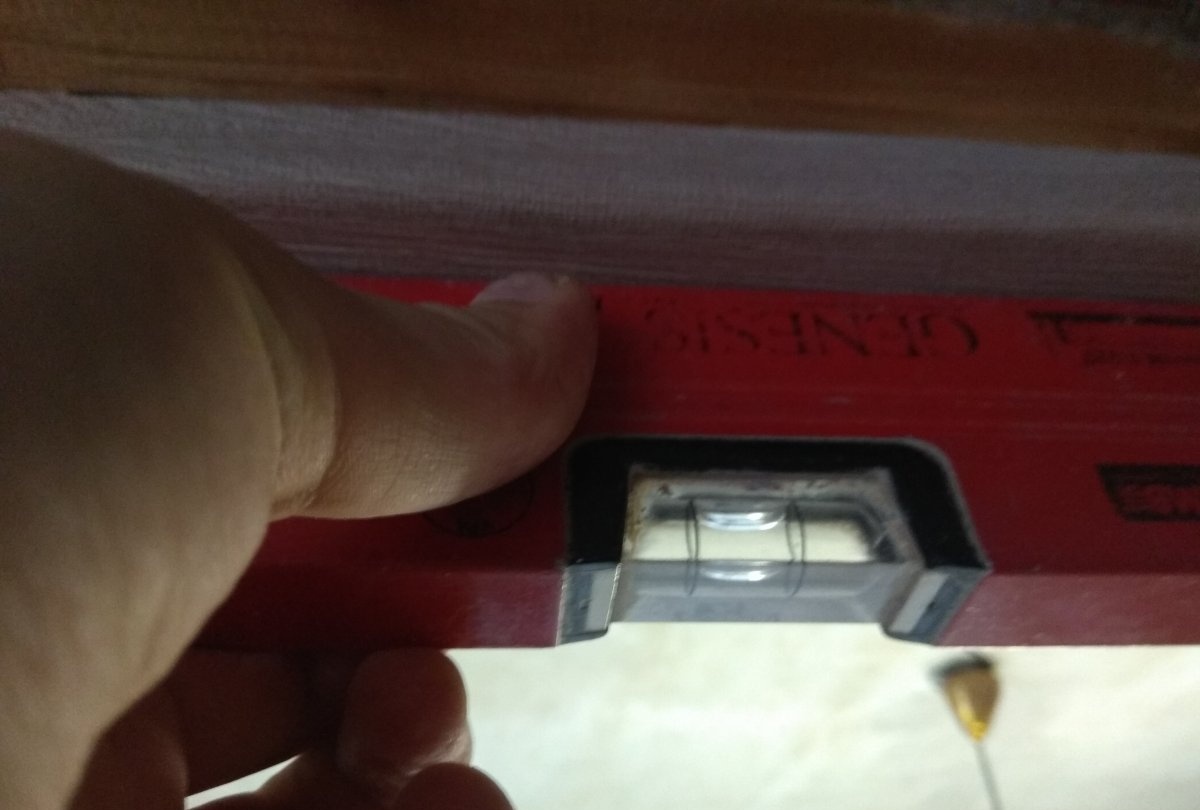
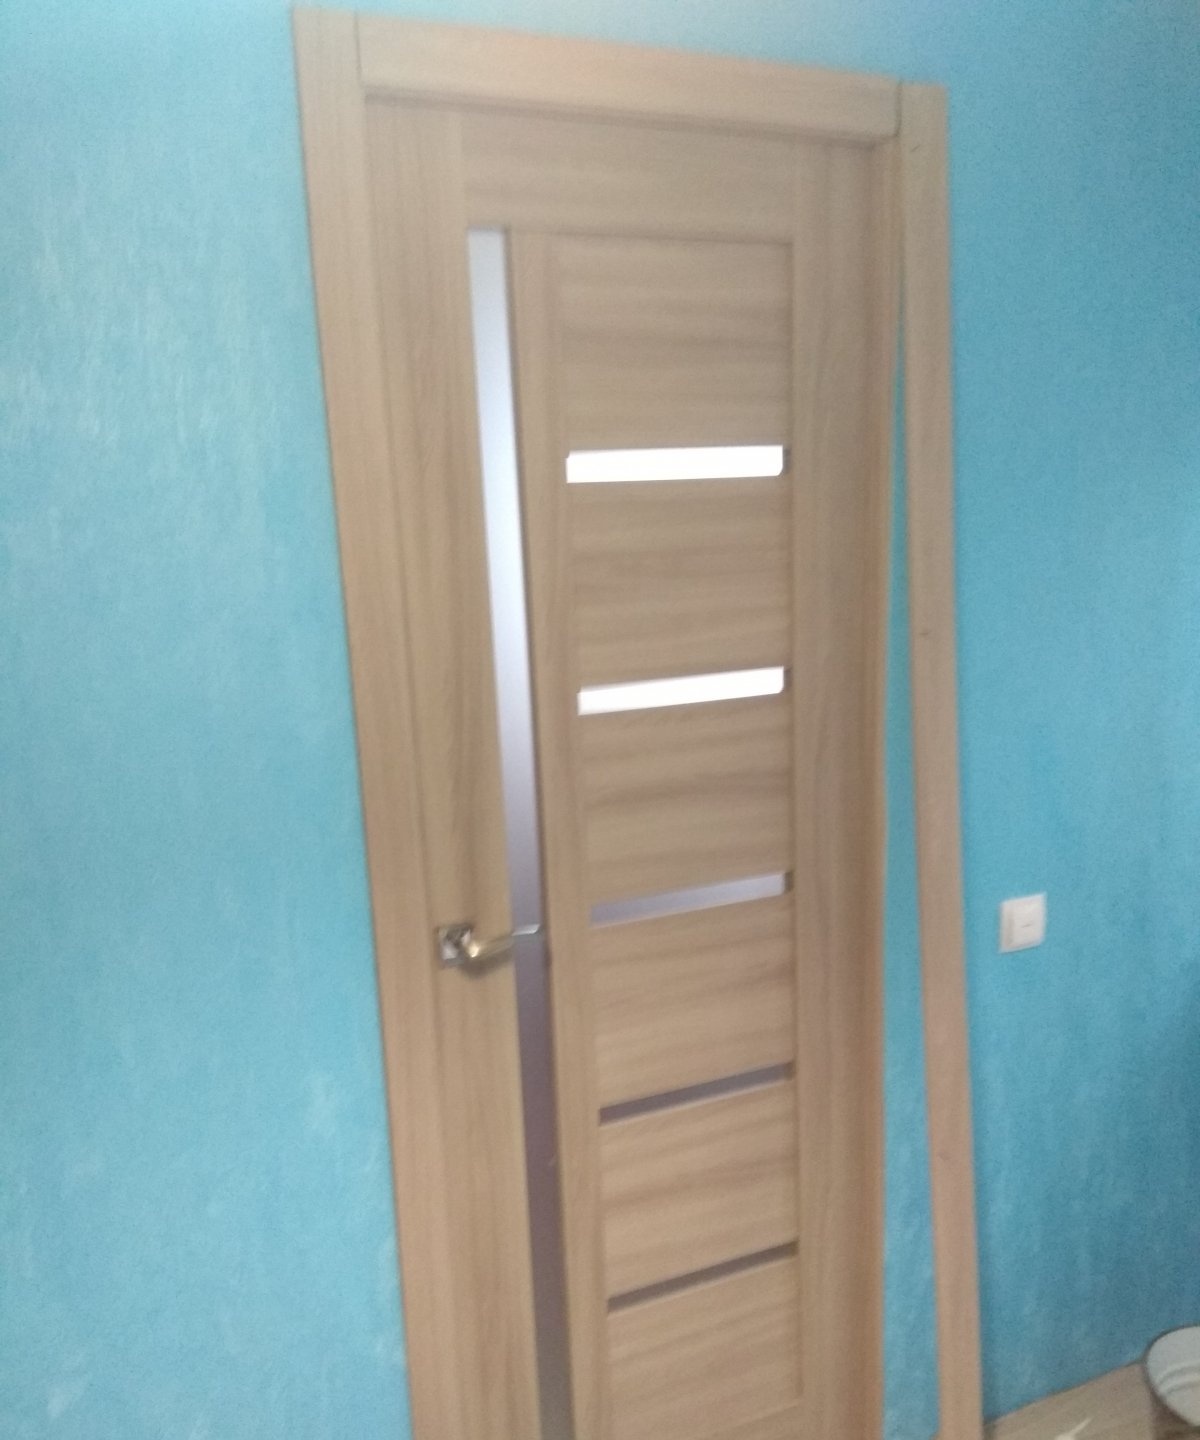
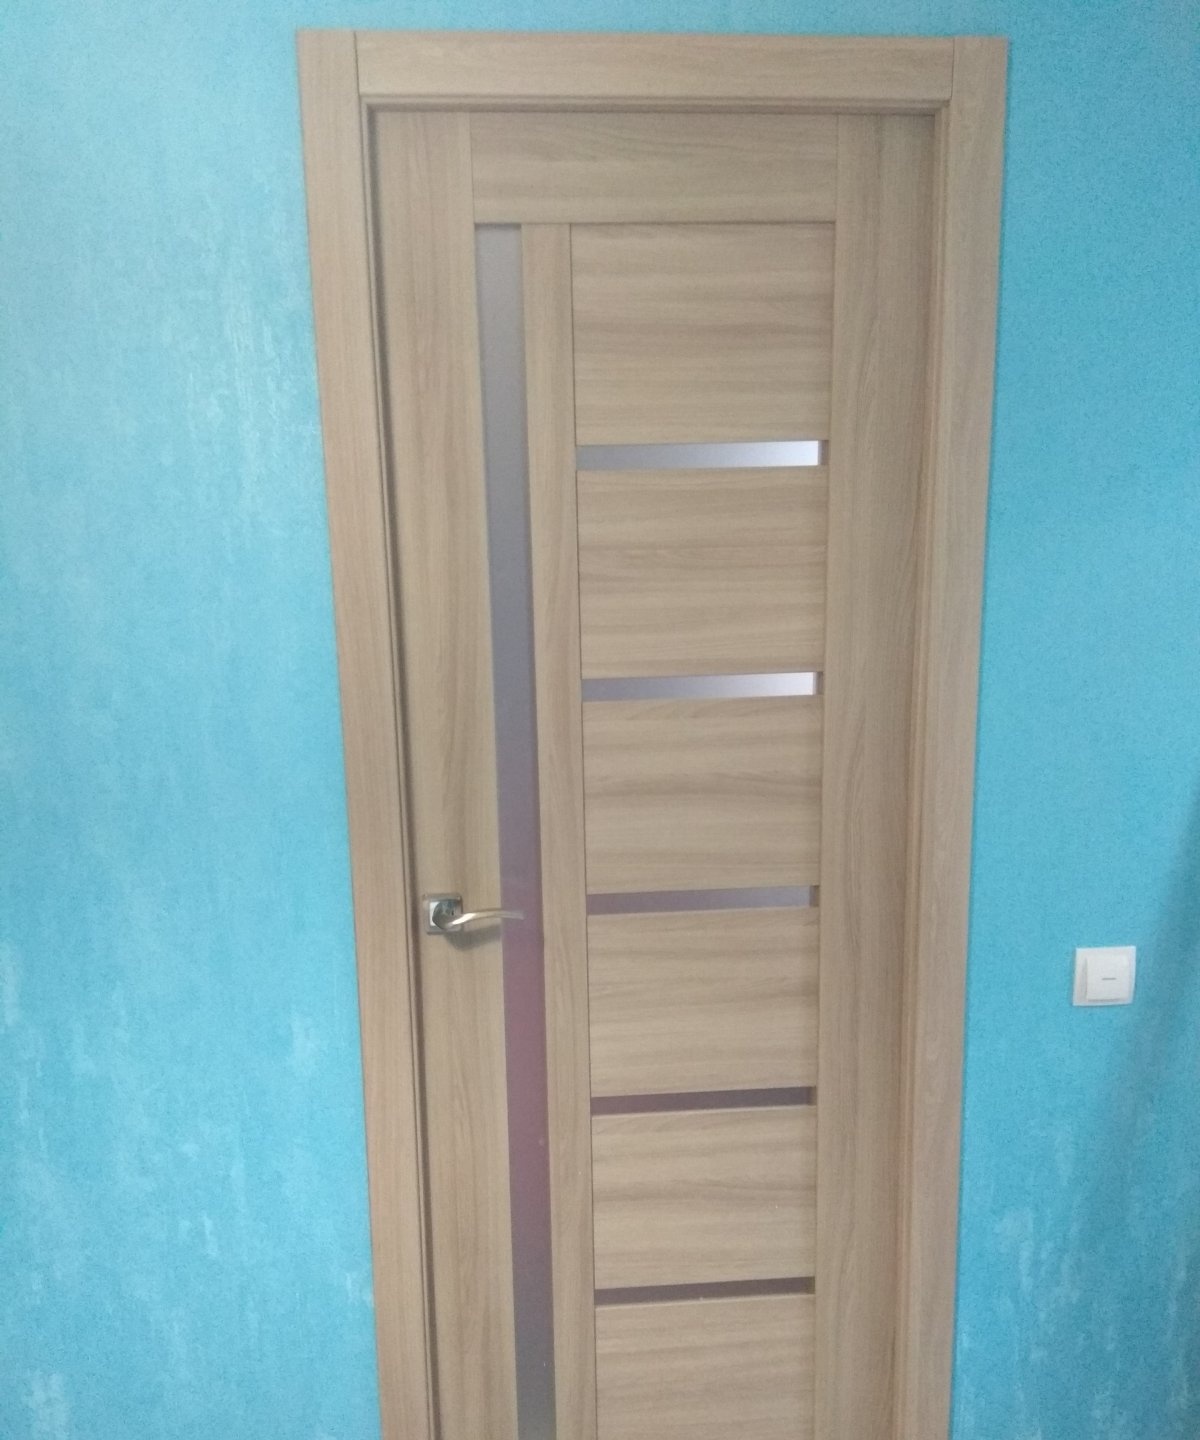
When the door frame is exactly level, both horizontally and vertically, you can install the door by screwing the awnings to the door.
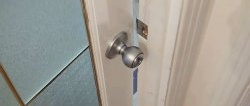
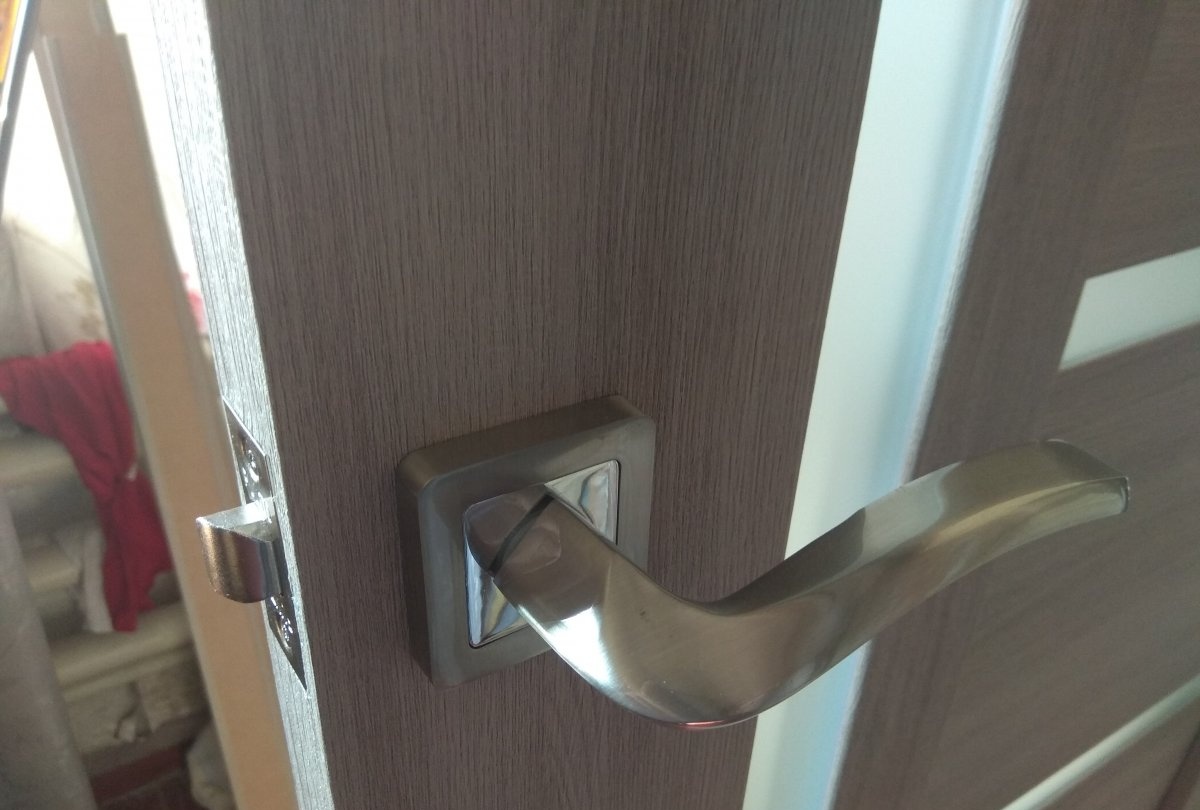
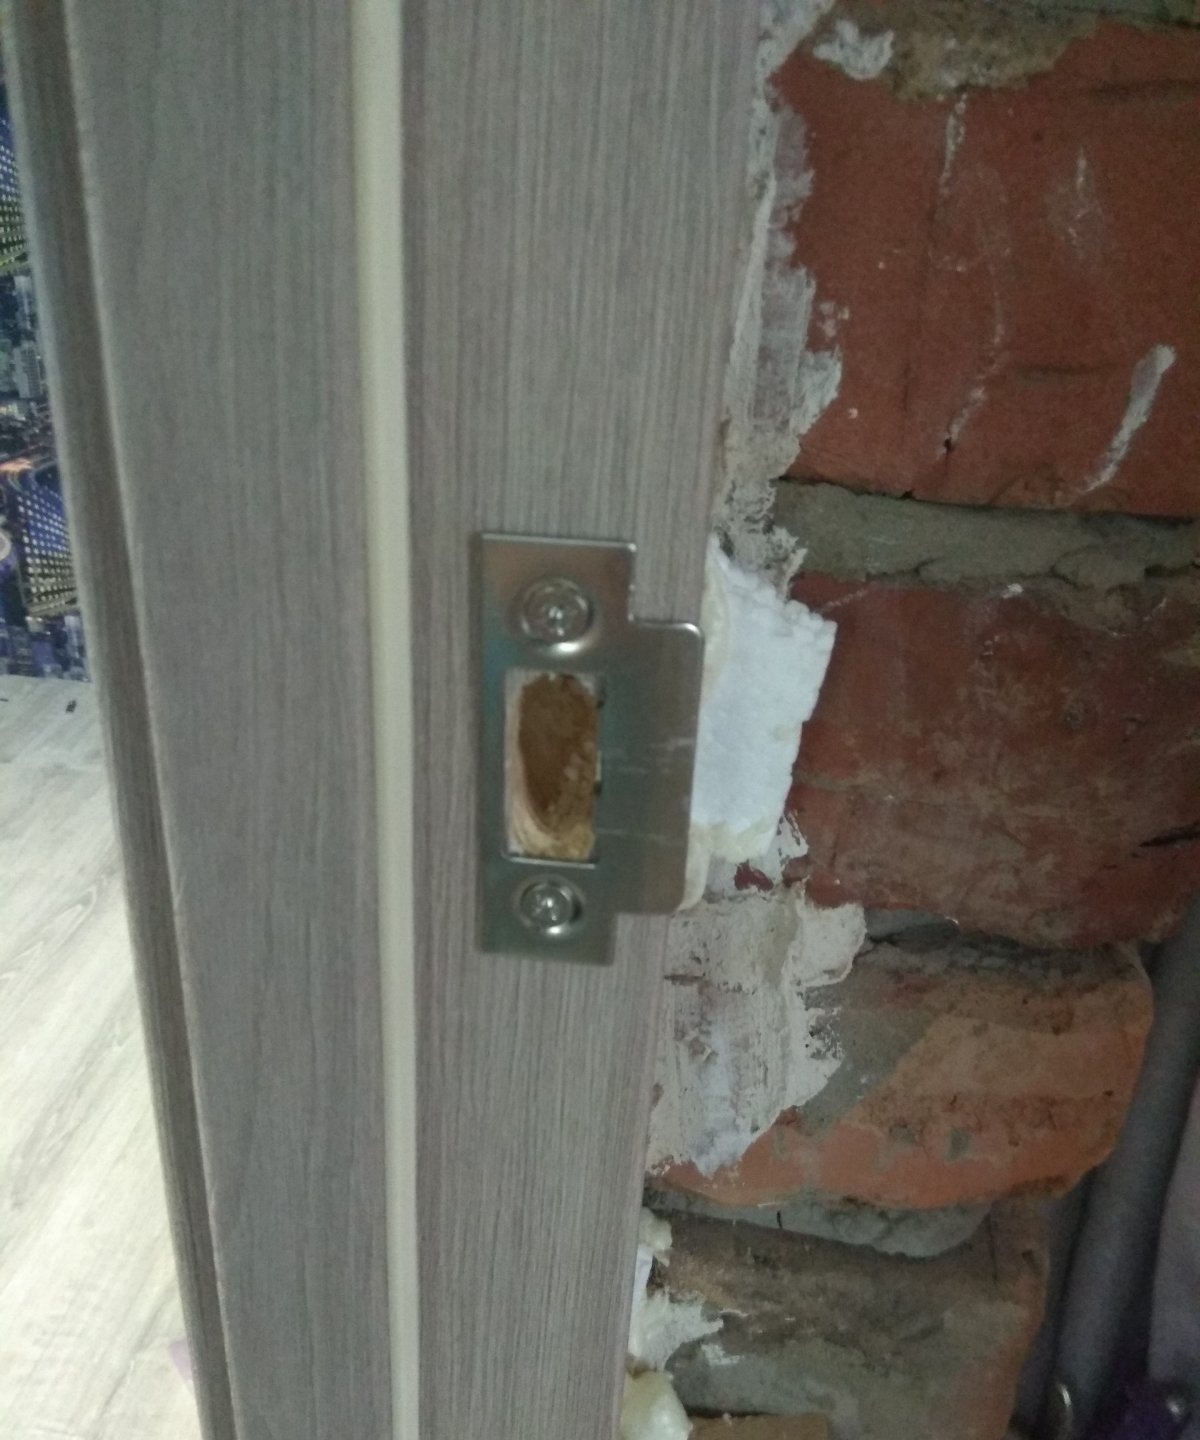
Next you need to install the lock. As a rule, the lock should come with instructions for installing it. If you do not need the door to be locked with a key, then you can use a regular lock with a handle, thanks to which the door will open by pressing the handle down. To do this, drill a hole with a feather drill, the diameter of which should correspond to the width of the mechanism that is inserted inside.
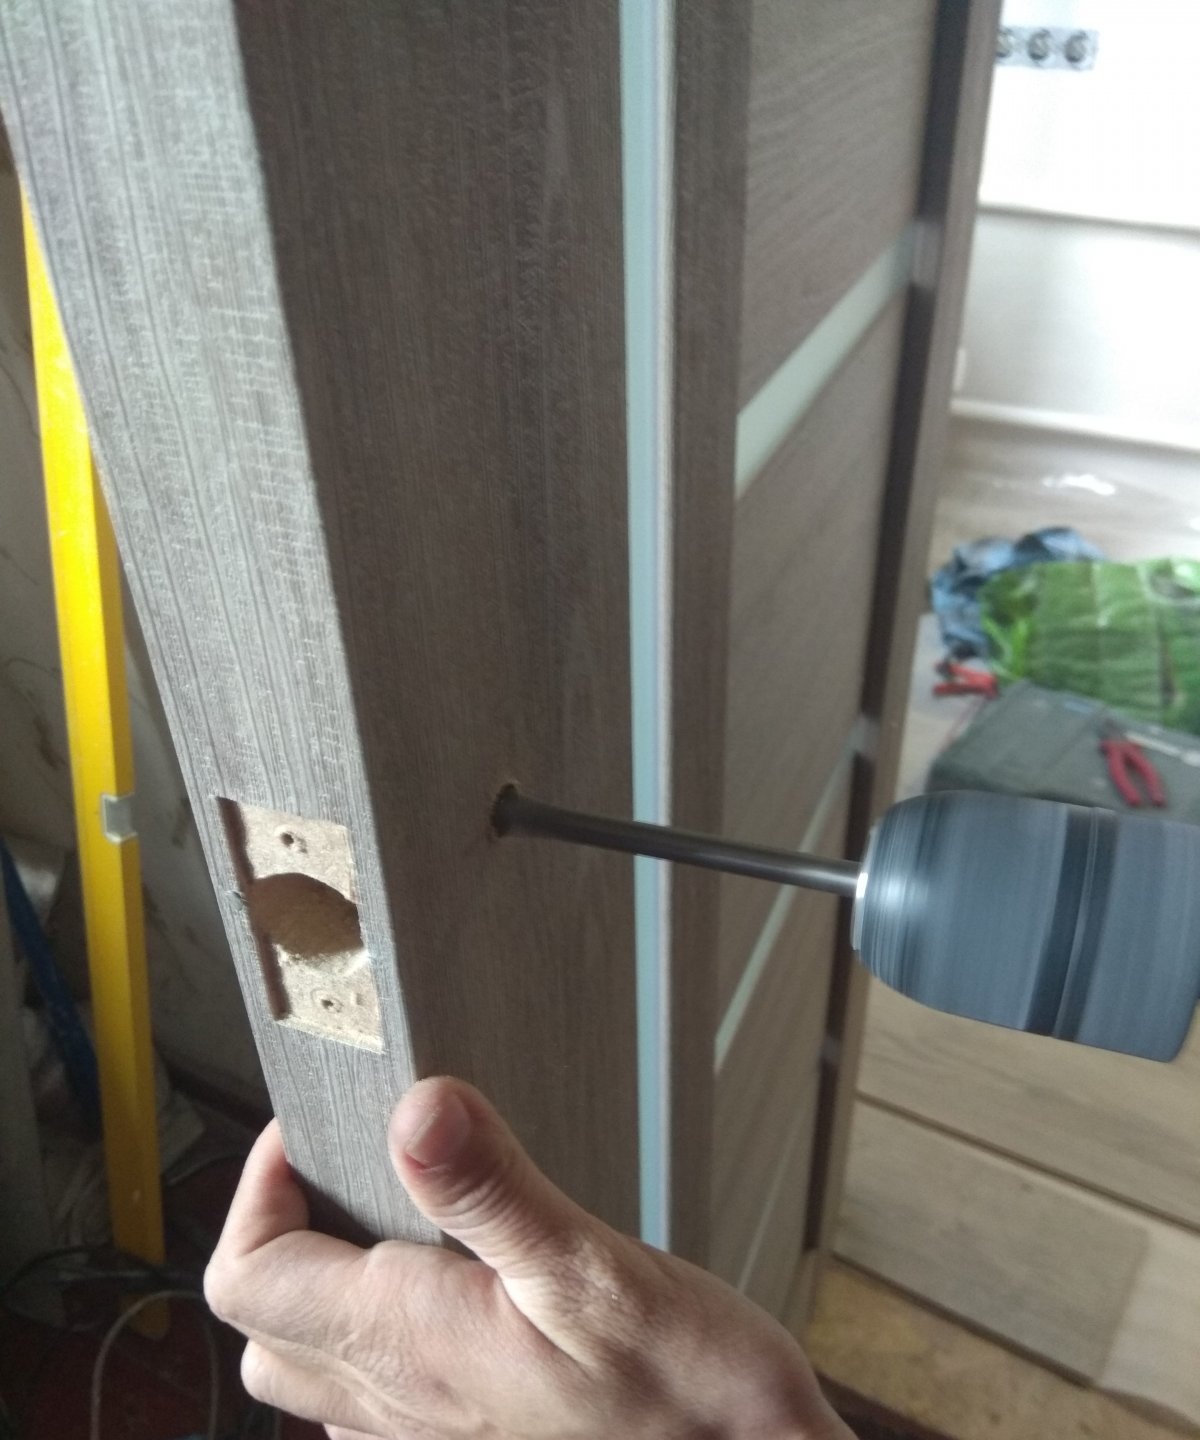
Here you immediately need to decide what level of handle height will be so that you feel comfortable. Then insert the lock inside. After this, measure the distance to the rotating mechanism on the lock, and transfer this measurement to the door. Now you can drill a hole into which the handle will be inserted. In the door frame, using a feather drill, you need to drill holes into which the lock will fit.
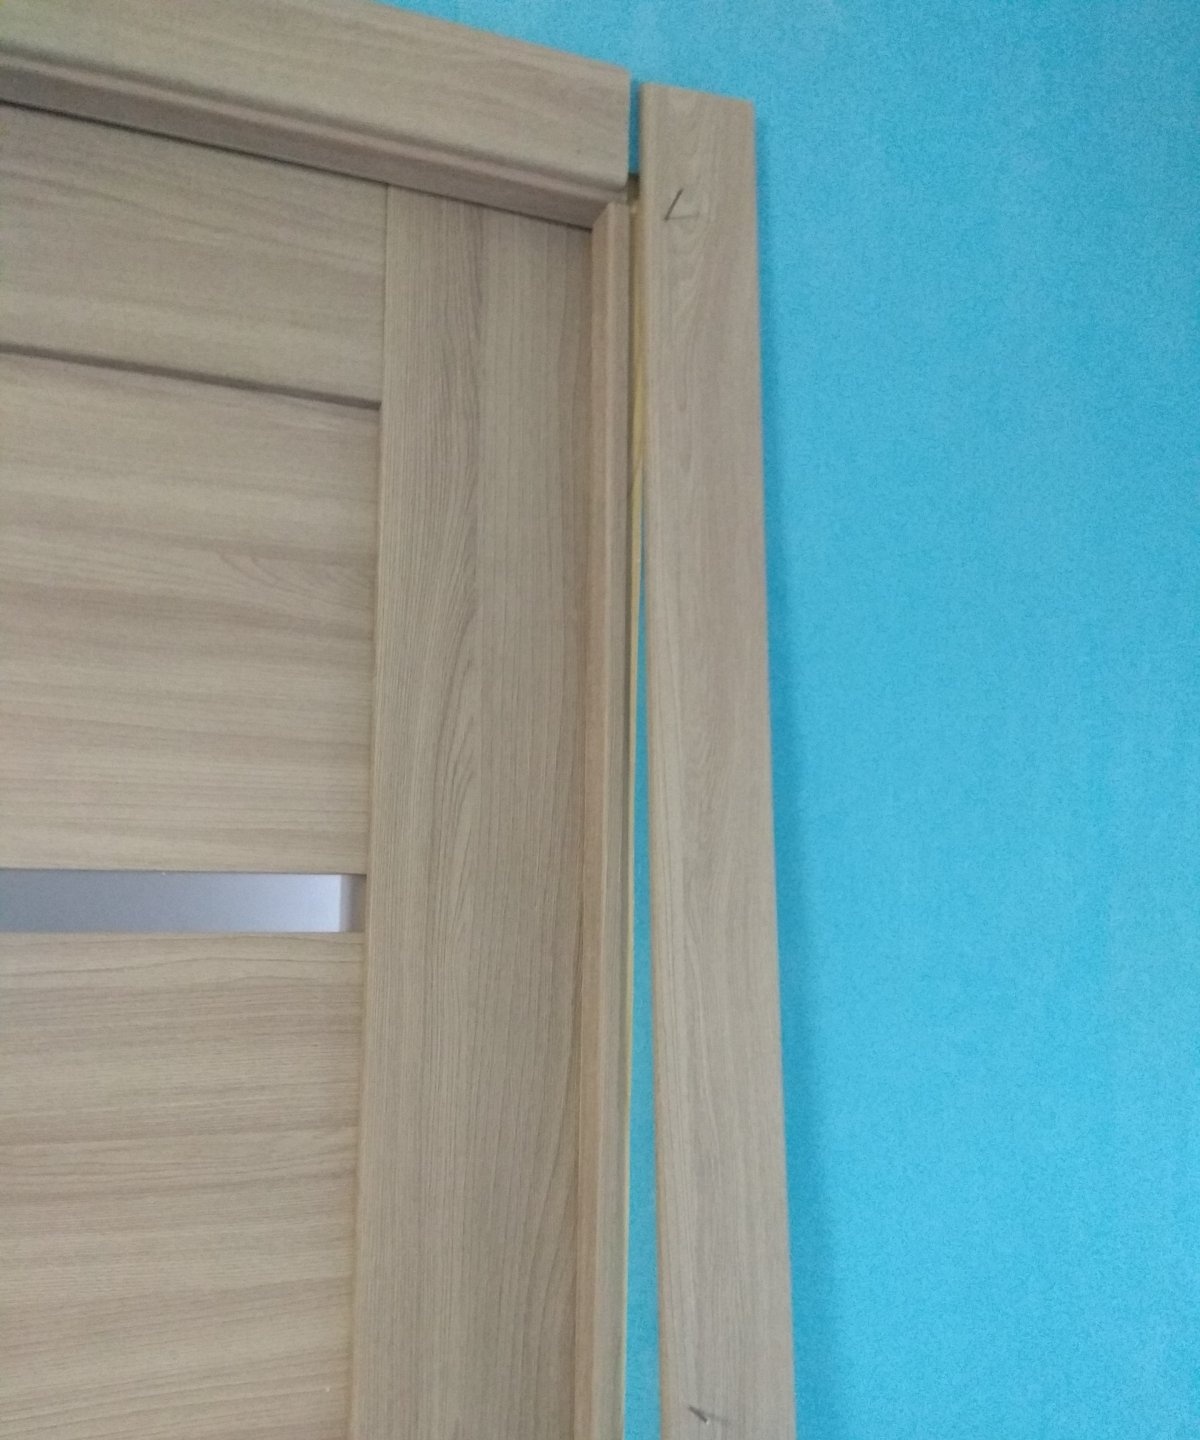
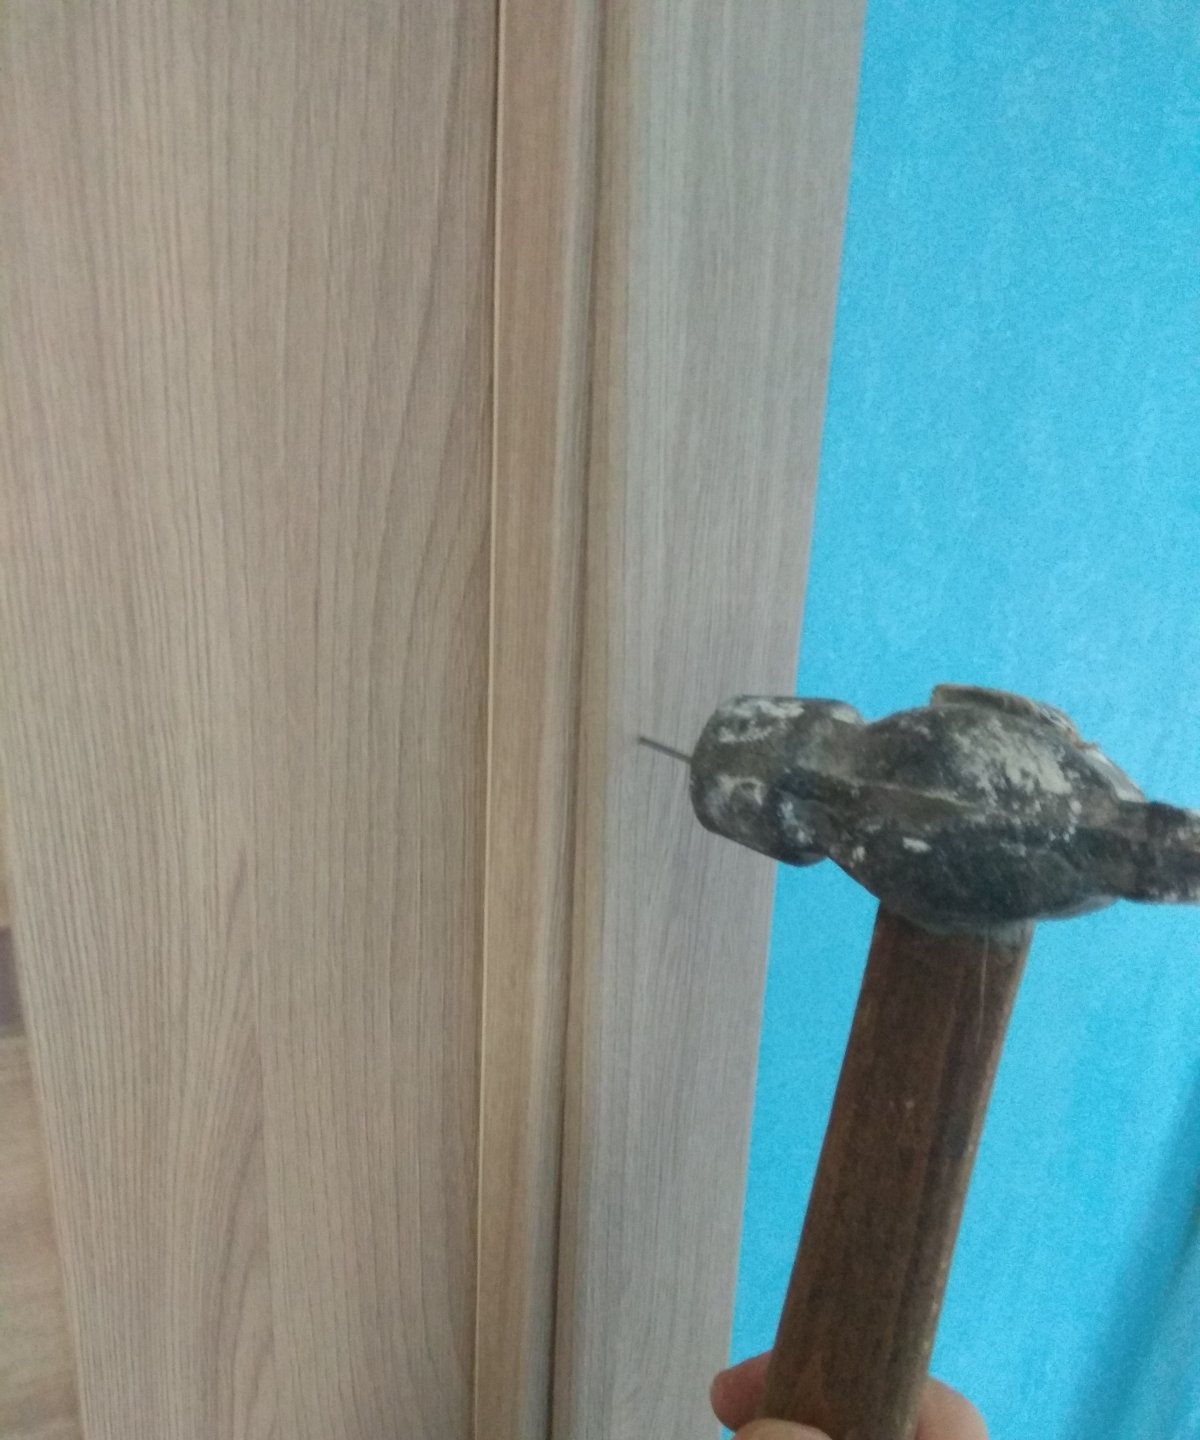
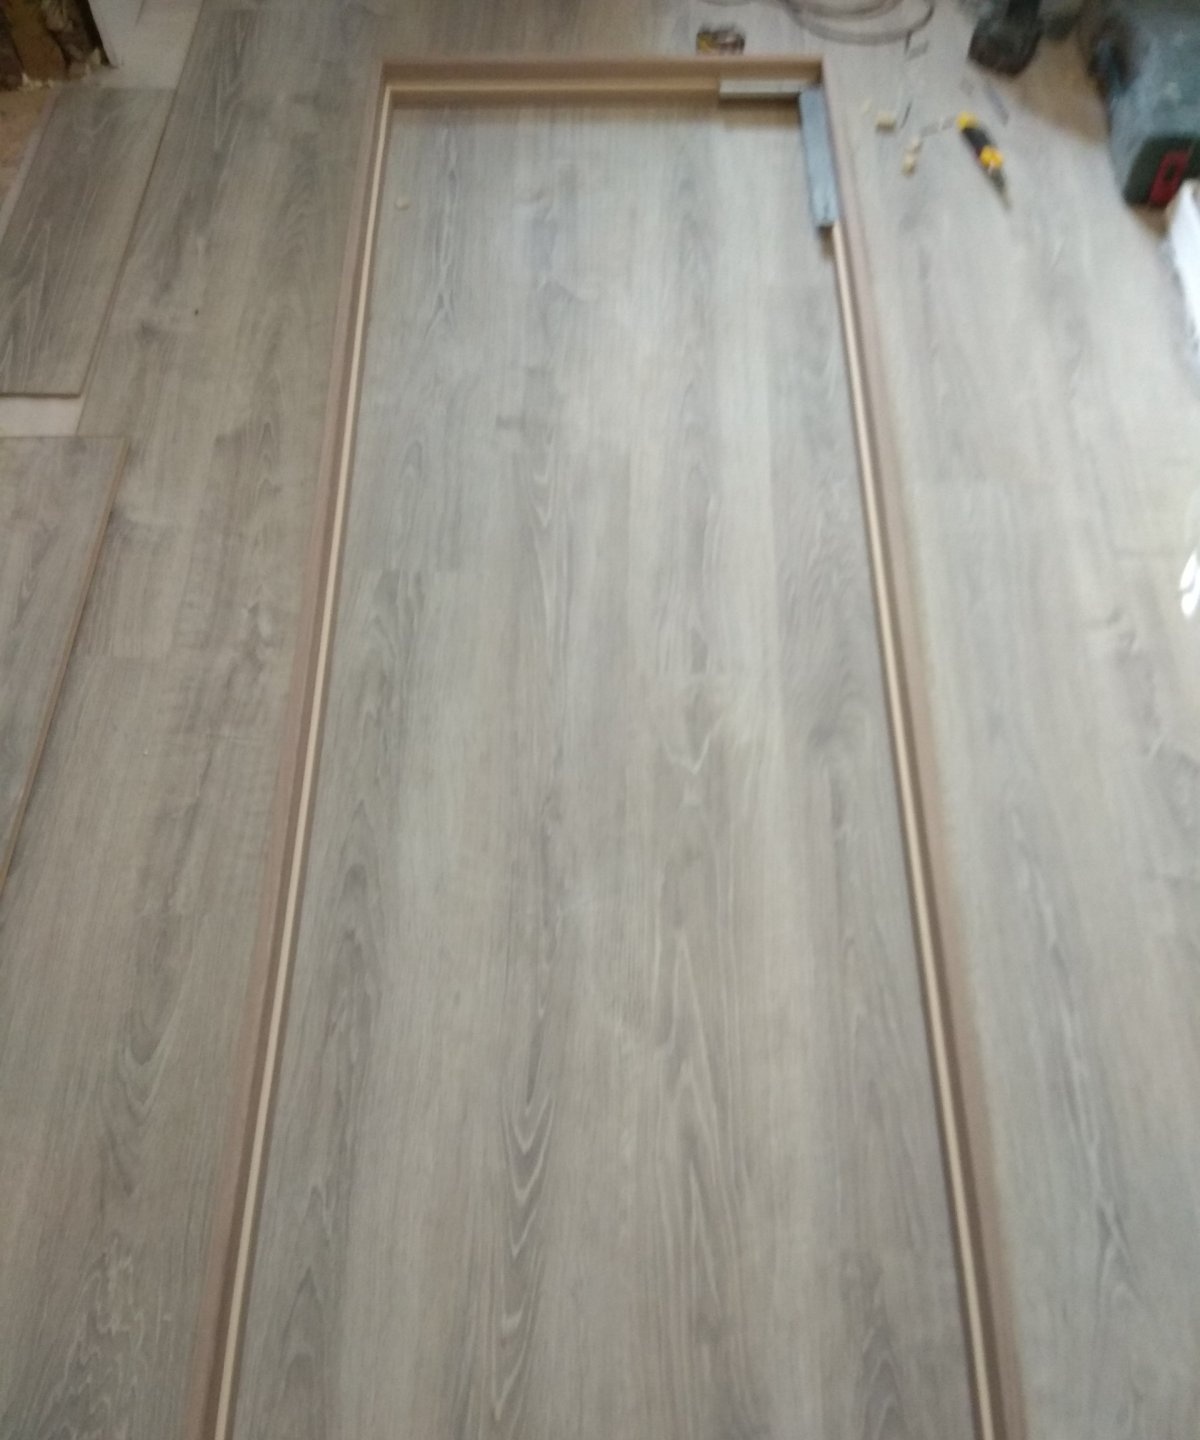
Finally, you need to nail the trim to the edges of the door frame. They will also be longer than the door, so they need to be trimmed carefully. Use a square to cut exactly 90 degrees. Next, nail the trim with small nails with a small head to the door frame. If there are no such nails, then you can use ordinary nails, having first bitten off the heads with pliers.