So, for starters, you need to calculate the number of sheets of drywall that you will need to decorate the walls of the room. To do this, measure the length and height of all the walls of the room with a tape measure, and multiply these indicators. This way you can get the area of the whole room. But in order to determine the net area, you need to subtract the area occupied by the door and window openings.
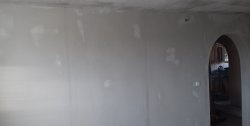
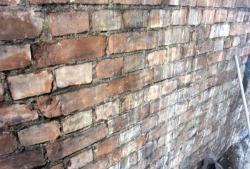
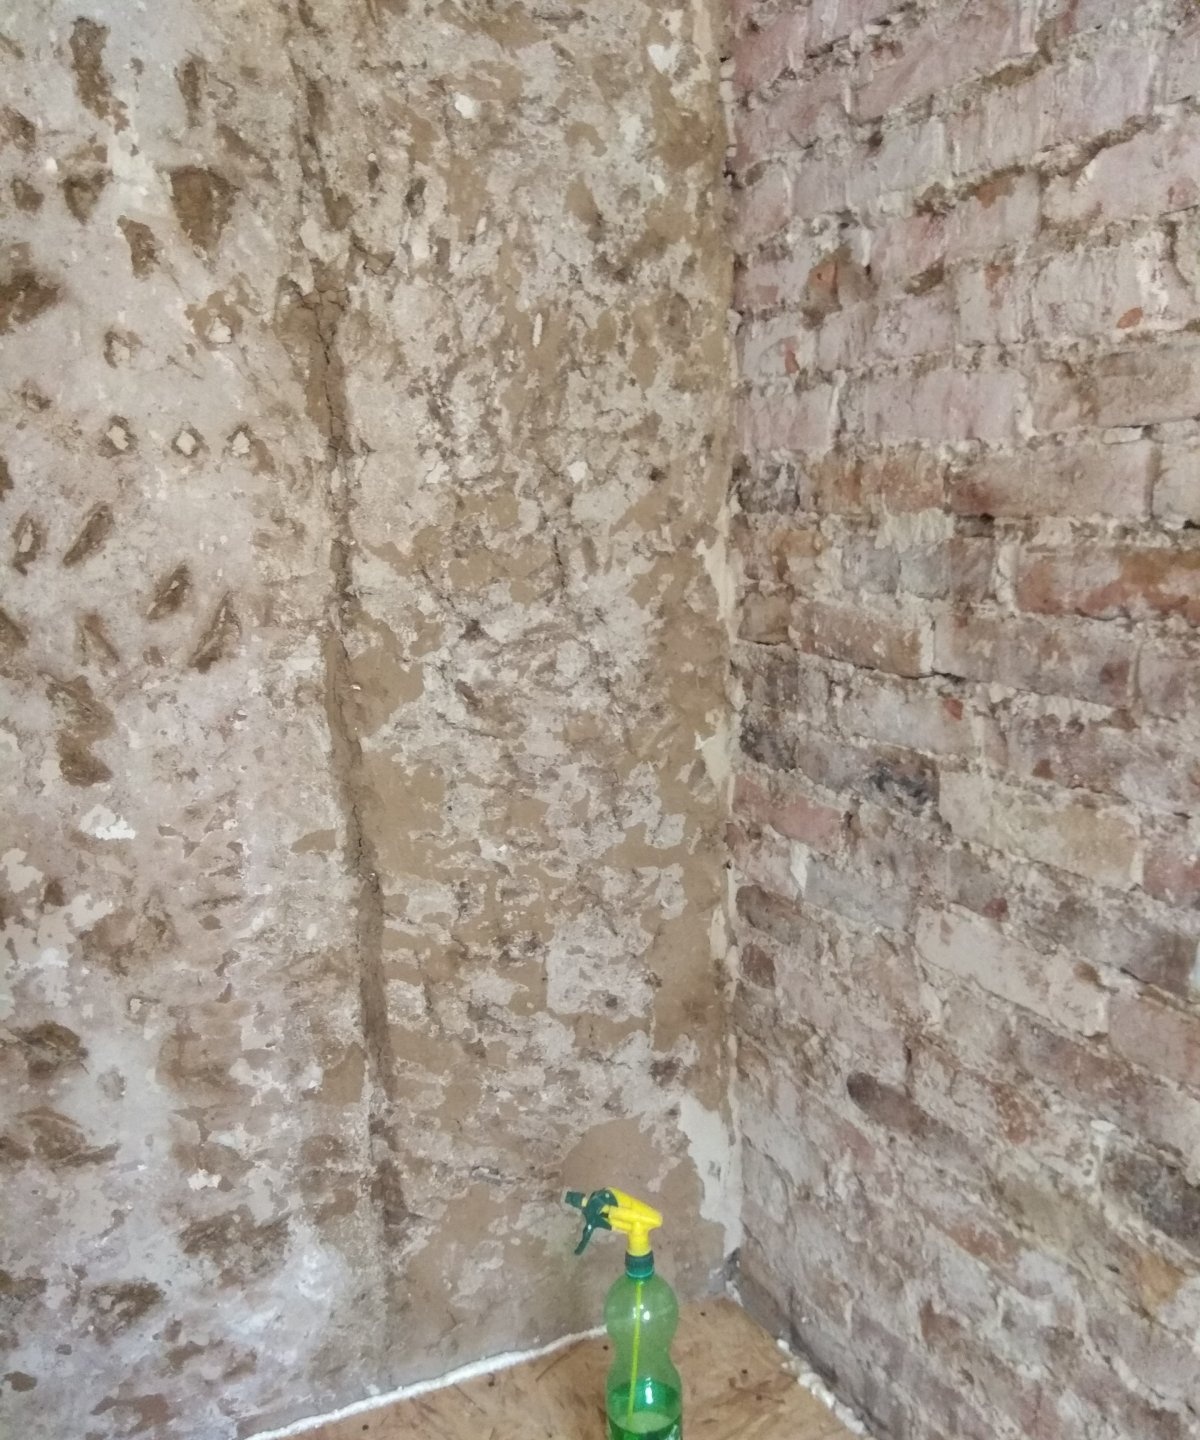
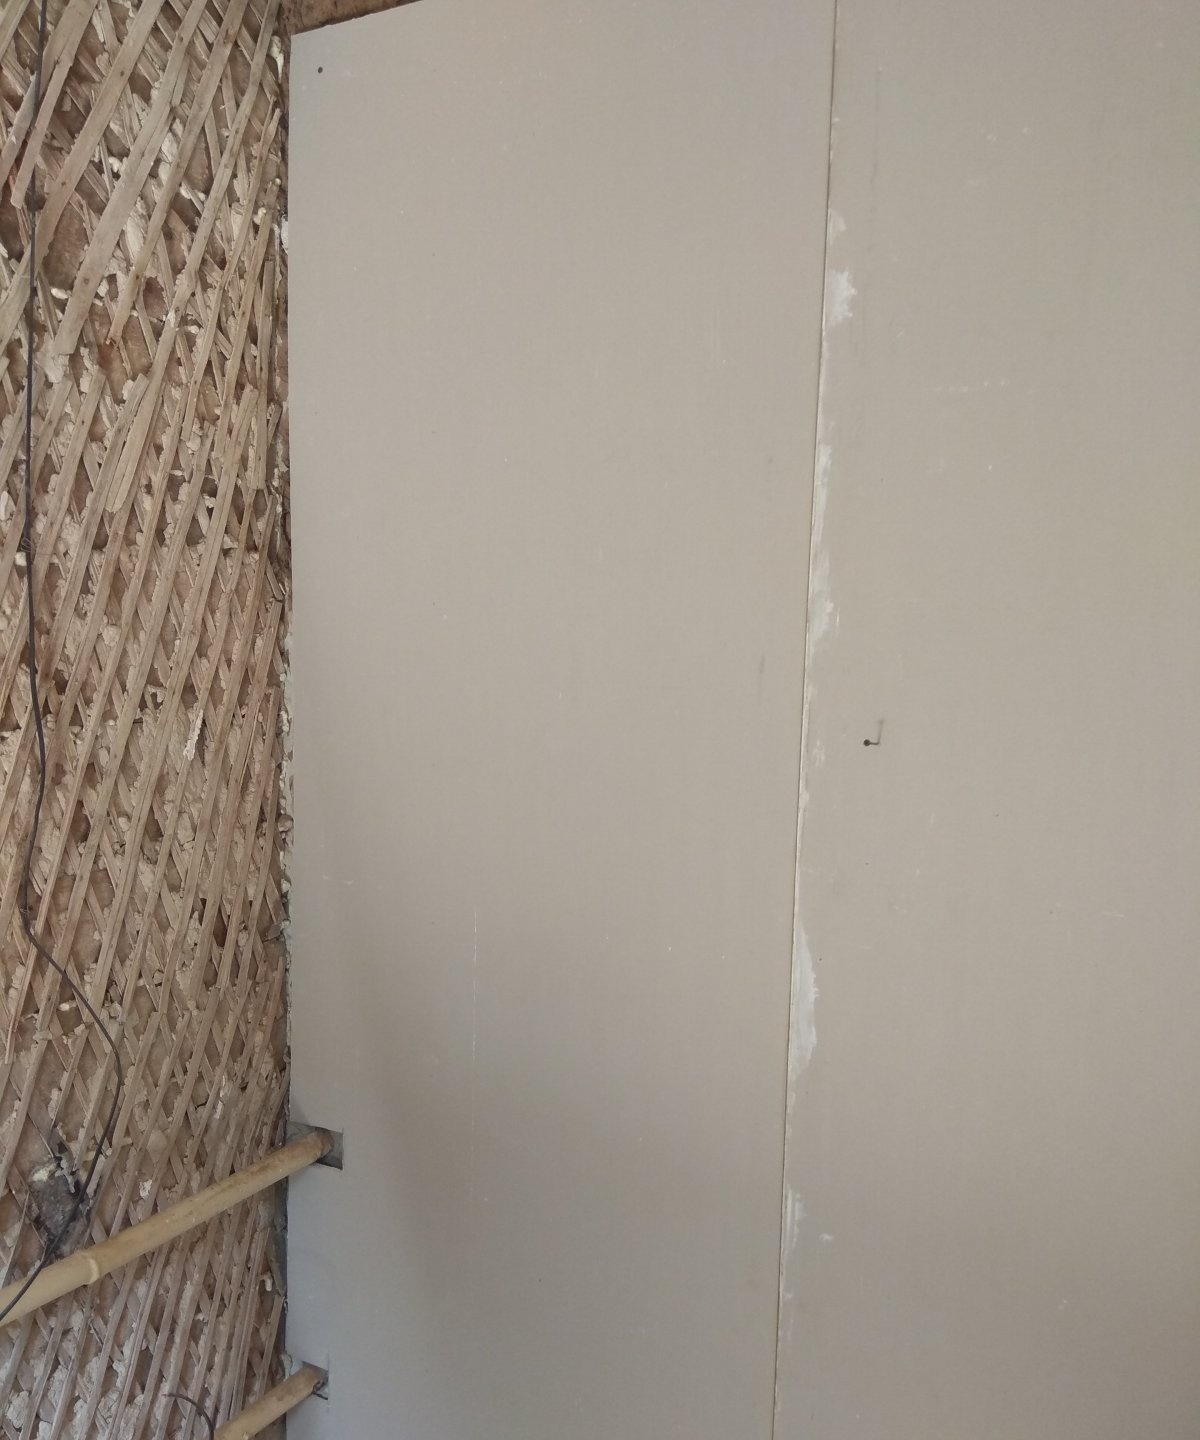
There are several technologies for mounting drywall sheets. For example, fastening to a metal profile is often used, which is mounted to the wall. In this article, we will consider another option - attaching drywall immediately to glue. This option is ideal for walls that have small bumps. In the example, the illustration shows relatively flat walls. This is an adobe house full of wooden slats. If the walls are made of bricks, then you can additionally fix the metal mesh before installing drywall.
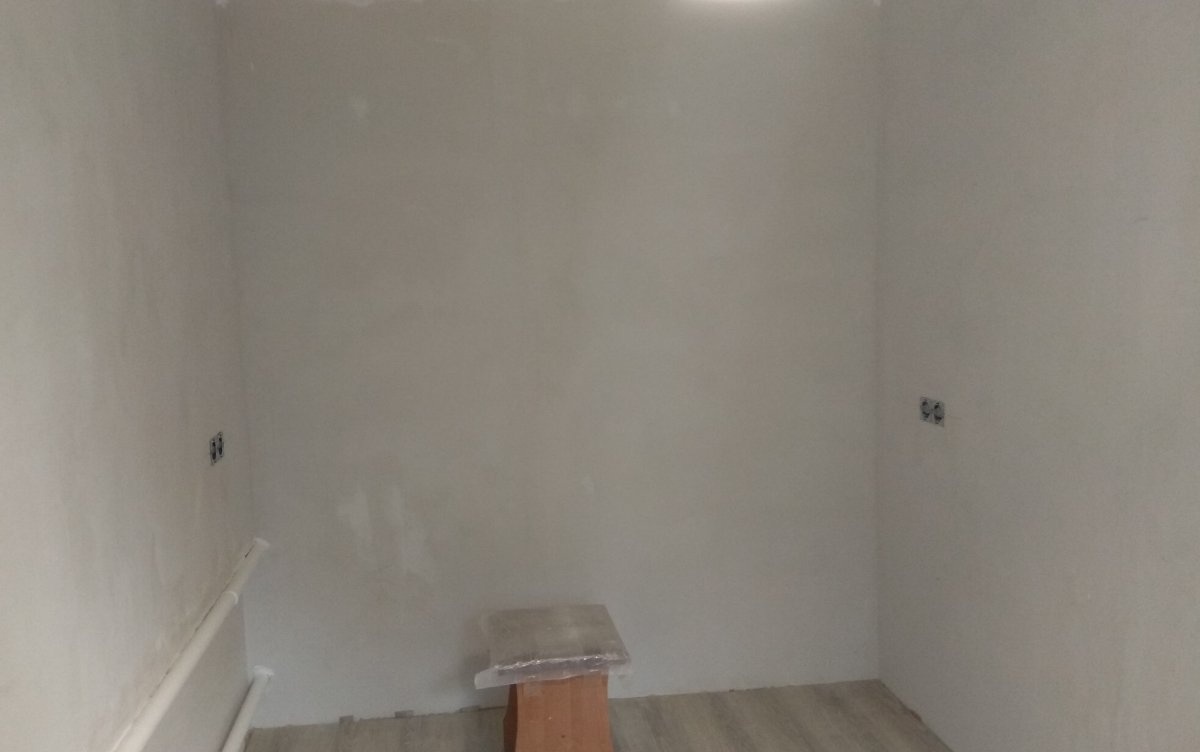
Installation of drywall to the wall
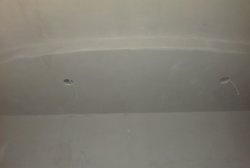
Before work, be sure to smooth the walls.

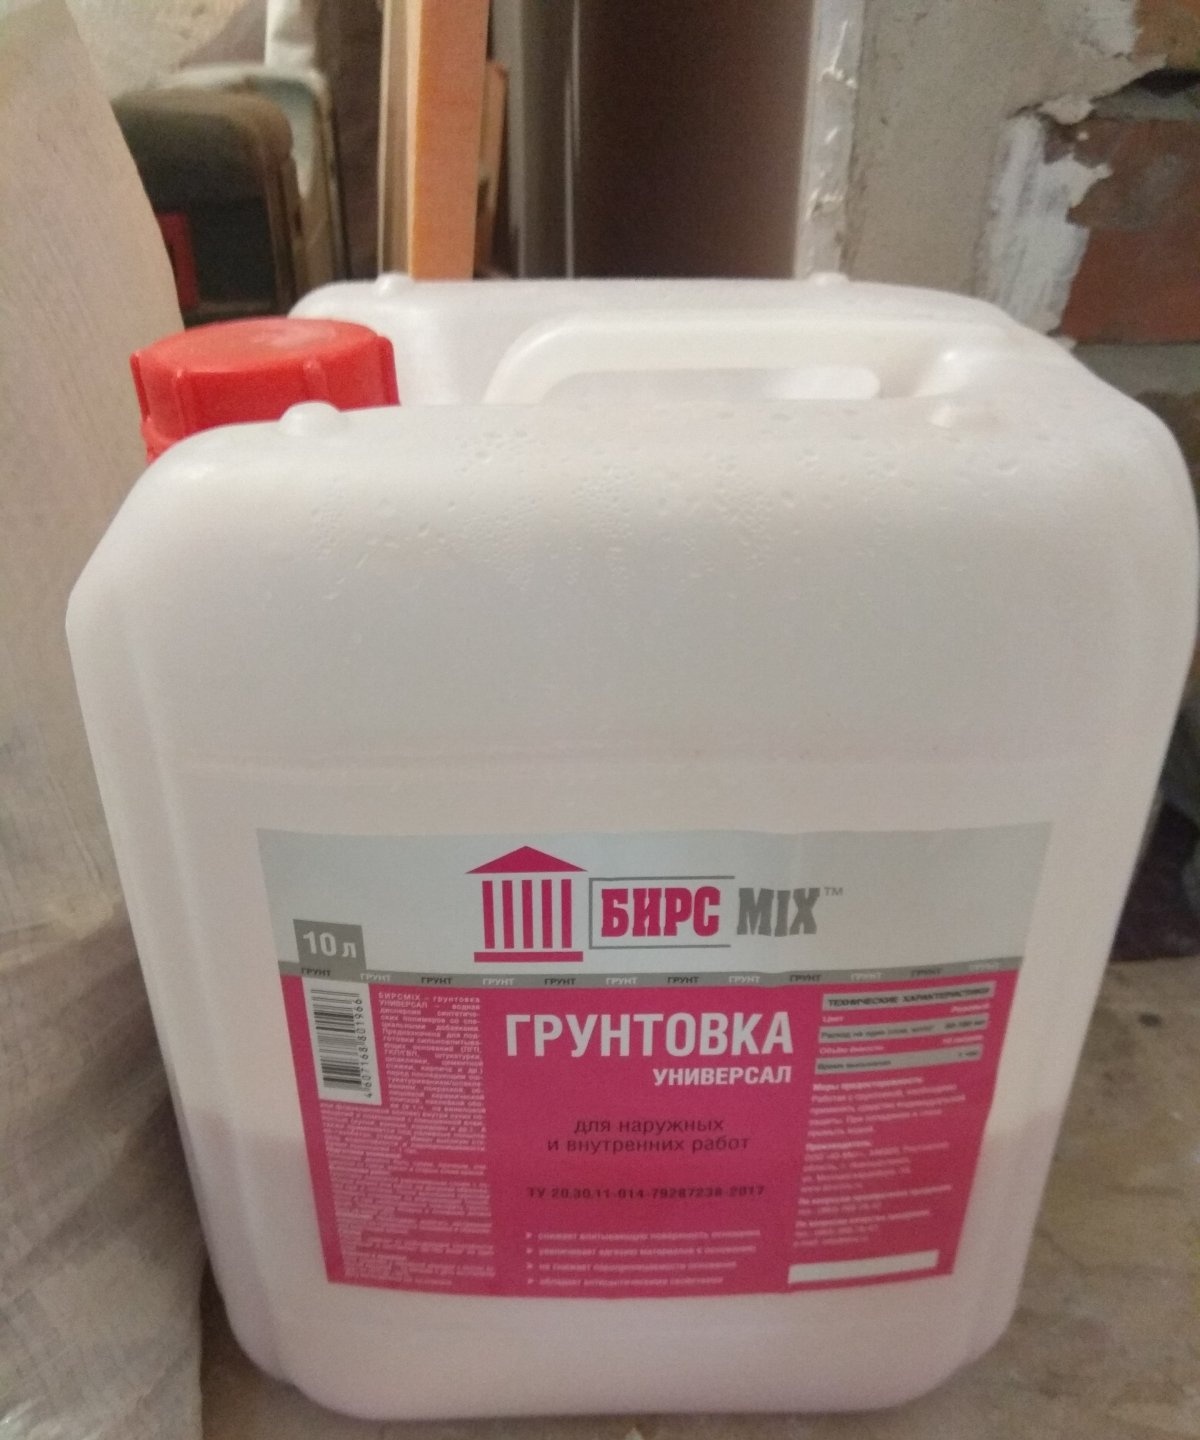
This is important so that the glue adheres well to the wall, as the dust will repel it. It can be primed with a brush or a spray gun.
After that, the height of the wall is measured, and if the sheet of drywall is longer, then it must be cut. This is convenient to do with a construction knife. Then mix glue in a bucket. What proportions of glue and water you can read on the packaging. Do not make too thick glue, it is better a little thinner. Since you probably will not have enough one batch in a regular bucket, you will have to make two batches on one sheet. The glue is mixed thoroughly with a mixer.
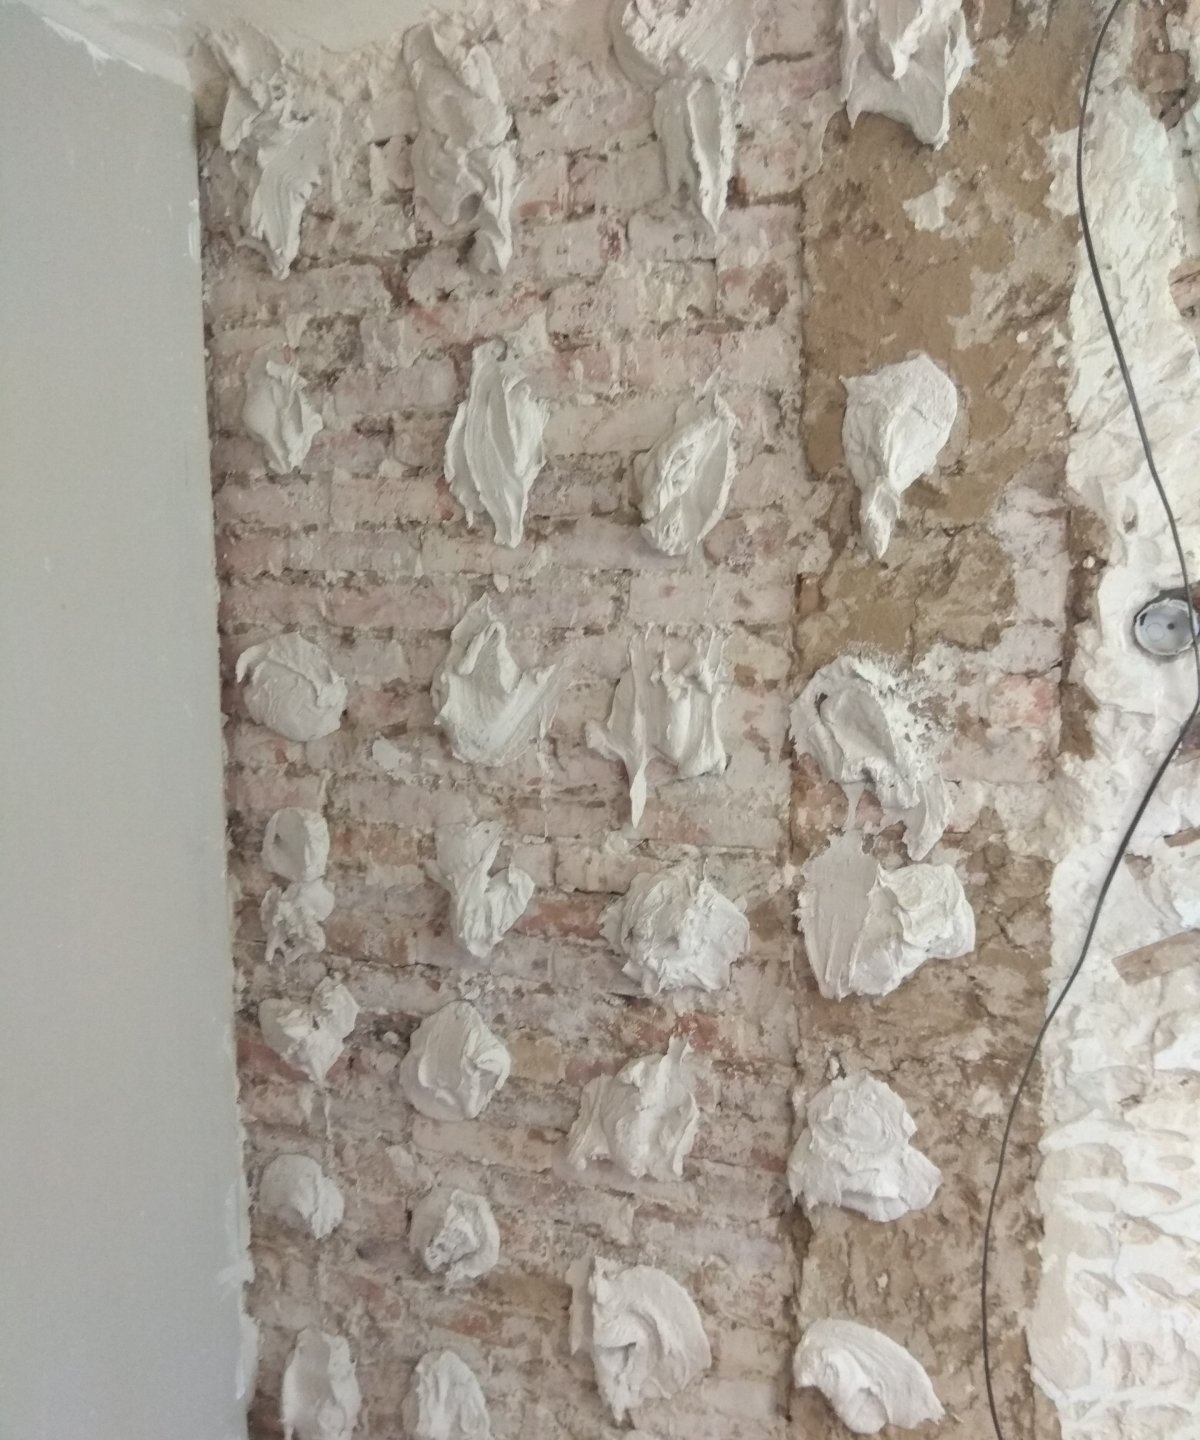
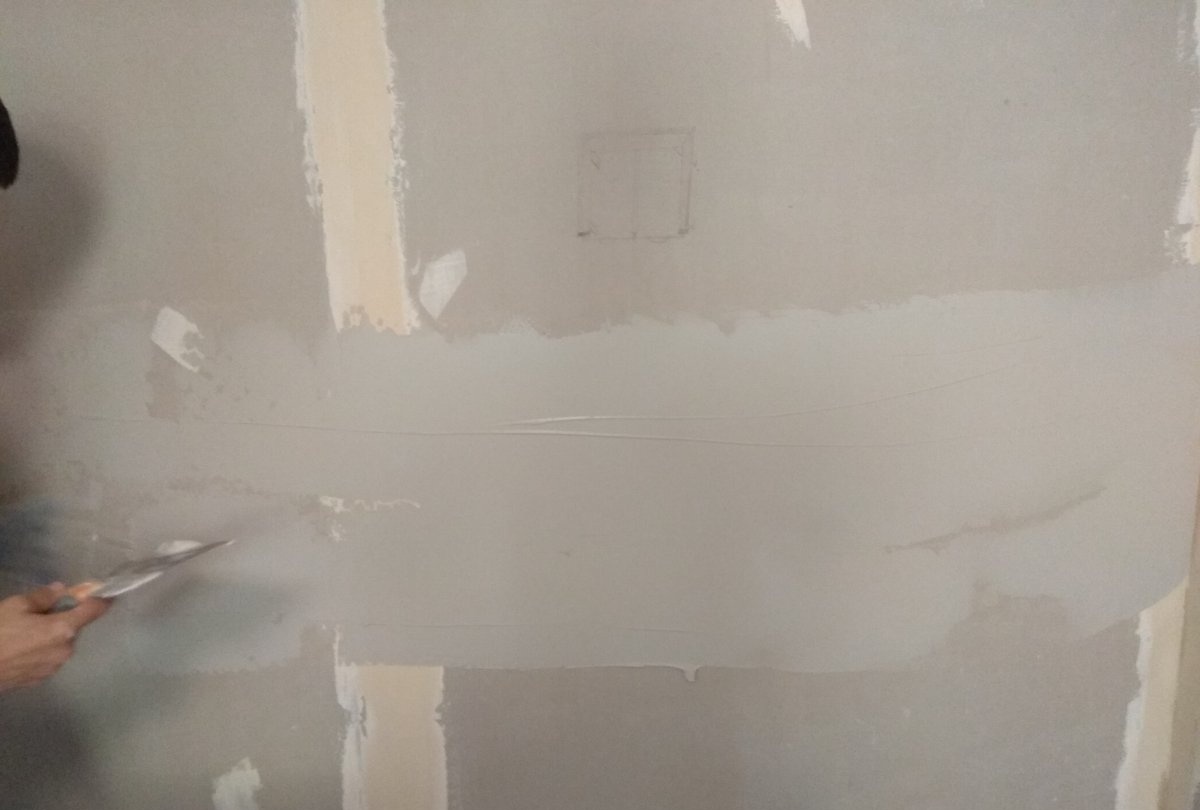
After you have mixed the glue, use a spatula or trowel to scatter it on the wall. If the glue is liquid, it will easily stick to the wall.

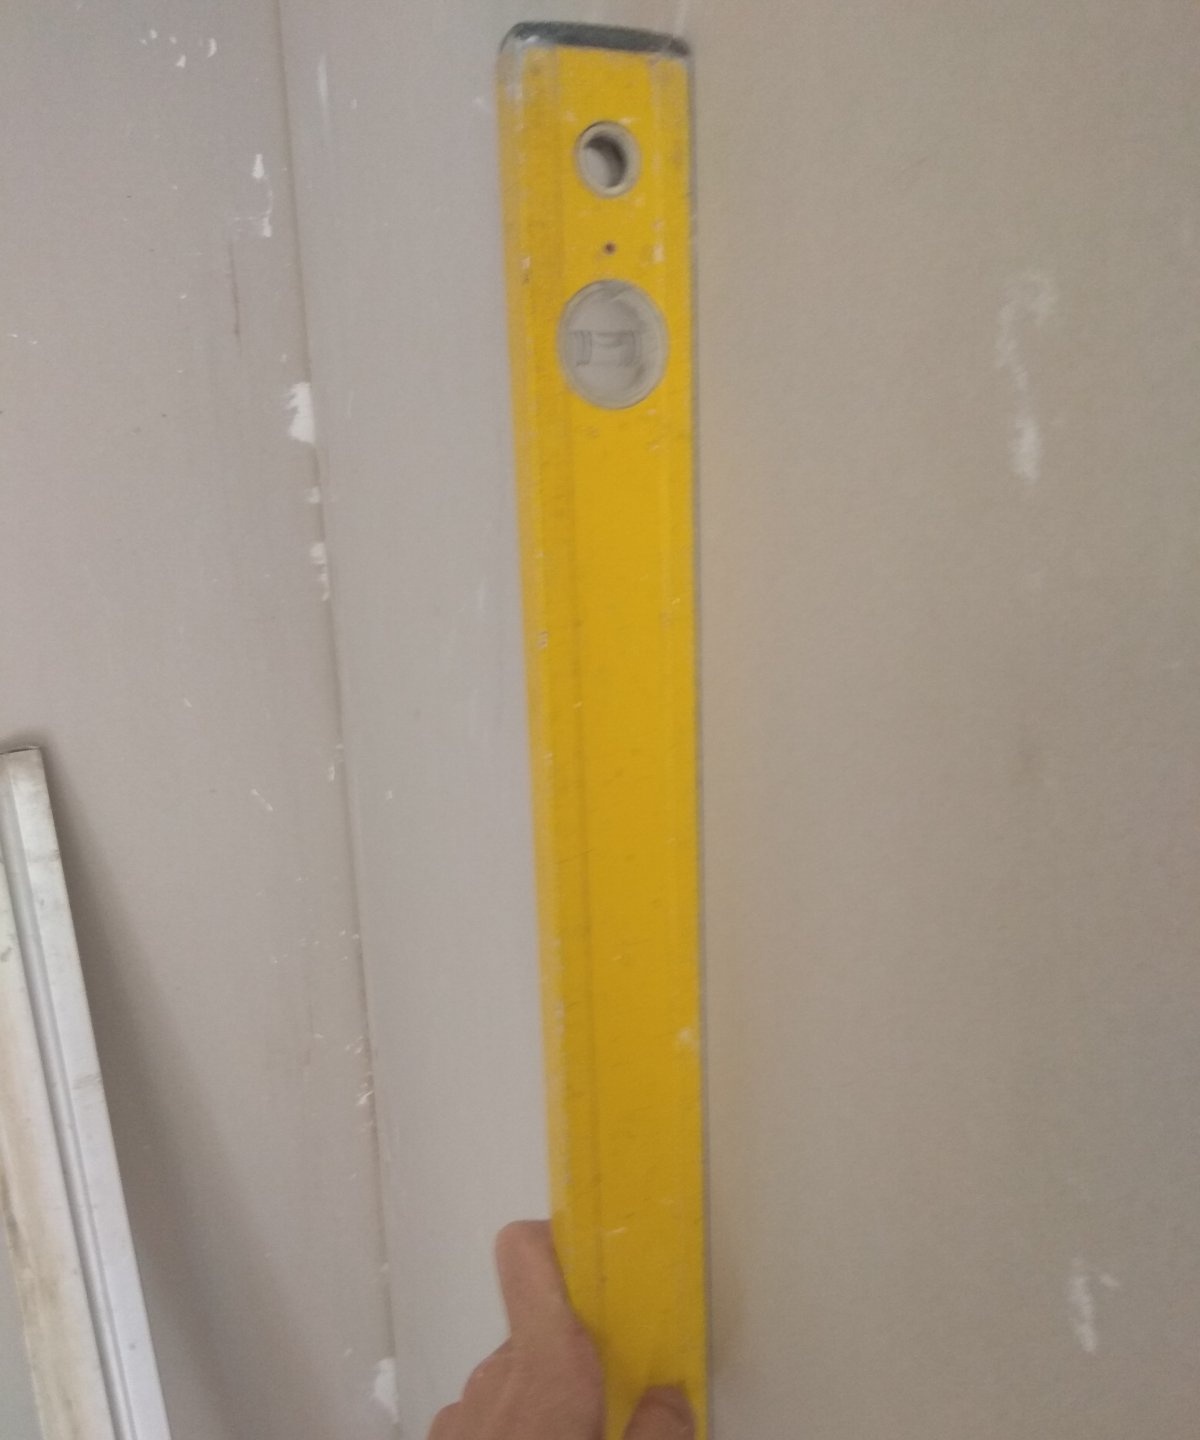
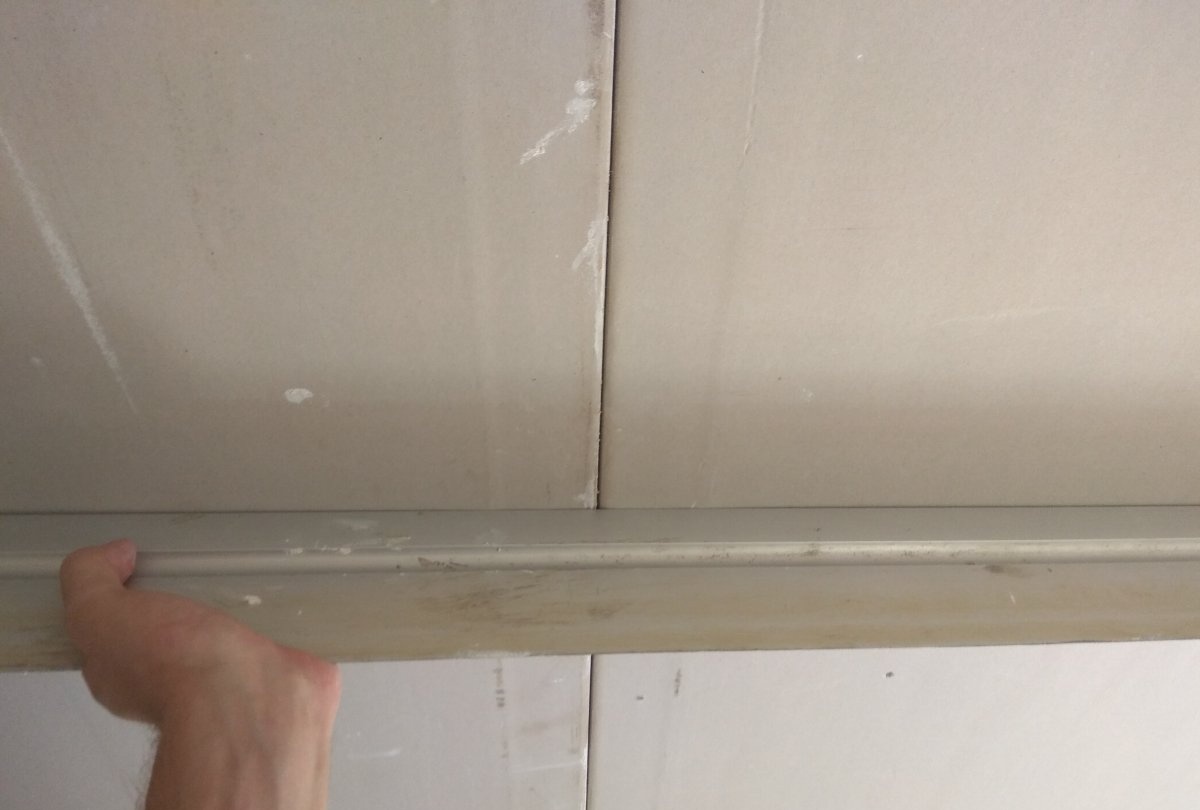
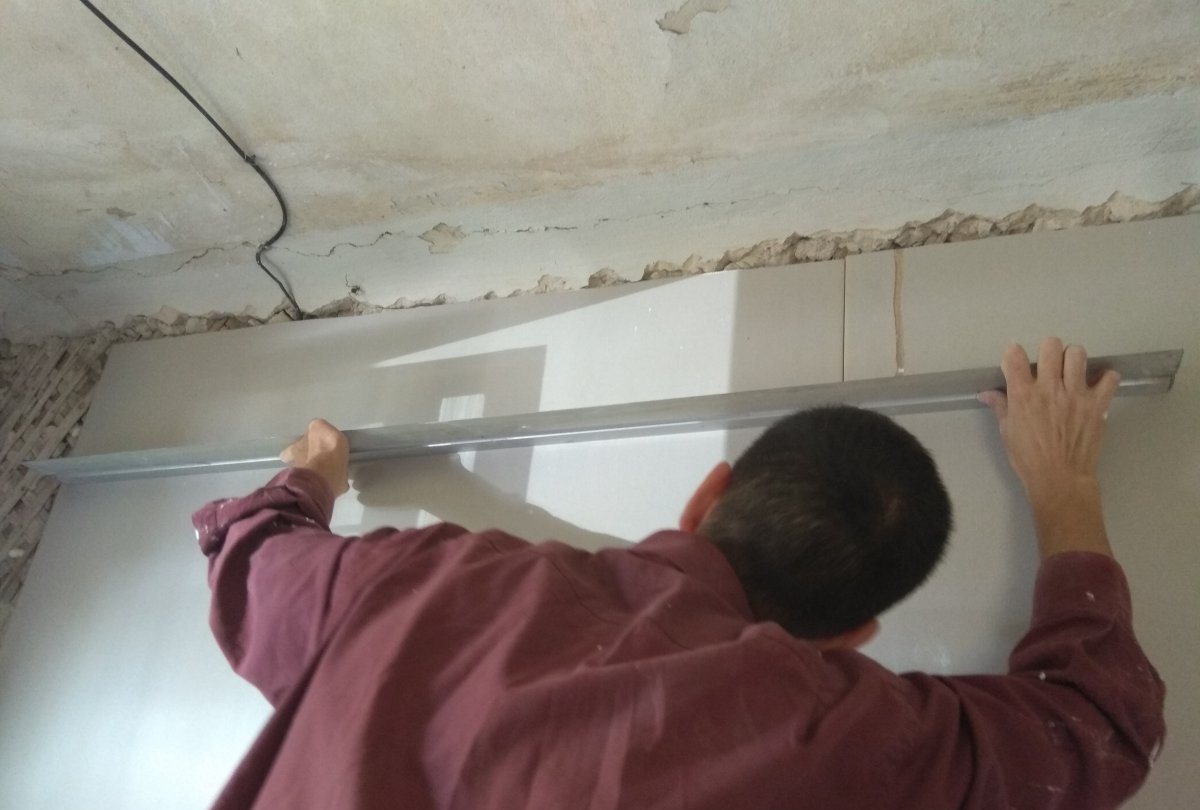
Then lean the sheet of drywall, and, tapping on it, level with the building level. It’s better to use a more authentic level to more accurately align the walls. First, align the sheet vertically. Then lean the level or the long rule horizontally against the drywall and make sure there are no gaps.


Then you can additionally fix the drywall on the screws, about 6 - 10 per sheet.


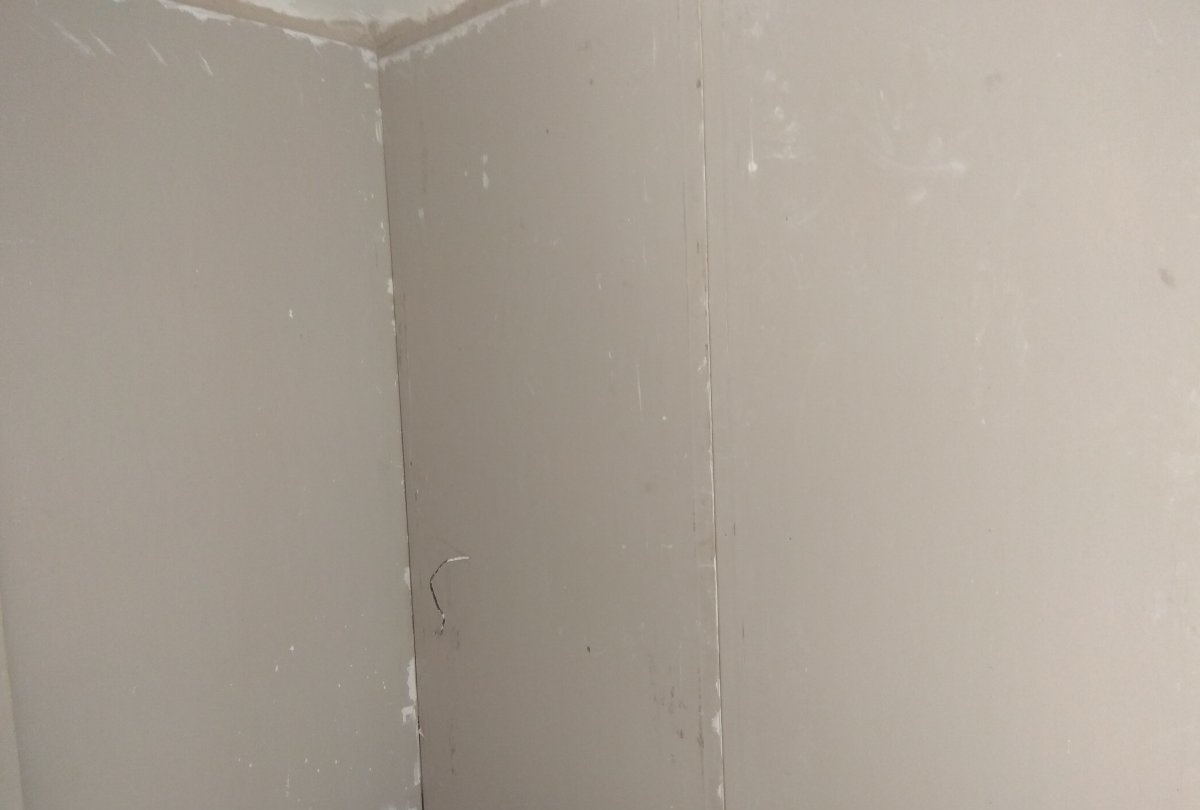
Next, proceed with the installation of the next sheet. Everything is done in the same way. When the second sheet of drywall is installed, you also measure the level vertically, and then check the horizontal level with the previous sheet.
In addition, in some places you will need to do drywall trimming for pipes, or electricians. This must be done immediately before installing the sheet on the glue. Trimming is done with a construction knife. If you need to drill a hole to stretch the electric cable, then this can be done with a drill.
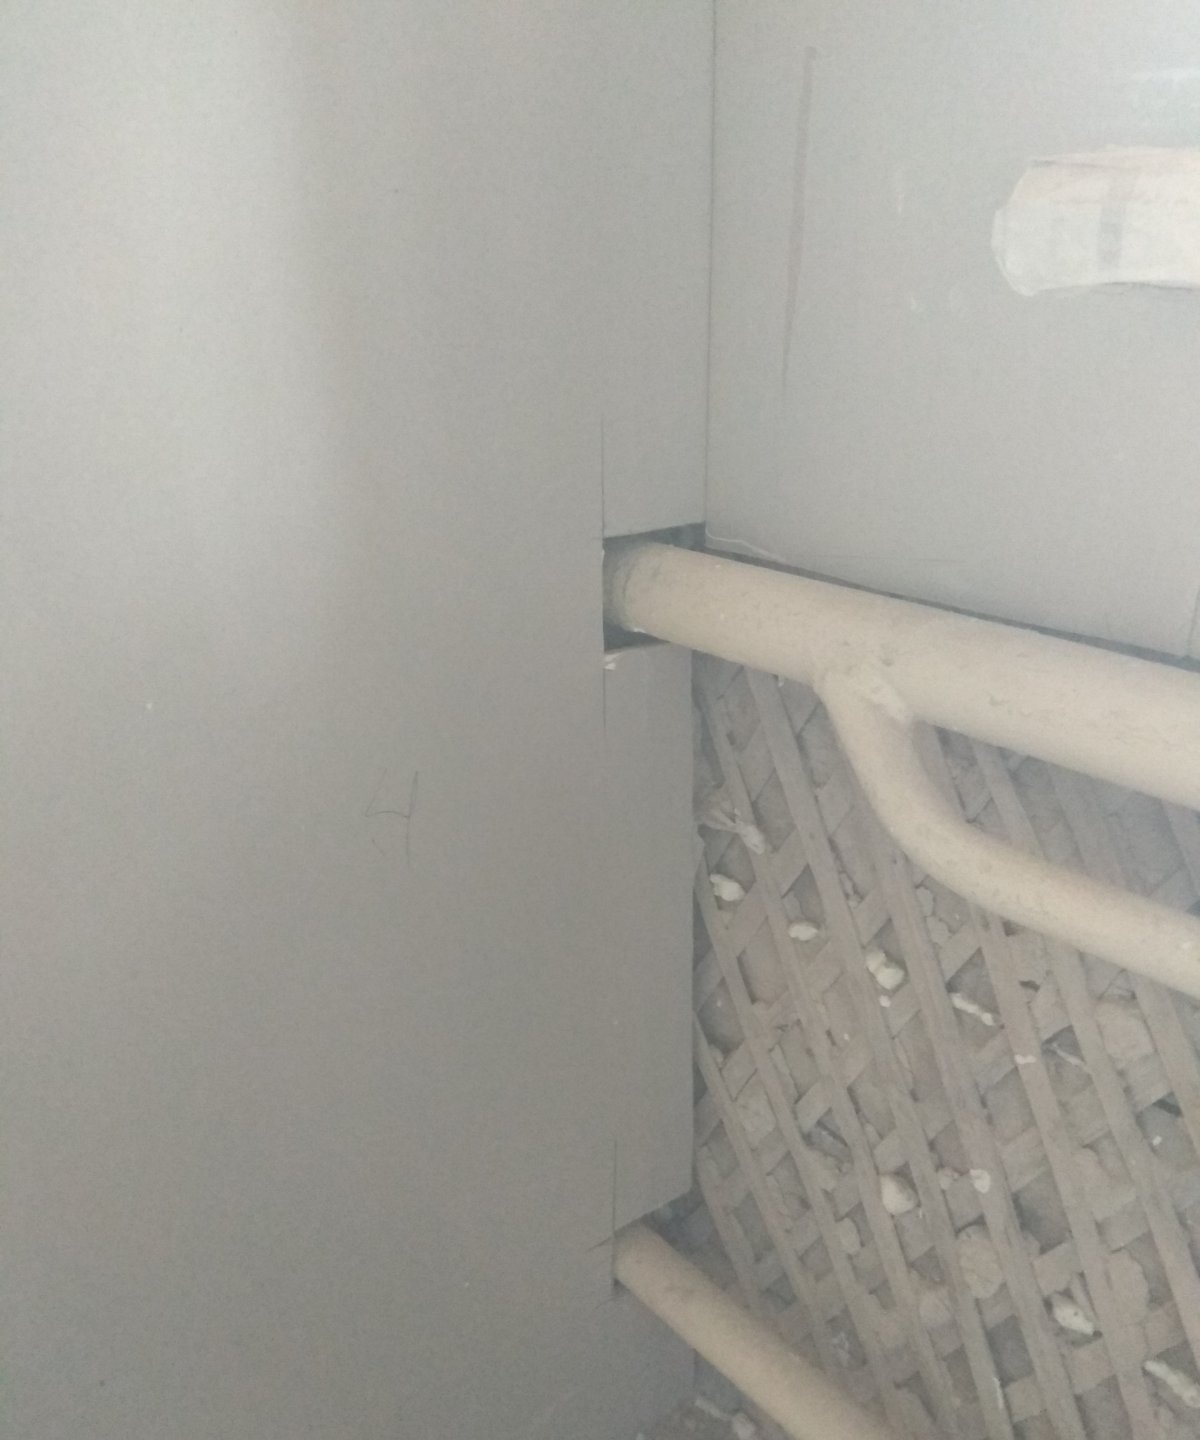
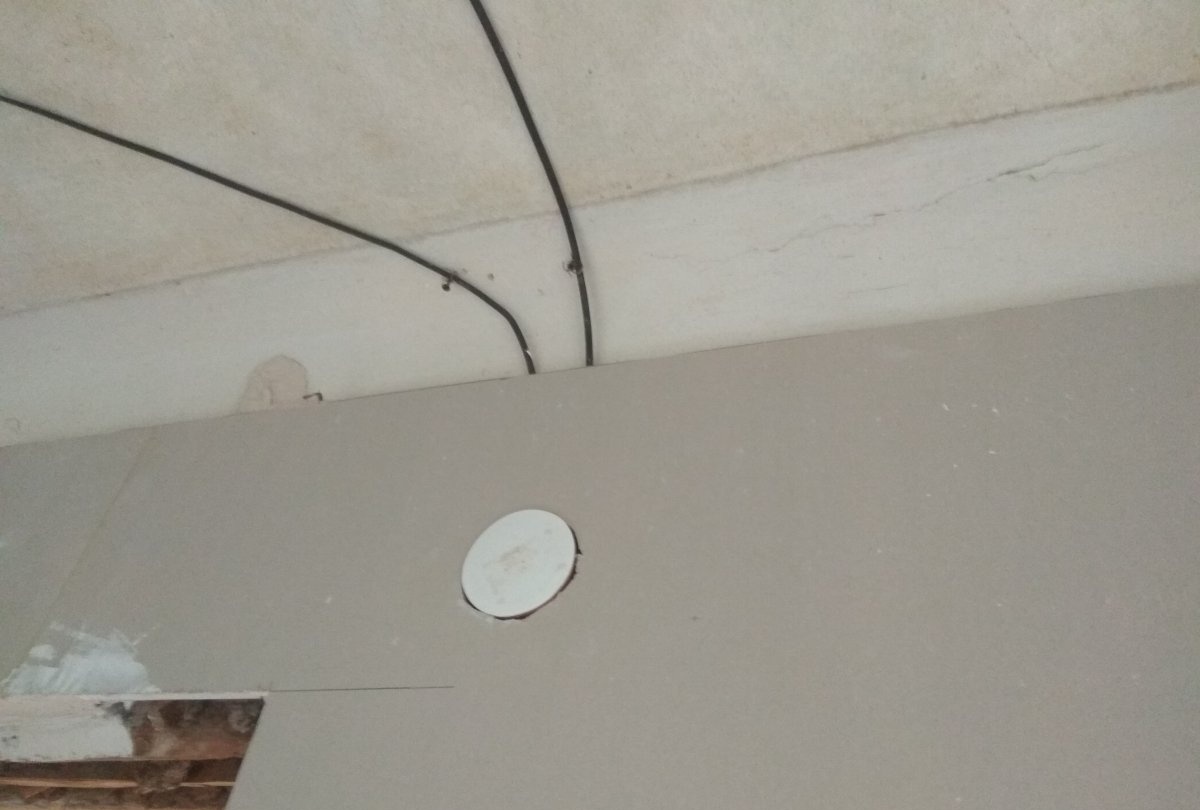
Immediately notice how the cable passes under the drywall, so that when you tighten the screws, accidentally do not get into it.
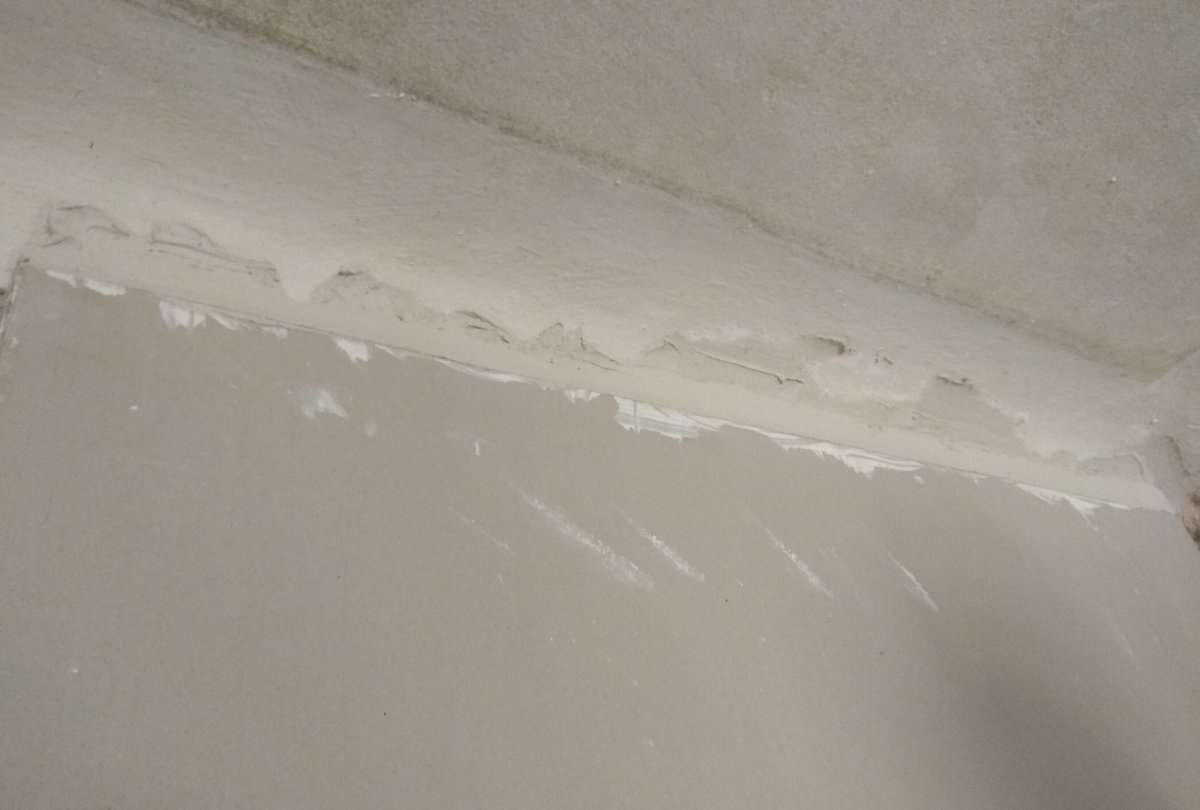
When you have completed the installation of the drywall to the wall, close all the seams between the sheets, as well as in the upper part between the drywall and the ceiling. To do this, you can use a special self-adhesive mesh (serpyanka). After gluing it, putty all the seams with special putty for the seams.


When the putty hardens, sand the seams so that they are smooth, and then primer all the walls again. Next, you can putty the walls with finishing putty.
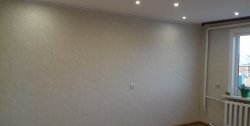
Then you can either stick wallpaper or paint on this surface.