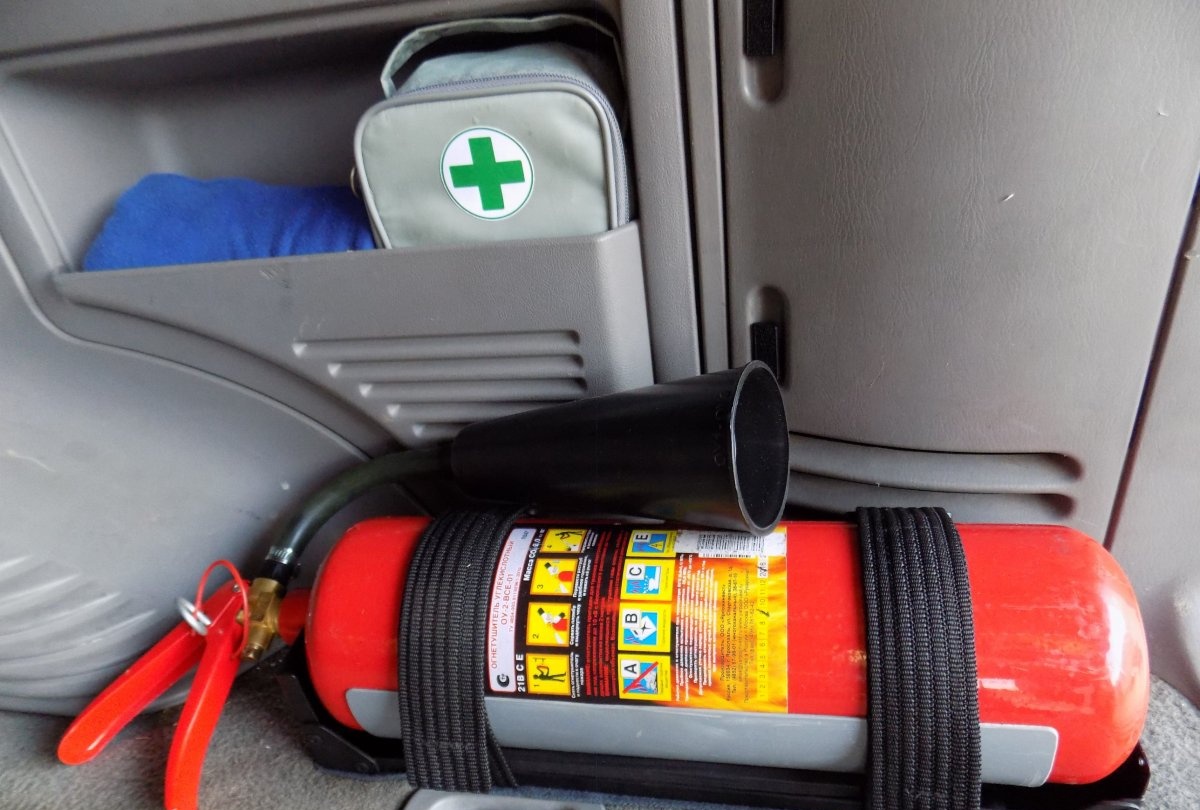
- the fire extinguisher must be in the cab (it is forbidden to store it in the body);
- the bracket must hold the car fire extinguisher securely in motion or in an accident.
Since the application governing the use of fire extinguishing means in a car is advisory in nature, its implementation rests with the driver. And at the same time, is the subject of discussion with the traffic police inspector. But the paragraph about the bracket is practical. If your car has a one-volume body (station wagon, SUV, minivan), a fire extinguisher will definitely be in the cabin. Imagine what this “projectile” weighing from 5 to 7 kg can do, flying freely in a car in the event of an accident.
It is good if the car has a standard mount. In other cases, the balloon simply lies in the bag of the motorist, or is “glued” to the lining with Velcro straps. If you spend one day off, a reliable bracket can be made in the garage from improvised materials.
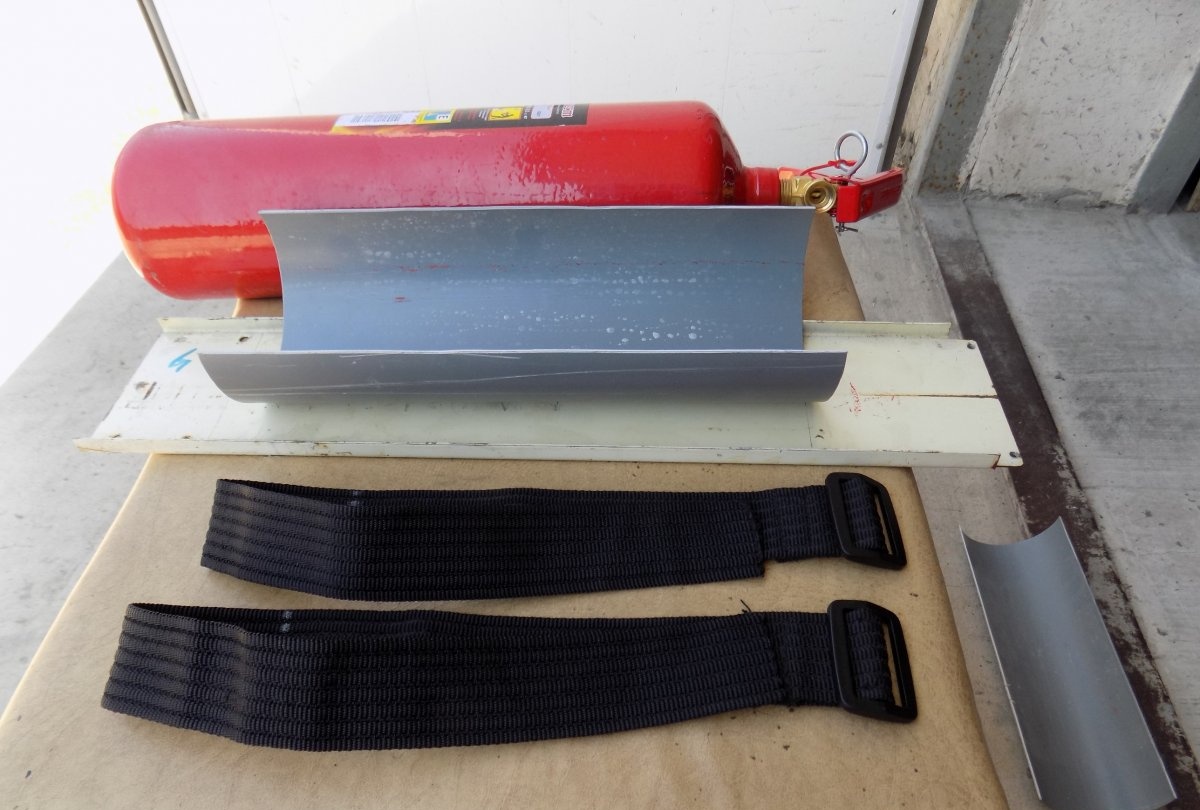
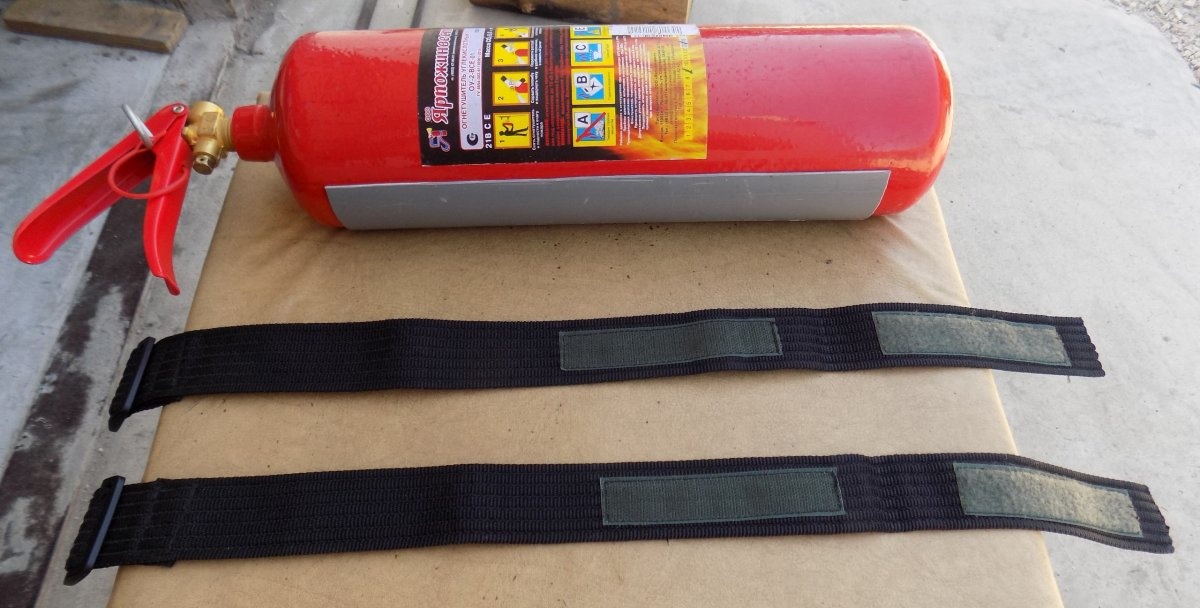
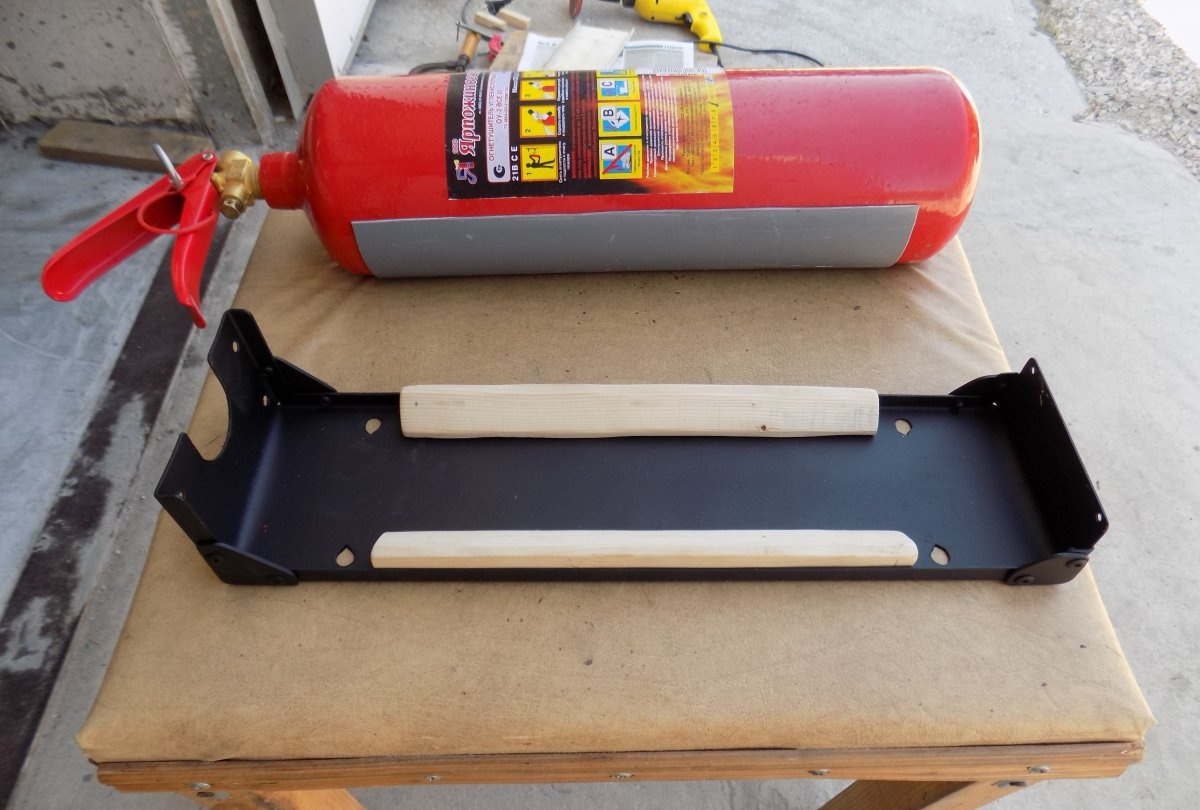
The OU-2 carbon dioxide fire extinguisher (weight 7 kg) will require the following tools and materials:
- steel plate 1.5-2 mm (in our case with molded sides, which is useful for stiffness);
- trimming a plastic drainpipe of a suitable diameter;
- wide belt from an old sports bag (tensile strength is important);
- fasteners (bolts, screws, rivets);
- if necessary, a wooden block;
- dense cloth;
- drill, hacksaw, files, workbench with a vise, rivet;
- adhesive sealant, paint.

Getting to the bracket
We customize the steel plate, cut the belt from the bag and the plastic pipe so that it covers the fire extinguisher, but does not interfere with getting it out.
We are trying on. Belts are not just overlapped, but form a loop on standard buckles, for durability.
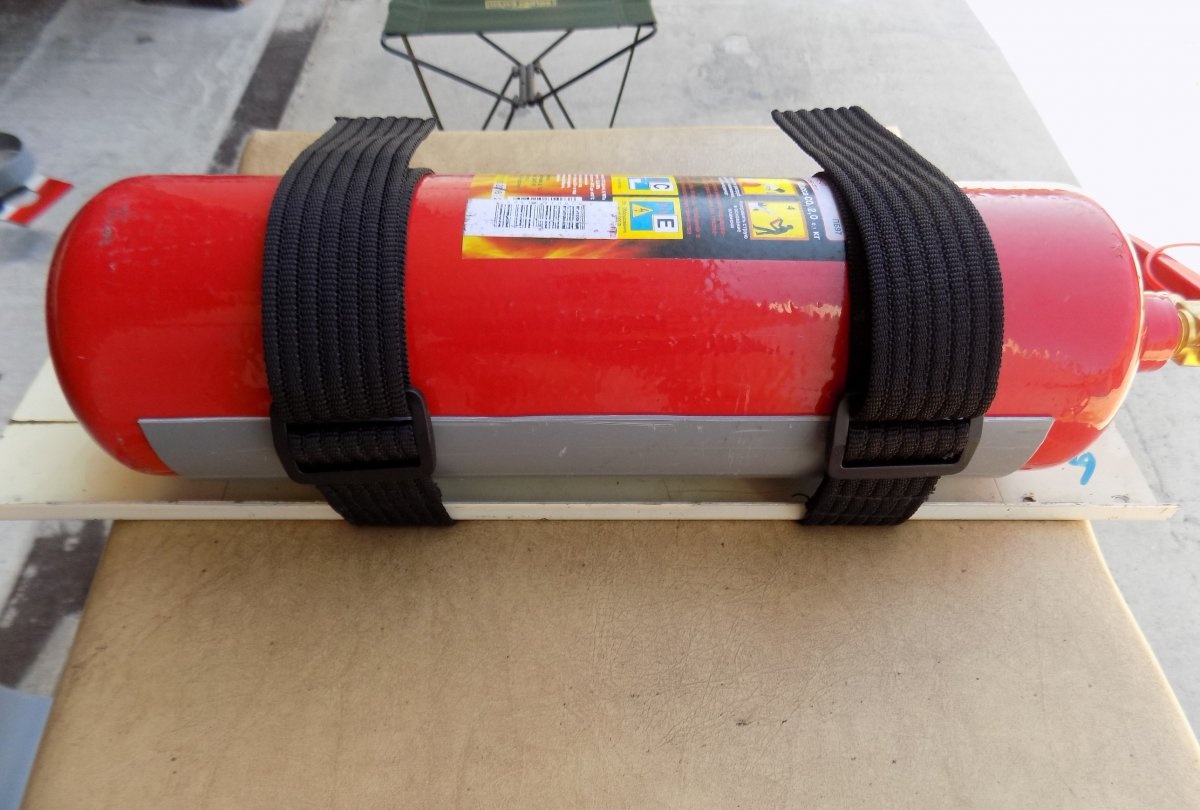
Mounting with the so-called "Tape-contact", in common parlance - Velcro. After marking, it is sewn to the straps.
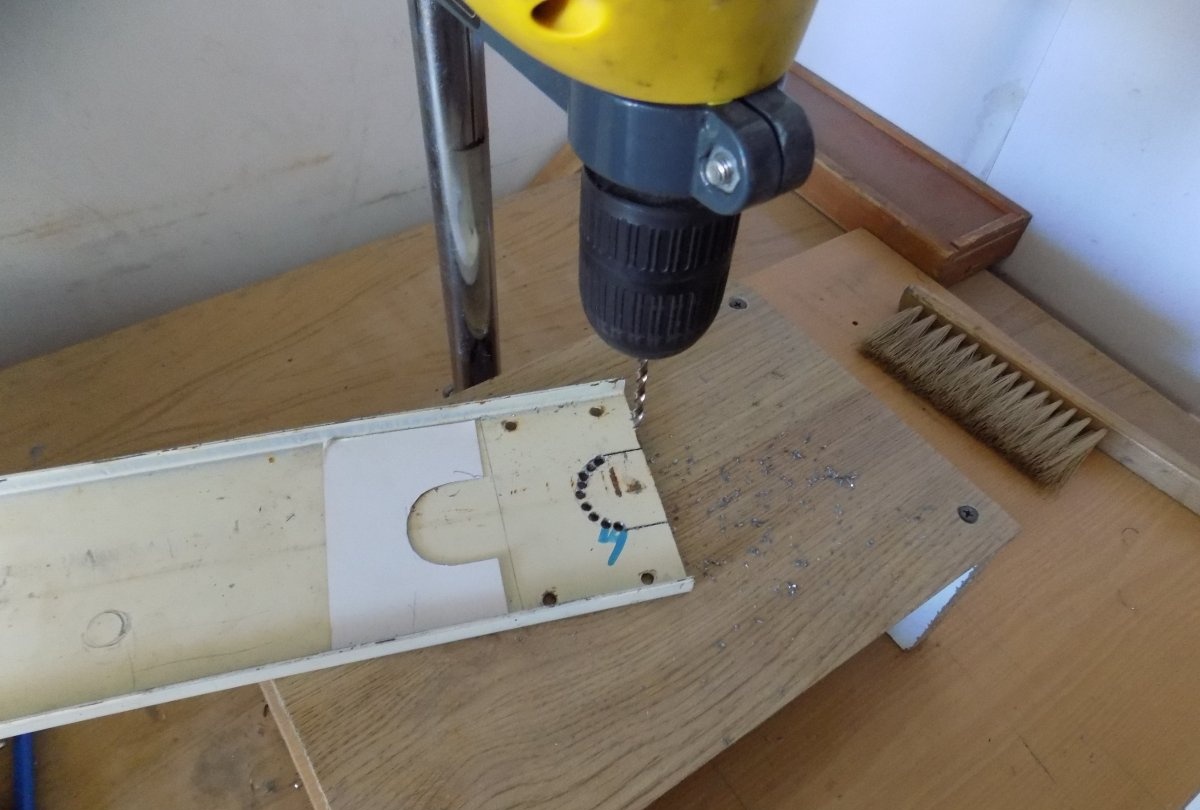
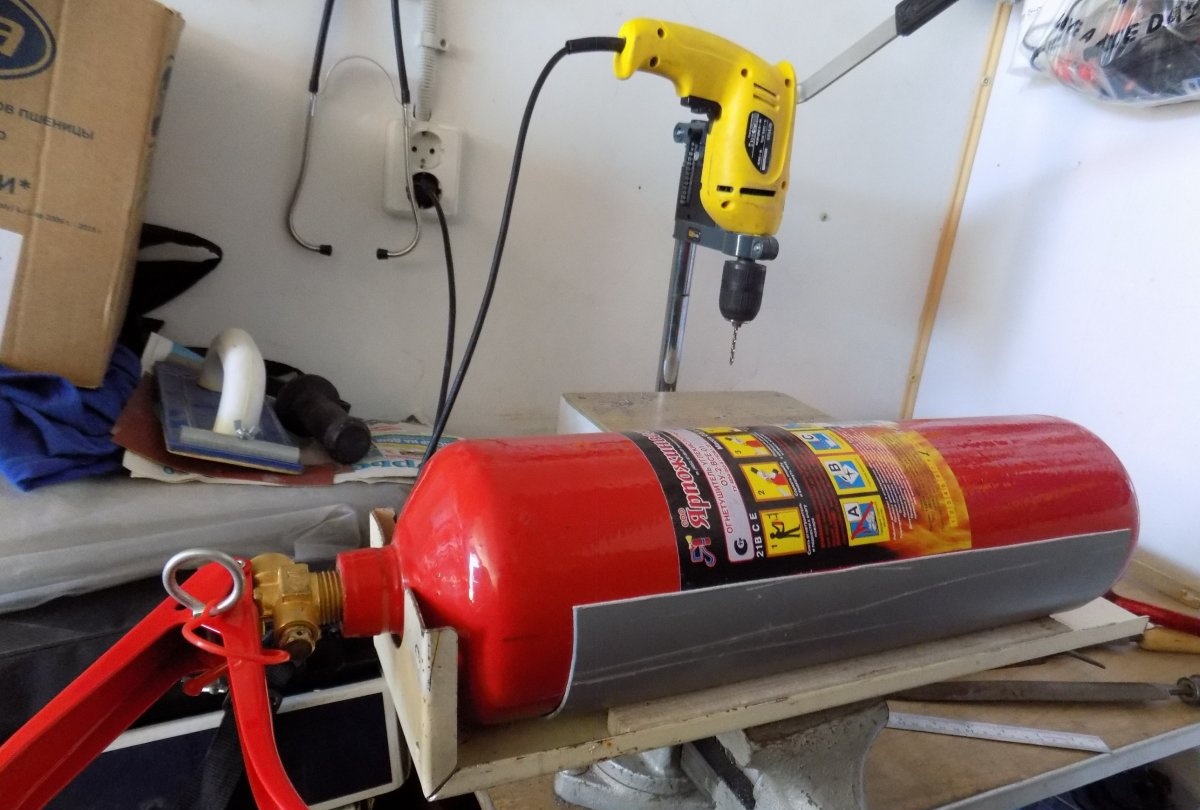
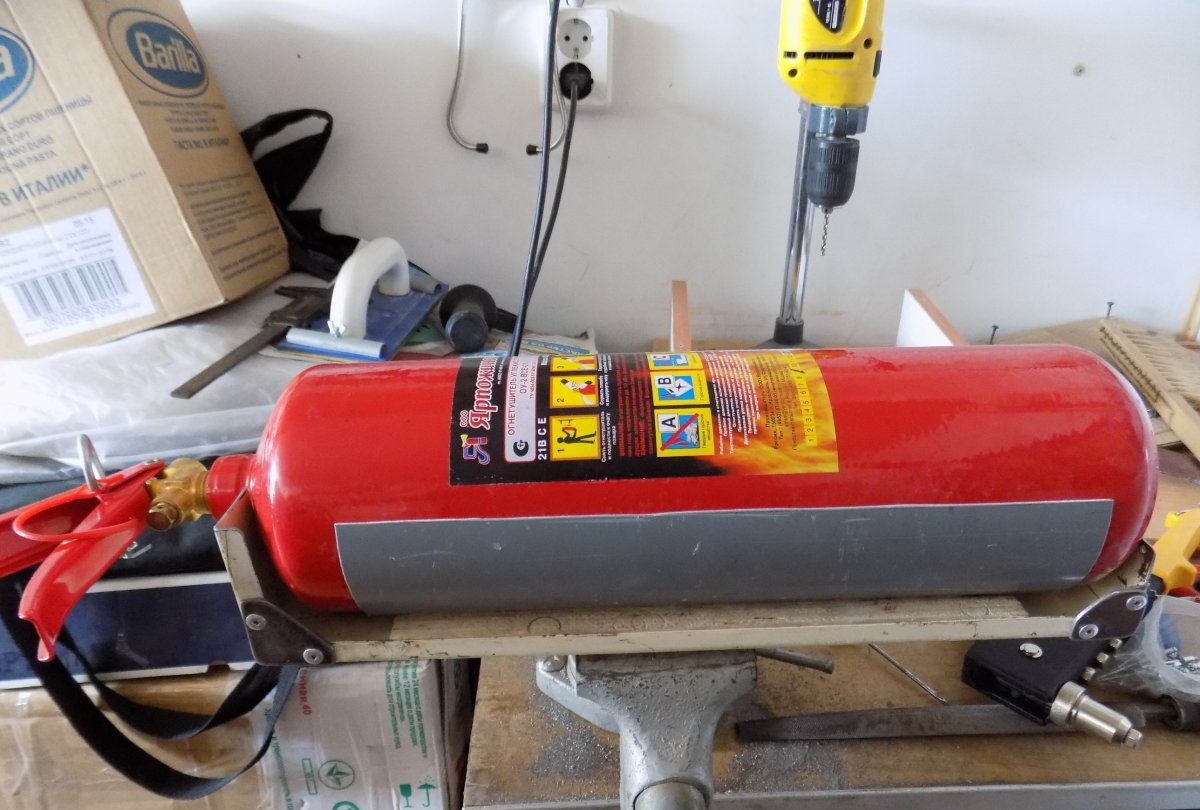
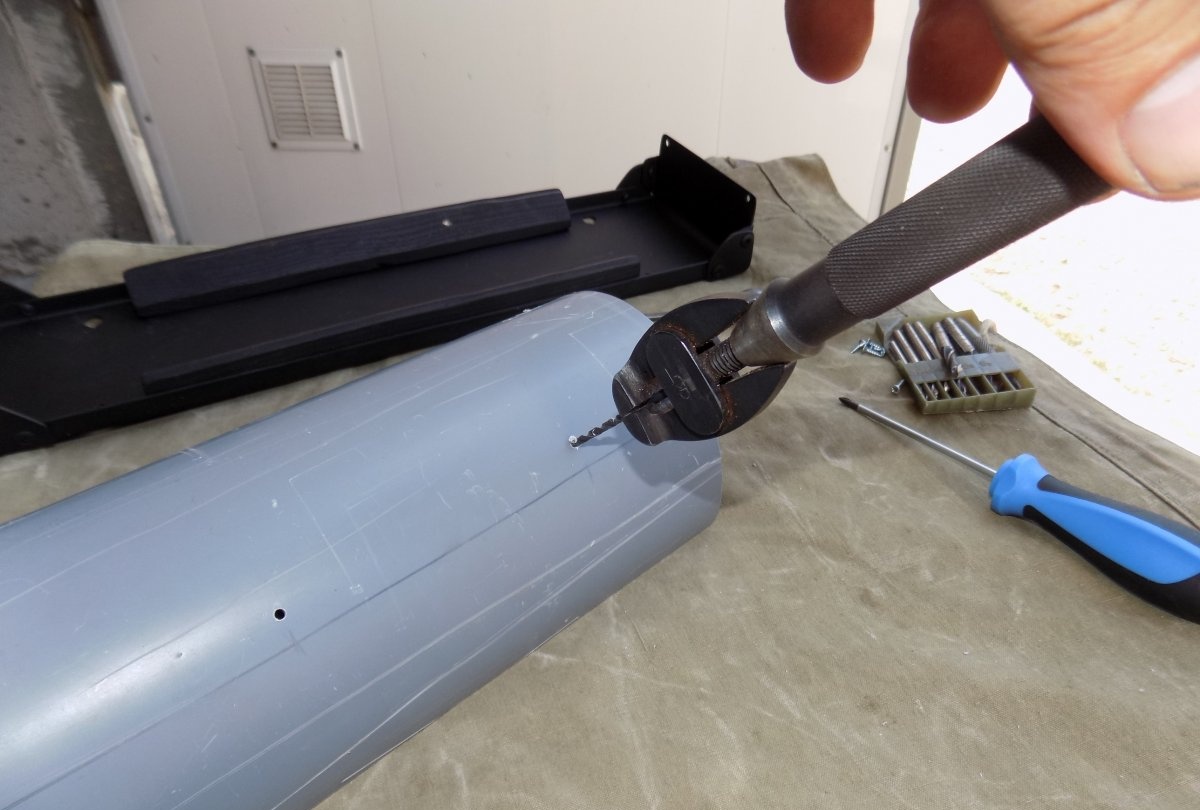
We drill a hole under the neck of the fire extinguisher, and align it with a file.

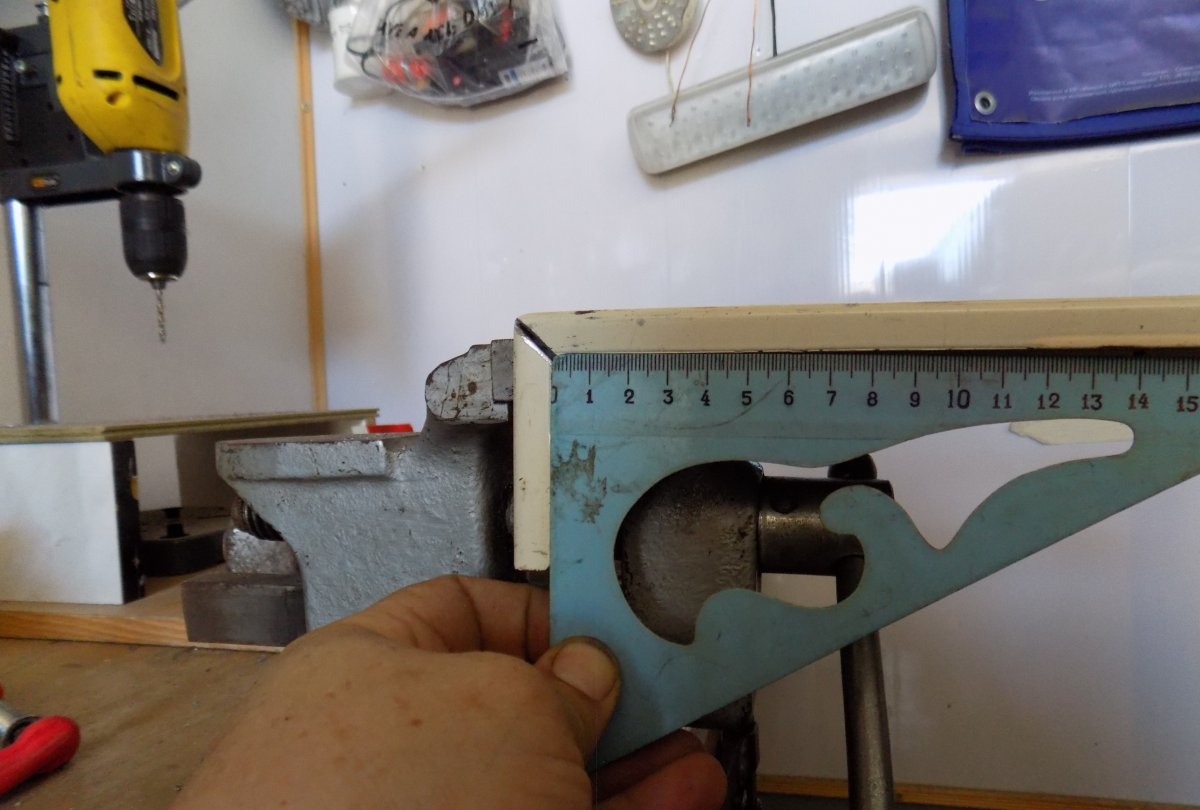
The edges of the steel plate must be bent at an angle of 90 ° to prevent the longitudinal movement of the fire extinguisher.
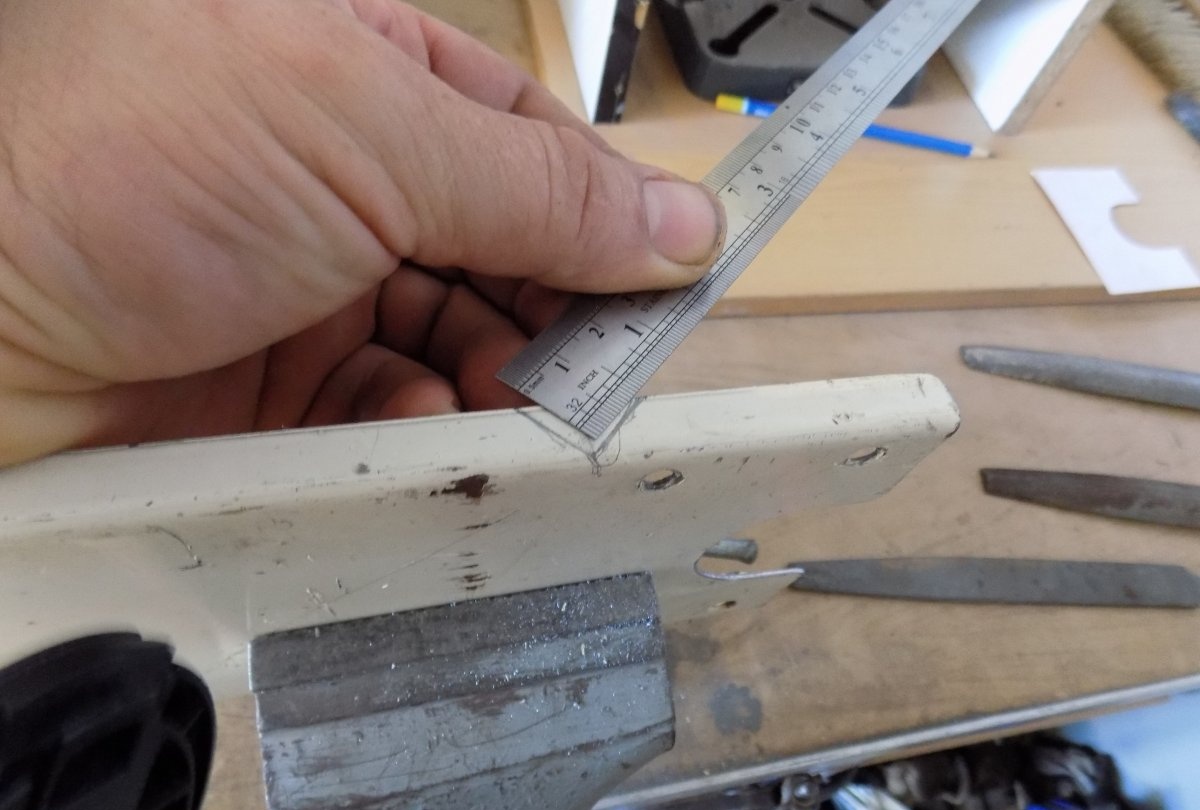

We bend evenly with the help of a vise.
After trying on, mark the emphasis for the bottom.
Similarly, we cut a corner, and bend the second end of the bracket.

We make the final fitting and fitting of structural parts.
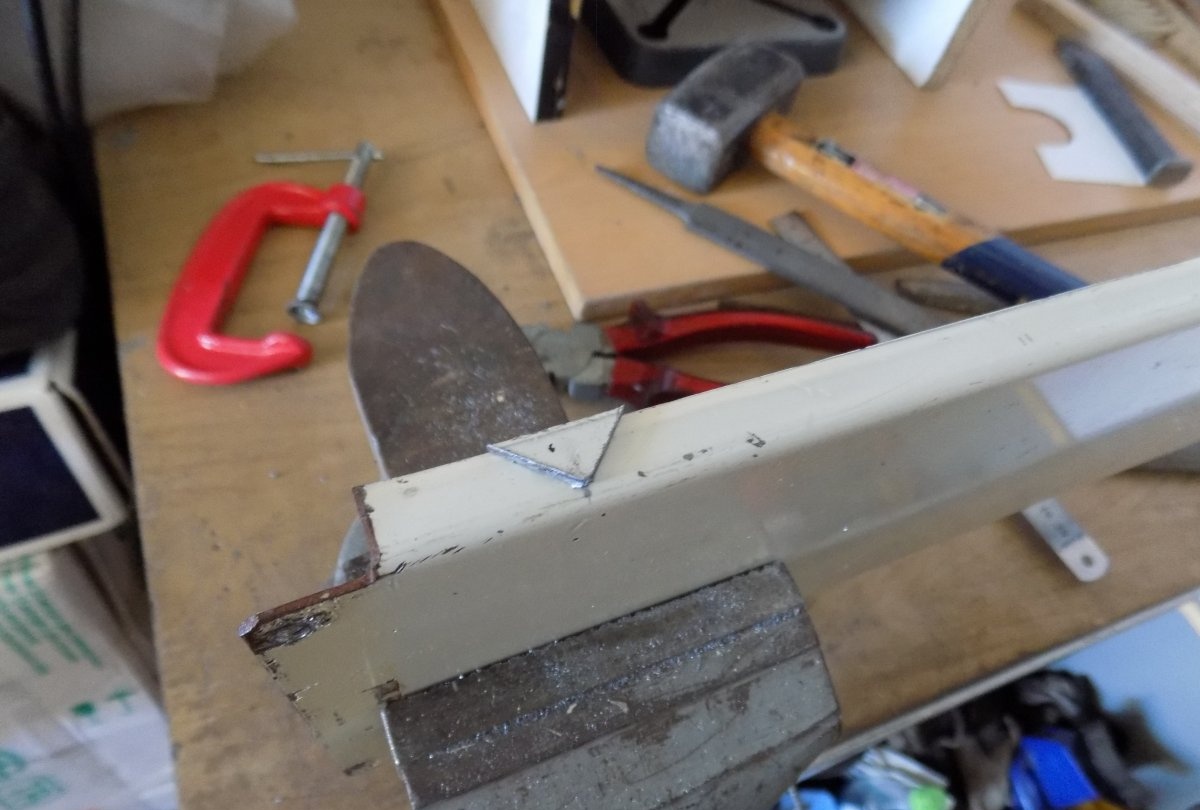
For stiffness, the end stops must be secured, otherwise they can be bent even with sudden braking, not to mention an accident. To do this, we cut out scarves from a suitable metal.
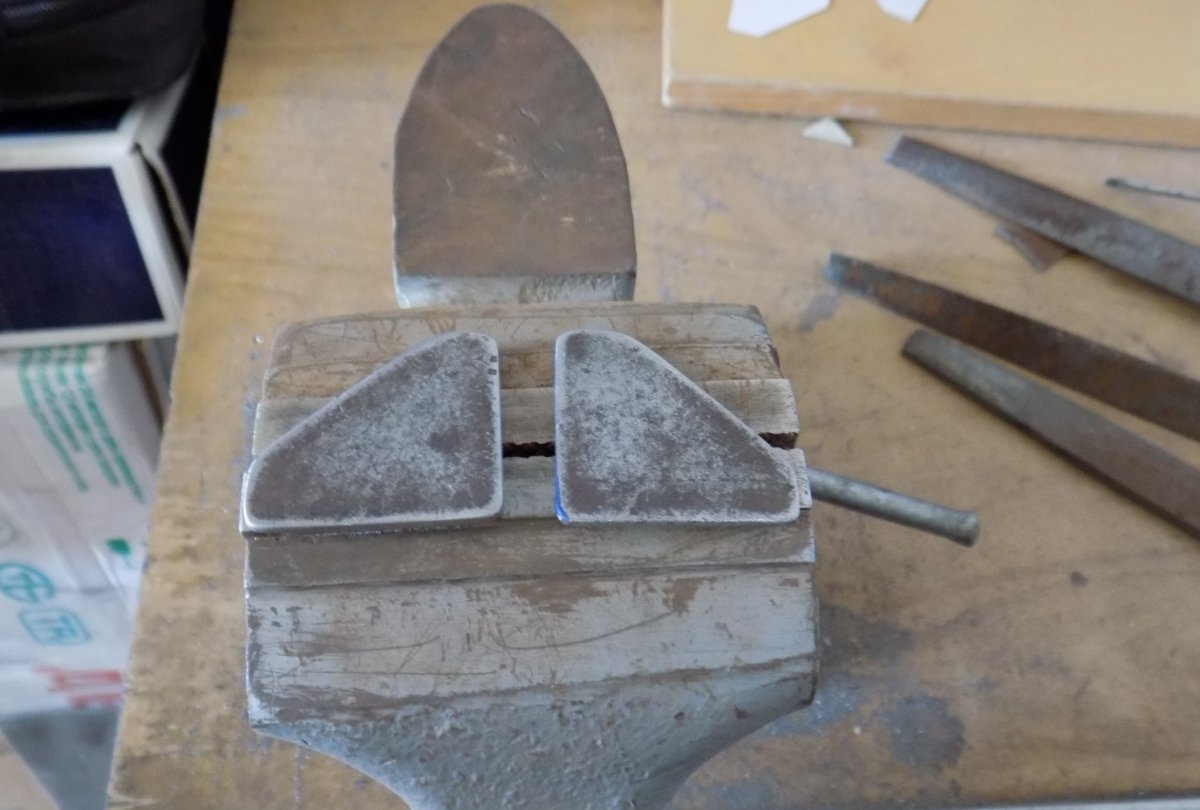
They are fastened with rivets and rivet. If you have a welding inverter, the task is simplified. This design is assembled by simple tools.

The result was a rather rigid structure that can withstand much more weight than a fire extinguisher.
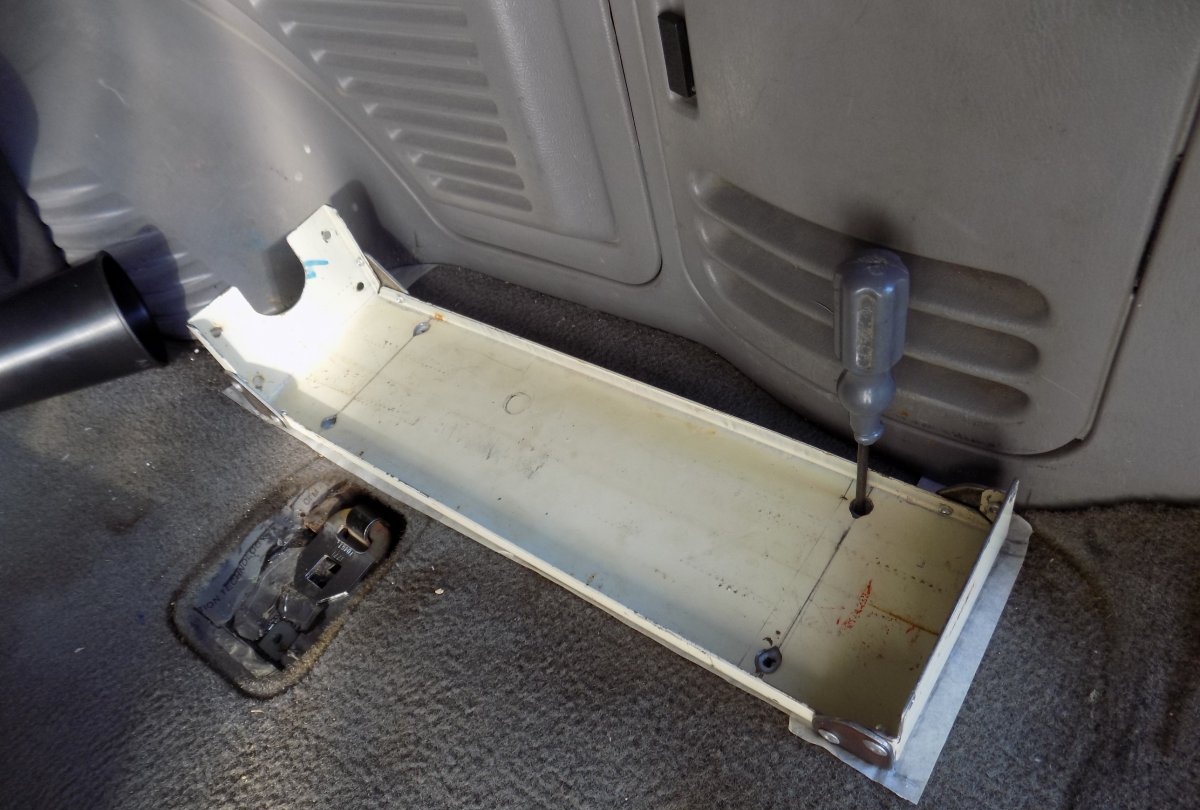
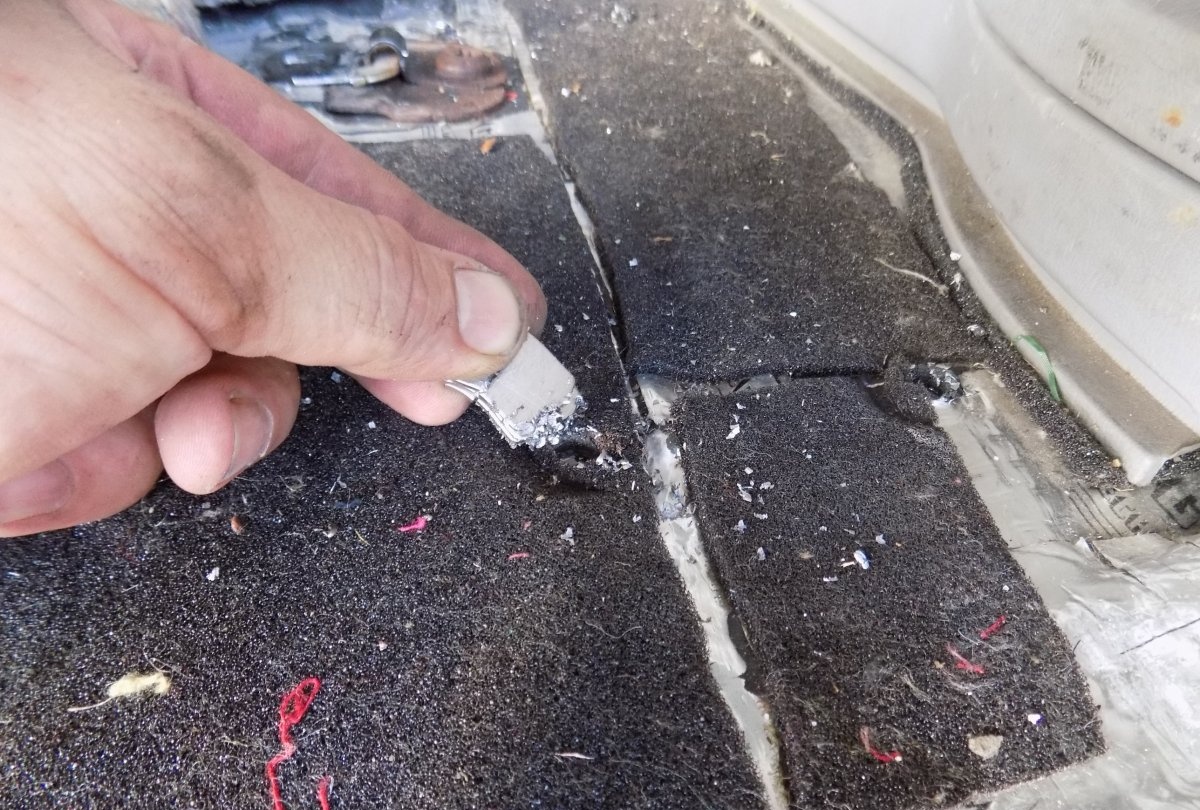
We try on the assembled bracket at the installation site. In this case, this is the luggage compartment of an SUV (station wagon) near the “fifth” door. In order not to spoil the floor carpet during marking, we glue the masking tape.
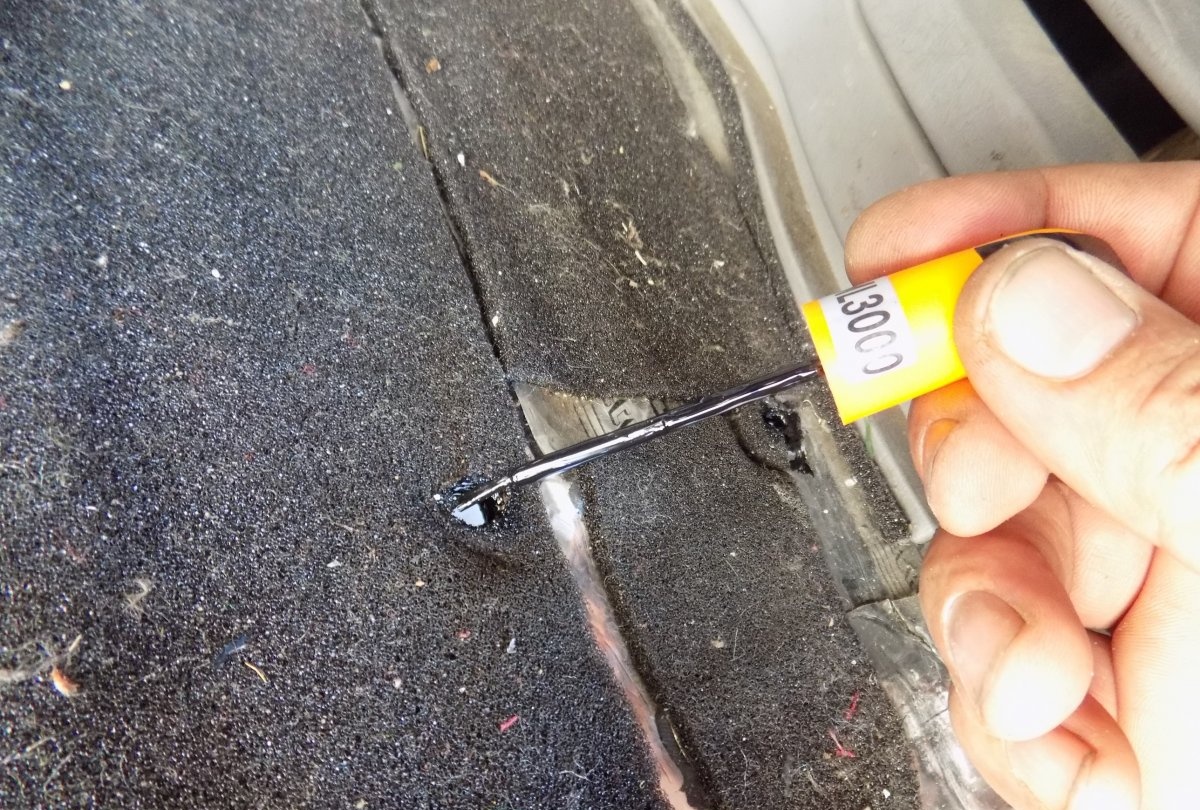
We mark the holes with an awl, carefully cut the holes and remove the noise insulation by the diameter of the holes.
We drill holes in the underbody. Important! Pre-determine the exit points of the drill from the bottom of the car, so as not to damage the tubes, hoses, wires under the bottom.
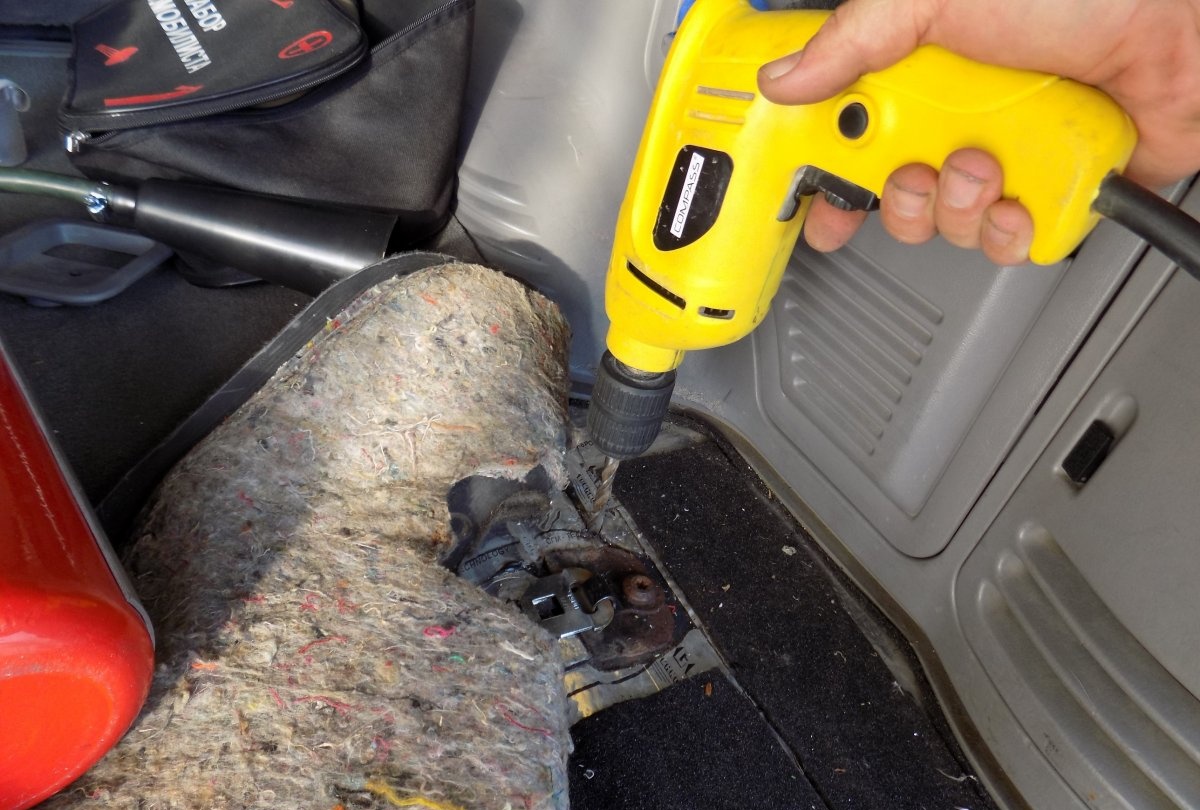
Tip: Drilling chips are conveniently assembled with a small neodymium magnet.
Do not be afraid of the “extra” holes in the bottom. In any car there are a lot of them: seat mounting, floor console, trim. The main thing is to necessarily process the edges to prevent corrosion. Used special paint anticorrosive.
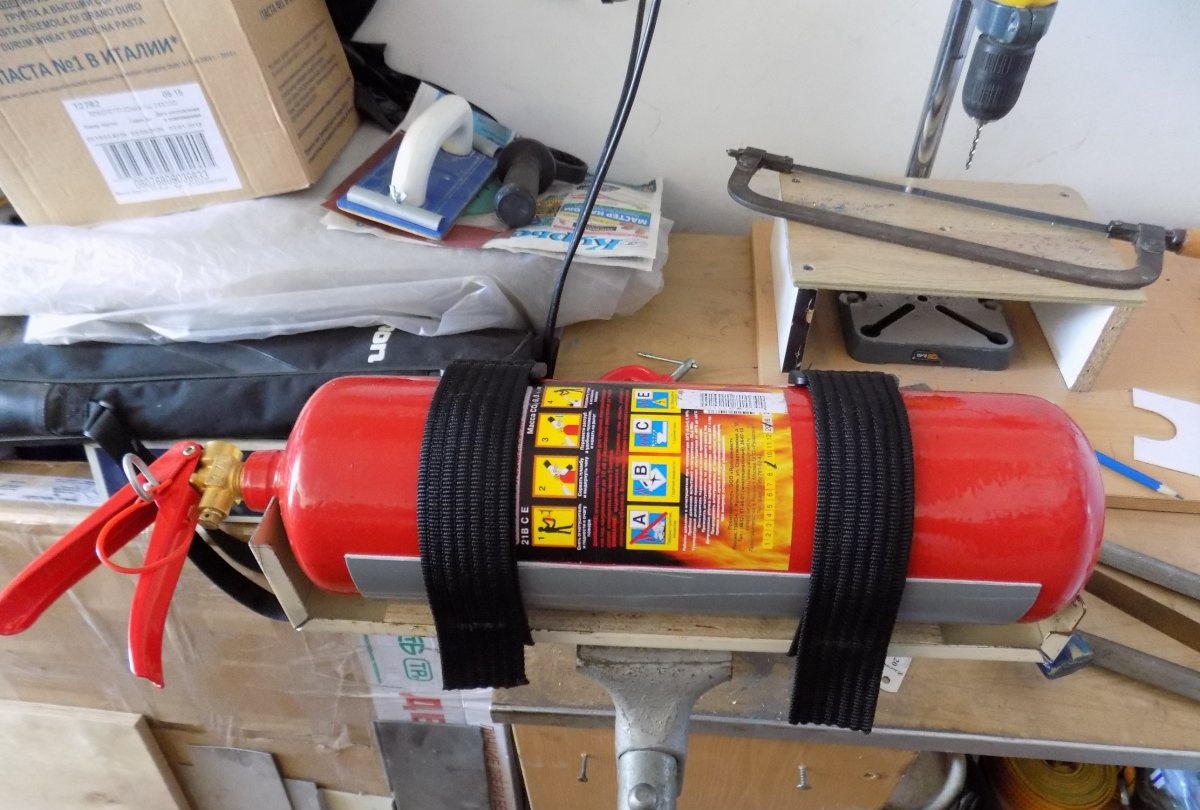
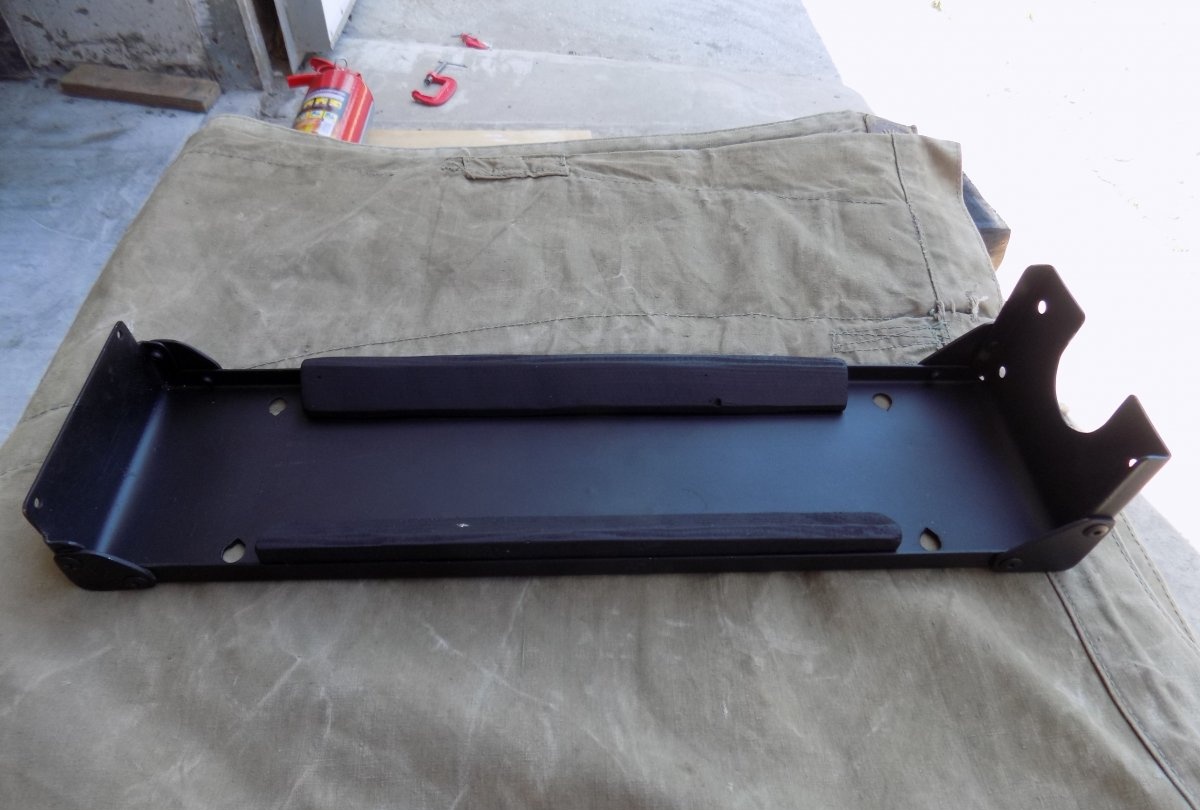
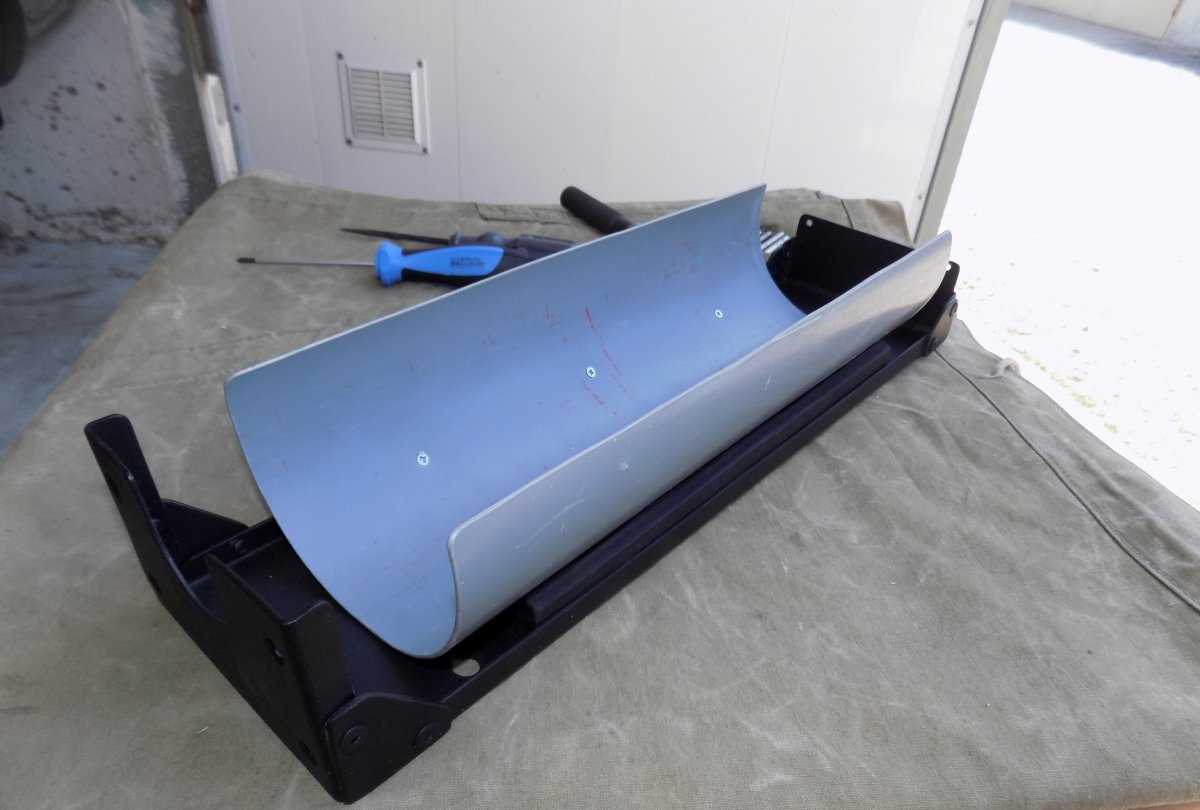
We install wooden oblique guides on the bracket to tightly fix the fire extinguisher along the axis. You can use plastic, it all depends on the materials you have.
After final painting, the product looks no worse than the factory one.
Carefully drill holes and fix the former drainpipe on the slanting rails.
We determine the fastening places of the fixing belts: approximately in length from the edges of the fire extinguisher.
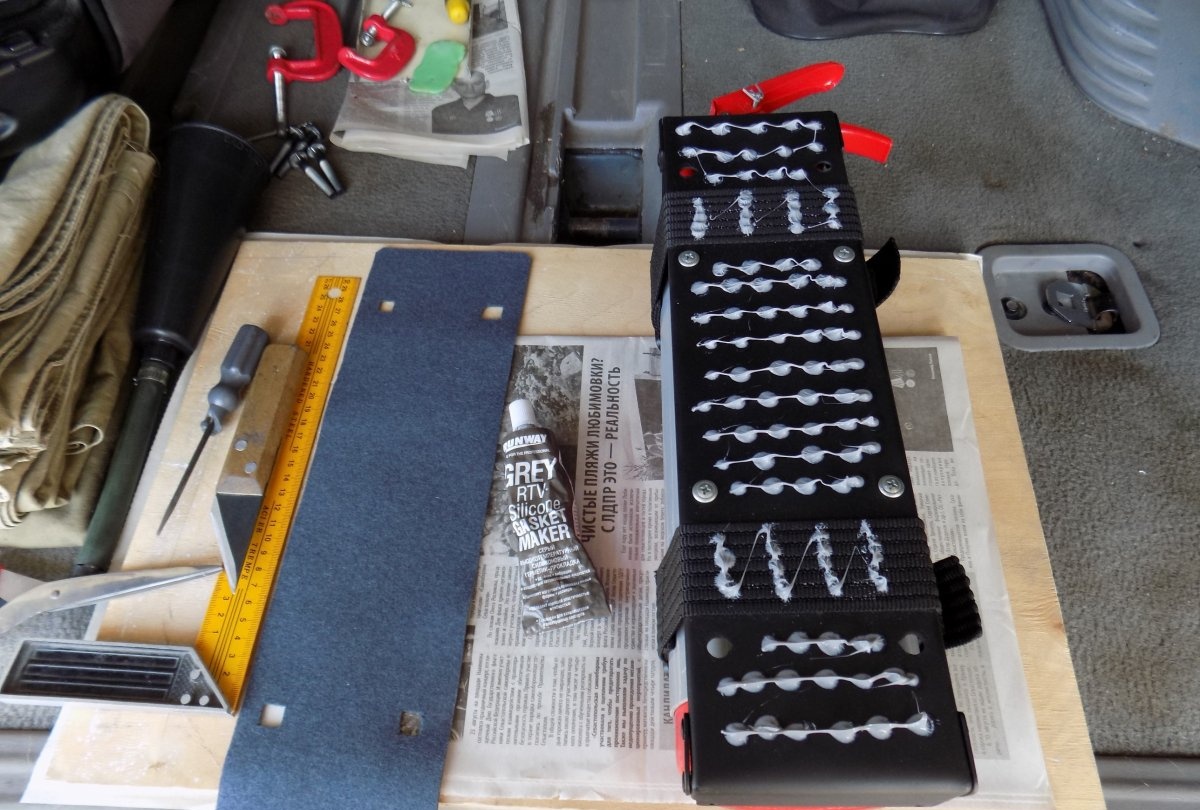
Using sealant, glue the straps from below to the plate.

You can not worry about strength, these places will be pressed by bolts to the floor of the car.
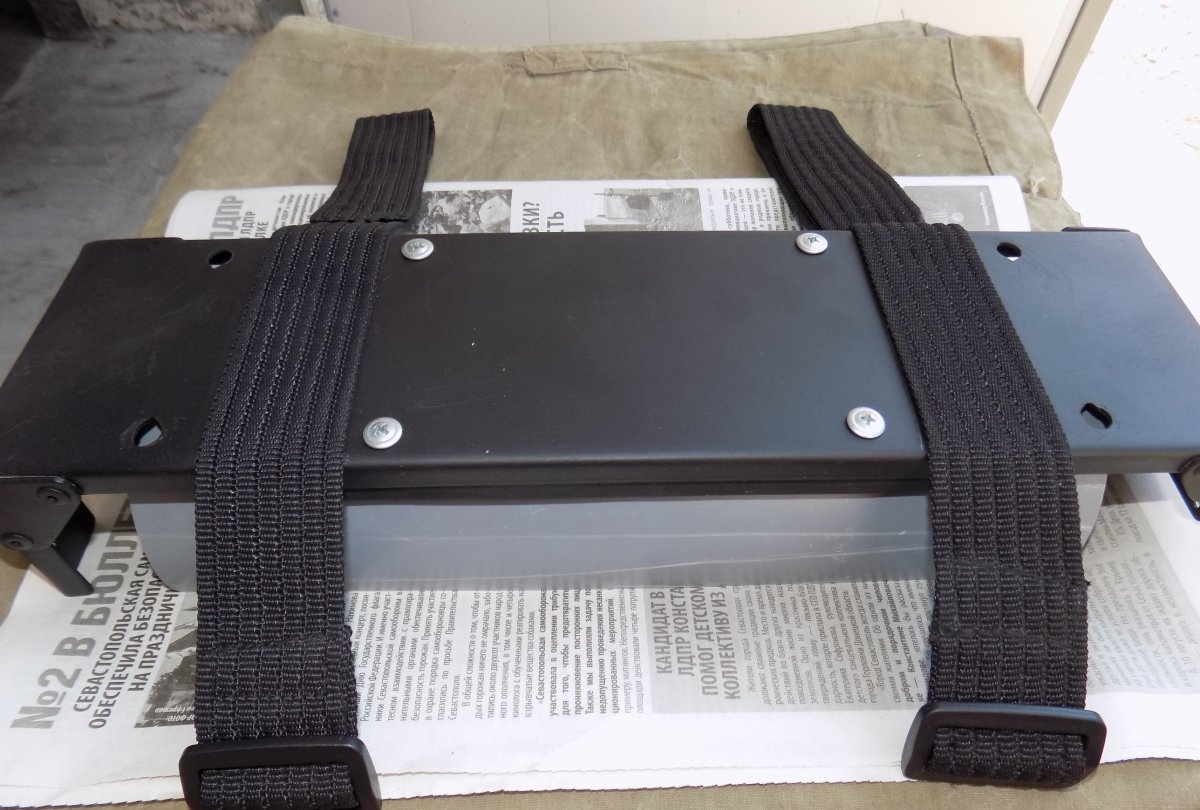
To preserve the pile upholstery of the bottom, glue the cloth (flannel) gasket.
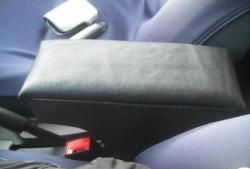
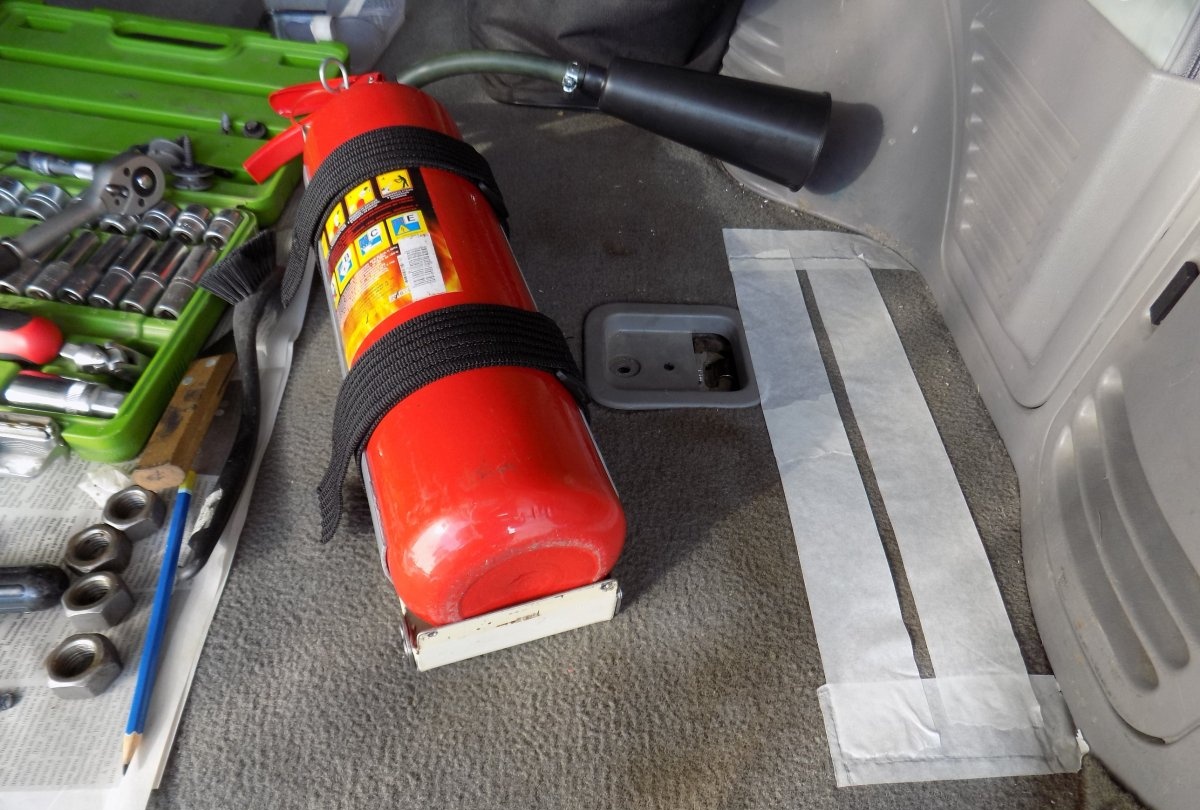
After the glue dries, we fasten the structure to the floor of the car.
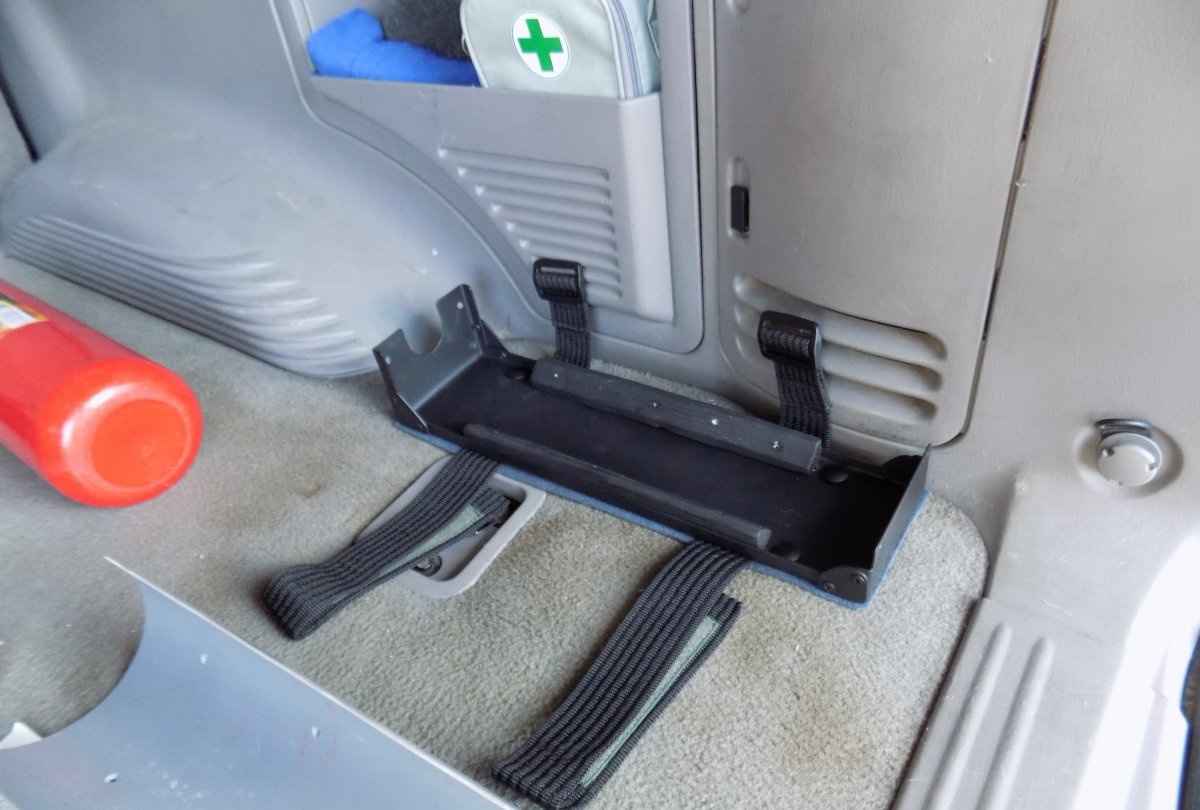
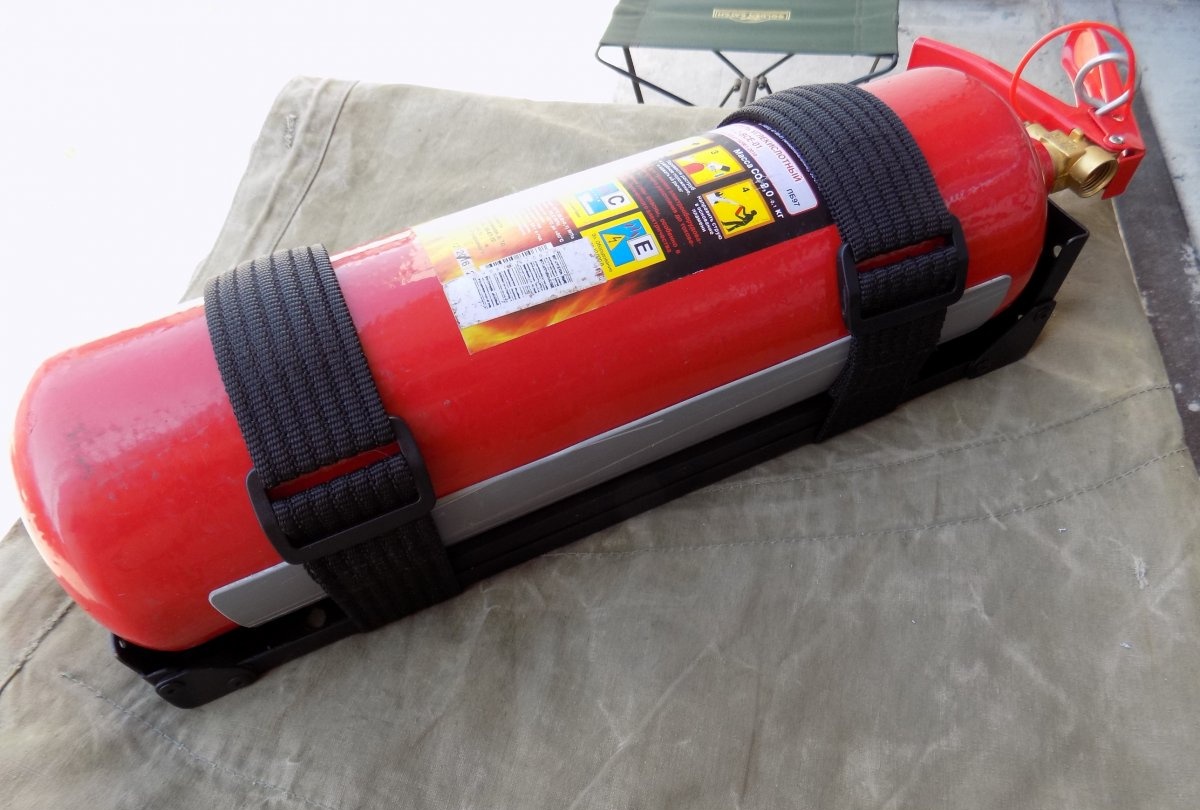
It turned out very reliable and quite aesthetically pleasing. This arrangement does not interfere with baggage, and provides quick access to a fire extinguisher. The Velcro closes with one movement of the hand, at the same time, firmly holds a heavy balloon in case of any shocks.

For information
Many fire extinguishers of this type have a rigidly fixed bell. It interferes with optimal placement. An adapter in the form of a rubber hose costs less than 50 p., And its use optimizes the space.
Such an arm can also be arranged vertically. The main thing is to use for fastening not the interior trim, but the power elements of the body.