Having a very energetic dog that runs without a break after the ball, we decided to use this by making such a device to save some of the energy while jogging. We will make a keychain for the neck with an LED. In the morning, while walking, it will charge, and in the evening it will glow and become a useful gadget, since we have a black dog and on dark evenings it is completely invisible.
We will need
- - Light-emitting diode any (we used a 3-color one with a chip inside, it smoothly shimmers in different colors);
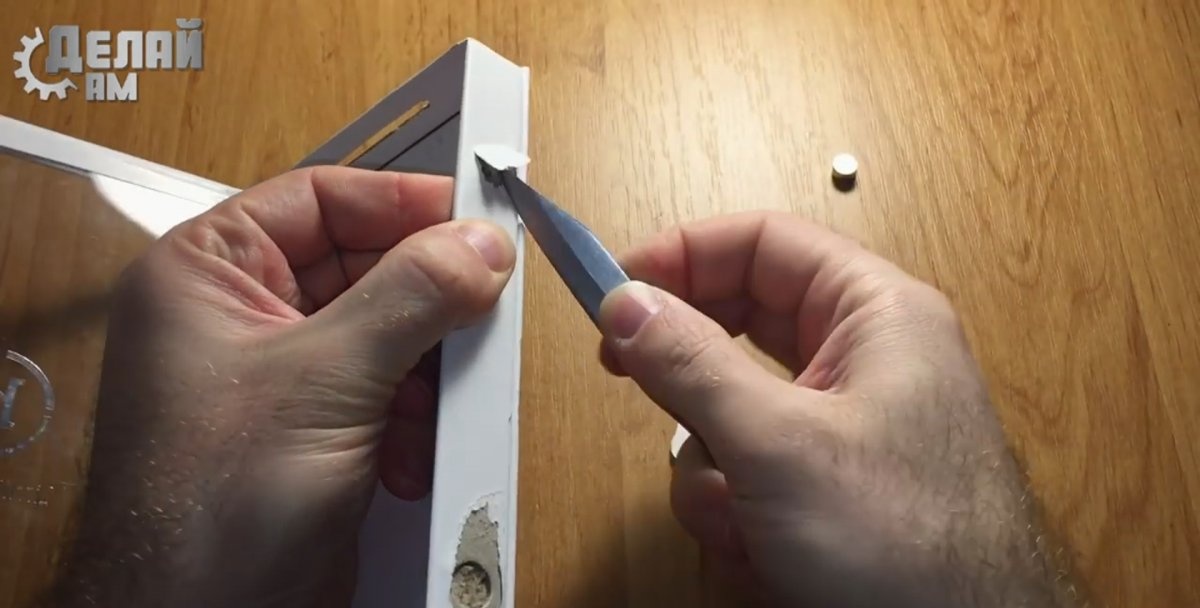
- - Housing for the keychain (we used a Kinder box);
- - Any old mechanism from an old watch;
- - Some neodymium magnets;
- - Ring from a bunch of keys;
- - Diode bridge;
- - Switch, etc.
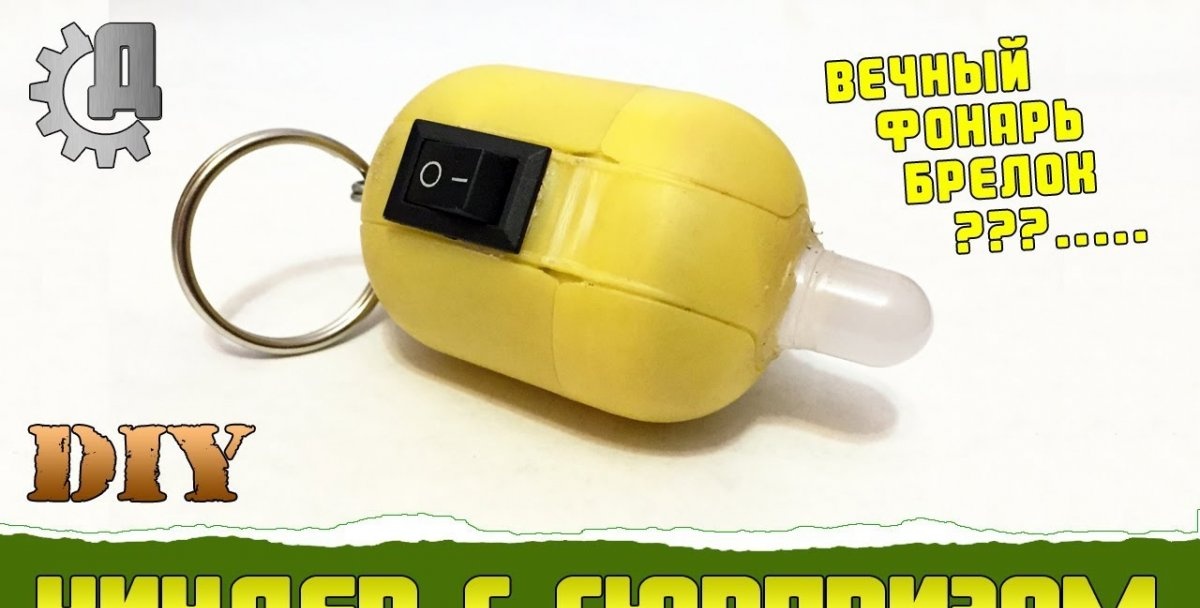
Making an eternal lantern in a kinder
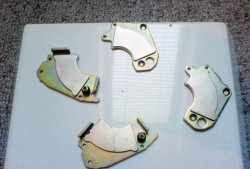
We take out neodymium magnets from boxes with magnetic clasps, you can also get them from old headphones, speakers and non-working phones.
We collected a small stack of 8 small magnets, you can also use one magnet approximately as in the picture.
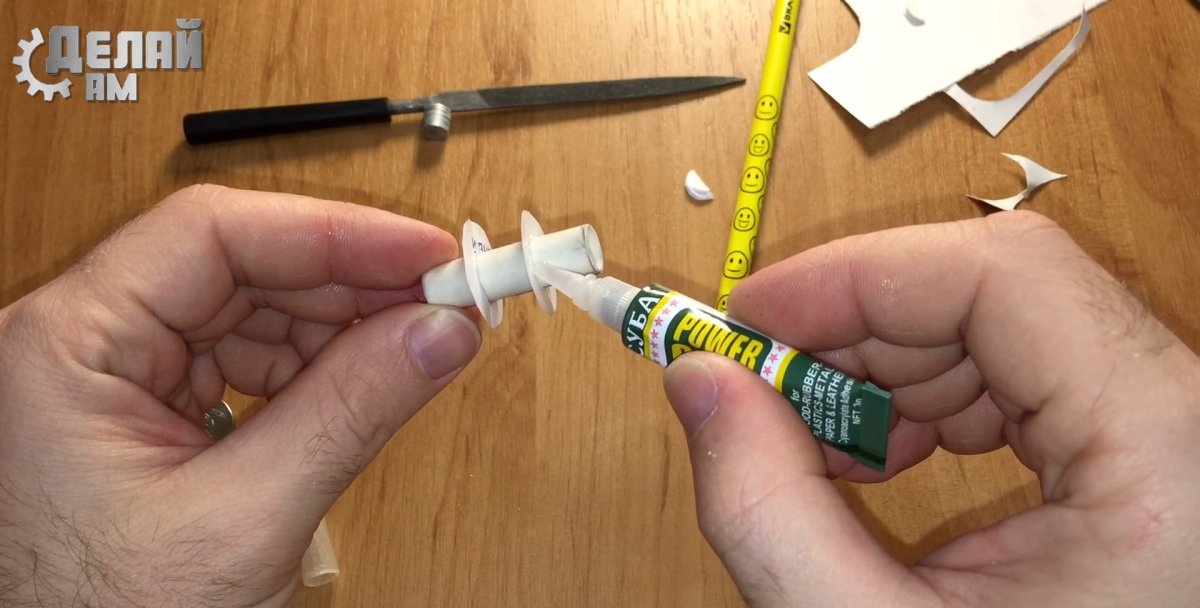
We make a small cylindrical base out of paper, where the magnets will pass freely, and we also install two paper washers on the cylinder for easy winding of the coil.For strength, soak the paper structure well with superglue and let it dry.
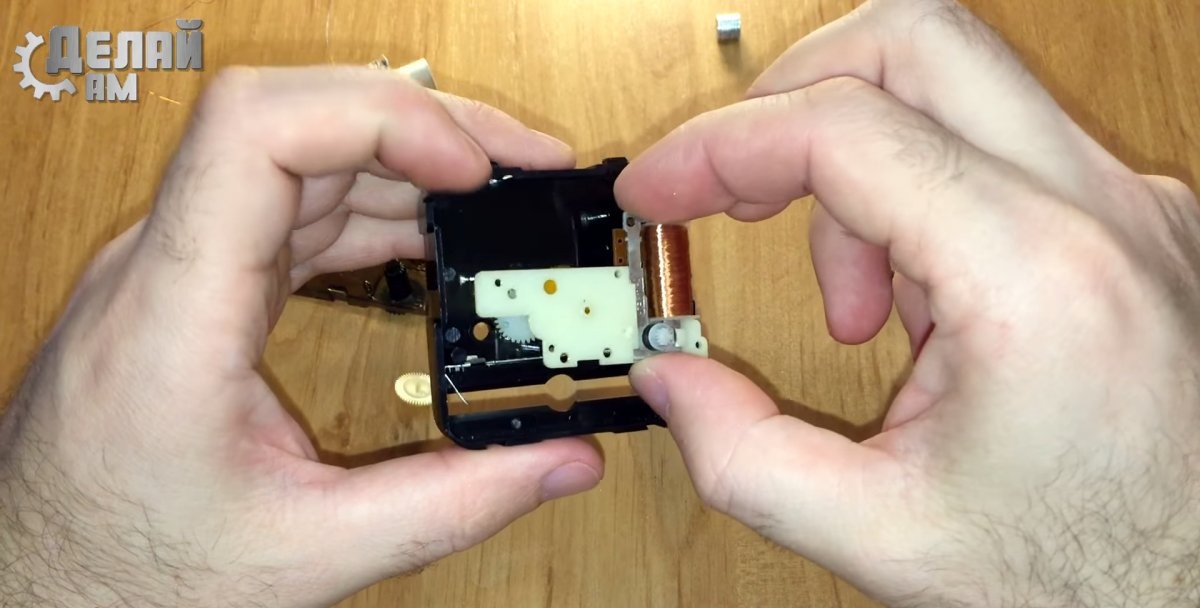
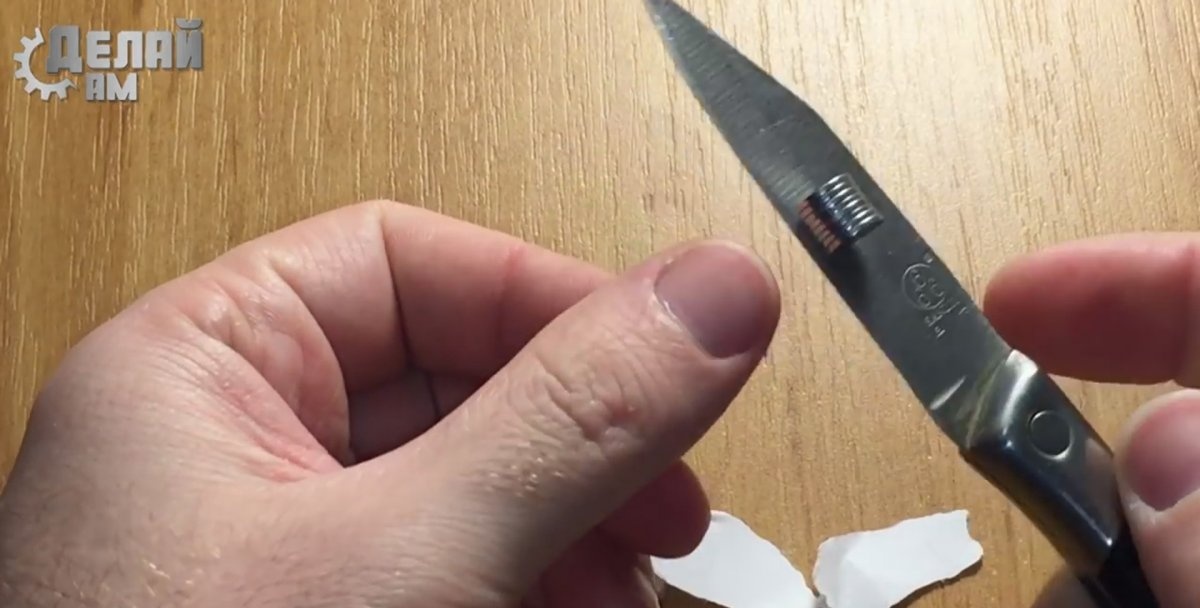
We will take the wire for winding the coil from an old cheap Chinese watch.
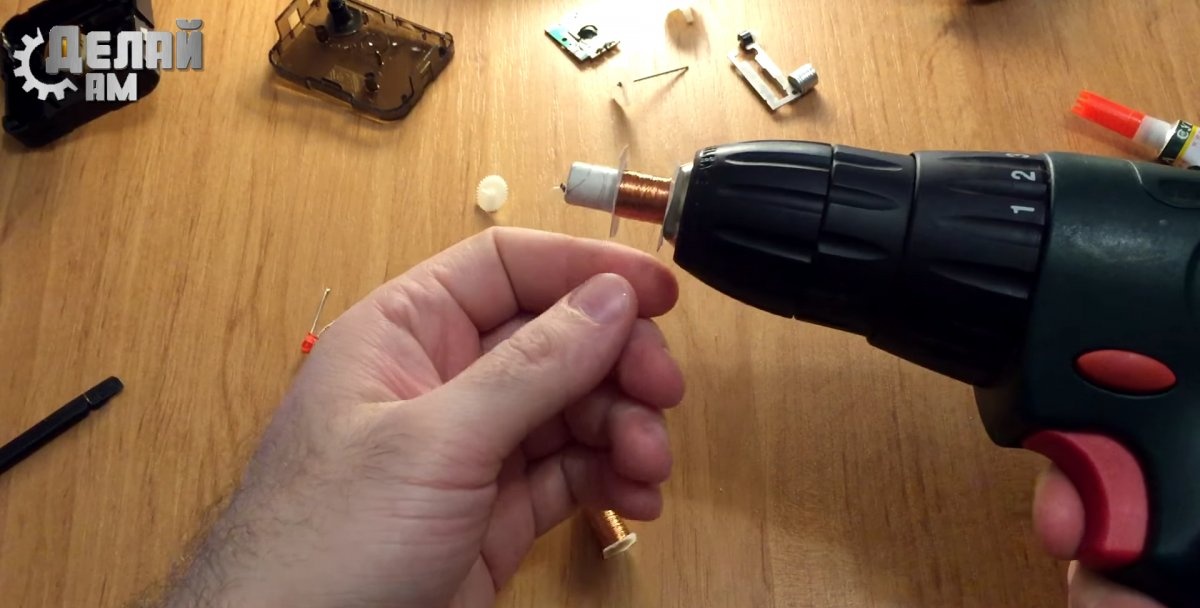
We need to wind from 500 to 1000 turns. For convenience, we will use a drill-driver, with its help we got it done in a few minutes.
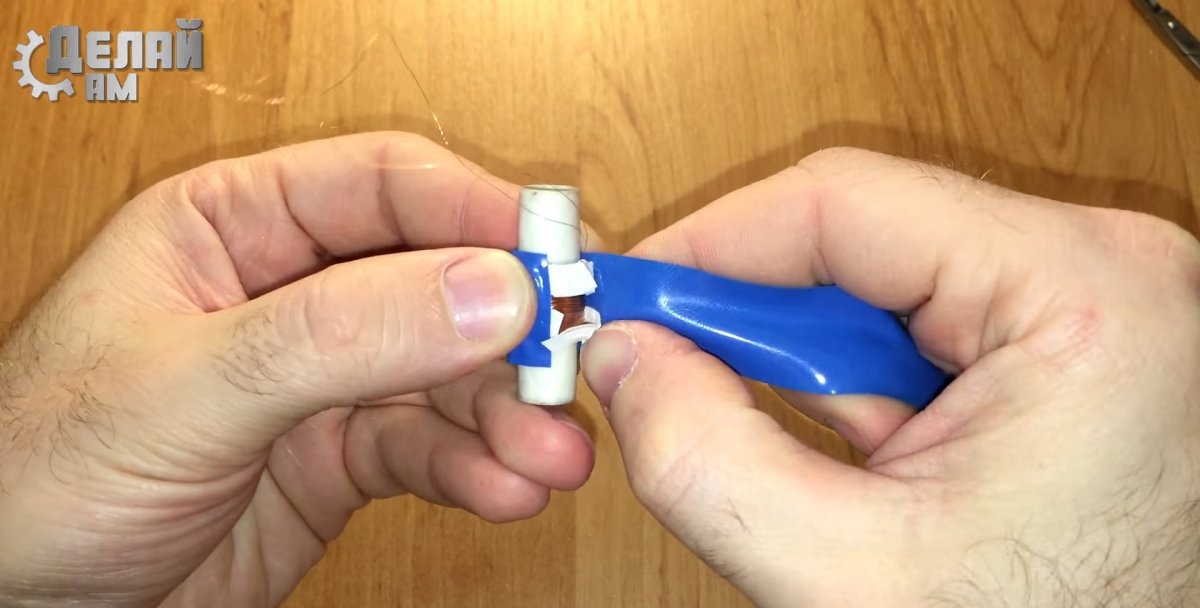
After winding, to protect the coil, carefully insulate it with electrical tape.
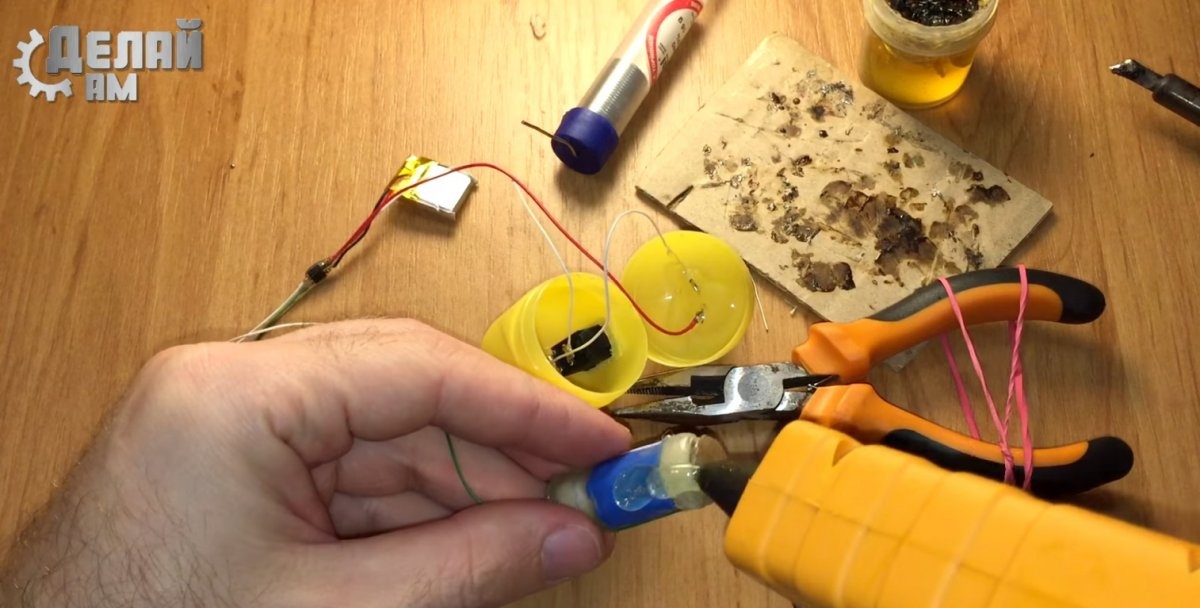
We solder two small copper wires to the coil terminals, this will be the place where the coil is connected to the circuit.
We fix the copper wires along the base with electrical tape, and also solder the wires to them. We use hot glue to insulate the soldering area and at the same time fix it to the body.
We throw the magnets inside the coil and seal it on both sides with paper plugs.
We will make a place for attaching the keychain from a paper clip, twist a loop and attach it to the kinder. Inside, we move the antennae of the loop to the sides so that it does not jump out and fix it with hot glue.
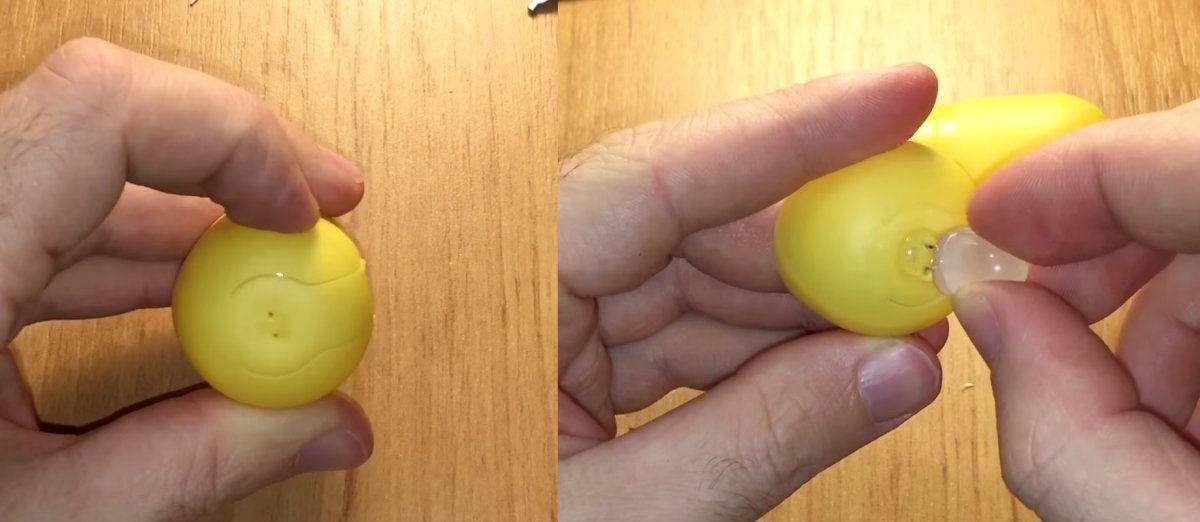
On the other side of the kinder we pierce two small holes for the legs with an awl LED, apply hot glue and glue it Light-emitting diode to the kinder, installing it in its place.
Scheme
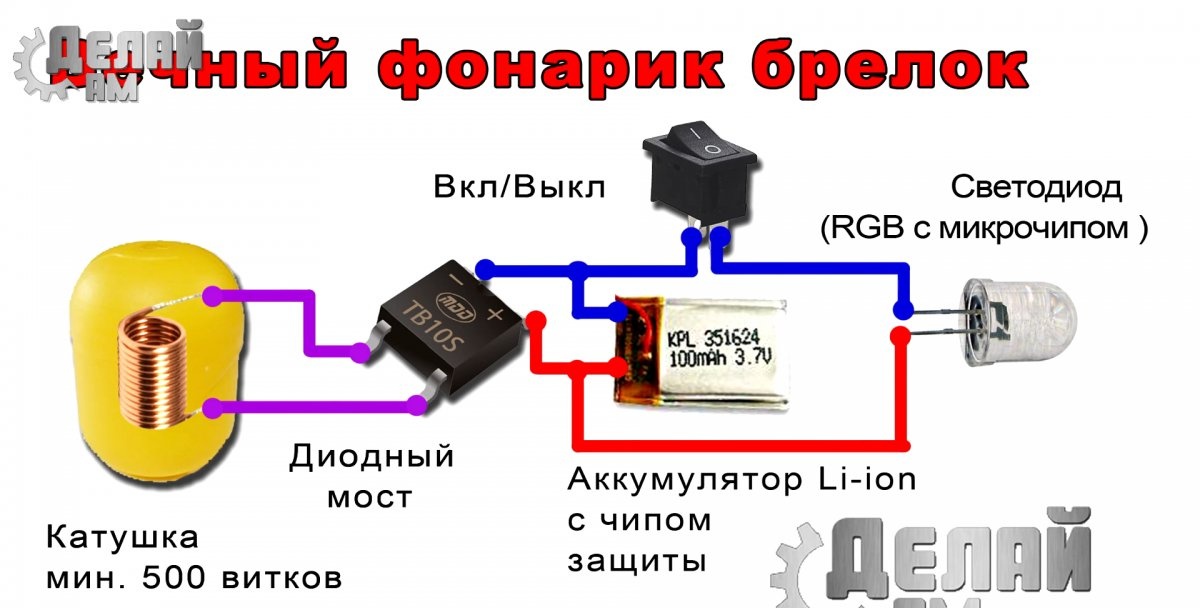
The electrical circuit is simple, the essence of its operation is that when the dog runs, the keychain on the neck will shake, which will lead to shaking of the magnets in the coil. The magnets will bounce along the winding, which will give bursts of small portions of alternating electricity. Next, the bursts will be equalized by the diode bridge and recharge the Li-PO battery. When evening comes we will turn on the switch and the accumulated electricity will power Light-emitting diode.
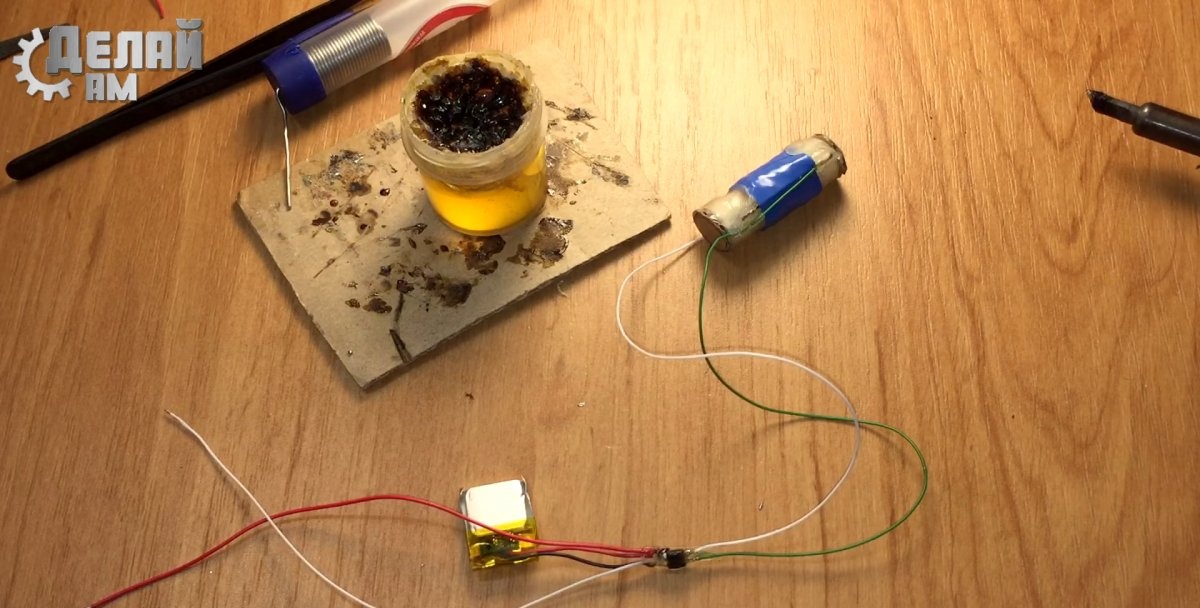
Solder the diode bridge to the coil and battery.
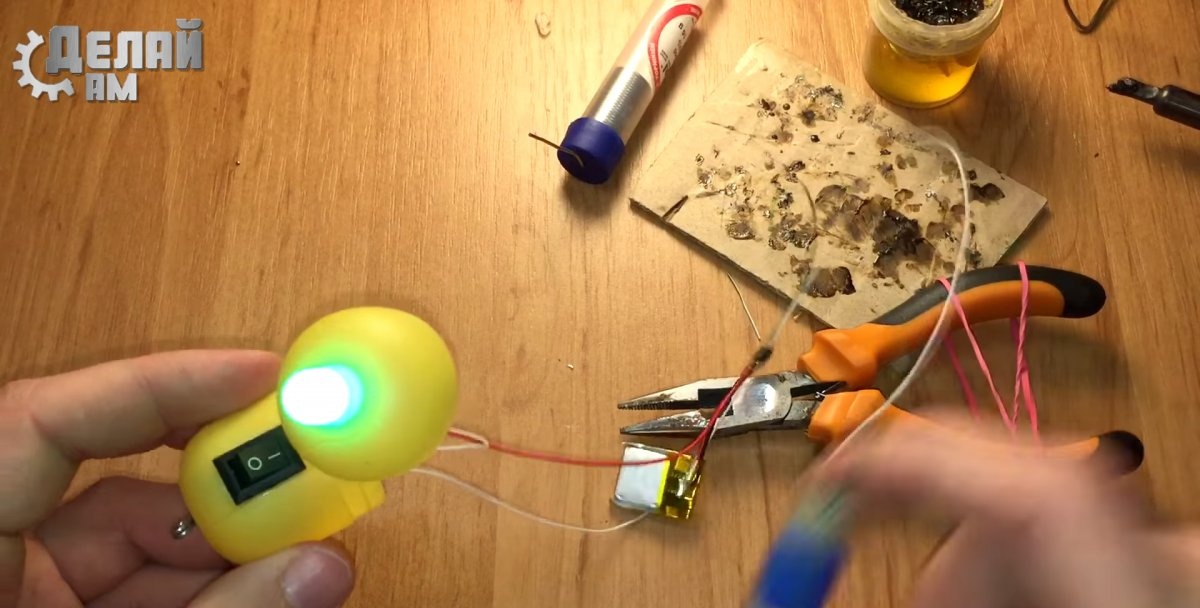
We install the switch in its place and connect everything together. We check that everything is lit.
We glue the coil securely inside the body so that it does not dangle inside the kinder.

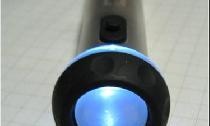
The keychain shines brightly and the dog can be seen from afar, we also have a three-color one Light-emitting diode with a microchip inside. The keychain changes its color smoothly and looks very beautiful.
Conclusion
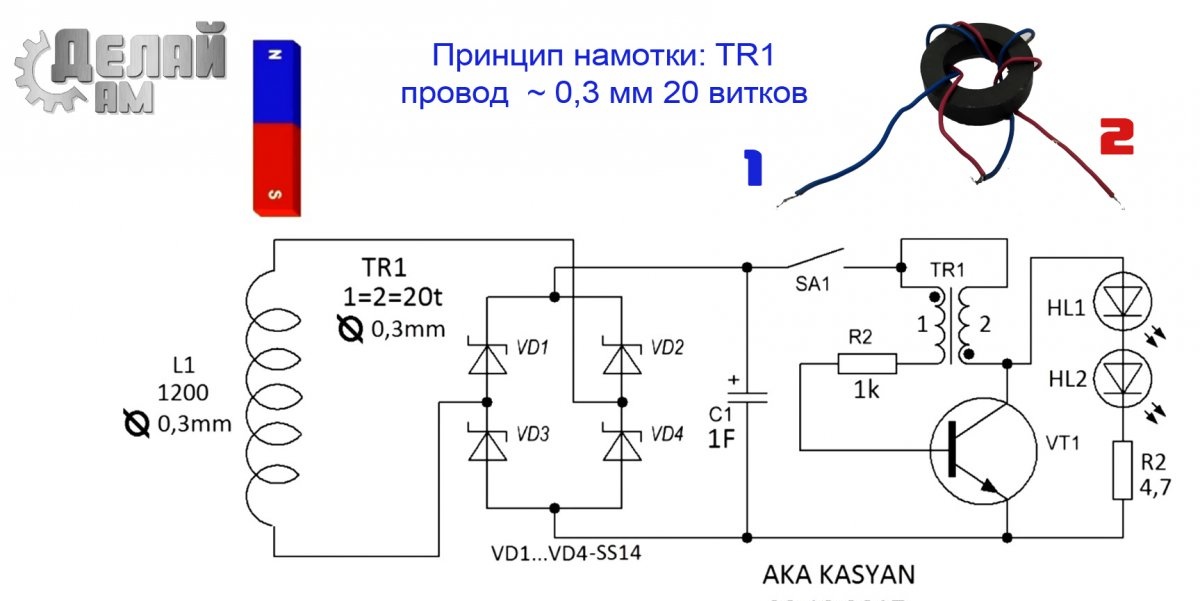
While using the key fob, we noticed a problem; unfortunately, the generated energy from the coil is not enough to charge the lithium-ion battery, and some of the electricity is dissipated on the rectifier bridge, and to fix everything, we need to redo the circuit. Instead of conventional diodes on the rectifier, you need to use Schottky diodes, for example, ss14, and instead of a battery, use ionistor, this will make it possible to accumulate even small charges from the coil. You will also have to make a self-oscillating step-up voltage converter to power the LED from ionistor. We will use transistor 2N5551, KT315, S9014 or any similar low-power transistors. Transformer TR1 consists of two windings, 1-drive and 2-power with a midpoint. The circuit operates thanks to bursts of self-induction of the inductor; the self-induction voltage can be tens of times higher than the supply voltage. We wind the transformer on a ferrite ring, which can be found in old economy lamps (the size of the ring is not critical). Both windings have 20 turns of 0.3 mm wire, the end of the first winding is connected to the beginning of the second - this is our midpoint. See the picture below for the diagram and principle of winding. I found a working diagram from video blogger AKA KASYAN