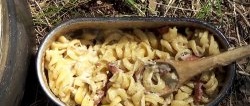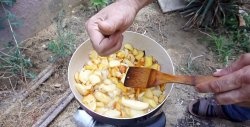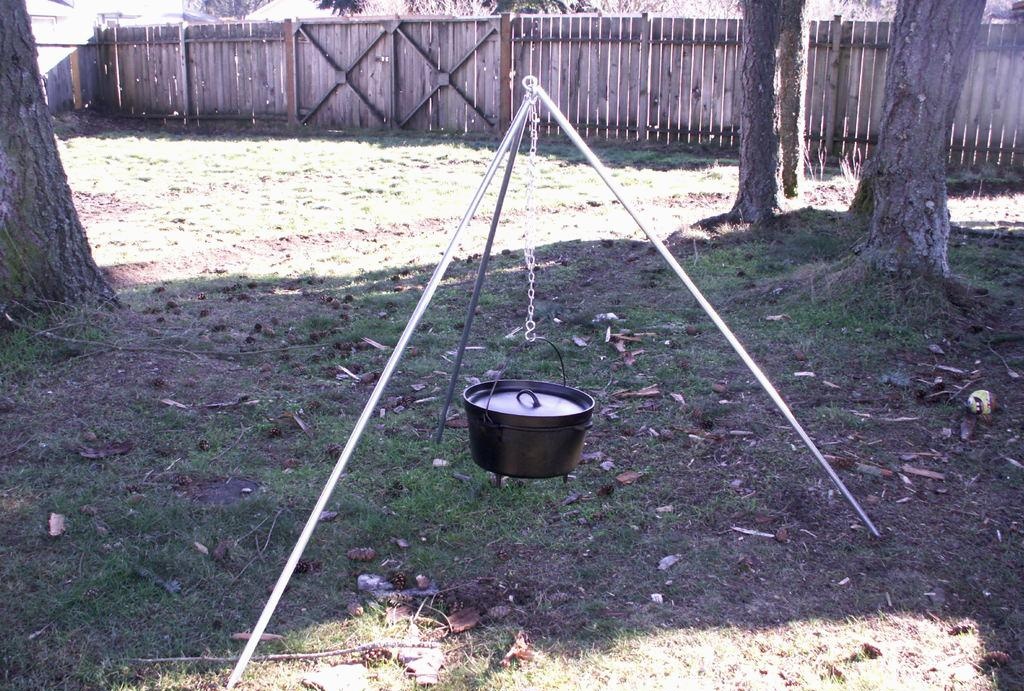
One of the benefits of outdoor recreation is cooking over an open fire, which makes ukha, kulesh and even simple tea seem incredibly tasty. But it is not always possible to find suitable stones to build something like a hearth. Therefore, taking a lightweight tripod made of aluminum tubes with you is an excellent solution, as it does not take up much space, is quickly assembled and is easy to use. Of course, you can buy a ready-made factory-assembled product, but for a craftsman who likes to do everything with his own hands, this is not interesting.
Required materials and tools
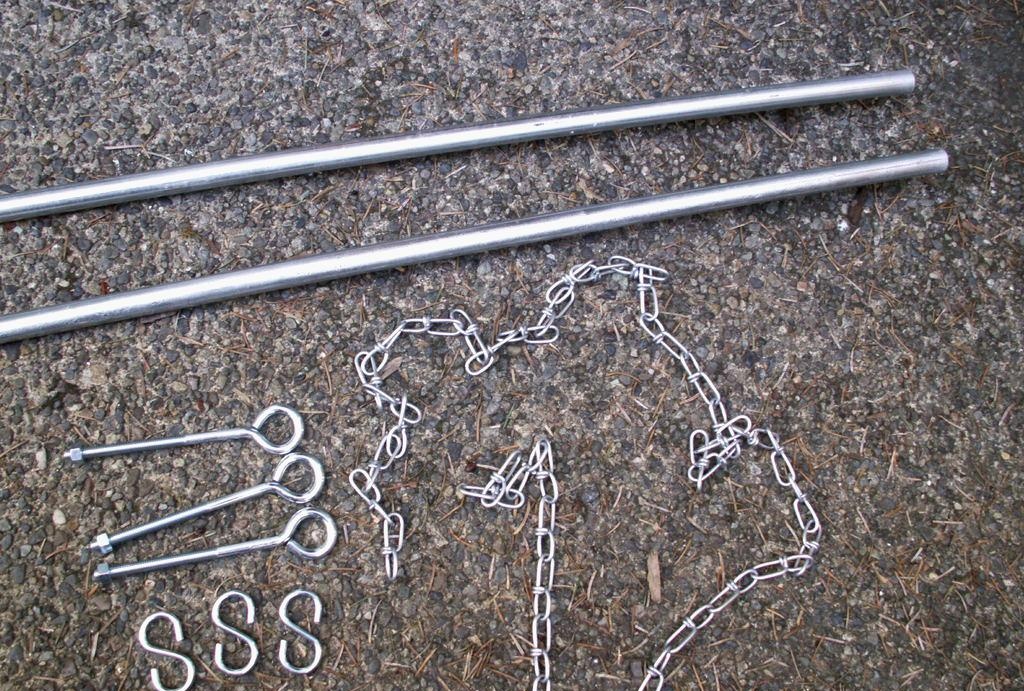
To build a tripod for a hike, you will need the following materials:
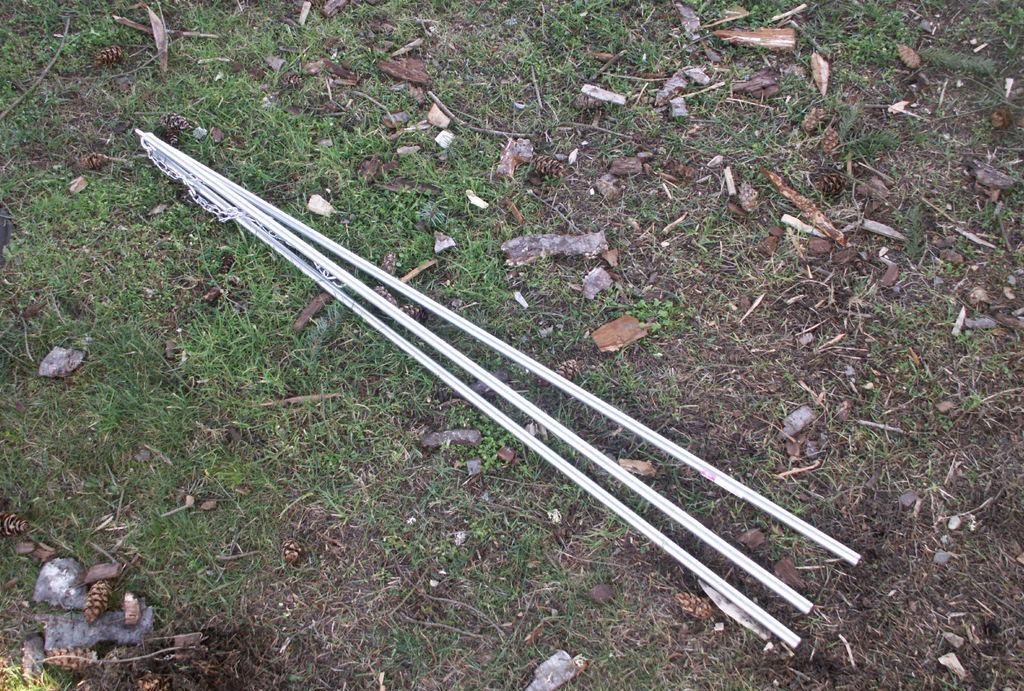
- 3 pieces of aluminum or thin-walled steel pipe 150–200 cm long. The longer the pipes, the higher the tripod will be.
- 3 steel eye bolts.
- 3 S-shaped hooks.
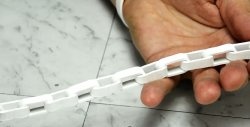
- Metal chain for hanging the pot.
Tools you will need:
- Hammer.
- Grinder or hand saw for metal.
- Pliers.
Making a hiking tripod
Now you can proceed directly to assembling the tripod. If pipes of greater length were prepared, they need to be cut to a convenient length, which can be any.
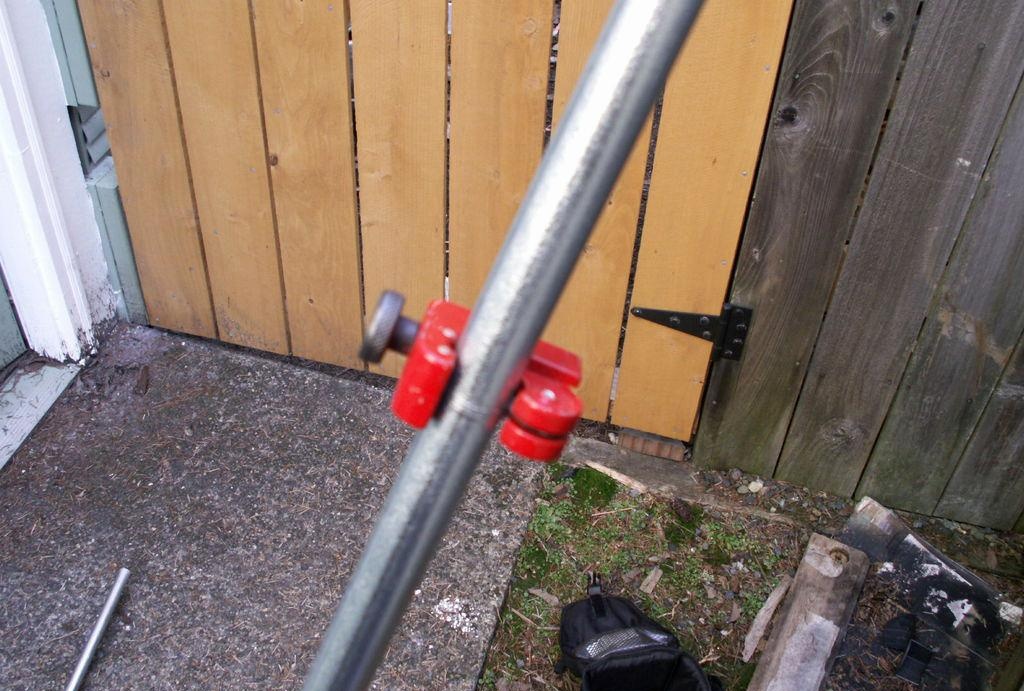
To connect the bolts to each other, you need to loosen one of the loops a little so that you can put on the other bolts.
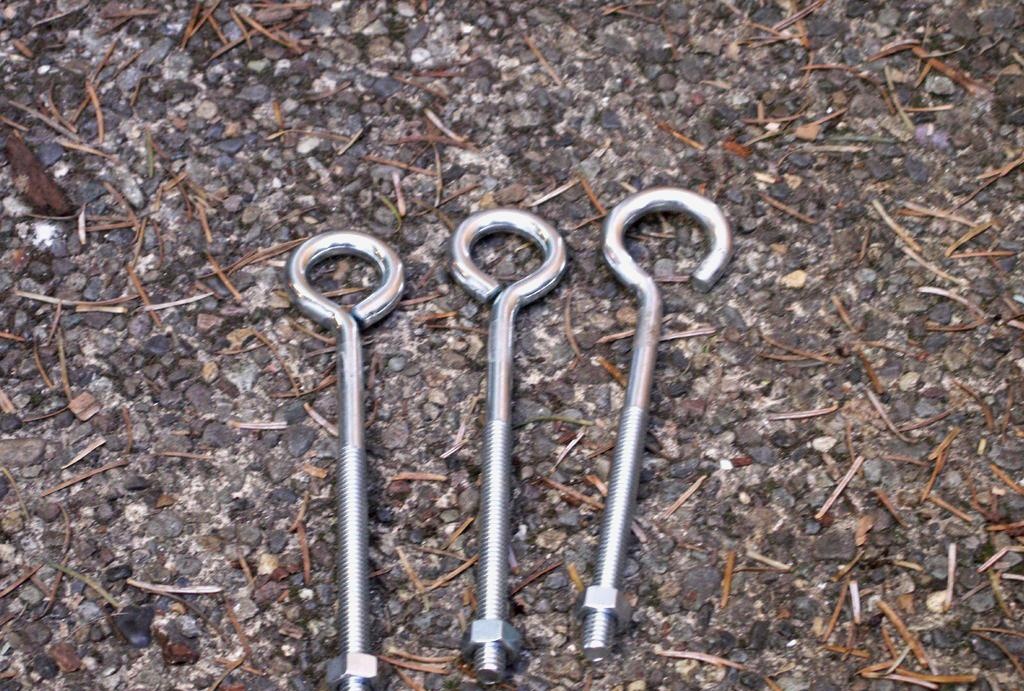
The most convenient way to do this is to hold the bolt in a vice and loosen the ring with pliers or a gas wrench. This is the most difficult part of assembling the tripod, so you will have to do a little fiddling.
When the eye is pressed down sufficiently, the rings of the other two bolts and one end of the chain are put on it.
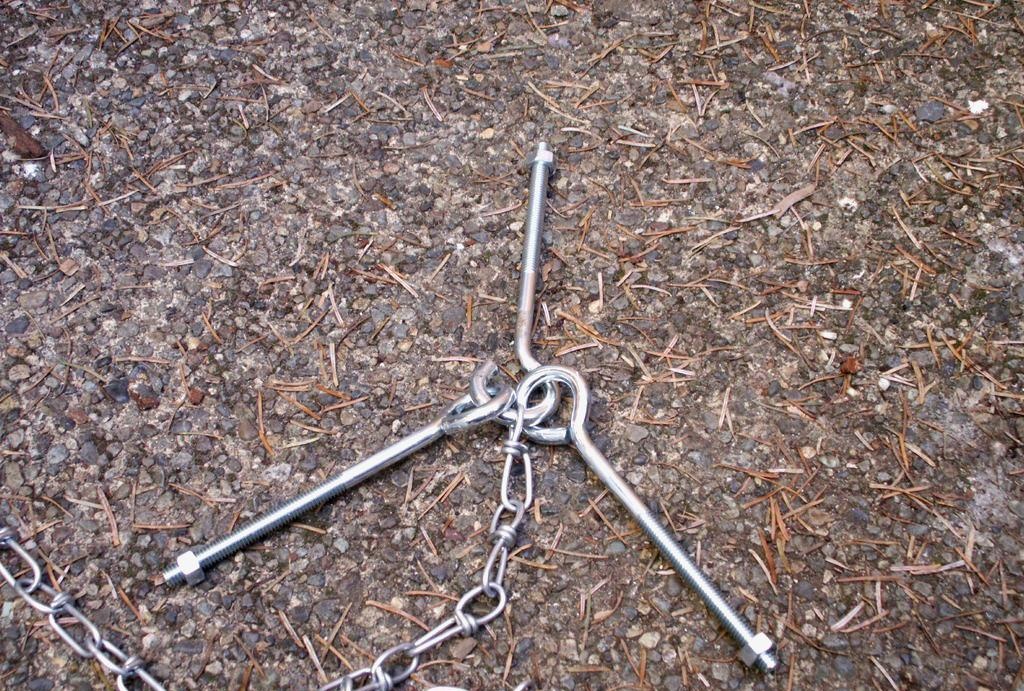
After this, using a hammer, the loosened ring is compressed so that the put-on elements do not fall out and the structure remains intact.
The tripod legs are connected in this order.
The end of a bolt with a nut screwed onto it is inserted into one of the ends of the pipes. If the nut dangles loosely in the pipe, then you need to tap the pipe on a hard base just above and below the nut and flatten it a little. This will allow you to securely fix the nut in the pipe so that the tripod does not fall apart at the most inopportune moment.
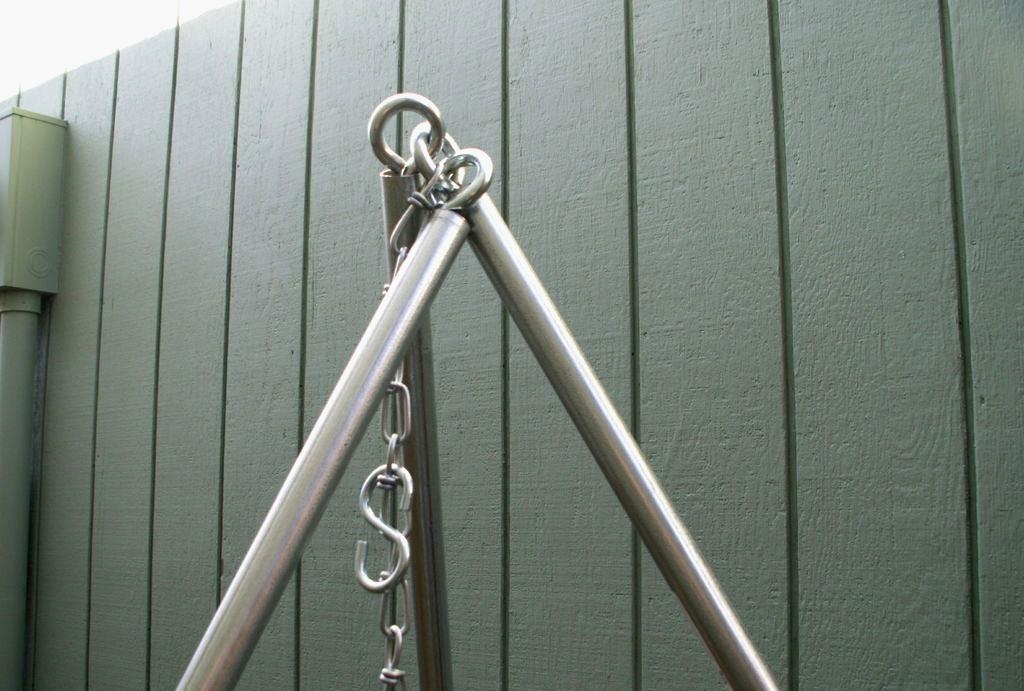
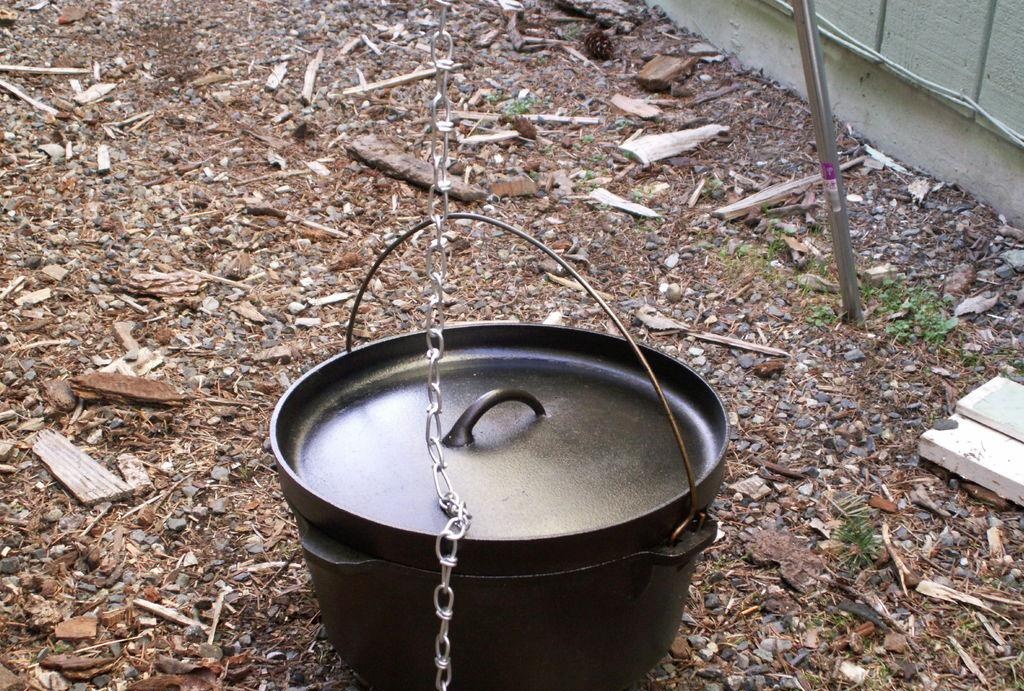
When this is done, an S-shaped hook is put on the chain 3-5 links from the top of the tripod, which will allow you to adjust the height of the dishes above the fire.
Advice! The end of the hook, which is put on the chain, must be clamped with a hammer or pliers so that it does not fall out and is not lost during transportation.
If the length of the chain is too long, then it needs to be shortened so that the dishes are located at a height of several centimeters above the ground when the tripod is unfolded.
Another S-shaped hook is placed on the last link of the chain and the end is clamped. Utensils will be hung on this hook: a cauldron, a pot, a teapot or other suitable utensils.
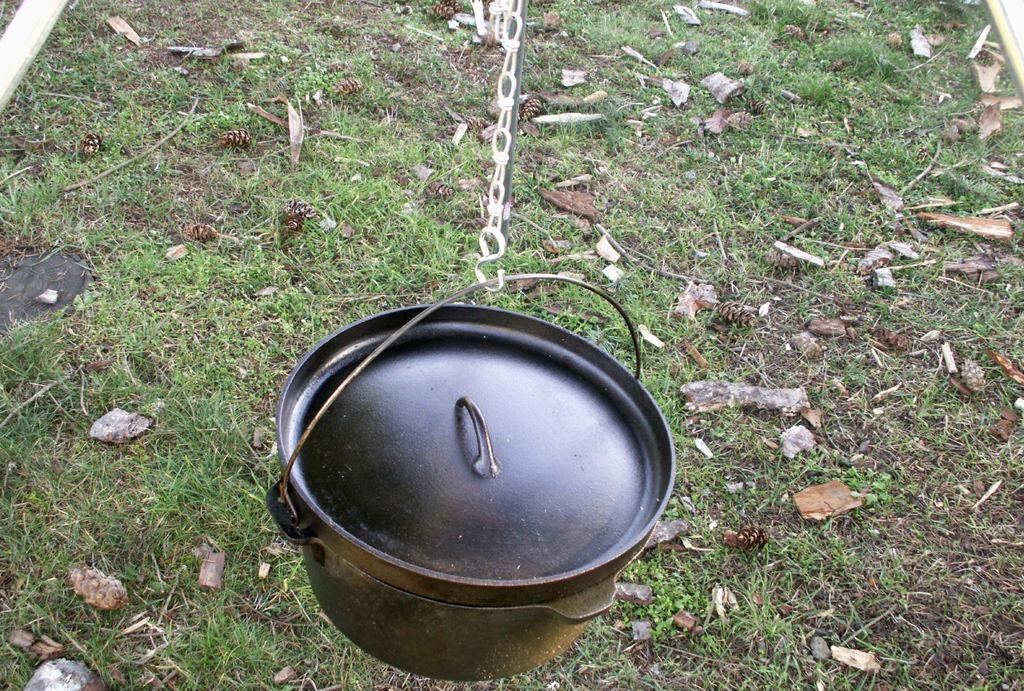
You can adjust the height of the dishes above the fire by moving the legs of the tripod or by re-hooking the chain into several links on the top hook.
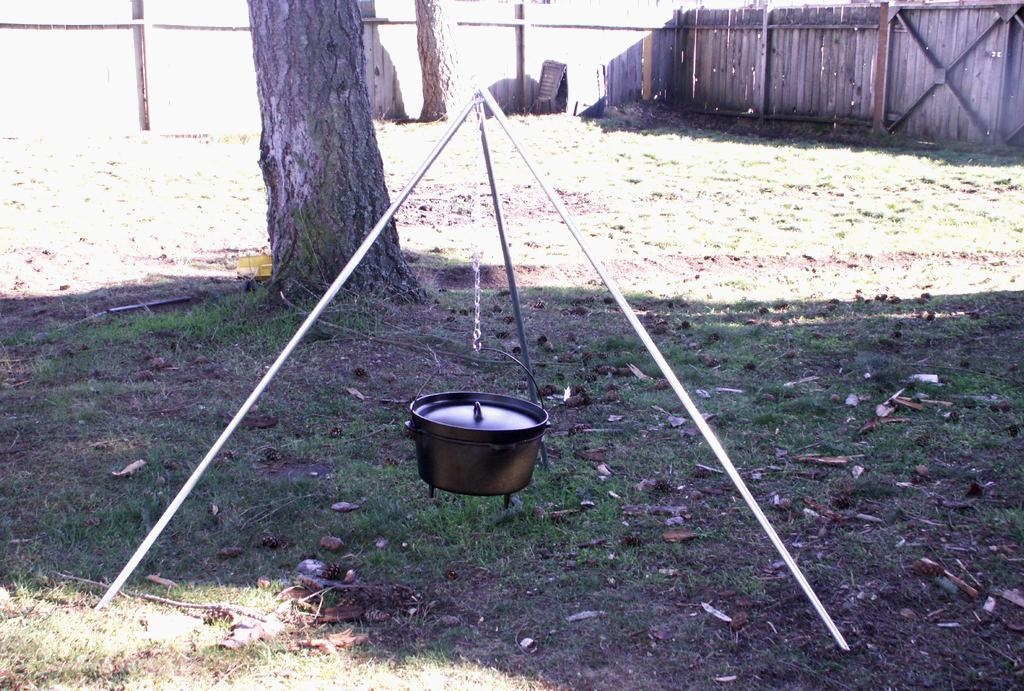
Among the advantages of this design, one should note its compactness and ease of folding/unfolding.
If desired, you can slightly expand the functionality of the tripod. For example, you can drill holes in the legs and attach additional hooks on which you can dry shoes or hang dishes away from the fire so that food does not get cold.
Note! When lighting an open fire in nature, you must follow fire safety rules! You also need to be careful when drying clothes or shoes over the fire so that they do not burn. To do this, the tripod legs must be of such length that their lower part can be located at a sufficient distance from the fire and remain cool.