One of the necessary attributes of a home master is a small anvil. It is useful to anyone who likes to do everything on their own: often you need to level some piece of iron, which requires a flat and heavy surface, on which you can safely tap with a hammer or a small sledgehammer.
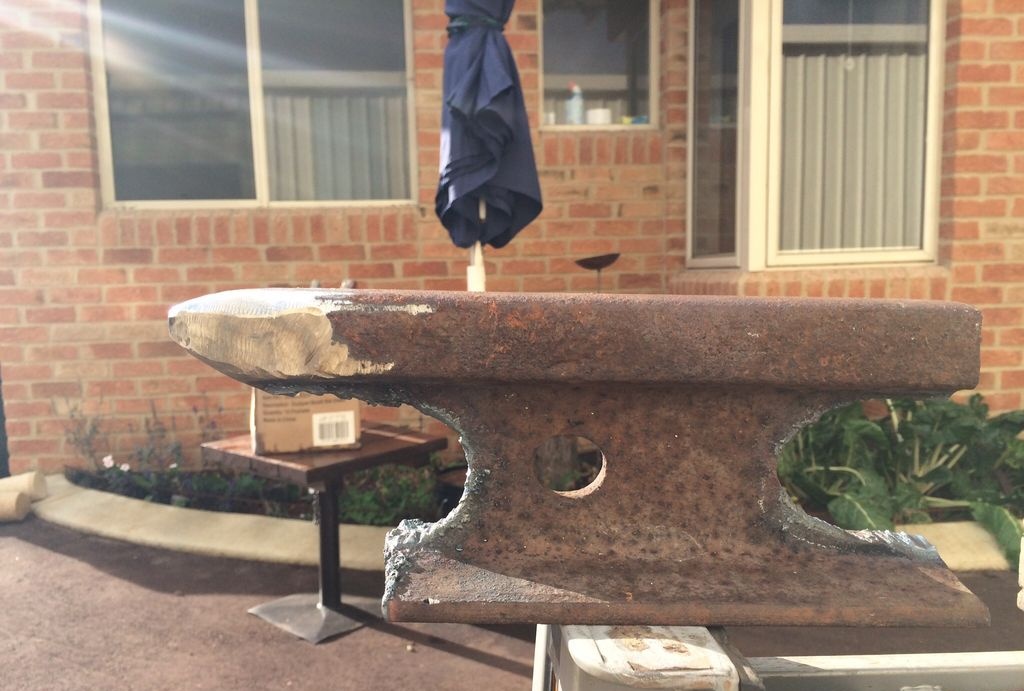
The easiest and most affordable way to make an anvil with your own hands is to use a piece of rail. The metal from which the rails are made does not splatter from impacts and can withstand virtually any load. An important factor - the rail has a convenient shape specifically for the manufacture of anvils, which explains the popularity of this material. The only negative is that the metal is quite difficult to process, so you have to tinker.
Necessary materials and tools
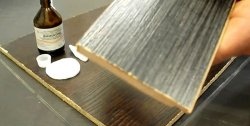
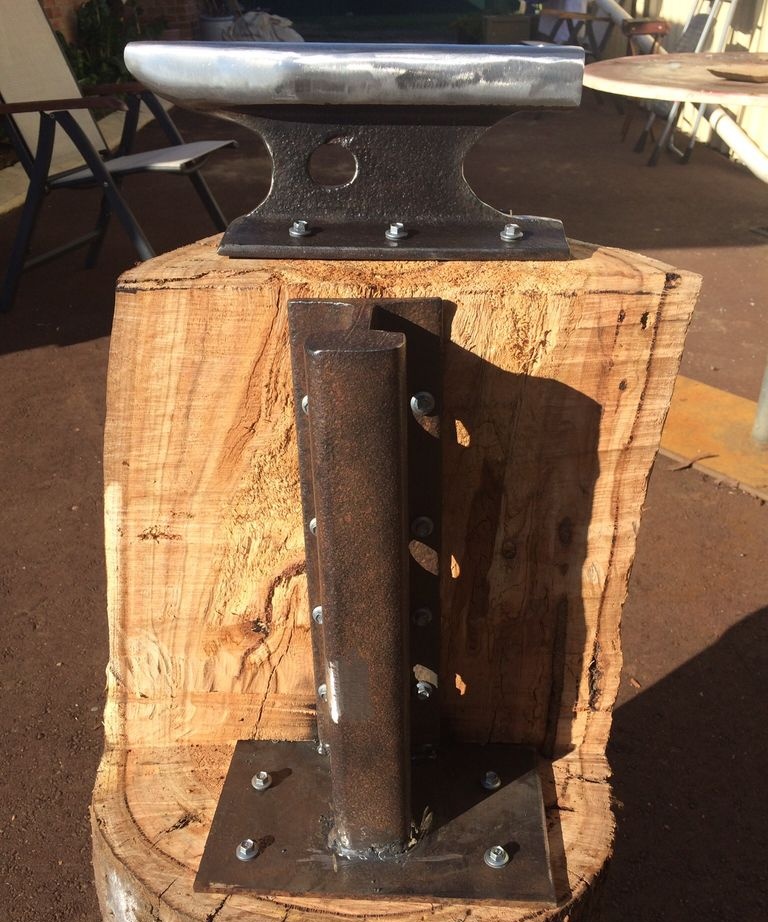
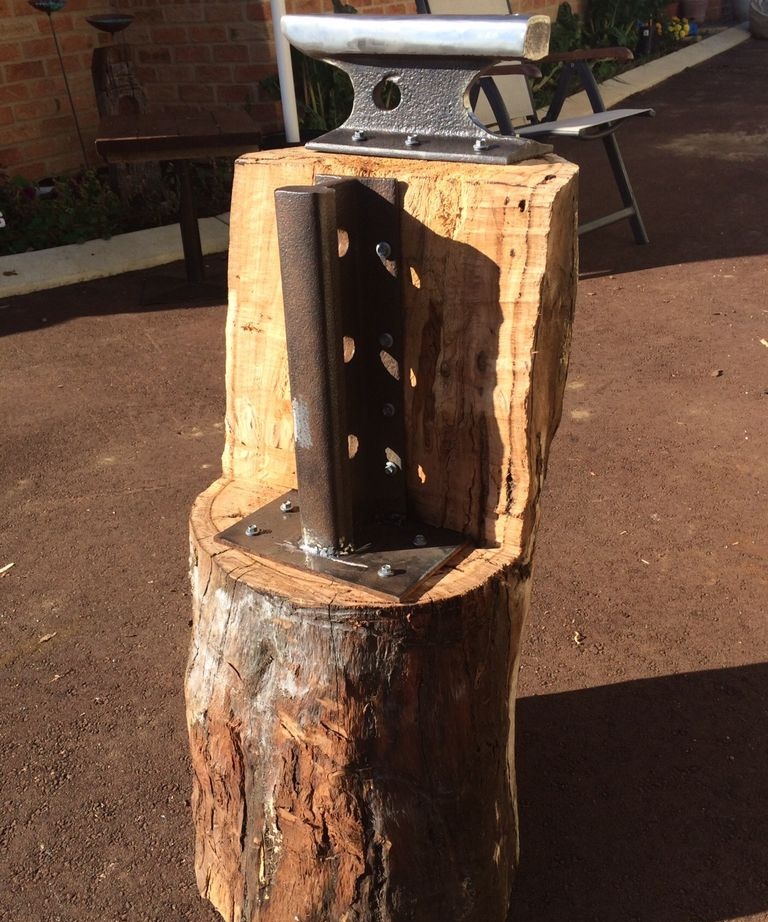
Of the materials, two pieces of rail will be required with a length of at least 300 mm (one piece will be actually anvil, the second will be used as a counterweight), a metal plate for the counterweight footrest. You will also need a wooden block (a segment of a tree trunk), which will be used as a support and a working table for the anvil, and powerful self-tapping screws for fastening the rail to the working surface. This option makes the anvil mobile: if necessary, it can be pulled out of the garage or workshop into the yard and work in the fresh air, which cannot be done if it is mounted on a metal workbench. In addition, the sound of a blow to a metal surface mounted on a wooden base is much more muffled and not so "hit on the ears."
Diameter of chocks: the larger, the better, since the anvil will be more massive and stable. The height is selected individually and depends on the growth of the master. It is optimal that the height of the future anvil be just above the belt: it is at this height that it is most convenient to work with a hammer.
From the tools you will need:
- Grinder with metal discs.
- Drill and drill bits for metal.
- Gas cutter.
- Grinder or drill head for grinding metal.
- An electric or gasoline saw for processing a wooden block.
Making anvils from rails
So, having prepared all the necessary materials and tools, you can proceed directly to the manufacture of a mobile anvil.
Important! All work must be carried out with goggles or a mask so that flying sparks during metal processing do not damage the eyes.
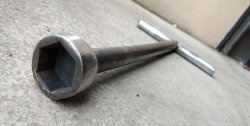
With the help of a gas cutter, the sole and neck are slightly trimmed at the first workpiece. Then, on one side, the rail head is sharpened, which will be the working surface of the anvil. This is done in order to make it convenient to work with metal of various shapes.
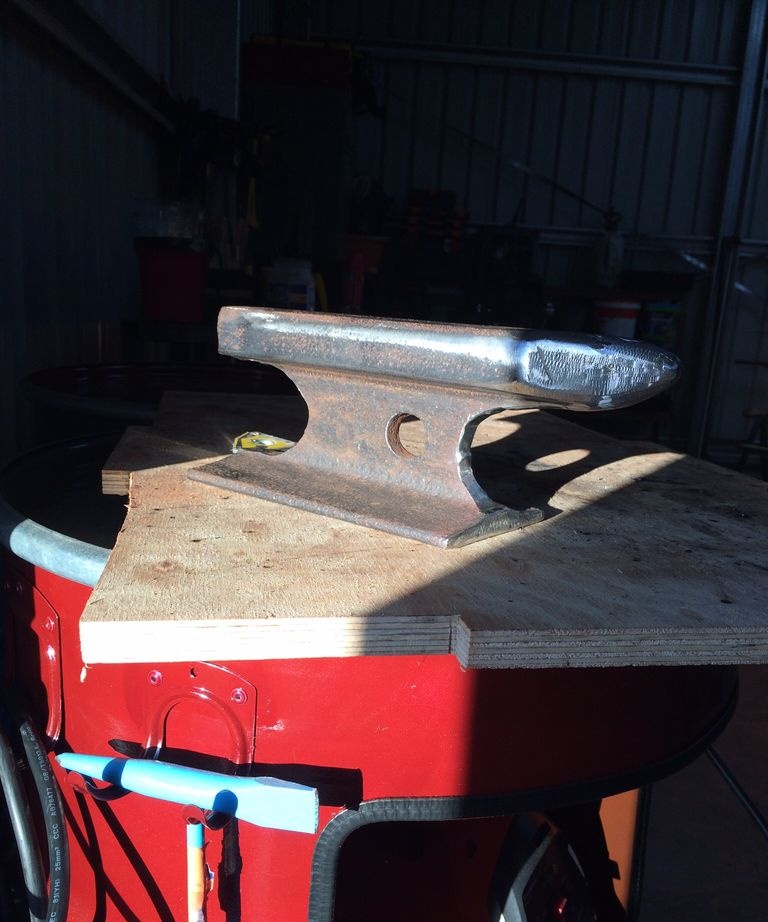
Also at this stage, a metal plate is welded to the second rail blank from the end part, so that the rail stays upright.
The next step - with the help of a grinder, we remove all burrs and influxes of metal that remained after the operation of the gas torch. Particular attention is paid to the working part and the processing of the pointed edge: it is necessary to ensure that it is as even and symmetrical as possible.
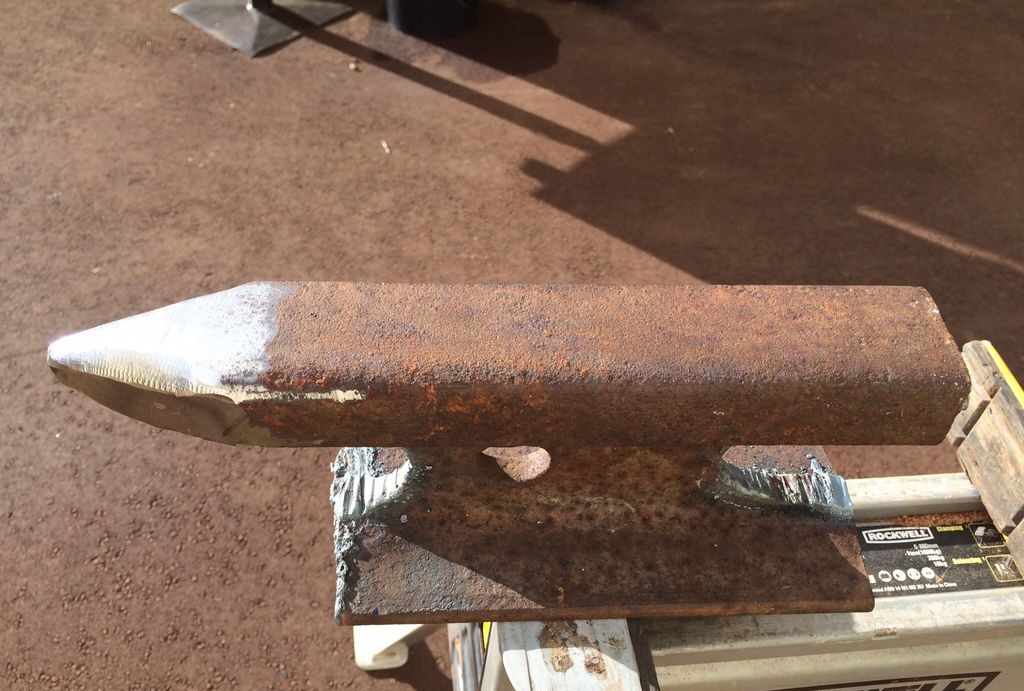
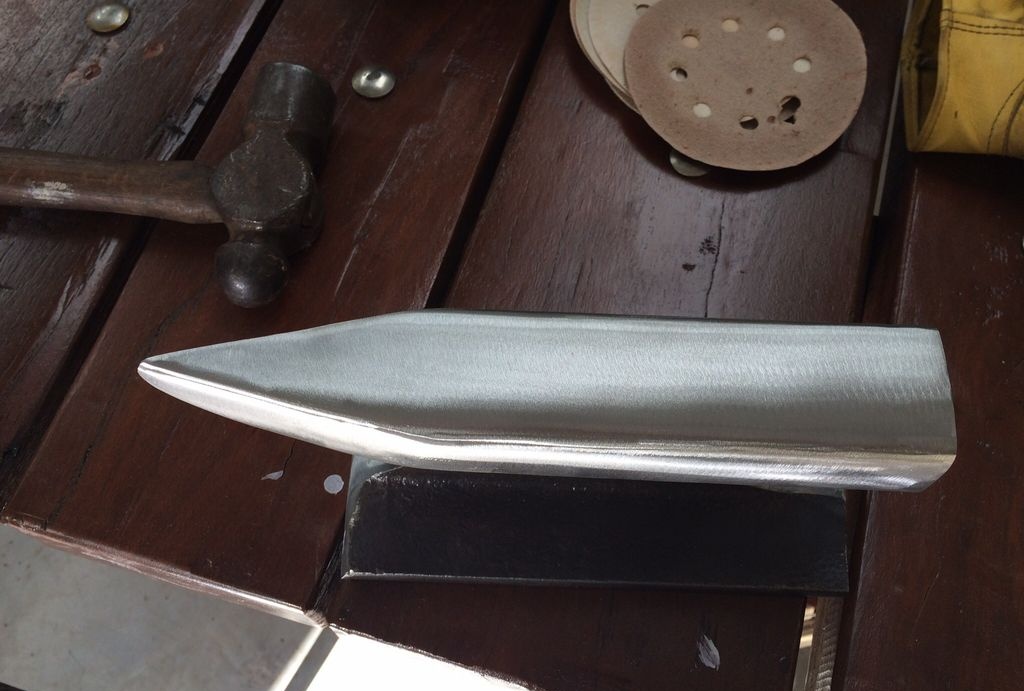
Now proceed to polishing the working surface - the rail head. To do this, it is better to use a grinding machine, since the disc of the grinder can leave deep furrows, which will then be difficult to grind.
When the anvil is polished, it is necessary to drill holes in its sole (2-3) on each side, as well as in the metal plate of the second part.Then, a narrow part is cut out on a wooden blank (block) with a saw to fix the counterweight, after which all the elements are screwed with powerful self-tapping screws with a wrench head to the wooden base.

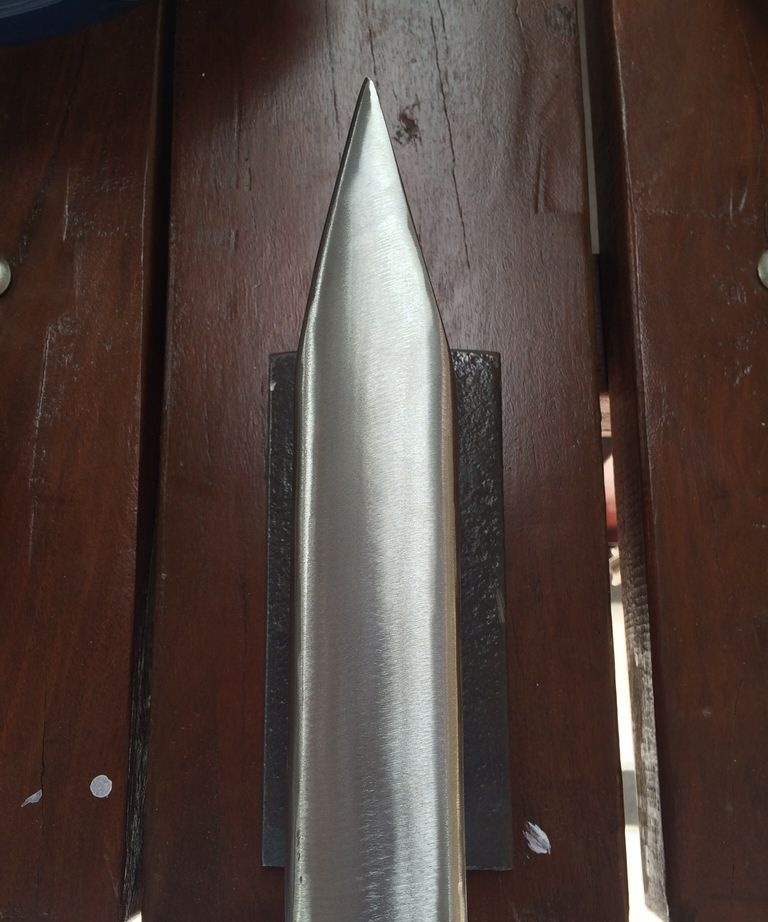
Advice! In the working upper part of the anvil (rail head), you can drill a hole that will make the sound of hitting the anvil not so sonorous. In addition, such a hole is sometimes useful when processing some curly parts.
Here is such an anvil that can come in handy for various leveling works. In addition to the main working part, a counterweight can also be used: on the end of the rail, it is convenient to edit small parts that are inconvenient to keep on a smooth surface.