Making a manicure stand
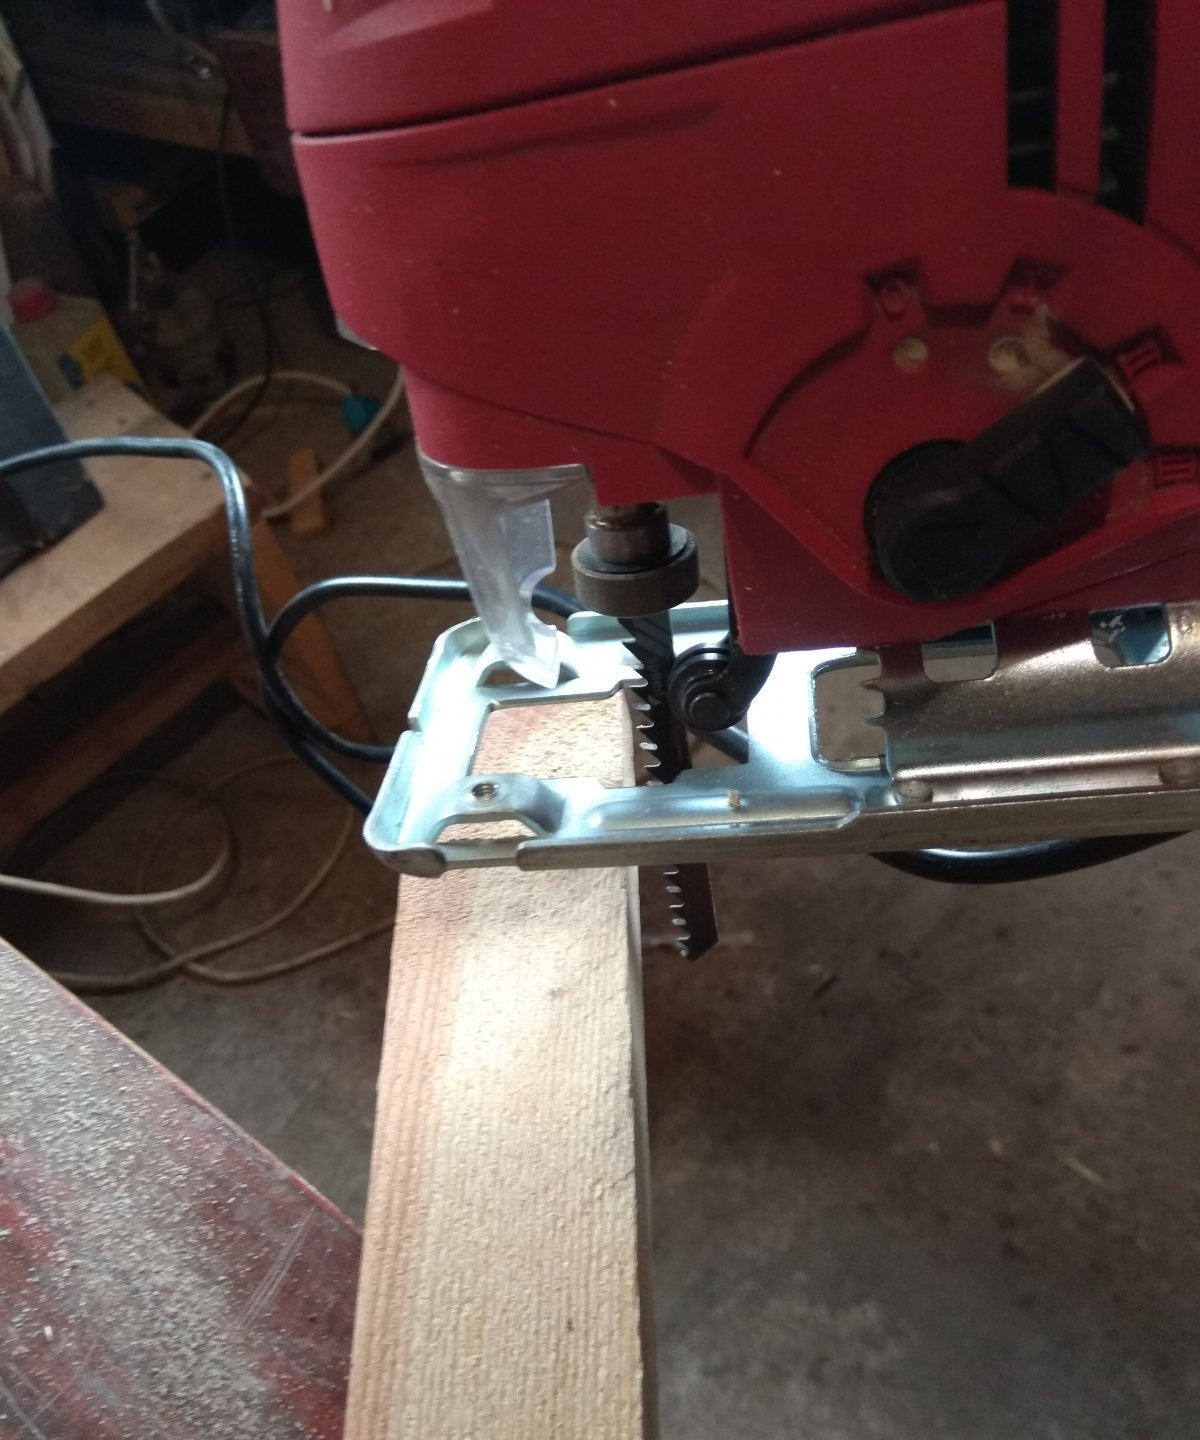
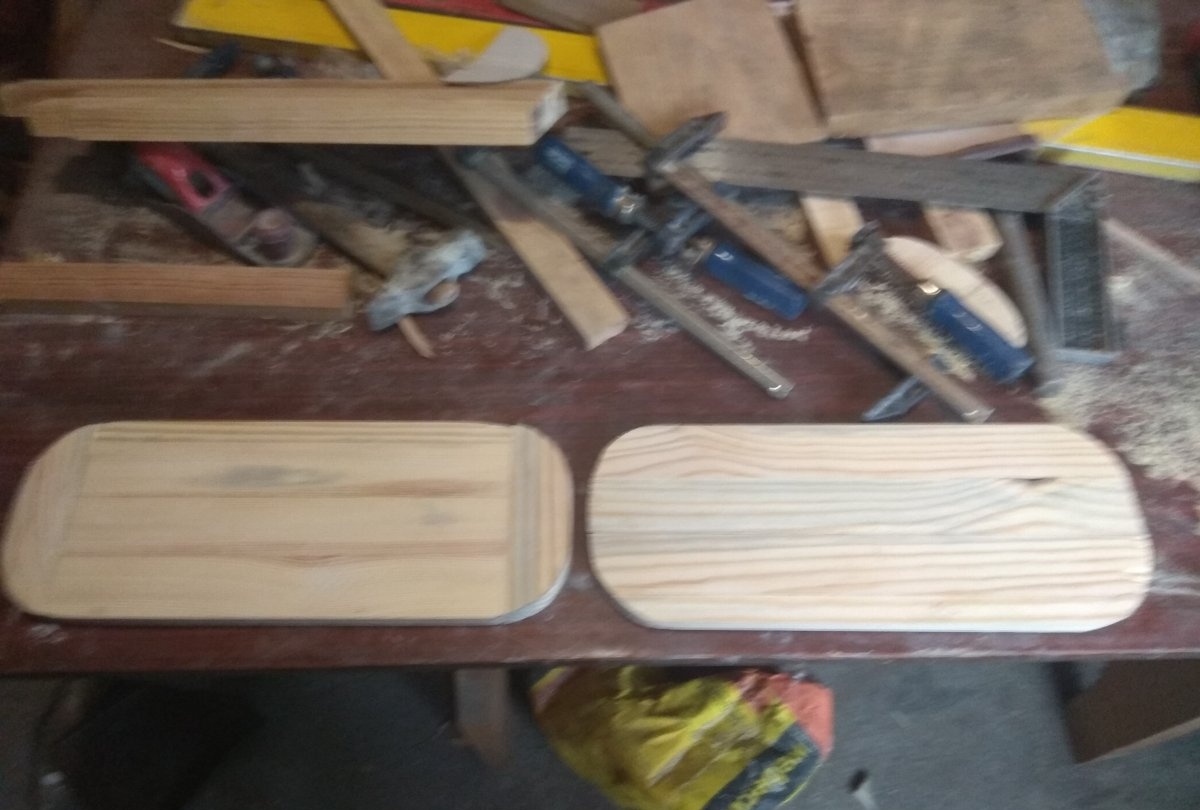
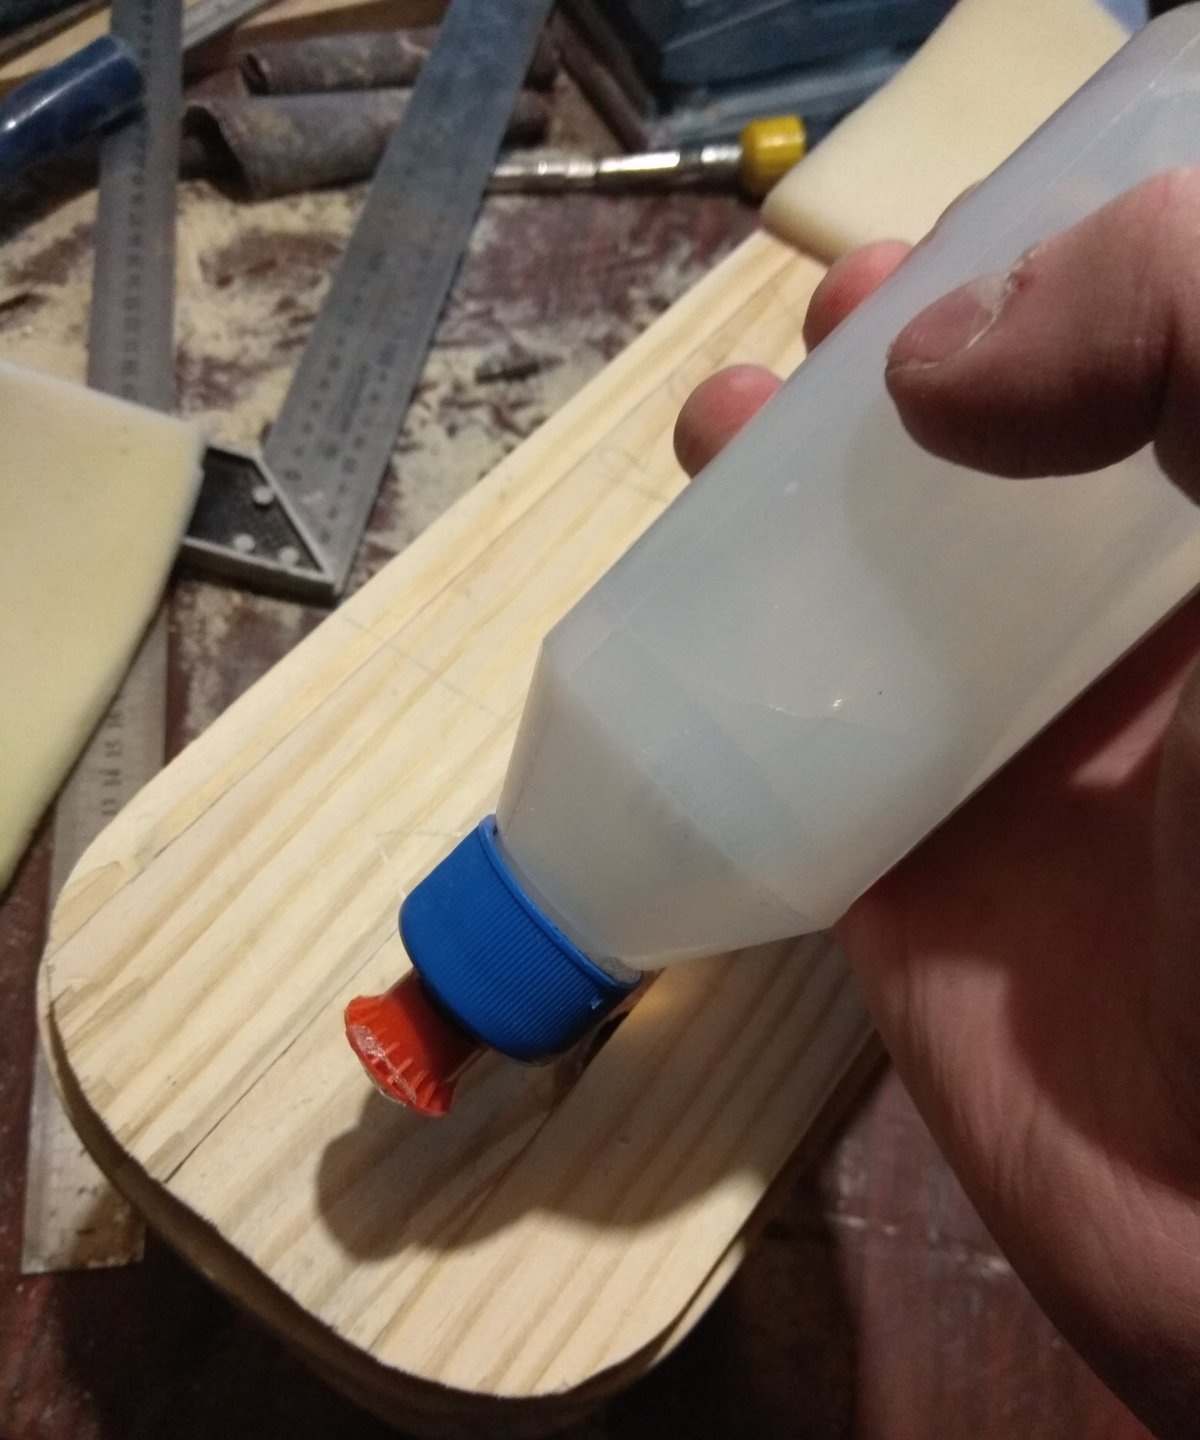
Now we will consider how you can make a chic stand made of wood, which in the store will cost at least 2,000 rubles. Even if you buy material, then with self-production you will spend no more than 500 rubles. In this case, the stand was made under a lamp measuring 20 x 15 x 10 cm. Therefore, for starters it is necessary to take 35 cm long battens and glue them together with PVA glue. Our task is to make three identical plates with a length of 35 cm and a width of 16 cm. The thickness of the rails can be 10 - 15 mm. After you glue the slats into the shield, they must be pulled together with clamps, and wait a while until the glue hardens. You can cut the rails of the required length with a jigsaw.
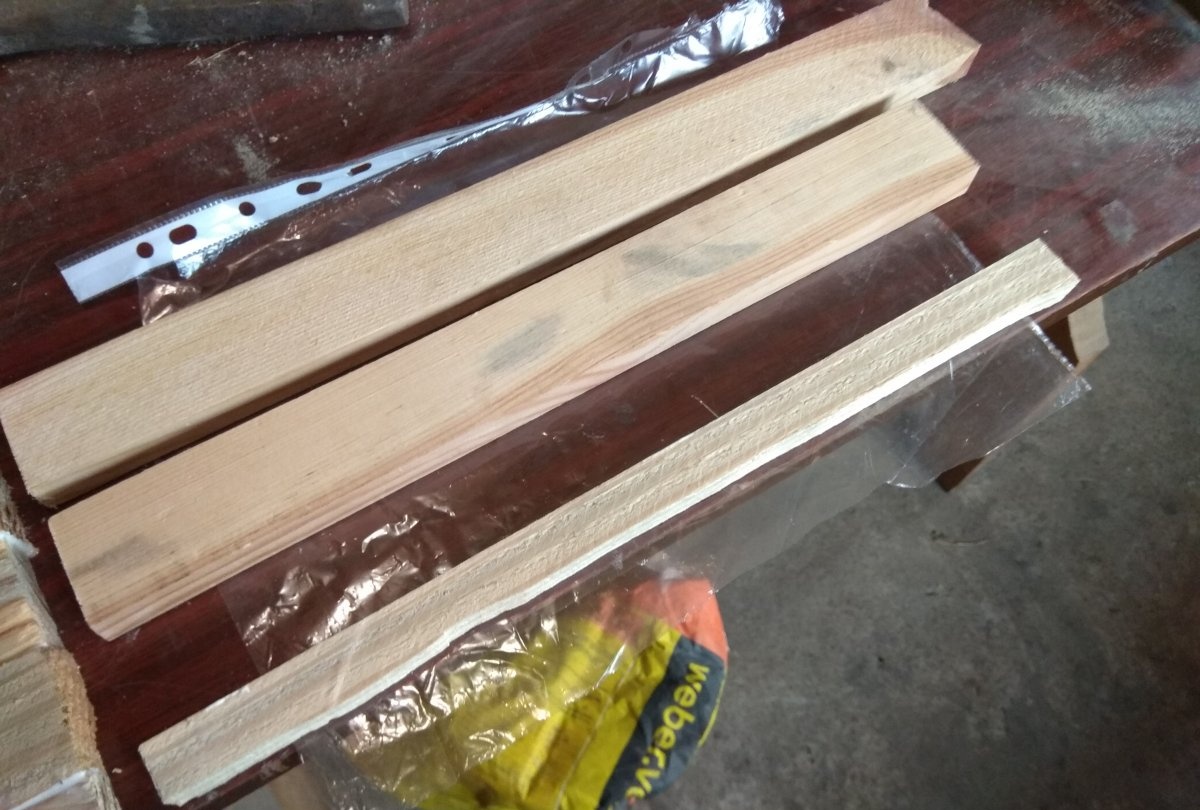
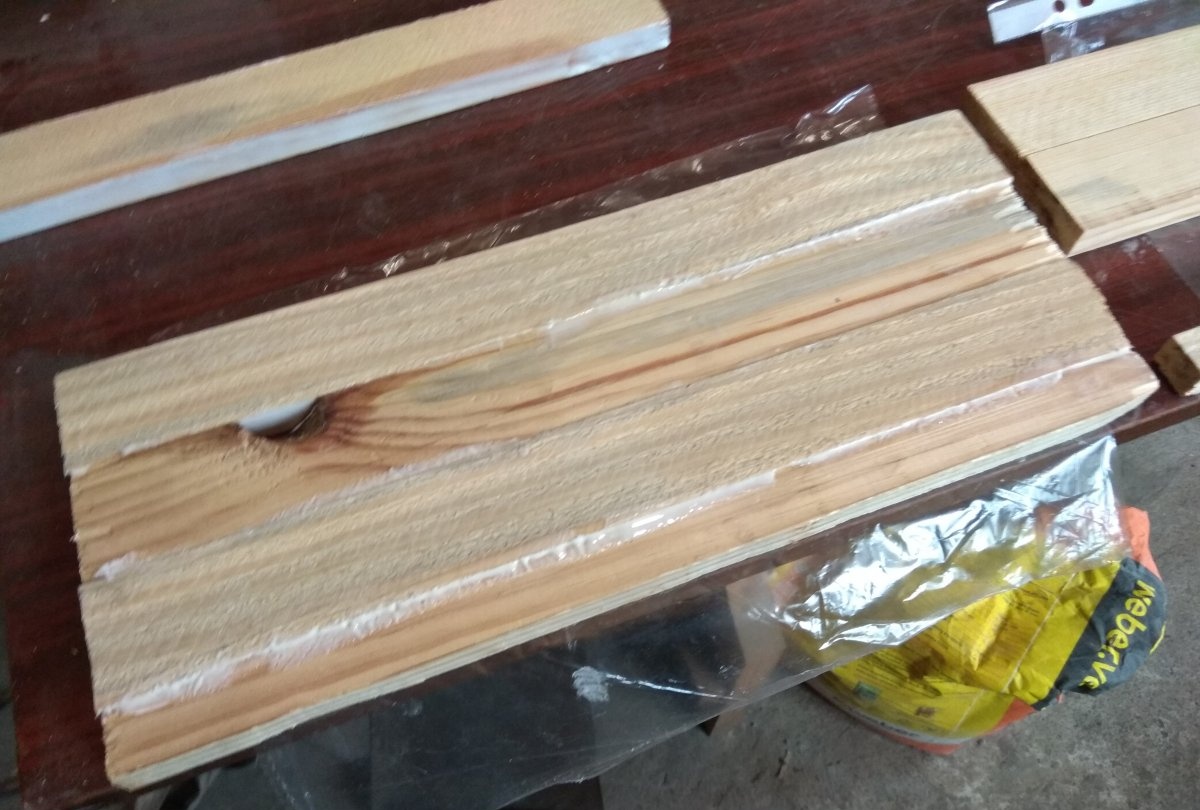

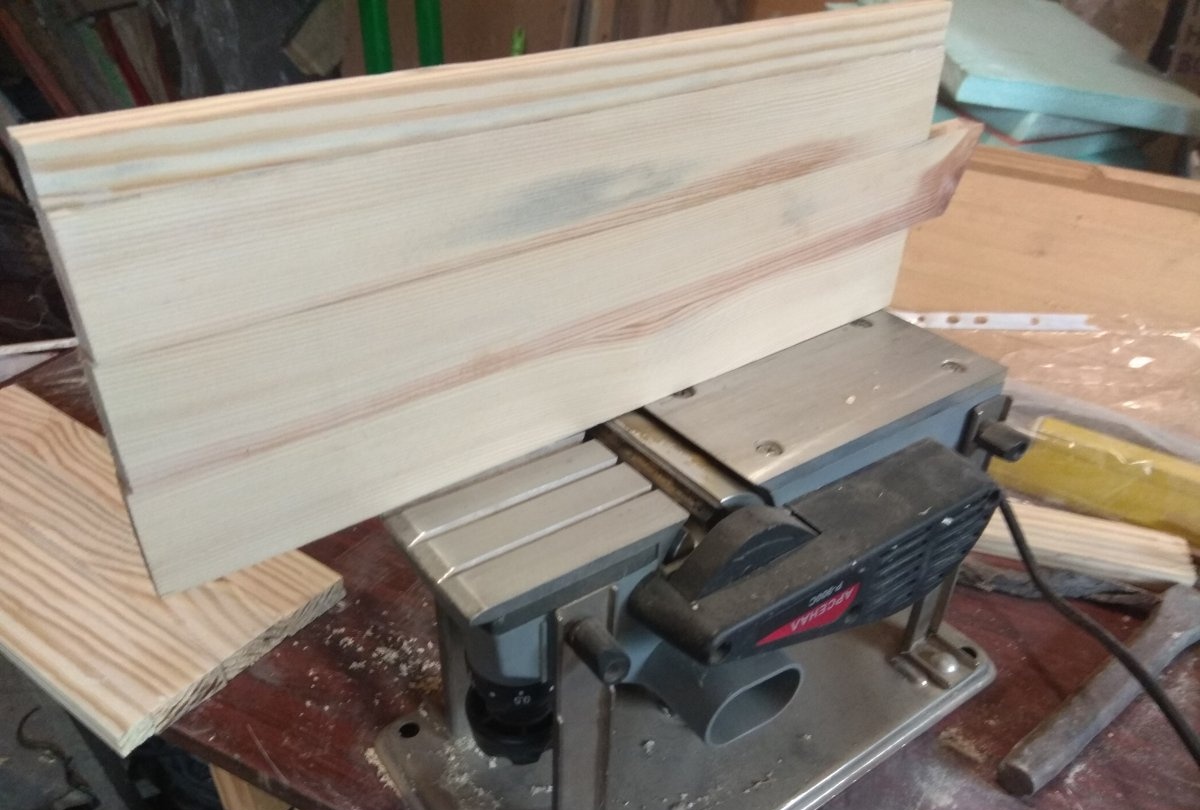
After the glue has dried, the three shields that you pulled off must be sanded. It will be convenient to do this with a grinder, since grinding by hand is much more difficult and longer. The ends of the shields can also be aligned on a plane. At this stage, the main task is to make three identical shields, and bring them to a smooth state.

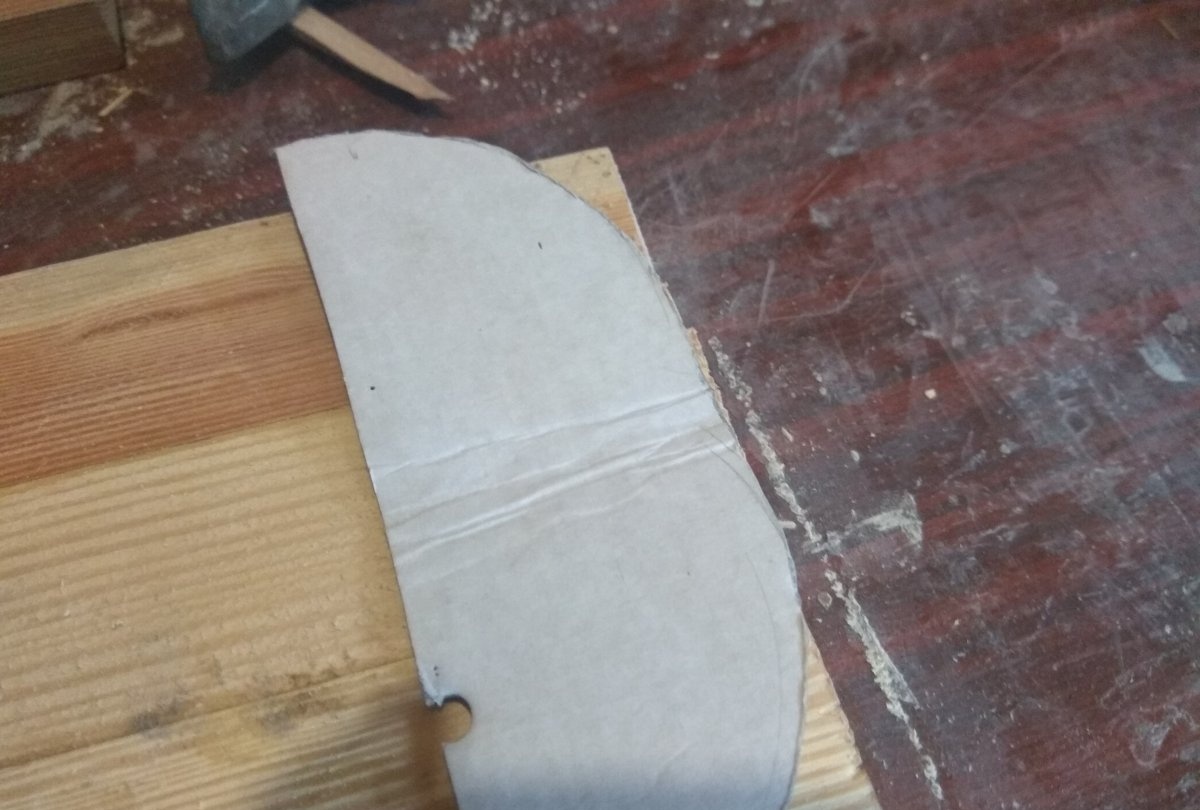
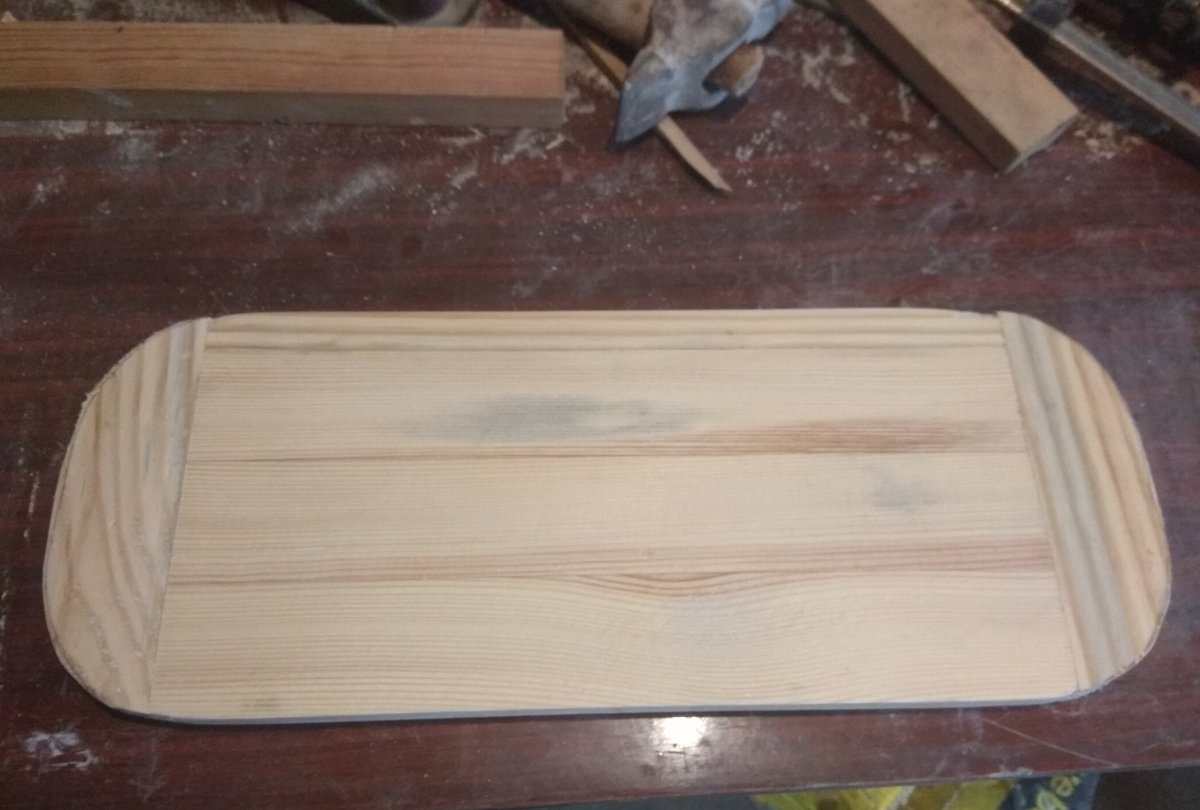
Further, for a more beautiful view, you can round the corners of the shields. To do this, make a piece of cardboard so that all the corners are the same. Using a pencil, mark the curves on the curve, and then cut them with a jigsaw.
You also need to make the walls of the stand. Since the height of the lamp is 10 cm, the height of the walls can be made 11 cm so that the lamp freely enters. Walls can also be drawn from slats. The width of the walls should correspond to the width of the shields, that is 16 cm. In the end, you should get 5 details:

- Bottom shield;
- Top shield;
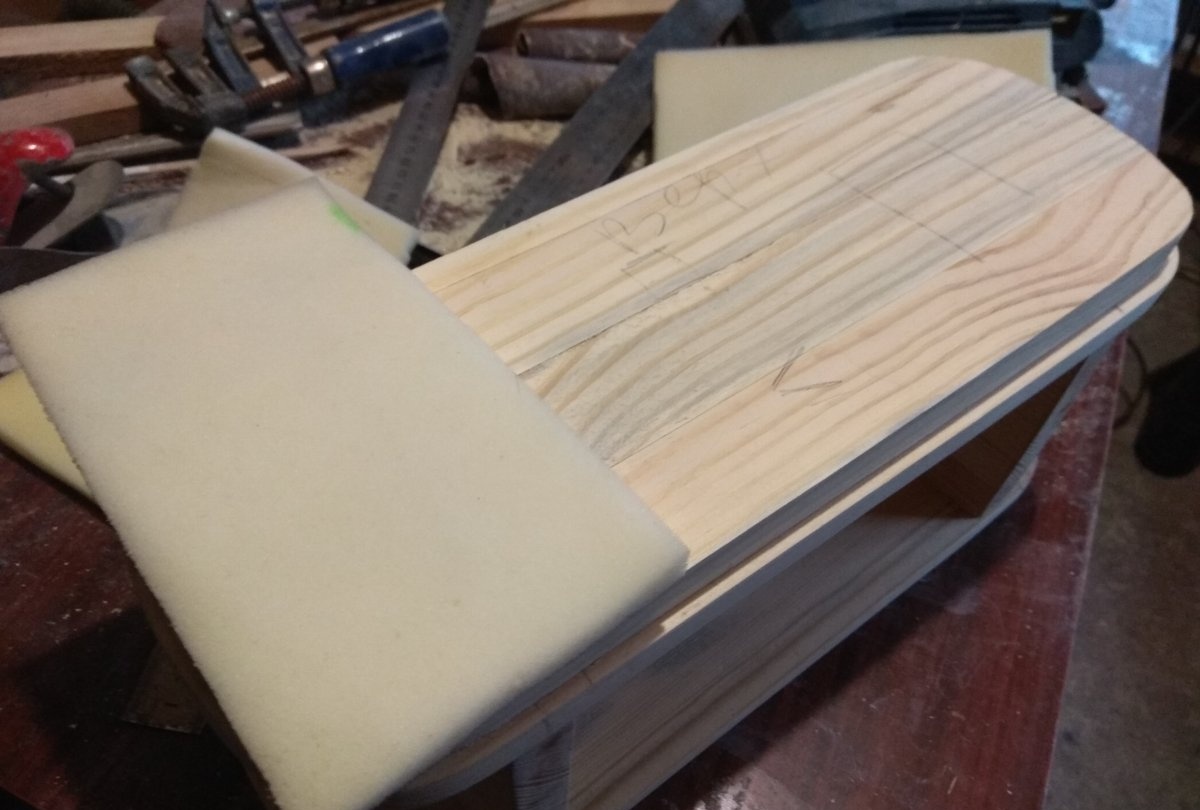
- A shield that will be covered with fabric;
- Left wall;
- The right wall.
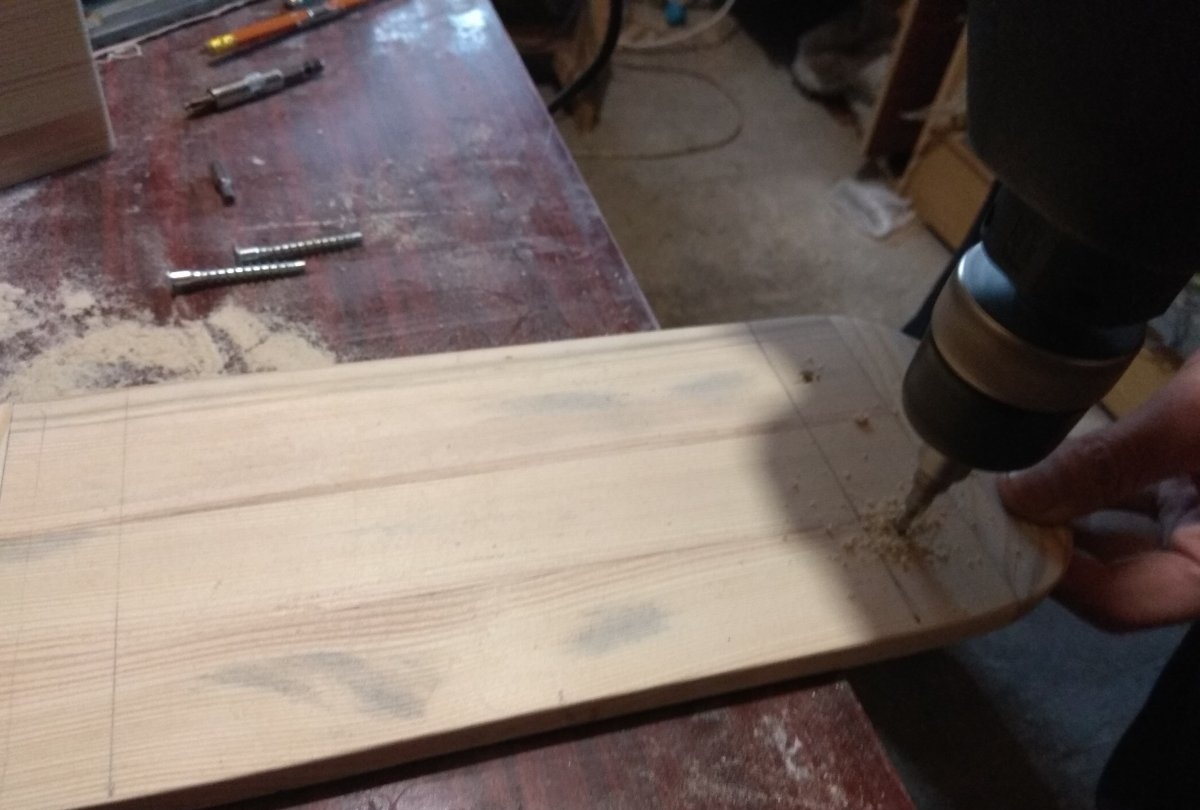
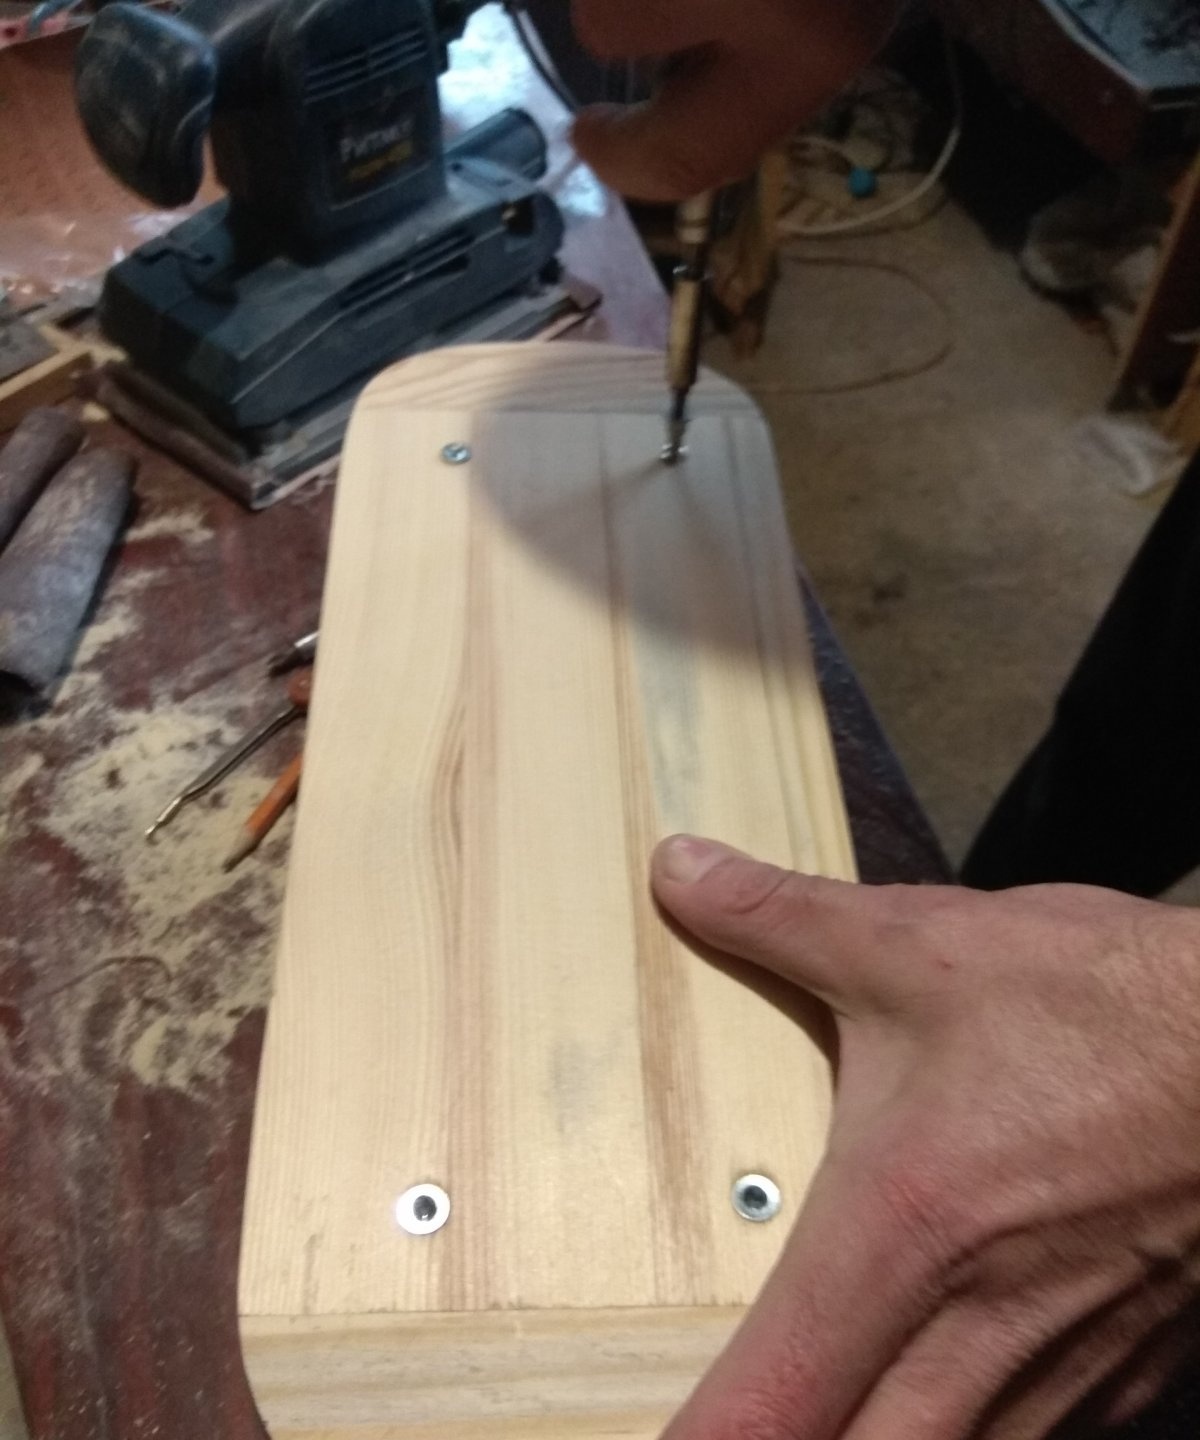
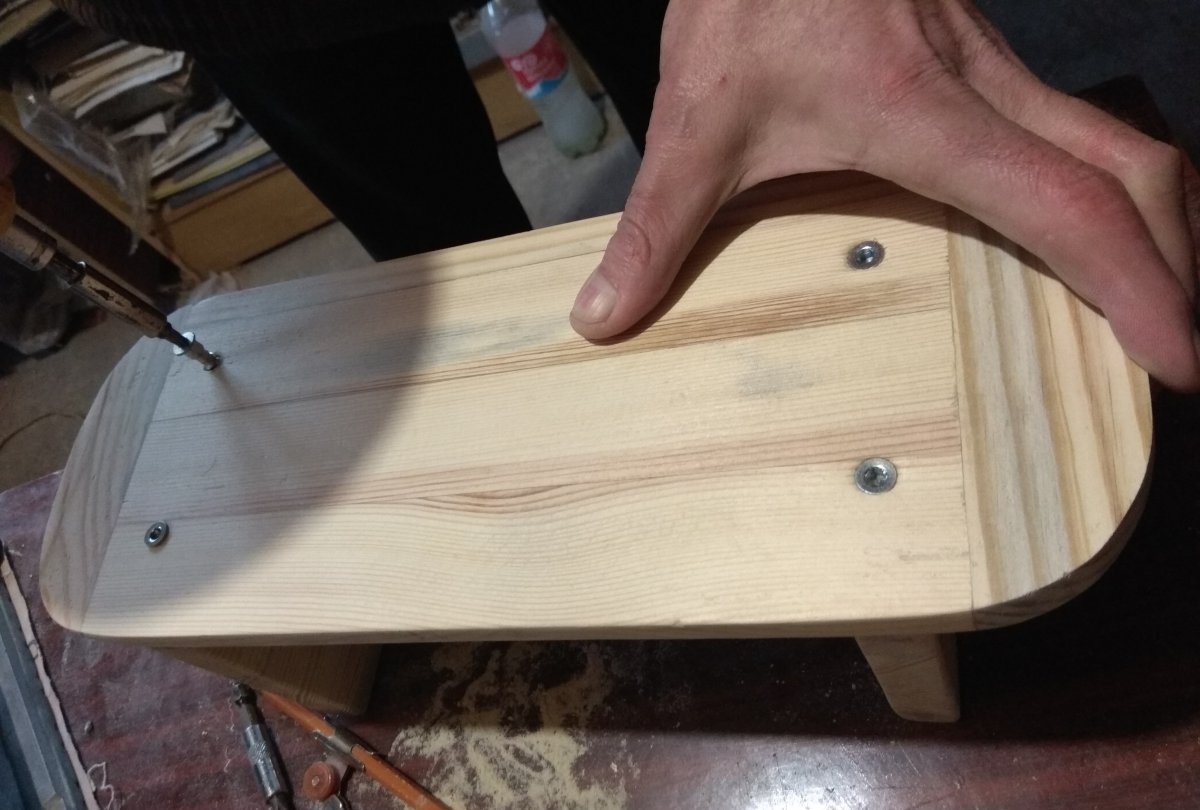
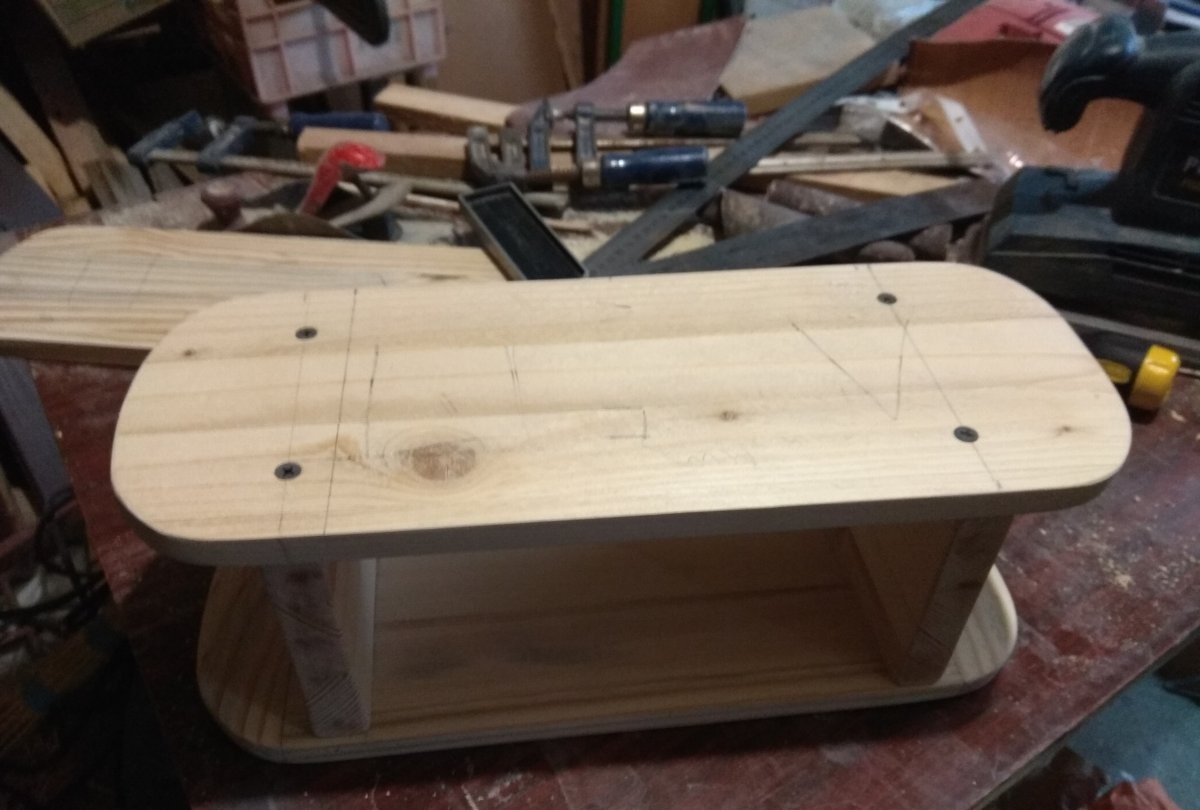
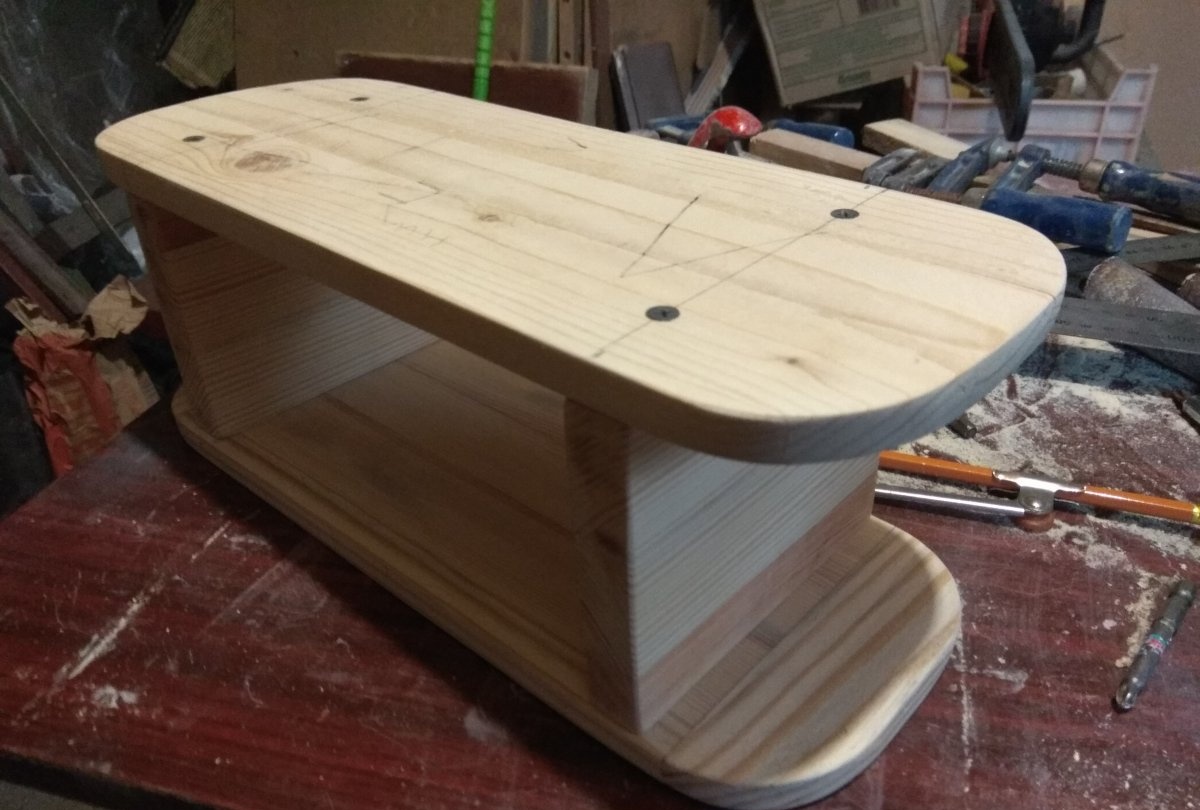
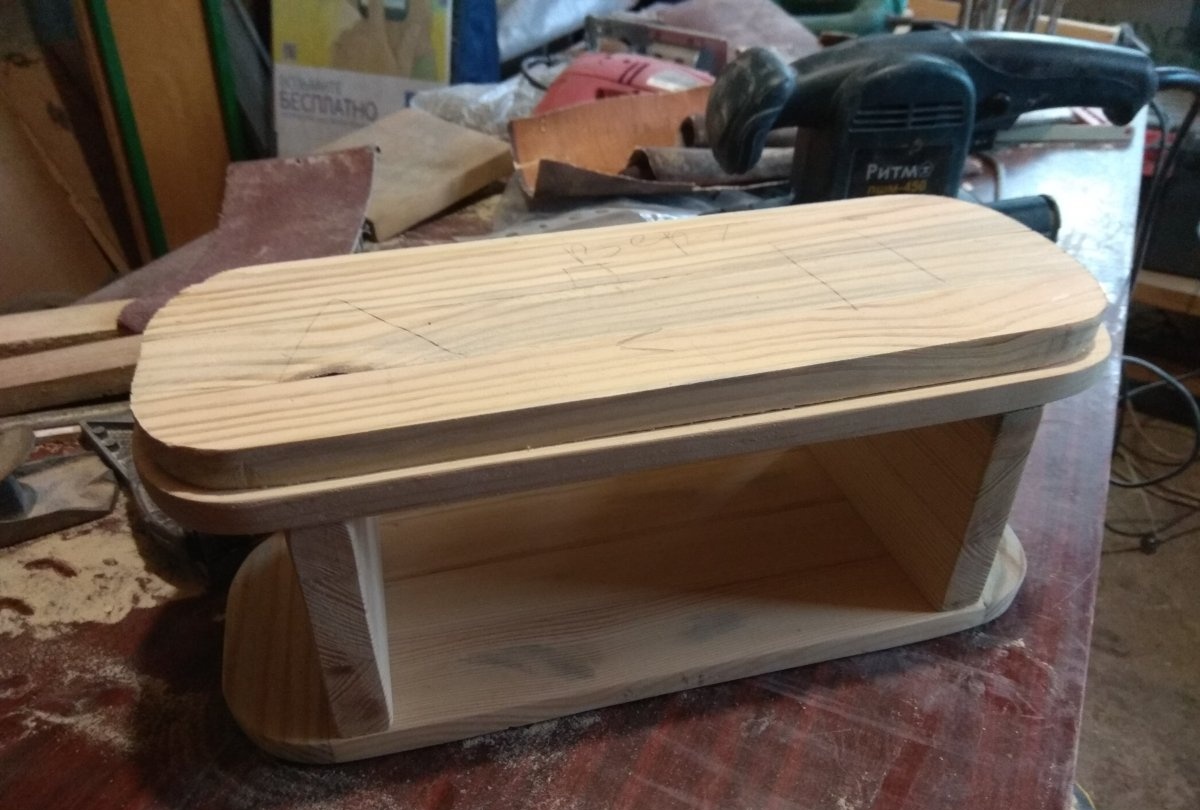
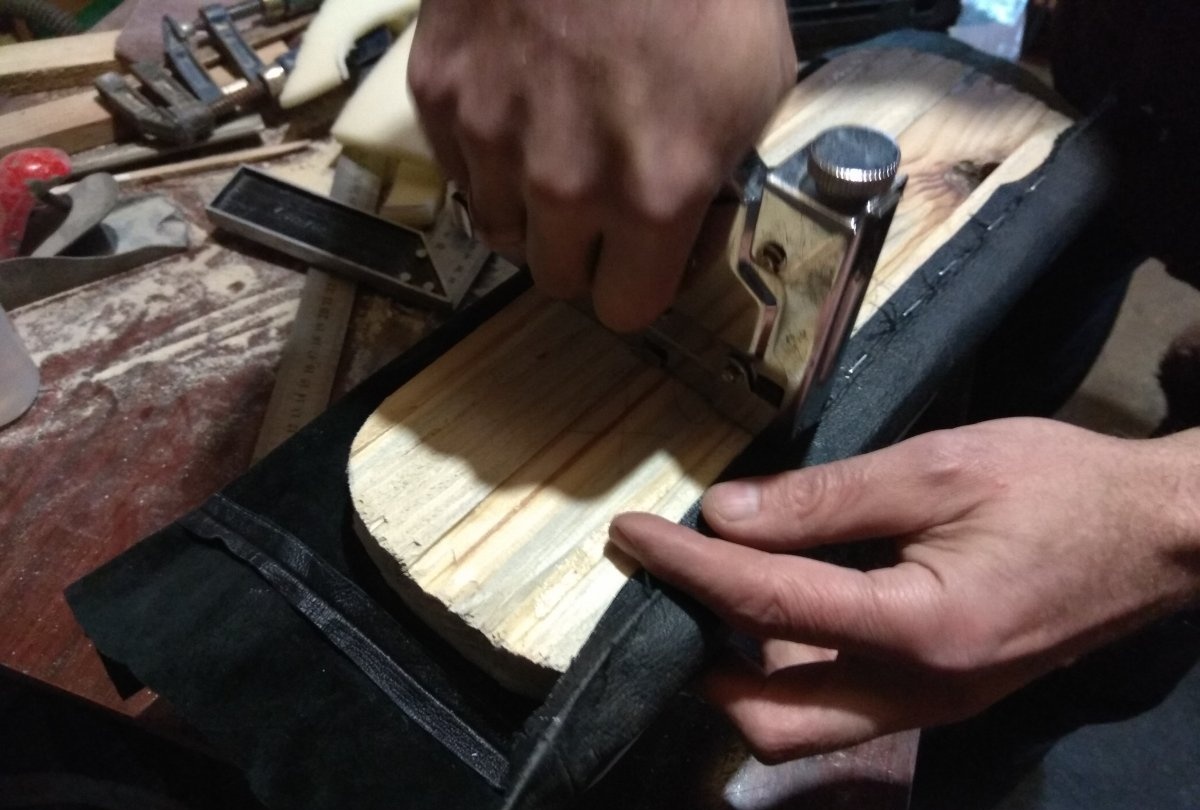
After all 5 parts are ready, you can start assembling the stand. Confirmates can be used for this, as they provide a good fit. They are also more aesthetic in appearance. Before twisting the confirm, drill a hole under it with a drill. First you need to assemble a stand of four parts, without a shield, which will be covered with fabric. There is a bit of work to be done with this item. Take this shield, shorten it on all sides by about 1 cm. This can also be done with a planer or jigsaw.
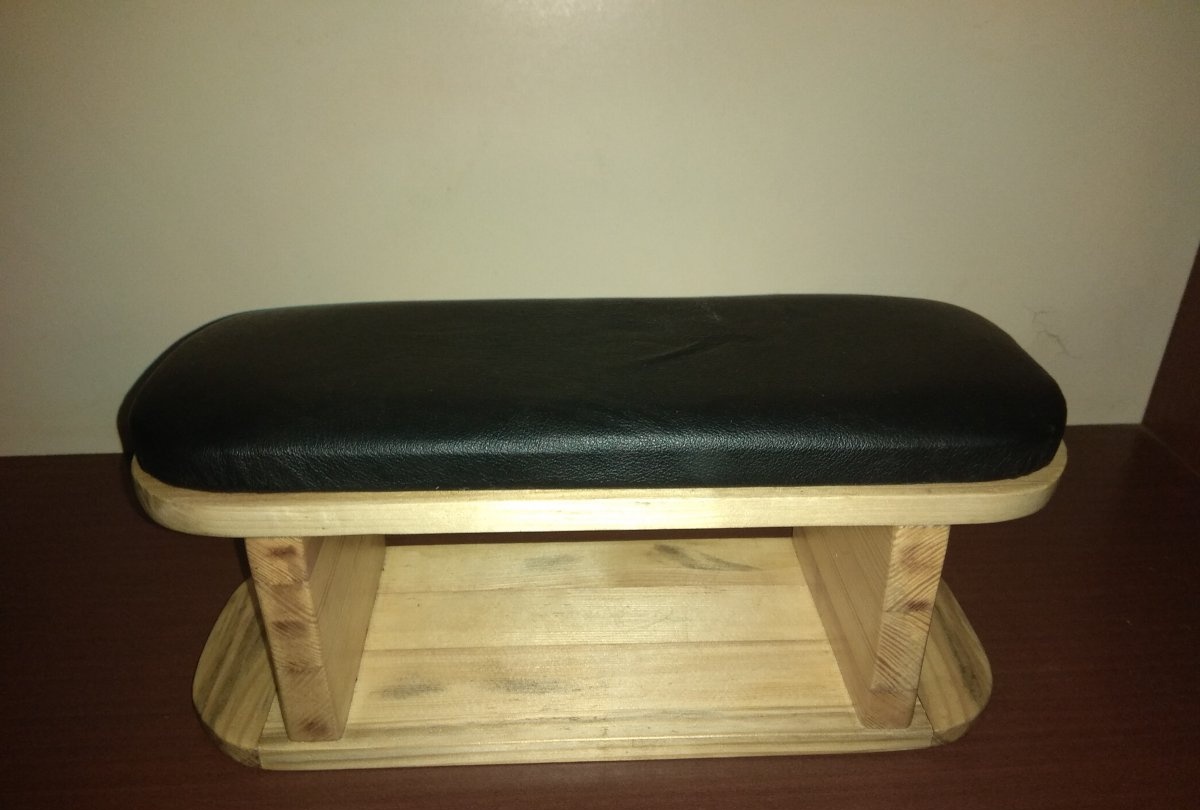
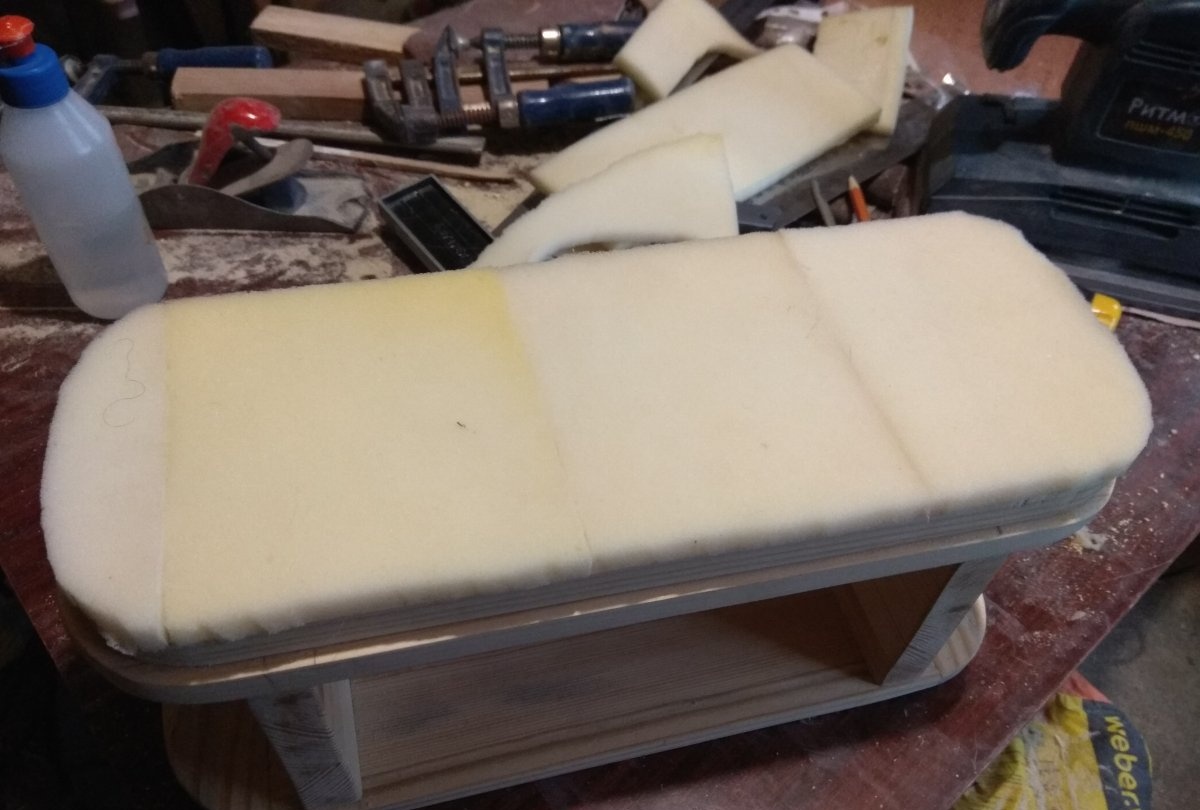
Now you can start gluing the foam. You can take a whole piece of foam and stick it to the shield, and then trim the corners. In this case, the shield was glued with pieces of foam. So it is also possible. In this case, it is necessary to use the Dragon glue.
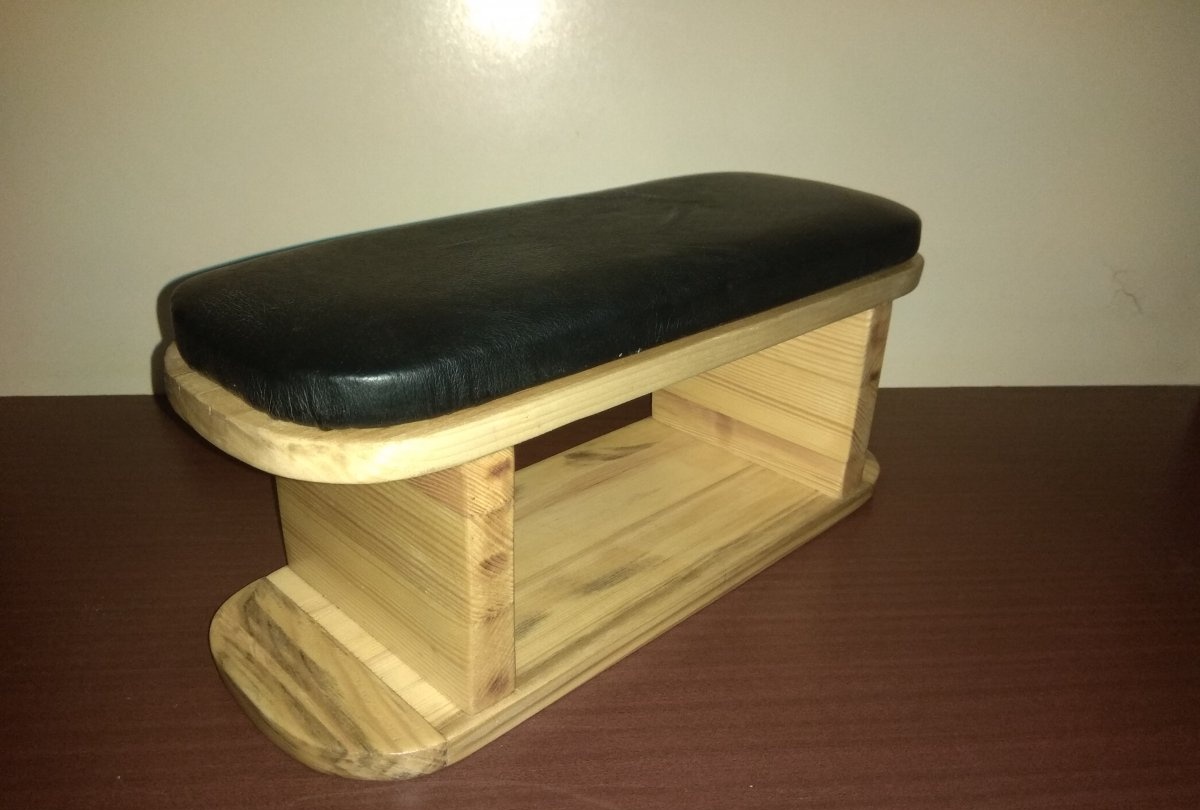
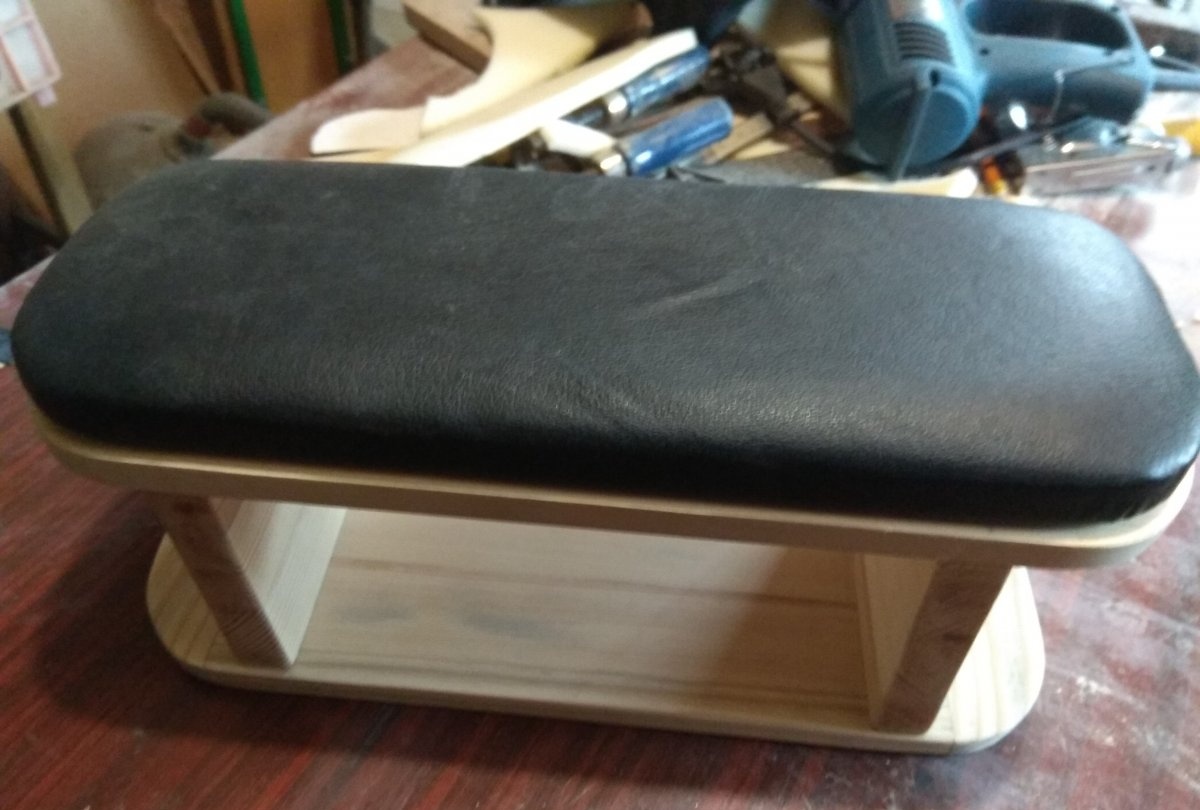
After the foam is glued, you can begin to tighten the shield with a cloth. In this case, genuine leather was used. If you want to save money, you can use a skin substitute. For a close-fitting, it is necessary to take a piece of fabric, with a margin, so that it is possible to wrap the fabric under the shield.The fabric must be pulled and fixed on the back of the shield with a construction stapler. Due to the strong tension in the places of curvature, the fabric will be uniform without wrinkles. After the upper part is ready, it can be fixed from the bottom with screws to the bottom of the stand.
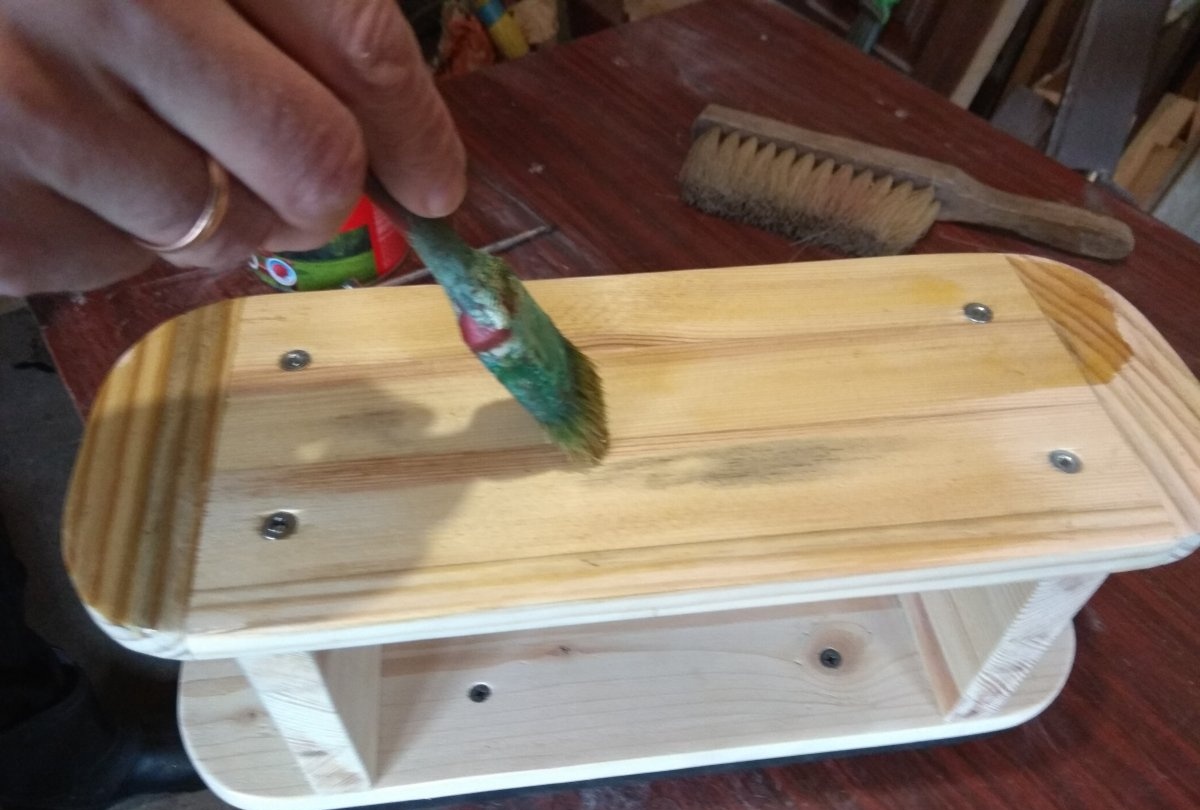
After the stand is ready, it must be covered with varnish in order to protect the tree from moisture. You can use several layers of varnish in order to achieve a smoother wood surface. If there is a desire, then the wood can be toned with wood stain. With the help of stain you can make the desired tone of the stand so that it matches, for example, of furniture your workplace.
So, with the necessary tools, you can easily make a stand for manicure yourself. To make it simpler, the design of the stand can be simplified, for example, without making the bottom shield.