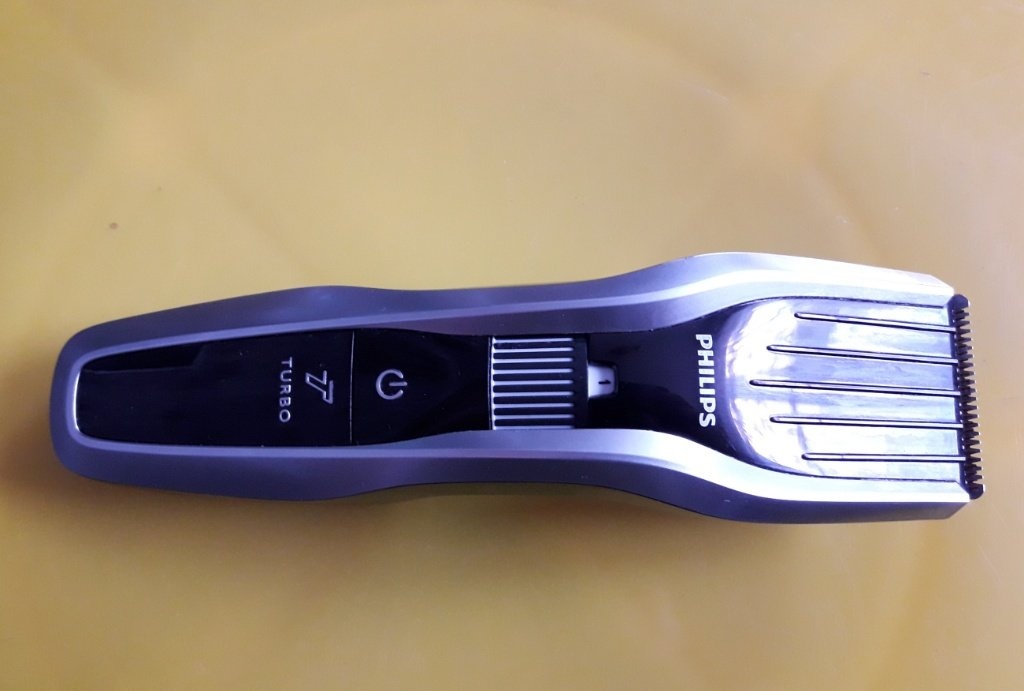
Despite the large and varied number of names and models, hair clippers, for the most part, have the same basic parts and details. They (the machines) may differ in shape, color, weight, but the working part of all is assembled and functions according to the same principle. Which means they understand it the same way. Well, or almost the same - the only thing is that in more modern models, disassembling the working part does not require any tools, while in older models the outer knife is removed using a special key. Professional machines are a completely different matter; They, most often, have self-sharpening knives made of more expensive and high-quality steel, and the assembly of their working part may differ slightly from the usual one. It costs several times more than a regular machine. Besides, you can’t buy it in any simple store that sells the corresponding goods... But today we will talk about an ordinary, amateur (so to speak) hair clipper.
After some time of use, it happens that the machine begins to tear and pluck hair when cutting. The feeling is not the most pleasant. Some owners and users of this device mistakenly believe that the machine’s knives have become dull. In most cases this is not true! First you need to disassemble and thoroughly clean the working part of the device.
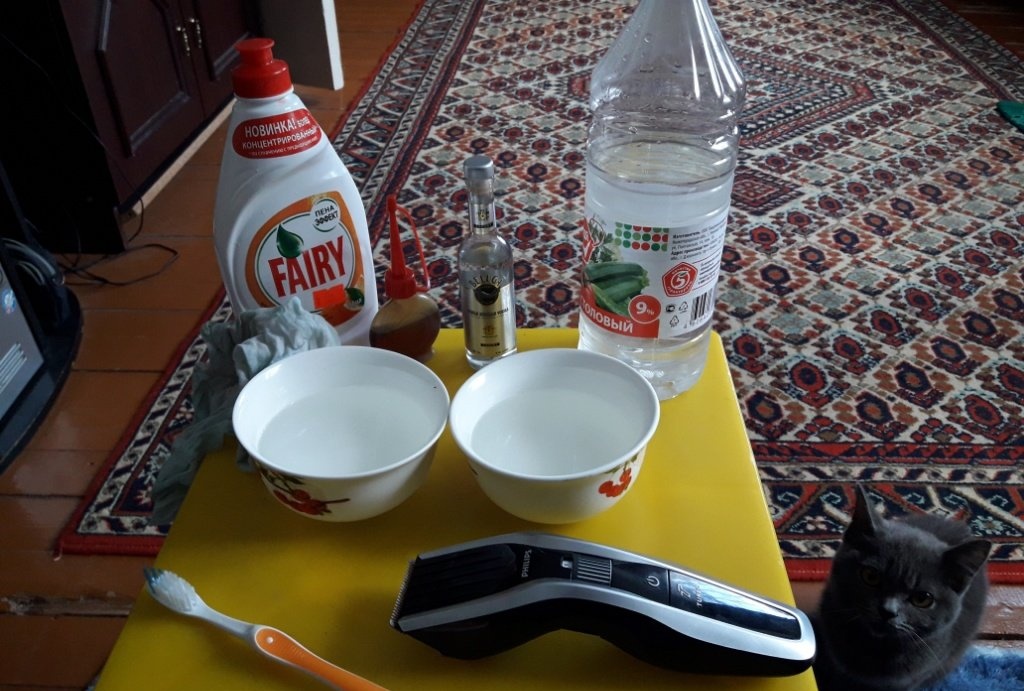
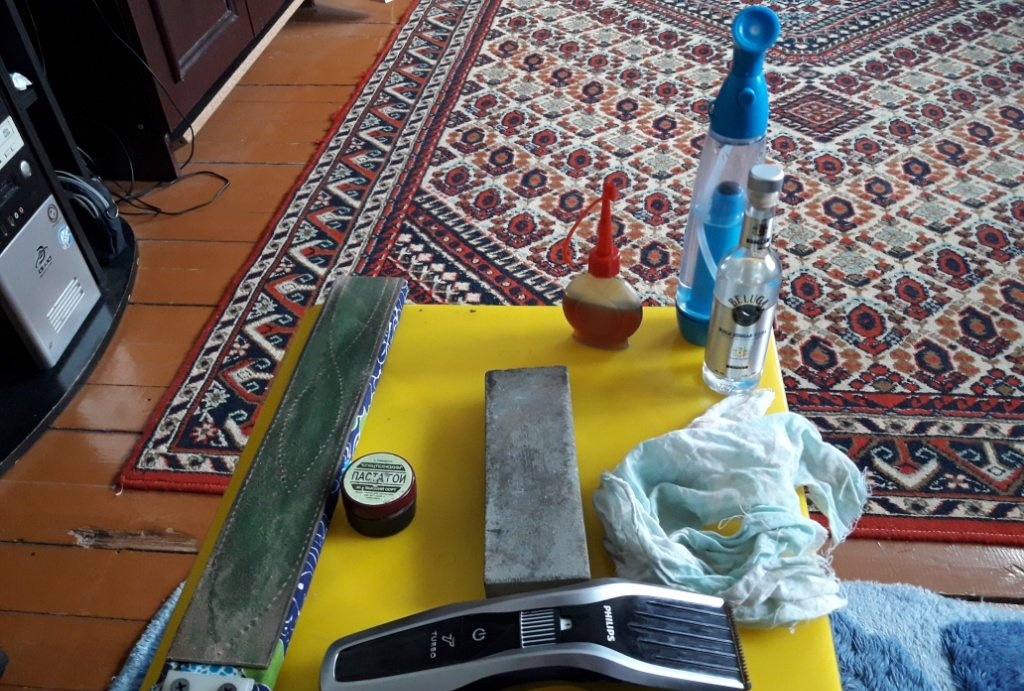
Will need
- Water.
- Dish detergent.
- Vinegar 9%.
- Cotton fabric.
- Oil.
- Toothbrush.
- Disassembly key (depending on model).
- Alcohol (you can use vodka).
Cleaning the machine
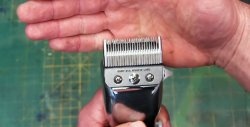
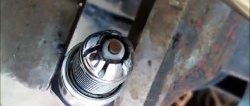
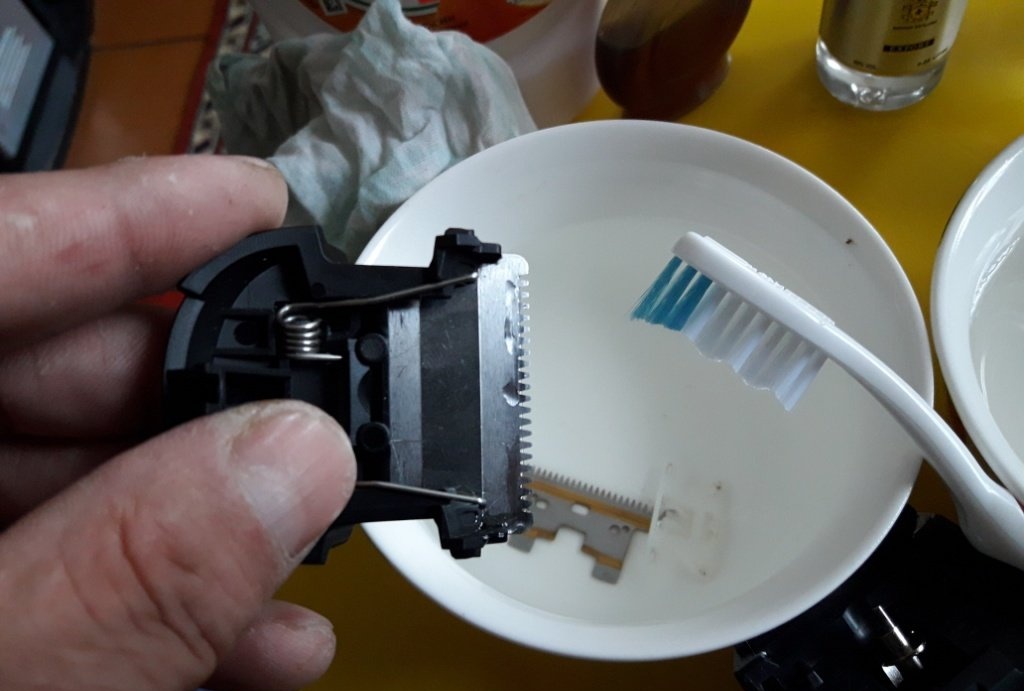
We disassemble the work surface.
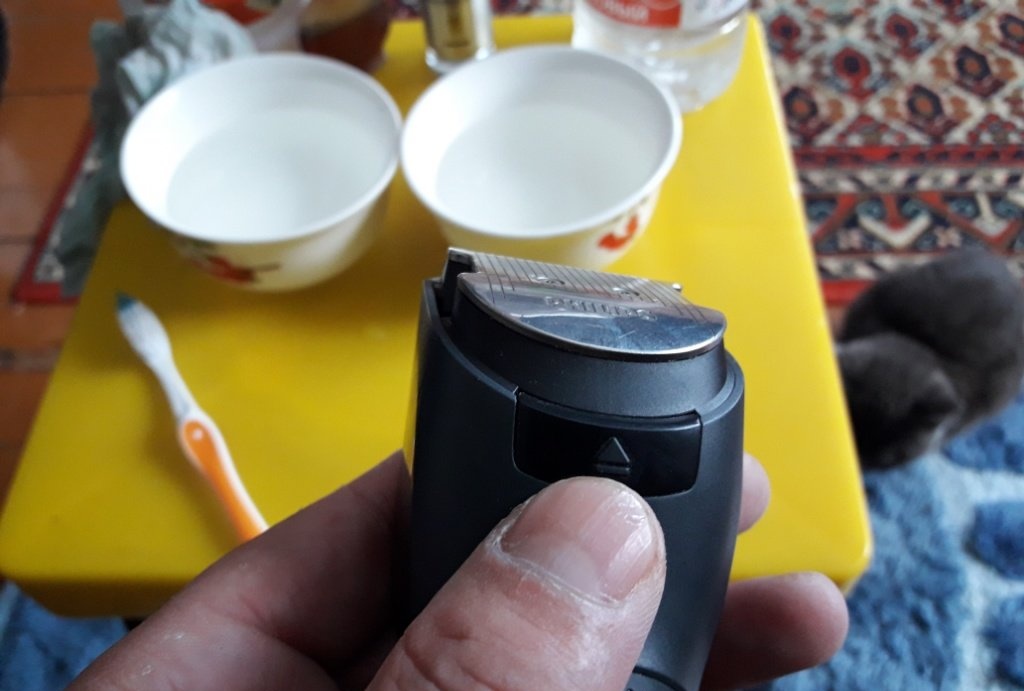
Despite the delicate work and purpose of the device, its parts are simple and not numerous, so even a person who is very far from any kind of mechanisms will not get confused in disassembling and assembling.
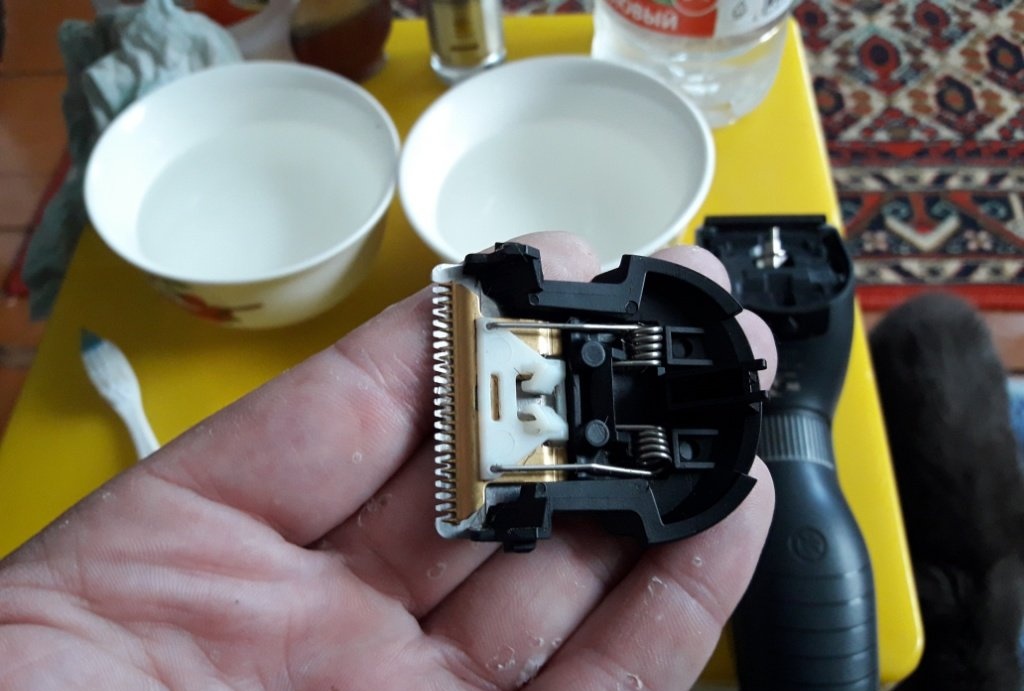
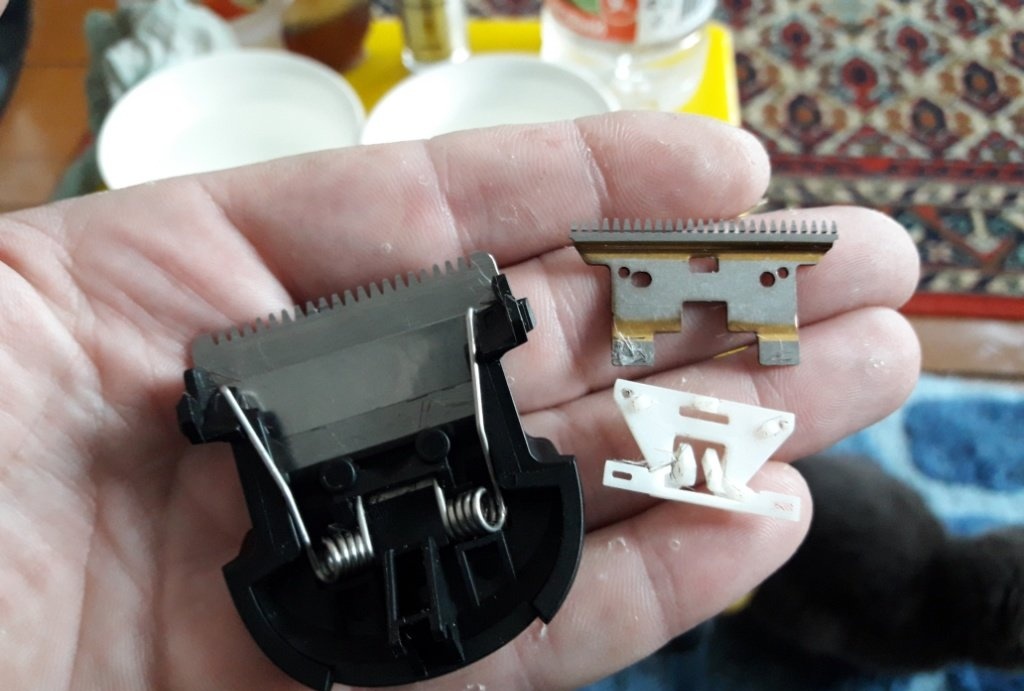
And so, we sorted it out. Now we carefully clean each part from hairs and dust with a toothbrush.
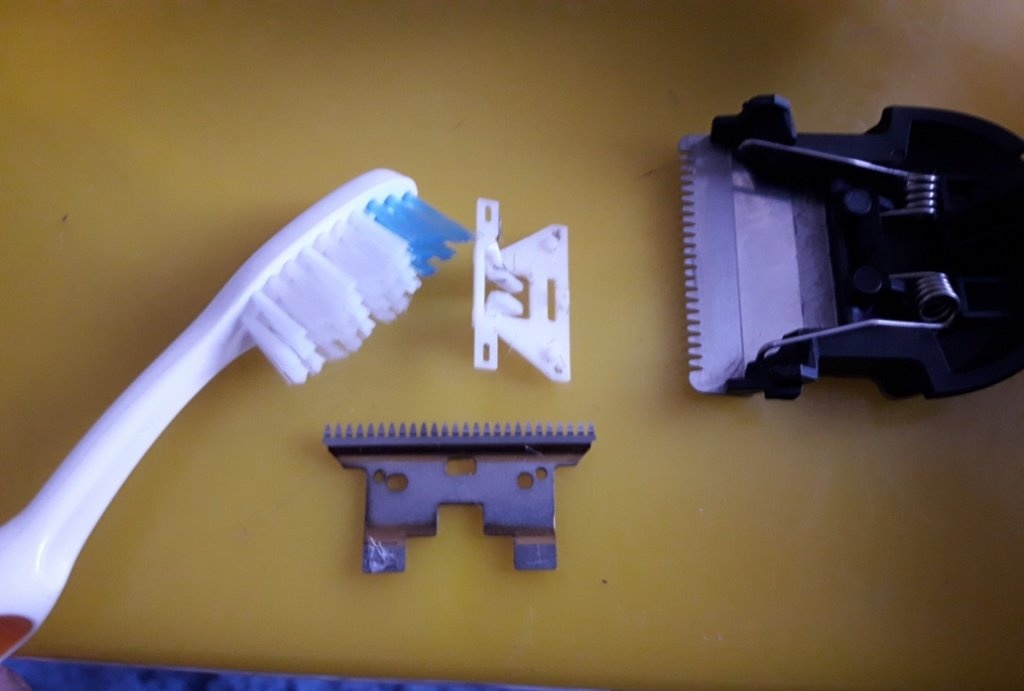
Most often, the machine comes with a small brush and a small tube of oil, but with such a brush, if I may say so, you can’t clean much! Next, if there is rust on the metal parts (this happens after cutting wet hair, and also due to the manufacturer using low-quality steel!), lower these parts into a container with 9% vinegar for five to eight minutes, after which we remove the rust with a brush. We thoroughly wash all the parts in a container with water and detergent, rinse them with clean water, and leave them to dry on a clean cloth.
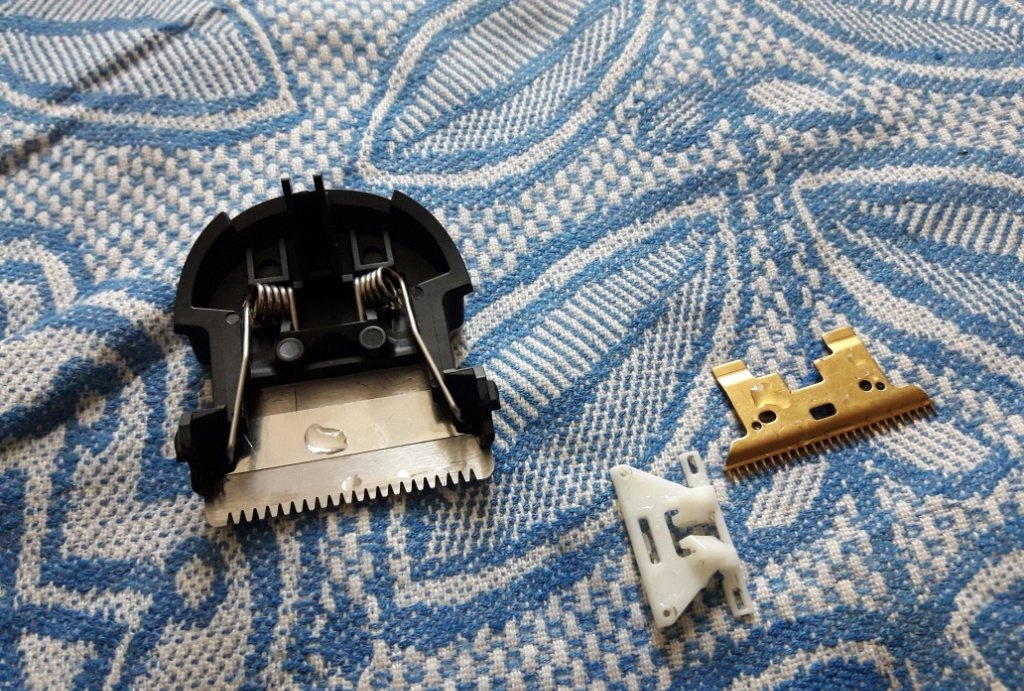
After all the parts are dry from moisture, we also carefully wipe them with a clean, dry cotton cloth. Putting the machine back together. When assembling, we drip oil onto the springs and all moving parts.
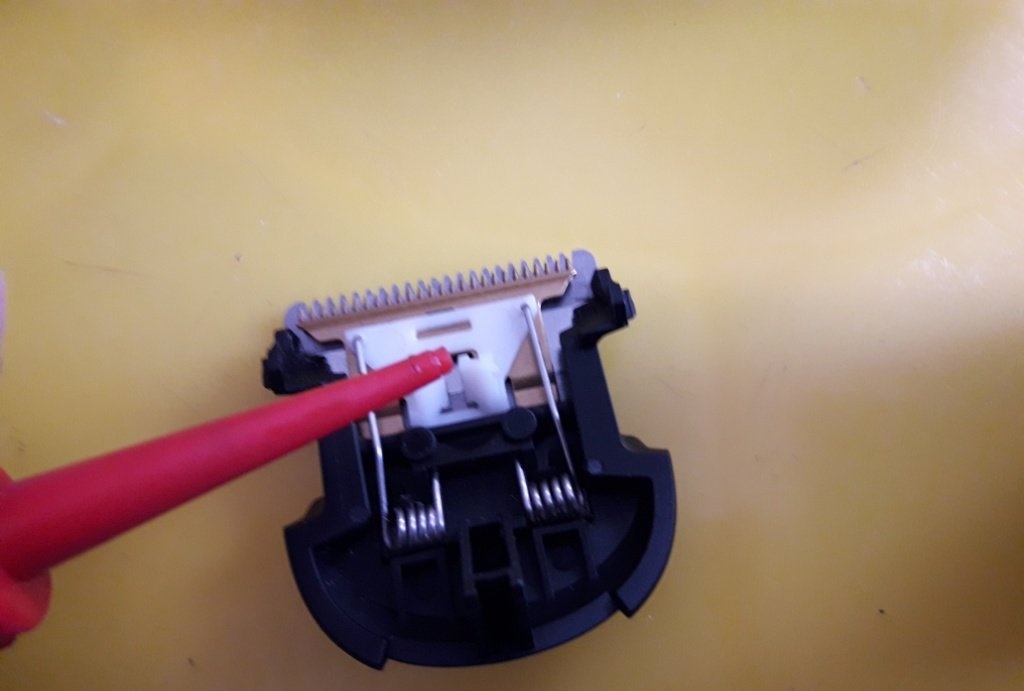
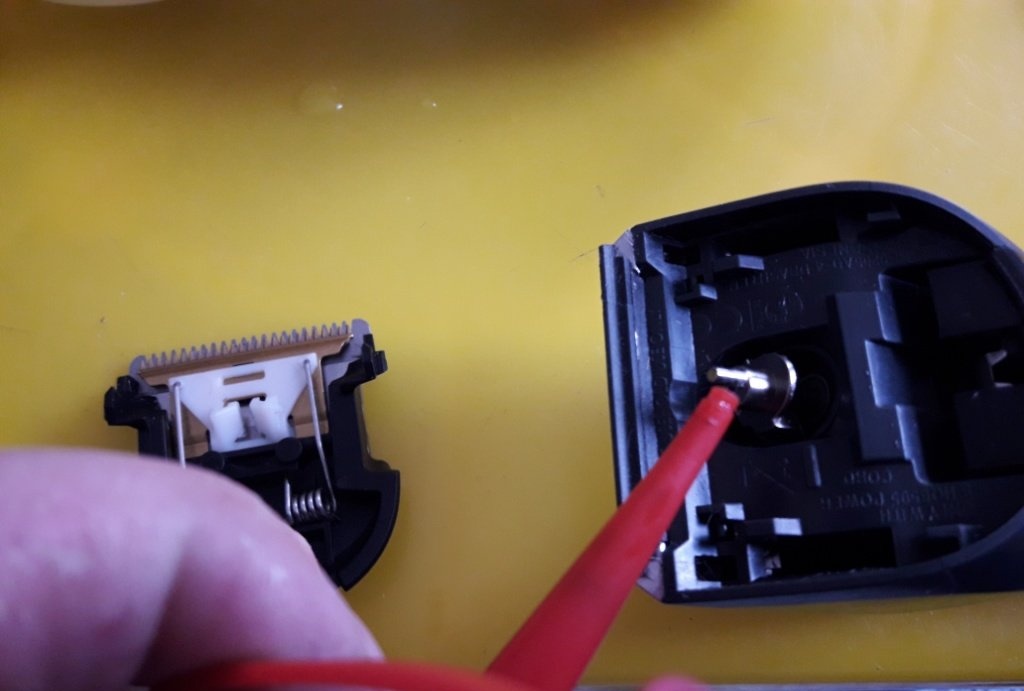
After final assembly, drop a drop of oil directly onto the cutting teeth of the machine knives, turn it on, and let it work for a minute and a half.During this time, excess oil will come out of the joints and holes of the mechanism. Turn off the machine, wipe off any excess oil and wipe the outer blade (which is in contact with the skin) with alcohol. In most cases, this is enough for the machine to work as before when you first used it. However, if the problem persists, then the problem really is with the machine knives. I'll have to sharpen it.
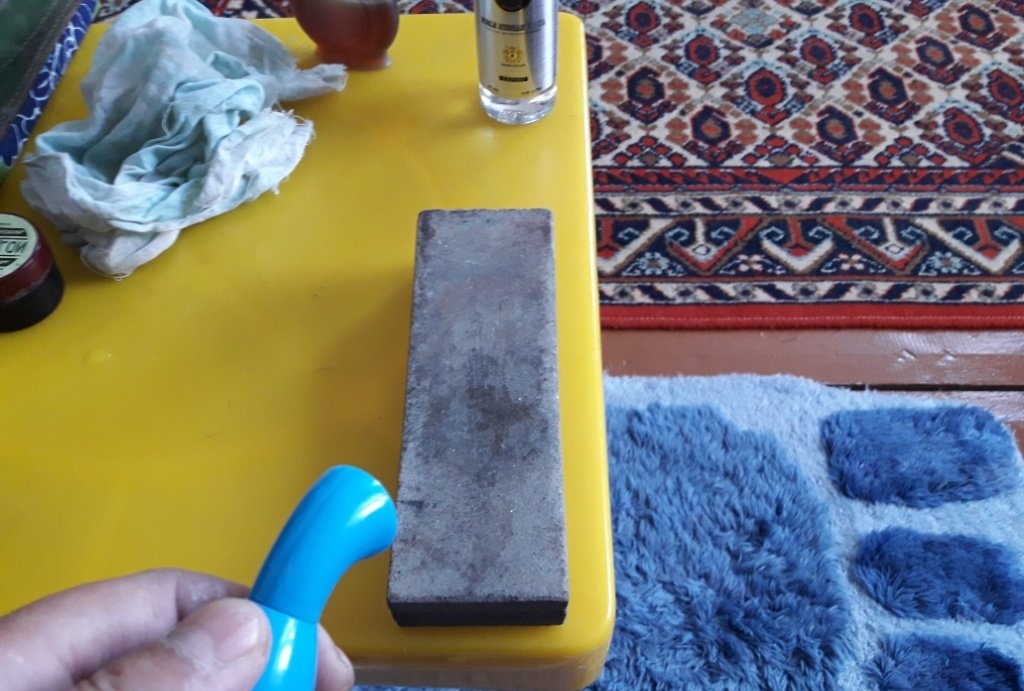
Will need
- Sandpaper (zero), or a wide block of appropriate grain size.
- Absolutely flat surface.
- Leather or rough cotton fabric.
- Goi paste or chalk.
- Pure water.
- Oil.
- Water sprayer.
- Alcohol.
Sharpening machine knives
I won’t sharpen the blades of my machine, since I did it recently, but to show it clearly, I’ll demonstrate it on them. So; repeat the procedure with disassembly. Lay sandpaper on a flat surface (you can use a wide sharpening stone or an abrasive disc of appropriate grain size, the main thing is that they are smooth!), spray the abrasive with water from a spray bottle and start sharpening.
We sharpen with the teeth forward (away from ourselves). That is, we return the blade to ourselves without touching the abrasive.
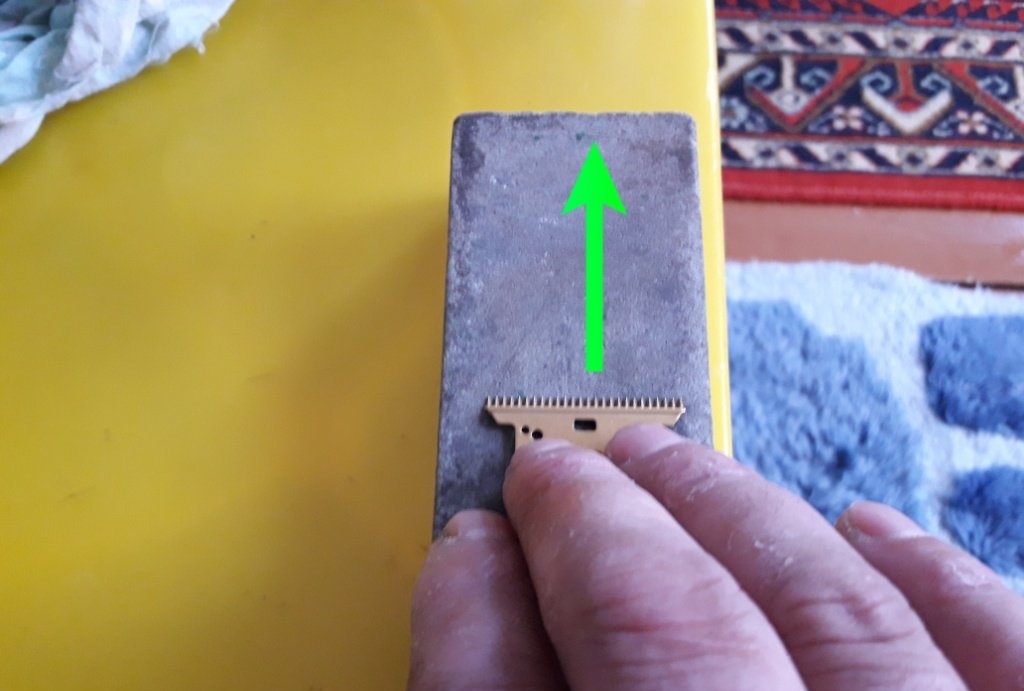
There is no need to put too much pressure on the blade. We pass it along the sharpening surface only slightly holding and pushing it - for such a fine sharpening, the pressure of its own weight and your pressure while holding the plane of the blade on the plane of the abrasive is quite enough for it. We repeat these movements 30-50 times. Do not forget to wet the surfaces as the water evaporates during sharpening. After such “rough” sharpening, it is necessary to correct the teeth with finer abrasives: chalk or goi paste.Spread the leather on a flat surface, spread goi paste on it (in the absence of such, you can use a coarse cotton cloth and ordinary chalk) and in the same way as during the previous sharpening, repeat the procedure - teeth forward, 30-50 times.

Next, we wash the blade, dry it, wipe it with a dry cloth and, not forgetting to oil the washed surfaces on the blade, put the machine back together. Also, don’t forget to drop oil on the teeth and let it idle. Only this time it takes about three minutes for the freshly sharpened teeth to get used to each other. After this, wipe the blade with alcohol. Now the machine will cut your hair as it should, without any unpleasant “surprises”!
If, after all the above procedures, the machine continues to pinch and pull the hair (which is unlikely!), then the steel from which the blades are made is of very low quality and useless. All that remains is to replace these blades. If, of course, you manage to find them on sale, which is very difficult. Perhaps only in some online stores.