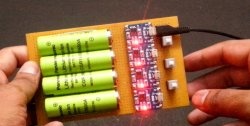
An external battery that suddenly fails is not a reason for frustration, especially if only its microcircuit is damaged. Of course, this is the most important part in this device, but if the batteries are not damaged (many such devices often use 18650 batteries) they can always be used. My external battery had six lithium-ion cells. Each is 4.2 volts and has a capacity of 6800 mAh.
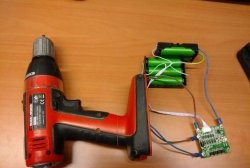
At least that's what it said on the label. Not having a measuring device, I took them to a friend to check. Measurements showed a capacity of 4300 mAh, which is also very good. The label didn’t lie about the voltage – 4.2 volts. At the same time, he asked to identify the breakdown of the device itself. Having made sure that the reason was in the microcircuit, and the batteries were not damaged or spoiled, I quickly found a use for them. I decided to make a wall lamp, independent of the outlet (fortunately, the battery capacity allows it to work in such conditions).Having connected three batteries in series and received 12.6 volts at the output, for fun, I connected a 12-volt LED light bulb from an old chandelier to them. The effect is quite impressive - in the first seconds I was blinded. The light is incredibly bright. At least it wasn't so bright in the chandelier. For some reason, the light bulb itself barely heats up, which is quite strange with such light output. It's strange because I know that LEDs They also tend to heat up at high brightness. Take, for example, the flash on a phone, if you use it as a flashlight... But this suddenly discovered plus gave me the idea of such a lamp - it works for a long time, heats up little, it glows brightly! Let's start assembling.
Will need
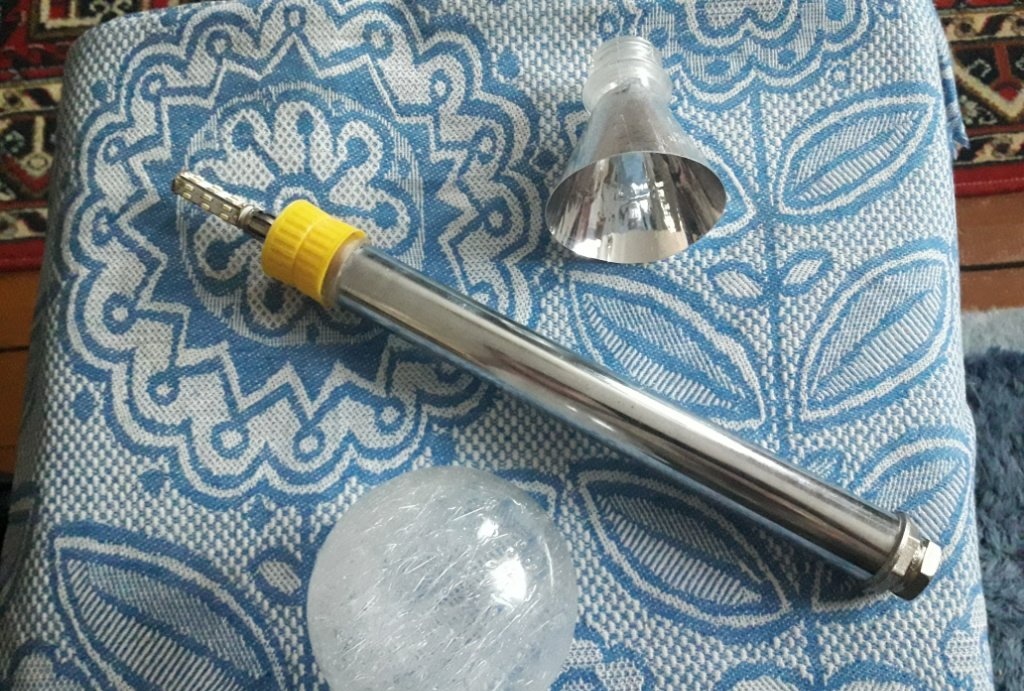
- A piece of metal pipe with a diameter of 30 mm and a length of 210 mm.
- Three 18650 batteries, voltage 4.2V. (you can also use four 3.7V batteries. But then you will have to extend the tube-housing to the appropriate distance)
- 12 volt LED light bulb and a cartridge for it.
- Internal and external hollow threads M10x1.5 (these are used in chandeliers, sconces, table lamps and other electrical appliances).
- 15mm locknut.
- Plug with 15 mm external thread.
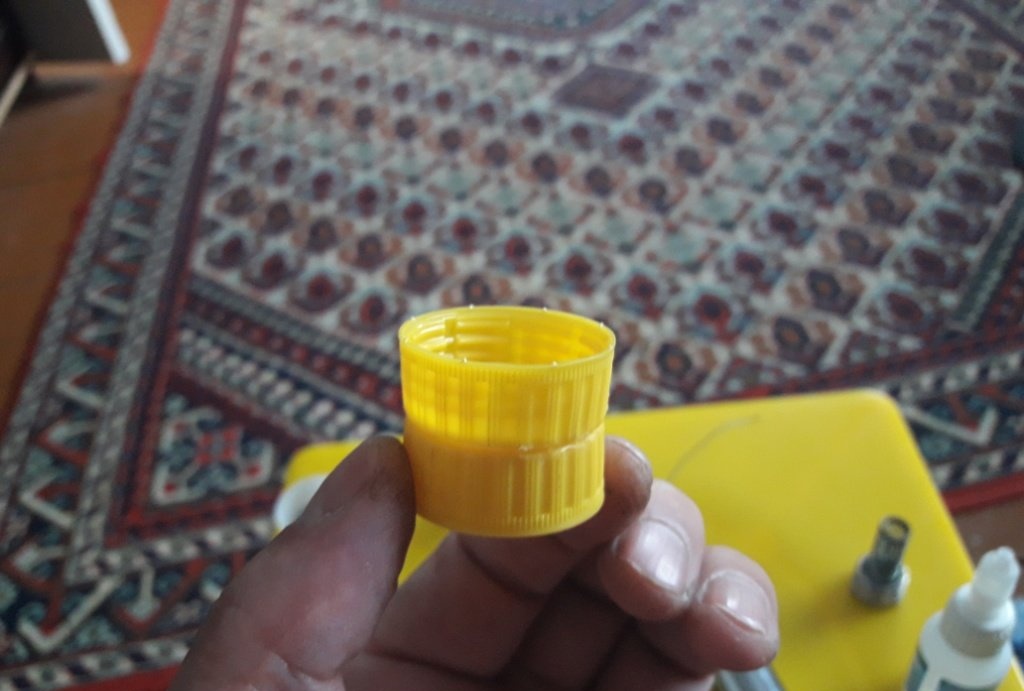
- Thread from a plastic bottle.
- Two caps from a plastic bottle.
- The plastic itself is from a bottle (flat, with an area of 200×150 mm).
- Spring.
- Tin-lead solder and flux.
- Thin wire from headphones.
- Heat shrink tube 3 mm.
- Aluminum wire with a cross section of 2-3 mm.
- Secondary glue.
Tool:
- Sander.
- Scissors.
- Stationery knife.
- Sandpaper.
- Round file.
- Drill.
Making a lamp
First, let's prepare the lamp body. It will be made of a metal pipe.After we have cut off the required piece, we will process the edges with sandpaper and a round file so as not to get hurt by burrs while working. Now, using a tie made of aluminum wire and knitting needles, we press the lock nut to one of the ends of the pipe.
We treat it with flux and place a piece of tin-lead solder on top, closer to the joint. We heat this structure on a gas stove.
Be careful not to let the solder fall. When the required temperature is reached, the molten solder itself will spread throughout the entire joint. Now let's cool it all down. We remove the screed. The result is something like this:
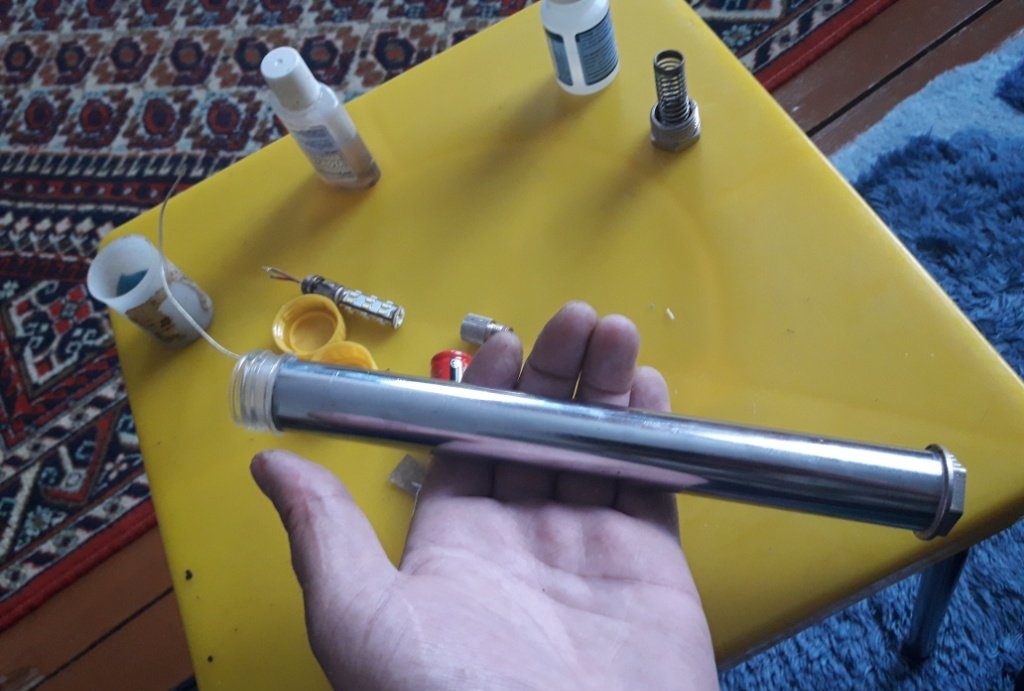
We cut off the margins of the plug with a grinder so that it is flush with the body. Although, you can leave it if you are too lazy to bother. It’s just that if in the future the lamp is inserted into a bracket on the wall, these fields may interfere. Now let's move on to the bottom cover. We take a 15 mm plug, drip flux inside, put a spring there, put solder and repeat the procedure with heating.
The result is the bottom cover of the lamp, through which we will insert the batteries. And now the top cover. We roll the plastic cut from the bottle into a tube and insert it into the prepared thread from the same bottle. This plastic tube, in addition to its insulating function, will also serve as a filler so that the batteries do not dangle or rattle inside the housing when the lamp is used in a mobile manner. We solder a small wire to the edge of the case from the inside (for the minus, which will be on ground).
We pass this wiring between the thread and the plastic tube and insert this tube into the body.
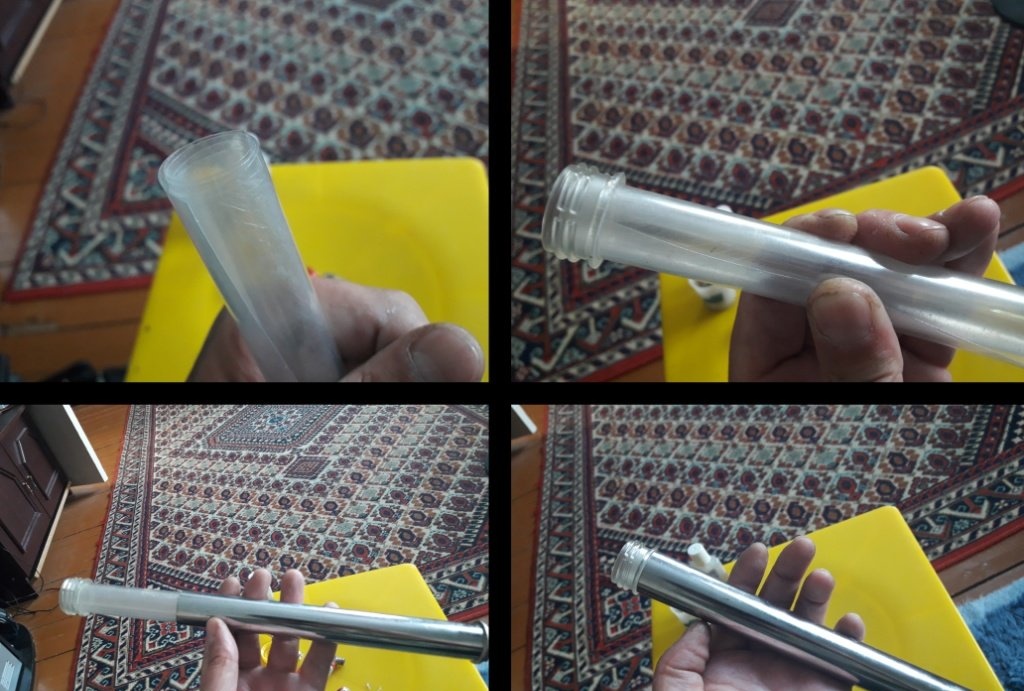
Just to be sure, we drip a little second glue onto all the joints of the plastic. This results in a threaded body like this:
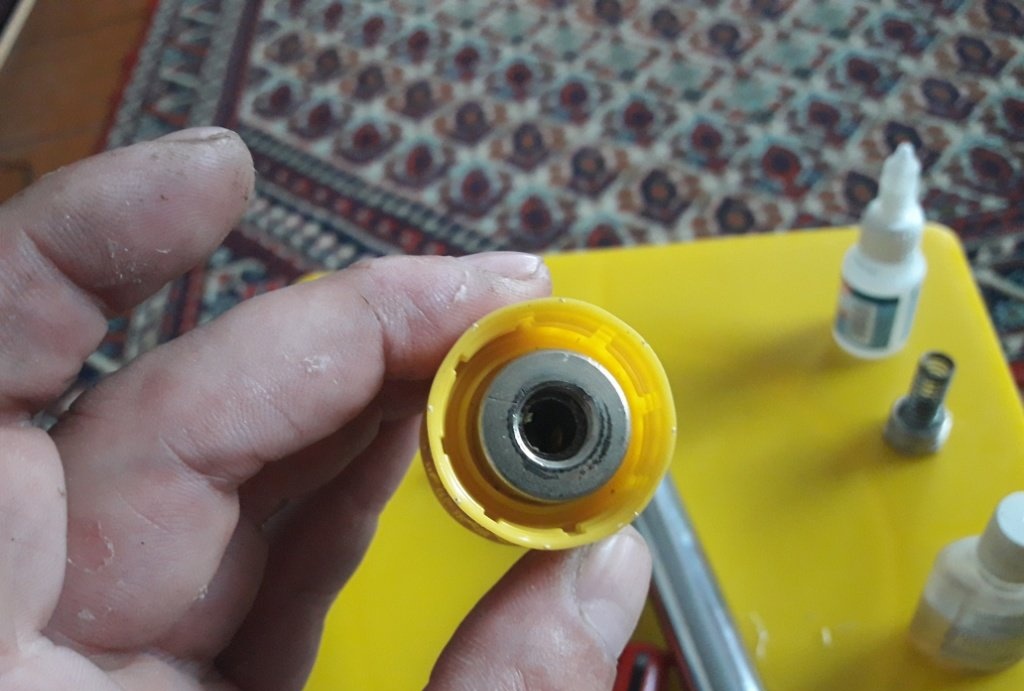
Next, we glue the two prepared bottle caps together at the bottoms and drill a 10 mm hole in them in the middle.
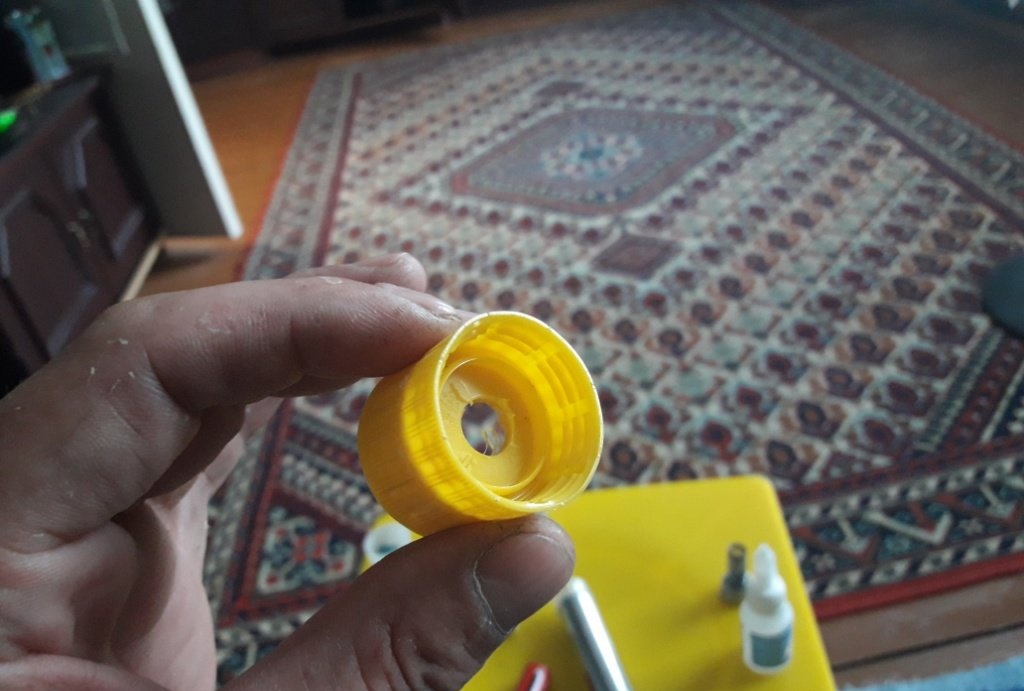
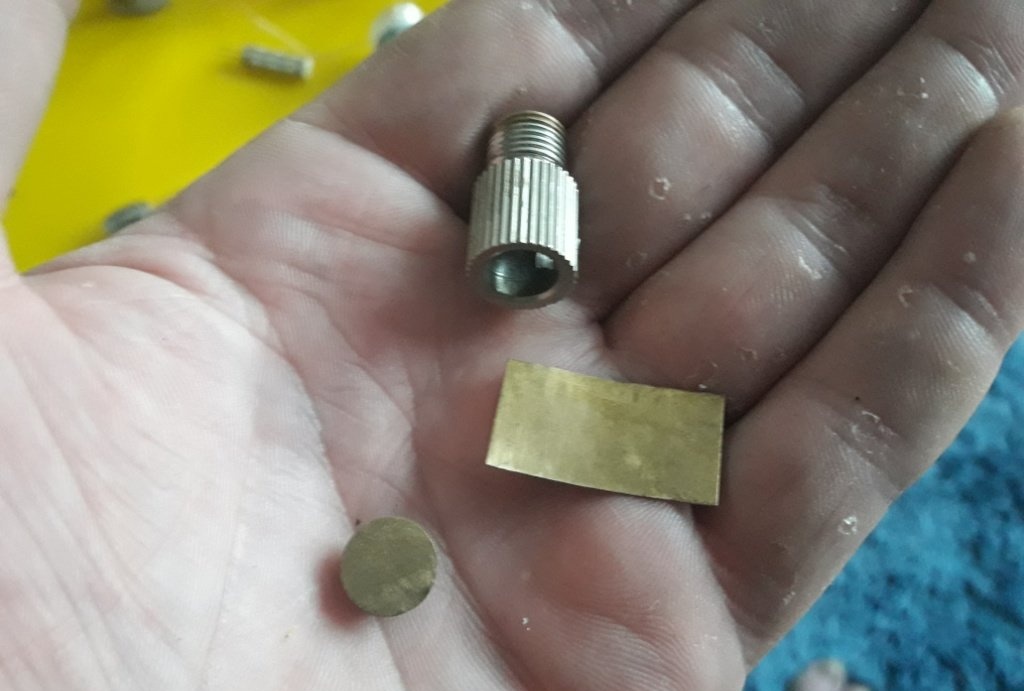
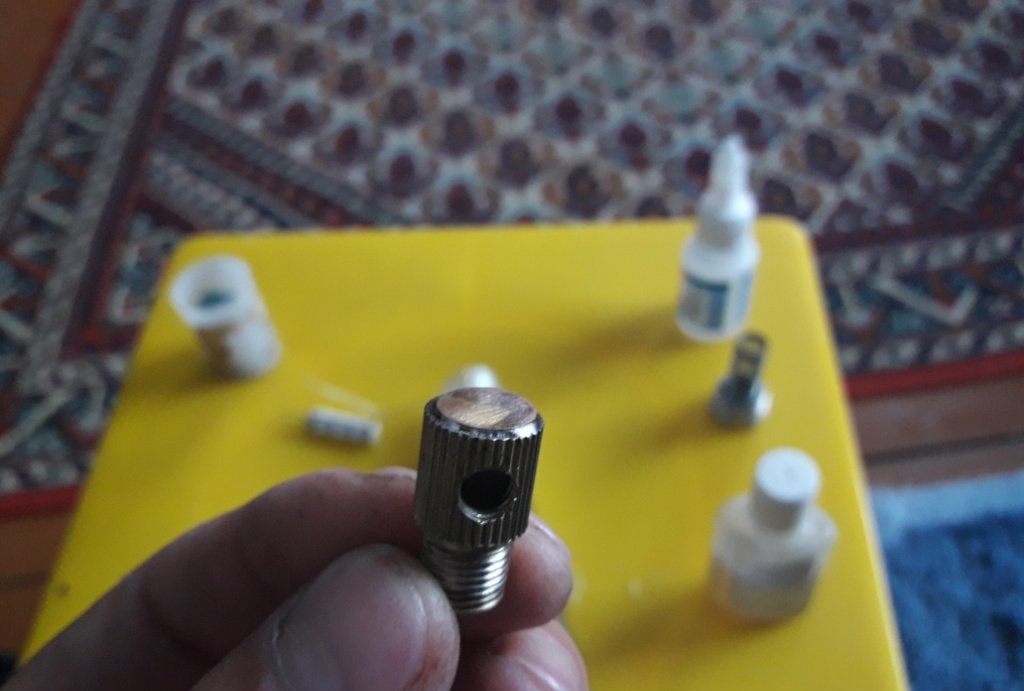
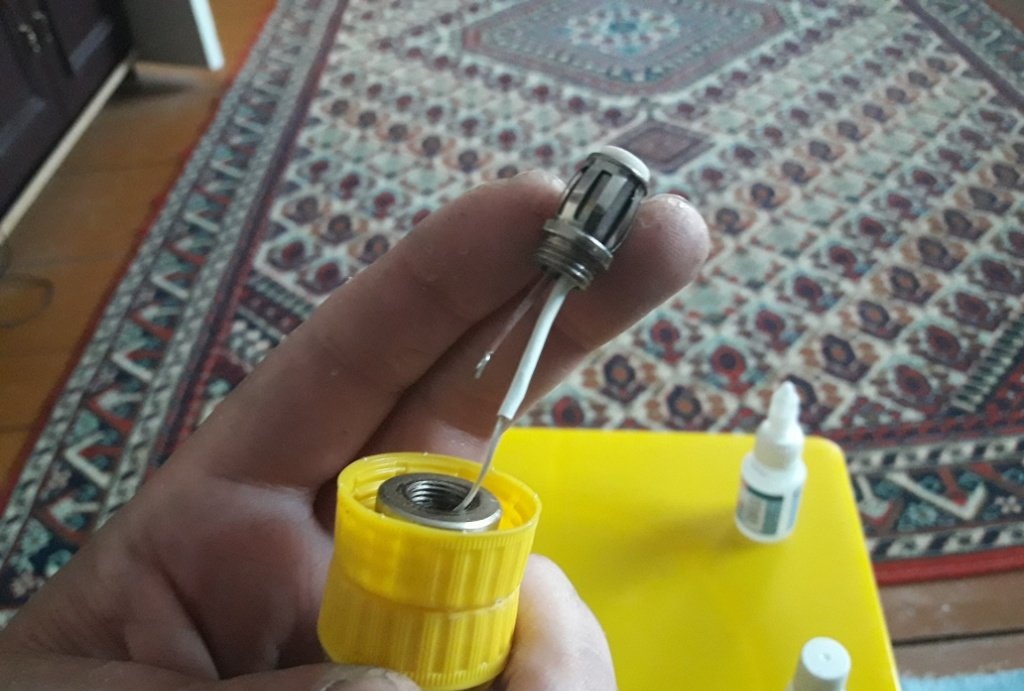
Now we take the hollow thread from the chandelier and, having cut out a plug from brass or copper, solder the plug to the thread. This will be the positive contact. We drill a 3 mm hole in this thread for the negative wire, which we soldered to ground.
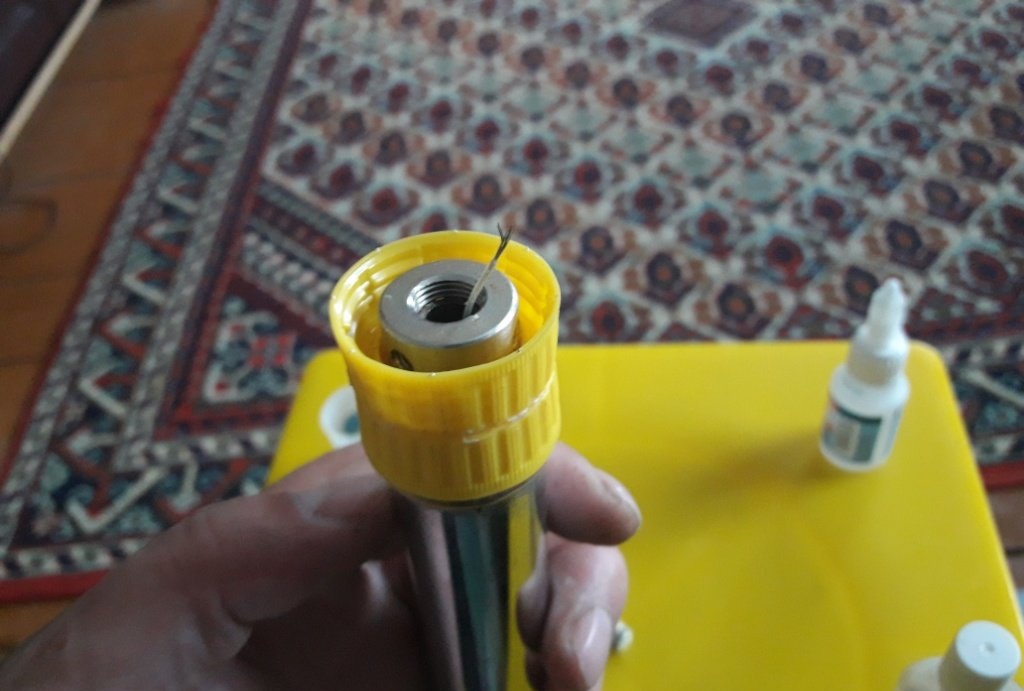
We insert this thread into the hole of the glued covers and screw on the other side a thick washer with an internal thread.

We pass the negative wire from ground into the resulting through hole in the threads and screw this entire structure onto the body.
Now, solder the minus to any of the cartridge contacts and isolate it.
We clean the second contact of the cartridge and, pressing it against the thread of the cartridge, screw the cartridge into the thread of the thick washer.
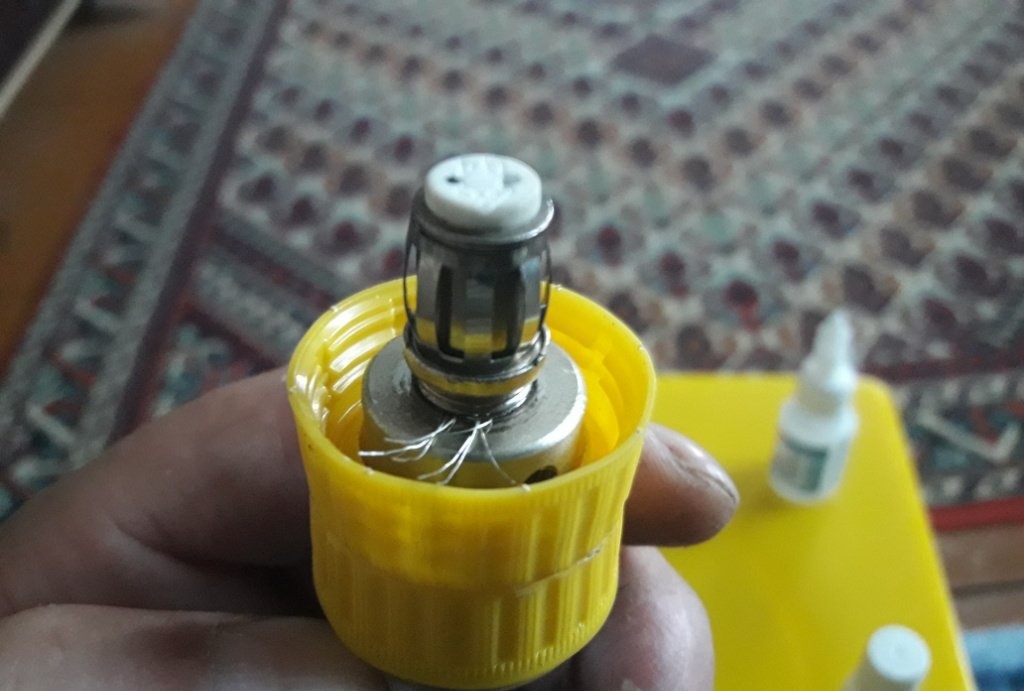
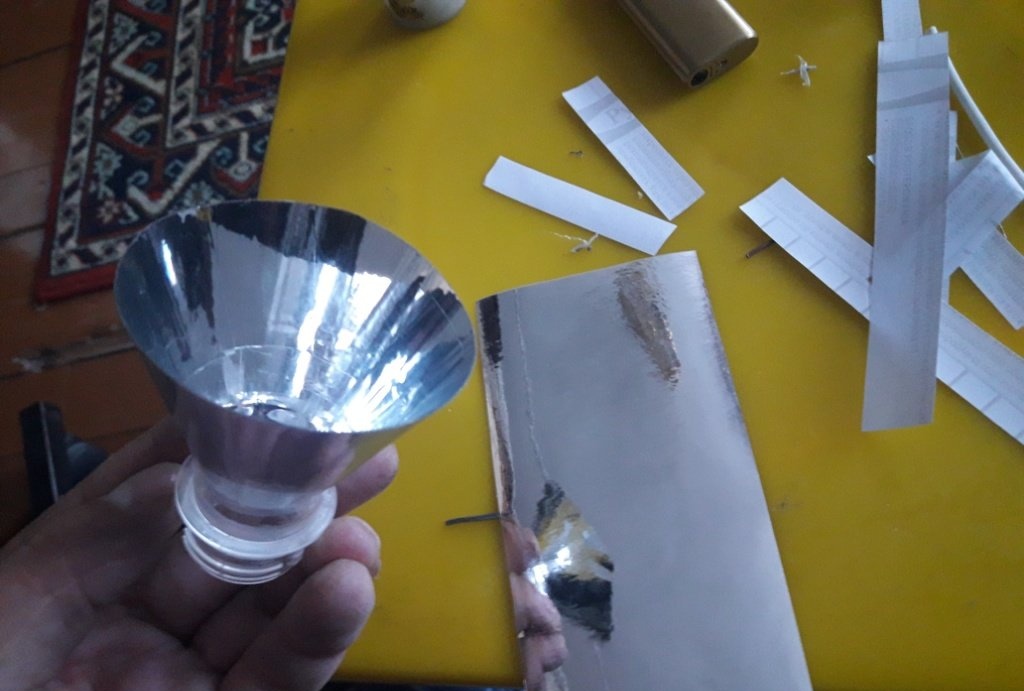
Remove any protruding wire remnants. Thus, we got an external metal casing - this is a minus, and an internal threaded assembly is a plus. The role of the switch will be played by the bottom cover by turning it in one direction or another. We shorten the spring to the required length, which allows us to obtain a closed chain when the lid is fully tightened, and a break in the chain when the lid is slightly loosened. Insert batteries and use. If you have suitable small lamps, you can use them. By the way; This lamp is easy to adapt to a flashlight. It is enough to cut off the top part of any plastic bottle along with the threads, cover it from the inside with a shiny self-adhesive film (well, or foil, in extreme cases!) and screw the resulting reflector onto the internal thread of the body, which remains on the glued lids.
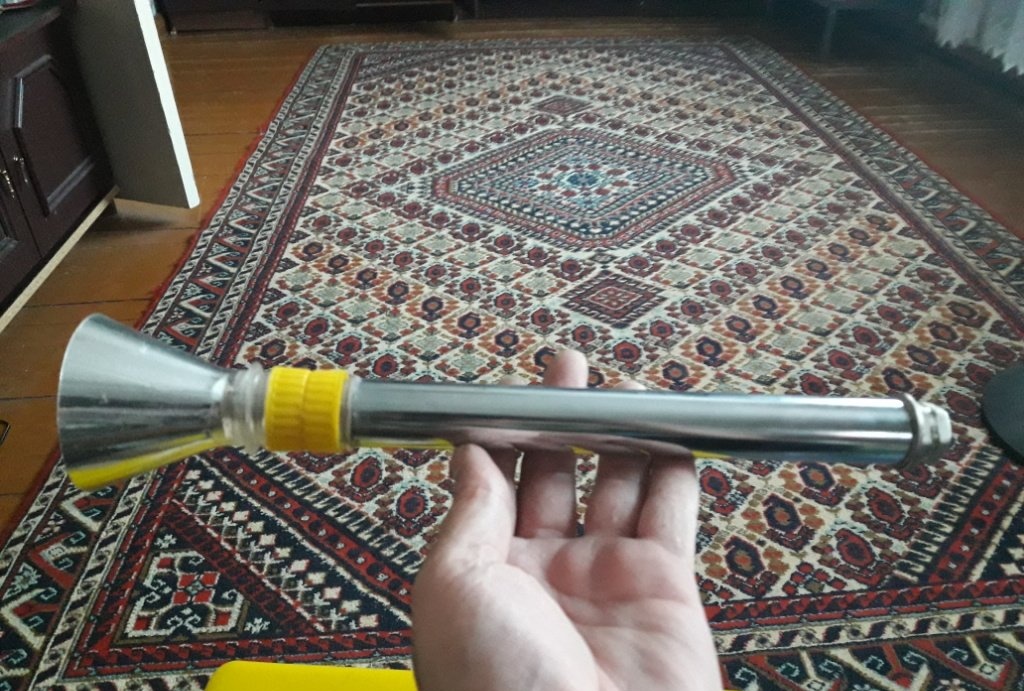
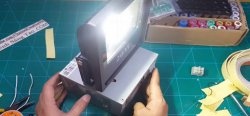
The lamp turned out good. Powerful. As you can see in the video, it shines perfectly even in natural daylight.You can take it with you on an overnight stay in nature. I still have three batteries left that I keep charged. They charge quite quickly - 3-4 hours, and can work for more than 7 hours. Yes, and buying these is not a problem, if anything...
Well, a bracket for attaching to the wall can be made from a piece of pipe with a slightly larger diameter than the lamp body.
Watch the video
Watch the full operation of the flashlight in this video.