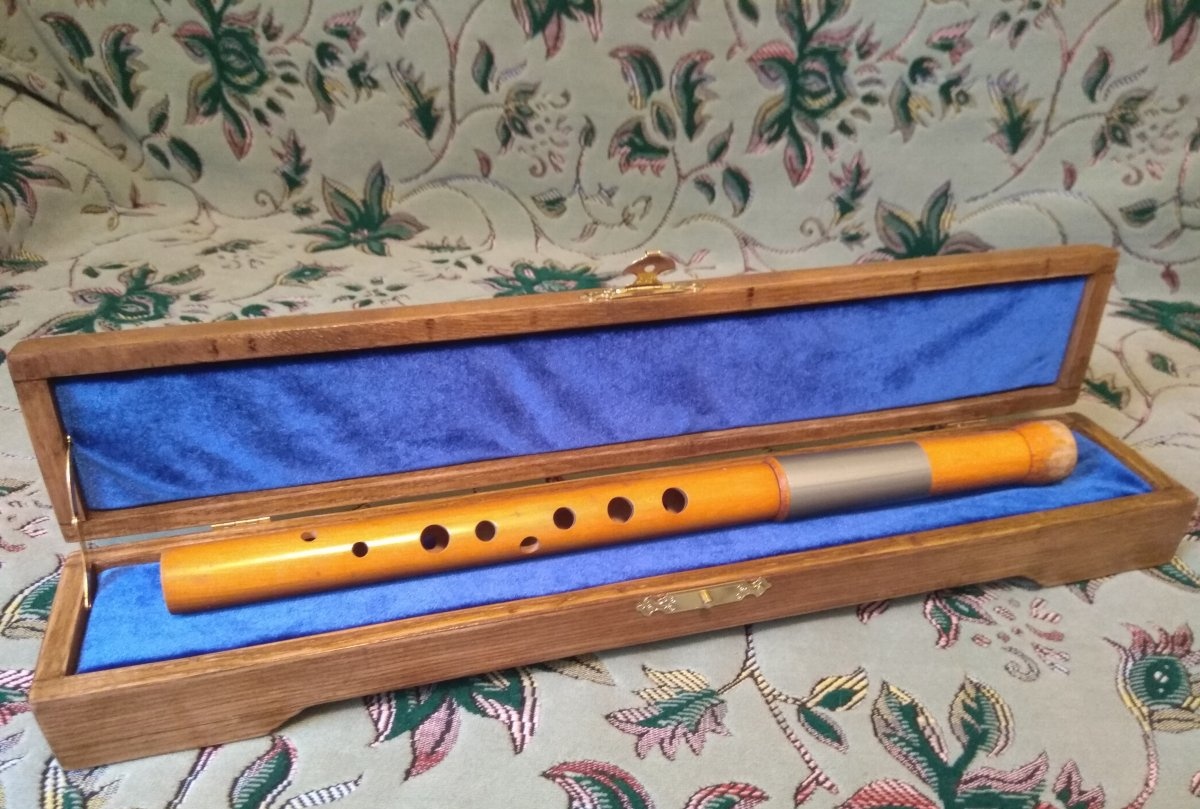
Case dimensions
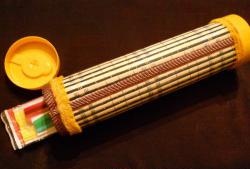
Before you get started, you need to decide on the size of your case. Does it depend on what you want to put in there? To do this, you need to measure the item that you are going to store in it, but it is better to make the case a few centimeters larger so that this item can easily fit there in width, length and height. For example, the size of a flute is 45x3x3 cm. Therefore, the internal size of the case will be 50x6x5 cm.
Material
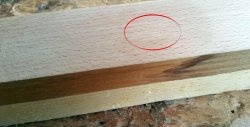
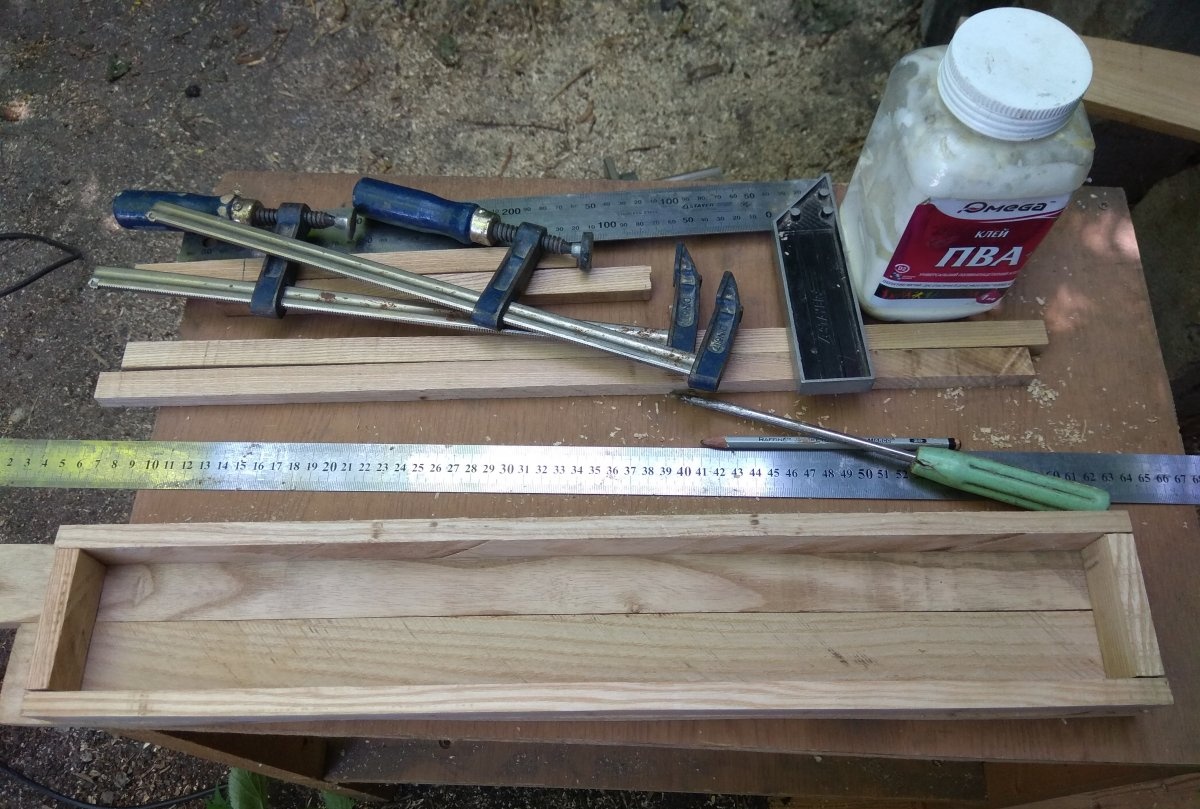
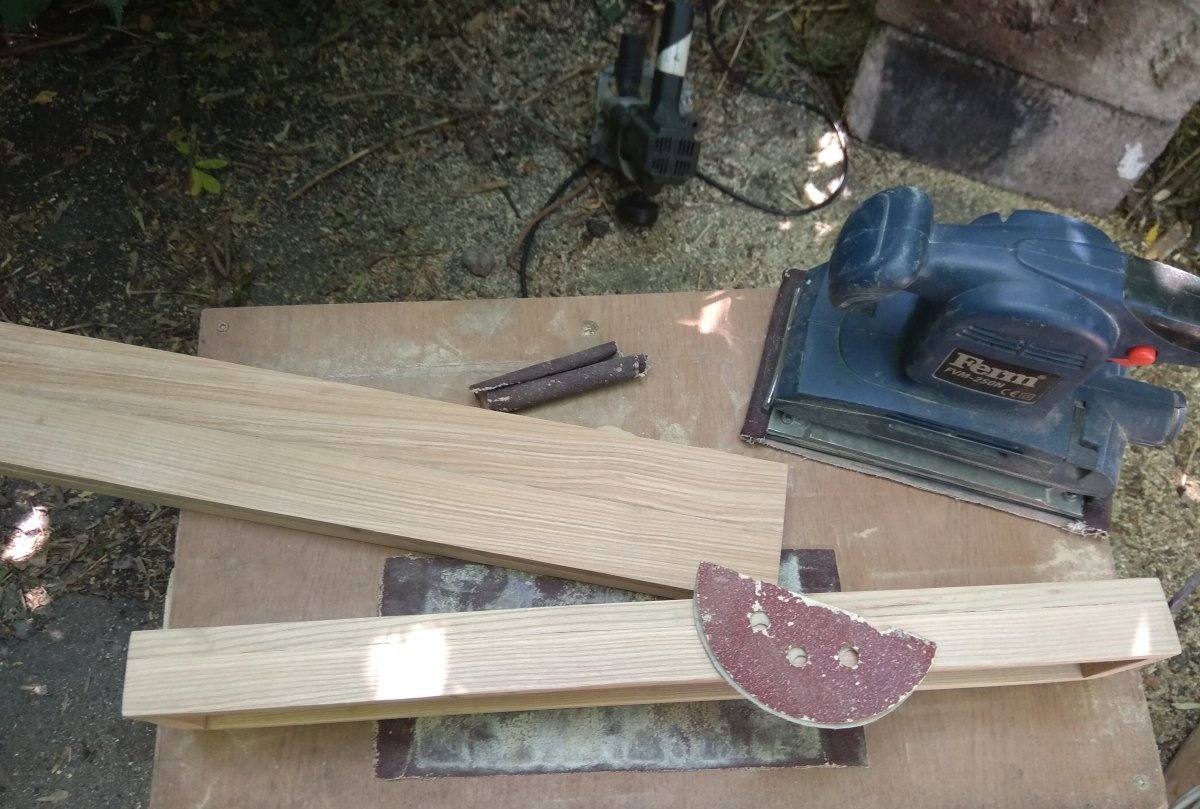
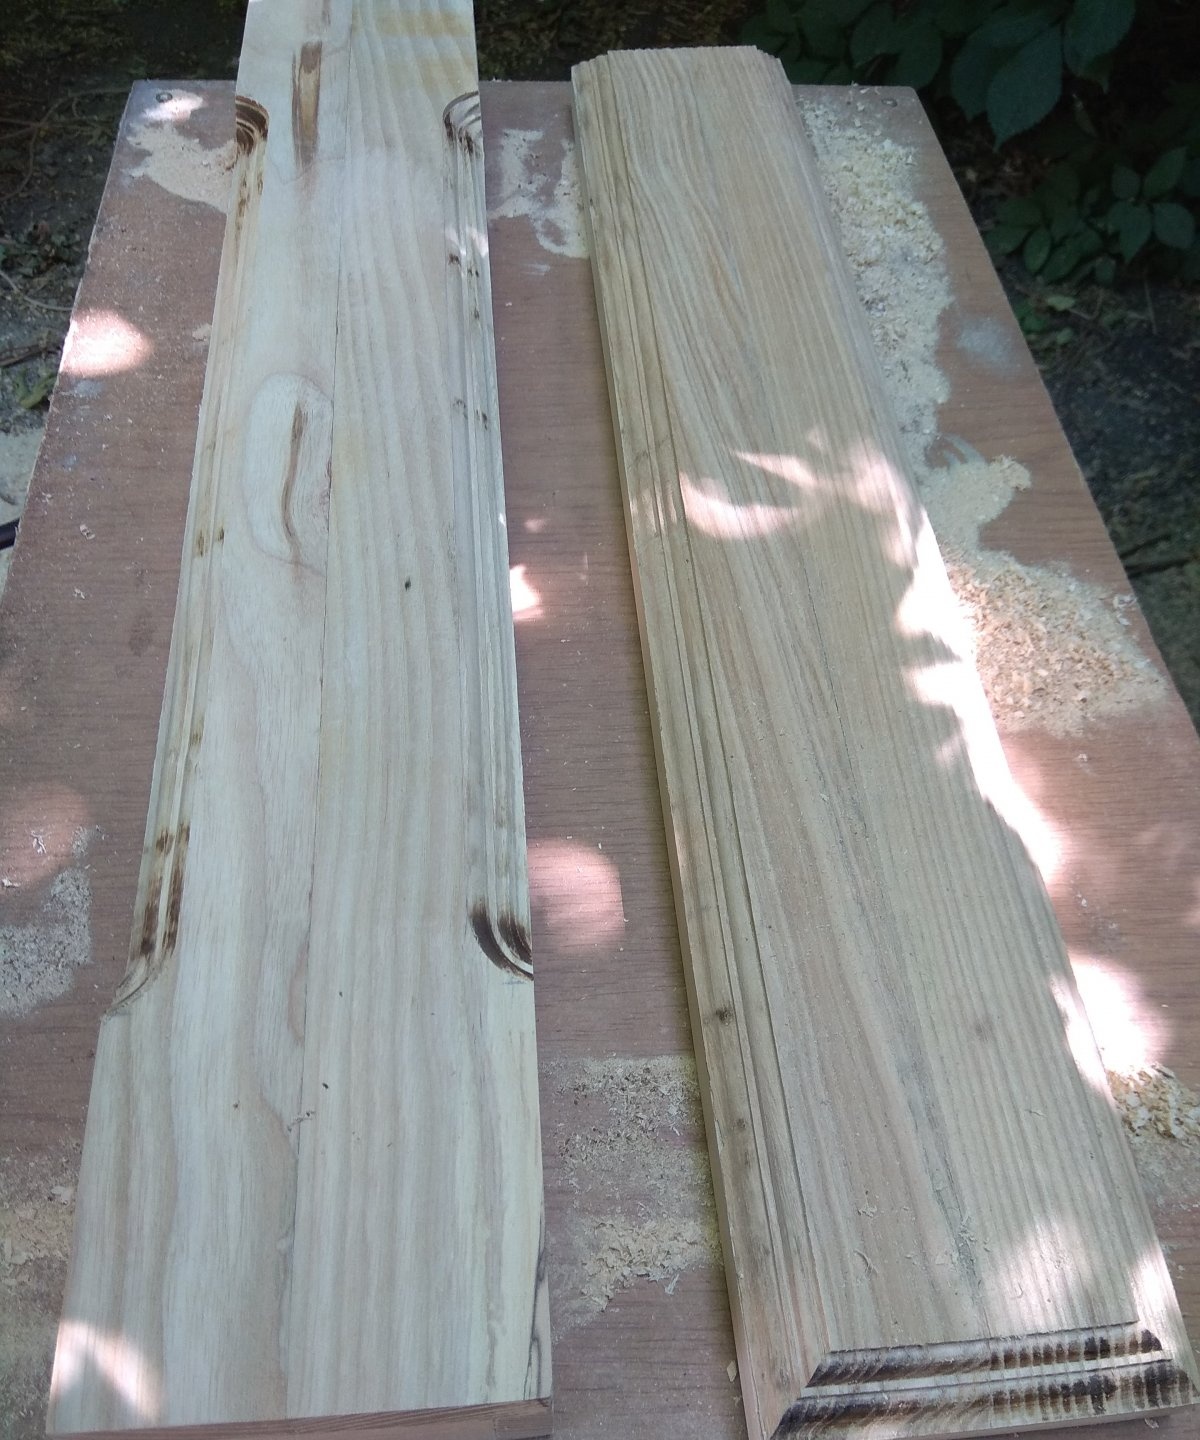
Now that you know the dimensions, you need to select the wood.Any type of wood may be suitable for making cases, but the most suitable and aesthetically pleasing are hard types of wood (oak, beech, ash). In this example, the illustration uses ash, which has a beautiful texture.
Manufacturing
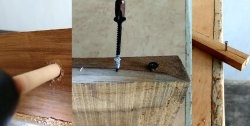
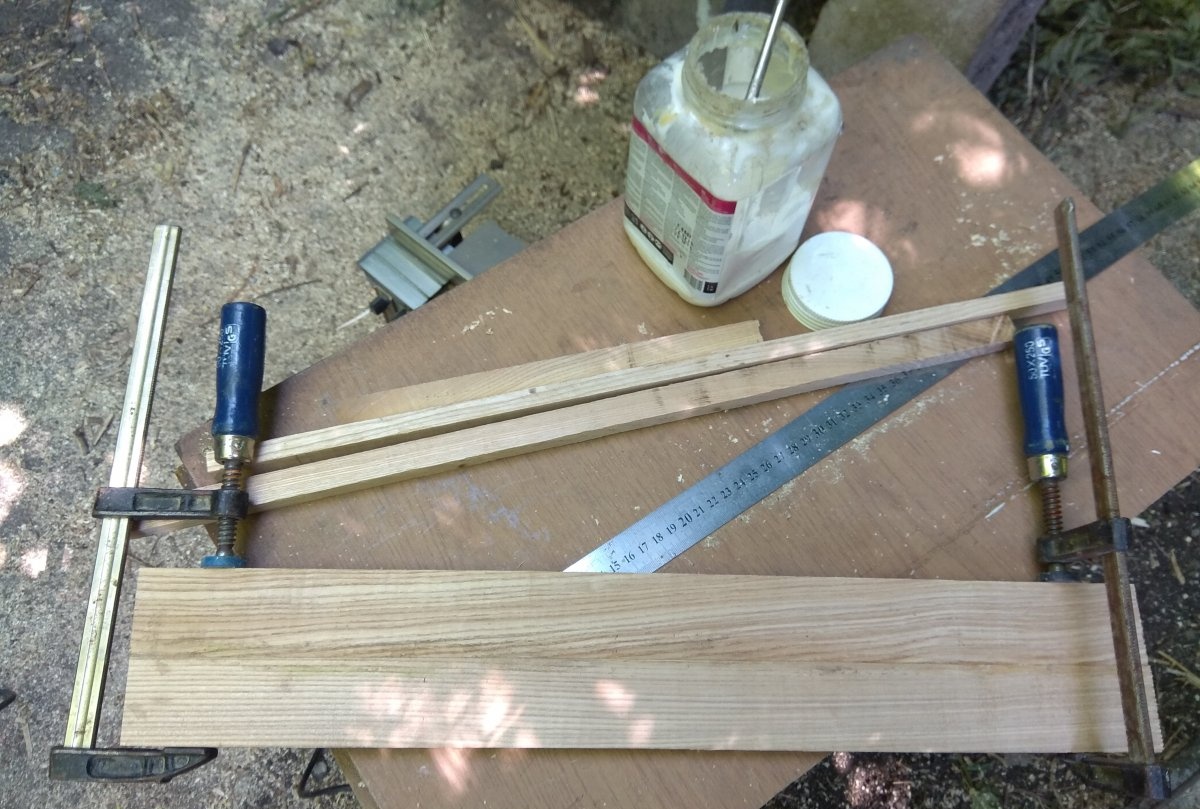
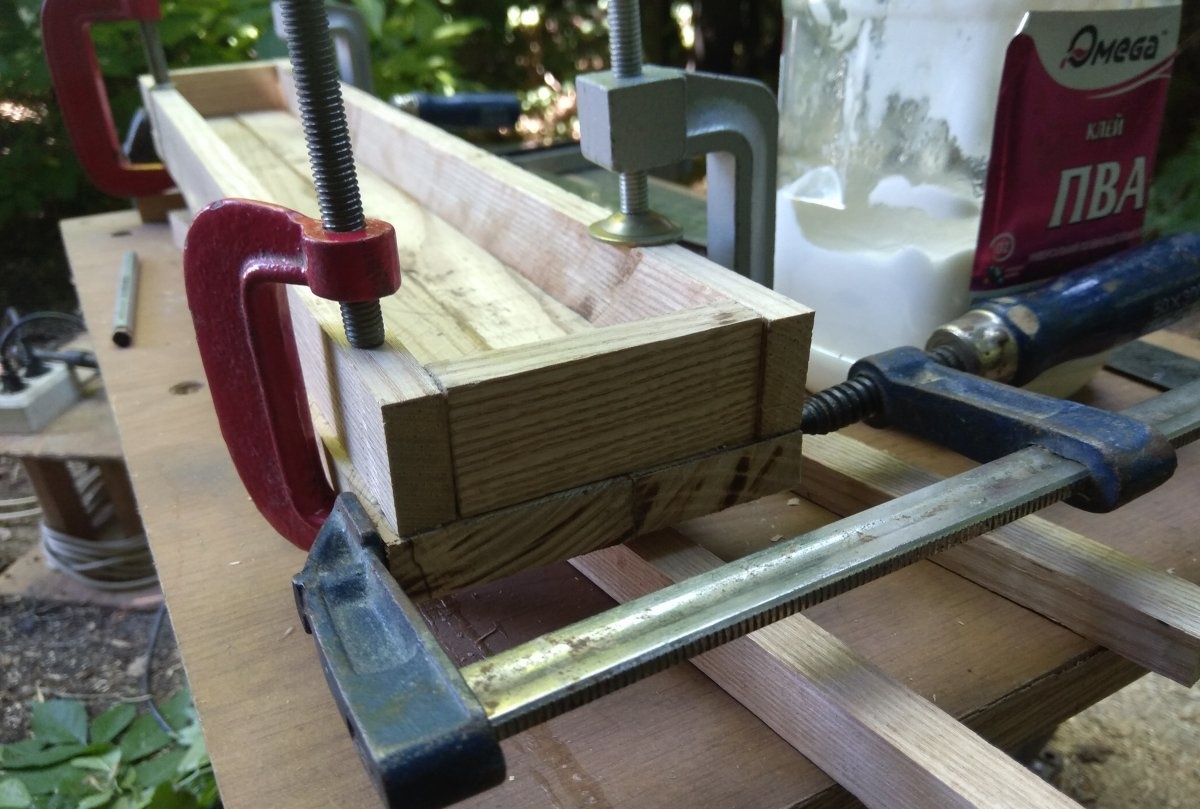
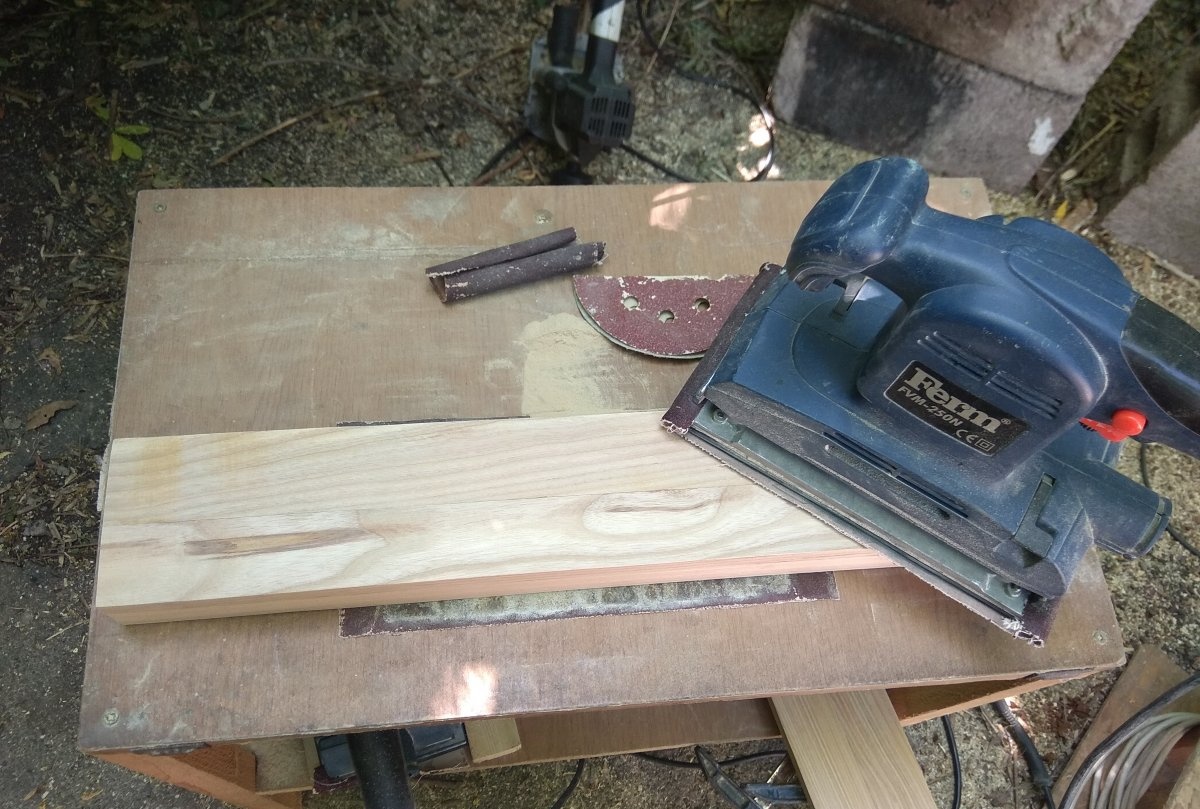
Prepare slats of the required length. You can adjust the length by cutting off unnecessary parts using an electric jigsaw. In our example, the internal size of the case is 50x6x5 cm. Since the case consists of two parts (the lower part where the flute and the lid will go), in order to get a total height of 5 cm, it is necessary to make the lower part 3 cm high and the lid 2 cm high. All slats must be glued with PVA glue and tightened with clamps for several hours. After the glue has dried, you can begin sanding the wood.
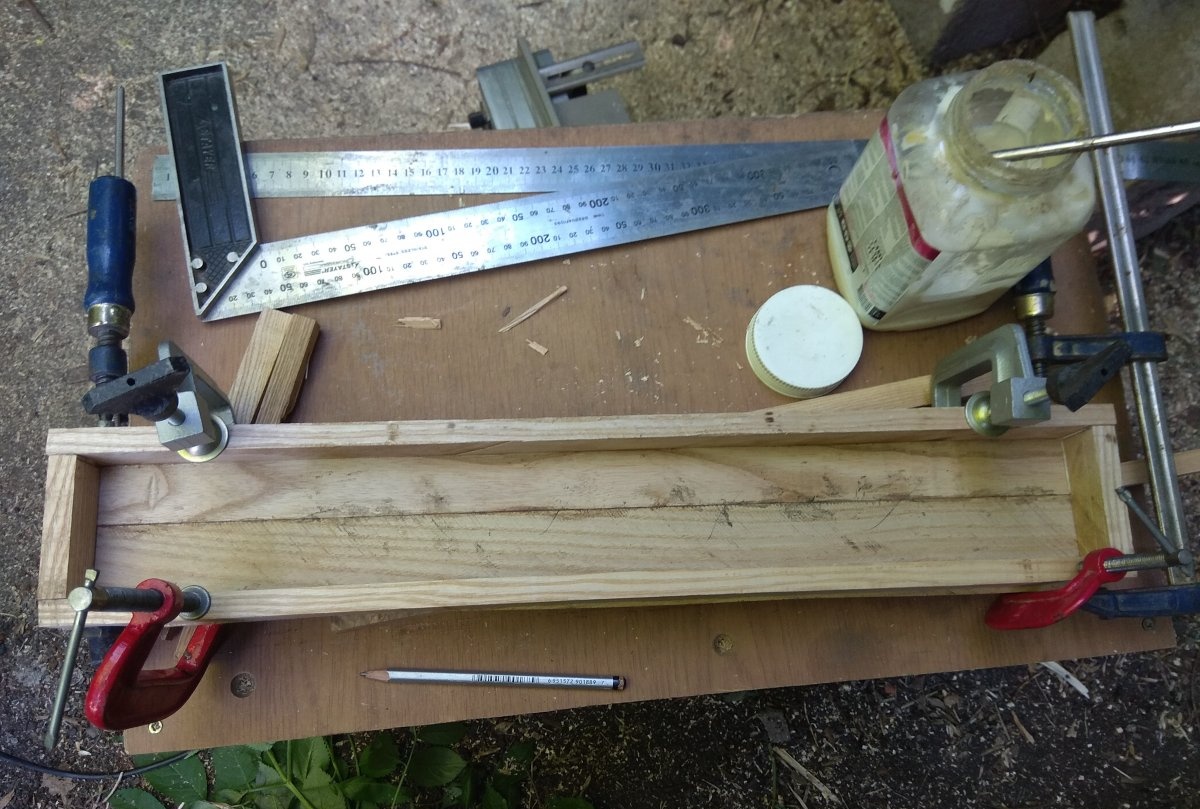
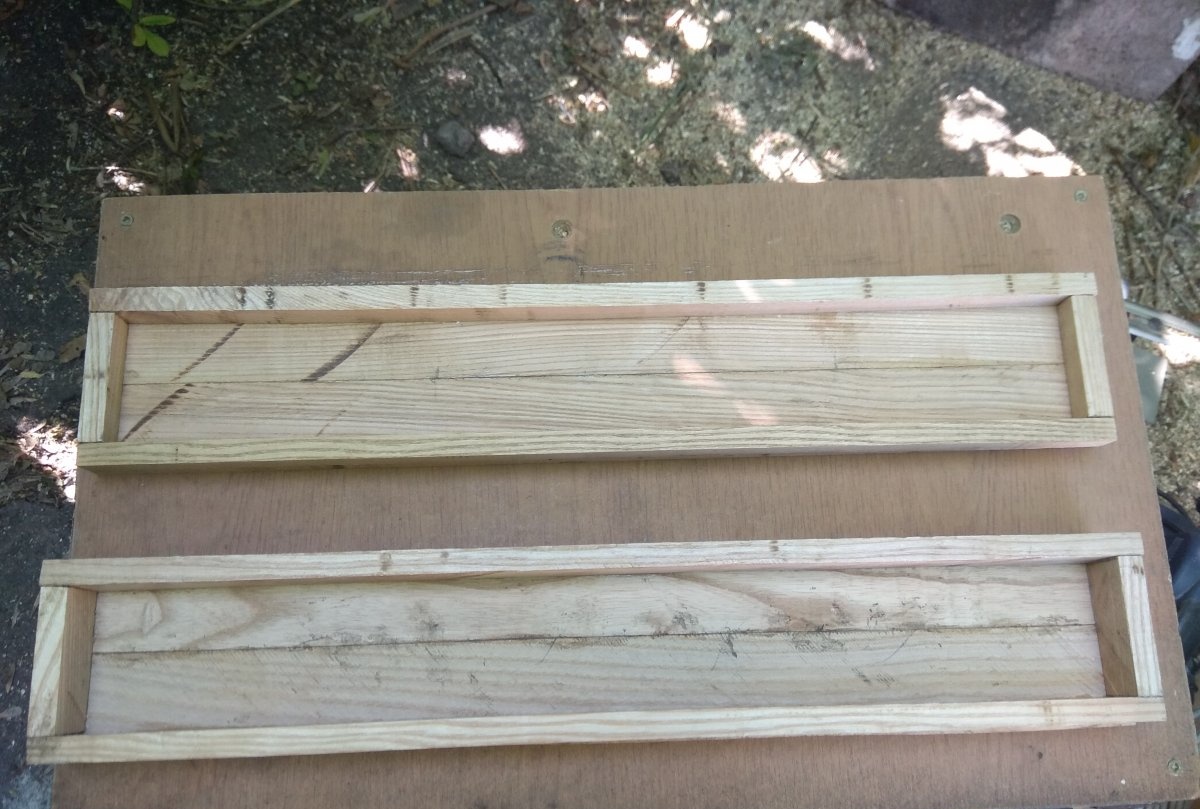
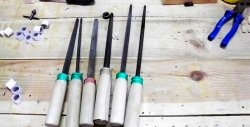
To sand hardwood, it is best to use a sander with a coarse sandpaper. Some areas are easier to sand by hand. You need to sand until all the walls of the case are even and smooth.
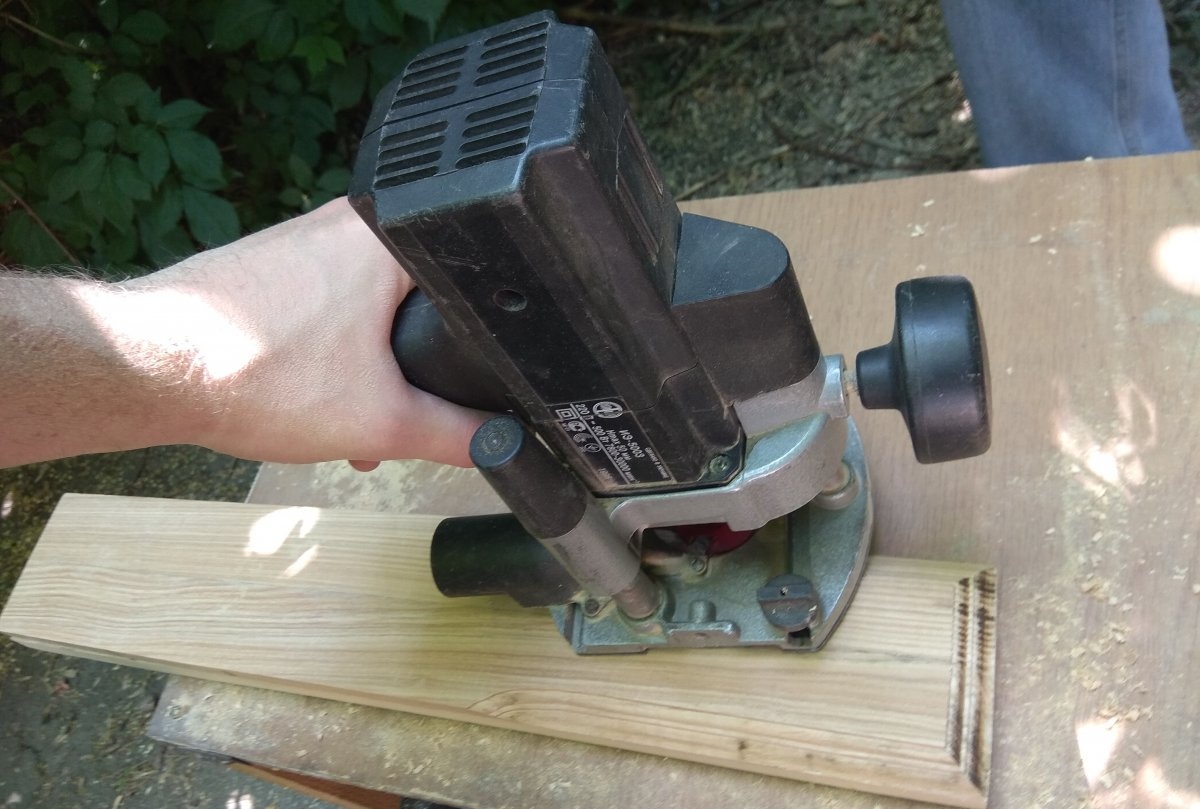
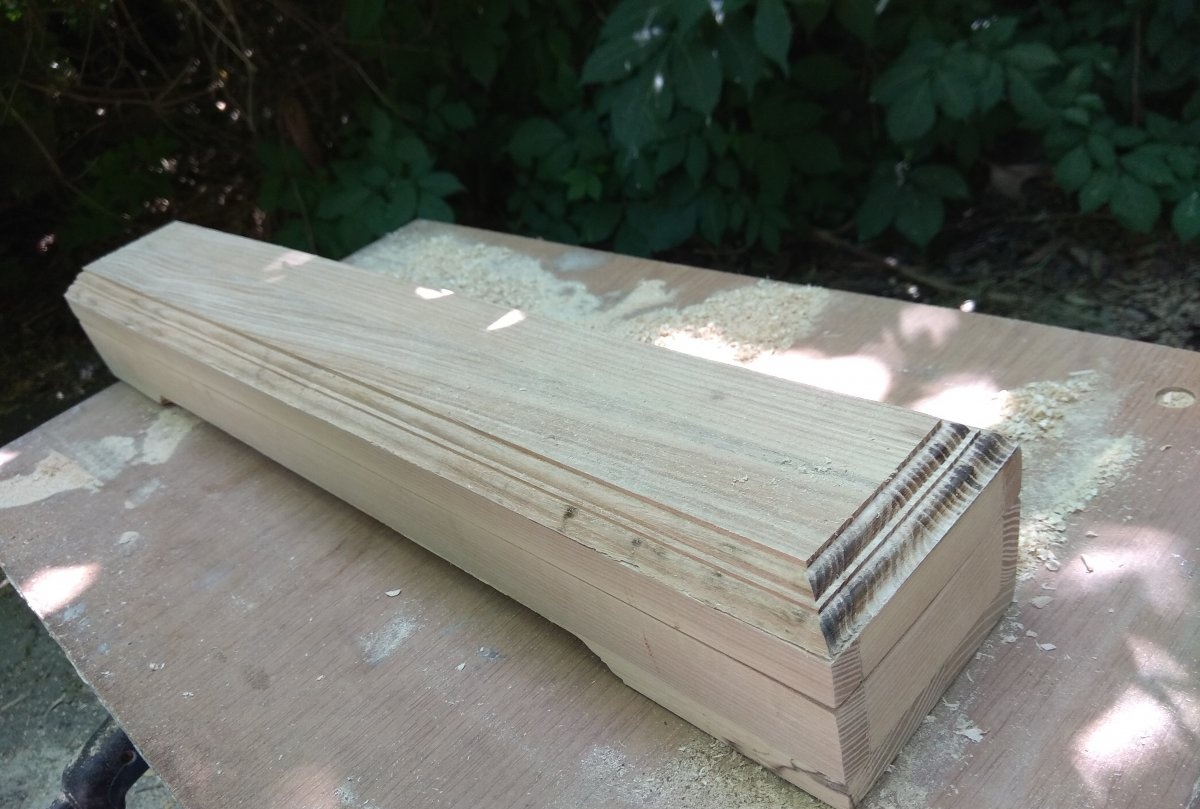
Next, for aesthetics, you can round the corners of the case using a hand cutter. The top cover of the case can be cut with a cutter from all sides, and the bottom cover only in the middle, making a kind of legs. This will add delicacy to your packaging.
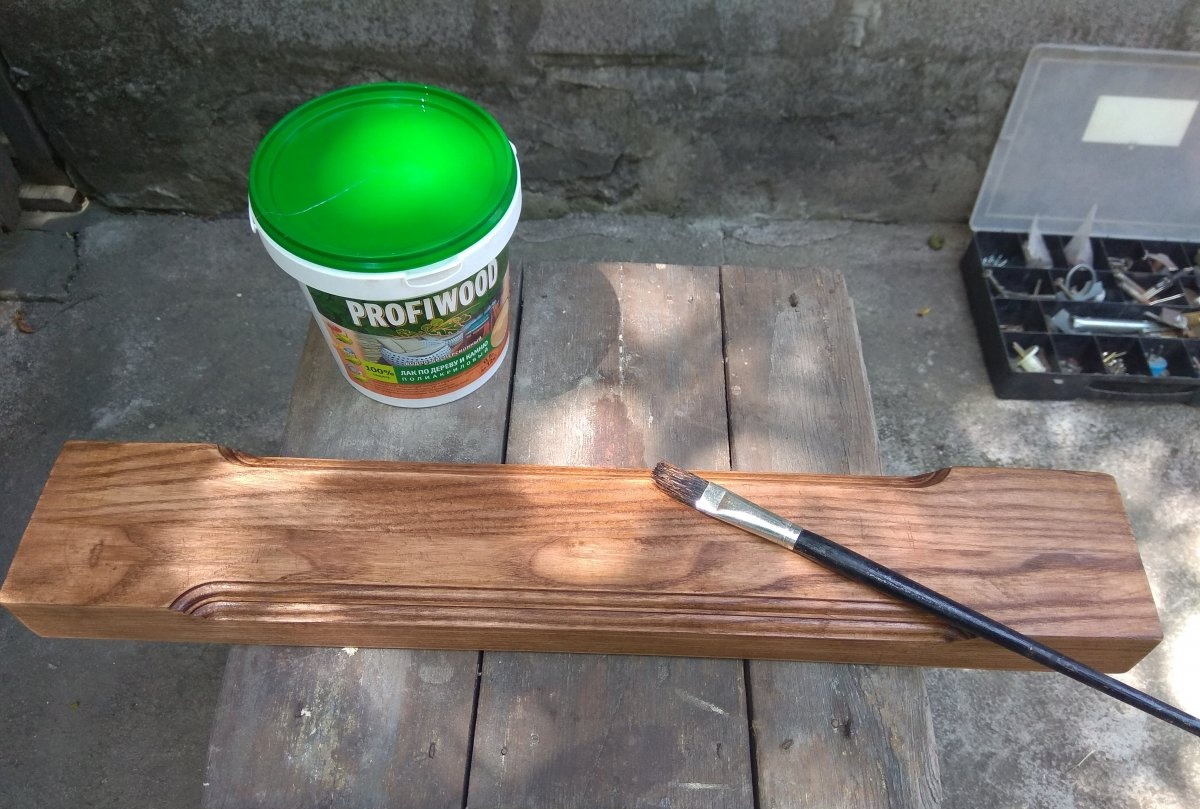
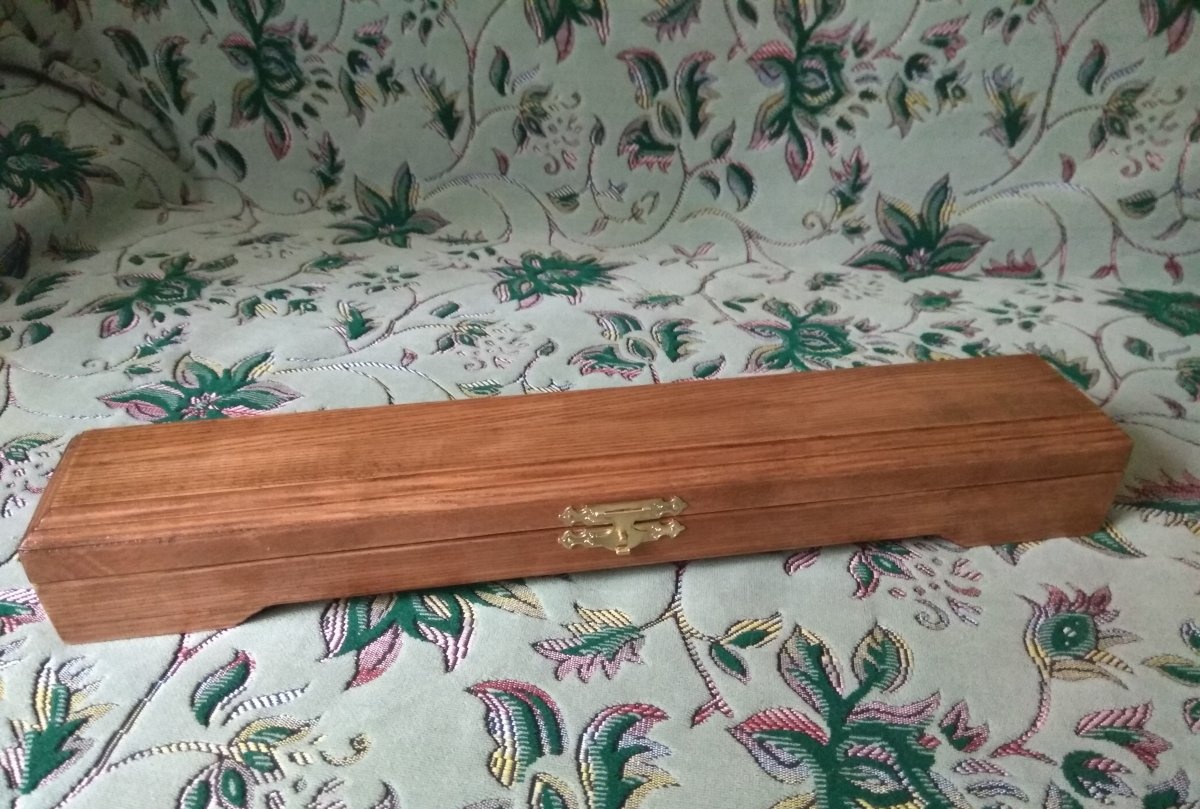
Then you can start painting the case. Stain is used to tint wood. Before purchasing a stain, think about what tone of wood you want? As a rule, the labels of stain cans illustrate the tone of the wood that will result from a given paint job.
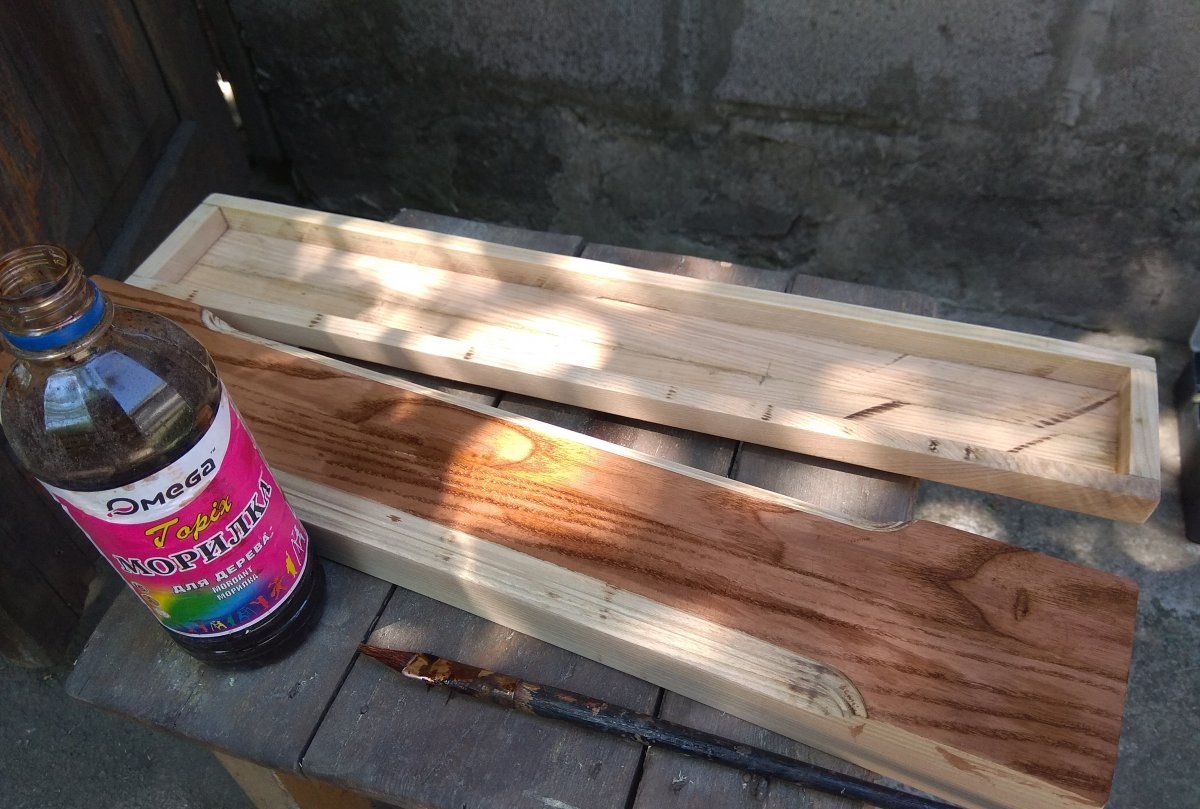
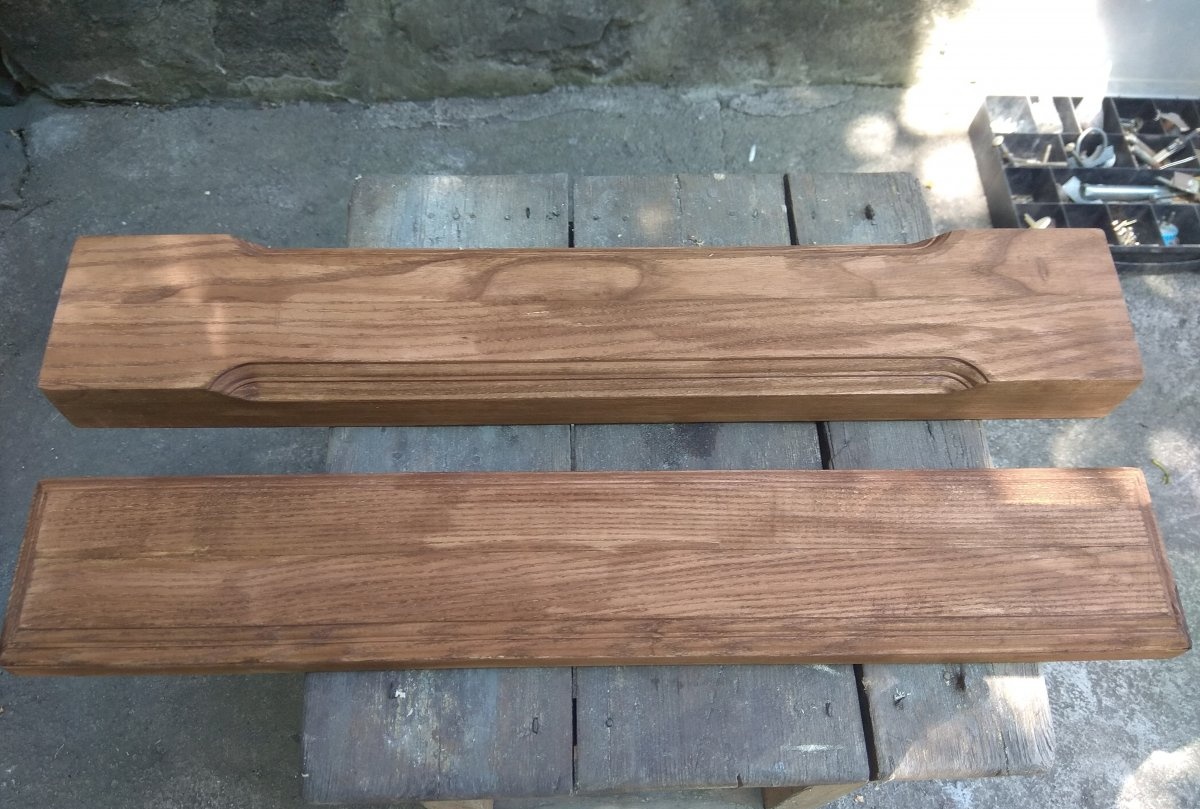
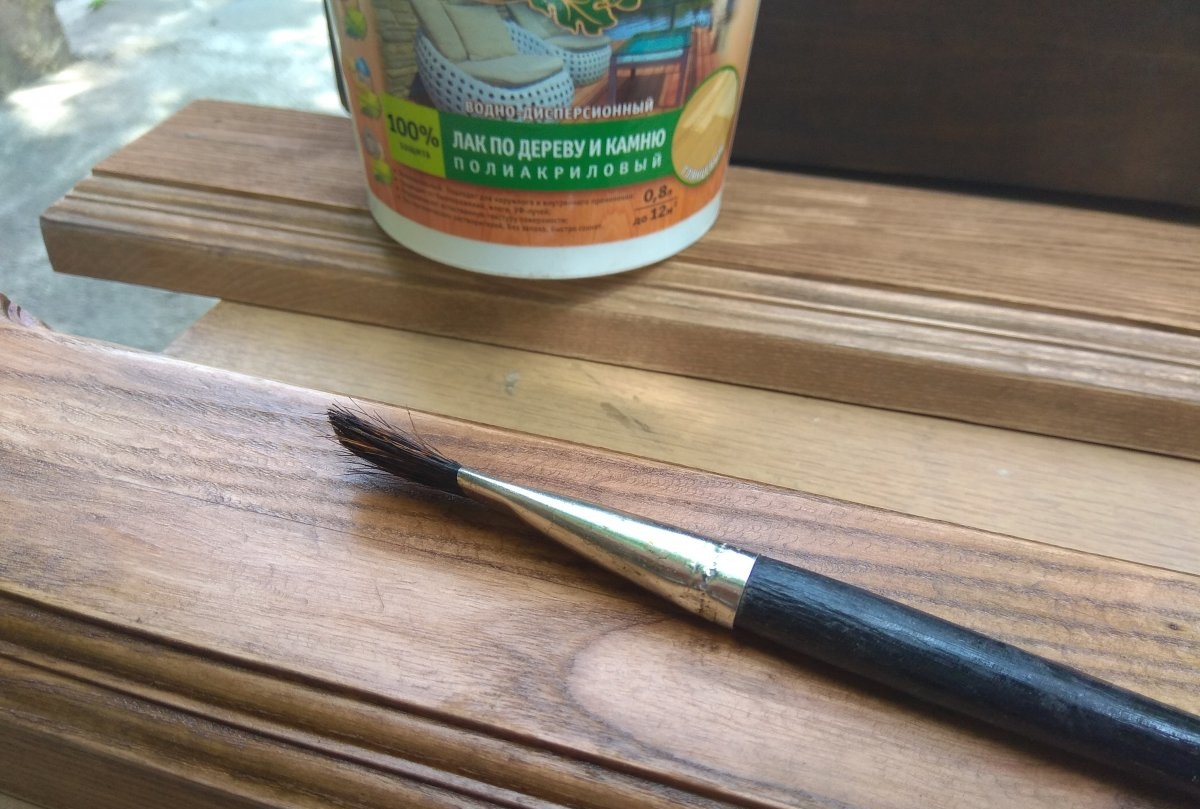
Using a brush, apply the stain to the wood. Then, to protect the wood from moisture and other negative influences, coat the case with varnish. It is best to apply several layers. You can use a glossy varnish that will add shine to the wood.
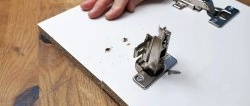
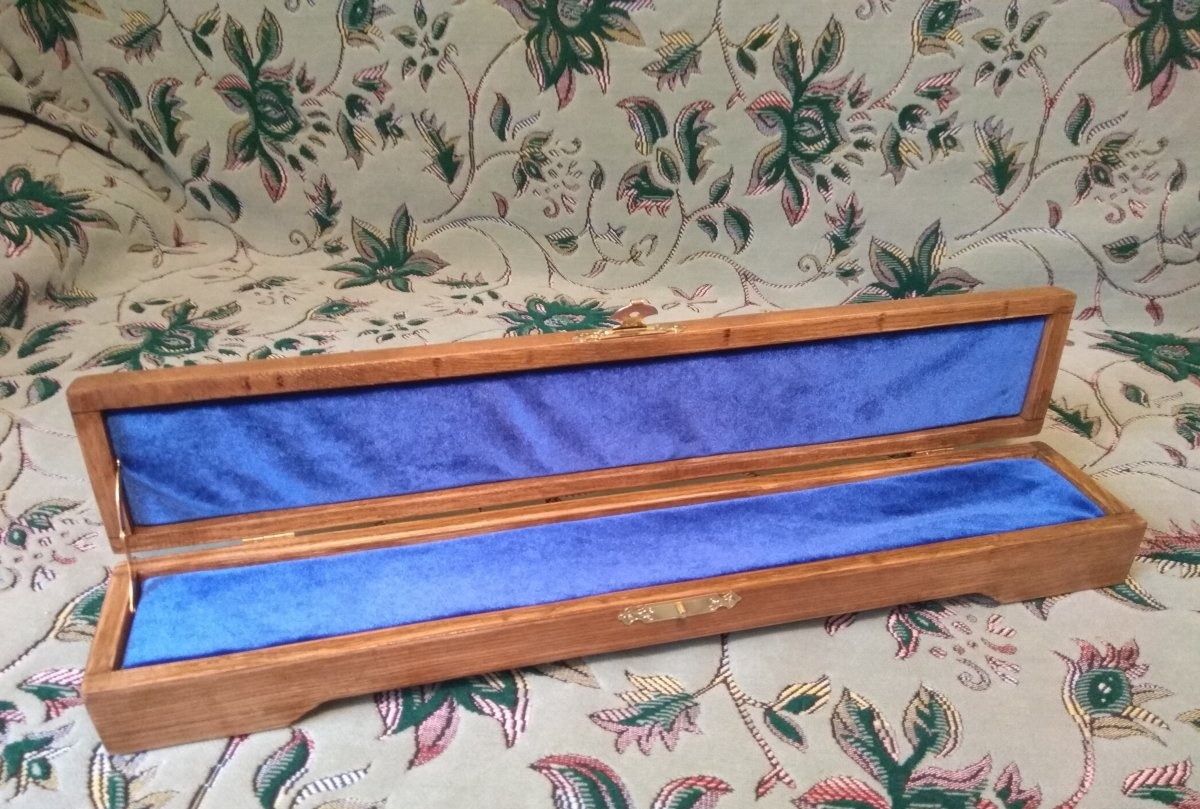
When the varnish is dry, you can attach the fittings. It's best to attach the hinges first. To do this, retreat an equal distance from the edges (in this case 5 cm), and use a drill to drill holes for the hinge screws, then tighten them with a screwdriver.
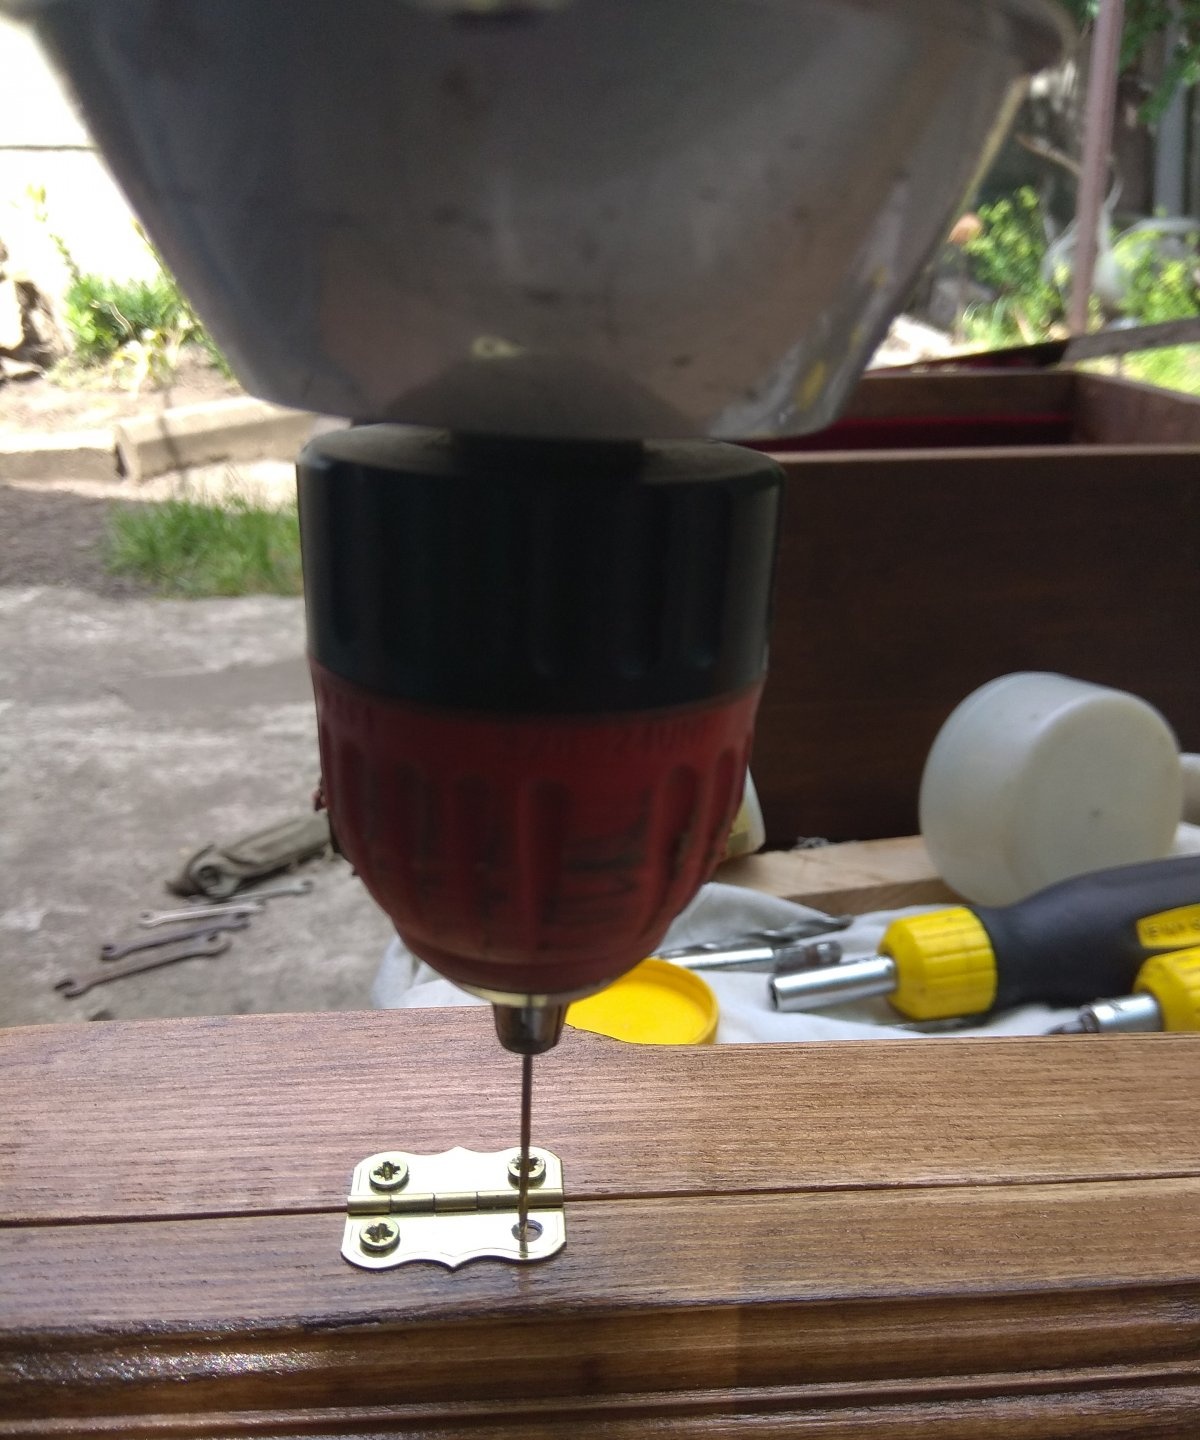
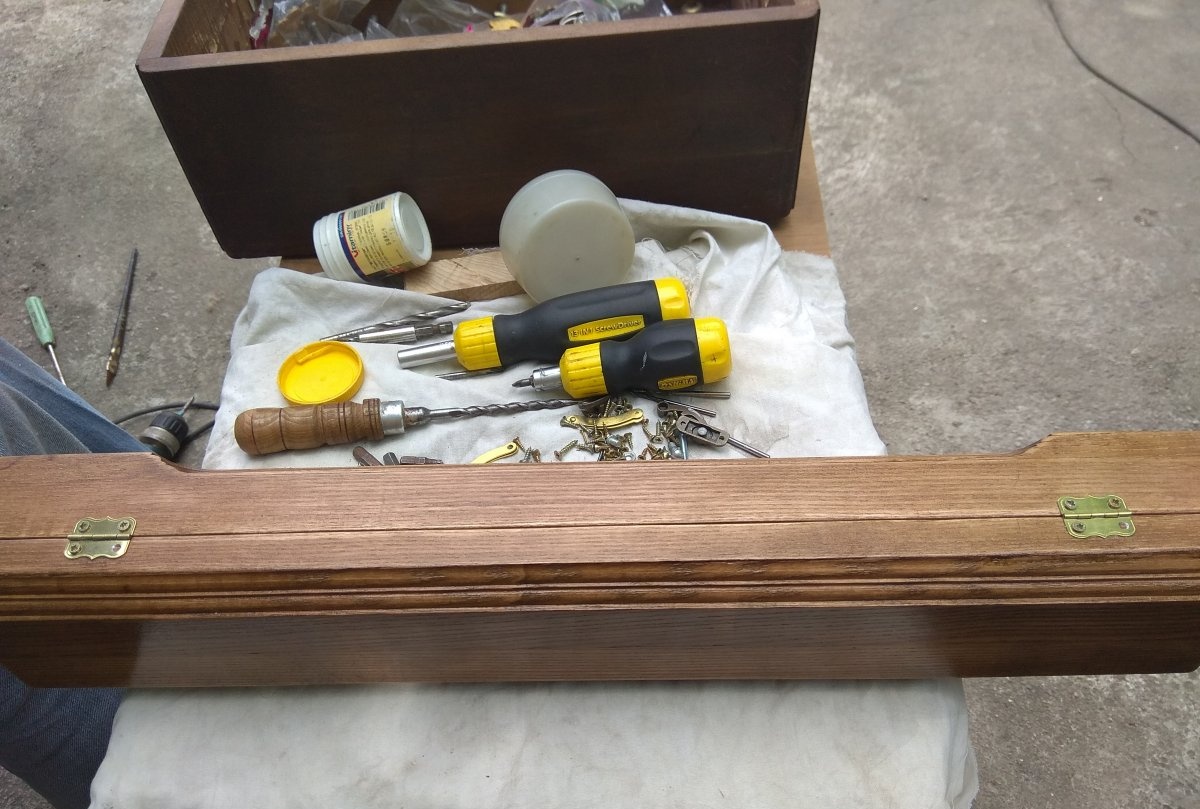
It is best to drill holes, since if you immediately start tightening the screw, the wood may crack. Then attach the lock of the case to the front exactly in the middle.
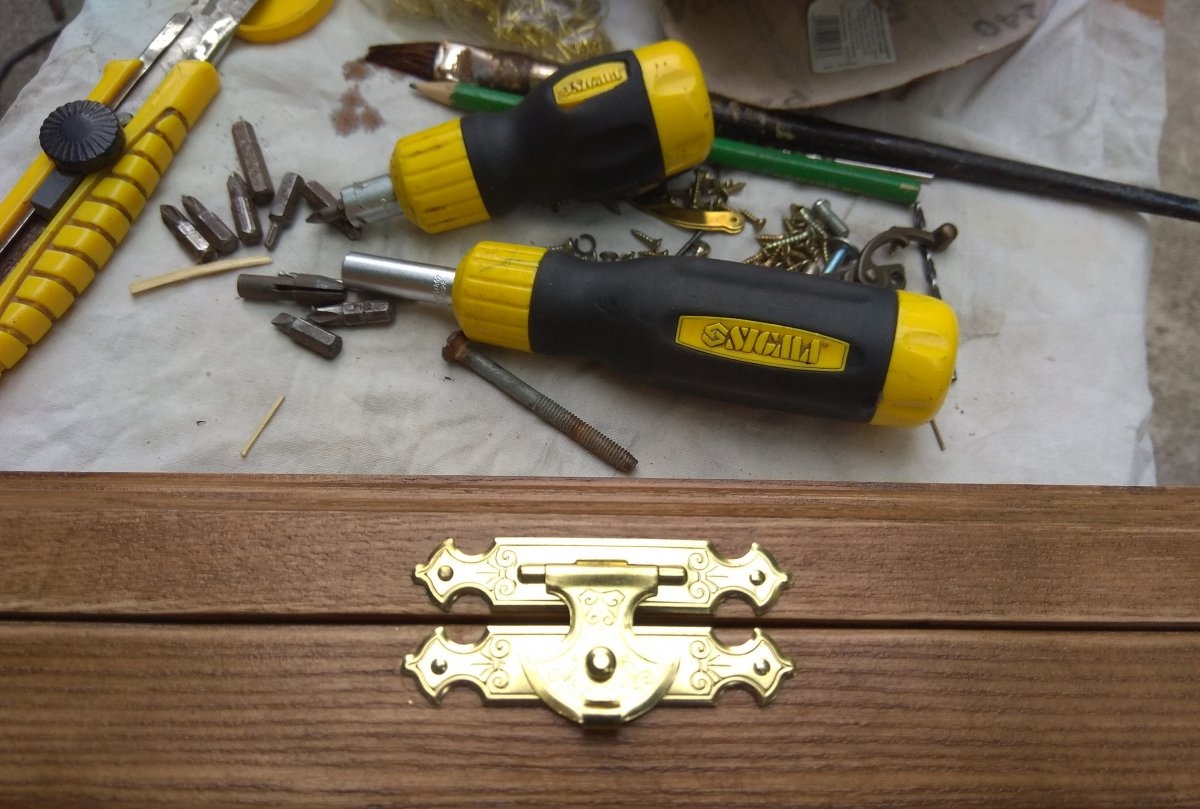
Most often, such locks are attached to nails, which are sold as a set. The nails can be driven in using a small hammer. It would also be practical if you put a limiter inside that will keep the top cover in the required mode.
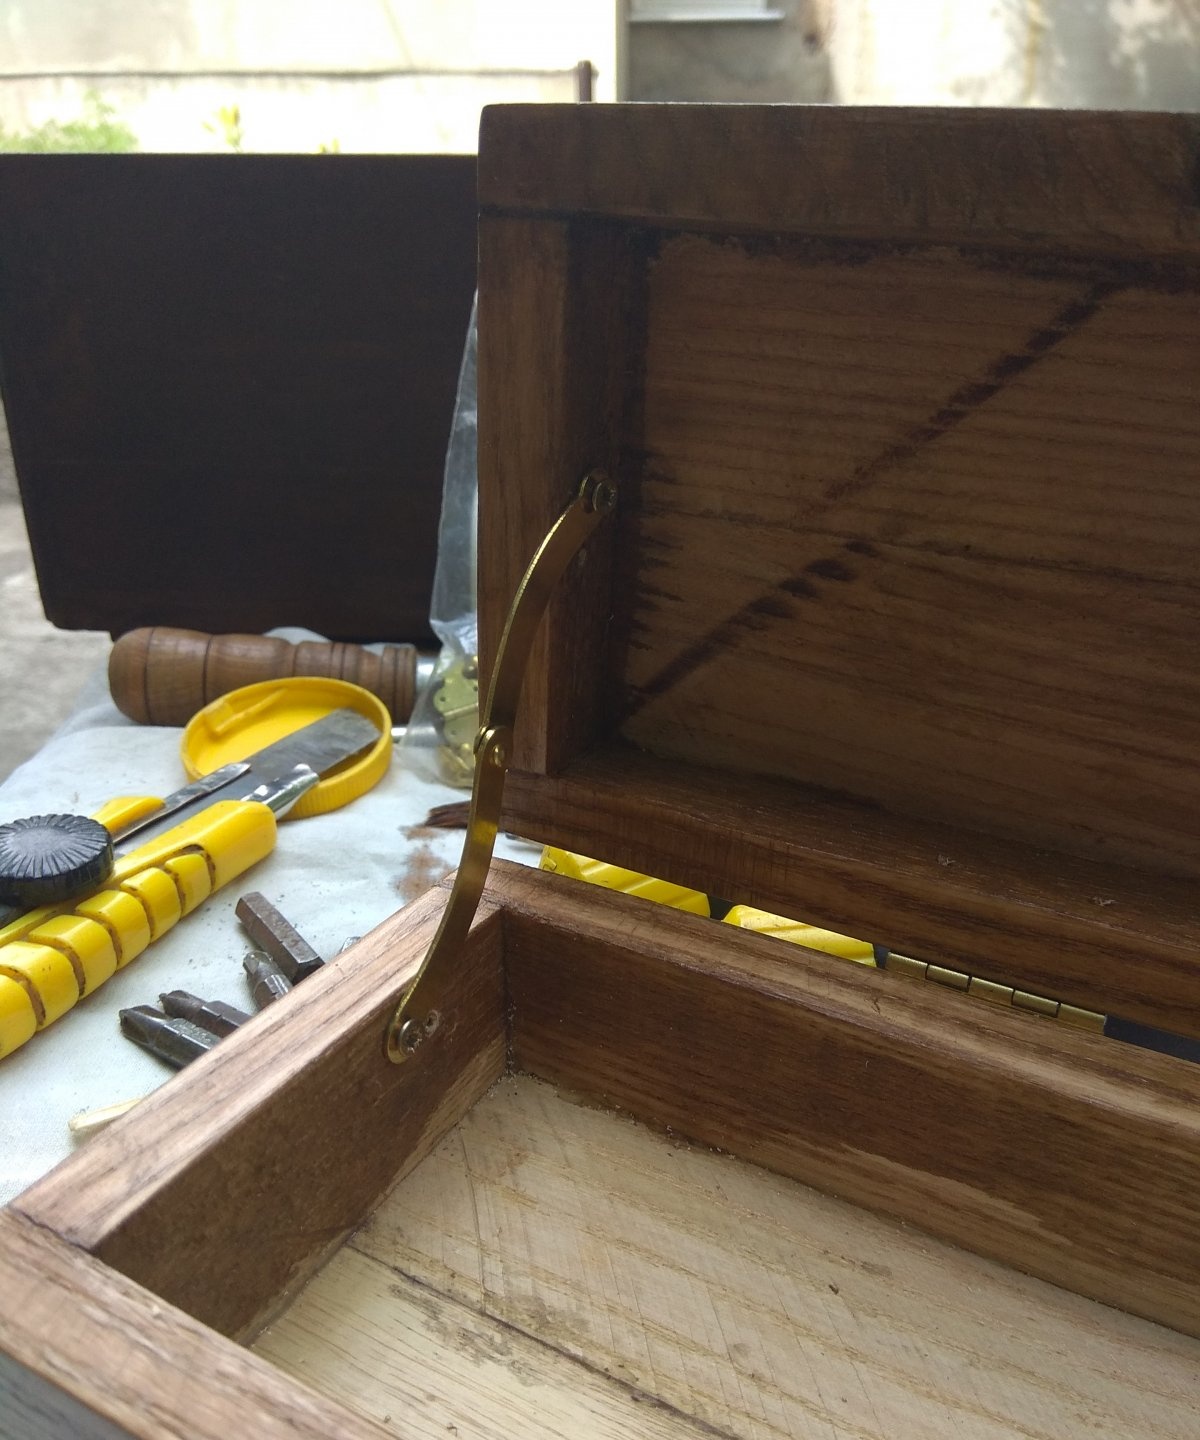
Thanks to the stops, the top cover will not roll back too much, and at the same time it will not hit your fingers.
Now you can start finishing the interior with fabric. In this case, it is better to use velvet or velor as a material. You can choose the color of the fabric to your taste. Measure pieces of foam to glue to the bottom and top of the case.
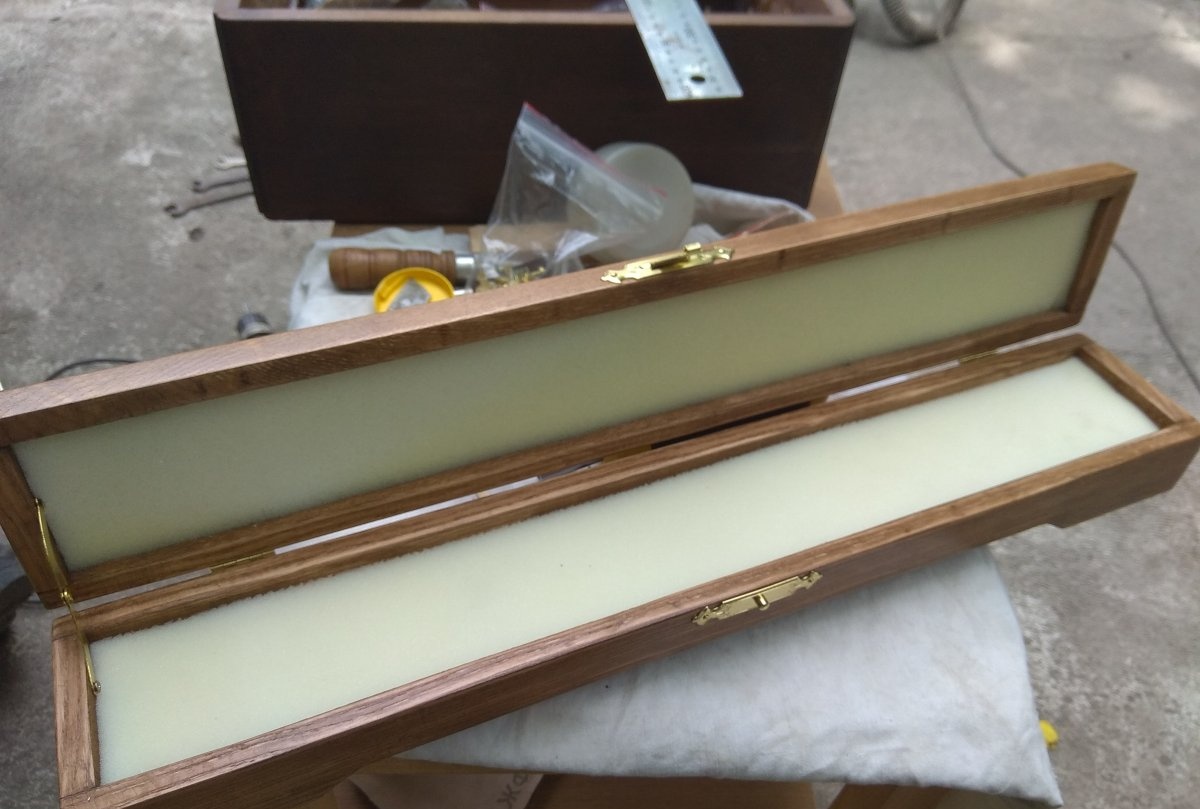
Then cover the foam rubber with fabric, wrapping it under the foam rubber. You can glue the fabric to the foam rubber from below using Dragon glue.
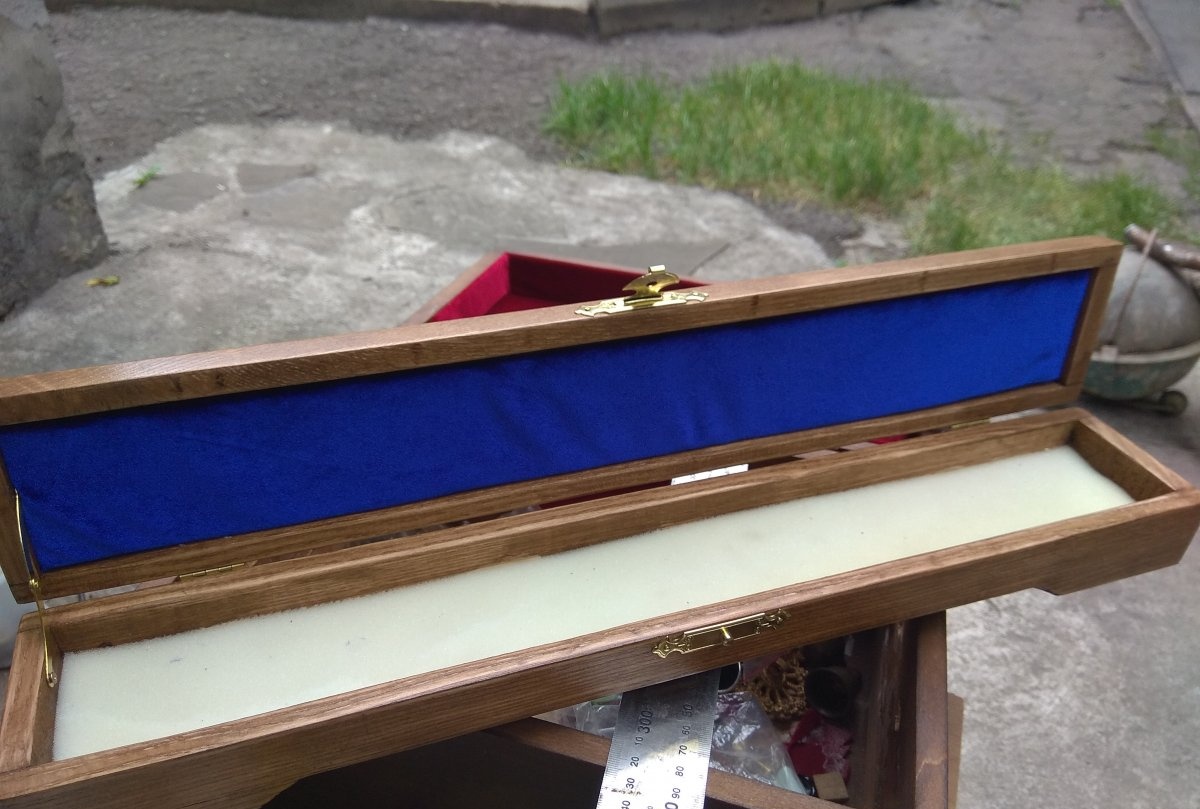

Thus, both the lower and upper surfaces will be soft, thanks to which they can press the flute and act as a kind of protection for it from shocks and damage.
So, using this pattern, you can make a packaging case for almost any item. In such a case, any item will look expensive and prestigious.