I was sitting one evening with a book in my hands and a crazy idea came to me. Speakers in column design are already boring. So I decided to put together an unusual speaker, not like everyone else. You can take it outdoors or use it in the garage or at the dacha.
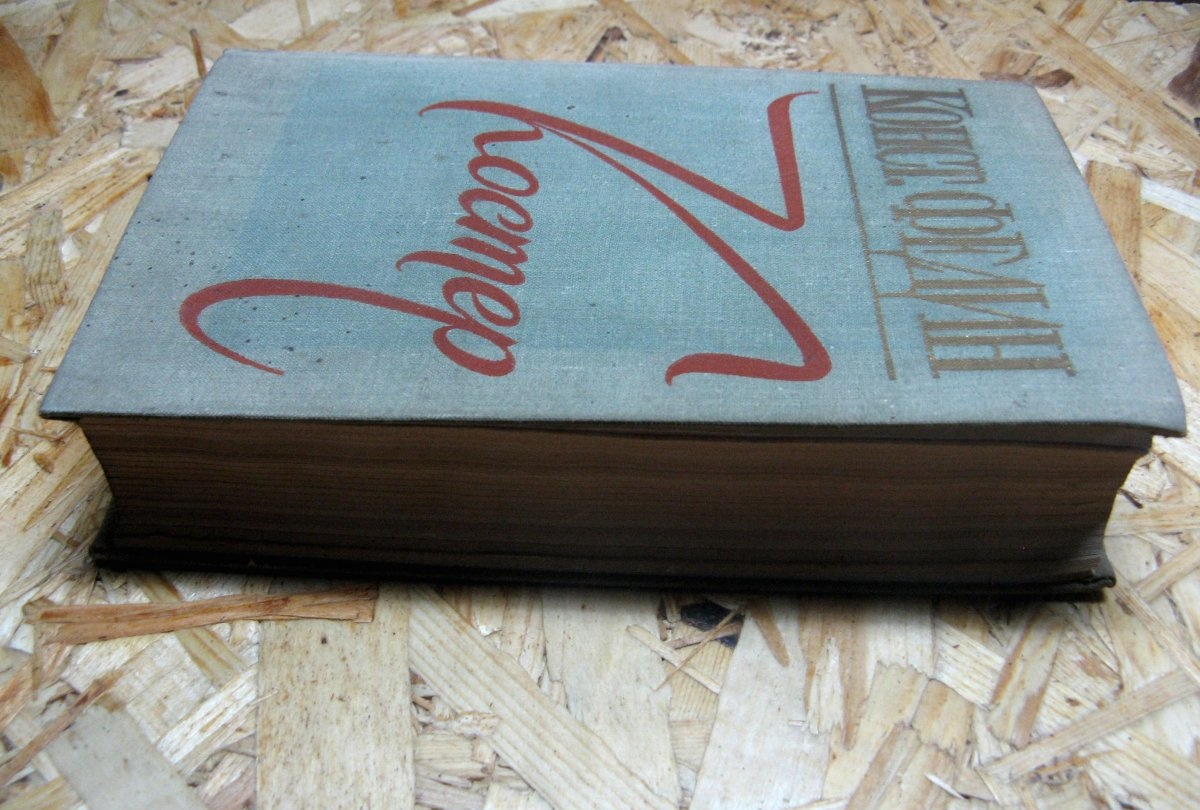
I found an old book in the barn. I definitely won’t read it, but it will still be useful.
Will need
To make a homemade product, you need a thick book in hardcover; in softcover it will be extremely inconvenient to work with.
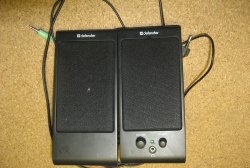
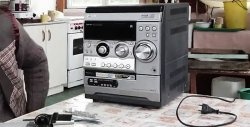
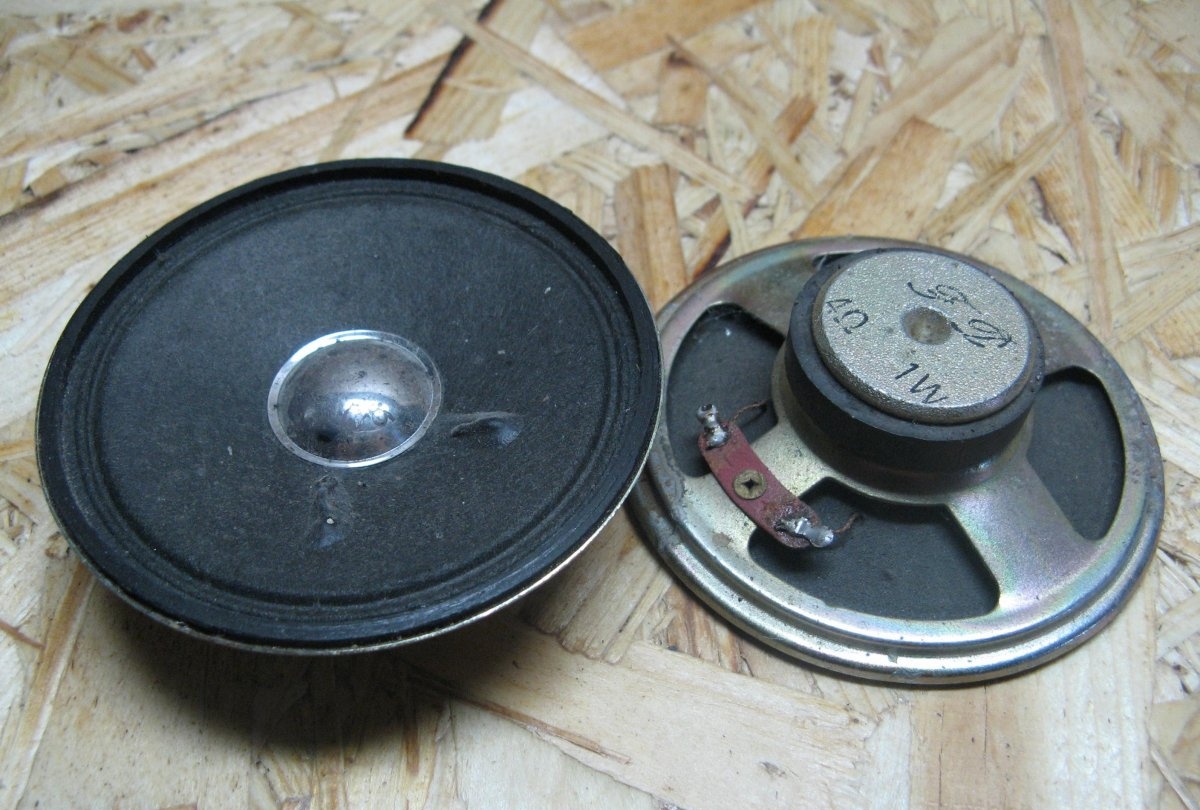
Speakers need a small diameter. I took old ones from some cassette recorder. I have 1 watt into 4 ohms. There are no particularly powerful ones in this size. This power is enough for me; I won’t turn it up to full volume.
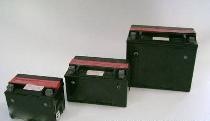
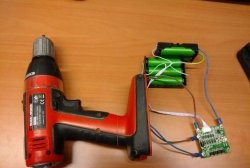
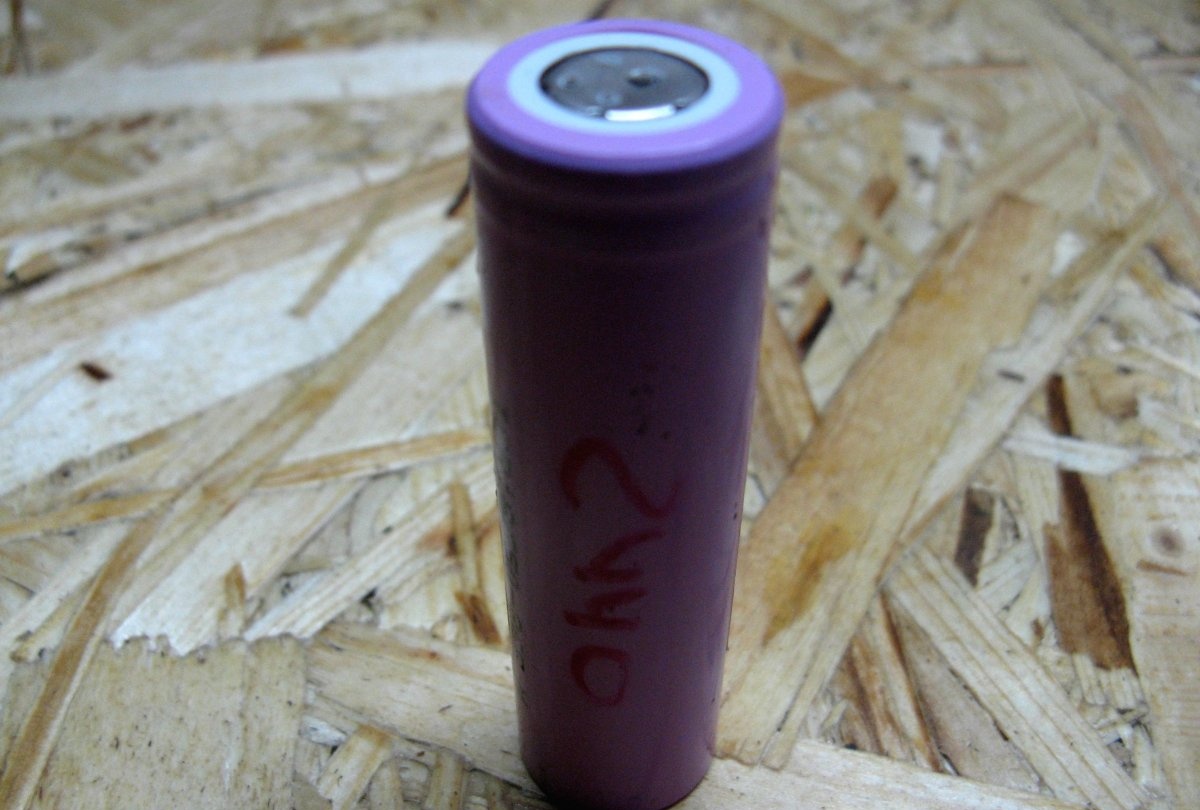
For nutrition I will use Li-ion battery 18650 format. I have a used cell with a residual capacity of 2440 mAh. If the book is thick, then you can install two batteries. I will do this if I do not have enough capacity of this element. It is better to use Li-pol, its thickness is just right for this homemade product. I didn’t have one, I used Li-ion.
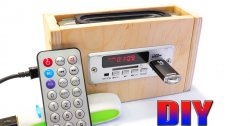
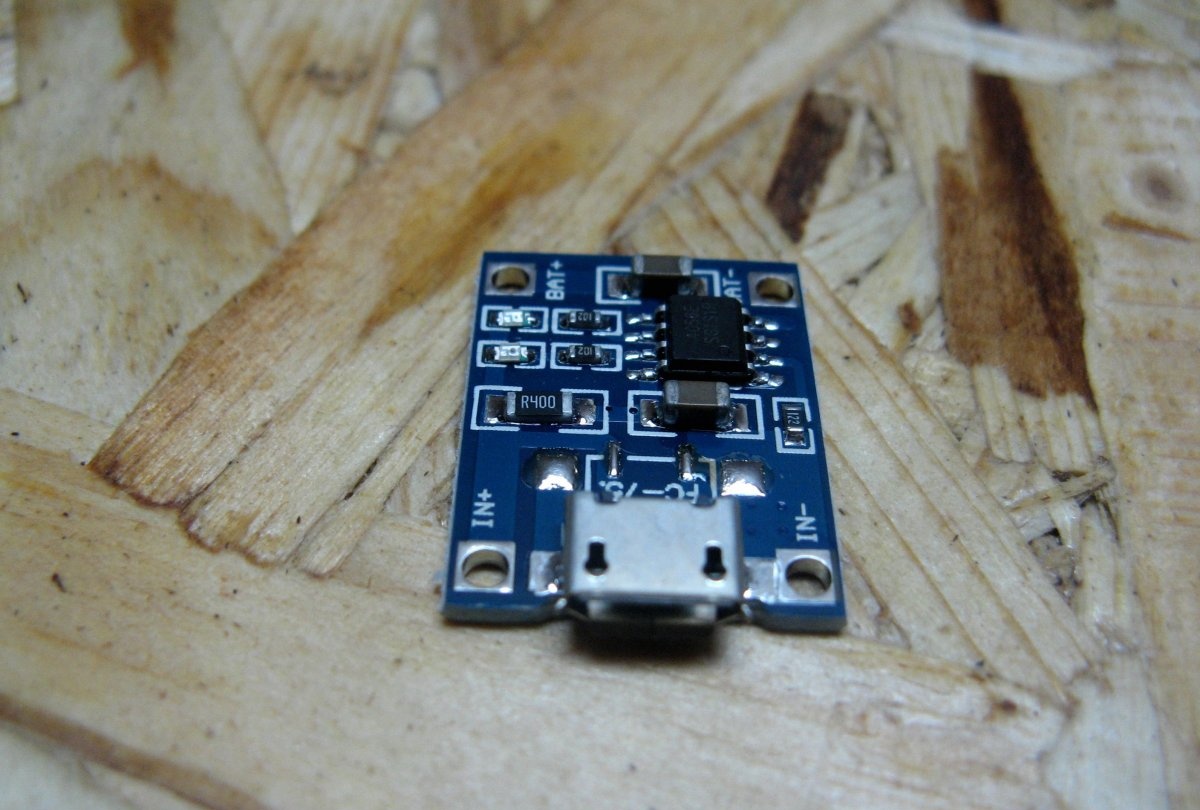
I will charge the battery controller from China. These modules are cheap. There are also controller boards with protection, but what I have is what I used.It is necessary to take into account that the board with protection is longer.
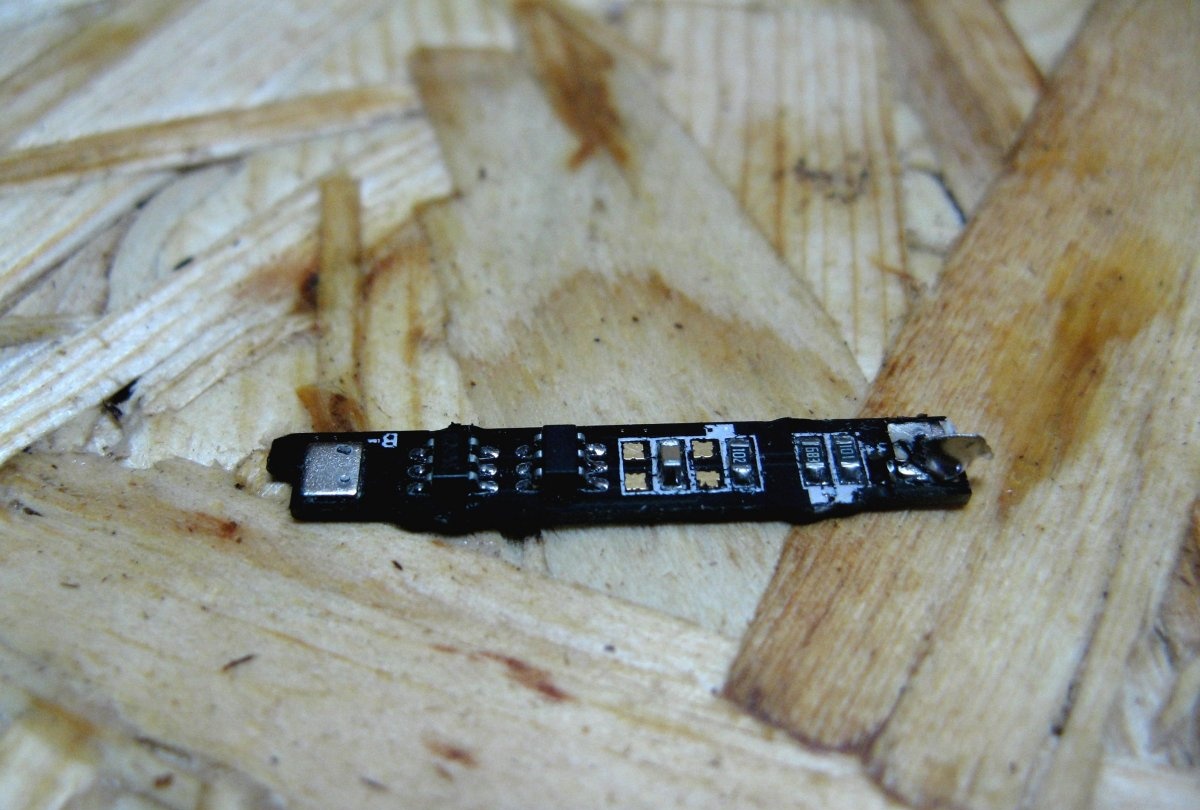
Since I have a charge controller without protection (BMS), I will use a protection card from a mobile phone battery. Fortunately they are available everywhere.
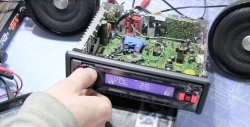
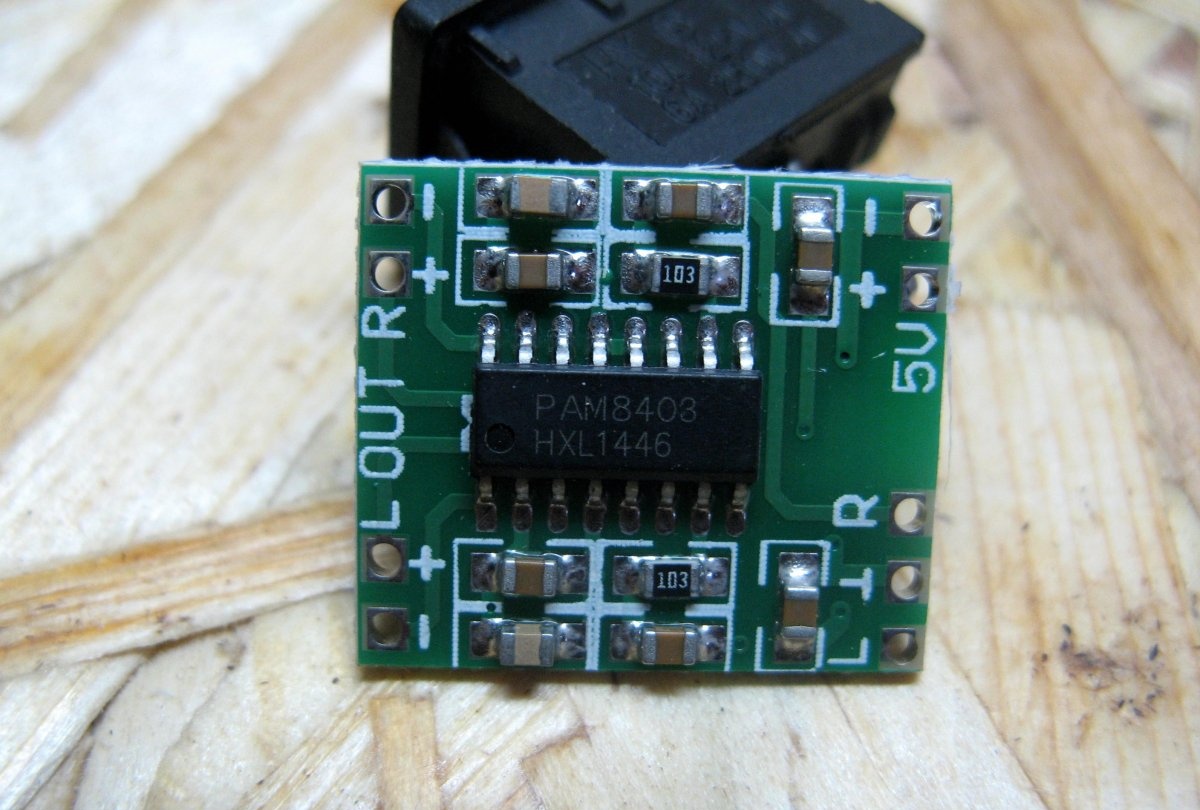
As an amplifier I will use a ready-made module from China. The module is assembled on a RAM8403 chip. The board provides 2*3 Watts. I will adjust the volume directly from the playback device. There is no need for a volume control.
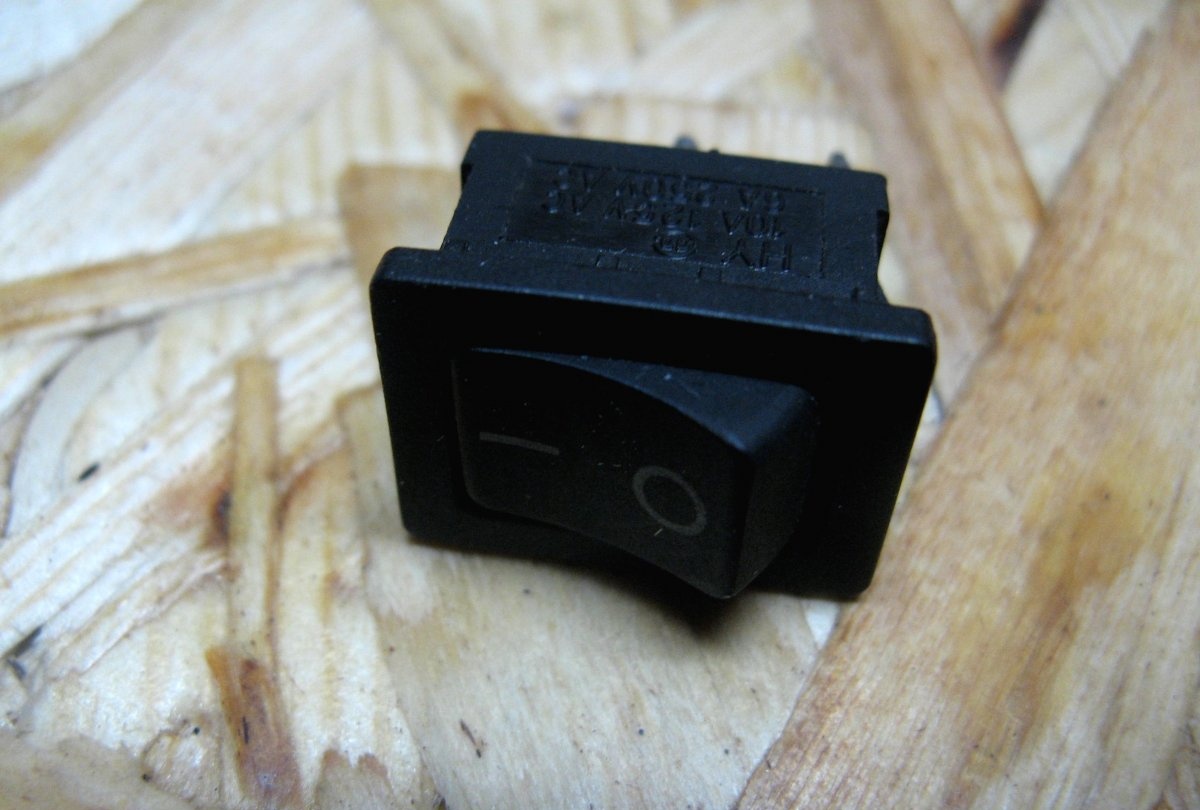
I'll use this switch. I removed it from the PC power supply.
Making a column from a book
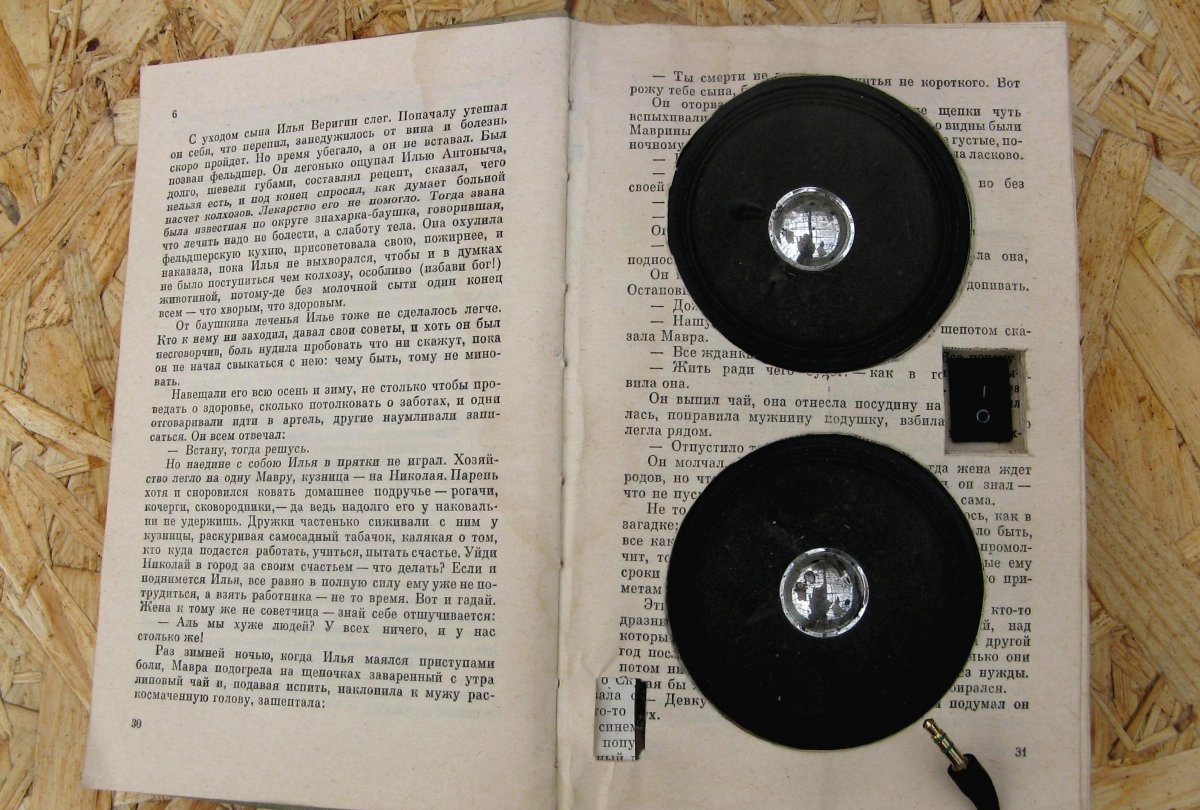
Let's move on to making the column. First you need to mark where the speakers will be installed. Then you can move on to marking the cutouts for all the elements. Marking out the holes for the speakers was easy. Divide the page in half and draw circles with a compass, cut them out on the paper with a knife.
After cutting out the round holes for the speakers, I began cutting out the niches for the rest of the speaker components. You need to cut it carefully. You need to secure the pages together with a clamp and cut them out. The main thing is not to forget to fold back some of the pages; they will serve as the front panel. You need to make a through hole for the switch. A pass-through is also needed for the charge controller.
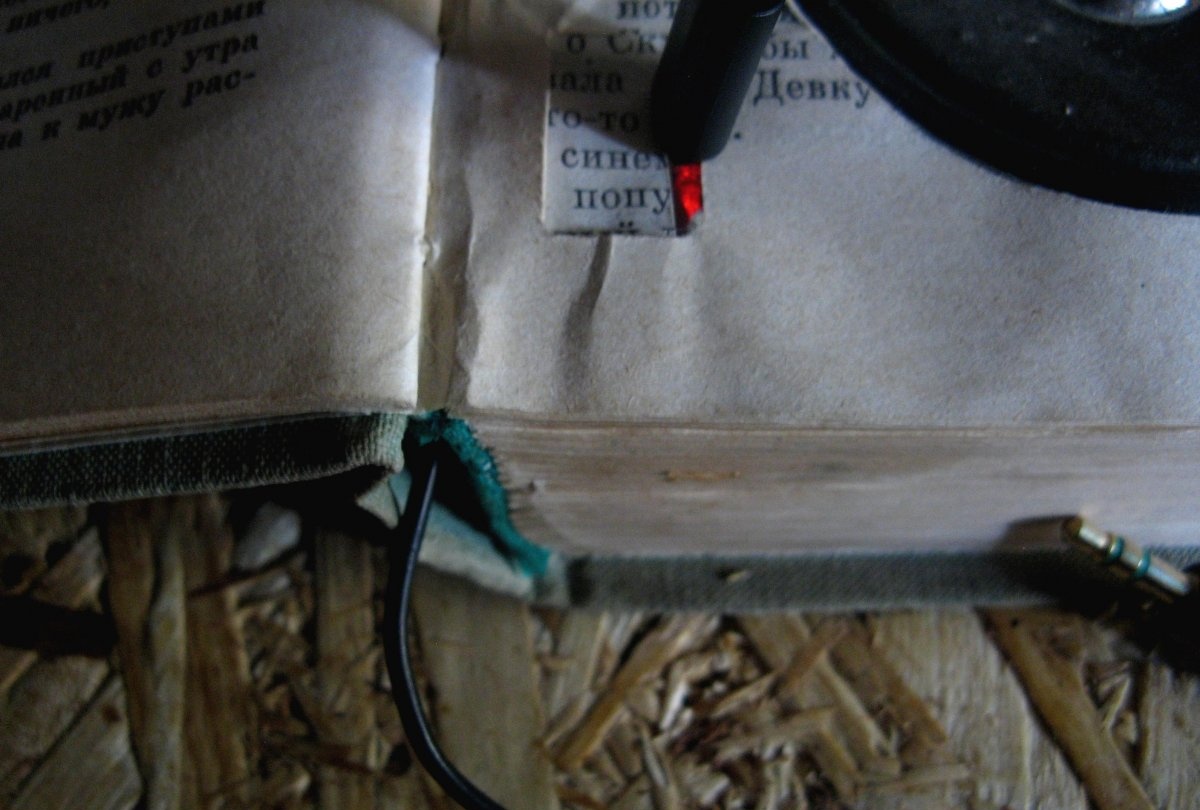
Let's solder everything together. The scheme is very simple. The battery power is supplied to the amplifier board. Minus directly, plus through the switch. The wires from the charge controller go to the 18650 battery. A protection board is soldered to the battery. The output wires from the amplifier go to the speakers. 3.5 mm jack. soldered to the amplifier input. I brought it out under the seam cover of the book.
When closing the pages, everything looks something like this. We check the work and then move on to further actions.
Now you need to glue the pages together. Glues with regular PVA glue.After coating the pages, put the book under the press. The glue dries quite quickly. If you don't press it, the pages will warp and become unsightly.
The window with the charge controller had to be modified. I cut a very large hole. I glued a piece of the page. I also glued the connector to a piece of plexiglass. When you connect the charger, the charging process is clearly visible.
This is the kind of portable speaker I got. Plays quite loud. If there is a thick book, then you can make a column with 4 speakers.
Good luck with the assembly everyone.