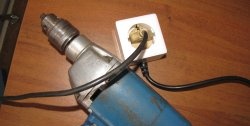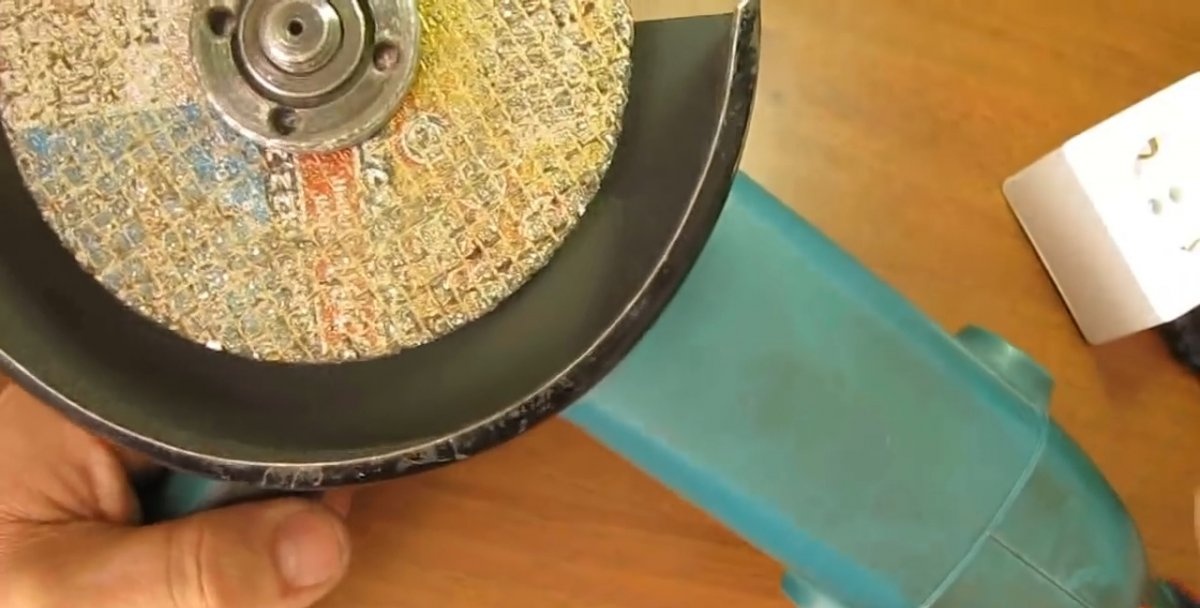
People who often use power tools sometimes encounter the following problem: the engine of a grinder, circular saw, planer or other equipment starts very abruptly. Such a sharp start is fraught with many troubles: firstly, there is a high starting current, which does not have the best effect on the wiring, secondly, a sharp start of the engine quickly wears out the mechanical parts of the tool, thirdly, ease of use decreases when starting the grinder you have to hold it tightly, it tries to break free from your hands. Expensive models already have a built-in soft start system that easily copes with all these troubles. But what to do if this system does not exist? There is a way out - to assemble a soft start circuit yourself. In addition, it can be used with incandescent light bulbs, because most often they burn out at the moment they are turned on. A soft start will significantly reduce the chances of a light bulb burning out quickly.
Scheme
On the Internet you can often find a soft start circuit built on a rather rare domestic microcircuit K1182PM1R, which is not always easy to get now.That is why I propose an equally effective circuit for assembly, the key link of which is the available TL072 microcircuit; you can also use LM358 instead of it. The time it takes for the engine to reach full speed is set by capacitor C1. The larger its capacity, the more time it will take to overclock; the best option is 2.2 µF. Capacitors C1 and C2 must be designed for a voltage of at least 50 volts. Capacitor C5 - at least 400 volts. Resistor R11 will dissipate a decent amount of heat, so its power should be at least 1 Watt. Any low-power transistors can be used in the circuit, T1, T2, T4 have an n-p-n structure, you can use BC457 or domestic KT3102, T4 has a p-n-p structure, BC557 or KT3107 are suitable in its place. T5 - any semistor suitable for power and voltage, for example, BTA12 or TS-122.
Making a soft start
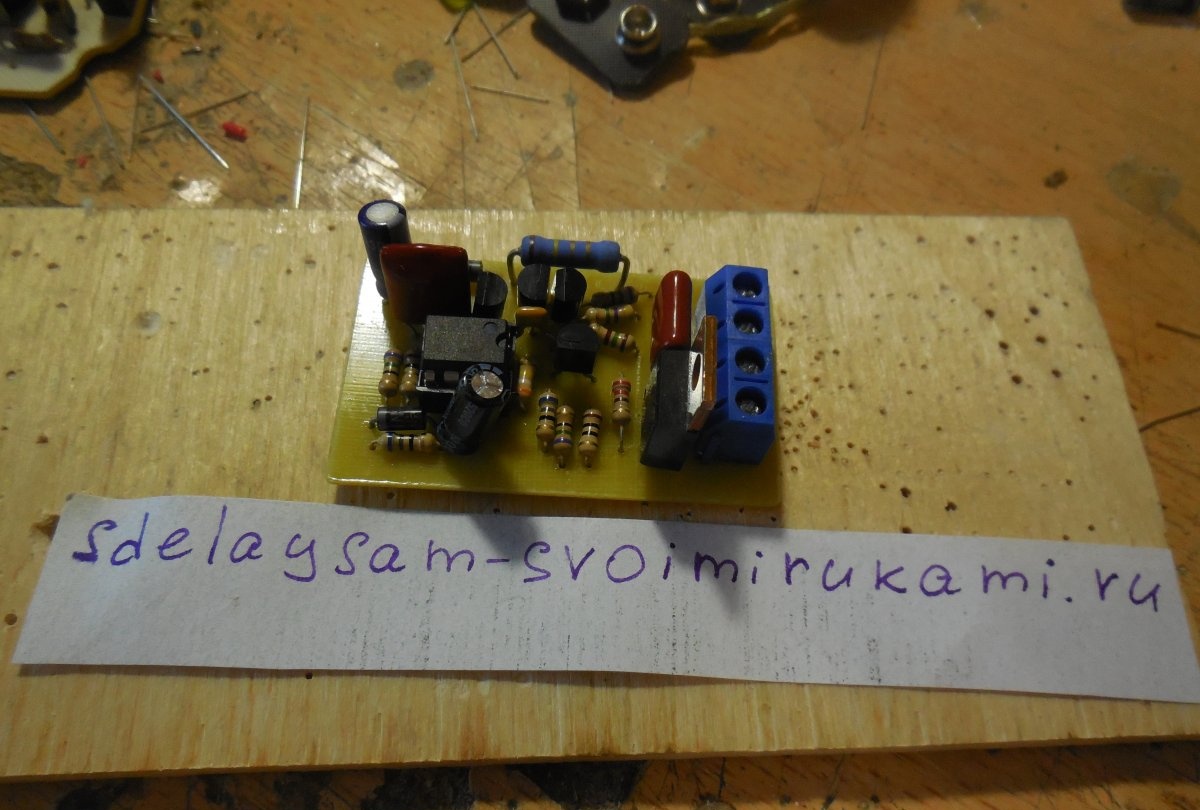
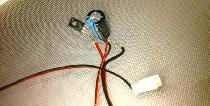
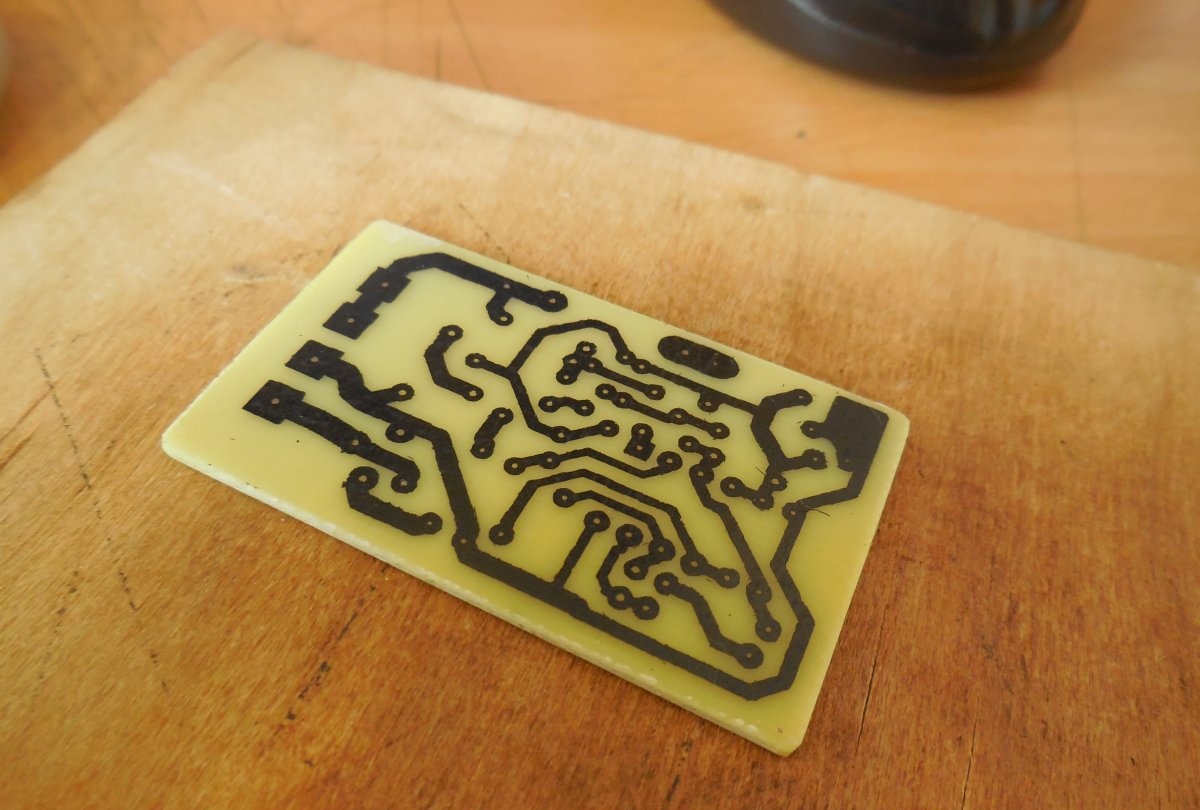
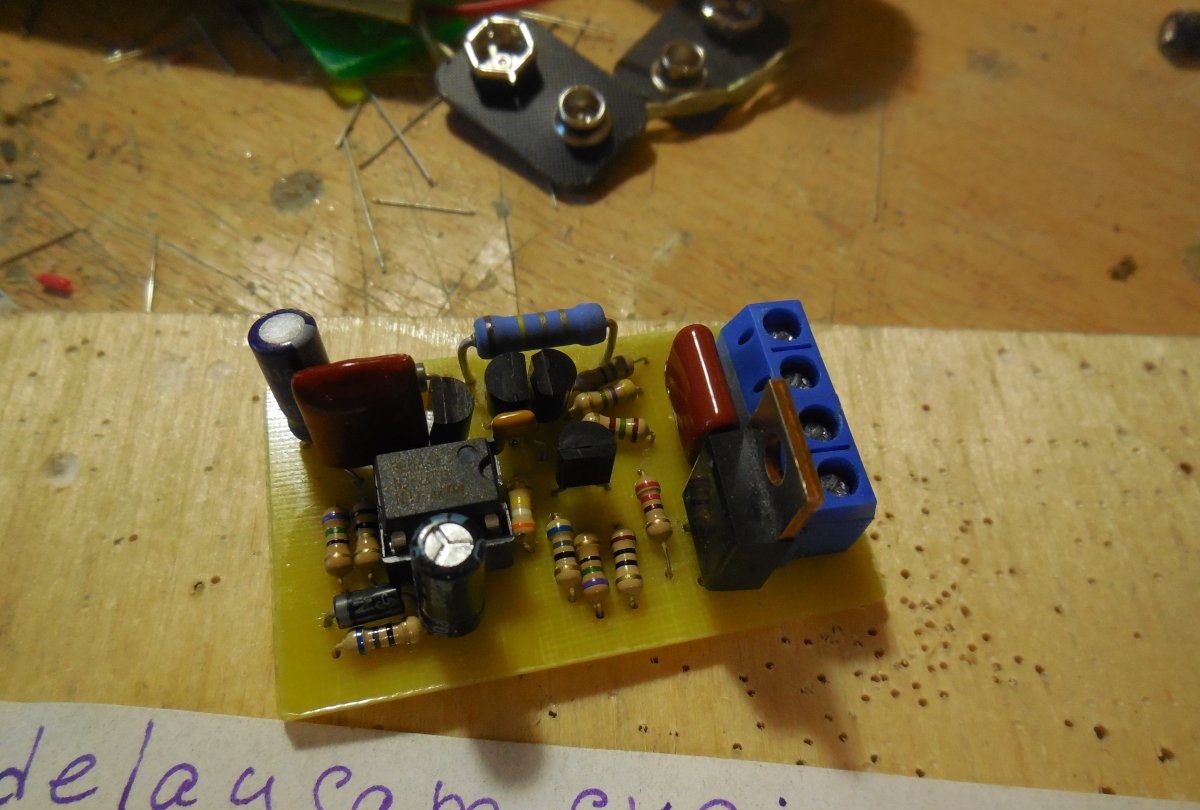
The circuit is assembled on a printed circuit board measuring 45 x 35 mm, the board is laid out as compactly as possible so that it can be built inside the body of a tool that requires a soft start. It is better to solder the power wires directly into the board, but if the load power is small, then you can install terminal blocks, as I did. The board is made using the LUT method, photographs of the process are presented below.
Download the board: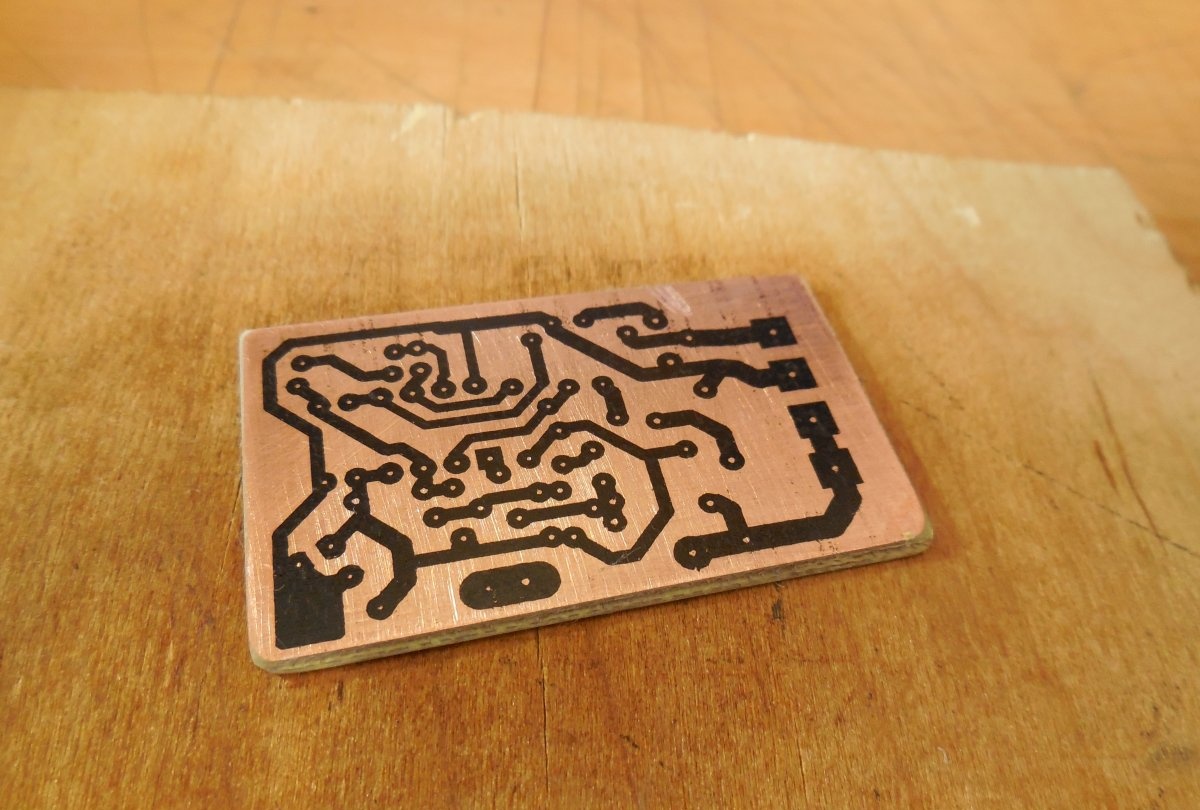
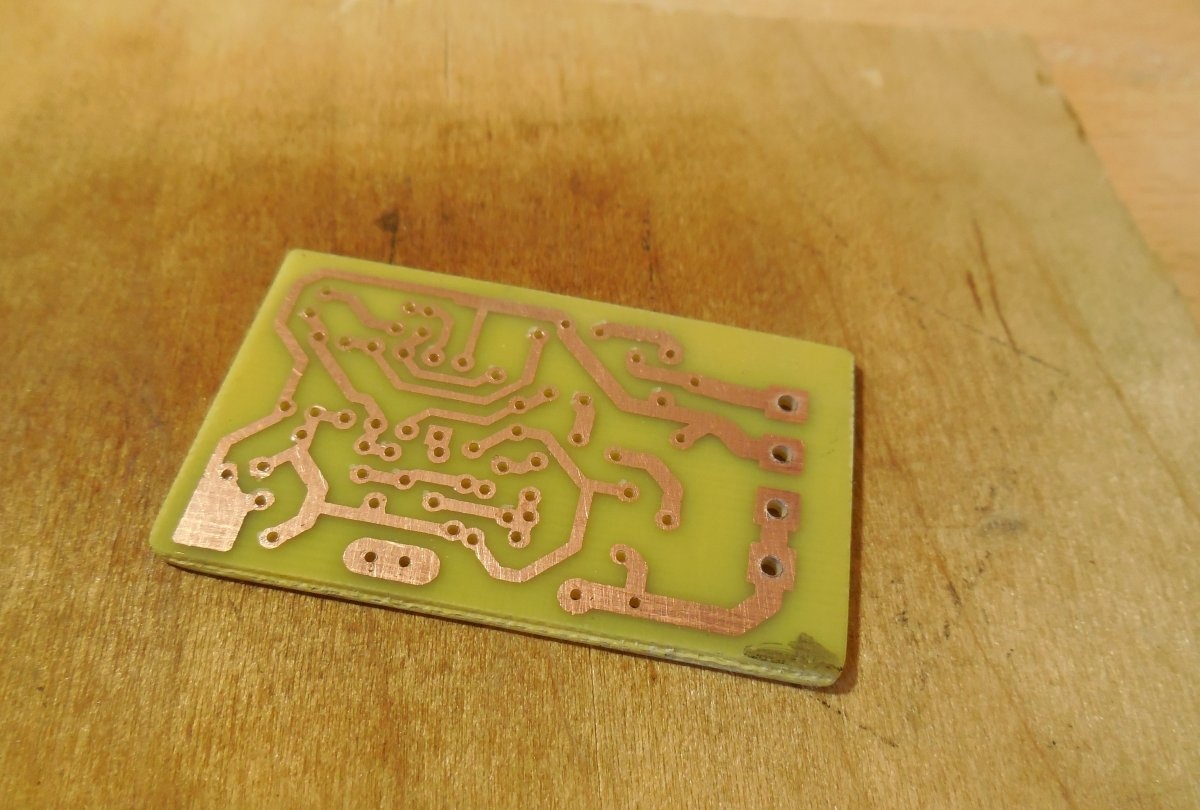
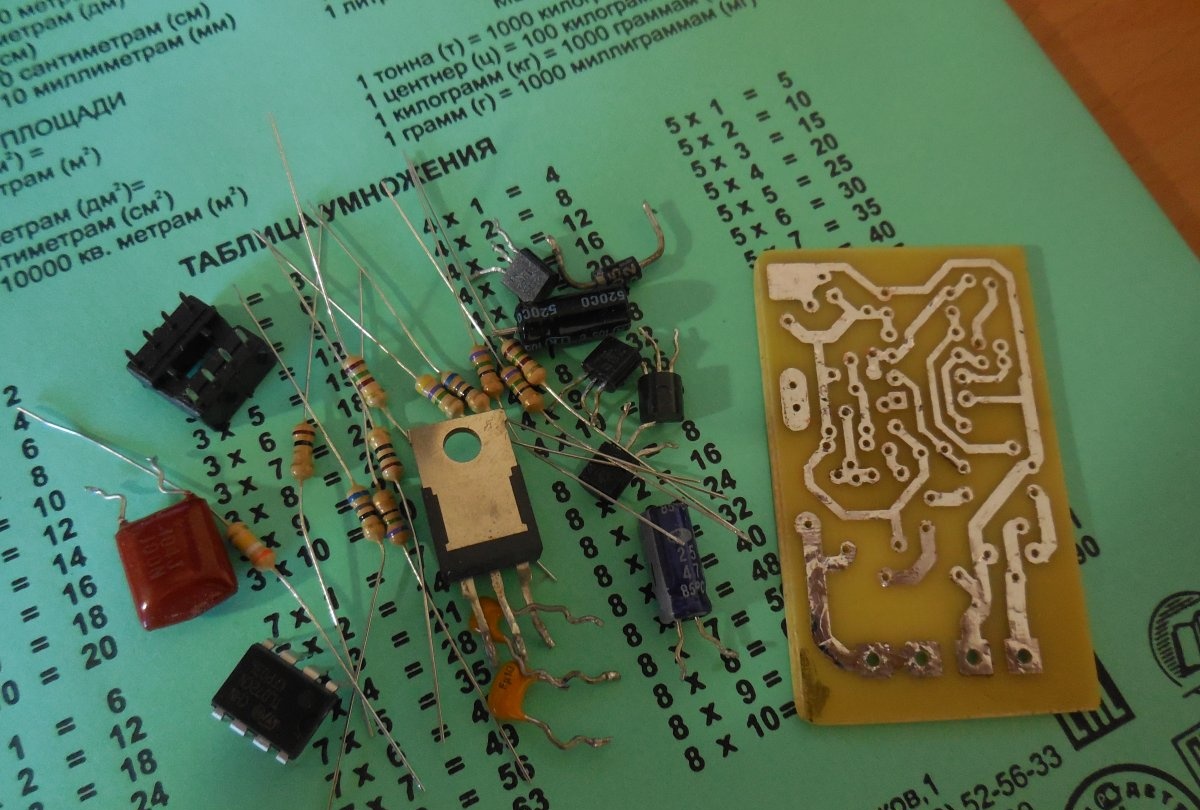
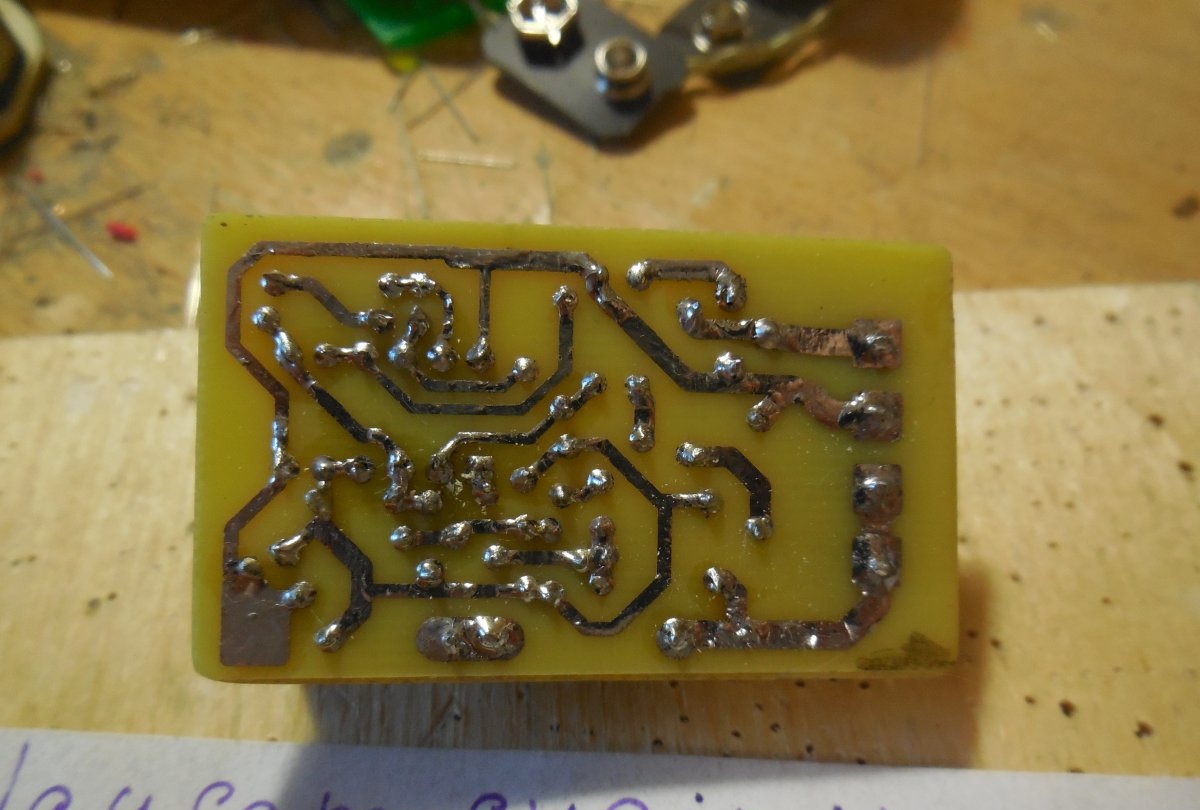
It is advisable to tin the tracks before soldering the parts, this will improve their conductivity. The microcircuit can be installed in the socket, then it can be easily removed from the board. First, resistors, diodes, small capacitors are sealed, and only then the largest components.After completing the assembly of the board, it is necessary to check it for correct installation, ring the tracks, and wash off the remaining flux.
First launch and tests
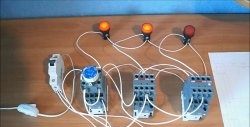
After the board is completely ready, you can check its functionality. First of all, you need to find a low-power light bulb of 5-10 watts and connect it to the board through a 220-volt network. Those. the board and the light bulb are connected to the network in series, and the OUT output remains unconnected. If nothing is burned on the board and the light does not light up, you can connect the circuit directly to the network. The same low-power bulb can be connected to the OUT output for testing. When connected, it should smoothly gain brightness to maximum. If the circuit works properly, you can connect more powerful electrical appliances. During prolonged operation, the semistor may become slightly warm - there is nothing to worry about. If there is free space, it would not hurt to install it on the radiator.
Dangerous mains voltage is present on the board during operation, so precautions must be taken. Under no circumstances should you touch the board parts while it is connected to the network. Before turning on, make sure that the board is securely fastened and that no metal objects that can cause a short circuit will fall on it. For reliability, it is recommended to fill the board with varnish or epoxy resin, then even moisture will not harm it. Happy build!