Creativity attracts many people with the opportunity to express themselves in a new field of activity and realize their ideas without intermediaries. I took advantage of the renovations in my apartment and decided to make a bas-relief on the wall. It turned out to be easy and very exciting. I want to share my experience.
Bas-relief modeling
First you need to prepare the wall: level and prime. Construction stores have a huge selection of putties, plasters and primers for this.
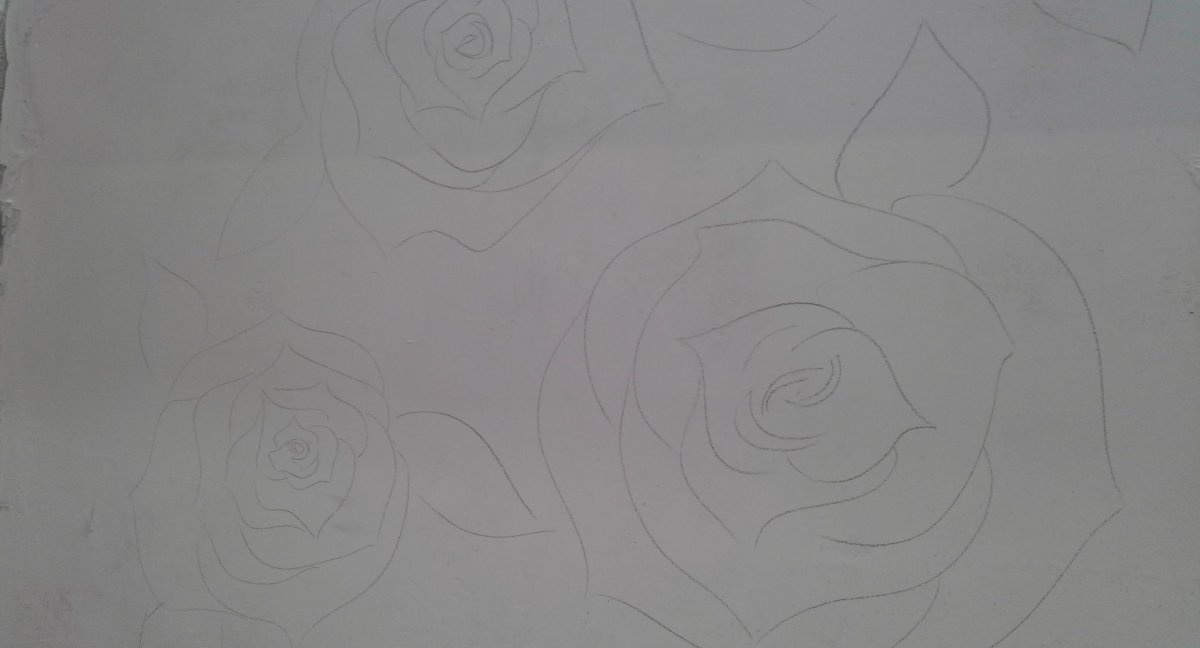
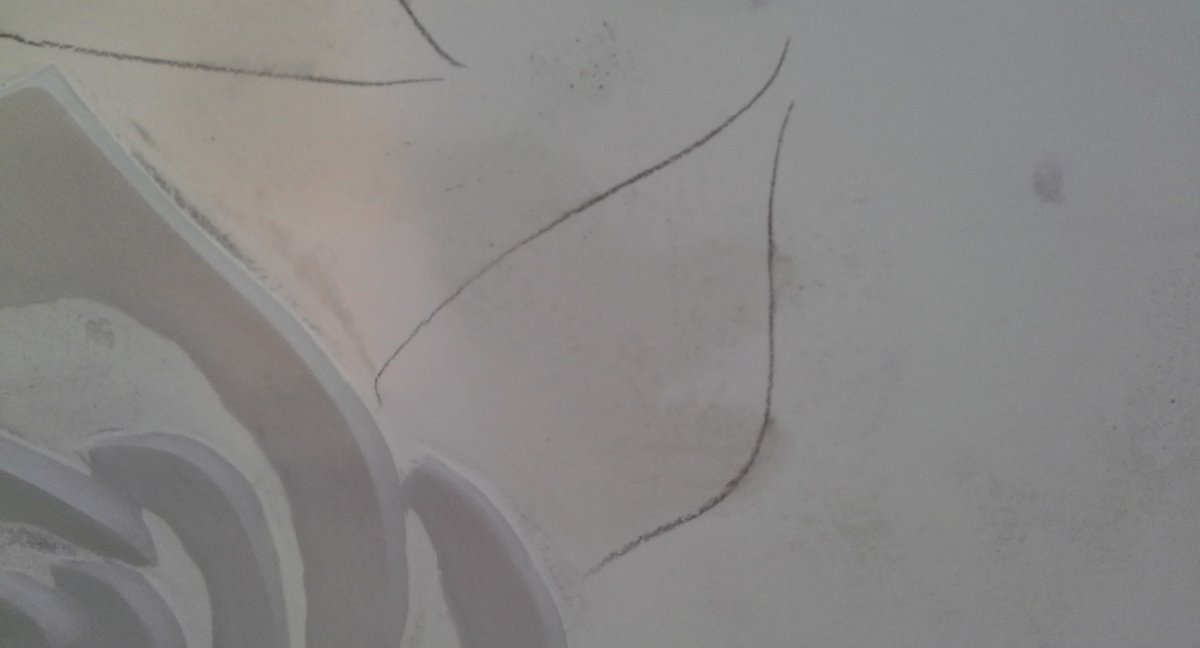
When the wall is ready and has dried well, draw a drawing with a pencil. I decided to make roses scattered on the wall. We check the composition: uniformity of the pattern over the entire area, alternation of small and large colors. If something doesn’t suit you, you can fix it - the pencil on the wall can be easily erased with an eraser.
Let's start sculpting. Professionals recommend using gypsum putty. But I had some polymer-based putty left over from other jobs, so I started working with it. Then, when I had to buy more material, I took plaster. Thus, I can compare two types of putties.
It turned out:
- diluted polymer putty is more elastic and docile, unlike gypsum putty;
- the color of the polymer putty is pure white, the color of gypsum putty is gray;
- When dry, polymer putty can be easily and effortlessly processed with sandpaper; gypsum putty has to be sanded with considerable effort.
I don't name the brands of putty, it doesn't really matter. You can take those that are available in the store and fit your budget.
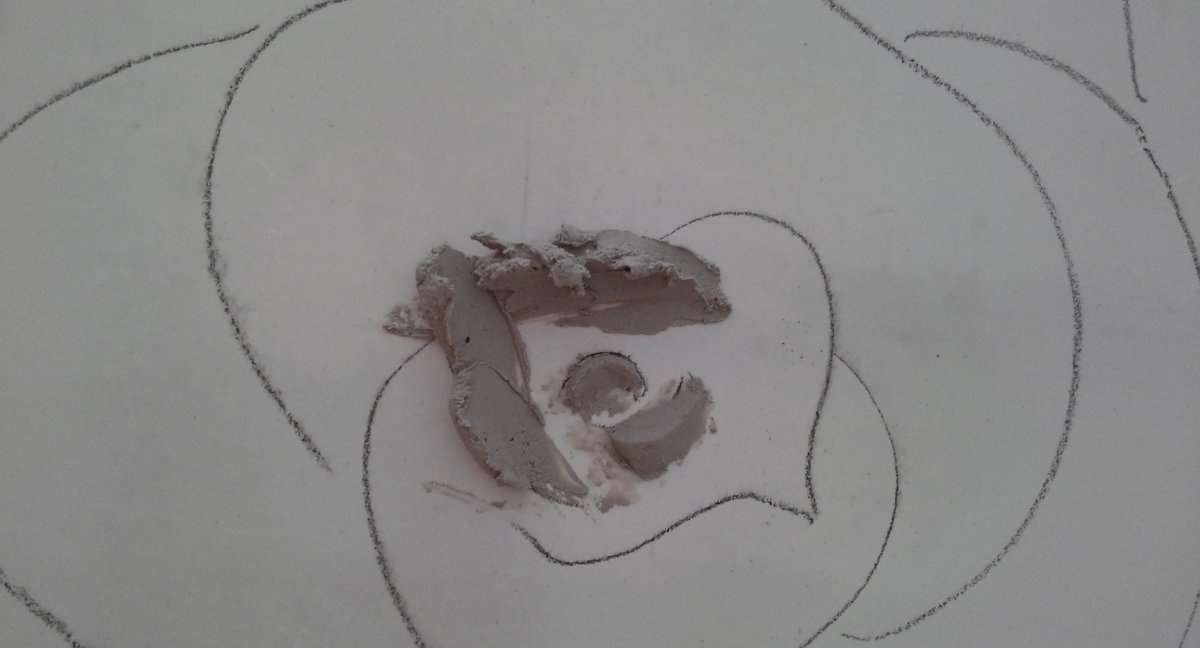
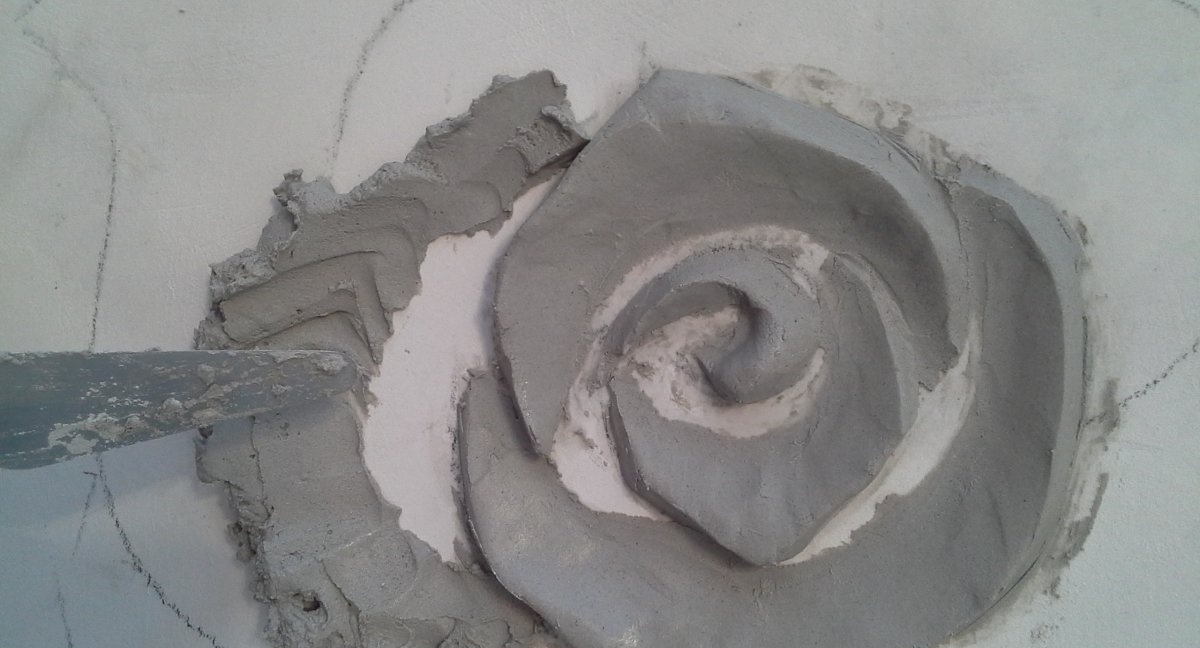
So, let's spread the putty.
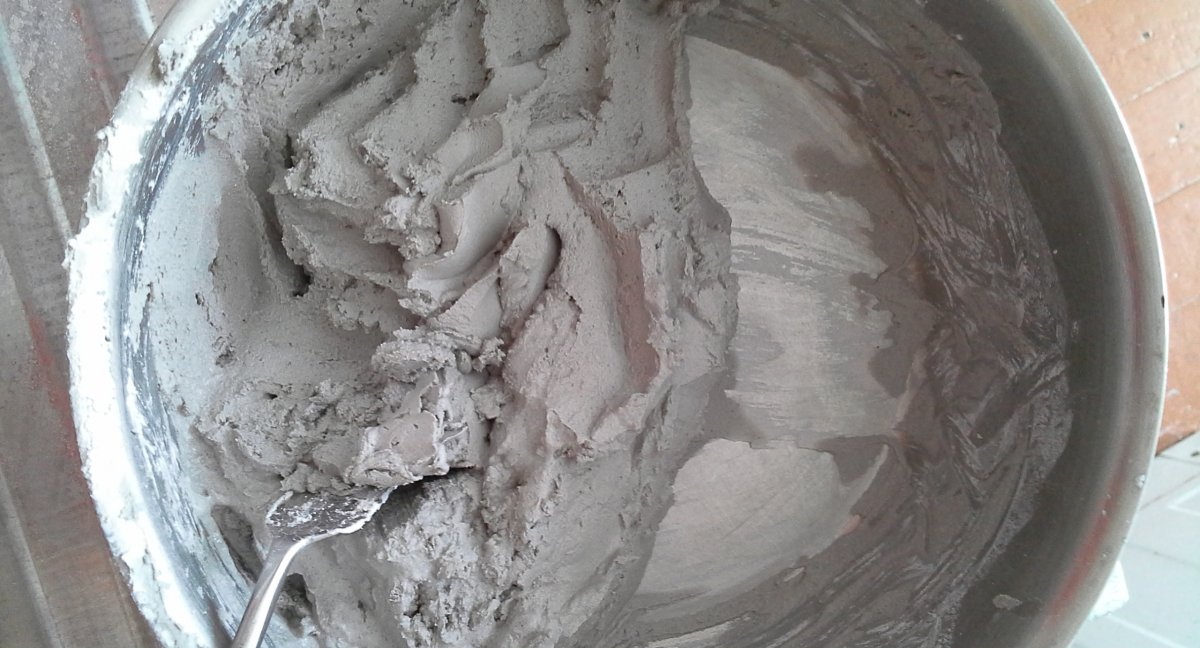
The consistency should be quite dense, but not tight, but elastic.
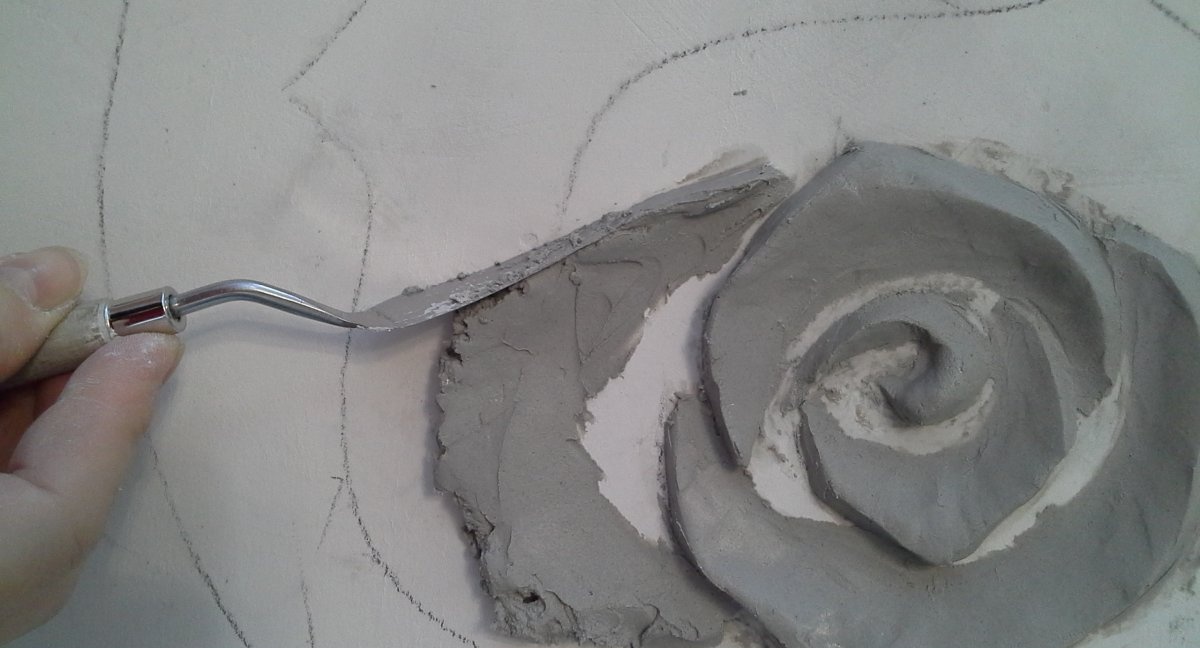
I worked with a palette knife. It is more convenient to start from the middle of the flower. First I lay out and level the central petals.
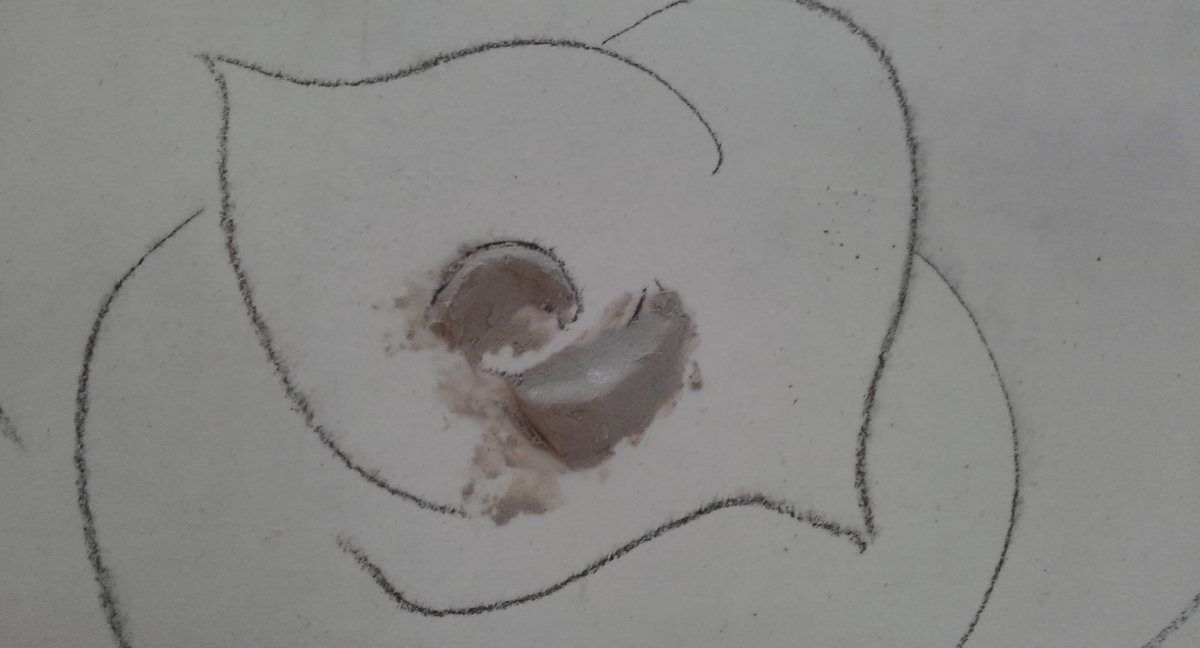
Then I gradually move on to the next ones. The mass is laid out on the wall along the lines of the drawing in small parts.
We smooth them a little, level them, giving them the desired shape. For final leveling, you can moisten the palette knife in water and run it wet over the petal. In general, it is better to try to level it as smoothly as possible, so that you don’t have to sand a lot later.
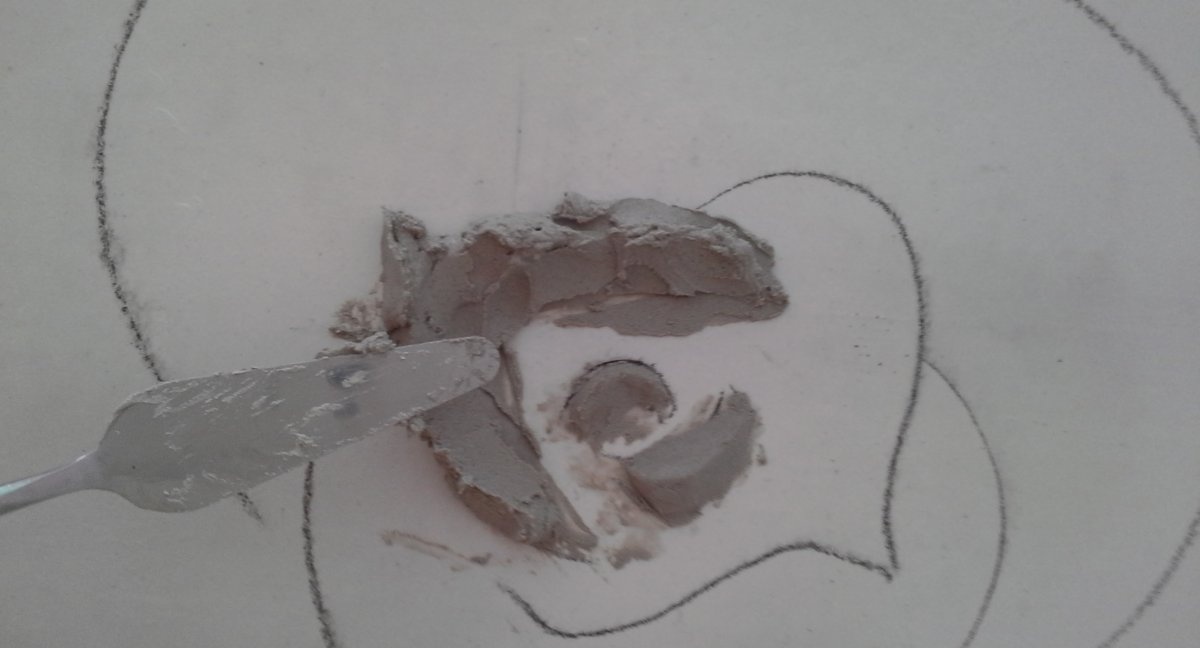
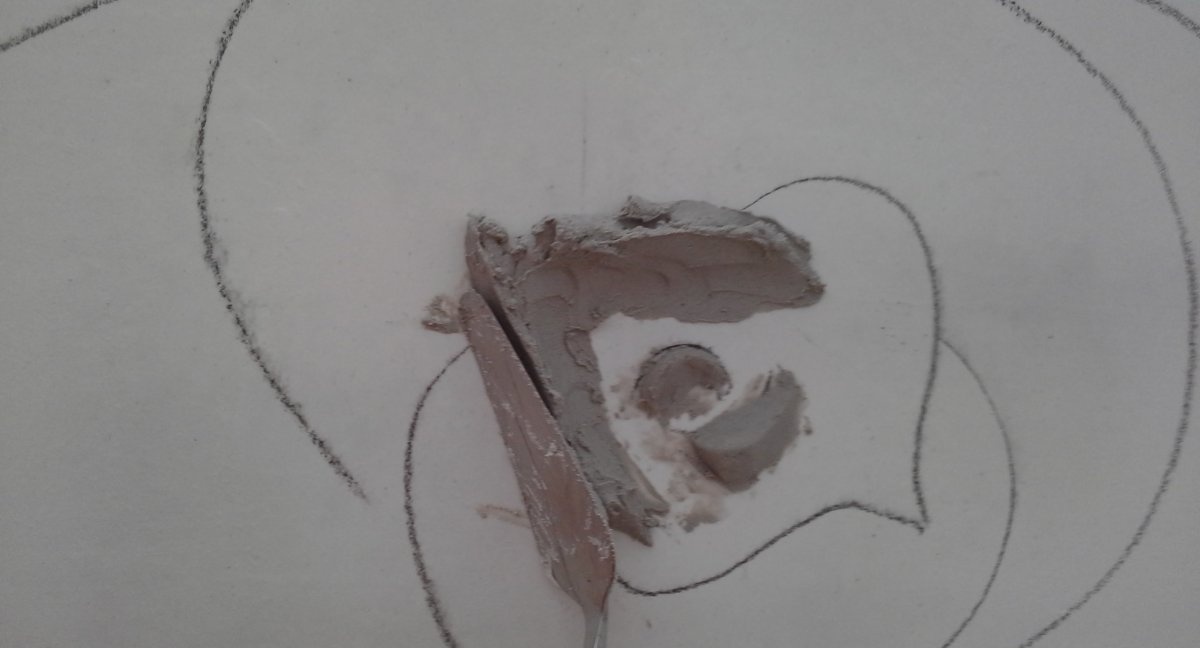
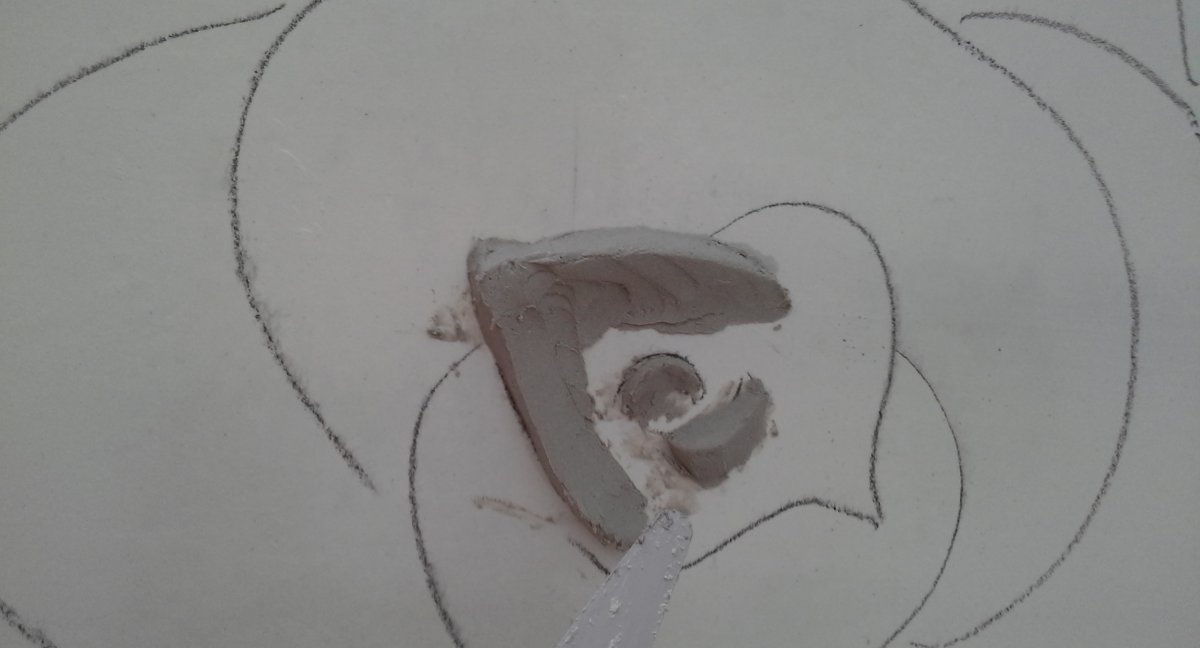
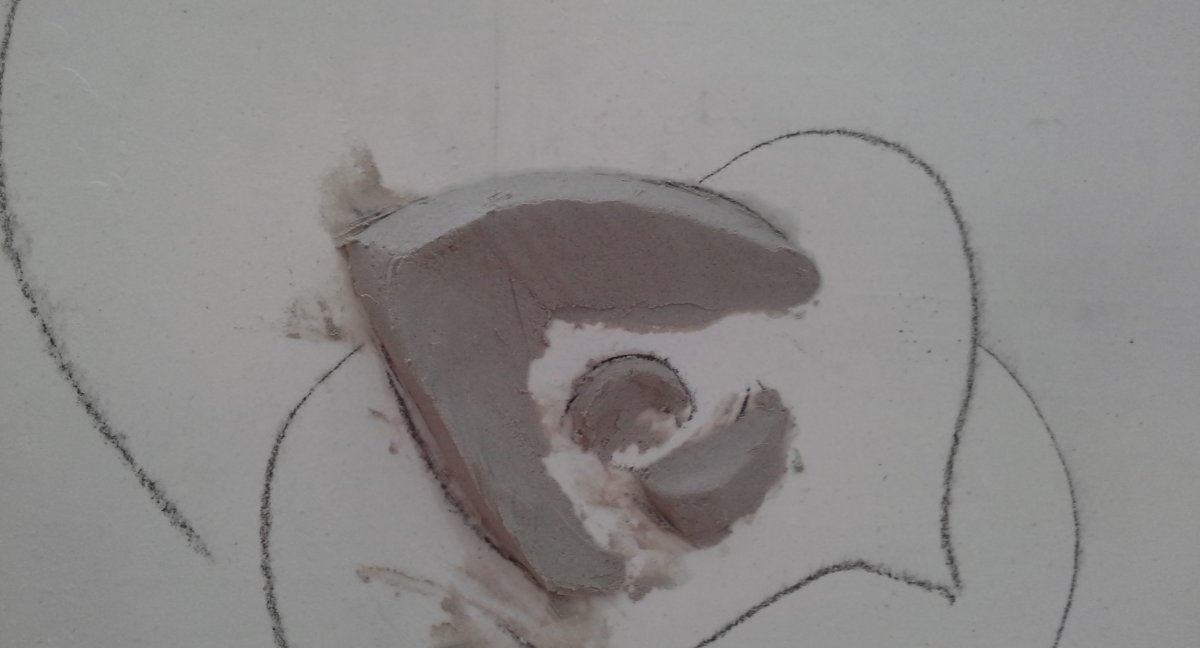
Having formed one petal, we move on to the next.
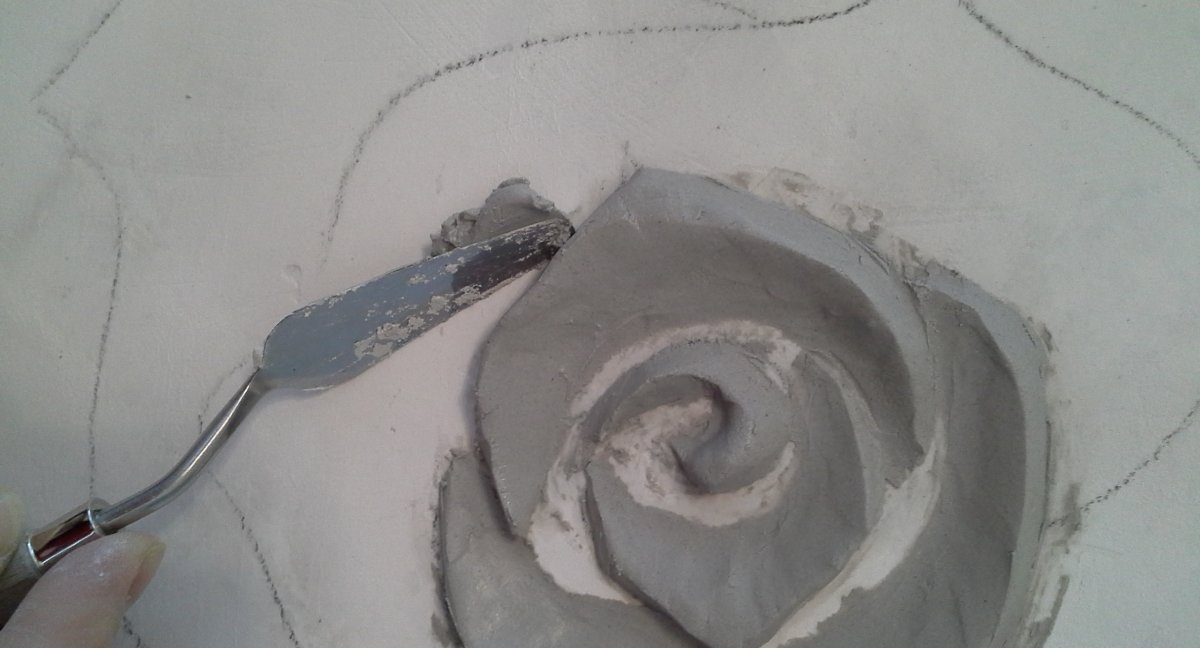
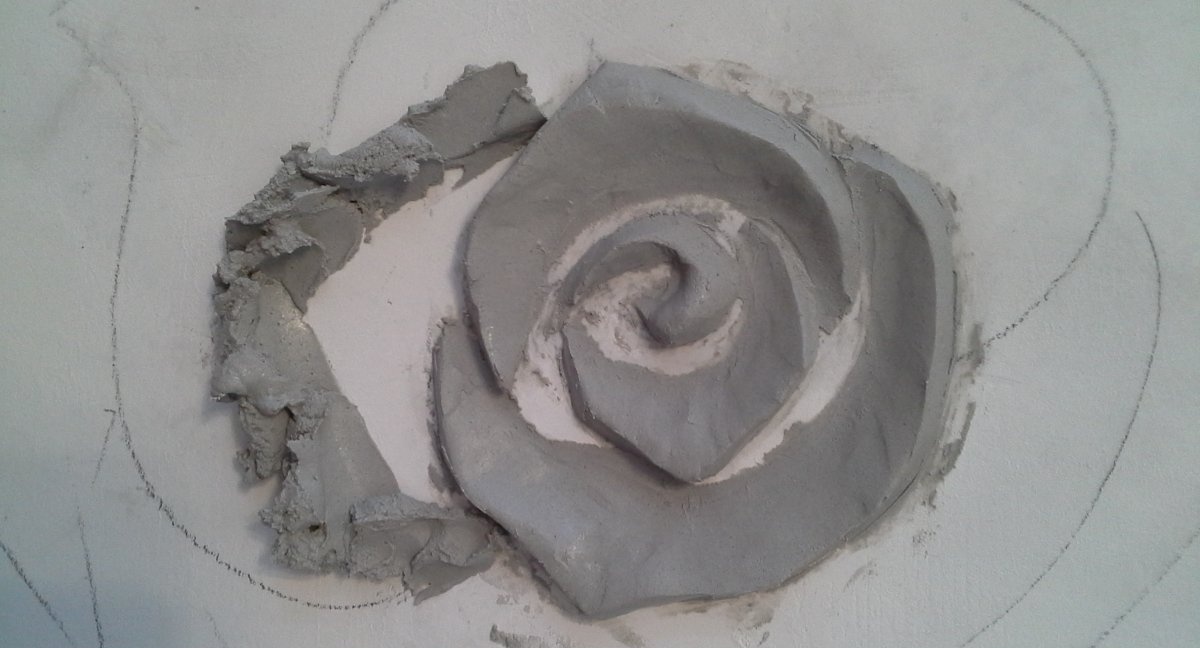
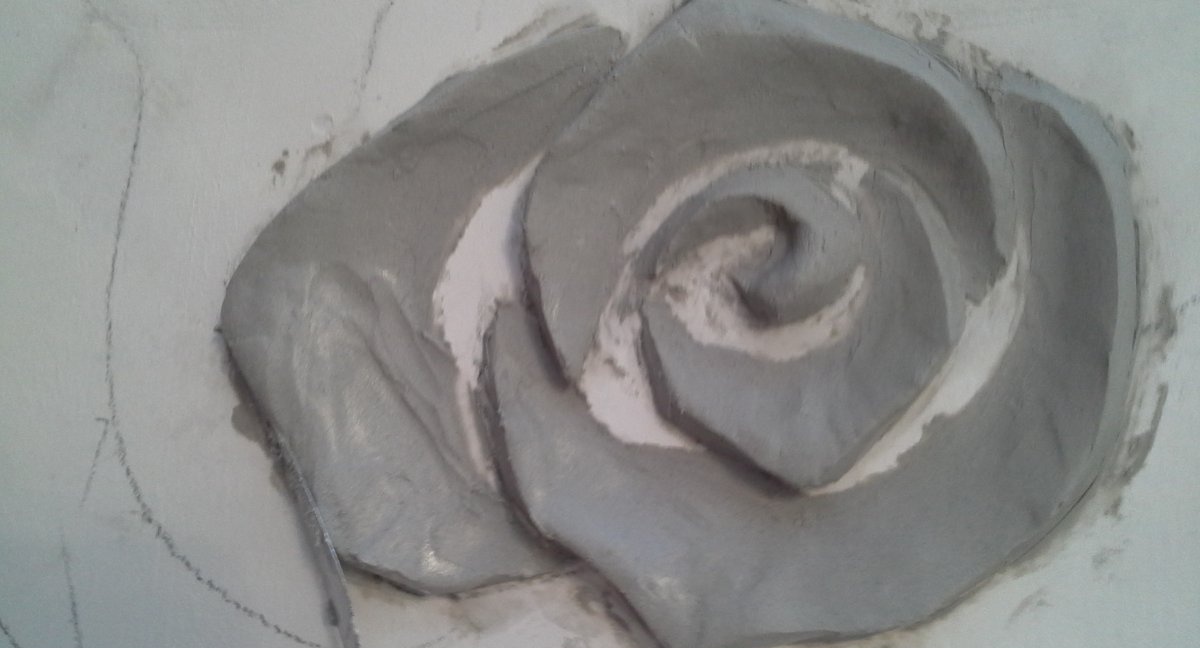
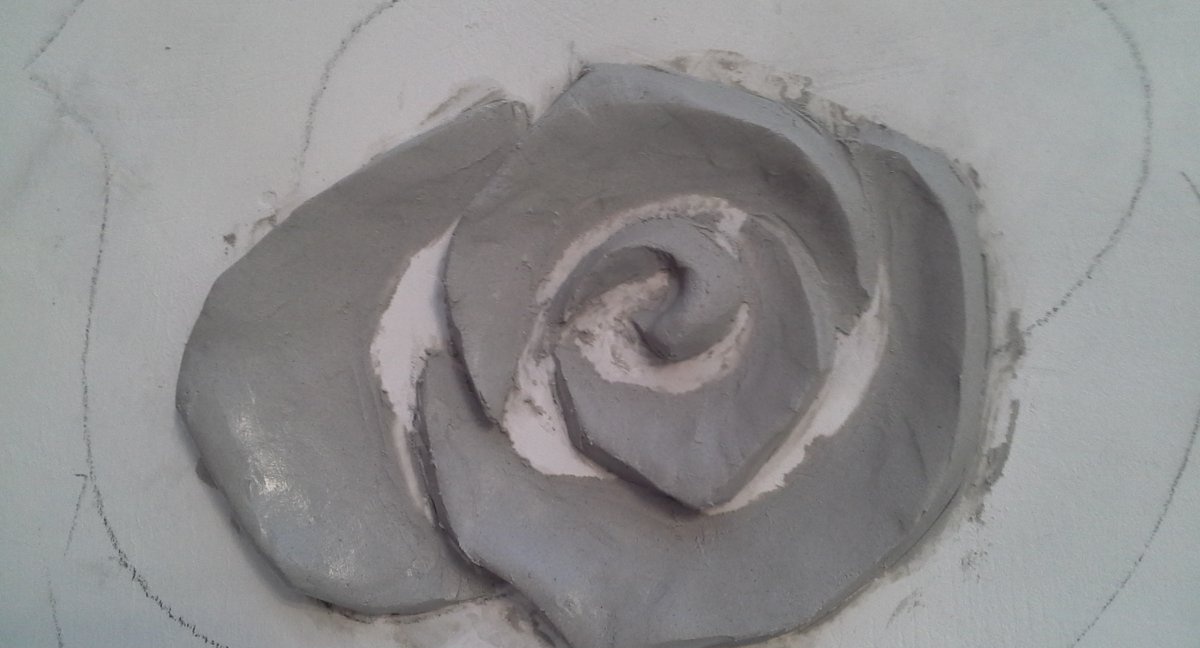
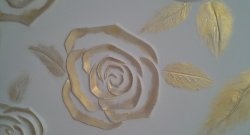
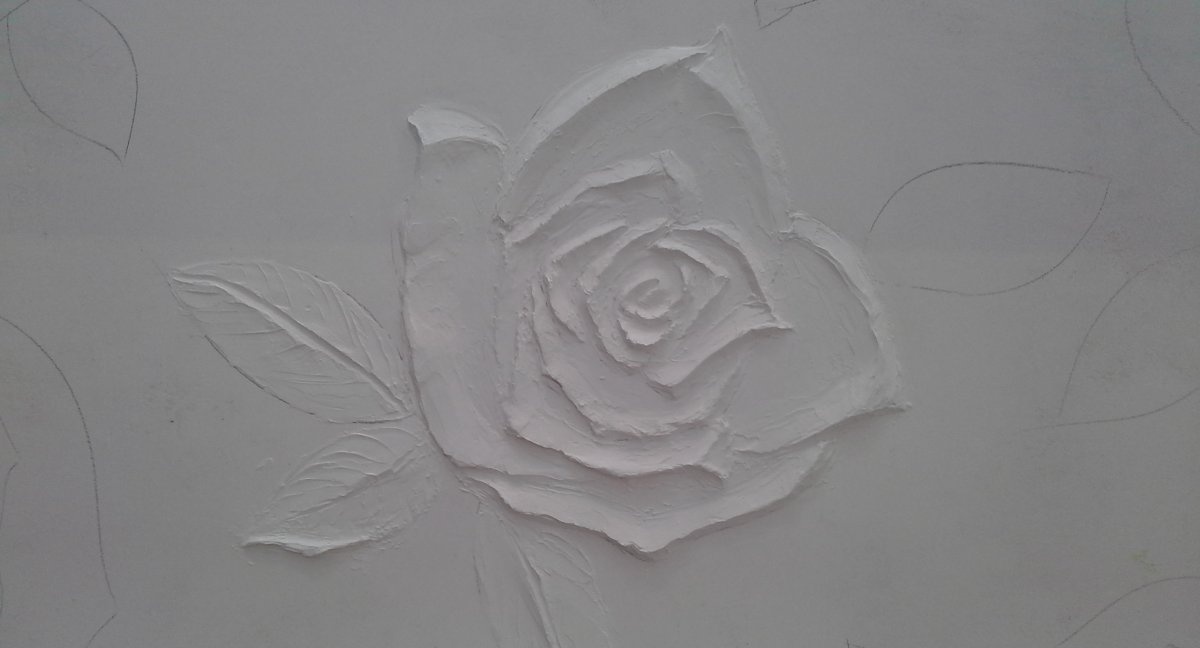
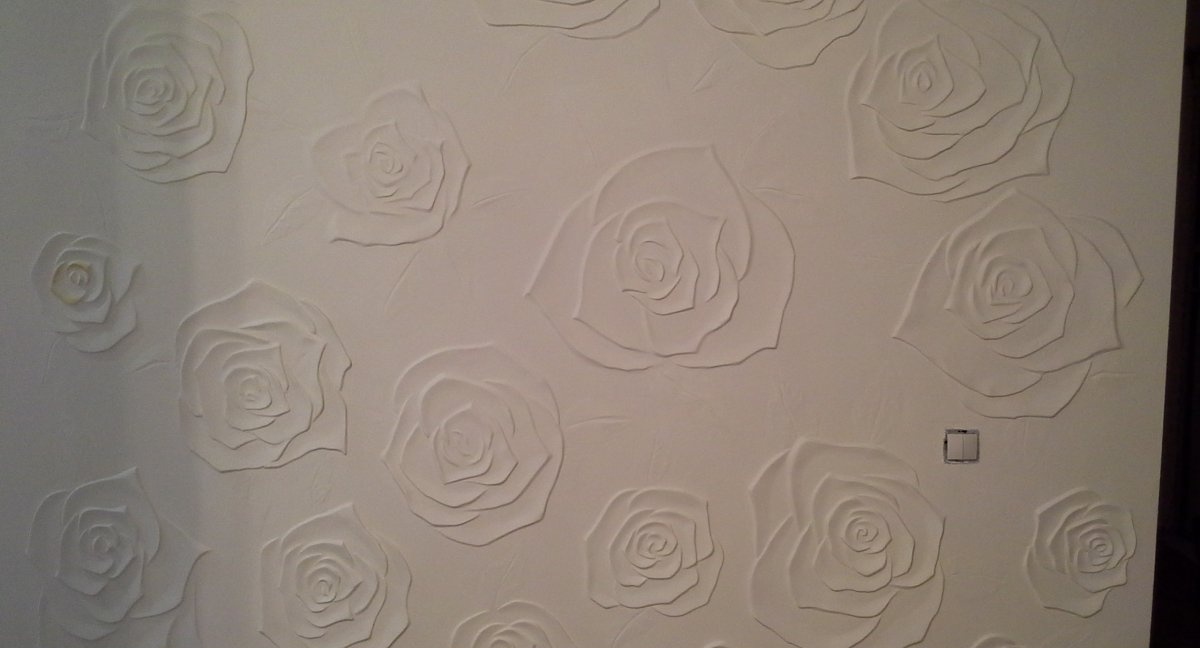
This is what a rose made from polymer-based putty (white) looks like.
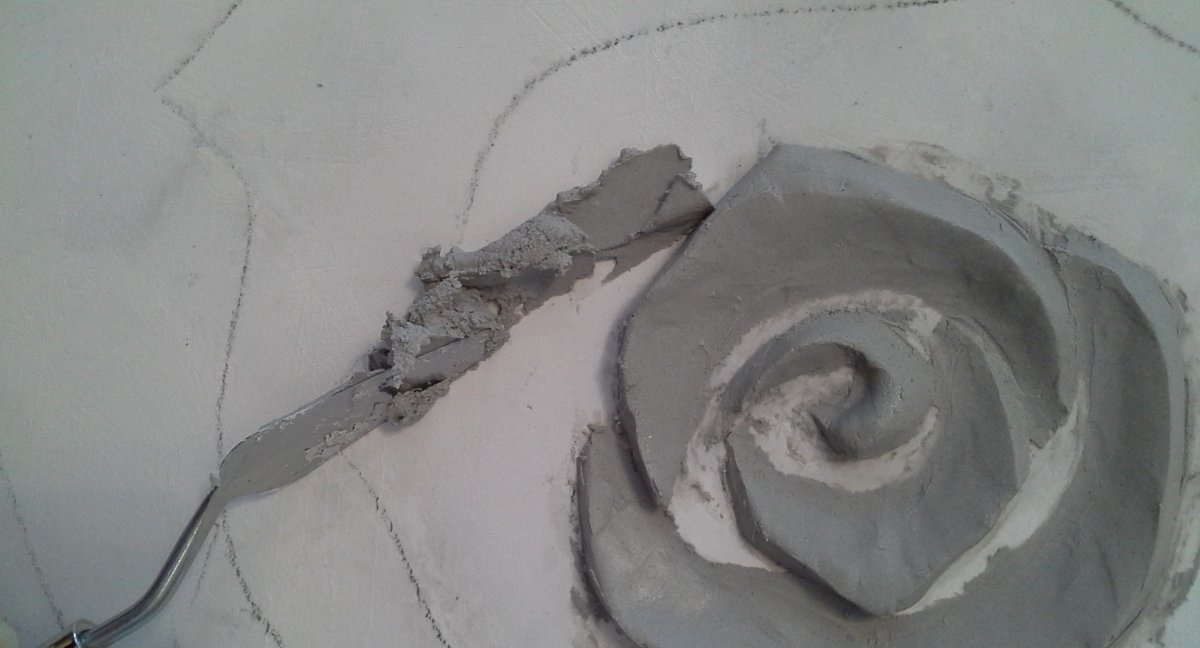
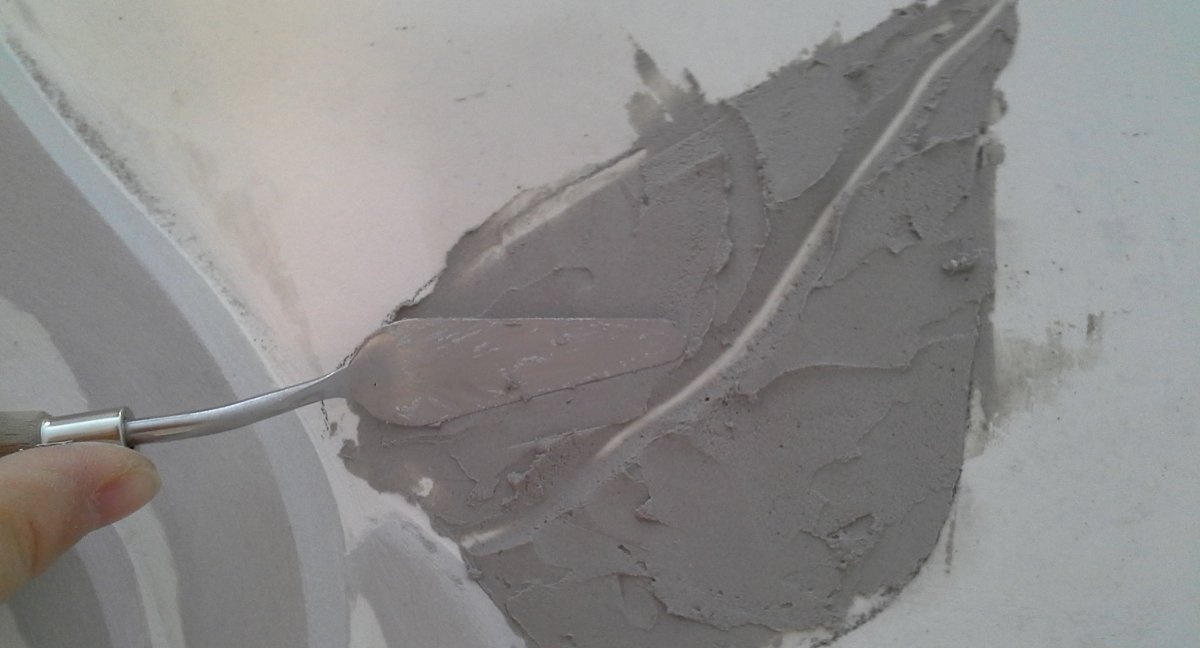
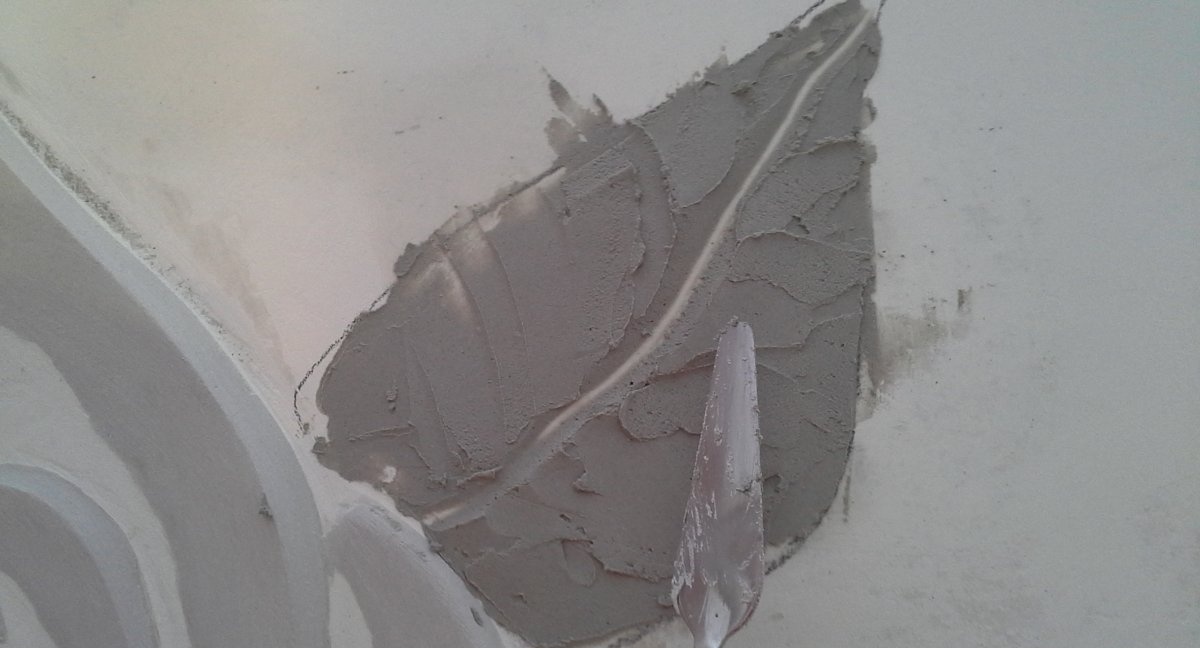
Now let's start sculpting the leaves.
Spread the mixture over the entire area of the sheet.
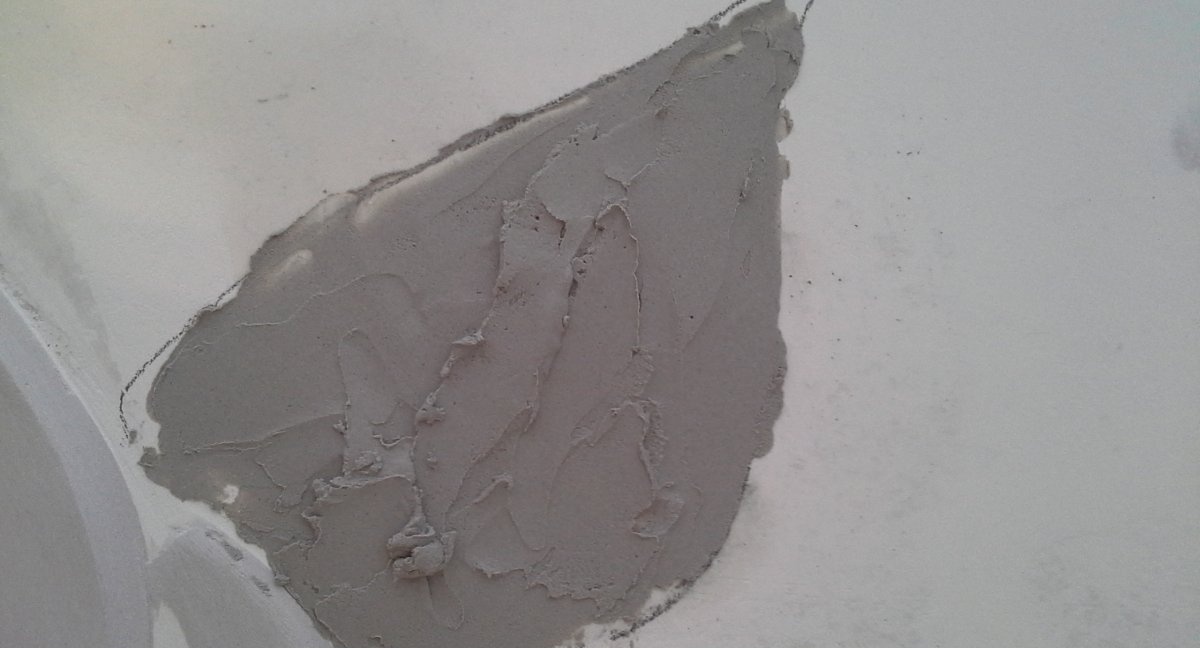
Using a palette knife, draw the main line in the middle of the sheet.
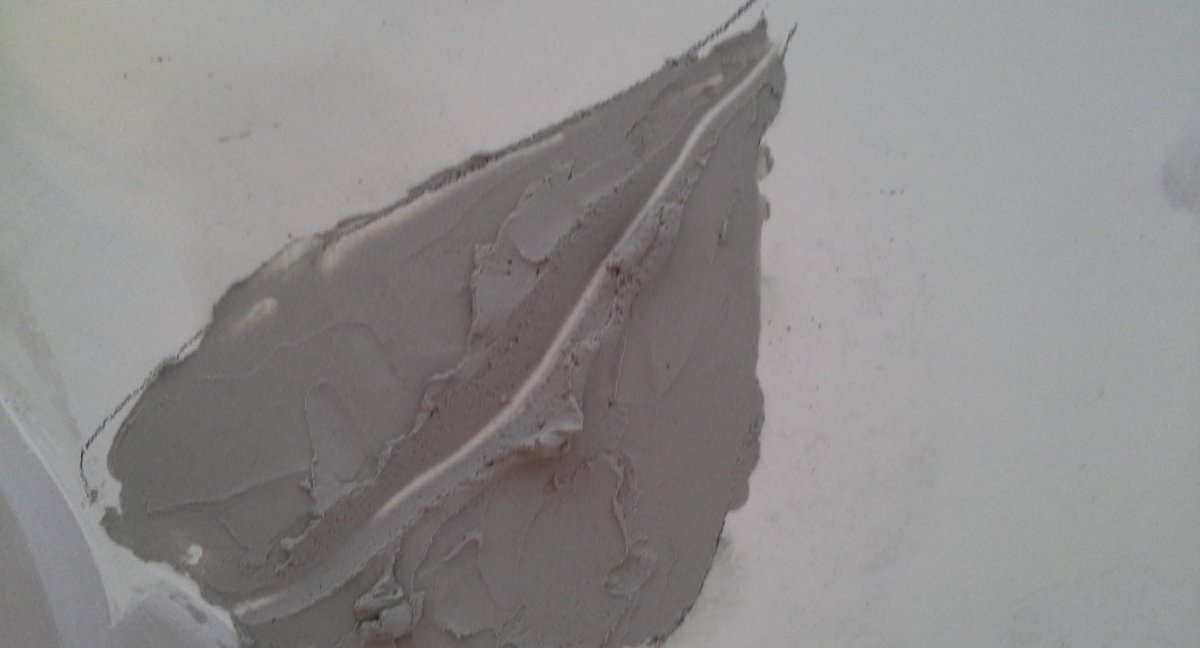
Lightly smooth the putty in the directions of the side veins. There is no need to smooth the surface too much.
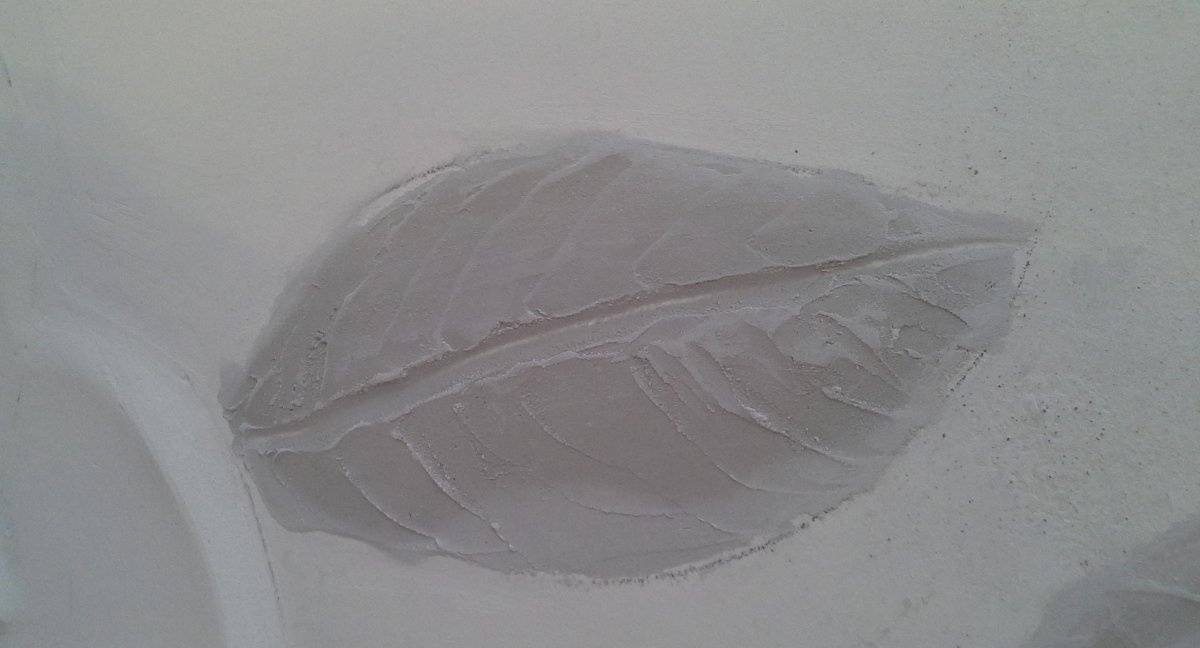
When everything molded has dried, we begin to sand it with fine sandpaper. Finally it turns out like this:

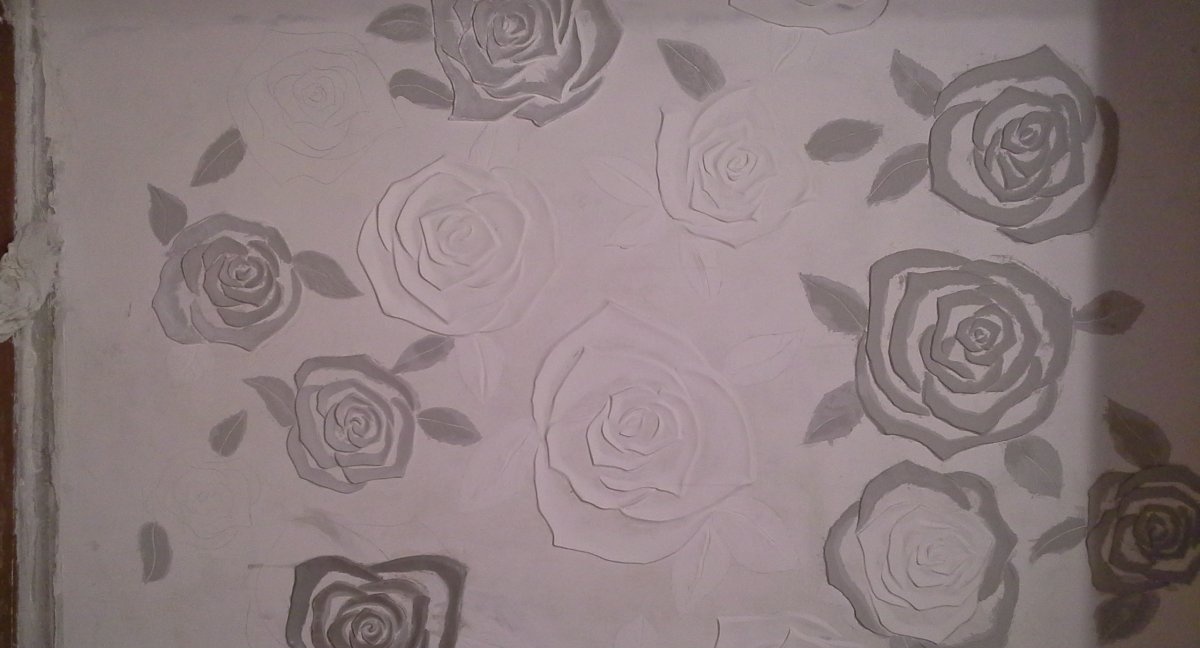
When all the flowers have been processed, you need to thoroughly clean them from dust with a brush and coat them with primer, preferably 2-3 times.
In this photo you can clearly see where the flowers are made from gypsum putty (dark) and where from polymer-based putty (white).
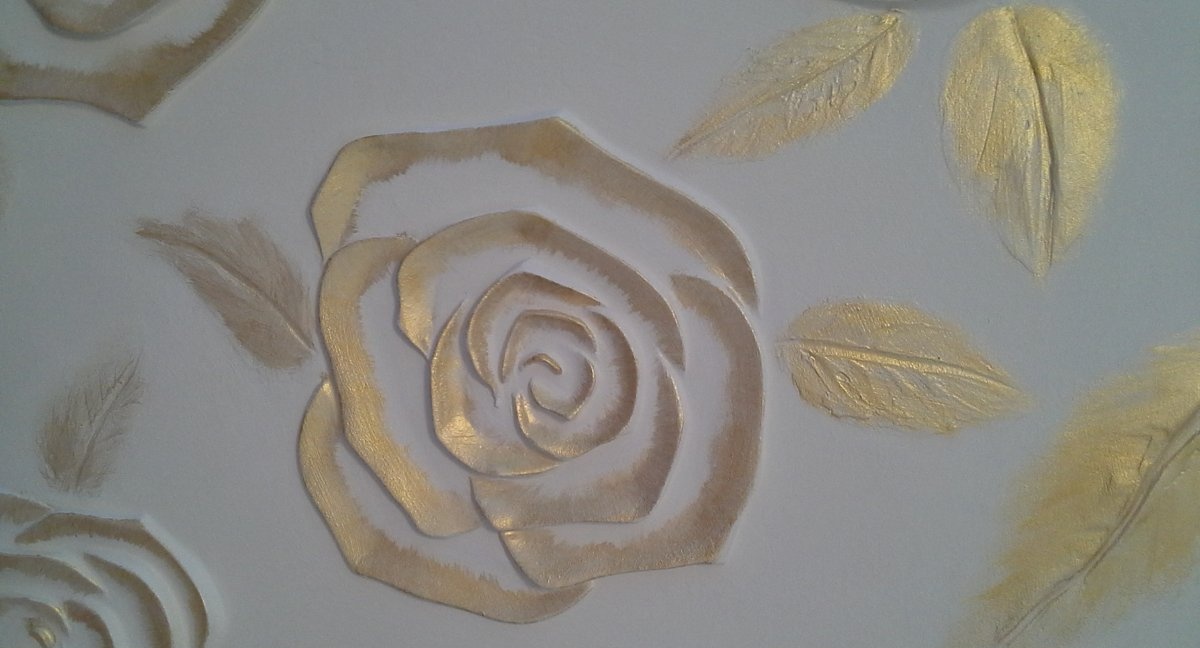
When the primer has dried, paint the wall with the bas-relief with white paint. I needed to paint over the gray color of the plaster and match all the flowers in tone.Then I applied tinted paint (light beige color).
Now I painted over the edges of the petals with acrylic paint (golden metallic). I wanted the color to not be too intense, so I applied the paint using a semi-dry bristle brush. When it dried, I removed the gloss a little more with a damp sponge.

This is what the wall finally looks like:
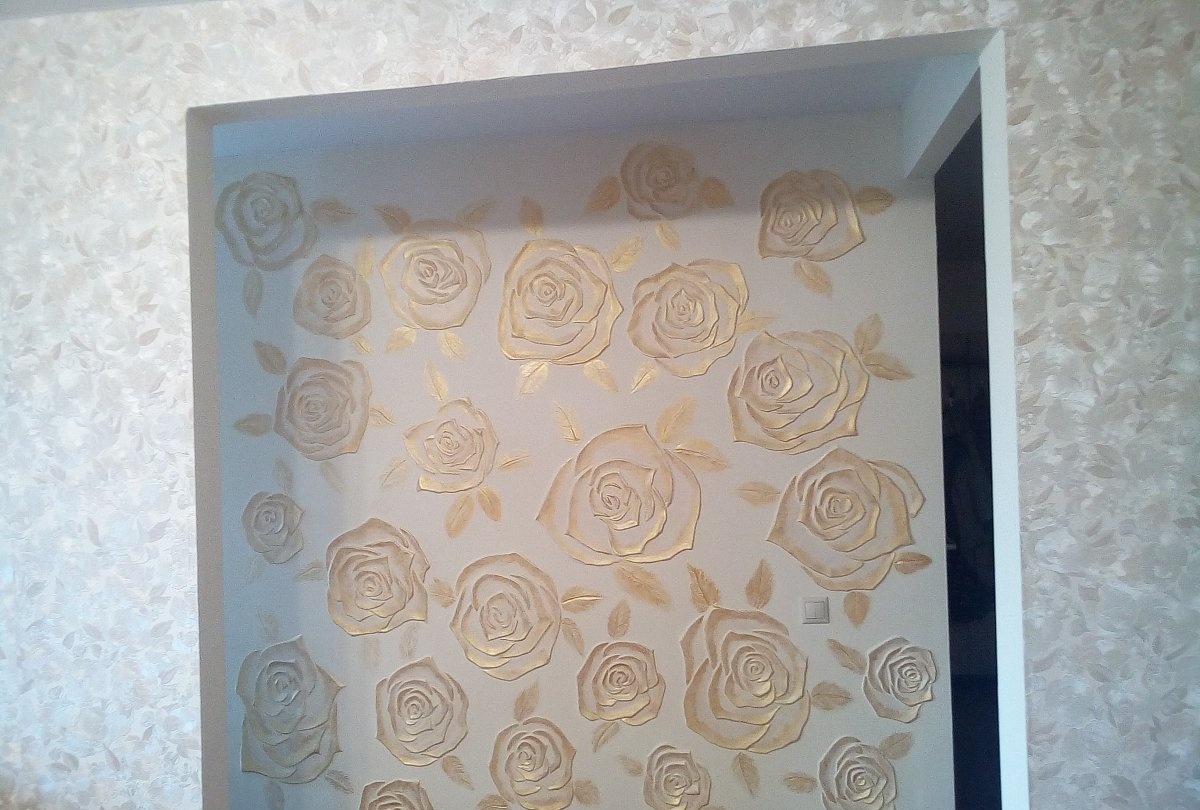
You can cover the bas-relief with varnish. This will better preserve the paint from fading and contamination.
The sculpting process is very exciting. I'm now thinking about the option of stucco molding on the balcony. By the way, if you can’t decide to make a bas-relief on the wall, you can take a sheet of fiberboard and start making a picture. Good luck!