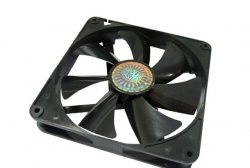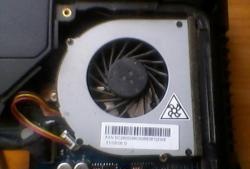
Cooling fans are now in many household appliances, whether they are computers, music centers, home theaters. They are good, they cope with their task, cool the heating elements, but at the same time they emit a heart-rending, and very annoying noise. This is especially critical in music centers and home theaters, because the noise of the fan can interfere with enjoying your favorite music. Manufacturers often save and connect cooling fans directly to the power supply, from which they always rotate at maximum speed, regardless of whether cooling is currently required or not. This problem can be solved quite simply - to build your own automatic cooler speed controller. He will monitor the temperature of the radiator and only turn on the cooling if necessary, and if the temperature continues to rise, the regulator will increase the cooler speed to the maximum. In addition to reducing noise, such a device will significantly increase the service life of the fan itself. You can also use it, for example, when creating self-made powerful amplifiers, power supplies or other electronic devices.
Scheme
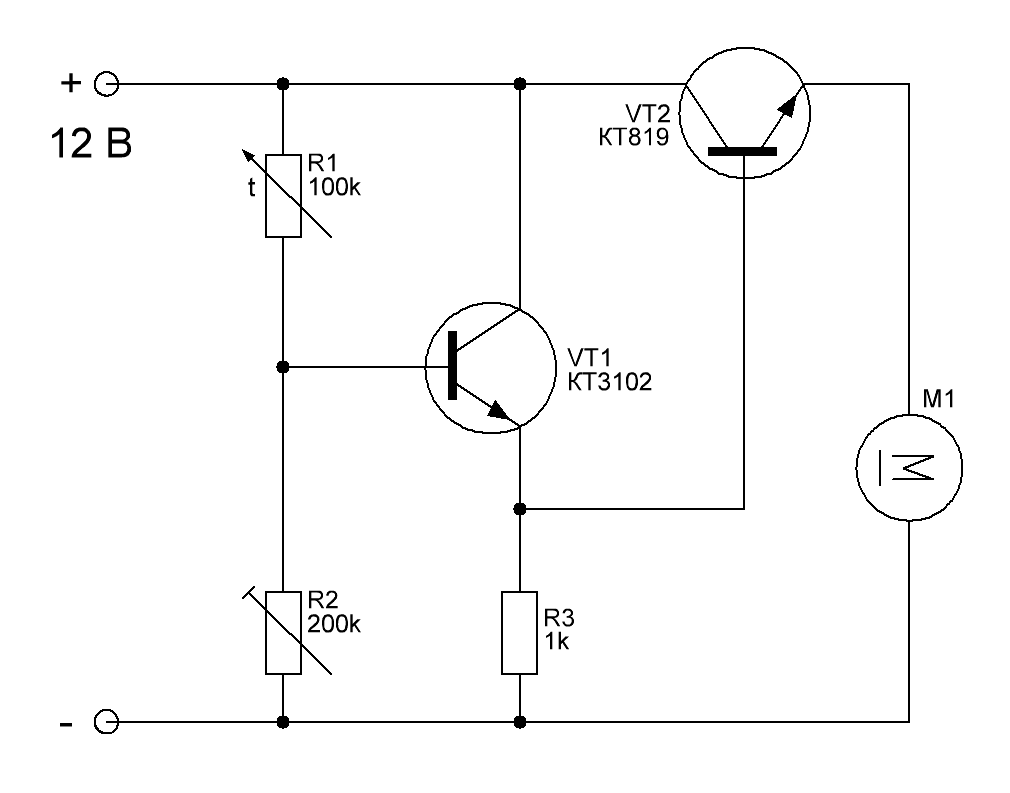
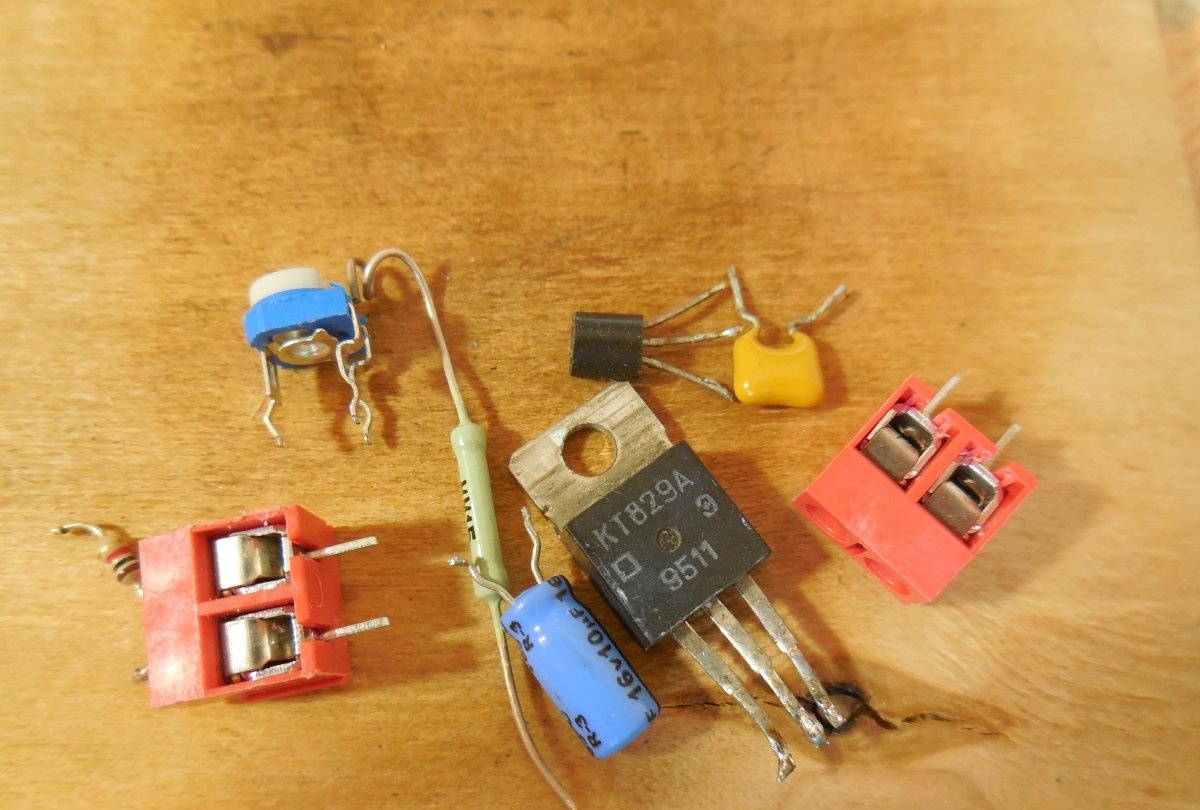
The circuit is extremely simple, it contains only two transistors, a pair of resistors and a thermistor, but, nevertheless, it works great. M1 in the diagram is a fan, the speed of which will be regulated. The circuit is designed to use standard coolers for a voltage of 12 volts. VT1 is a low-power n-p-n transistor, for example, KT3102B, BC547B, KT315B. Here it is desirable to use transistors with a gain of 300 or more. VT2 is a powerful n-p-n transistor, it is he who switches the fan. You can use inexpensive domestic KT819, KT829, again it is advisable to choose a transistor with a large gain. R1 is a thermistor (also called a thermistor), a key link in the circuit. It changes its resistance depending on temperature. Any NTC thermistor with a resistance of 10-200 kOhm, for example, domestic MMT-4, is suitable here. The value of the tuning resistor R2 depends on the choice of the thermistor, it should be 1.5 - 2 times more. This resistor sets the threshold for activating the fan.
Controller manufacture
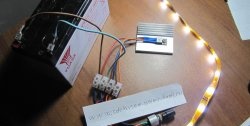
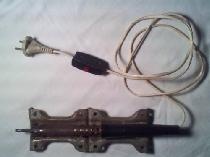
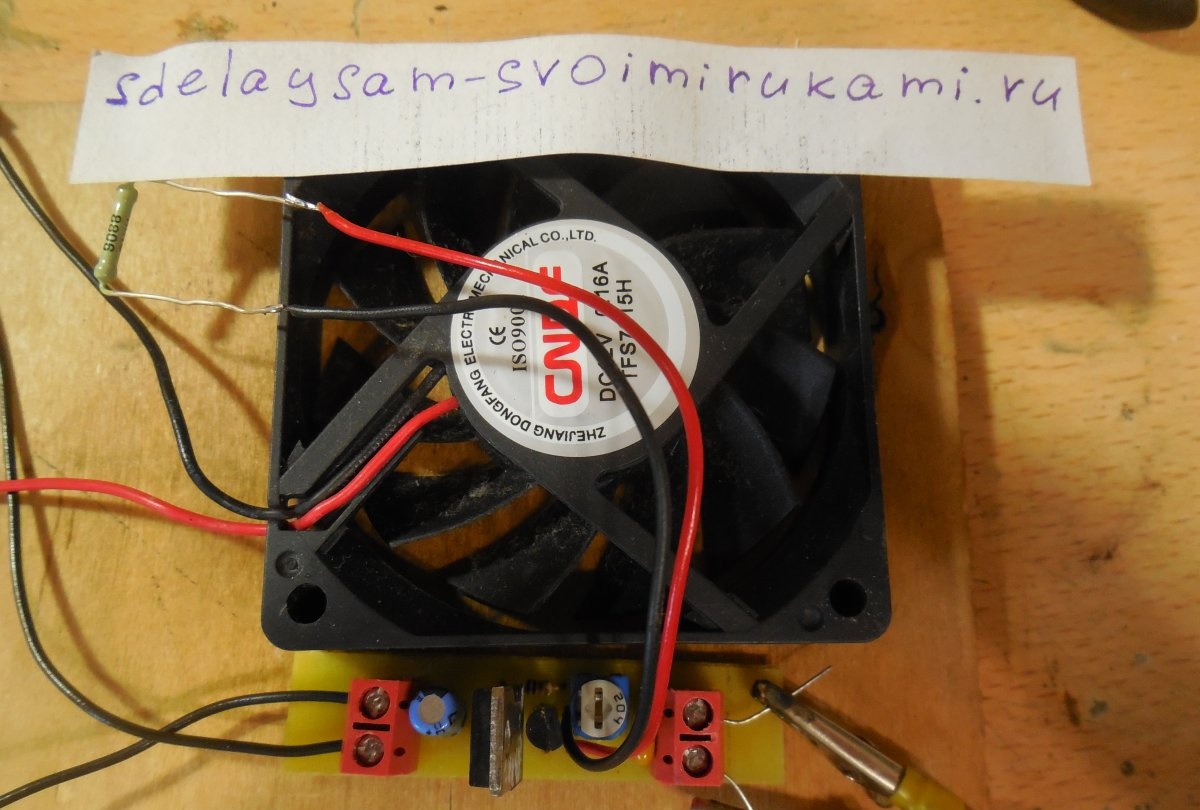
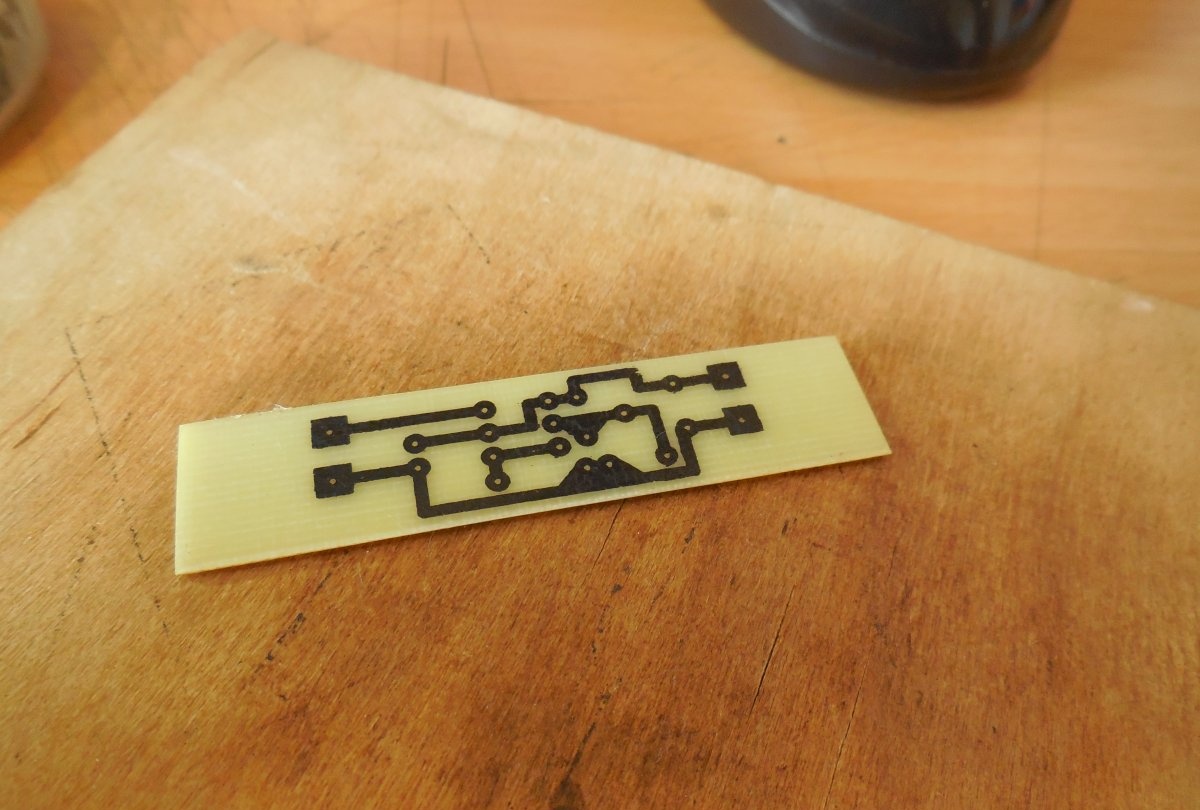
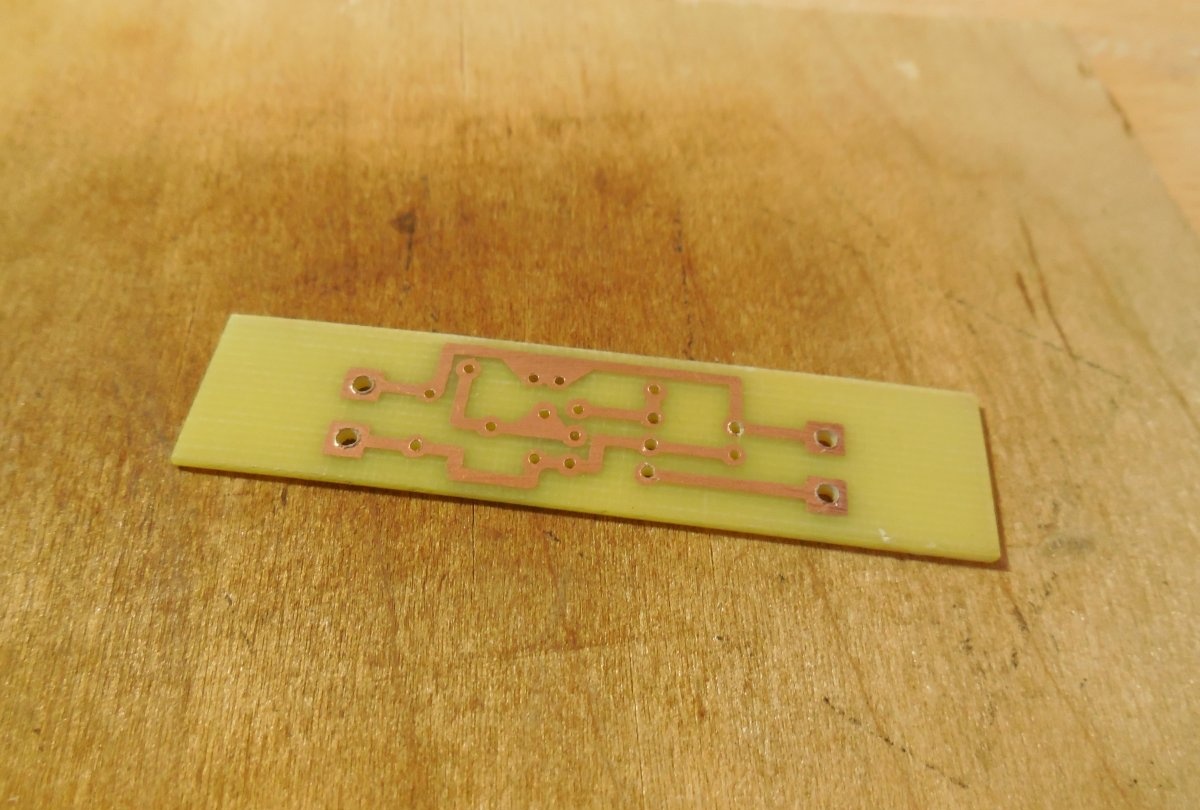
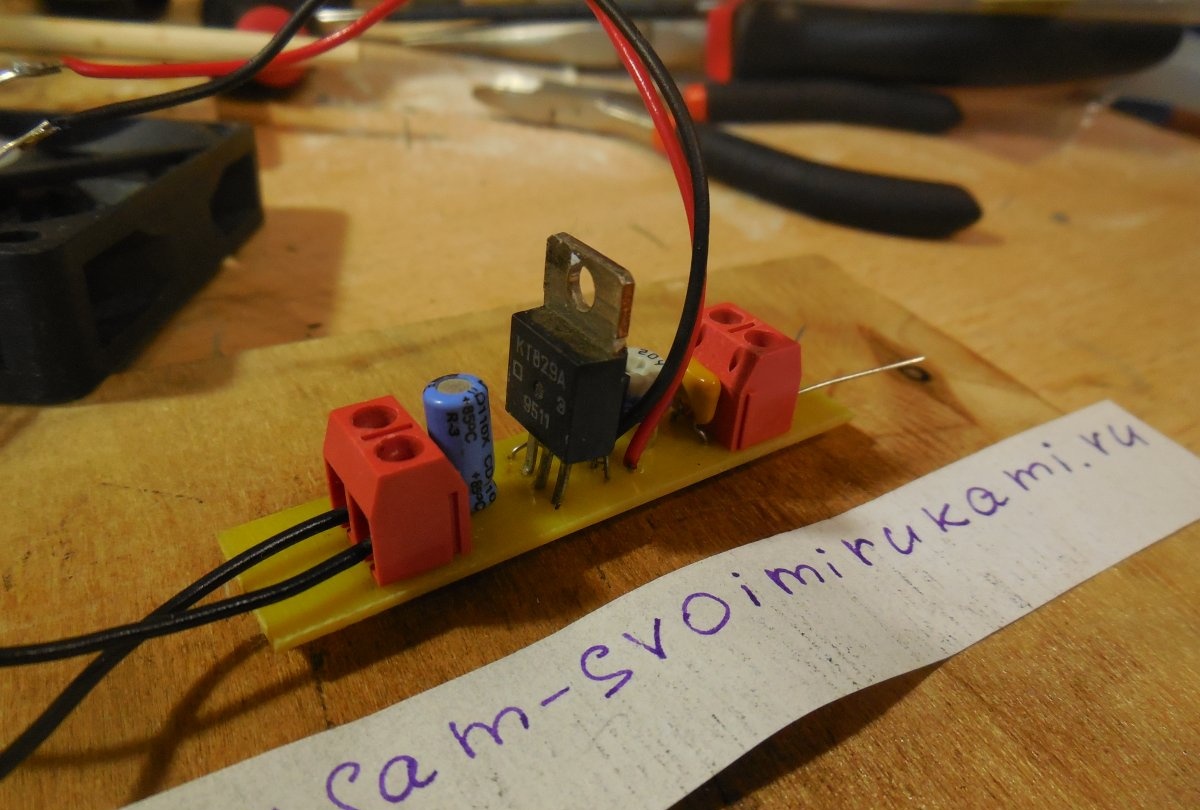
The circuit can be easily assembled by hinged installation, or you can make a printed circuit board, as I did. To connect the power wires and the fan itself, terminal boards are provided on the board, and the thermistor is displayed on a pair of wires and attached to the radiator. For greater thermal conductivity, you need to attach it using thermal grease. The board is made by the LUT method, below are some photos of the process.

Download board:
[2.09 Kb] (downloads: 642)
After the board is made, parts are usually sealed into it, as usual, first small, then large. It is worth paying attention to the wiring of transistors in order to solder them correctly. After assembly is complete, the circuit board needs to be washed off the flux residues, ring the tracks, make sure the installation is correct.

Customization
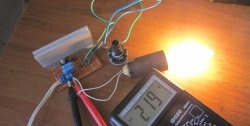
Now you can connect the fan to the board and carefully apply power by setting the tuning resistor to the minimum position (VT1 base is pulled to the ground). The fan must not rotate. Then, slowly turning R2, you need to find a moment when the fan starts to rotate slightly at minimum speed and turn the trimmer just a little bit back so that it stops spinning.Now you can check the operation of the regulator - just put your finger on the thermistor and the fan will start to rotate again. Thus, when the temperature of the radiator is equal to room temperature, the fan does not spin, but if it rises even a little, it will immediately begin to cool.