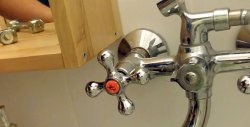
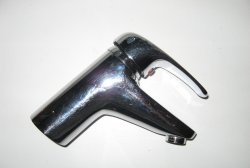
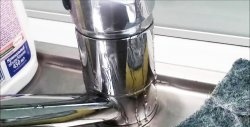
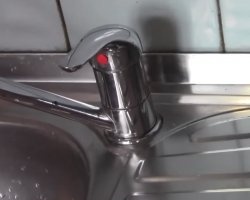
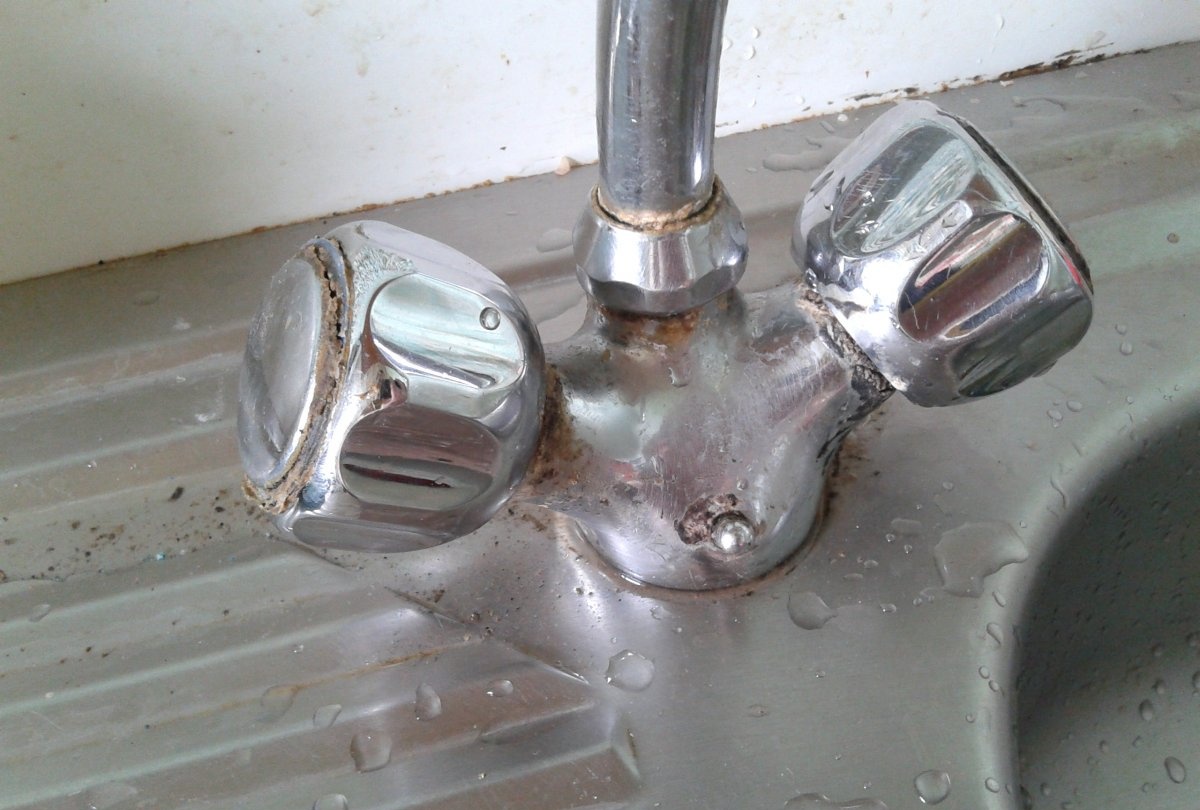
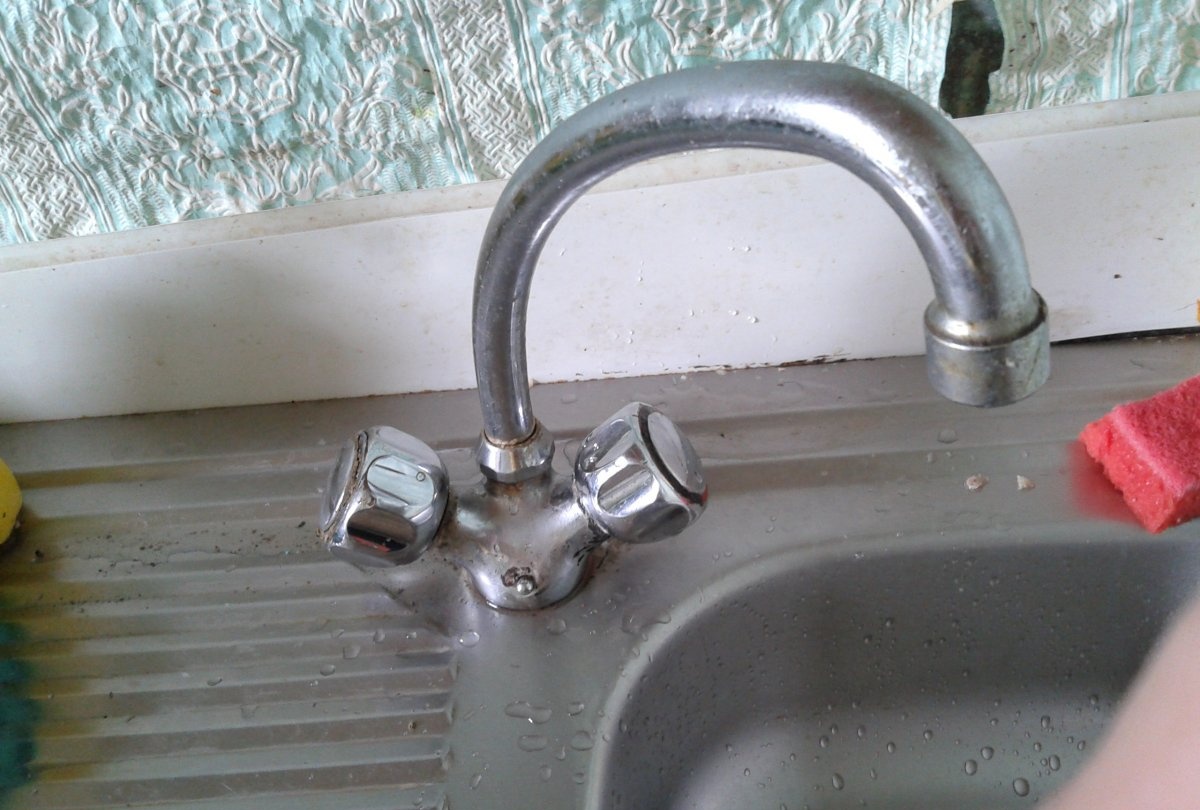
Although lever-type faucets are becoming popular, many people use wing-type faucets or handwheels, which have threaded faucet axle boxes and rubber round gaskets.
Such mixers are simpler in design than the first ones, which makes their repair and maintenance possible for an untrained person.
It is this kind of mixer that will be discussed in this article, namely, how to repair it.
There is probably no person who is not irritated by the constant dripping of water from the tap, and no matter how much he turns the valve, nothing changes.
In this state of affairs, replacing the crane axle box or rubber gasket cannot be avoided. And it’s absolutely possible to do it yourself, although you might think that you can’t do it without a specialist.
DIY kitchen faucet repair
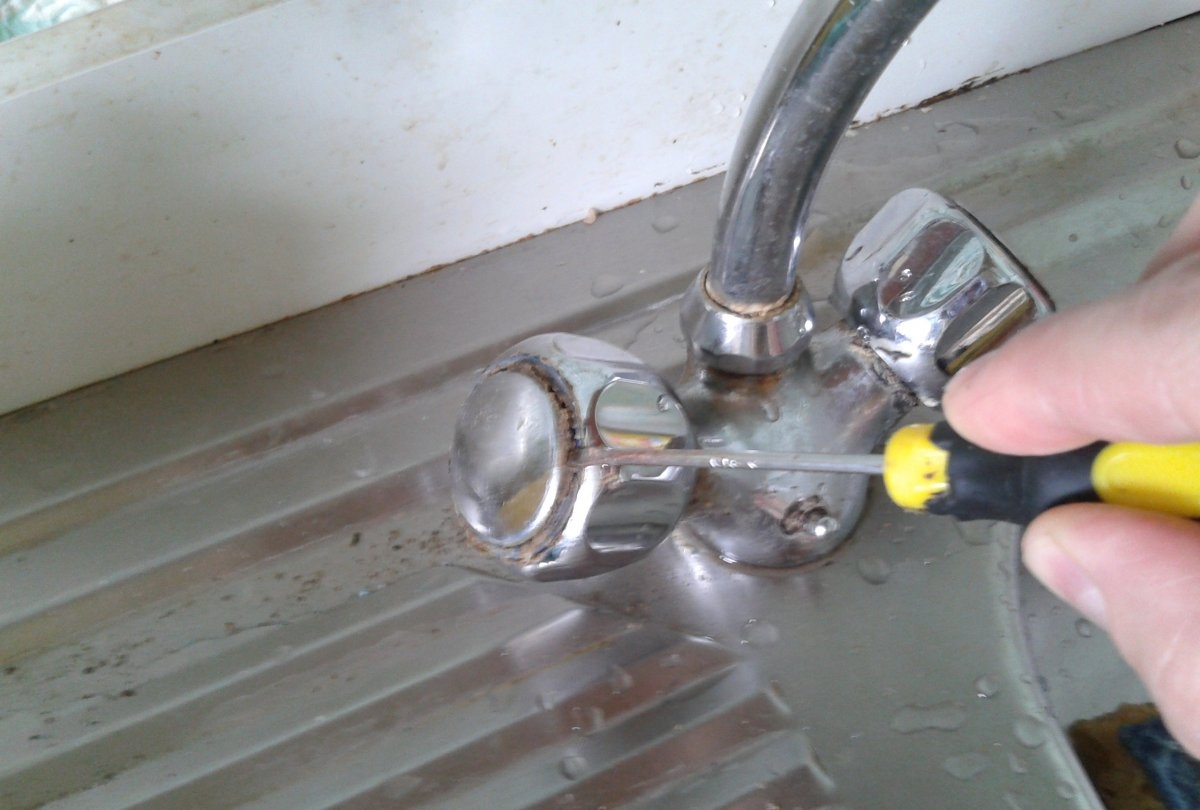
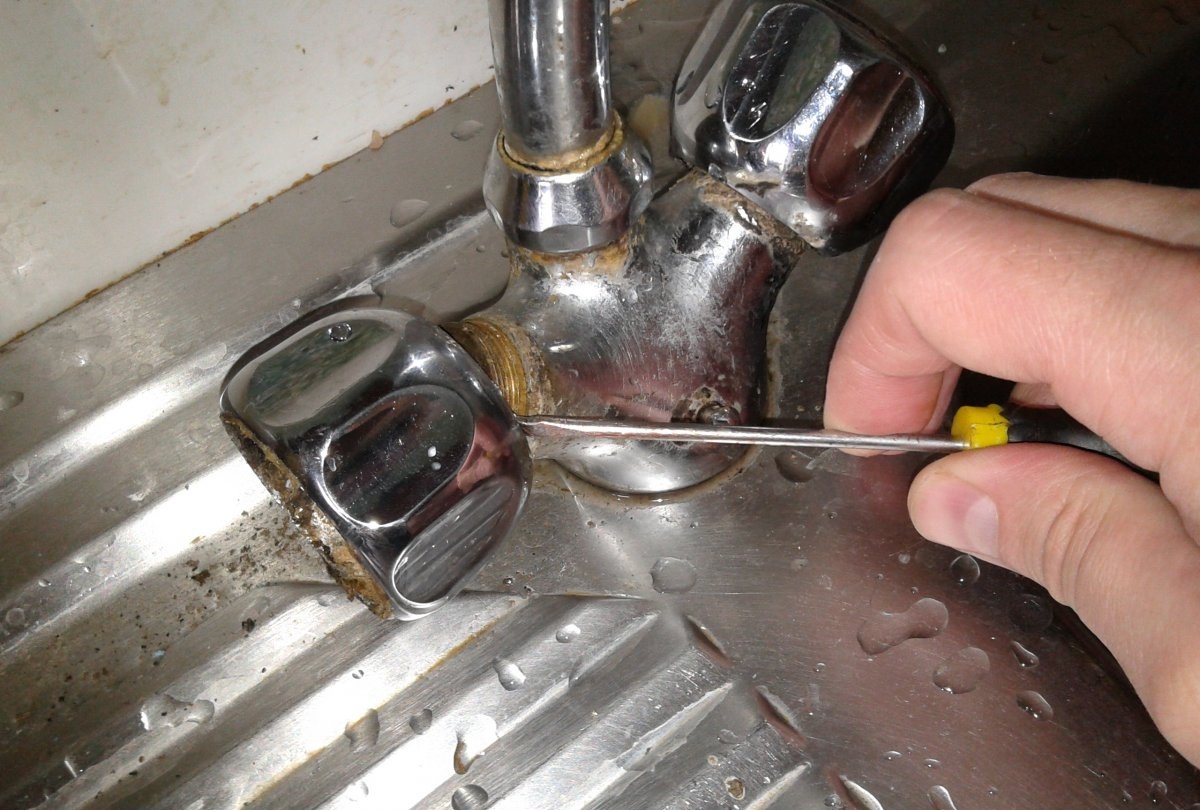
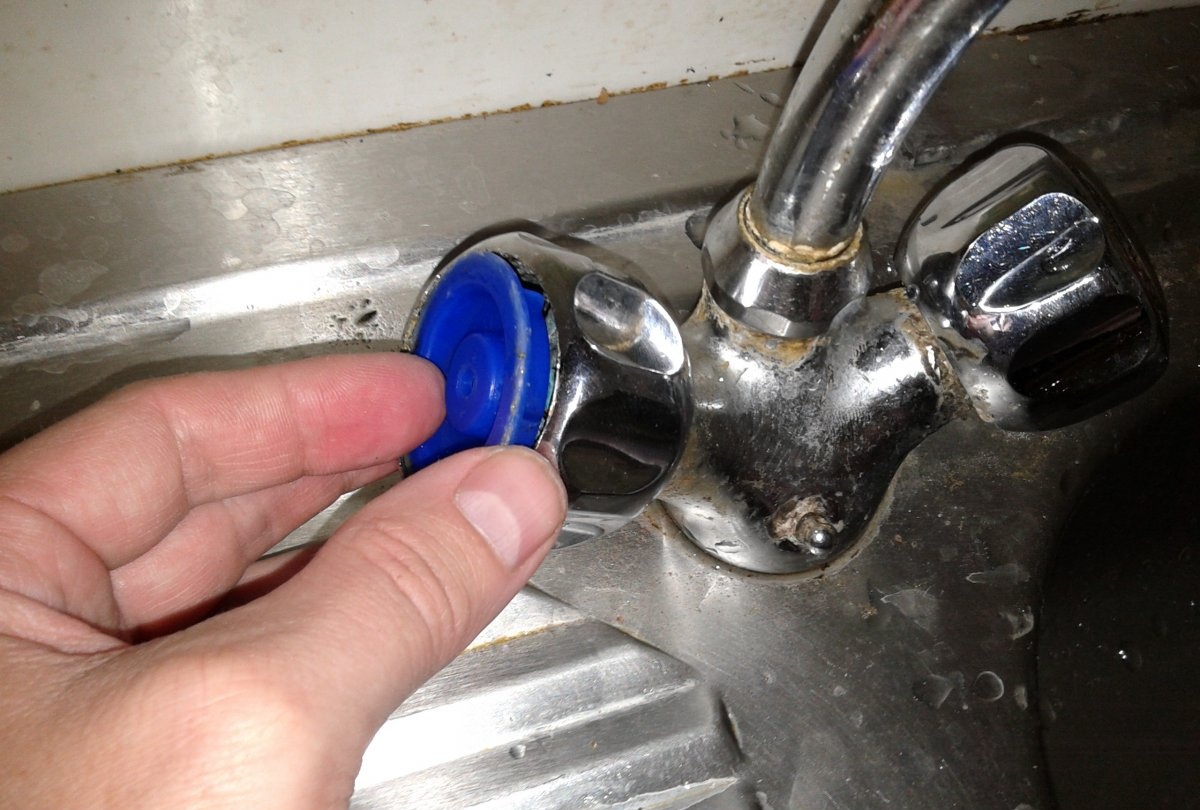
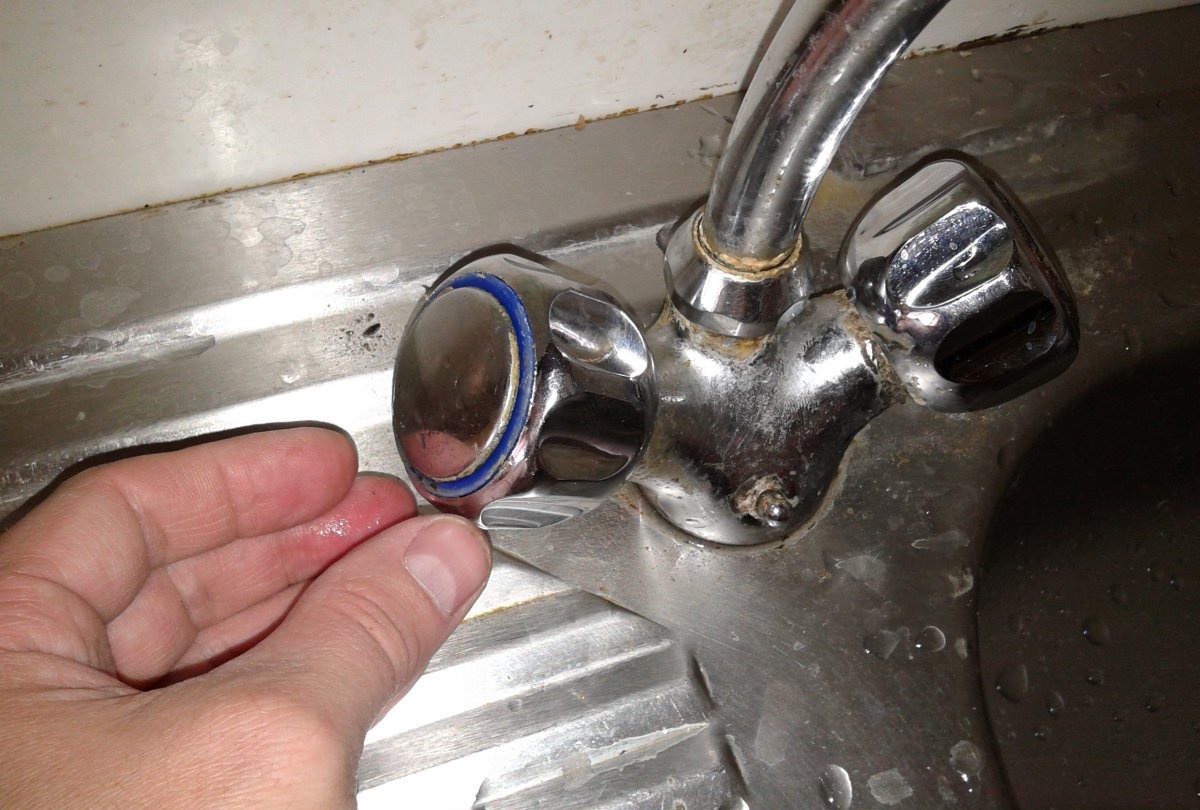
So, you should start by removing the decorative plug. A small straight-tip screwdriver will help with this.
We insert the tip of the screwdriver between the flywheel housing and the plug.
We pry it up and remove it.
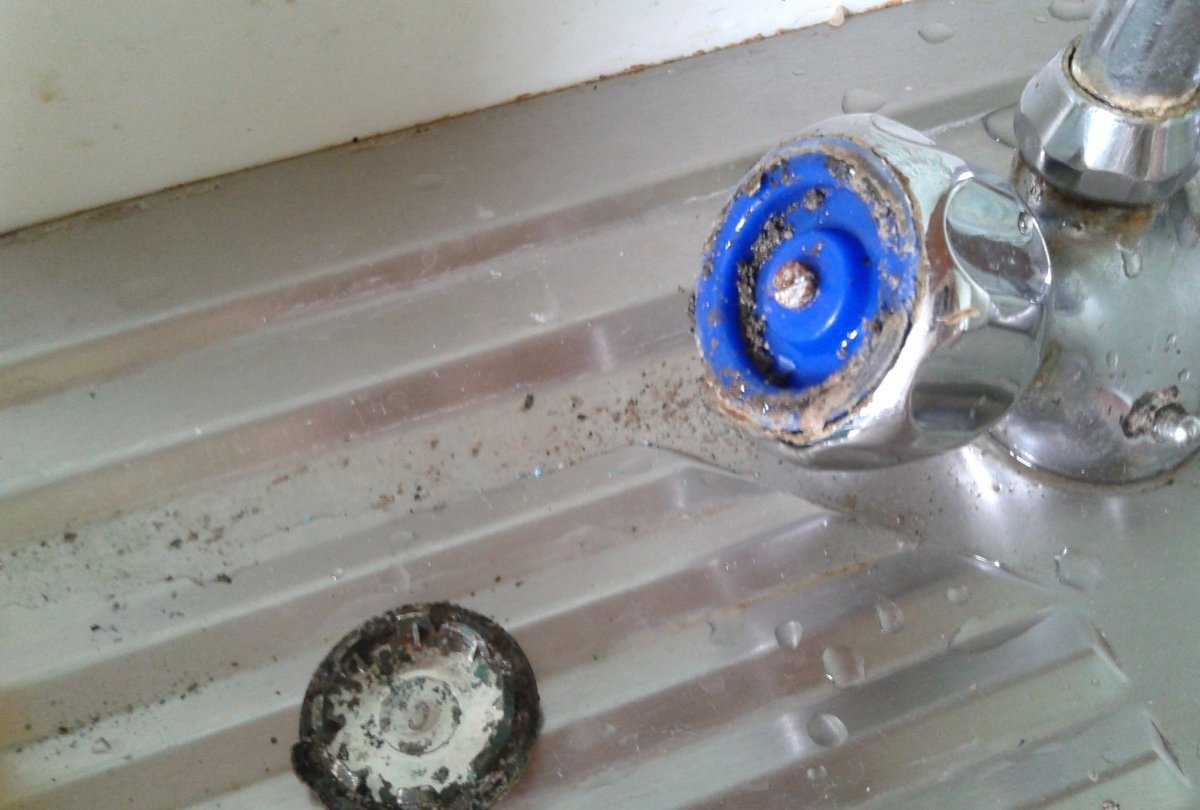
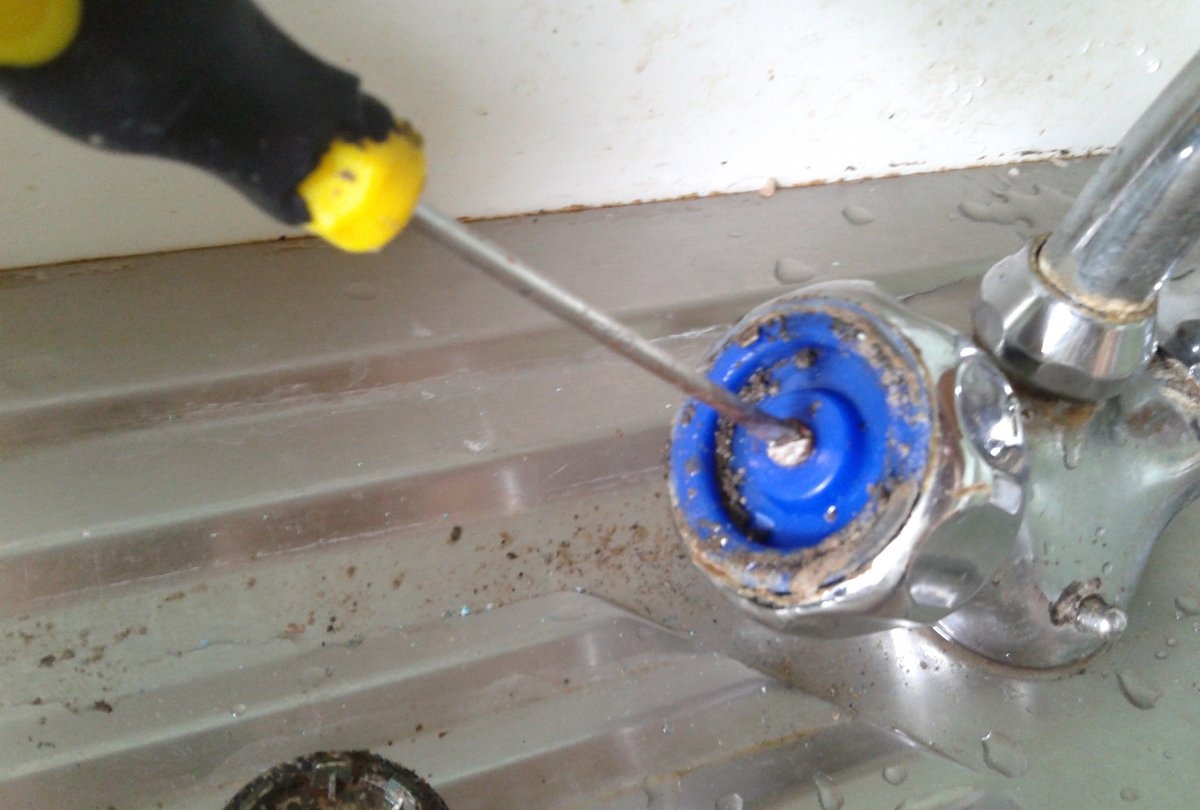
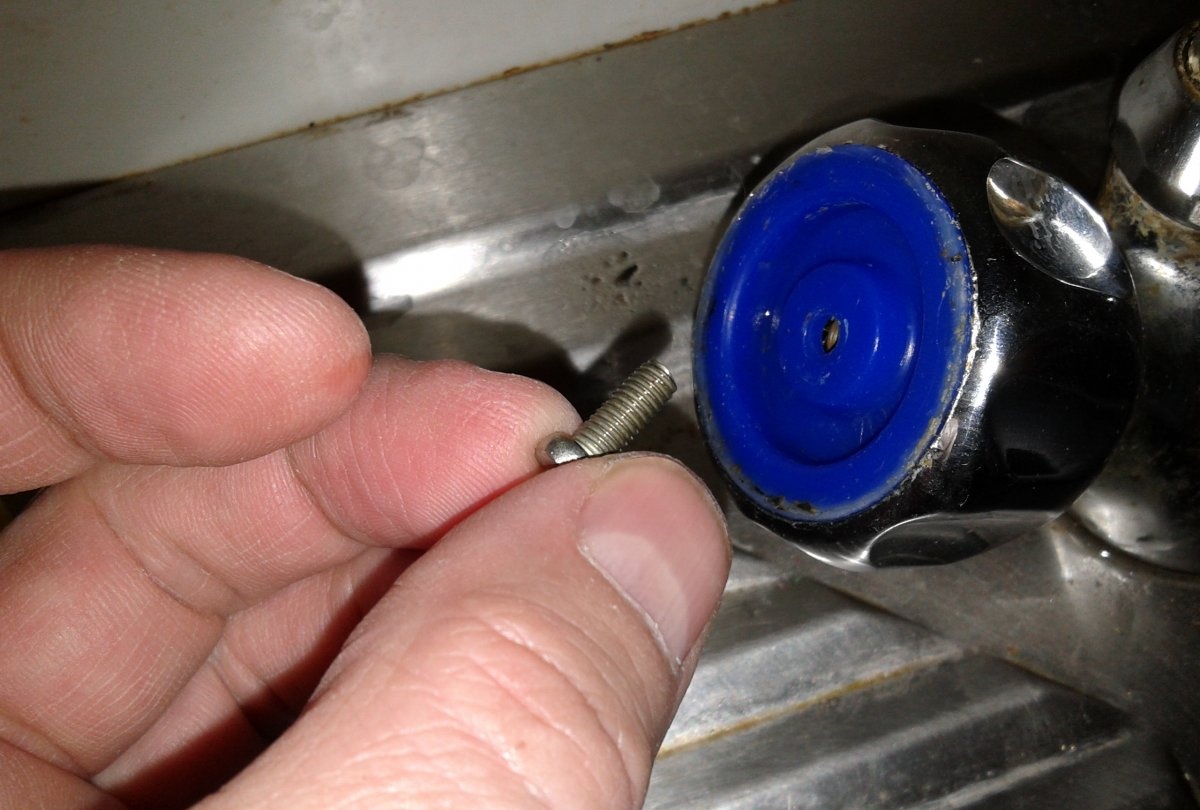
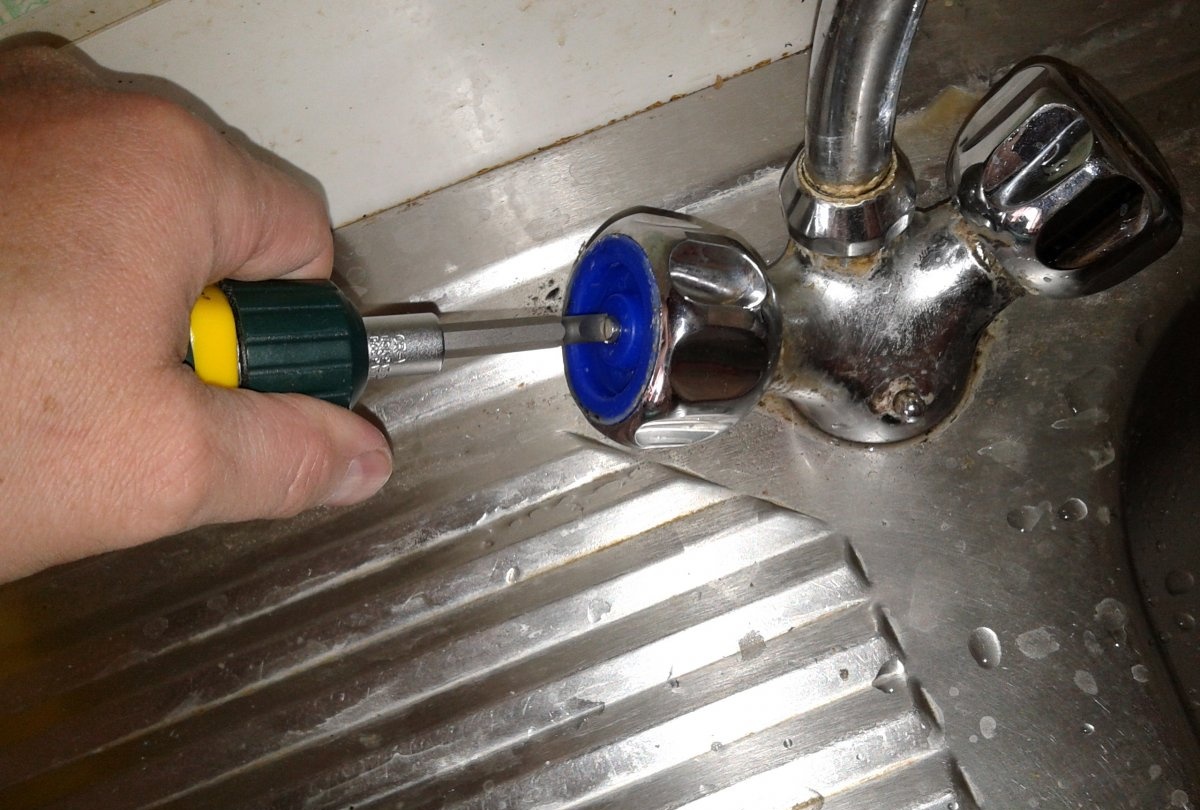
Under the decorative trim there is a screw for fastening the “wing” to the rotating rod of the crane axle box.
We unscrew this screw, first with a screwdriver, and when it loosens, you can use your hand.
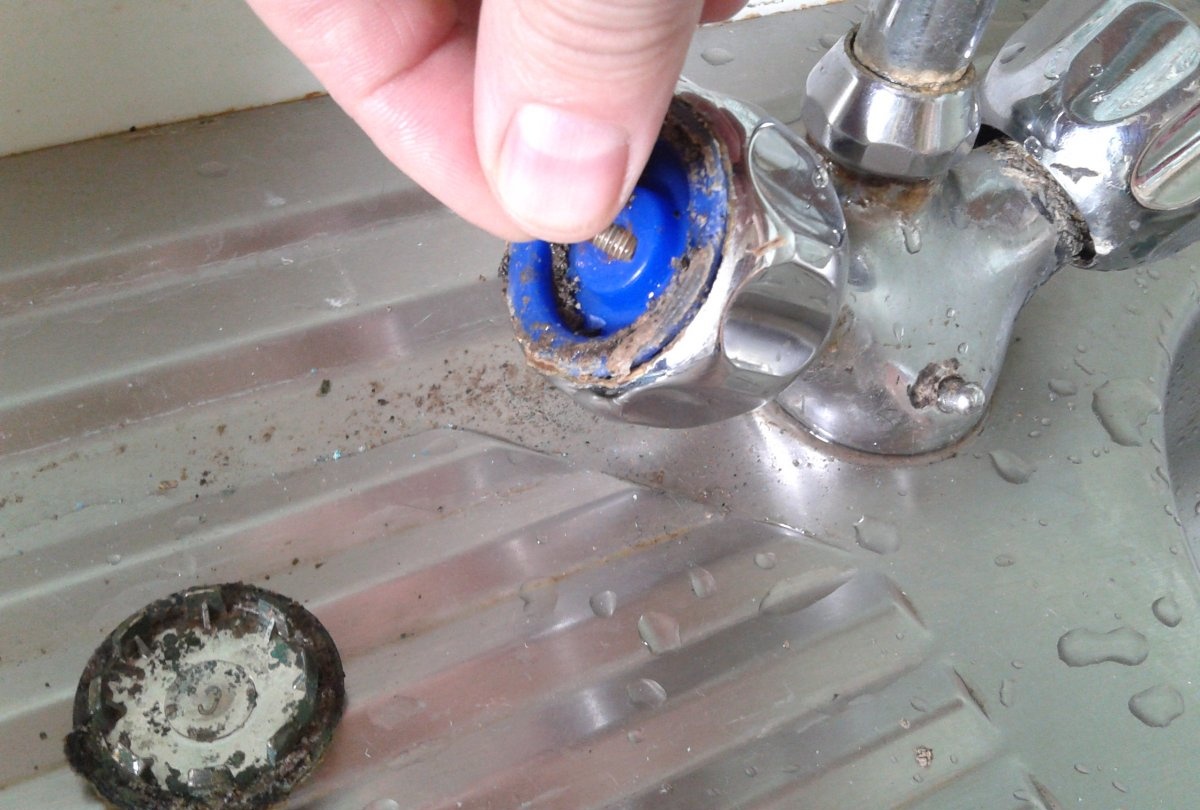
Next, remove the plastic part of the flywheel housing and set it aside.
In addition to the screw, the flywheel is held in place by longitudinal slots or splines on it and on the head of the faucet box, mounted on top of each other. This prevents the flywheel from slipping or turning during rotation.
Over time, this connection can oxidize, and the two parts seem to “stick” to each other. Therefore, it is not always possible to separate them by hand.
In such cases, one or two screwdrivers will help, which can be used as a puller.
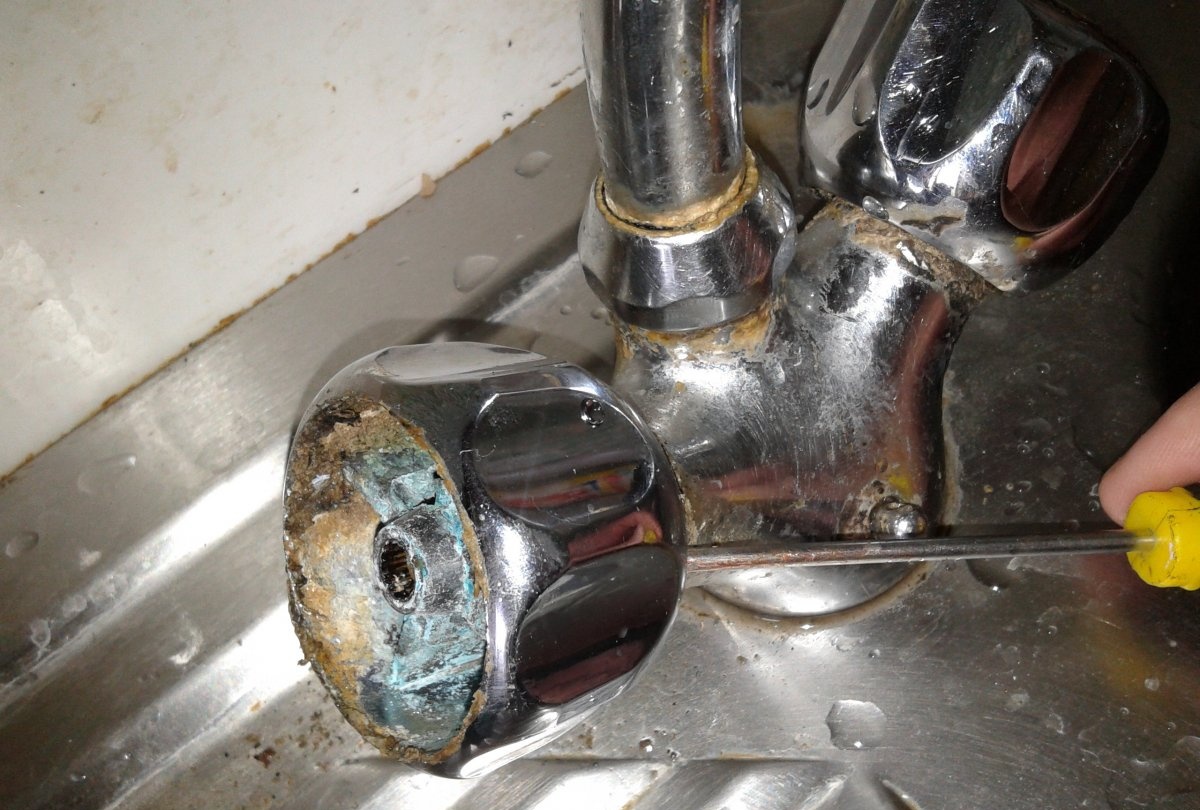
To do this, insert a screwdriver between the flywheel and the mixer body.
Next, we are slowly trying to separate them. If we see that one screwdriver does not give the desired result and the edges of the flywheel begin to break, we use two screwdrivers at the same time, only from different sides.
This will prevent the flywheel from skewing to one side, which will be more effective when removing old connections.
In our case, we got by with one screwdriver. The flywheel has “broken off” and further dismantling can be done with one hand.
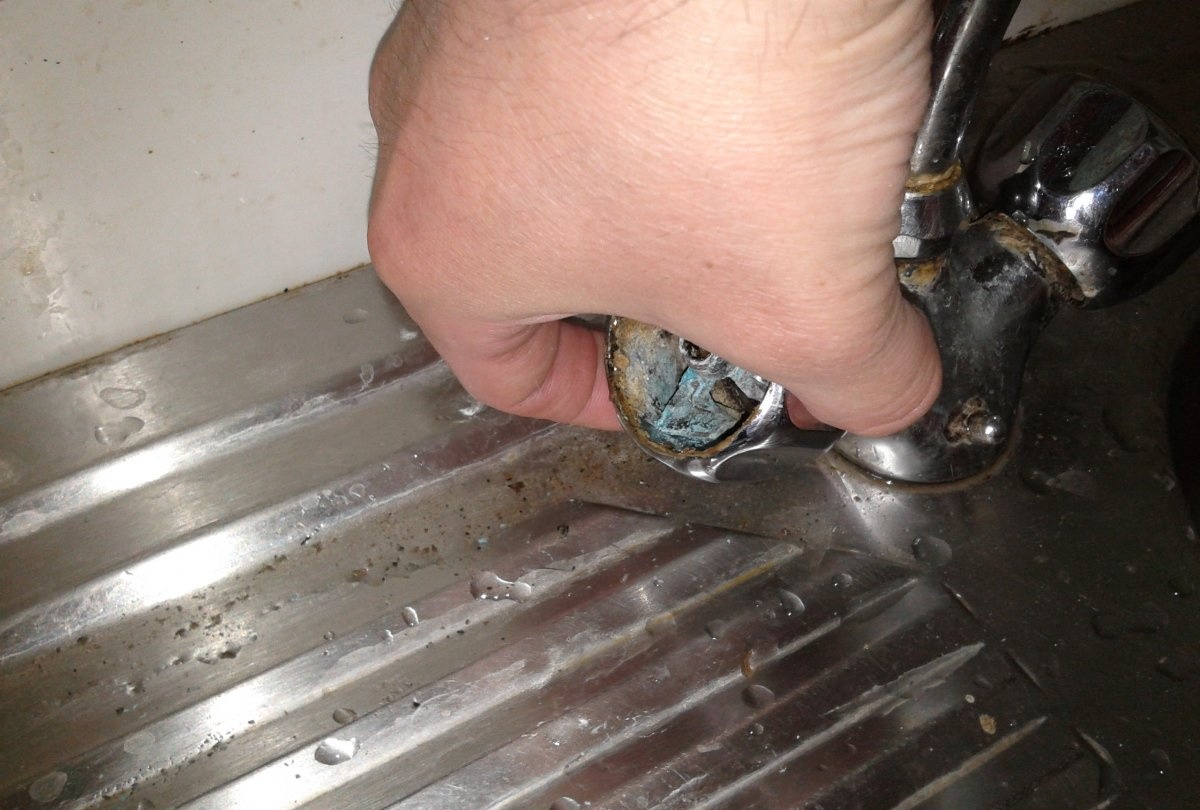
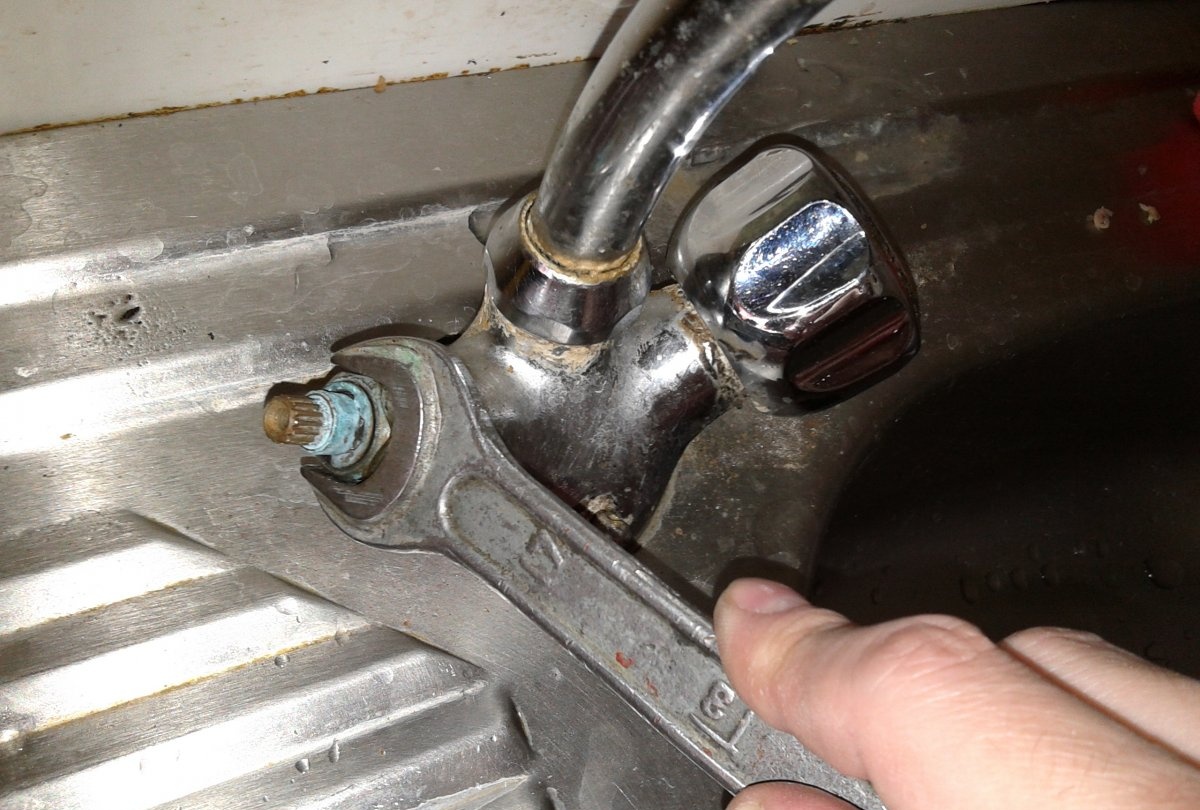
Now, the handle has been safely removed, now all that remains is to unscrew the valve axle.
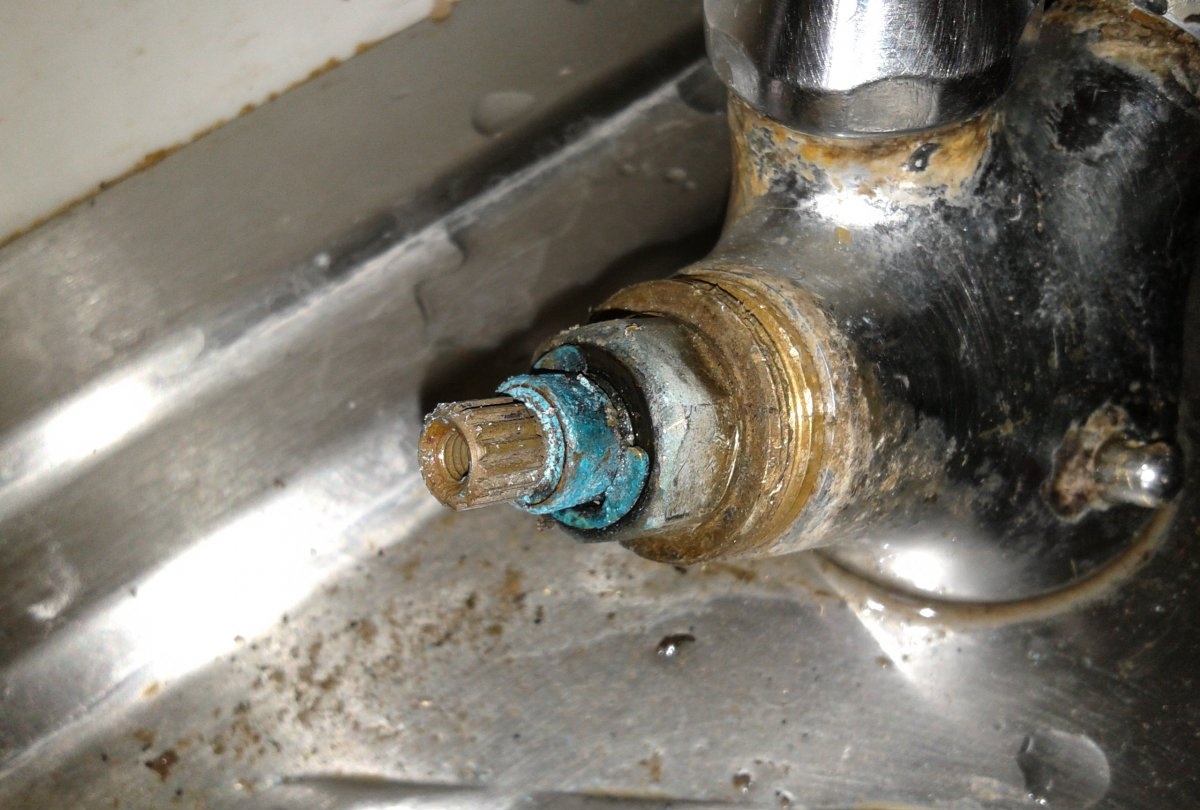
The 17 key will help with this.
It is possible that the size of the key may differ depending on the design of the mixer, but this is the key that is usually used.
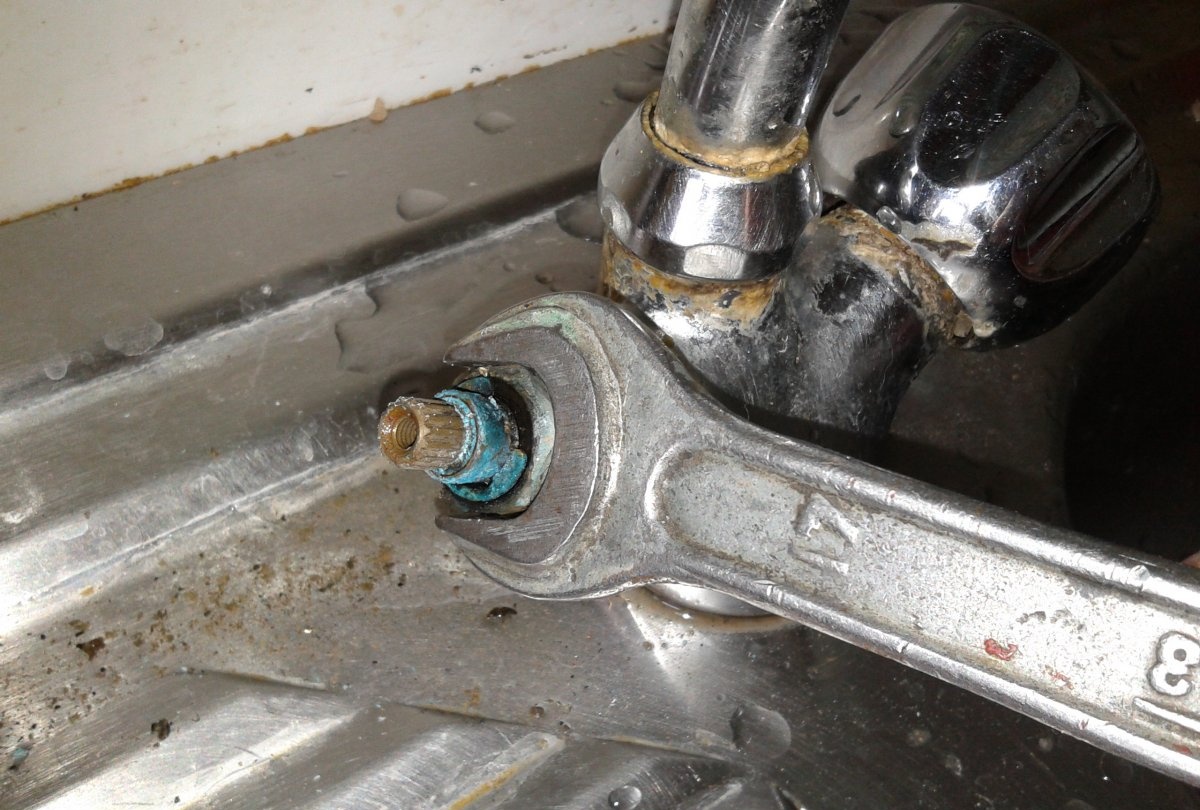
We place the key on the body of the valve axle box and slowly unscrew it counterclockwise.
Usually, there should be no problems with removing this part.
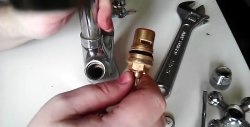
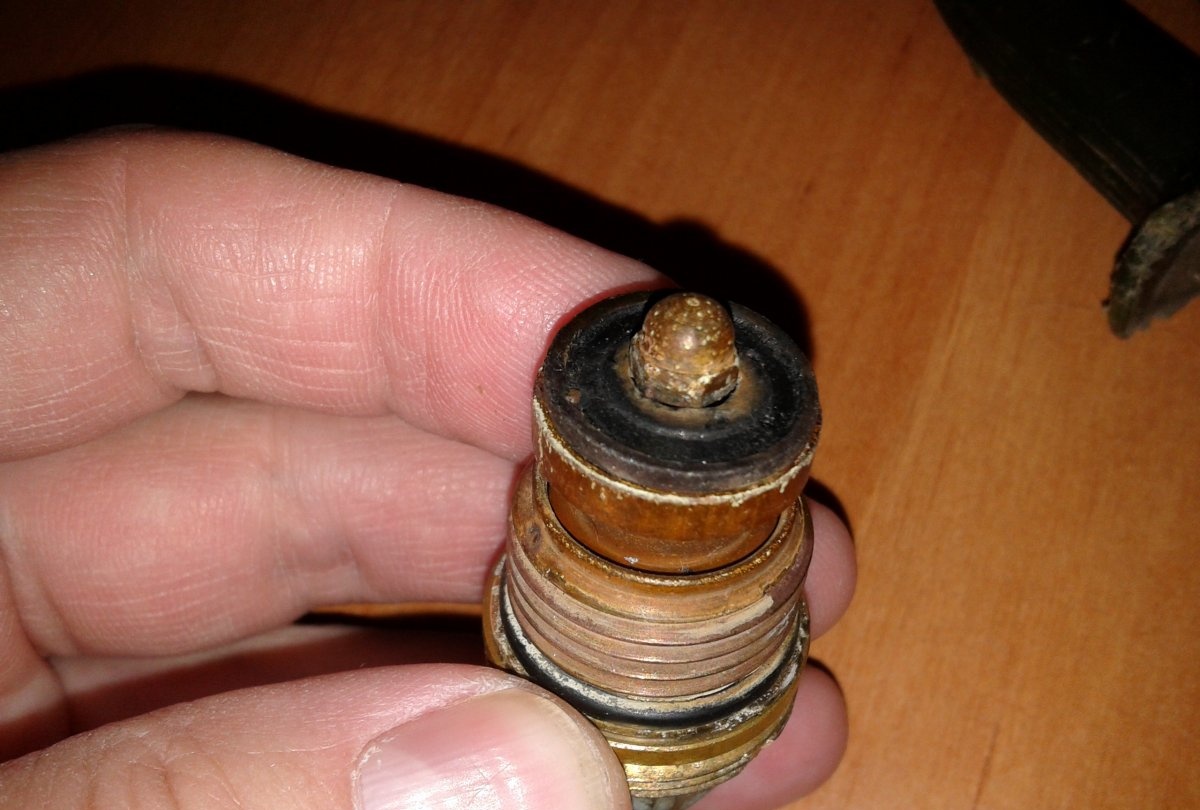
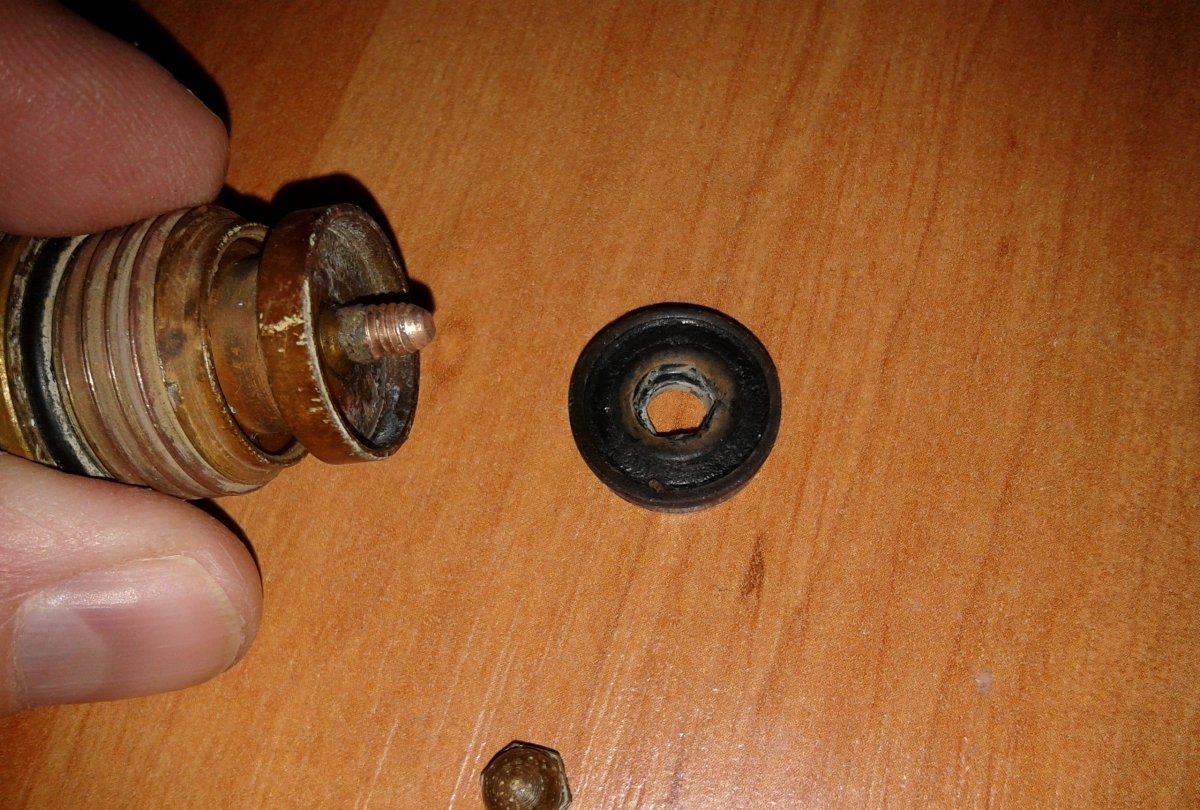
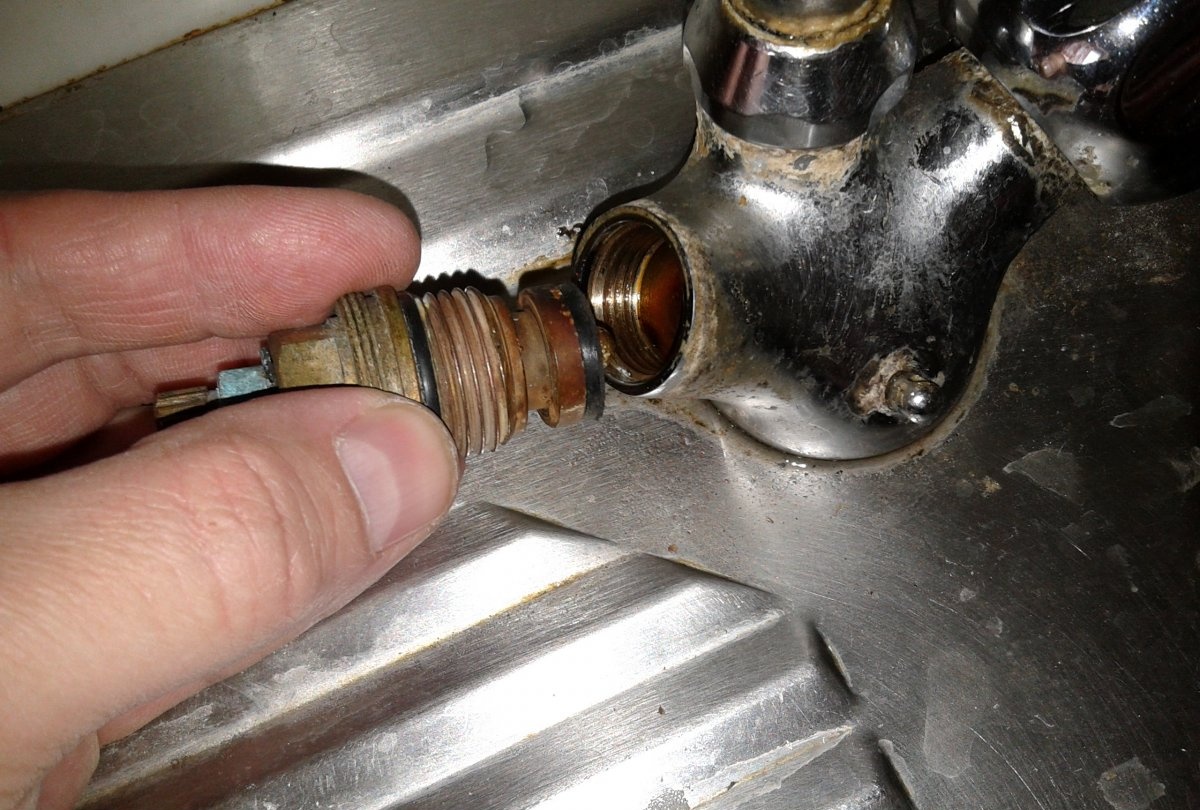
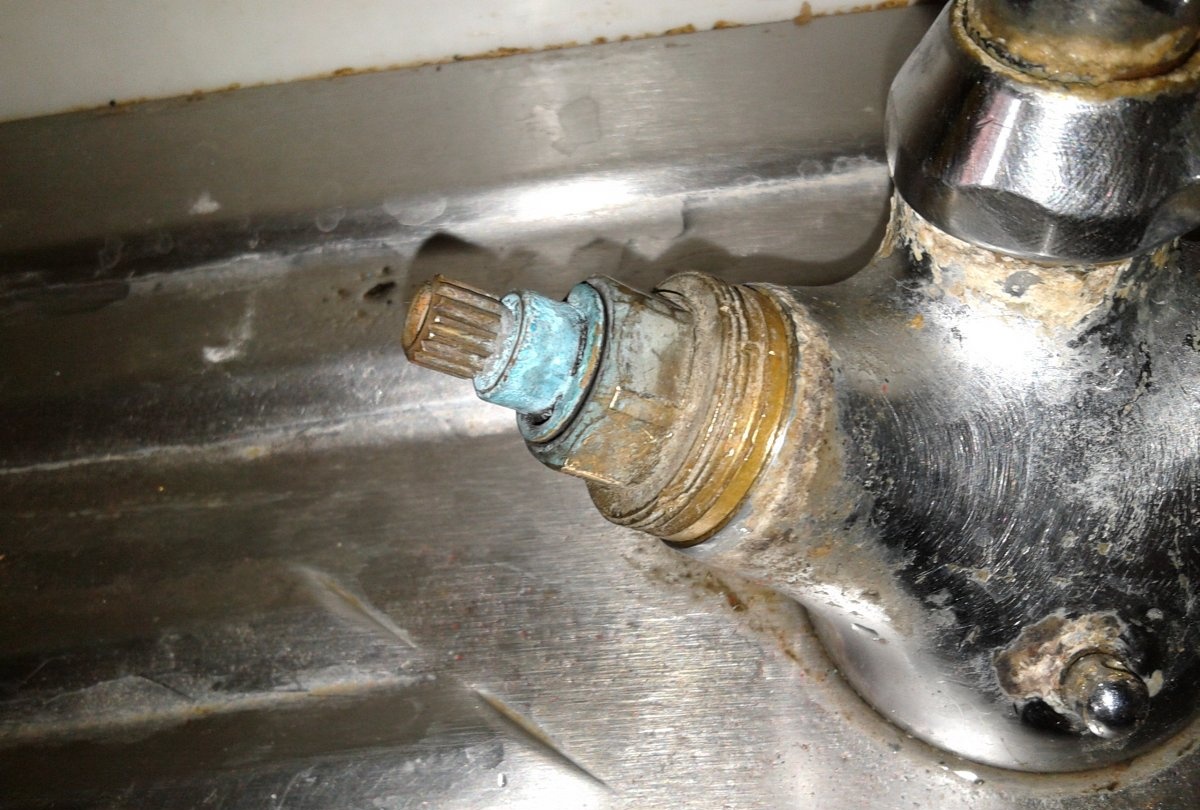
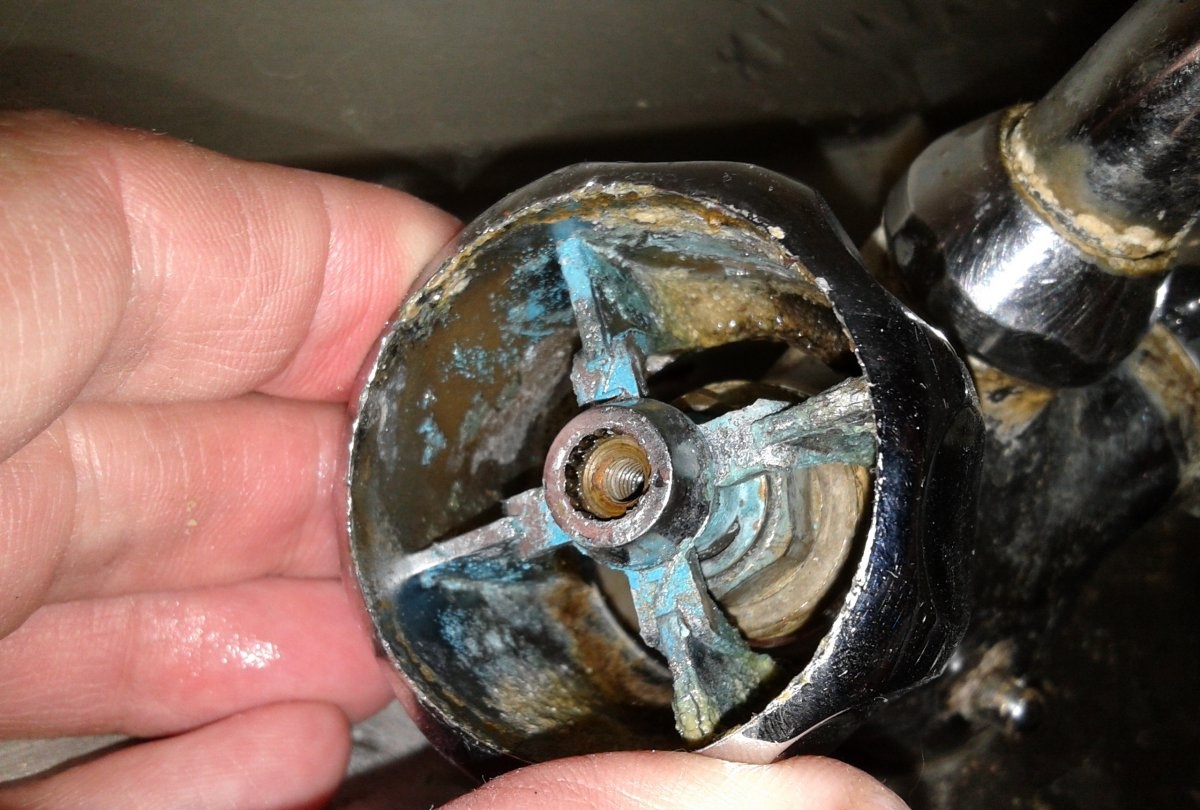
Here is the photo of the removed part.
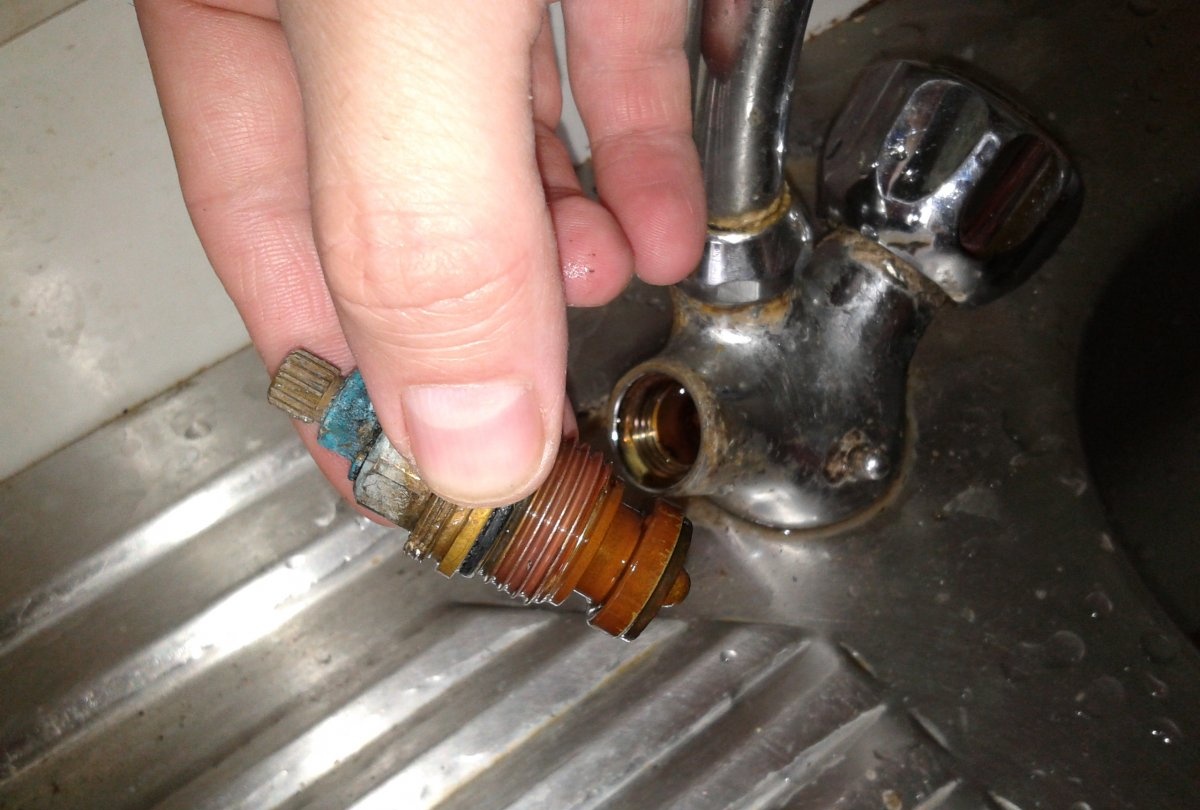
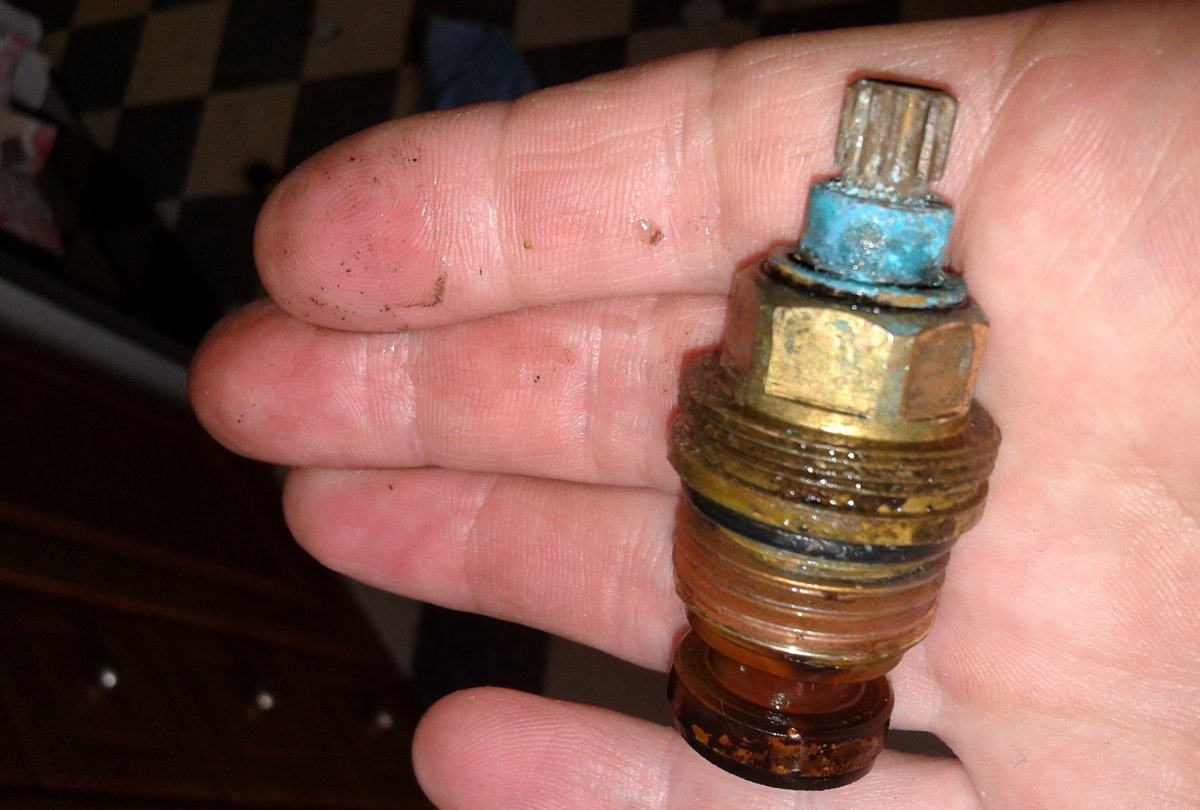
It can be seen that it has a slightly rusty coating.But it’s not scary, the part itself is made of brass, so you can simply wipe off the rust with a dry cloth.
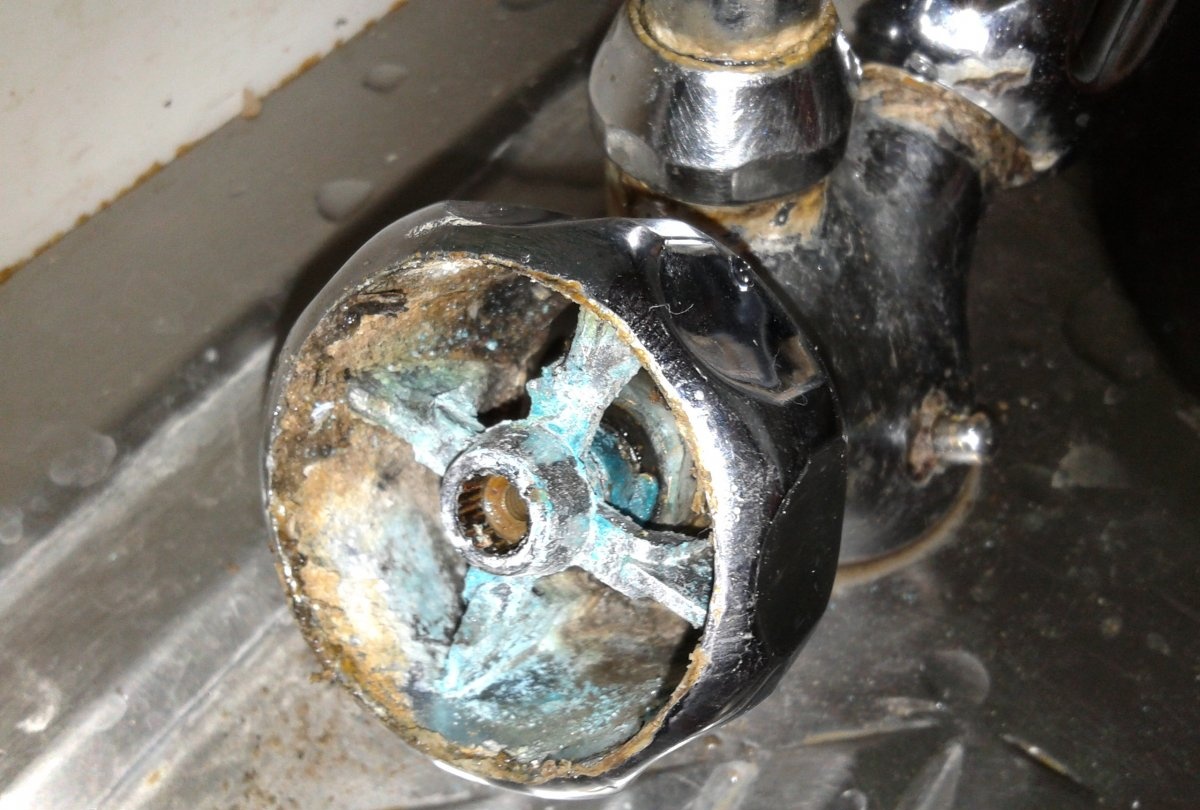
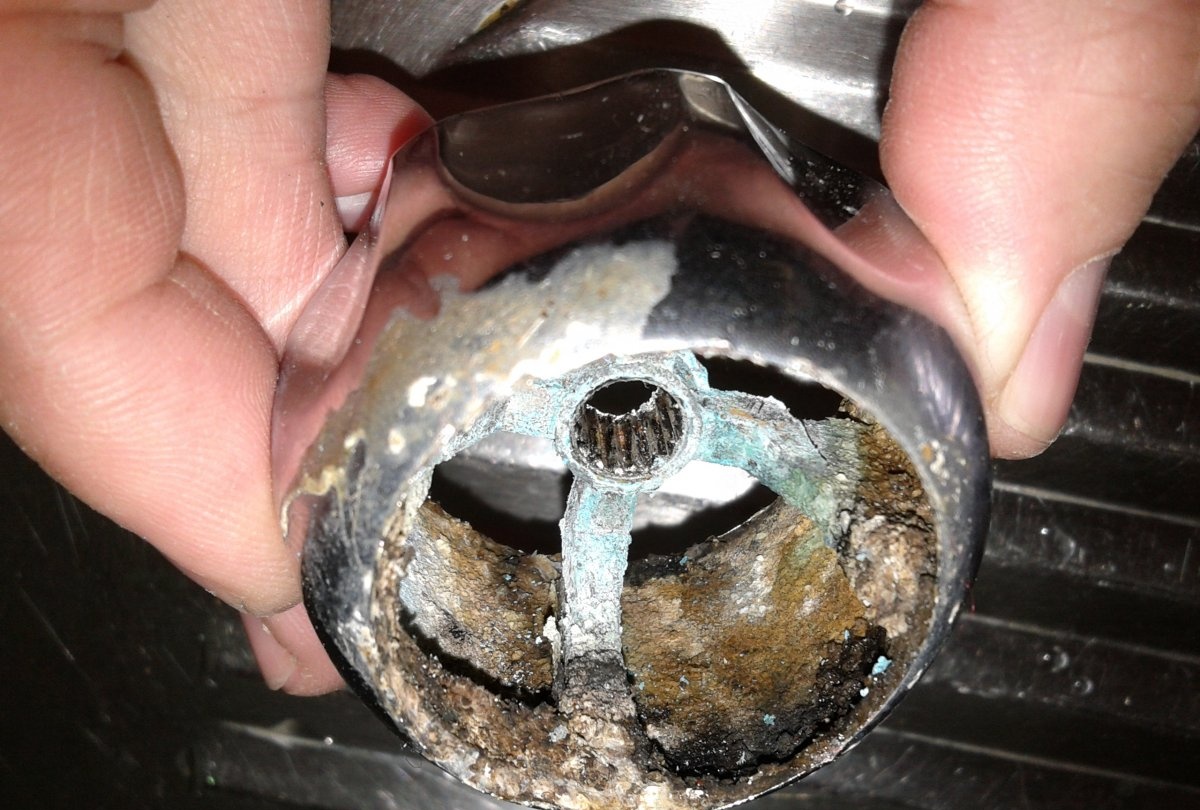
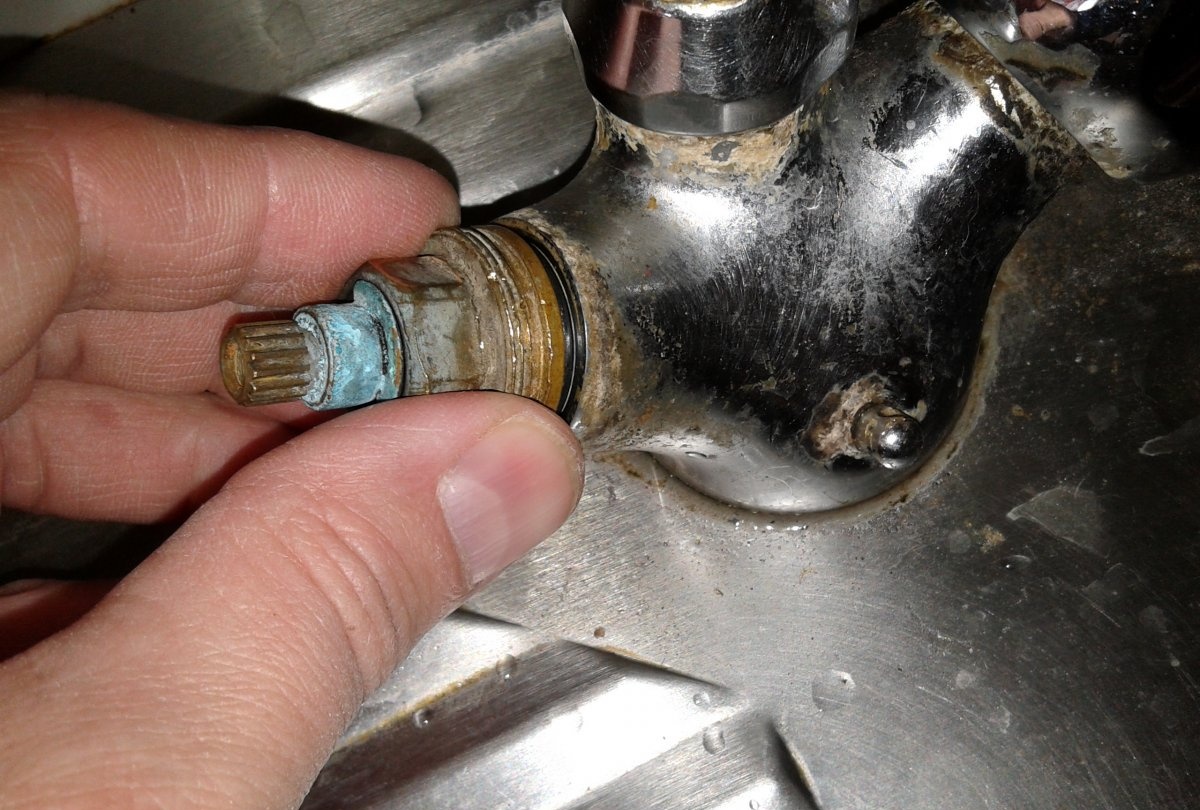
In the next photo, the seat of the crane axle box. The plane in depth should be as flat as possible. The tightness of the gasket and, as a result, water constipation depends on this.
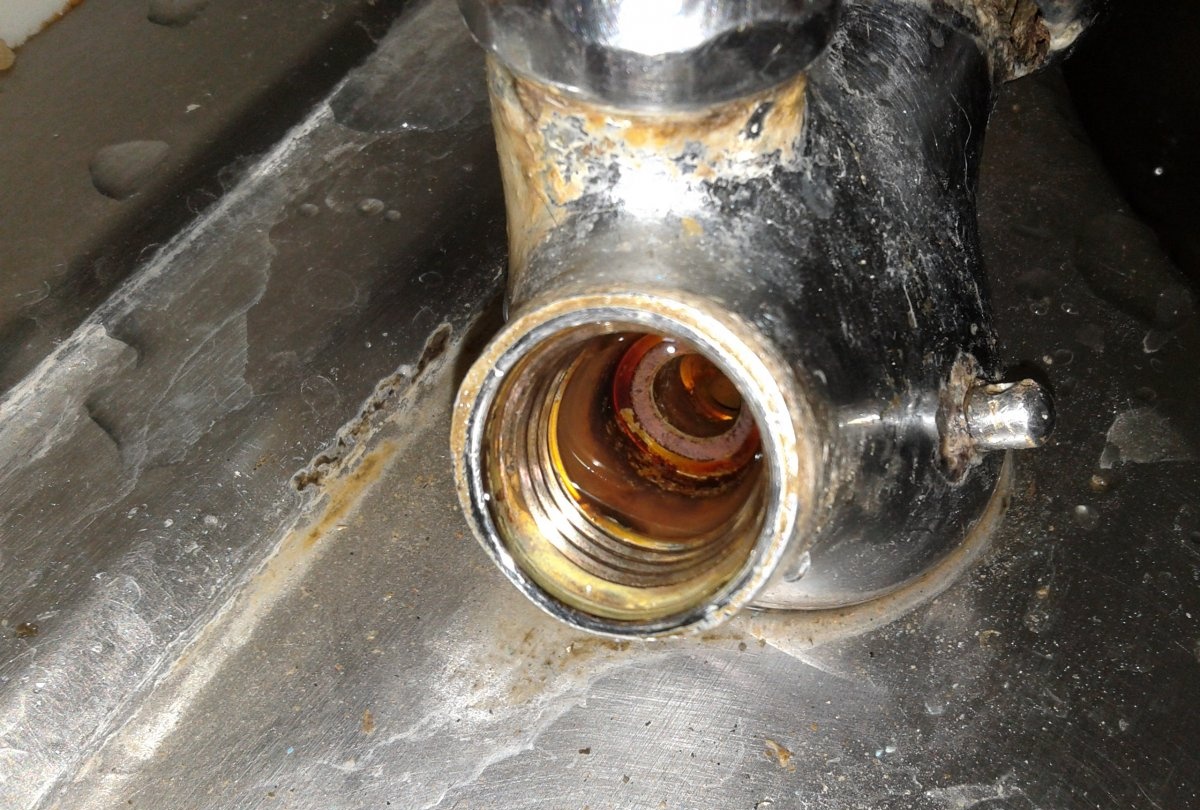
After removing the faucet box, it is advisable to clean this surface with at least your little finger, because pieces of the old gasket or flakes of rust may remain on it.
After cleaning, you need to turn on the water for a second so that its pressure washes this dirt out.
Now let's return to the crane box. If it is really bad, you can buy a new one, already with a gasket. But it will be cheaper to replace only the gasket.
Moreover, crane axle boxes made in the USSR may not be found. They are distinguished from more modern ones by different splines for the flywheel.
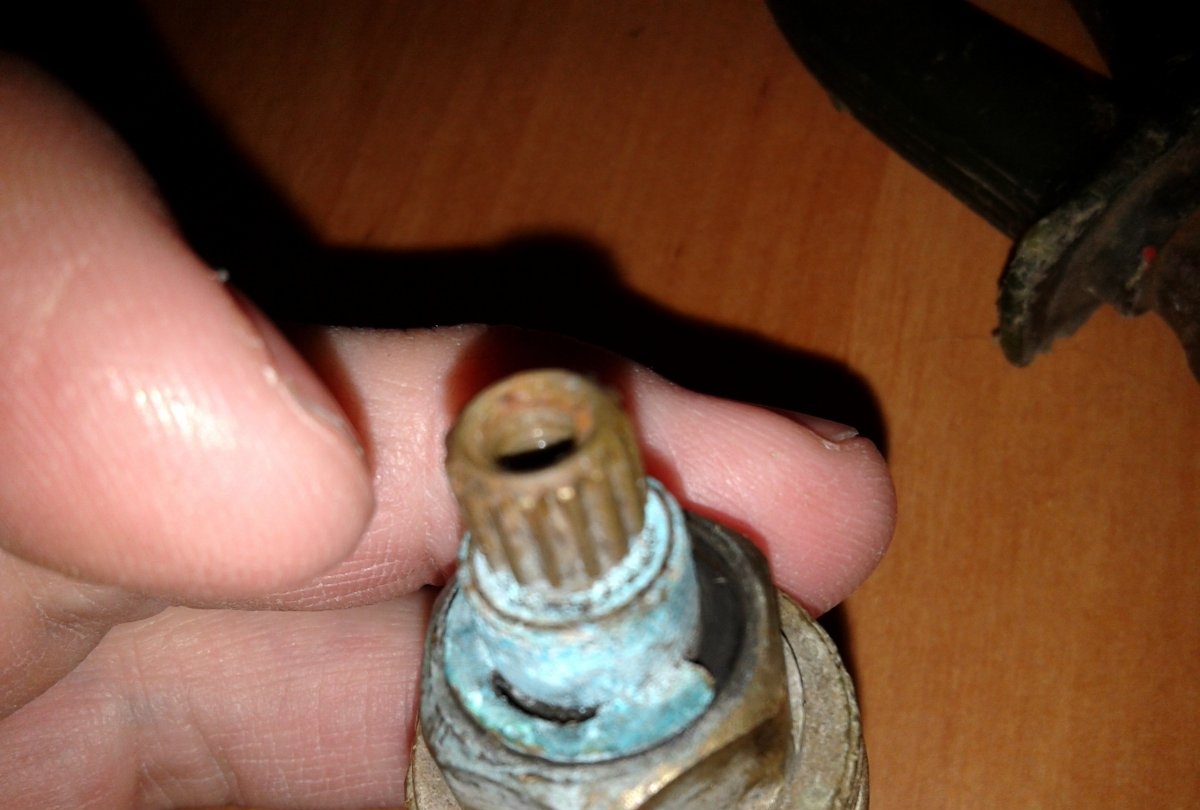
You will have to buy a set, a flywheel along with a crane axle box, but this will be a little more expensive and both valves will have to be replaced.
Therefore, replacing the gasket will be easier and cheaper.
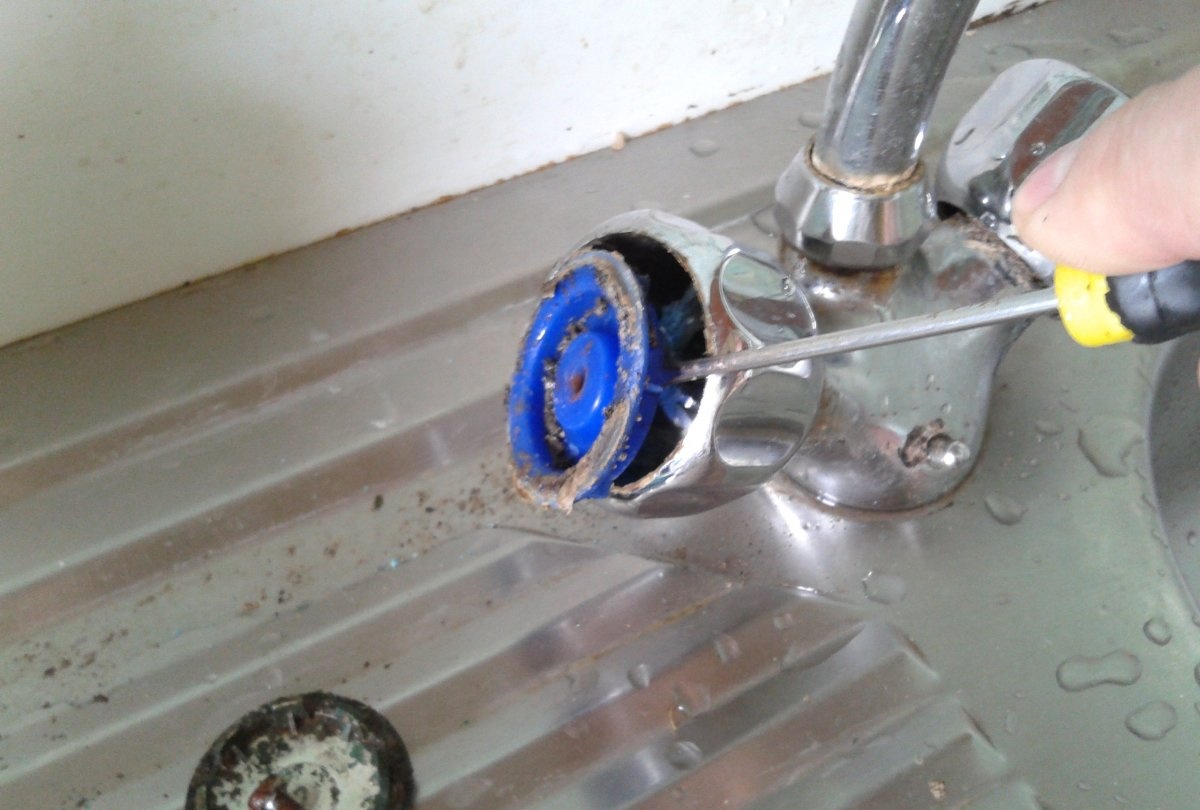
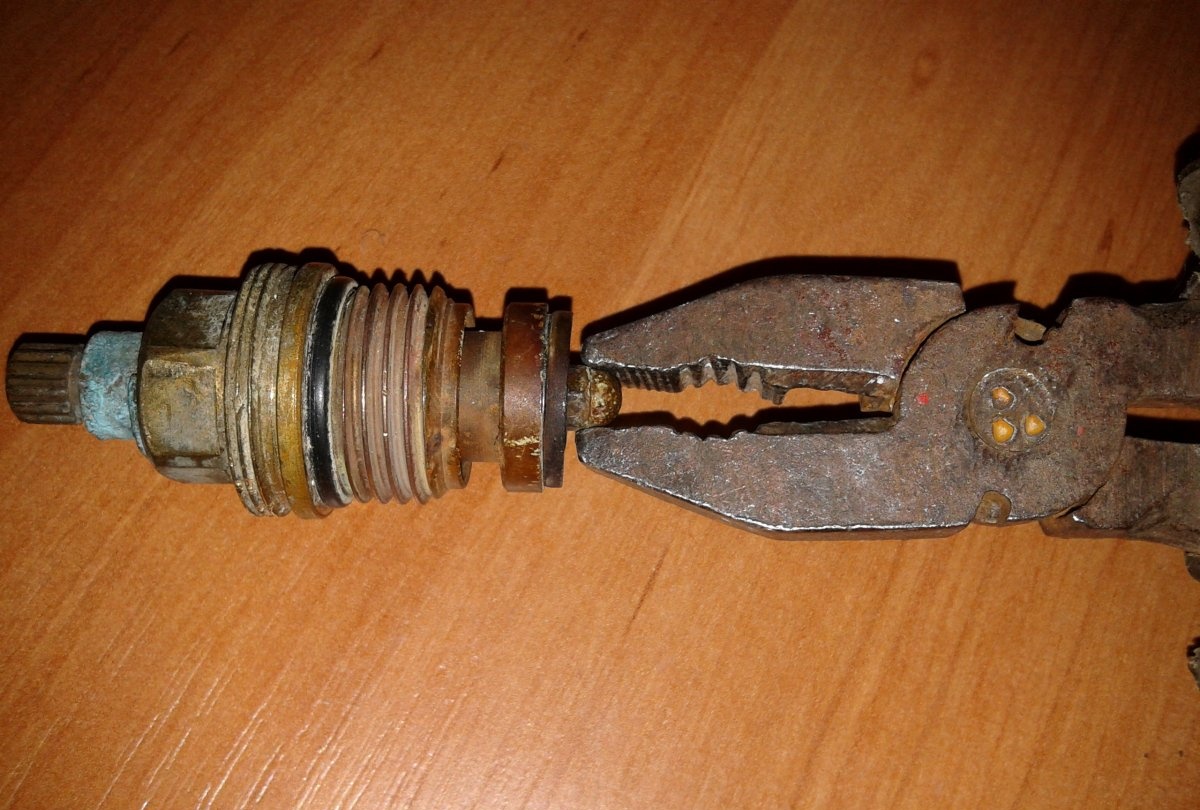
To remove the gasket, you need to unscrew the screw that secures it. Regular pliers will help with this.
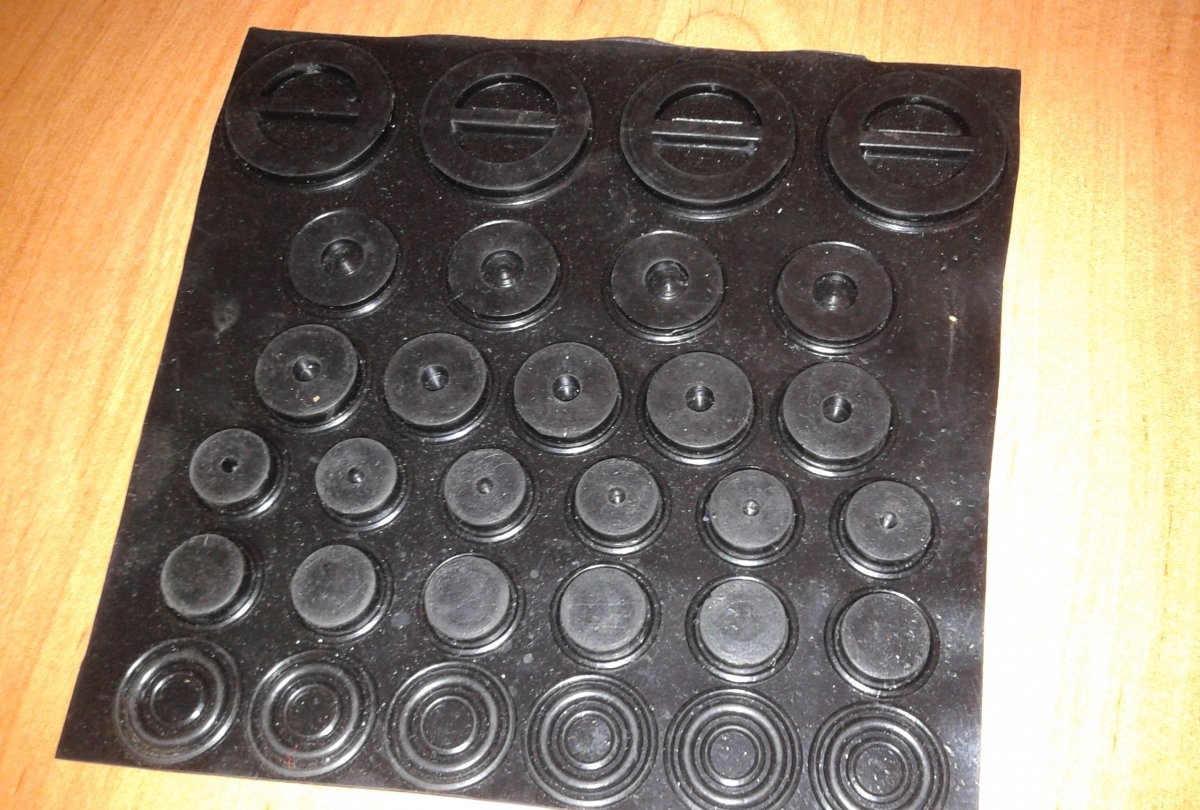
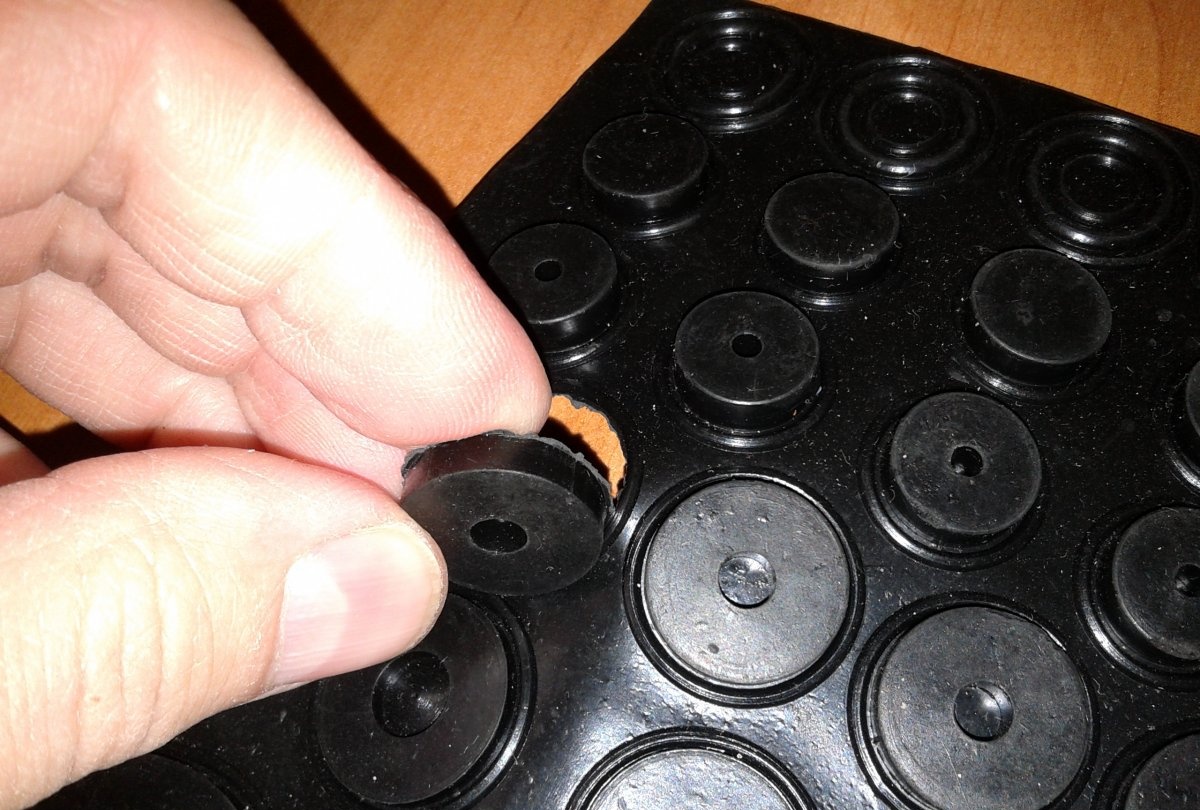
Separately, finding the gasket turned out to be problematic. In return, the sellers offered a set for different occasions. This set included five spacers in the correct size.
Moreover, the price of the entire set was less than 0.5 US dollars.
The remaining gaskets may also come in handy over time.
So, we remove one of the gaskets and try to insert it into the seat of the faucet axle box. This may seem tricky since the gasket initially looks larger than this area. But as soon as she comes in, everything will be as it should.
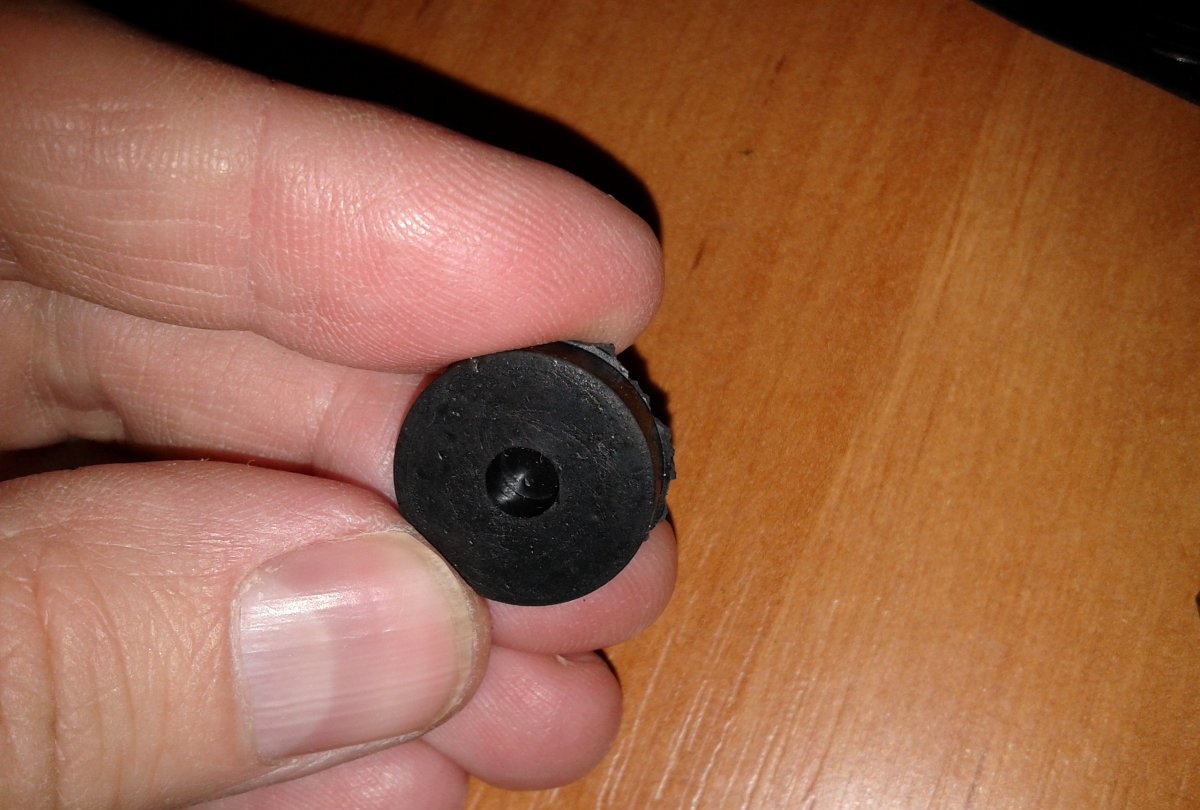
It is also very important to clean the screw hole in it. The fact is that this hole in the gasket is not quite ready. That is, there is a hole, but it is not through.It is slightly filled with rubber, which will not allow the fastening nut to be threaded through it.
Therefore, before installing the gasket, its internal hole must be milled using small scissors, for example.
Take one of their cutting parts and insert it into the gasket hole. Next, remove excess rubber using circular movements. But you have to be very careful not to make a cut inside the hole. This will destroy the gasket when it is clamped with the screw.
So, the hole is prepared, the gasket is inserted, now you can tighten it with a screw. This also needs to be done with feeling.
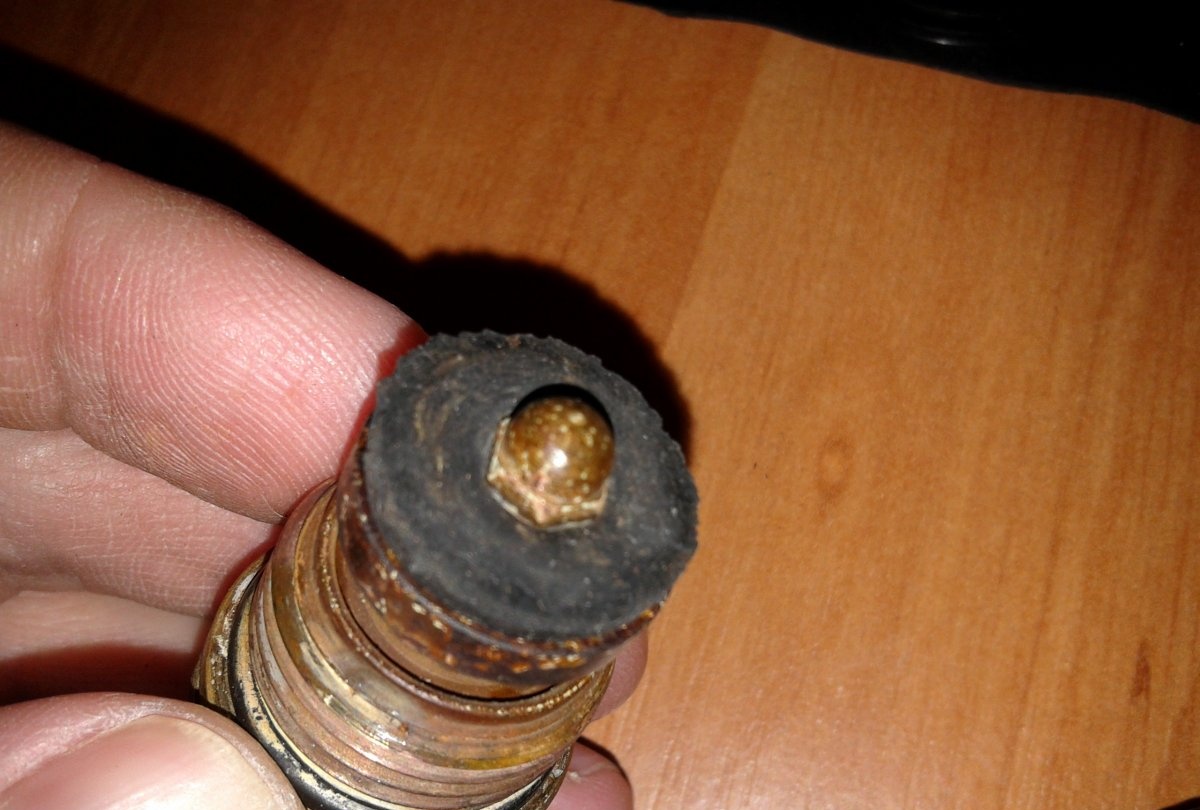
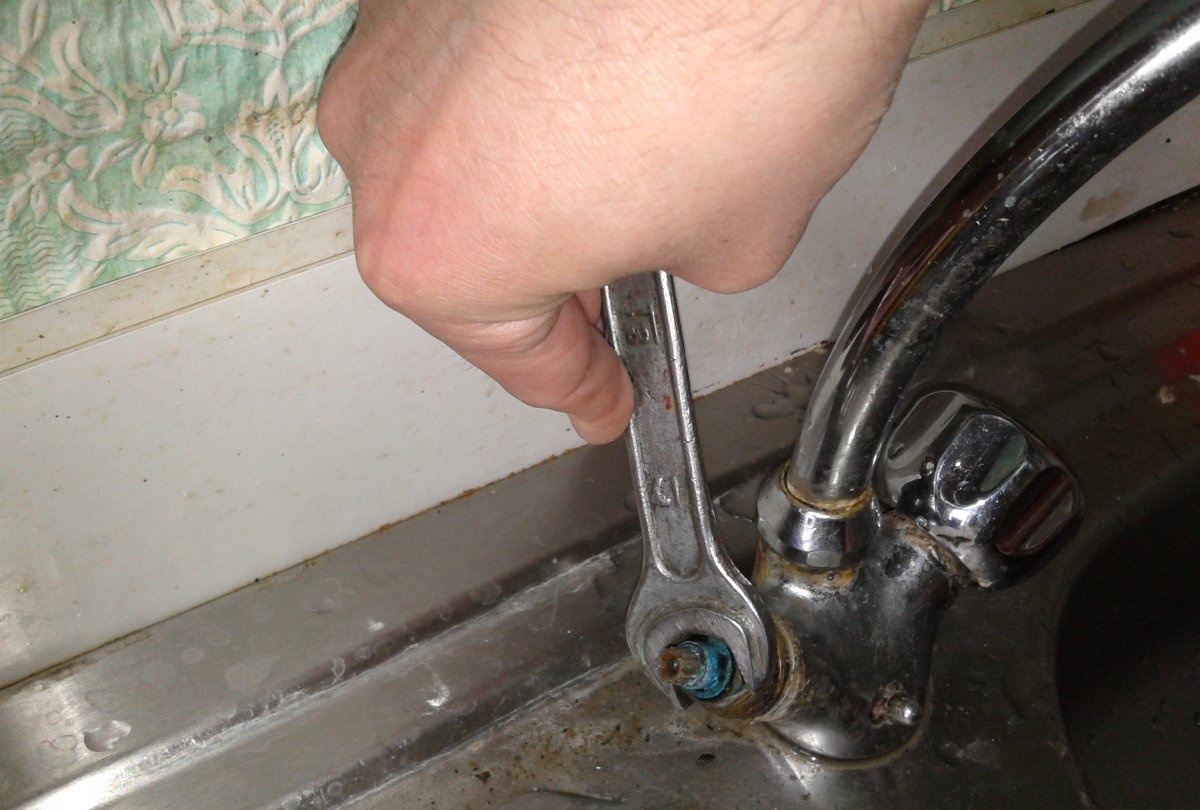
We tighten the valve axle box, first by hand, and then press it with a key, clockwise.
Before installing the flywheel, it should be cleaned of oxidation and dirt.
Now, matching the slots between the two parts, we connect them.
There is no need to press the flywheel with a hammer, just one hand is enough and it will easily “sit” in place.
After installing the flywheel, put on the plastic bushing.
Next, tighten it with a screw.
And finally, we insert a decorative plug. It should also be cleaned before installation.

When everything is ready for testing, turn on the corresponding inlet valve and check the operation of the mixer in the open and closed positions.
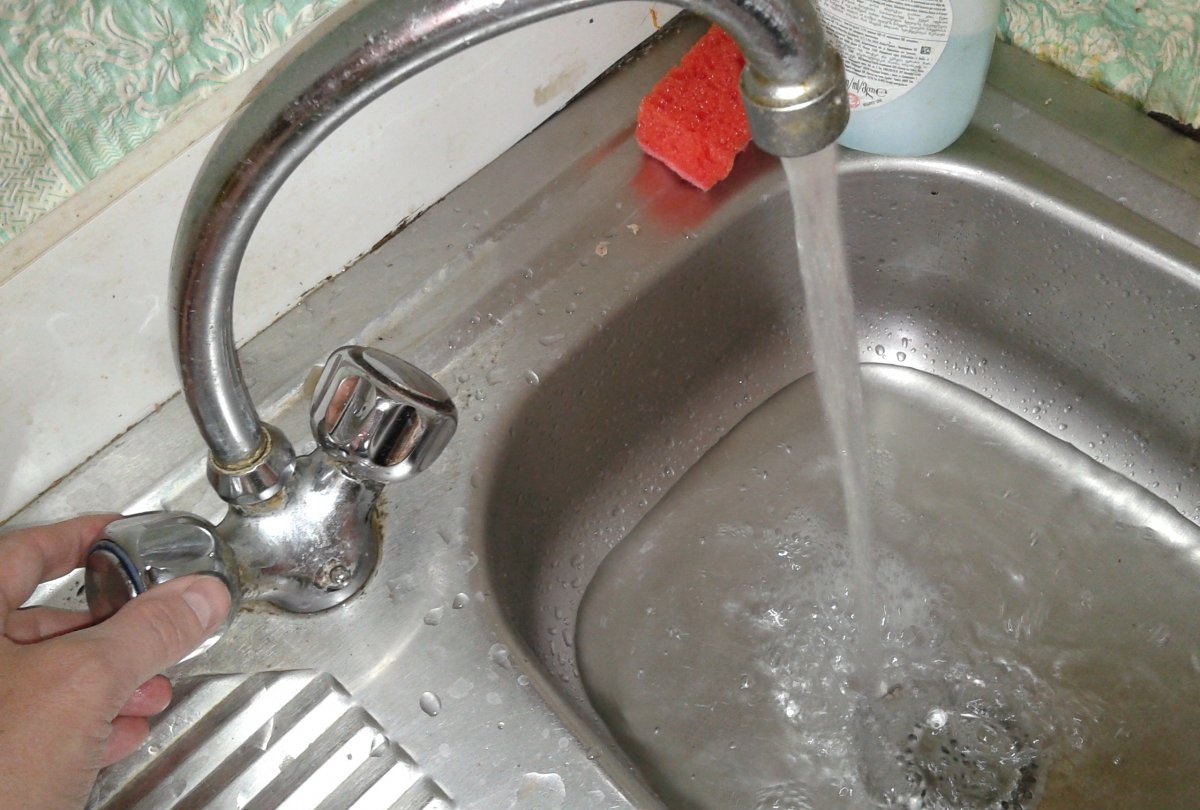
Since the gasket is new, you should not clamp it too hard, just a little force is enough to prevent water from dripping out. You just need to wait a little for it to drain.
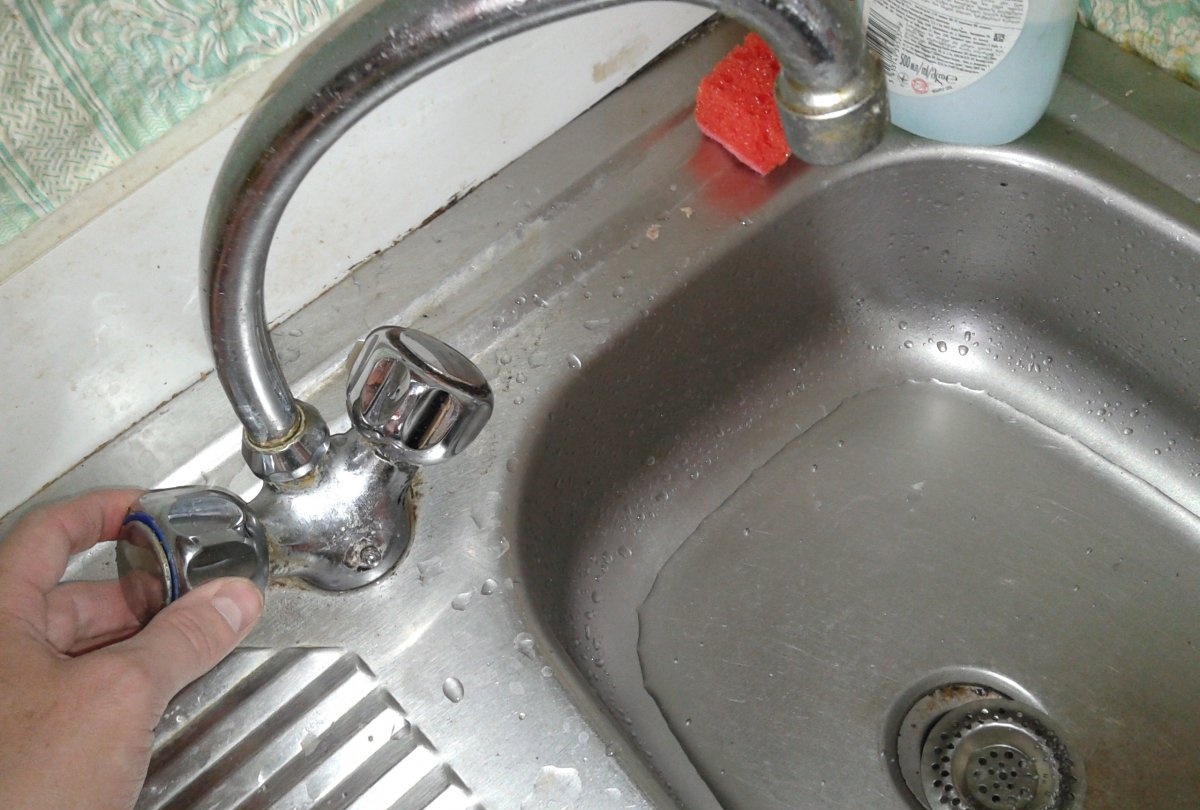
The renovation was successful and for little money. Now there is no water dripping, and there are plenty of gaskets left for further repairs.