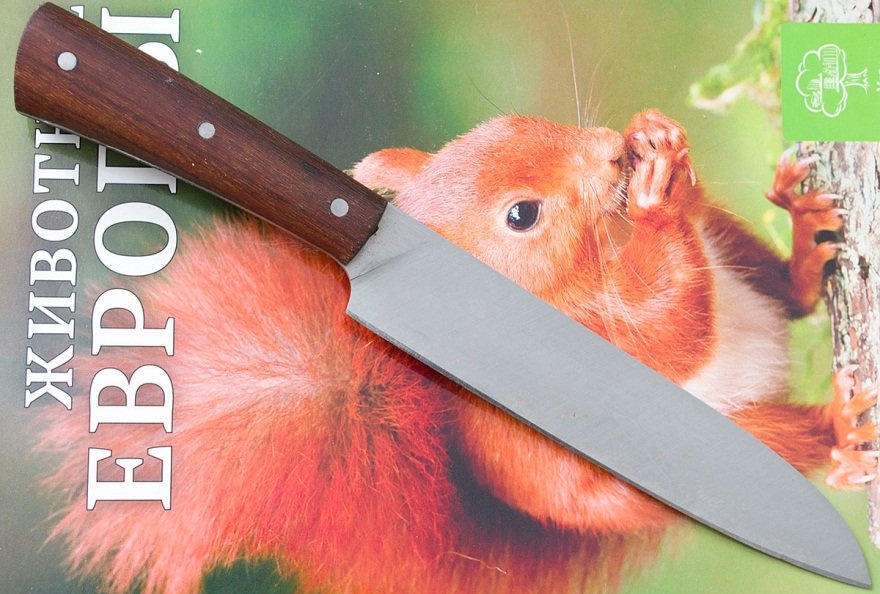
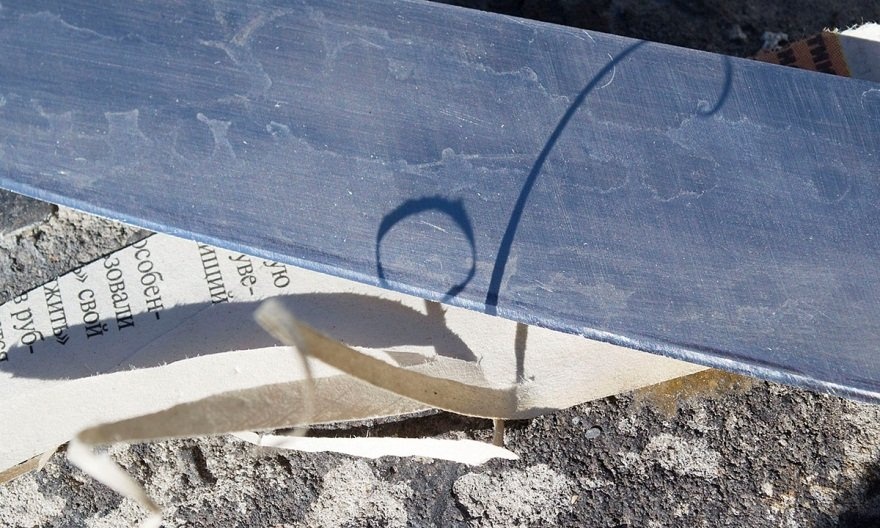
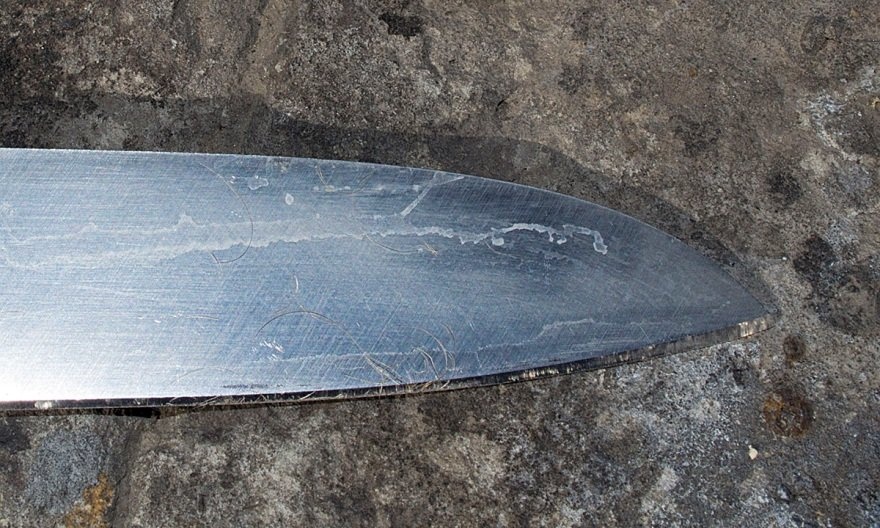
A friend asked me to sharpen a knife that had been used in the kitchen for 3 years for a variety of tasks: chopping frozen meat and poultry bones. The blade made of 95X18 steel did not withstand the tests, and several chips appeared on the cutting edge, and the first 50 mm from the tip were initially “under-sharpened.” The owner was afraid to do any manipulations himself, although he has an abrasive block from a hardware store in his kitchen.
Advantages and disadvantages of “purchased” sharpening machines
The most common reason for failure when sharpening a knife is the difficulty of holding it in such a position that the approach angle remains constant. There are a lot of devices and machines that solve this problem.
The main advantage of sharpening systems manufactured in production conditions is that they are ready for work; nothing needs to be completed.
However, they also have disadvantages:
- Most devices can only work at fixed angles (kitchen electric sharpeners, Lansky type devices).
- Systems with good functionality, such as Apex Edge Pro (Price about $300), cost a lot of money. Moreover, there are more clones and fakes on sale than originals.
- Almost all mechanical sharpeners remove a huge amount of metal and overheat the cutting edge. Exceptions, such as Tormek (Tormek T9 costs more than 50 thousand rubles in the minimum configuration. Equipment for the machine will have to be purchased separately and also expensive.), are HELL expensive.
- Not all “factory” designs fix the blade rigidly enough.
Homemade sharpener
The homemade device I use has seen at least a thousand knives, chisels and other cutting tools, so I have no doubt about its effectiveness. The design is extremely simple, and the most expensive thing about it is the sharpening stones. In the description I will not give specific sizes, only general ideas.
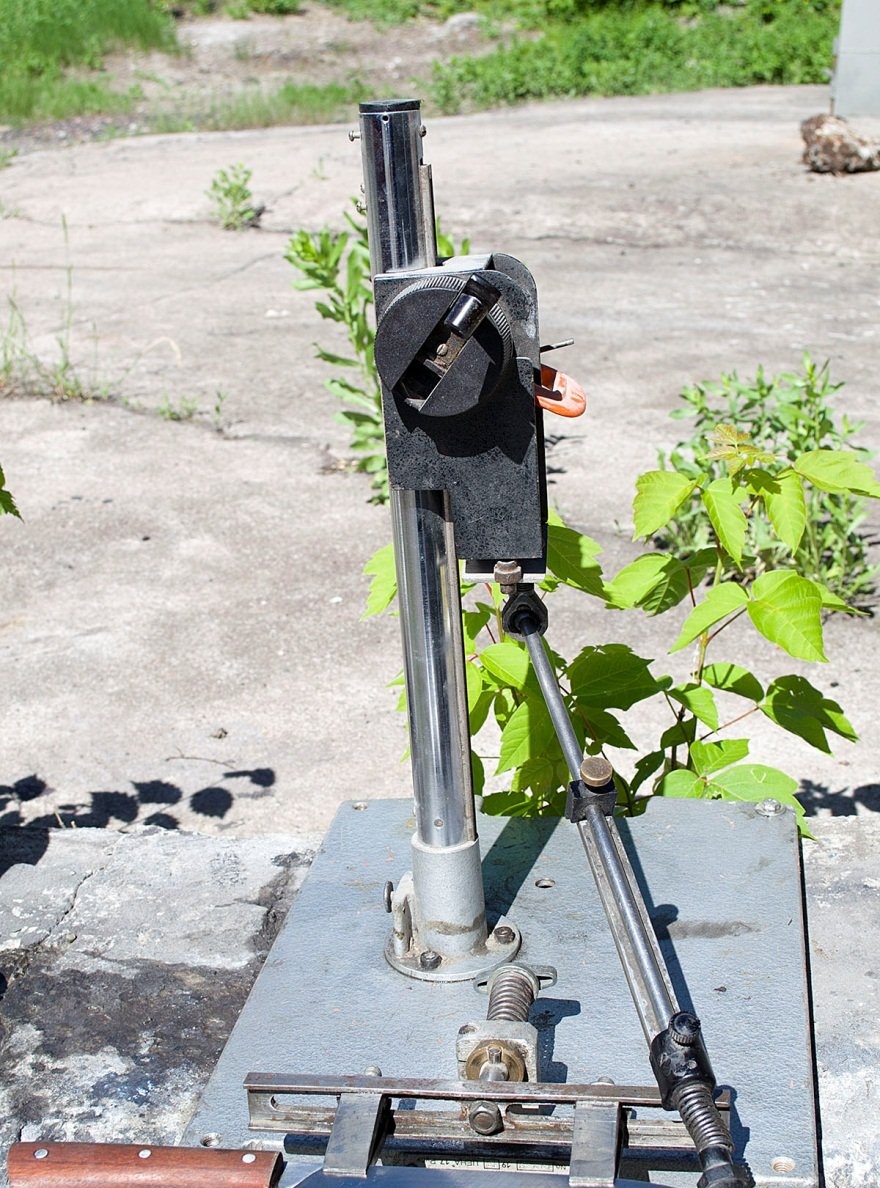
bed
The bed is a piece of iron from the “Young Bookbinder” set. It is quite large and massive, so it does not wobble even on “crooked” bases.
Rack
The tripod from the photo enlarger turned out to be an excellent donor. The standard lifting mechanism, which I use to adjust the angle of the stone relative to the plane of the blade, works smoothly and is securely fixed.
Inclined rod
A calibrated rod with a diameter of 10 mm is designed to hold and move the sharpening stone. It is attached to the lifting mechanism through a hinge - a steering end from a go-kart. The following parts are put on the rod: a plastic nut, a spring, two clamps with fixing screws, a nut on the back (so that the rod does not fall out of the hinge). This design allows you to work with stones of different lengths and quickly change them: I never fix the locking screw of the near clamp, and the stone is held by the spring force.
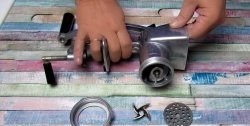
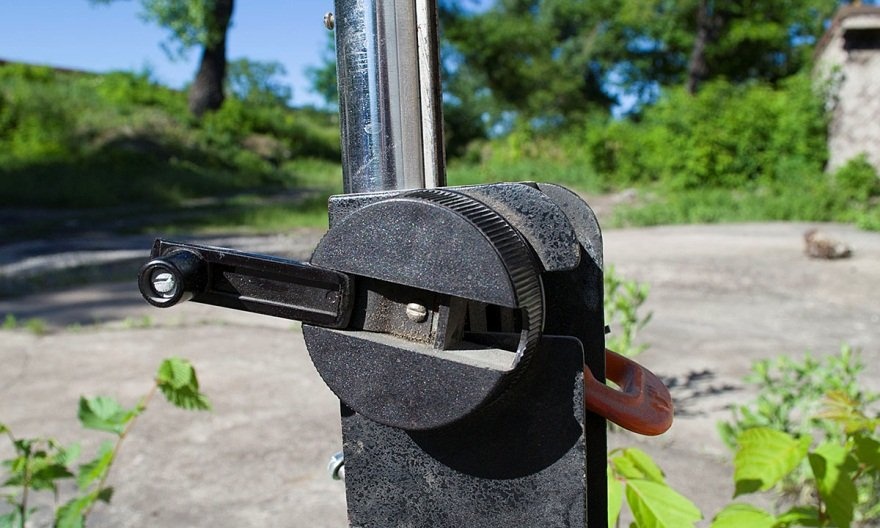
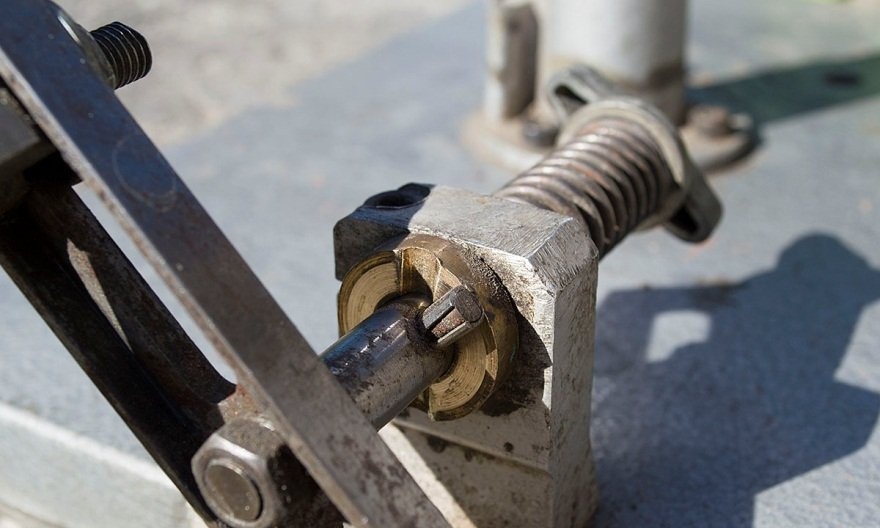
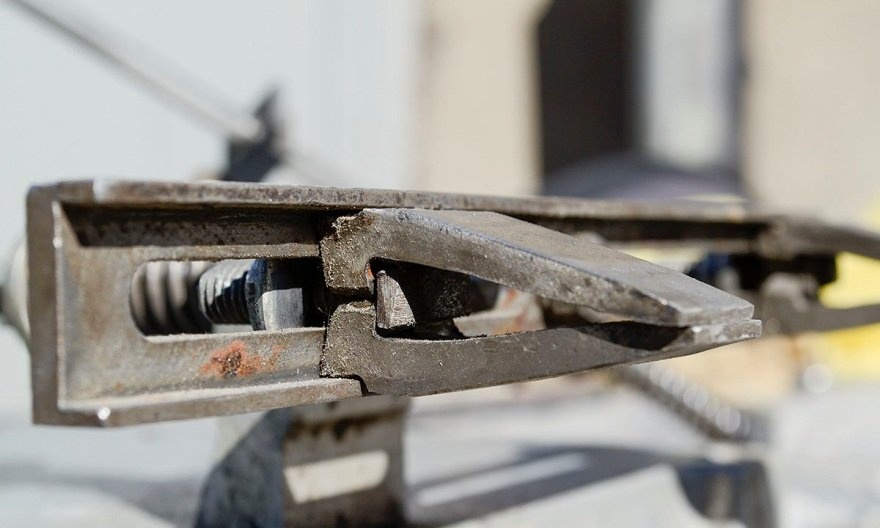
Blade locking mechanism
Mechanism elements:
- Bracket. The part is made of duralumin and serves as a clamp.
- A bronze bushing with a semicircular groove is clamped motionless in the bracket.
- The shaft is seated with a gap of 0.1 - 0.15 mm, i.e. it rotates freely. The spring presses the fixing axis against the bushing.
- The channel is fixed to the shaft.
- Two pairs of jaws with M8 hammer bolts move freely along the grooves in the channel. After tightening the nuts, they are firmly fixed in position. The angle between the surfaces of the jaws adjacent to the channel flanges is about 75 degrees.
The bushing is made on a lathe, the jaws and channel are made on a milling machine, and the bracket is made on a drilling machine. The remaining parts and blanks were found in the garage.
Sharpening procedure
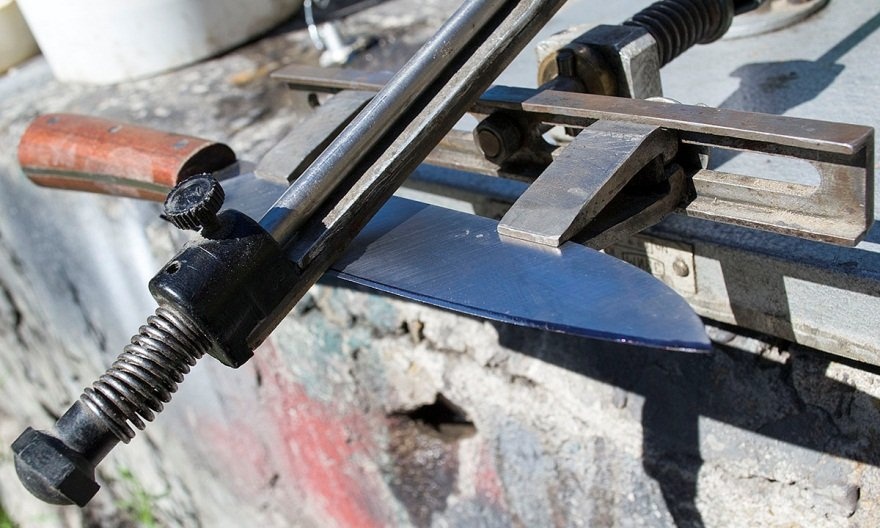
If a used knife is being sharpened and it is necessary to maintain the angle of approach, then the work is performed in the following order.
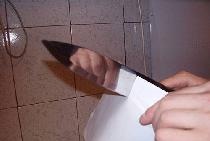
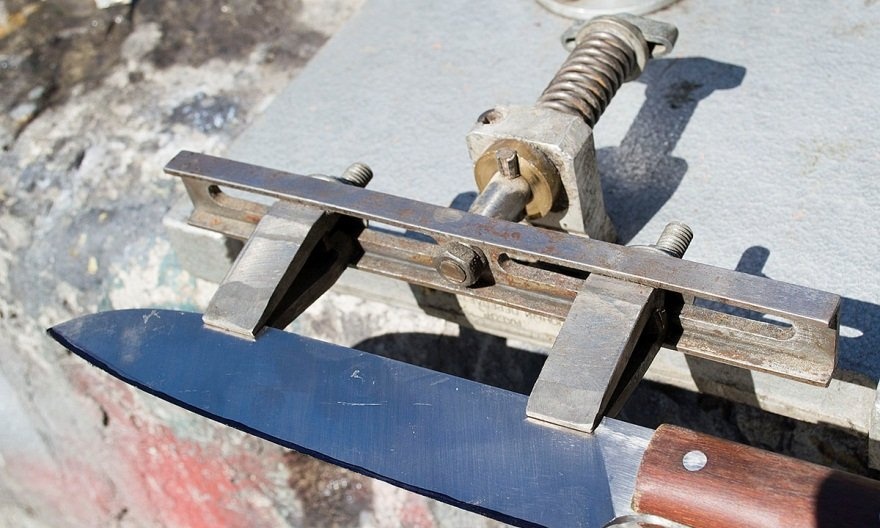
We clamp the blade in the jaws, having previously adjusted their position in width.
Before installation, we seal knives with a polished blade with masking tape to avoid leaving scratches.
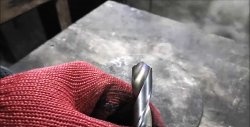
Draw the cutting edge with a waterproof marker. We install an abrasive stone with the largest grain. We make several careful movements with the barbell from ourselves. Based on the abrasion of the marker marks, we determine whether the angle is chosen correctly. If the stone catches along the edge, then it needs to be enlarged, that is, the hinge must be raised. After correcting the angle, the abrasive should remove marker marks along the entire plane of the cutting edge.
Now you can proceed directly to sharpening. We make reciprocating movements with the bar and move along the edge of the knife until chips, creases and other defects are completely gone. We apply light pressure only when moving away from ourselves.The rod should return empty. On the last passes we release the pressure on the bar.
Pull the channel towards you and turn it 180°. We sharpen until the width of the inlet on both sides is approximately the same.
You don't have to constantly bend down to check the edge visually. One of the advantages of the device used is that the knife is attached once, it can be rotated as much as you like, and it will always stop in the desired positions.
When the second side is finished, a burr will appear on the first. You may not see it, but you can clearly feel it with your fingers. You need to make sure that the burr has formed along its entire length, otherwise later there will be “dull” areas and the work will have to be redone.
You need to control the burr by moving your finger from the butt to the cutting edge, but not along it! Otherwise, cuts cannot be avoided.
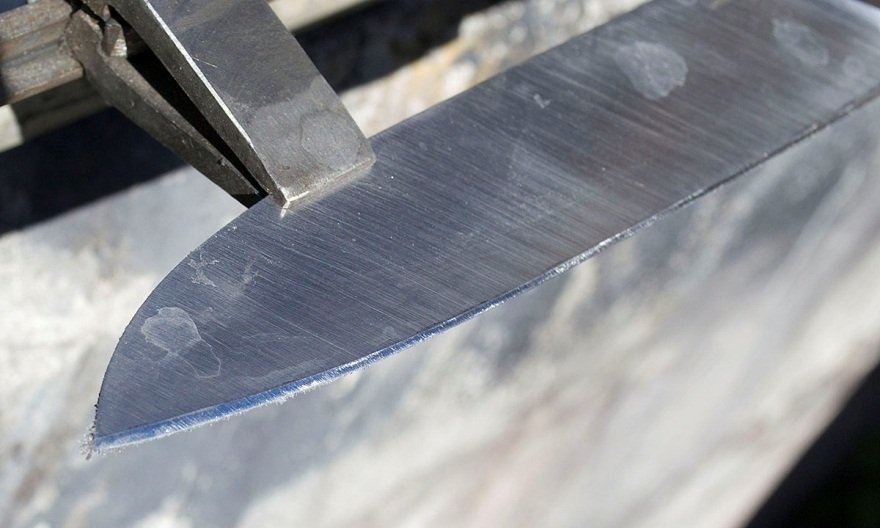
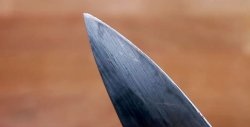
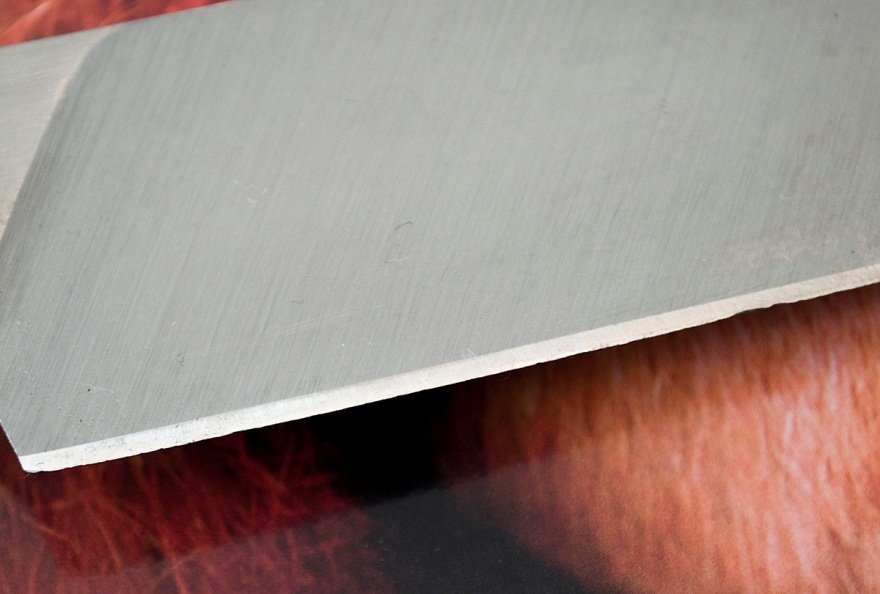
The width of the cutting edge along the blade depends on the geometry of the slopes. On this knife, the lead at the tip is thicker than the rest.
Before moving on to a finer abrasive, use a sponge or paper towel to remove sawdust. We remove the risks from the previous stone on both sides. In this case, the burr should separate: not crumble in the form of dust, but fall off in thin threads.
Depending on the grain size, the second stone can also “pick” the burr. In my case, this is exactly what happened. Then we move on to the next grain.
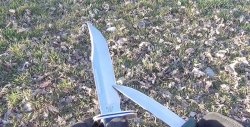
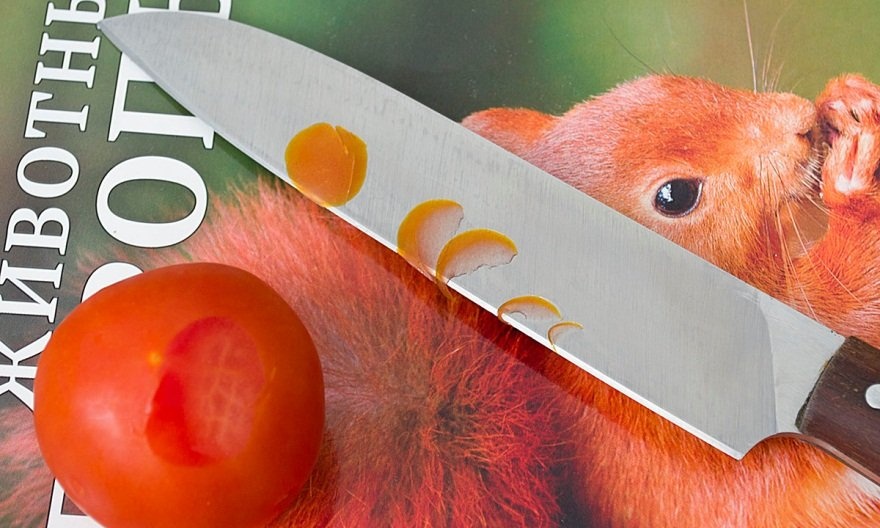
We check the result of the work on a newspaper: we make a cut with a broach and control its smoothness. If there are any defects left, they will stick.
If you wish, you can try shaving the hair on your wrist.
The best way to check is to cut with a knife what it is intended for.
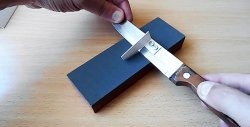
Abrasive stones
I use a set of diamond stones on a metal bond (4 pieces). Coolant – tap water.Some sharpeners wet the diamonds with soap emulsion. Some people generally work “dry” (see video). I sharpen according to the stone manufacturer's instructions, which recommends wetting the stone with water and periodically brushing off any metal filings.
Grain sizes on bars (in microns):
- 125/100 – formation of the cutting edge, changing the sharpening angle;
- 63/50 – rough grinding;
- 20/14 – fine grinding;
- 7/5 – polishing.
I started working with the first stone and finished with the third. I use the fourth one quite rarely, only at the request of aesthetes.
Instead of diamond bars, you can work with artificial stones made of electrocorundum. There is an even more budget-friendly option: stick strips of sandpaper of different grain sizes onto aluminum or glass forms. The most important thing is that all the stones in the set must be the same thickness.
Knife sharpening video
In the video, the huntsman sharpens his working knife (Bohler M390 steel) on the device described above. He only uses one 63/50 stone and thinks that's enough. Characteristic movements along the edge - this is how he removes the burr.
Perhaps I missed something in the description of the process or device, I deviated from some canons, I don’t pray to Arkansas and Japanese water stones. I suggest discussing these points in the comments.