An excellent summer craft is to make a miniature refrigerator with low-voltage power. A variety of supply voltage (220 V, 12 V, 5 V) makes it possible to use such a refrigerator almost anywhere: in a car, office, home, etc. This is a great little thing to cool drinks on a hot summer day.
Will need
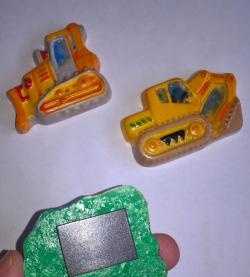
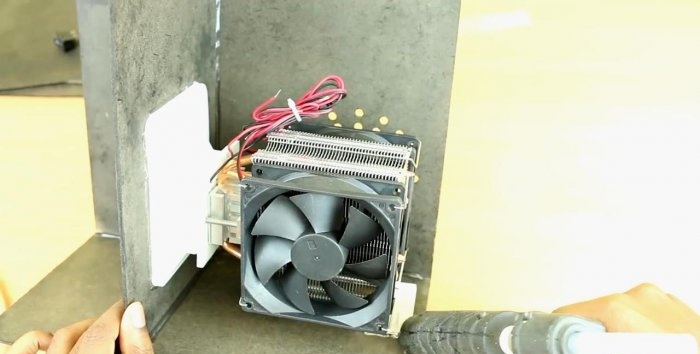
- The cooling unit, which consists of a Peltier element, three fans and a radiator - .

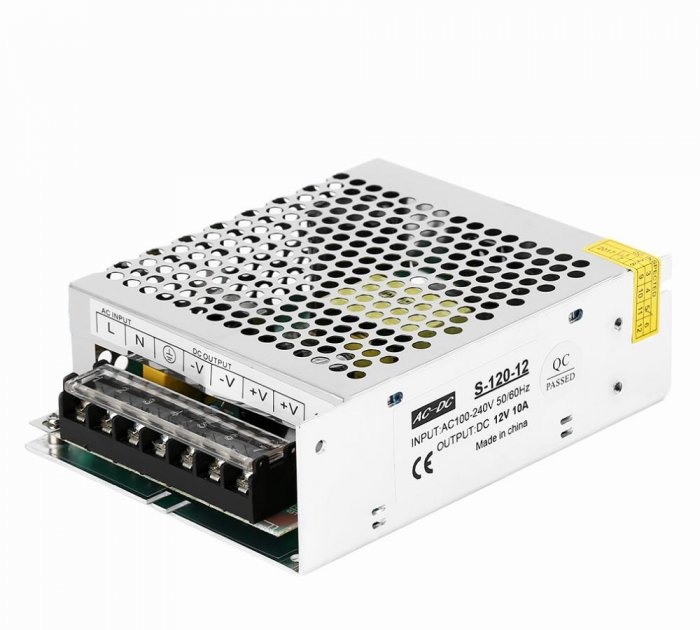
- Switching power supply 12 V 10 A - . This unit is needed if you want to power the refrigerator from AC 220 V.


Making a miniature Peltier refrigerator
The case was made of arbitrary sizes, taking into account the placement of the cooling unit, power supply and beverage chamber. It will consist of two sections: one for the technical part, the other for cooling products.
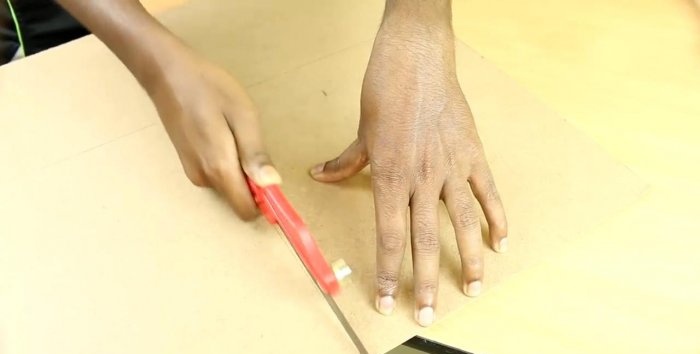
We make the case. Mark a piece of hardboard with a pencil and a ruler.

We cut out all the elements with a hacksaw.
All parts of the body are ready.

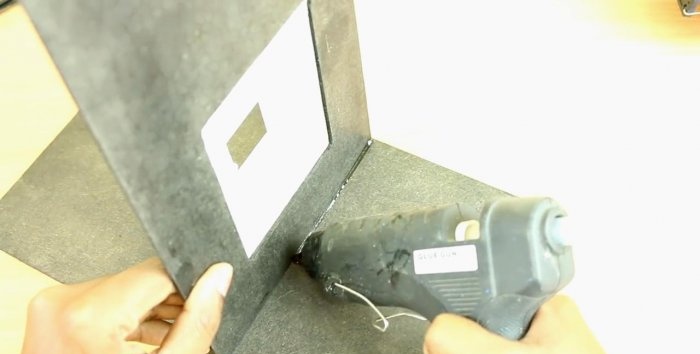
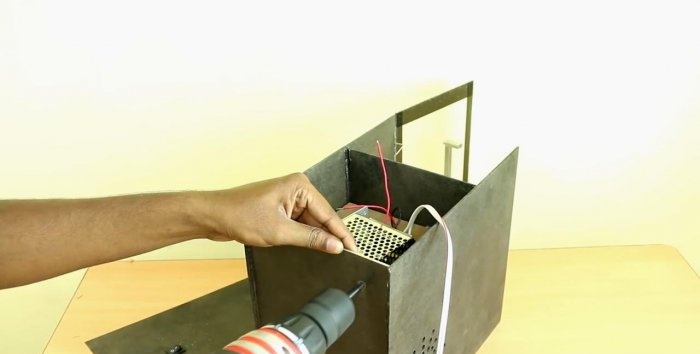
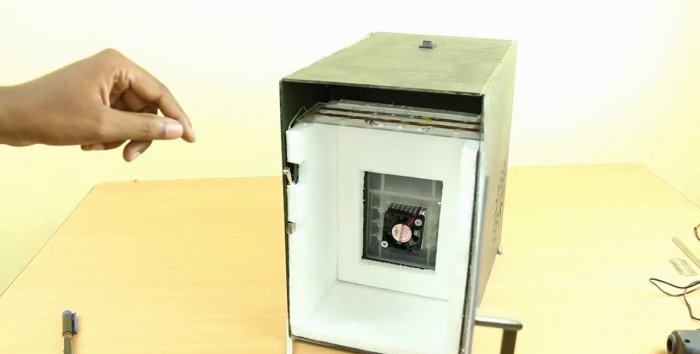
From the middle part dividing the refrigerator into two parts, we cut out a window for a radiator with a Peltier module.

We apply the cooling unit to the side of the case.

And drill a lot of holes on both sides. That is, the air flow will flow from one side through openings in the side. Pass through the radiator taking heat and exit through openings on the other side.

We spray paint all the details of the refrigerator body from the spray can.

Getting to the assembly.
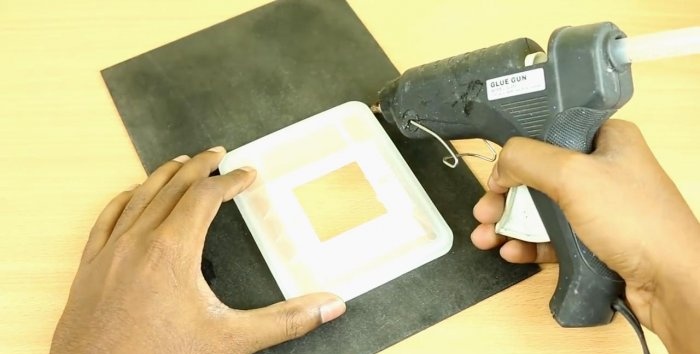
We glue the dividing part of the cooling unit on hot glue.
We glue all parts of the case, on both sides.

The cooling unit lies on a wooden piece that is glued to the base.
For illumination, you will need two sections of a 12 V LED strip. One color is white, the other is color.

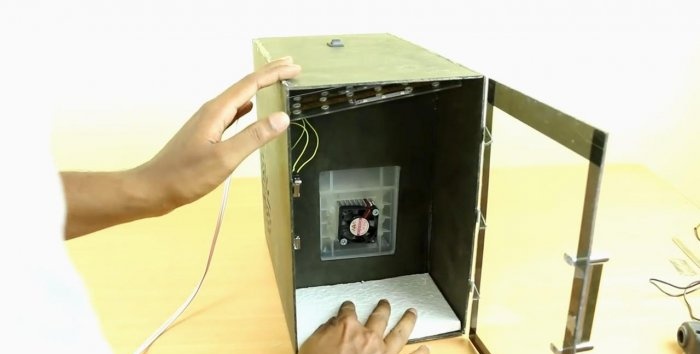
Screw the small fan.

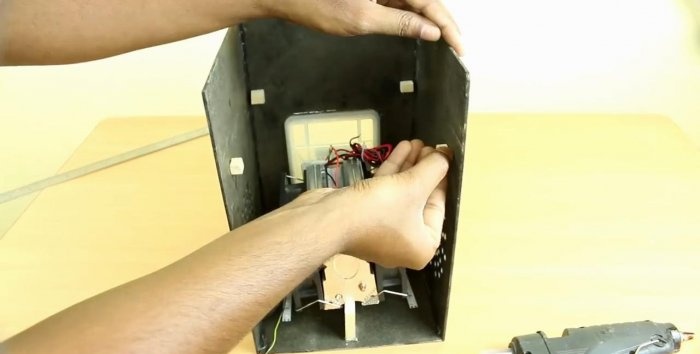
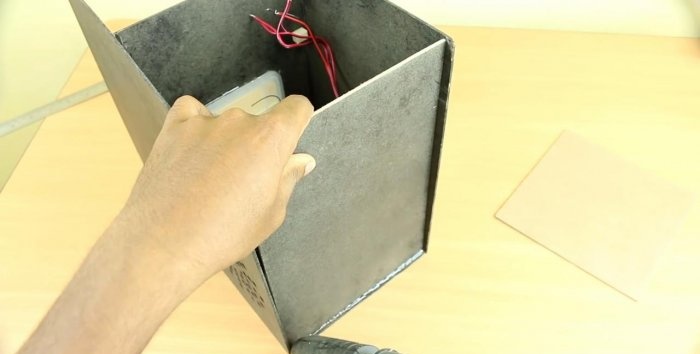
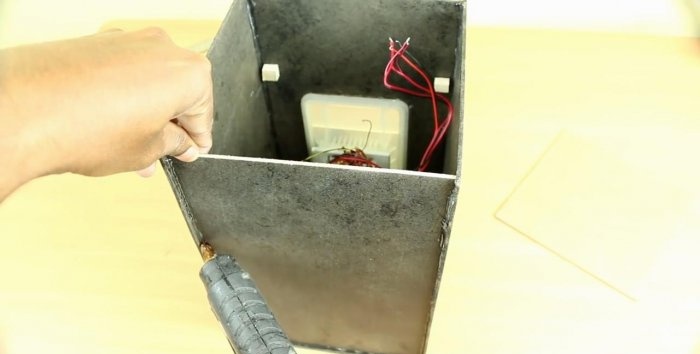
The technical part of the refrigerator is divided into two parts. At the top will be the power source. The dividing wall is placed on square pieces of wooden battens glued to the sides.
Install the back wall.
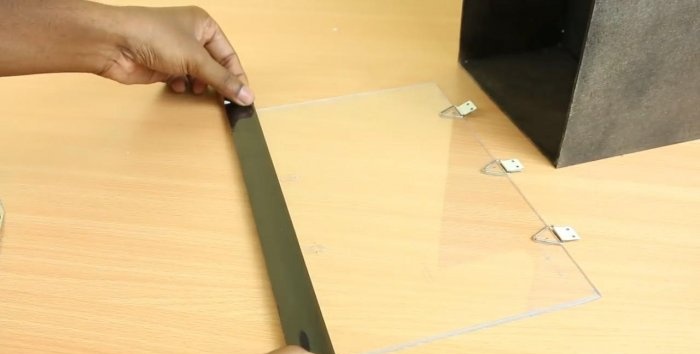
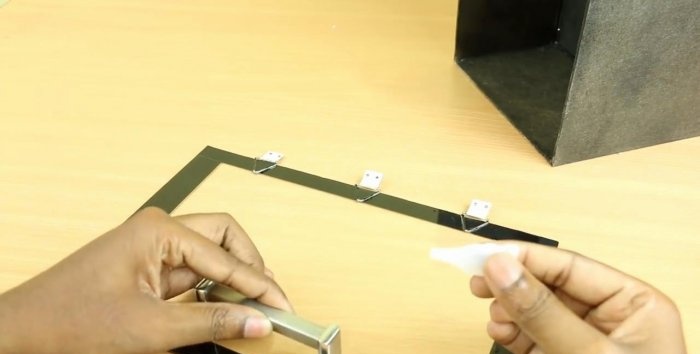
We will make the door out of a piece of acrylic glass. Mark with a ruler and a pencil.

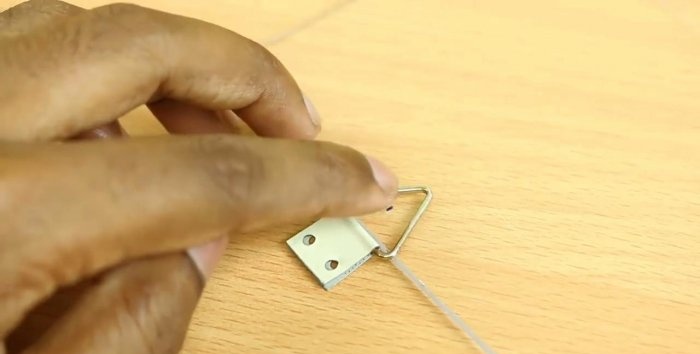
Miniature loops can be bought or made by yourself. Glue them on a second glue.
We glue the sides of acrylic glass with black self-adhesive tape.
Glue the handle on the door.
Organize the backlight. Solder the contacts to the end mini switch.
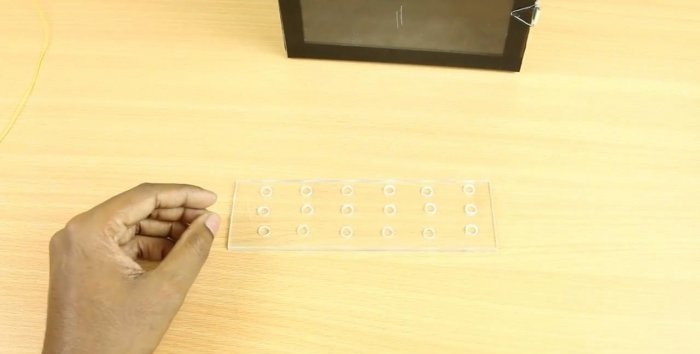
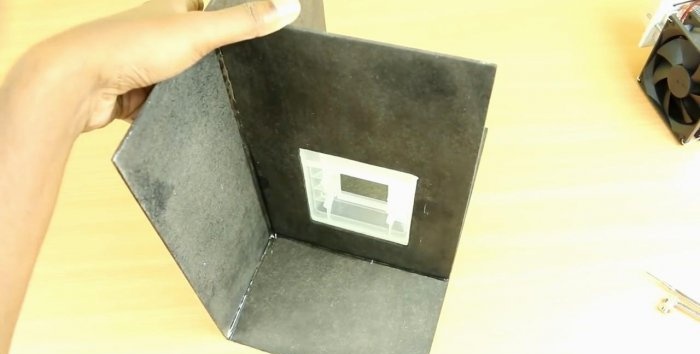
Solder the wires to the segments of the LED strip. The segments themselves are glued to a mini shelf made of the same acrylic.


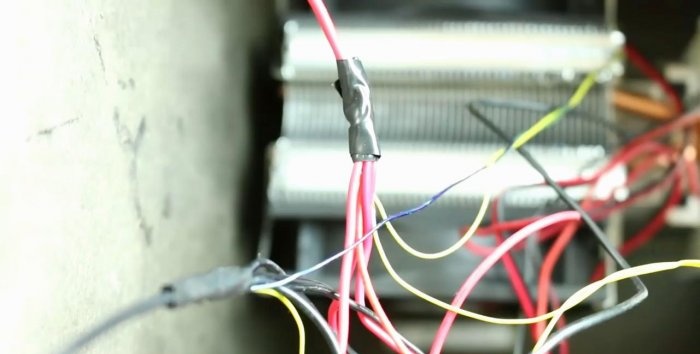
We connect the backlight, fans, Peltier element.

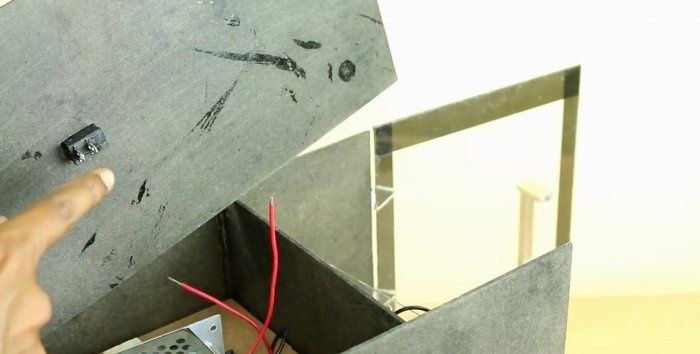
Set the switch to the side.

Isolate all open twists.
Close the compartment with the cooling unit. This must be done so that the hot air does not rise up and does not heat up the power source.
We drill a hole for a 220 V power wire
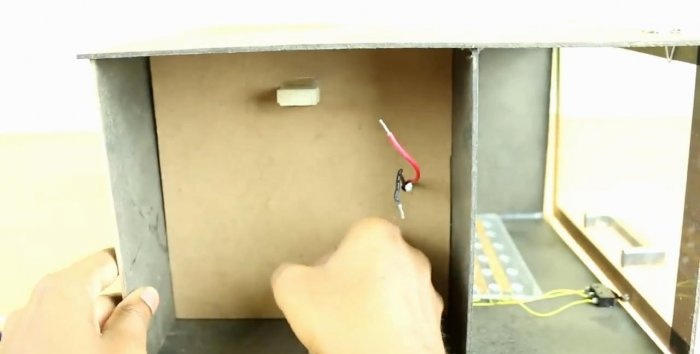
To prevent the refrigerator door from opening, we will install small neodymium magnets from a broken sidirom on the side.
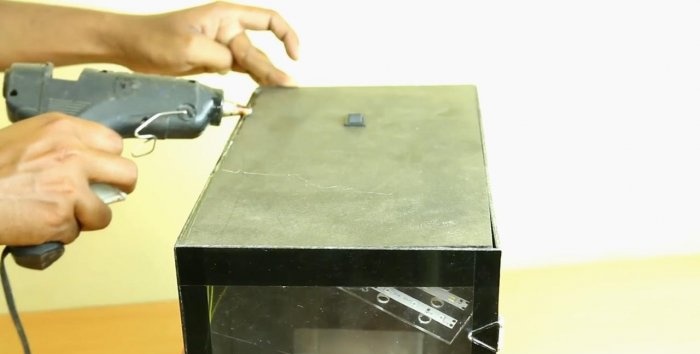
We close the top cover, but before that we cut in the power switch, solder the wires. Now the refrigerator can be turned off with a button on top.

Close the lid and fix with glue.
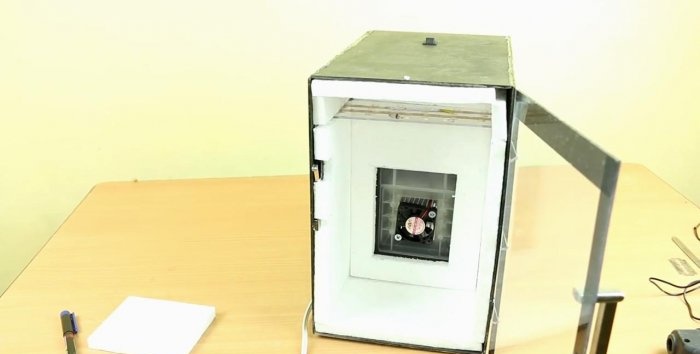
For proper thermal insulation, we glue the inside of the refrigerator with a thin foam.We plant the cut foam panels on hot glue.
We make cutouts in the plates for all the protrusions and details.
Now the useful cold will not be wasted and the efficiency of the refrigerator will increase.
At the very end we add an electronic thermometer from the inside, and its sensor is located closer to the small fan, which is located inside the camera.
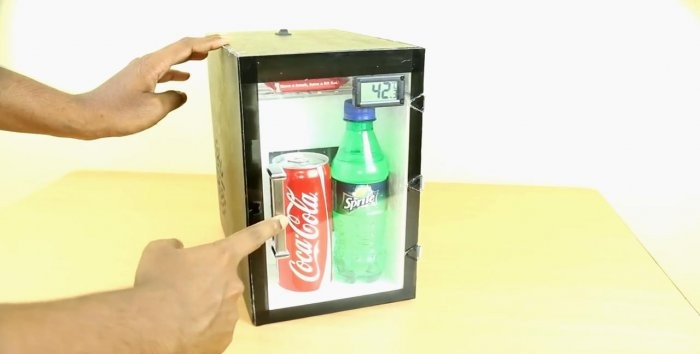
Work mini fridge
This look has a refrigerator in the dark with the door closed.

When opening, the white light is turned on and the color turns off.

And finally, the result of the work is such that in thirty minutes the temperature inside the chamber fell from 42 to 16 degrees Celsius. Drinks cooled to a temperature of 20 degrees Celsius. And all this in 30 minutes!
Of course, the efficiency of such a refrigerator is much lower than that of a compressor, but it also has its advantages, one of which is low-voltage power, which can be not only 12 V but also 5 V! Naturally, it is possible to power it from the computer’s USB port, although the return will be lower than when powered by 12 V.
The total power consumption when powered by a 220 V network is about 100 watts.
Watch the video
More detailed assembly instructions in the video below.