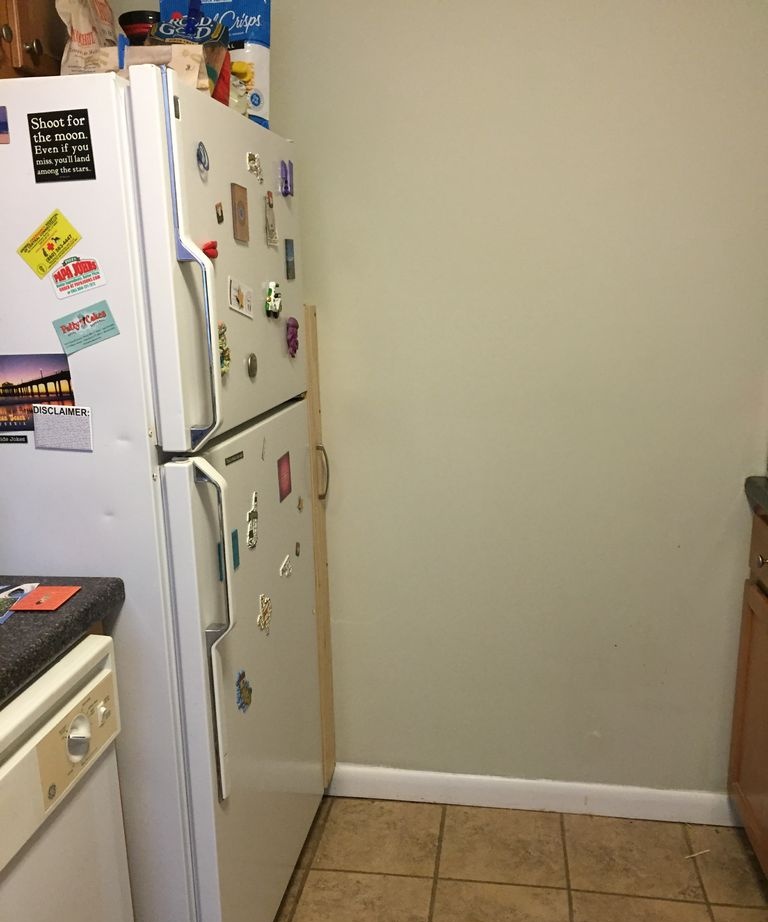
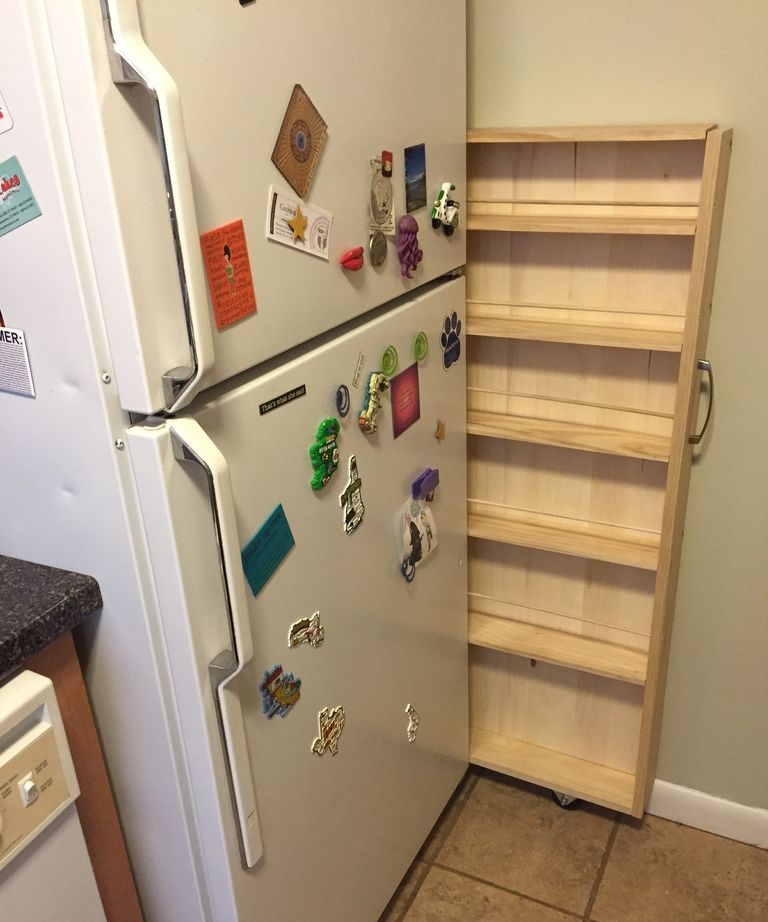
This master class will be especially useful for those who live in small one-room apartments. I'll show you how to make a retractable shelf in the gap between the wall and the refrigerator. It would seem that the width is only a few centimeters, but you will definitely be surprised when you see how many items can be stored in this gap.
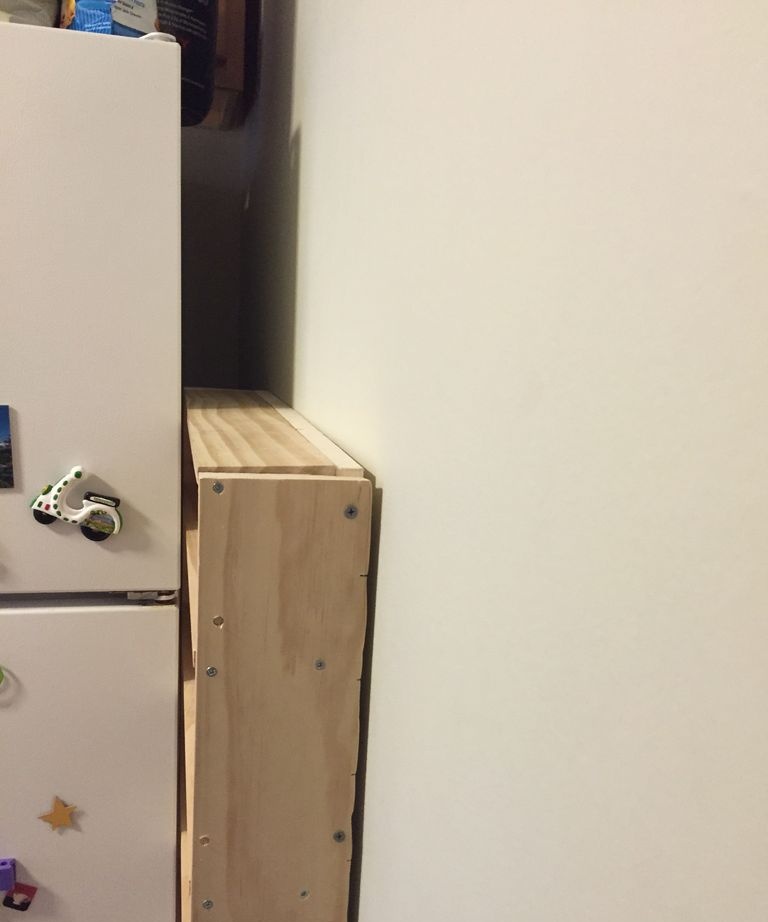
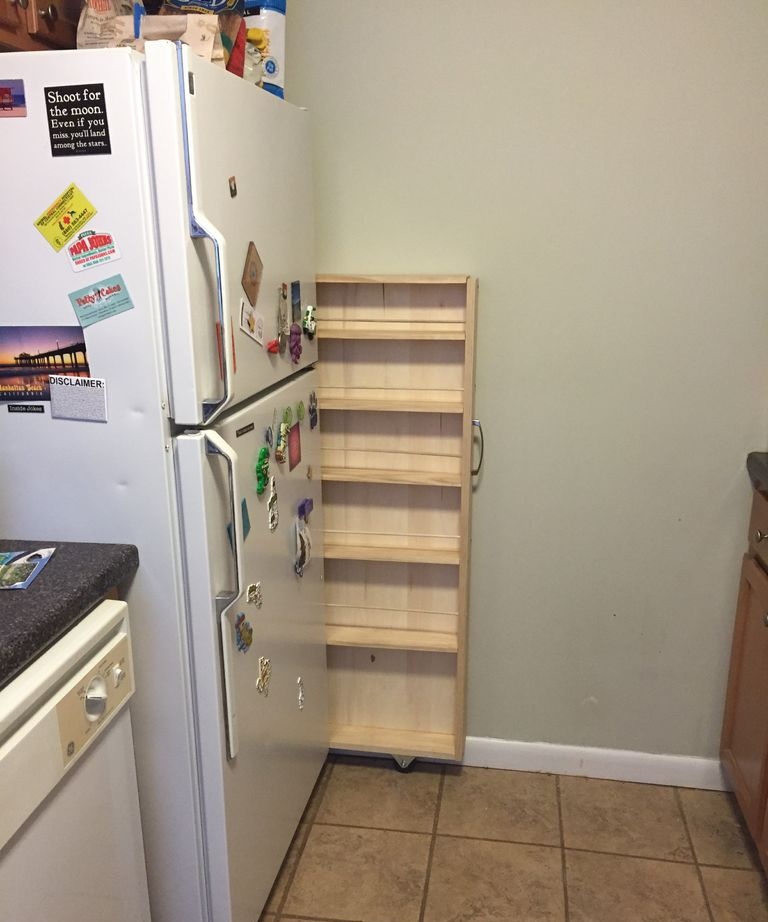
Initially, the shelf-rack is not visible at all. In fact, after its manufacture, nothing will change in your kitchen, except that a new and convenient space will be created for storing various jars, bottles, etc.
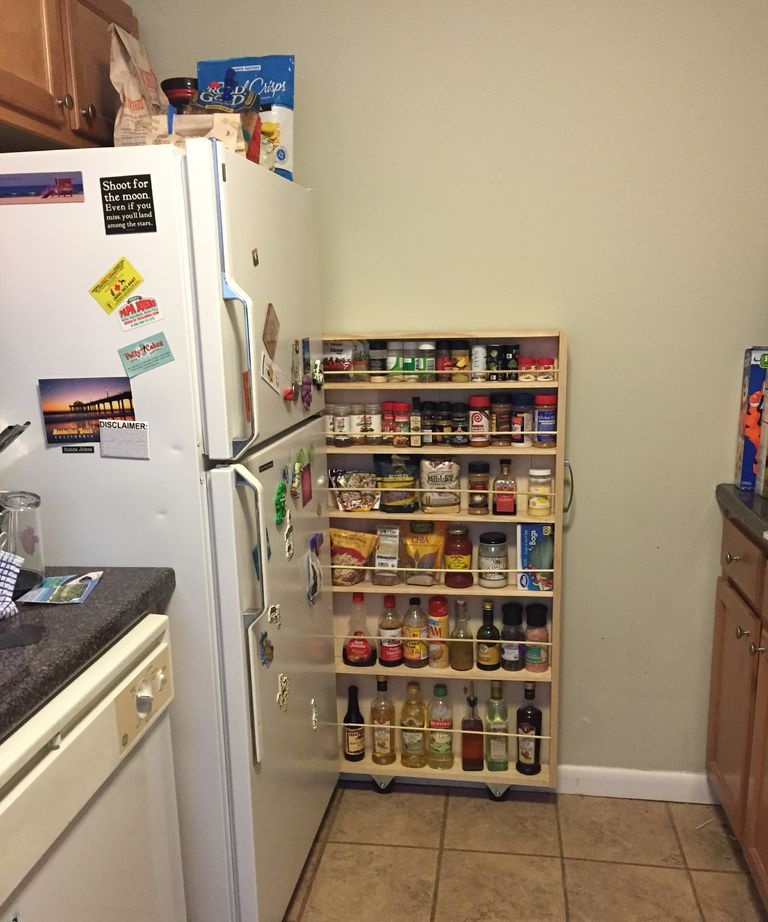
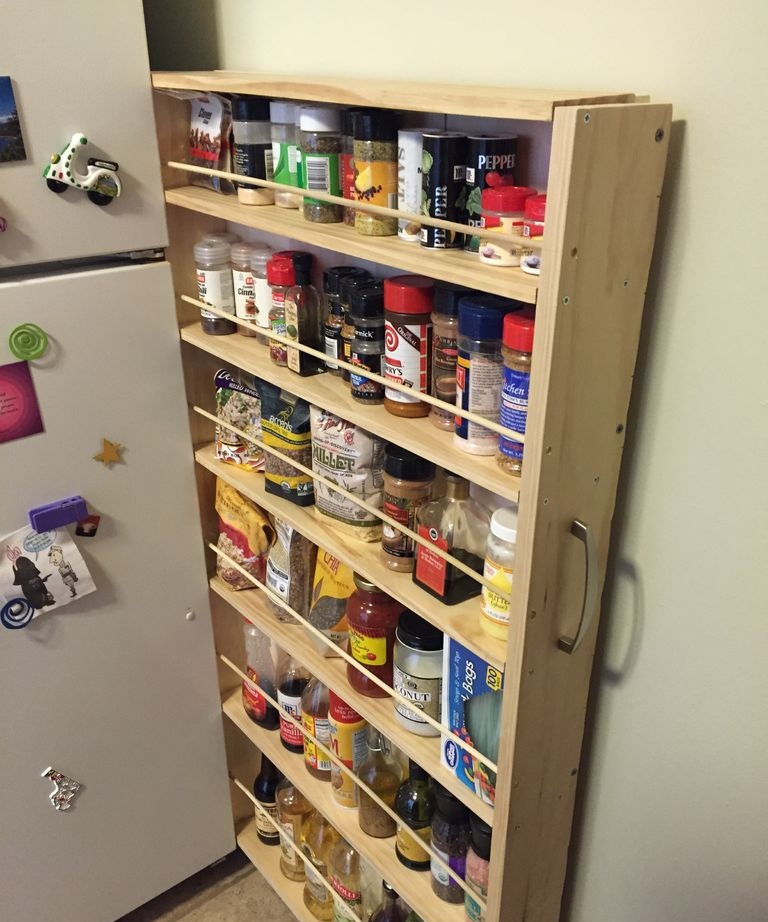
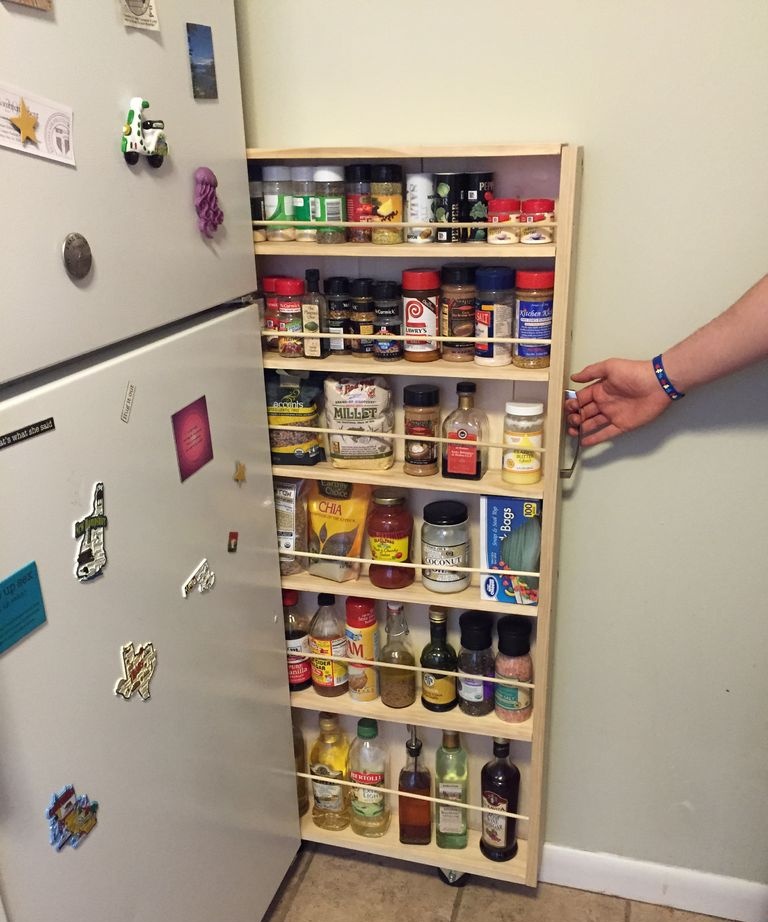
The rack can be pulled out with a simple movement. Now look how much is stored there.
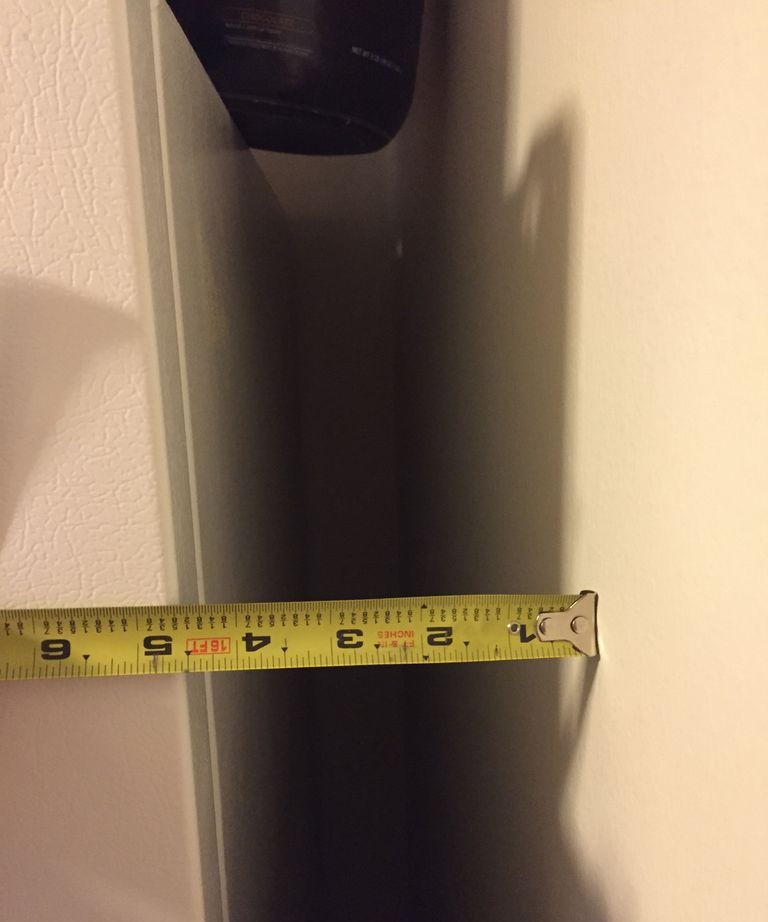
The gap distance is only 11.5 cm (in the photo the tape measure is in inches), and what a huge number of different items can be stored.
Materials
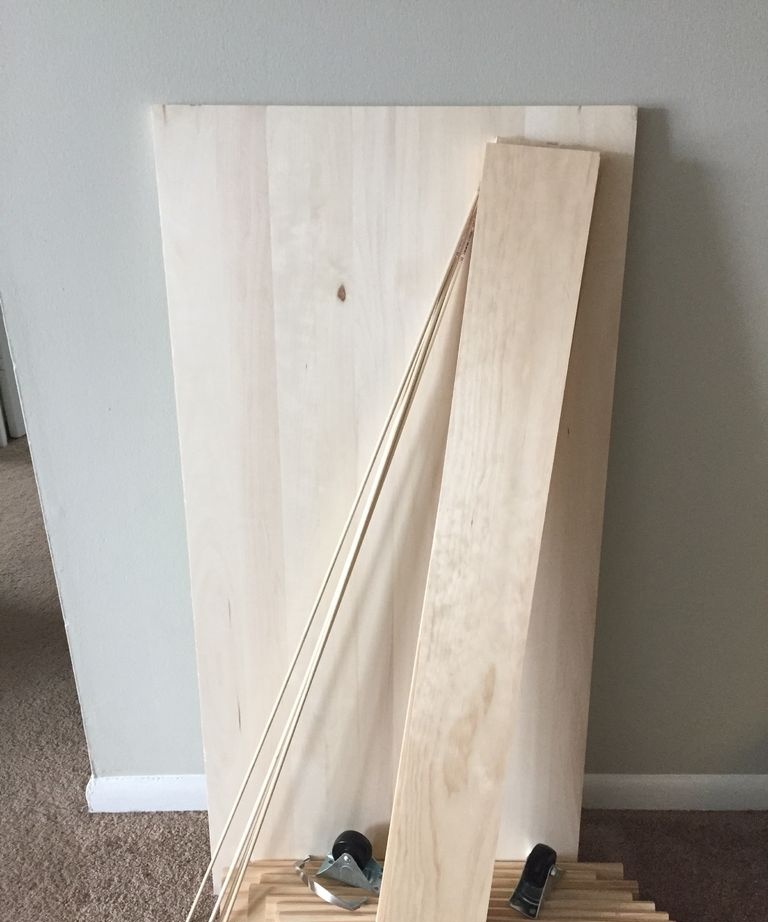
Required materials I used for this project:
- Back board for the back. Mine measures 61 cm in depth and 121 cm in height - essentially these are the dimensions of the entire rack without thickness. The width of the entire rack is slightly less than the width of the gap.
- Boards for shelves - 6 pieces.
- Two boards for the top and base.
- Two boards on the sides of the shelf.
- Two wheels for moving the entire structure.
- Round wooden slats.
- Wood screws
- Wood glue.
- Cabinet handle for pulling out the rack.
I don’t see the point in indicating the exact dimensions of all the boards, since everything will be your own. If something happens, it won’t be difficult to calculate them yourself. But to do this, first measure the width of your gap between the refrigerator and the wall, the depth of this gap. Decide on the desired height of the future shelf.
All this can be done in about 15 minutes by drawing a sketch on paper with a pencil.
Making a kitchen rack
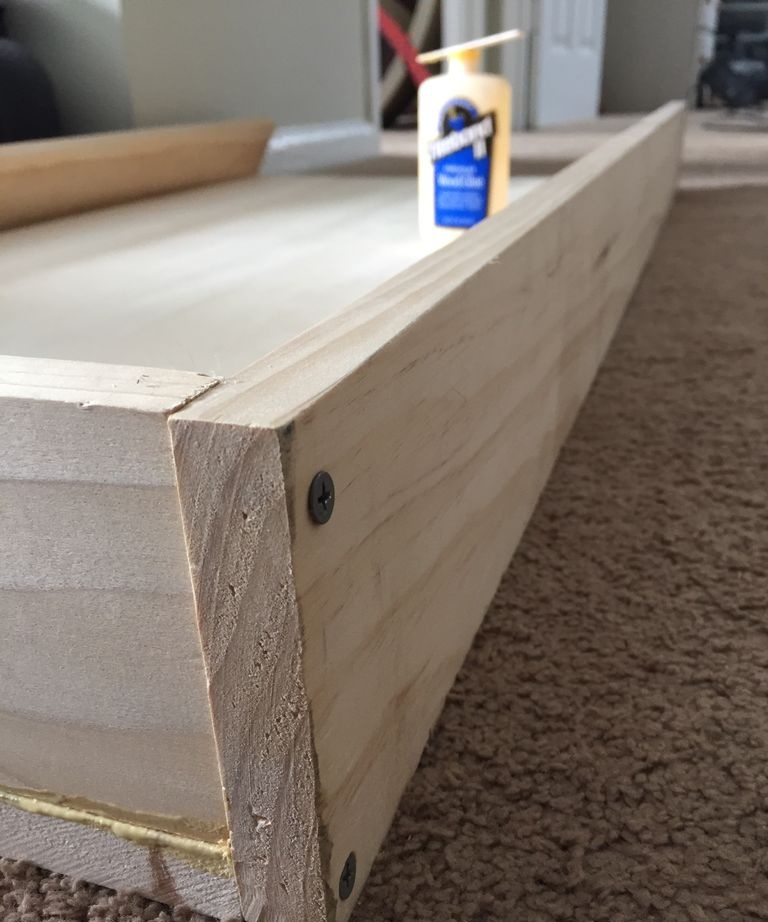
The entire structure can be assembled using just self-tapping screws, but in addition I glued everything with wood glue.
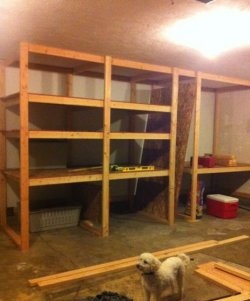
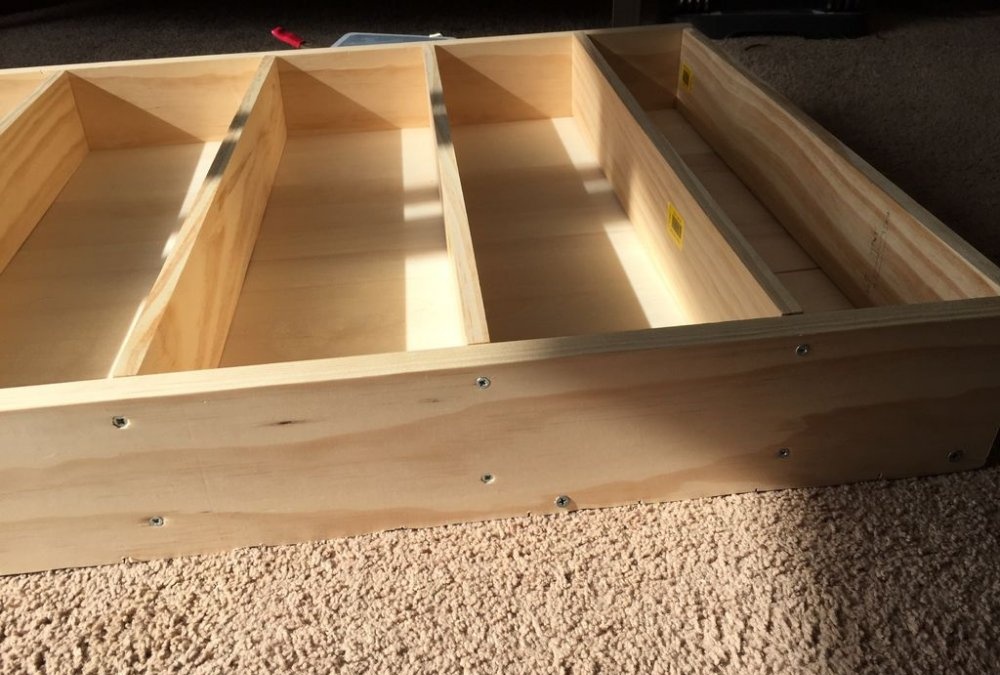
I laid out the shelves and estimated the number needed.
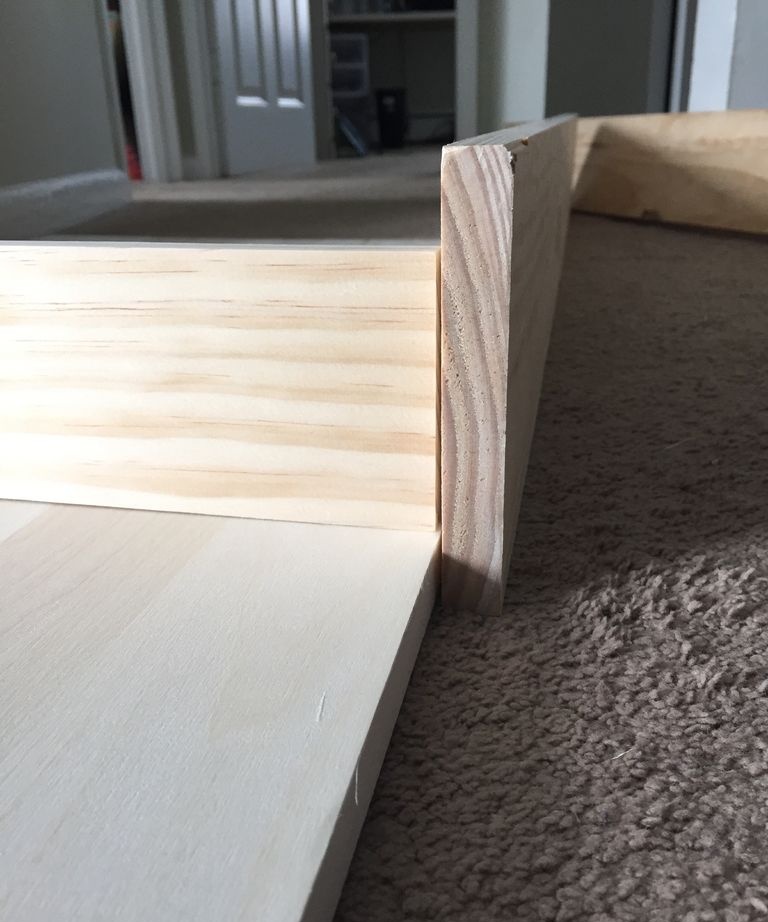

I started assembling the box. I installed the joints with glue.
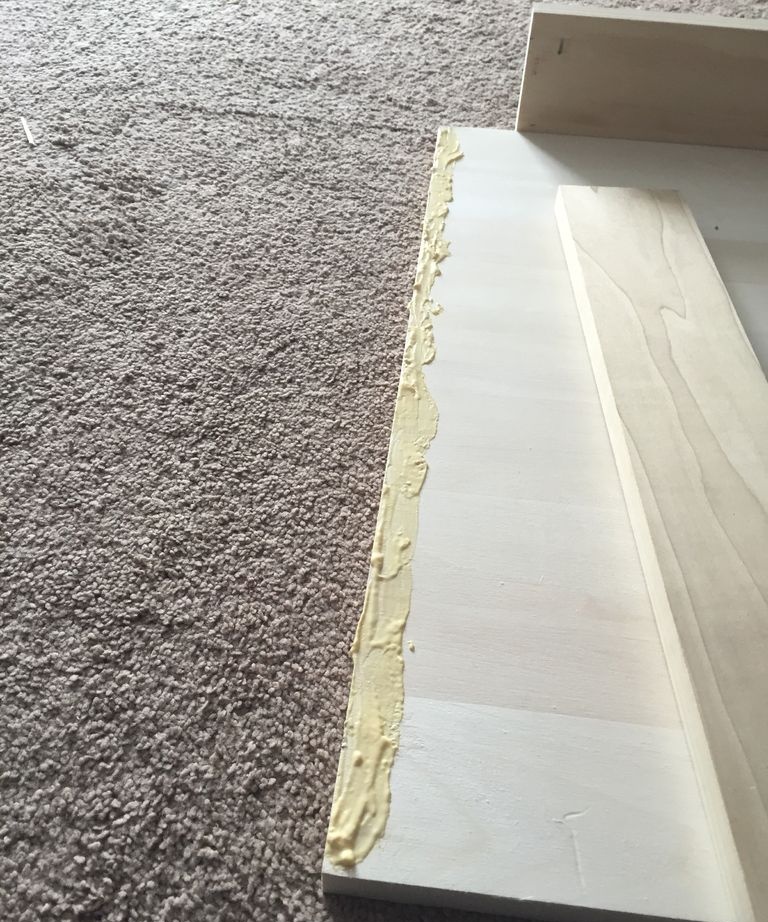
I left it to dry, pressing it with whatever I had.

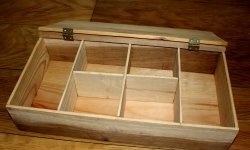
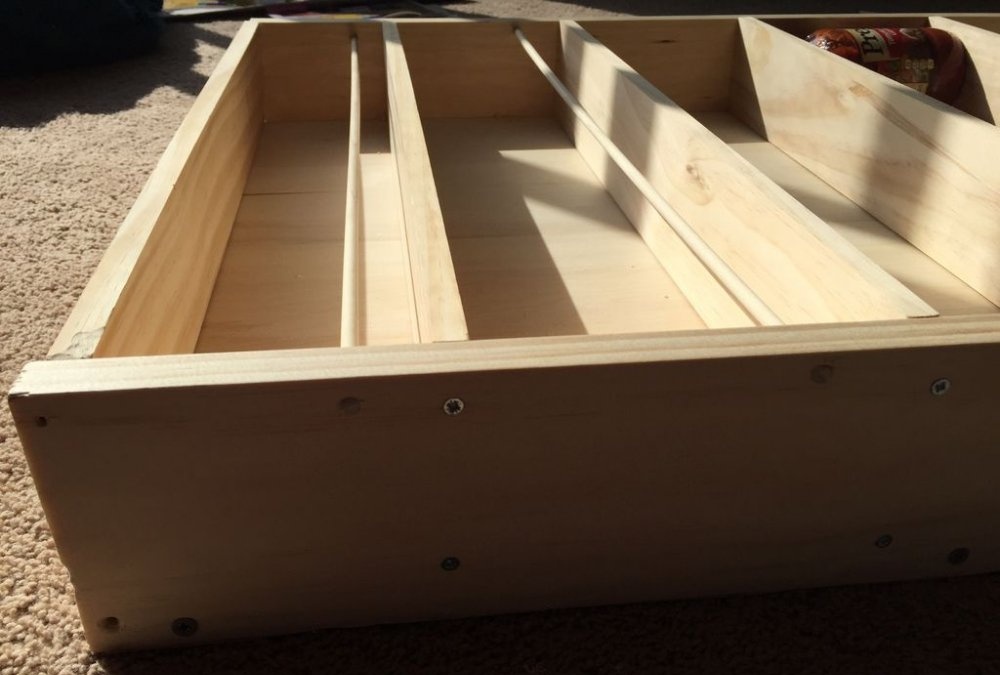
The result was a glued shelving box.
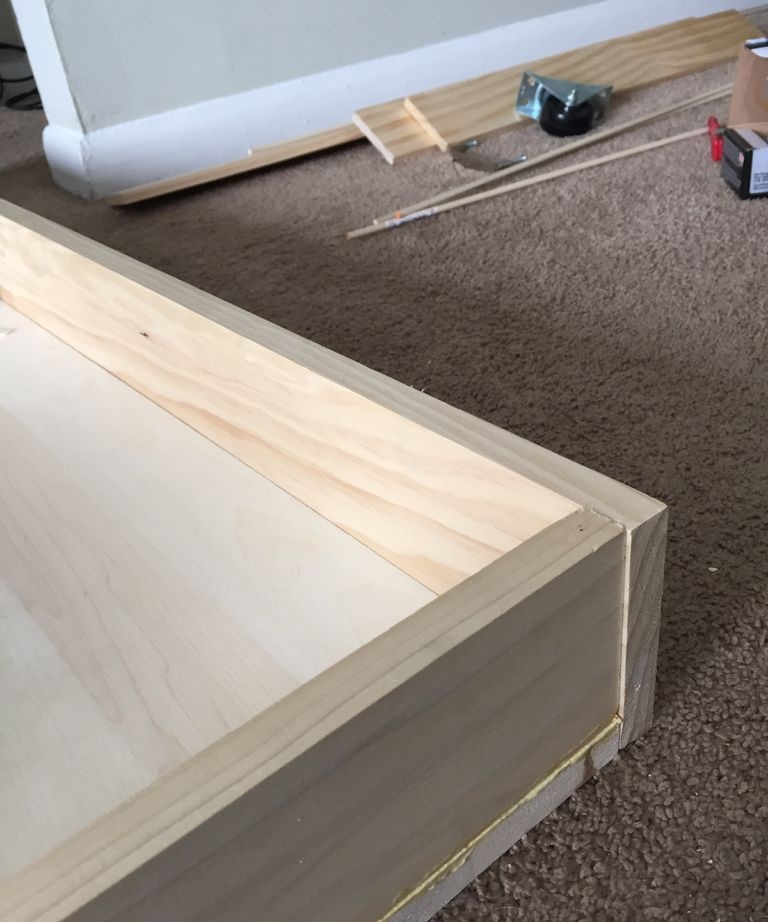
Additionally secured with self-tapping screws. If you use thin boards, drill a hole before screwing in the screw to prevent the board from cracking.
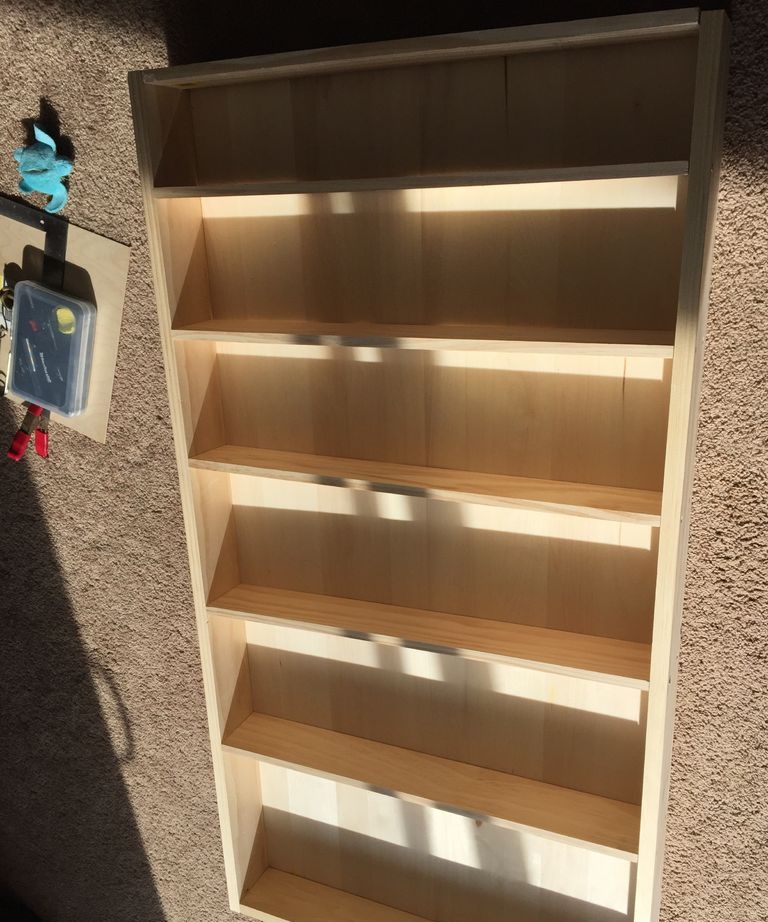
In the end I got to the shelves, placed them and screwed them on with self-tapping screws.
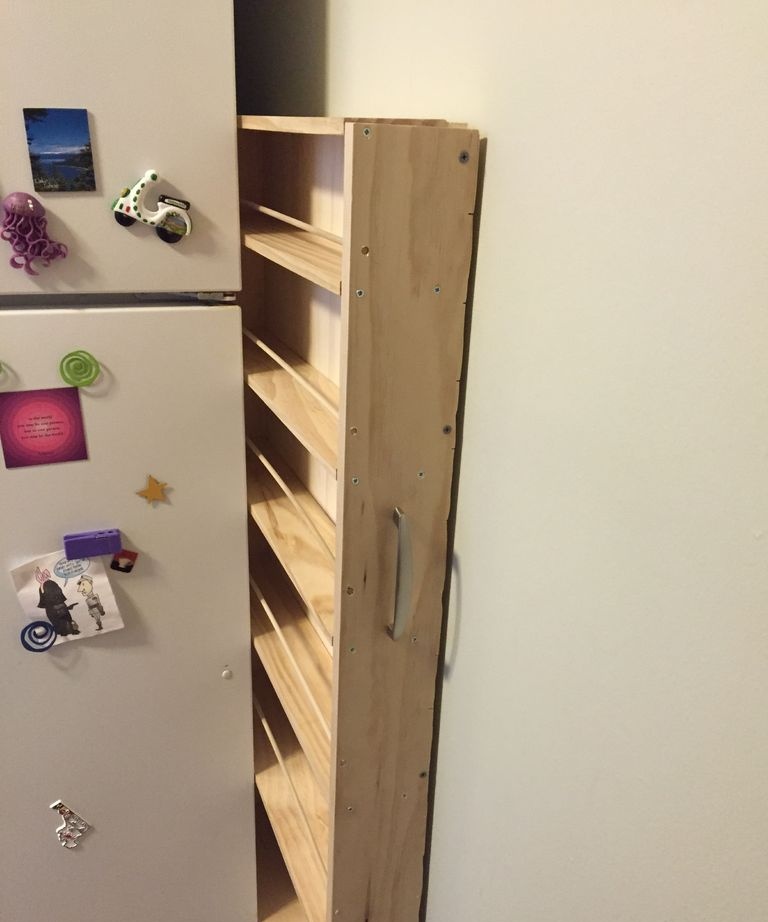
Since the rack is very narrow and bottles and cans can fly off when pulled out, you need to make a kind of side. At first I thought about stringing a fishing line or rope, but in the end I settled on round slats.
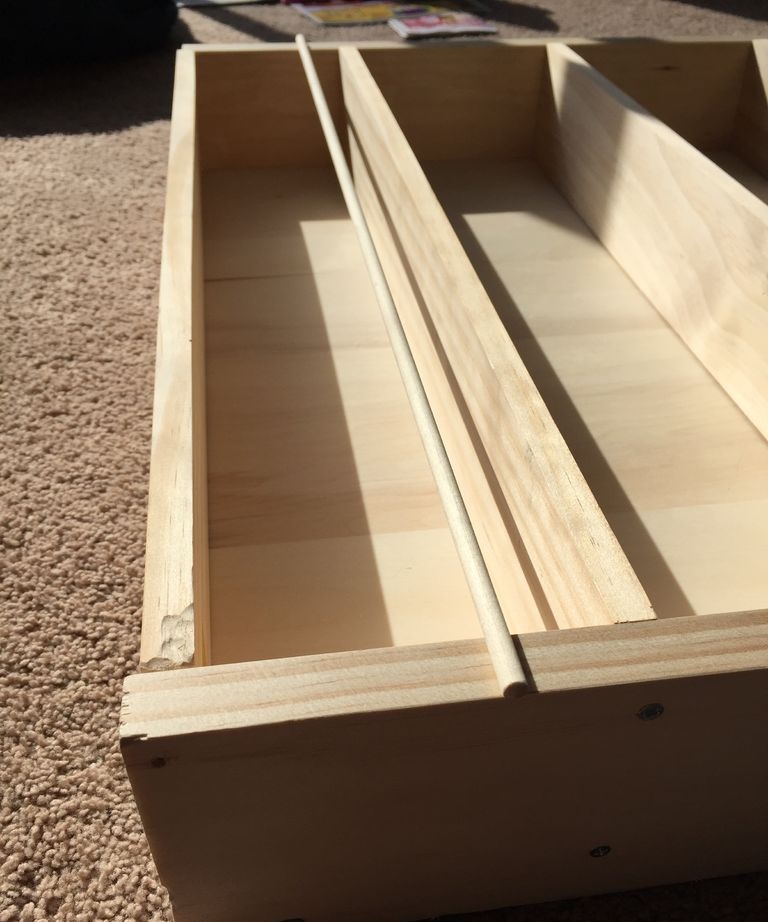
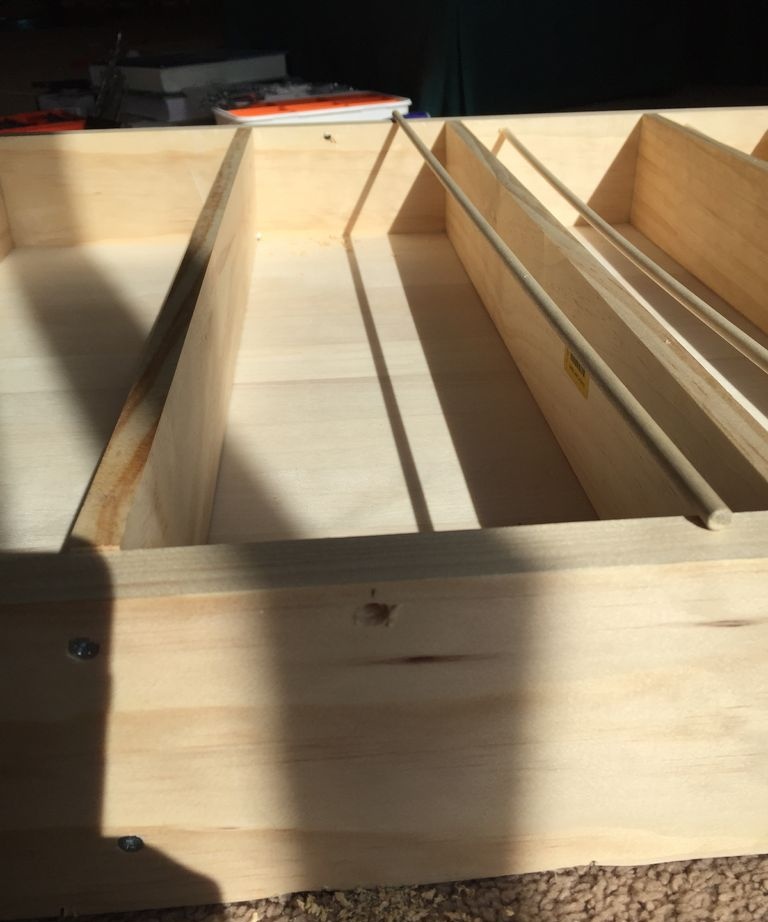
I drilled holes on the sides, cut the strip to length, inserted it and secured everything with glue.
At the end, we measure the thickness so that there are no excesses. In my case there shouldn’t be any, since I don’t have the opportunity to move the refrigerator a little further.

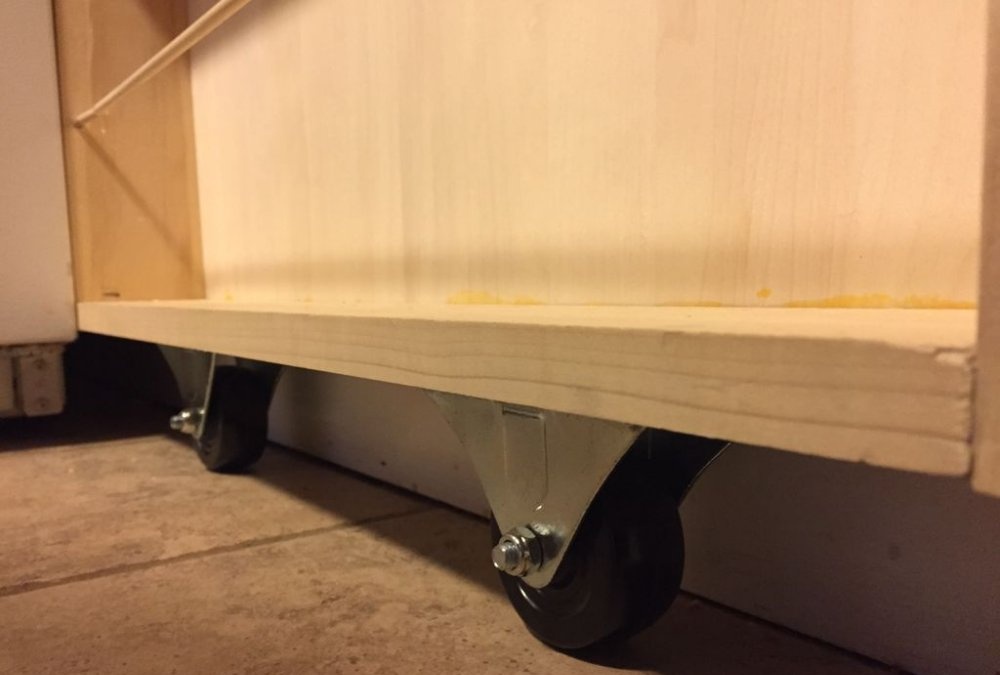
Screw the wheels into the base.
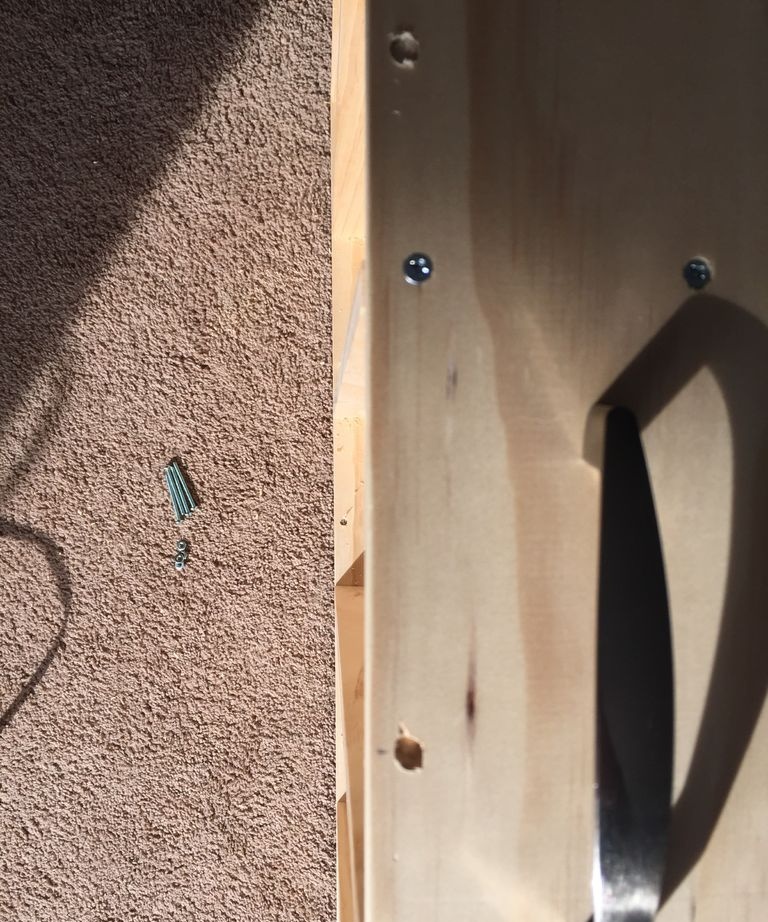
Handle for easy removal.
We check it in real conditions.
Everything runs great and doesn’t hurt.
We fill it with spices, products that are stored at room temperature, etc.
A very convenient thing, and most importantly incredibly useful - everything you need is always at hand.
Original article in English