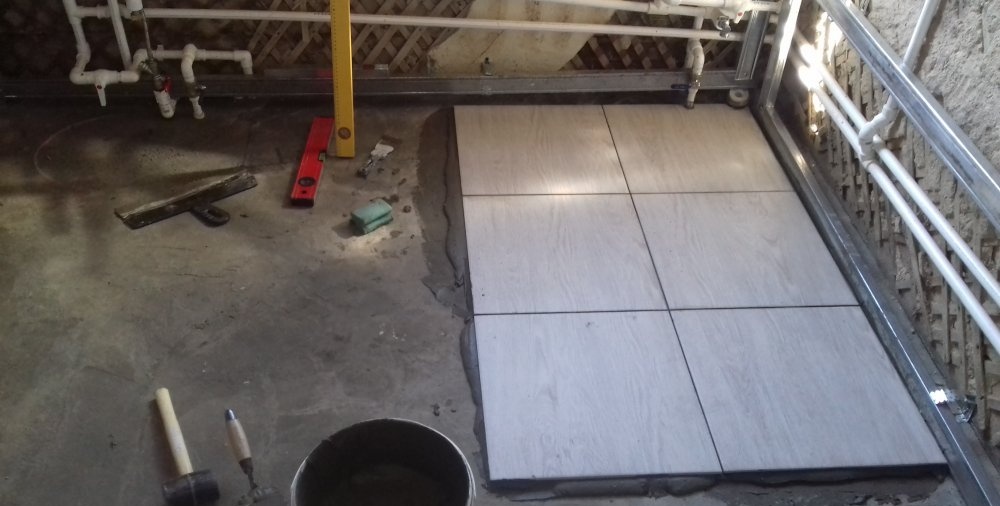
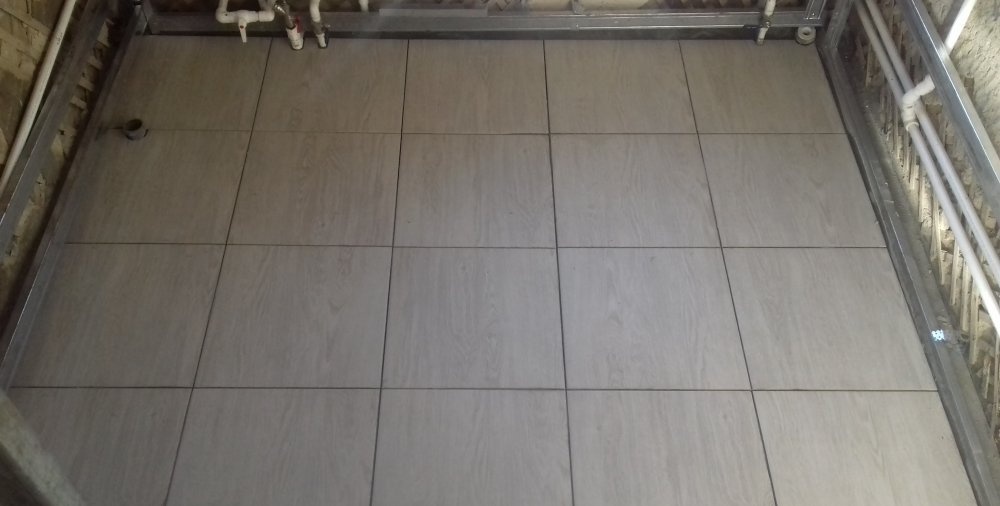
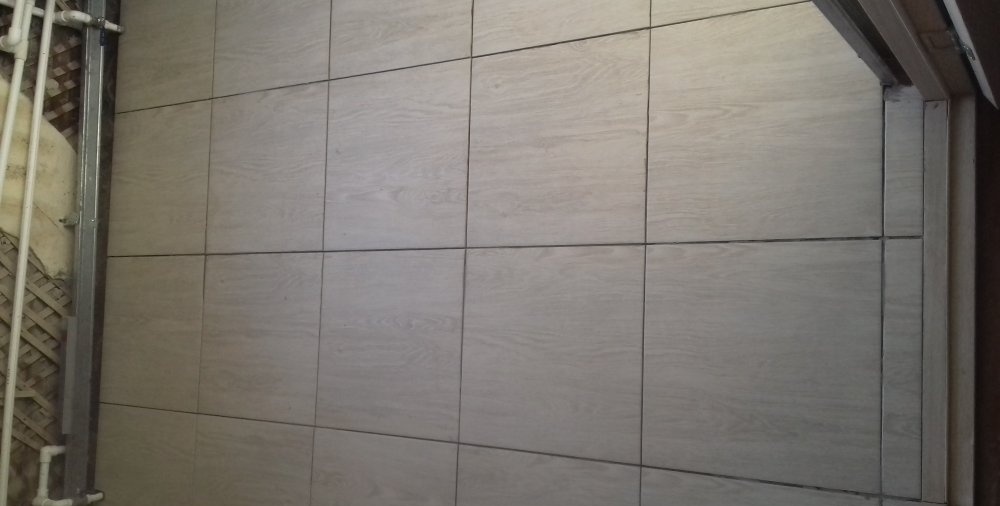
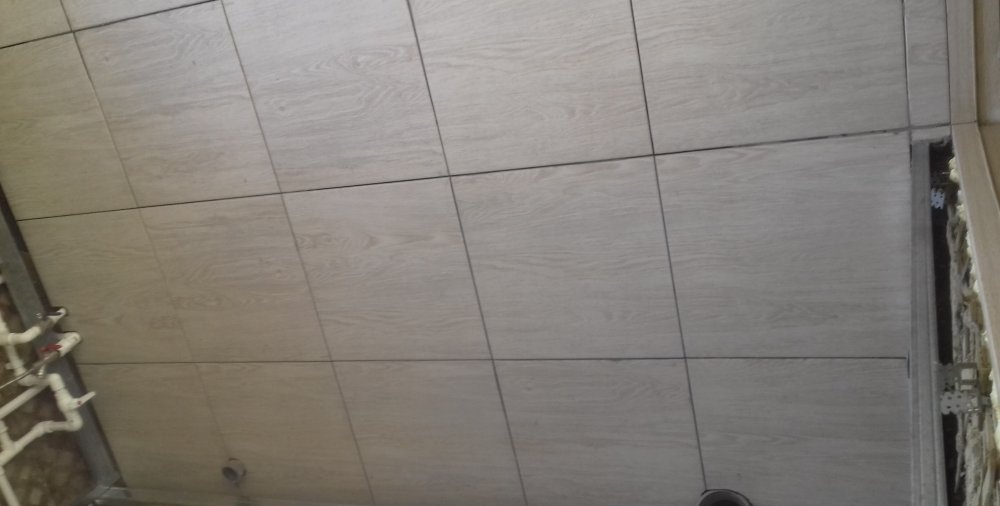
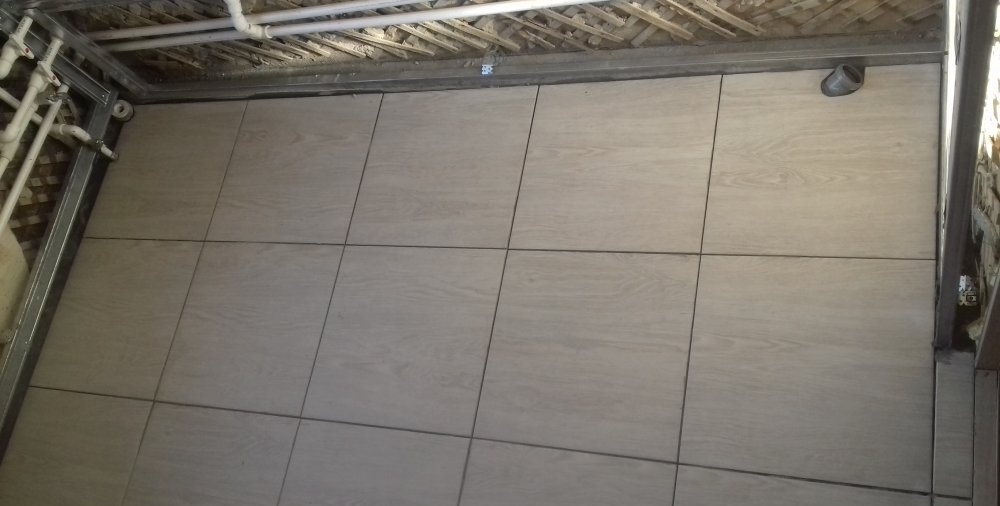
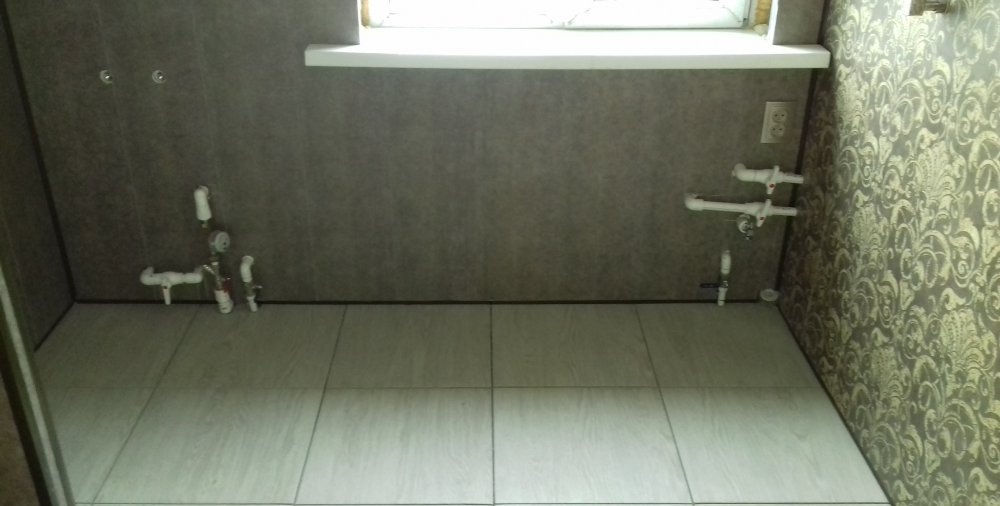
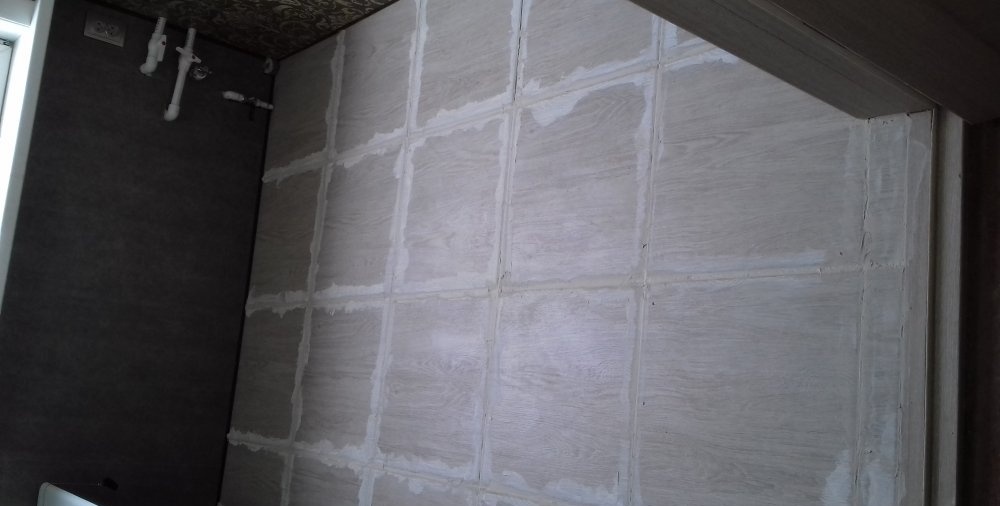
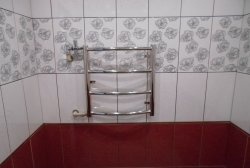
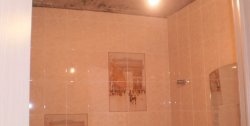
Let's look at the progress of laying tiles in the bathroom.
Measure the area of the area you will decorate with tiles.
We buy tiles with a margin of at least 5% for scraps and scraps. When choosing, take into account the installation method.
Types of tile laying
There are several types of installation:
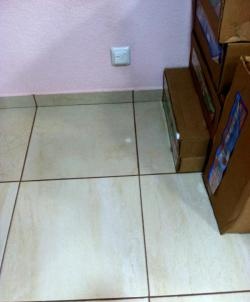
- - Laying straight is very simple.
- - Diagonal laying is a rather complex method of finishing tiles, it requires certain skills, it masks curved walls well and gives an impressive look, suitable for square rooms.
- - Laying with a checkerboard is a classic way of decorating rooms; 2 colors of tiles are used.
- - Laying with offset. We lay the tiles relative to the previous row with an offset. A good solution for rectangular rooms.
- - Tile mosaic is a very painstaking work, it is better to trust the masters.
Next, we recommend using a pencil and ruler to mark the location of the tiles on the surface.
Try to avoid narrow strips of tiles at joints and corners.
Materials
Prepare the following tools and building materials in advance.
- Ceramic tile adhesive
- Grout for joints
- A container for mixing mixtures and a drill with a suitable mixing attachment.
- Level
- Tile spatula
- Sponge or rag to remove excess glue
- Tile cutter
- To trim the edges you will need a corundum block.
- Plastic crosses for forming a tile joint.
Preparing the walls for work
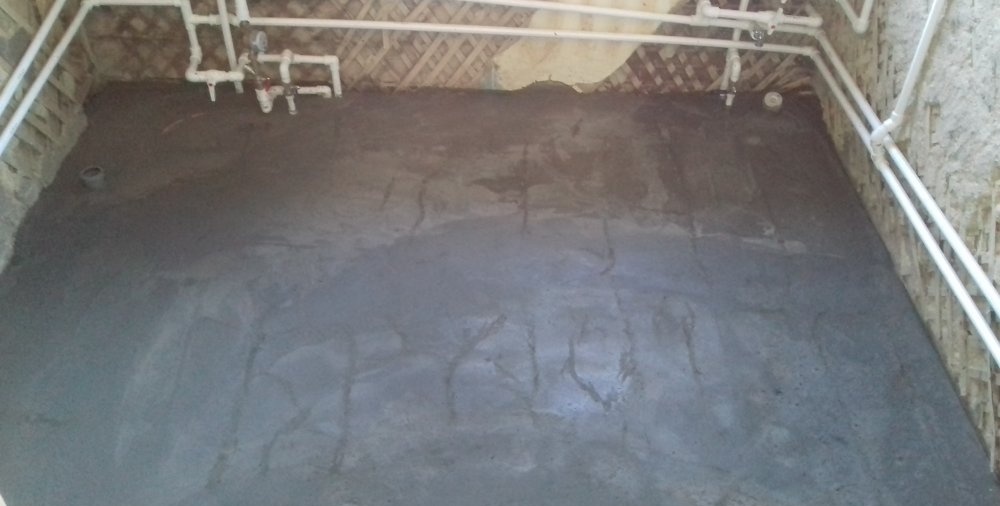
We remove the coating from the work surface, remove dust and check the walls with a level. Most likely they will not be level, then you begin to level the walls. In no case do we forget about the primer, its important function is to fill the floor and improve the adhesion of the glue to the wall. For bathrooms, it is better to choose a moisture-resistant primer.
A few tips for laying tiles yourself:
- Check the evenness of the rows vertically and horizontally.
- Lay the bottom row of tiles on a dry surface. This will help you choose the right type of styling. If after installation there is a gap of less than 25 mm, then it is better to choose another installation method.
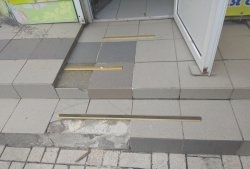
- It is always easier to cut the first tile in a row. It is much more difficult to adjust the tile to the width of the gap.
- Mark on the wall where the first and last tiles of the row are.
- Mark the vertical rows using a plumb line. Make sure there are no deviations.
- It is easier to lay tiles in small sections.
- Using a level, constantly check the evenness of the rows.
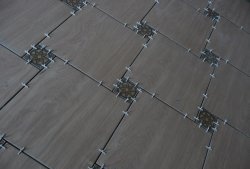
- Use crosses to lay the tiles, this will help create even seams.
- The adhesive should be applied to the wall, not to the tiles.
- Any glue that has come out must be removed with a sponge; if it has dried, use a plastic or wooden spatula.
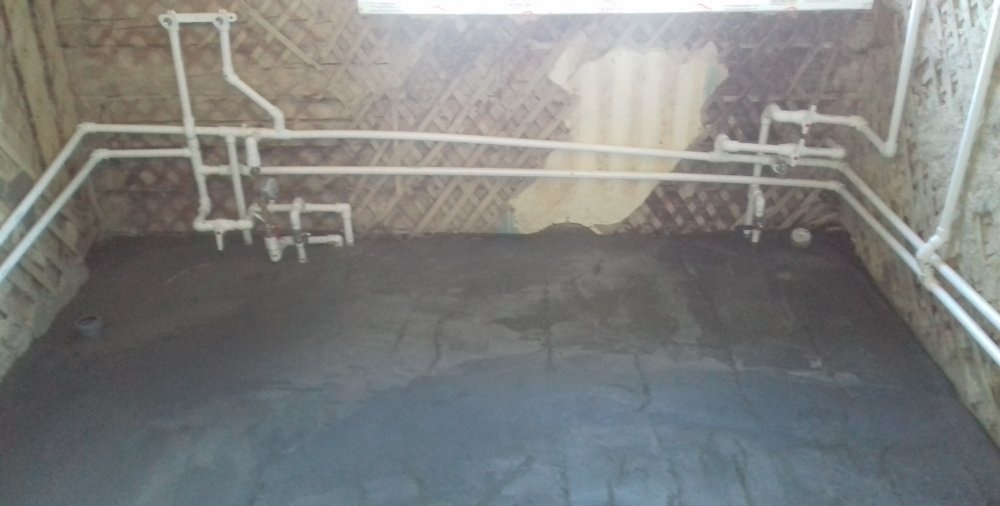
- Use tile tongs if you need to get around an obstruction, such as a pipe.
- Check the evenness of the seams using a rubber smoother.
- The grout dries quickly, so you can wash the tiles immediately after work.