Laser levels or levels today do not surprise anyone. They have become so popular that they can be purchased in almost every store system. Only their price still leaves much to be desired. And for an ordinary person who is not busy with repairs or construction every day, buying a laser level is unlikely to be a rational decision. What to do in a situation where the tool is not cheap, but necessary only for a single use? The answer is simple - do it yourself. You heard right, it’s really real, and for a ridiculous price.
What you need for a homemade laser level
- Wooden block 80x20x30 mm;
- Battery type "Krona" at 9 V with a connector for its connector;
- CR 2032 battery - 2 pcs with a plastic holder with terminals;
- 3 ~ 5 V laser module, laser color red;
- Small DC motor at 5-12 V;
- Half a round ladies' mirror.
Of the tools we need:
- Soldering iron with solder;
- Hot glue gun with rods;
- Copper wiring;
- Hacksaw for metal;
- Insulating tape;
- Ruler, marker.
Do-it-yourself laser level
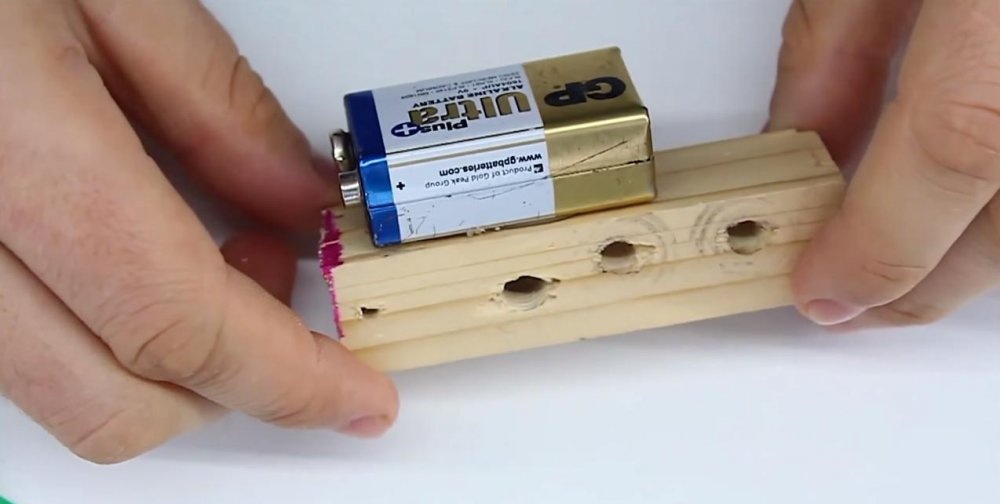
We cut a small piece of 8-10 cm long from the wooden bar. This will be the basis of our laser level.
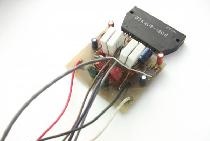
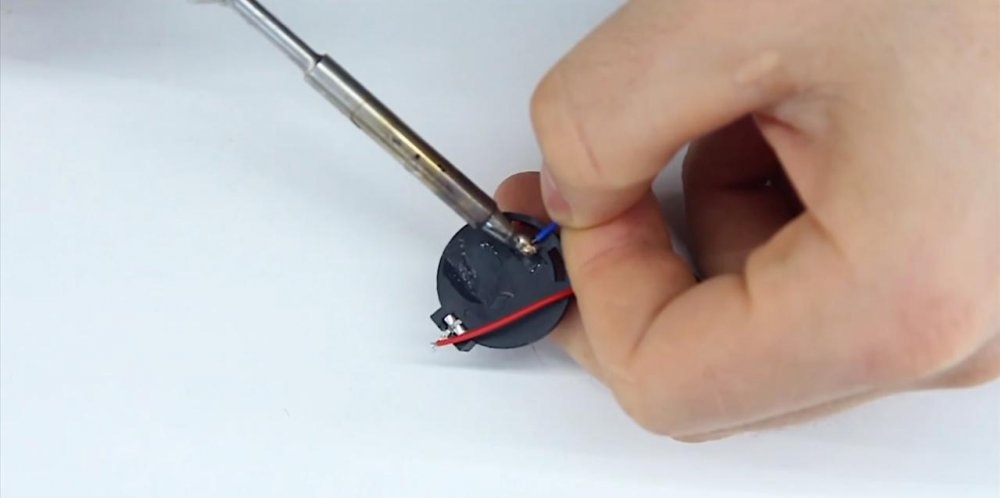
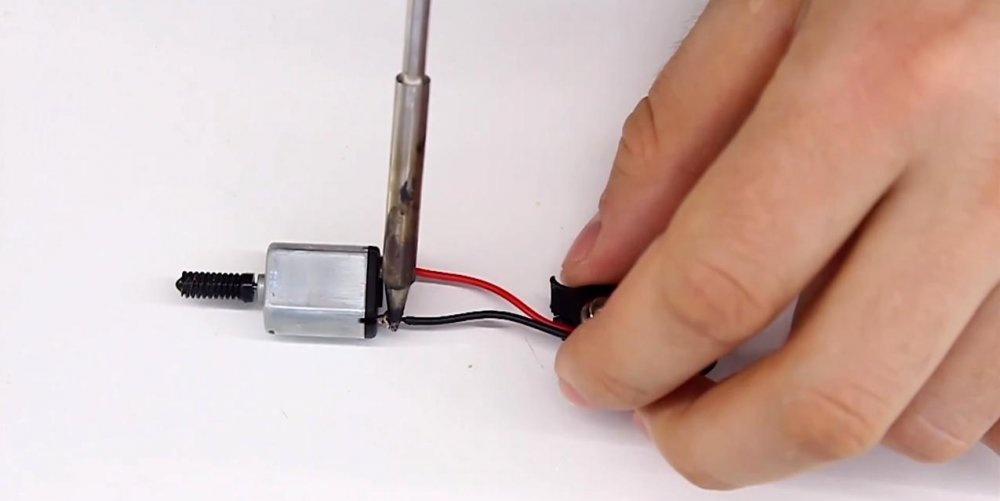
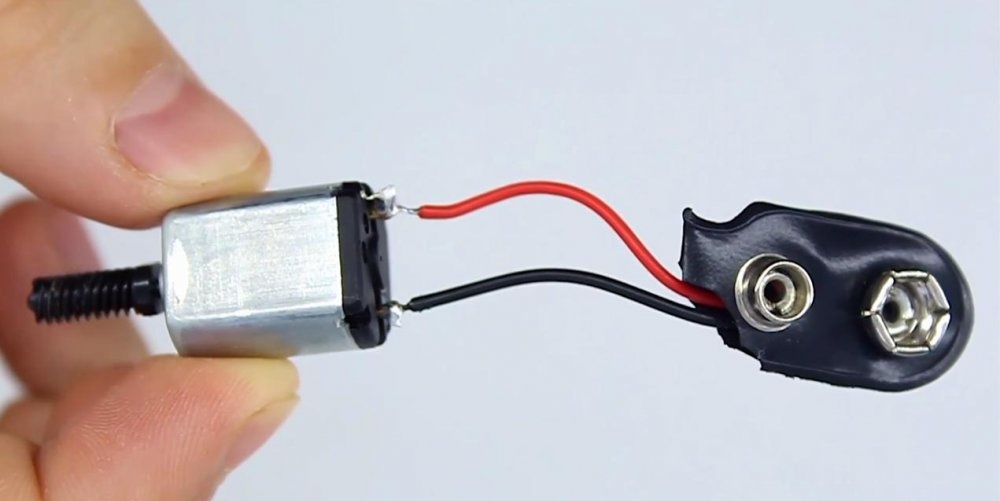
Then we connect the plastic holder with terminals and the laser module with several wires, observing the polarity. We do the same with the connector for the “crown” and the engine.

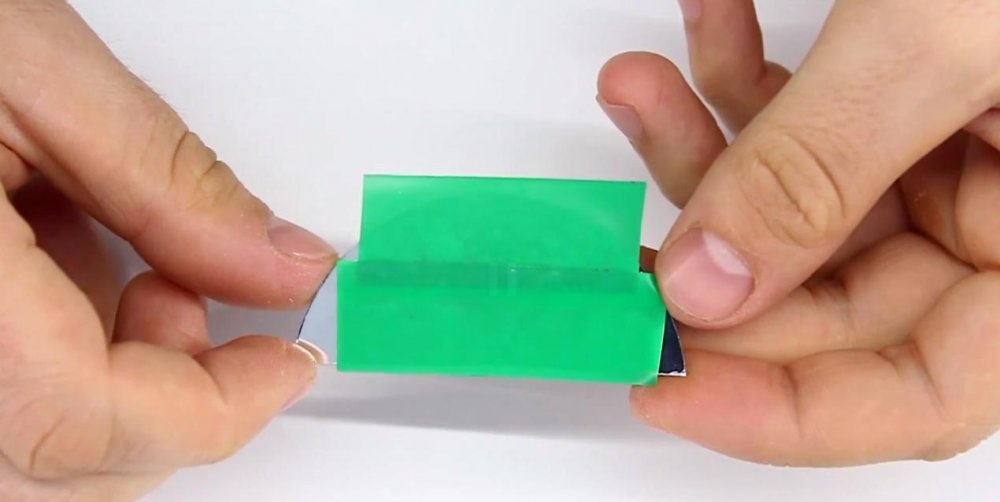
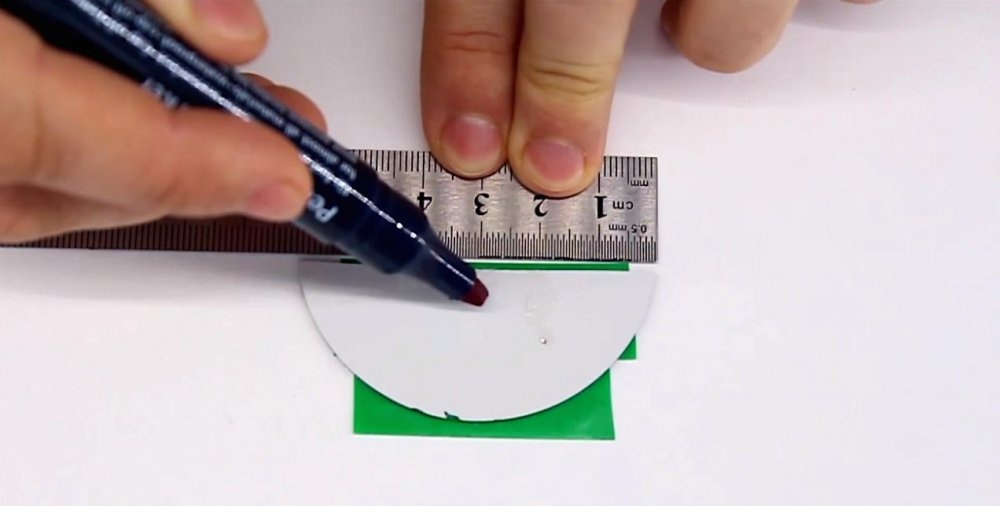
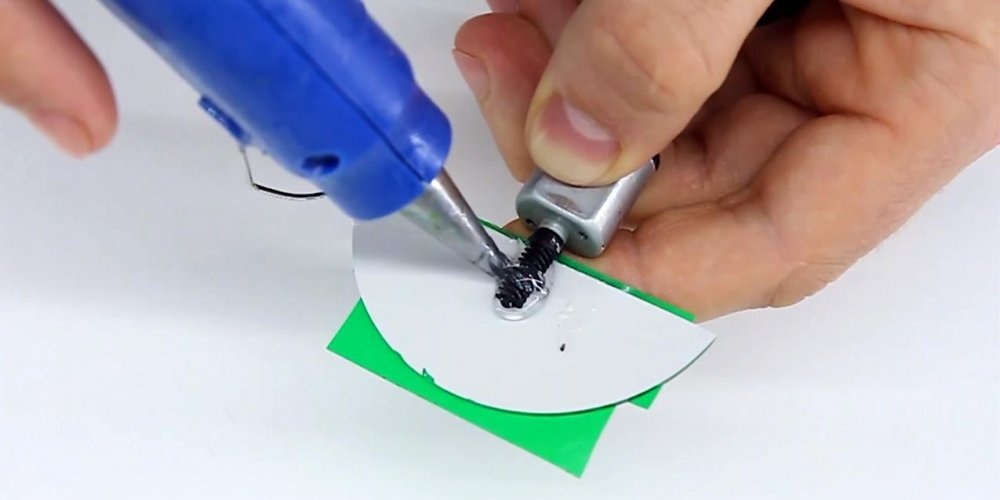
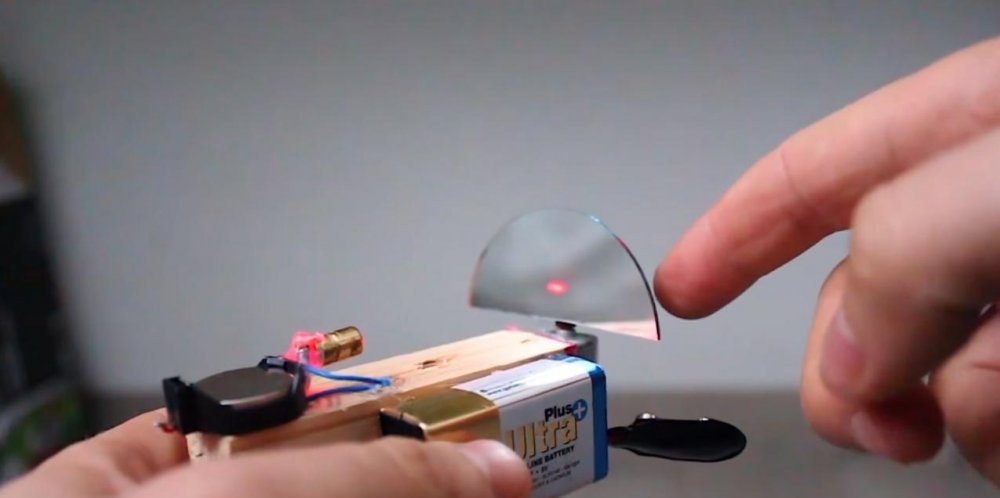
We seal the mirror with electrical tape so as not to damage the glass surface. We mark its middle with a ruler on the back side, and at the mark we glue the engine shaft with hot glue.
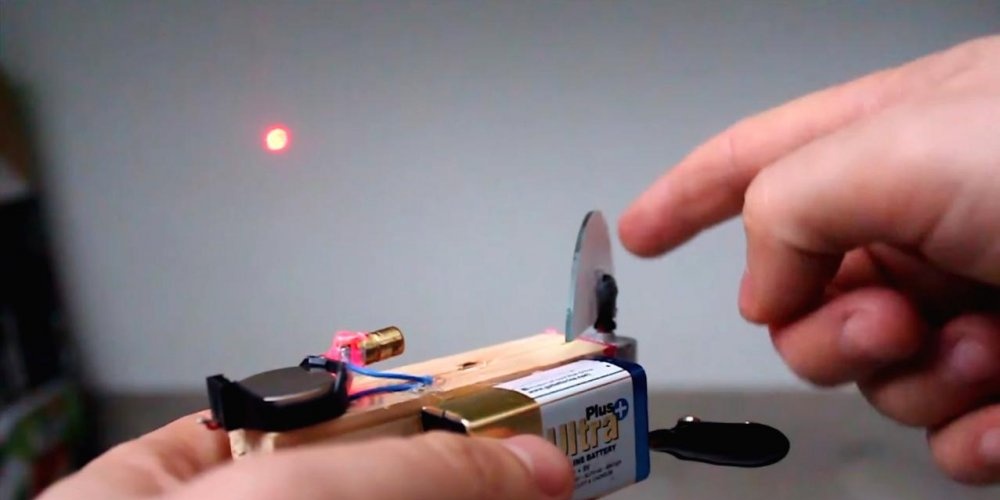
We glue the “crown” on the end of the wooden block with a hot glue gun, and the engine with a mirror at the end. The engine shaft must be outside the bar so that the mirror can move freely around the axis of the shaft.

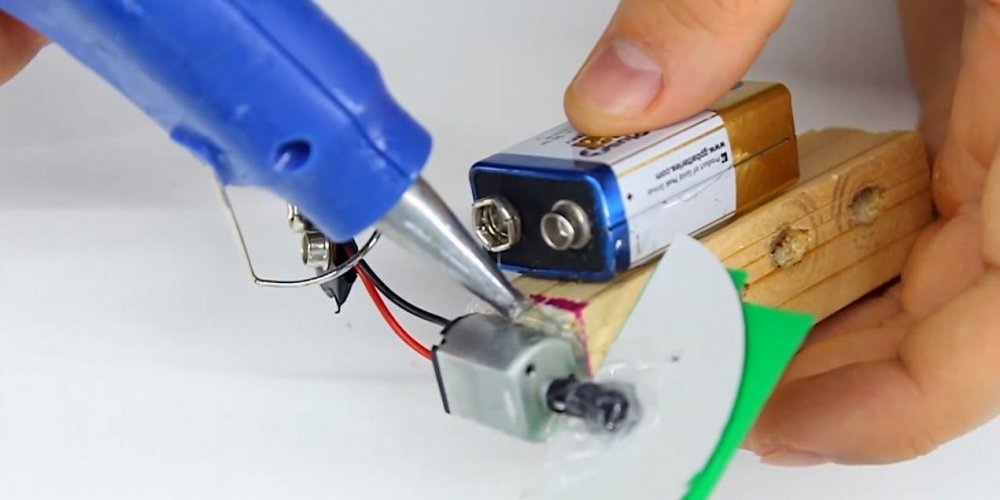
Lastly, we glue the laser module with the plastic holder for the batteries. The smoother this laser element is glued, the more accurately the line that they beat off on the measured surface will be.
Remove the tape from the mirror and insert the CR 2032 batteries into the container for them.

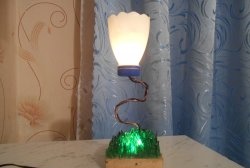
The device is ready, it remains only to connect the power and direct it to the nearest wall or ceiling. If such a device is fixed at the bubble level, and its position relative to the base surface is adjusted, it can be used to obtain a clearly distinguishable mark.
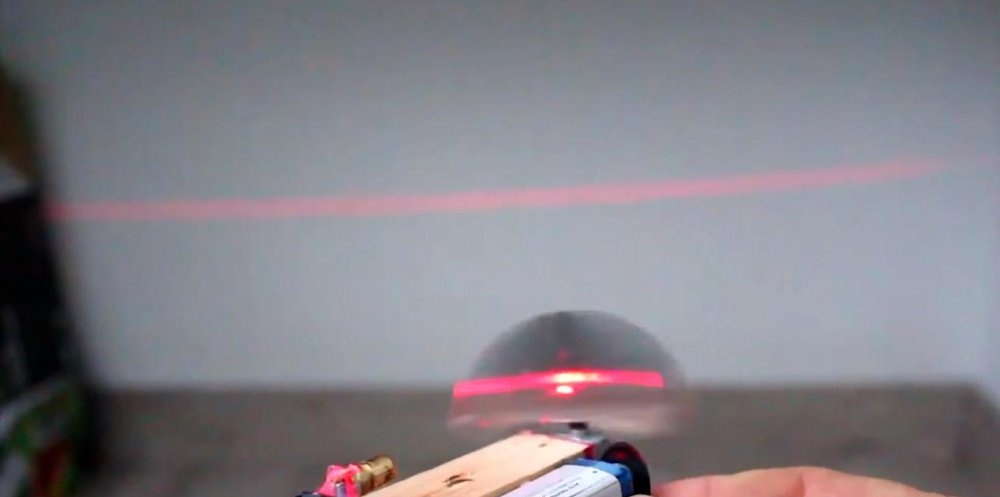
But if you turn on the engine, then due to the rotating mirror, it will turn into a smooth solid line.
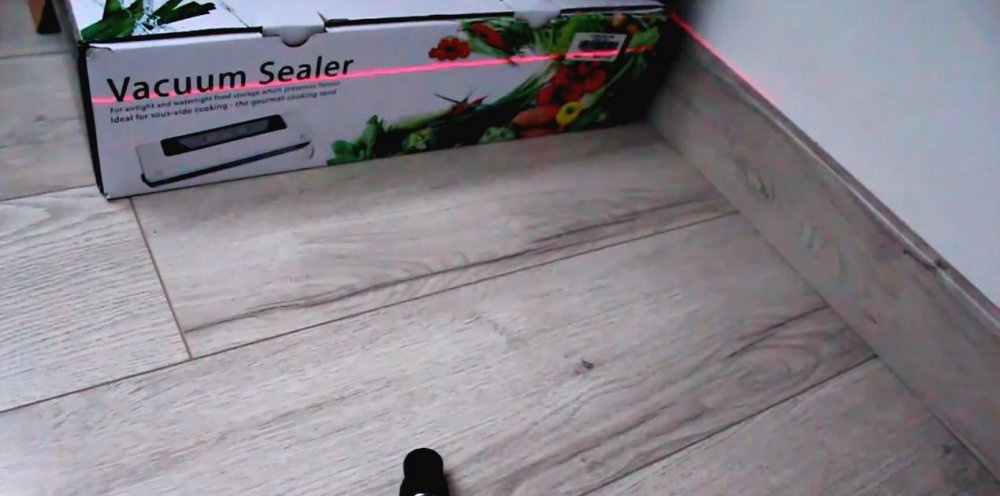
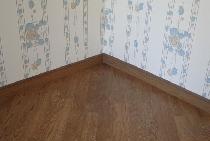
And on it you can easily exhibit linear, planar or volumetric objects, such as ceramic tiles, drywall, polyurethane moldings, laminate and even furniture!