Do it yourself
Life hacks, master classes, useful tips, recipes.
home » Homemade cars » Full-fledged refrigerator compressor
Recently, compressors have gained popularity among tinkerers. They are made on the basis of almost any engine, calculating the power of the base unit depending on the number of consumers. For home workshops, do-it-yourself compressor units are in demand.
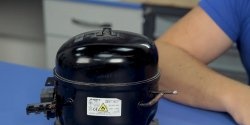
Refrigerator compressors often remain operational after the refrigerator itself breaks down or becomes obsolete. They are low-power, but unpretentious in operation. And many craftsmen make quite decent home-made installations from them. Let's see how you can do this yourself.
Full compressor from a refrigerator

Parts and materials


Required parts:
  • 11 kg propane tank;
  • 1/2" coupling with internal thread and plug;
  • Metal plates, width – 3-4 cm, thickness – 2-4 mm;
  • Two wheels with mounting platform;
  • Refrigeration compressor from a refrigerator;
  • 1/4 inch adapter;
  • Brass check valve connector;
  • Copper pipe connector ¼ inch – 2 pcs;
  • Equipment for adjusting compressor pressure;
  • Bolts, screws, nuts, fumlenta.

Tools:
  • Welding inverter;
  • Screwdriver or drill;
  • Metal cutters with titanium coating;
  • A turbine or drill with abrasive attachments;
  • Metal brush;
  • Roller for copper tubes;
  • Adjustable wrenches, pliers.[list]

    Assembling the compressor


    Step one - preparing the receiver


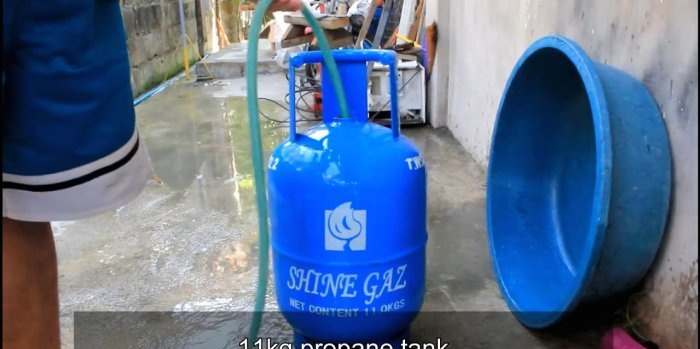
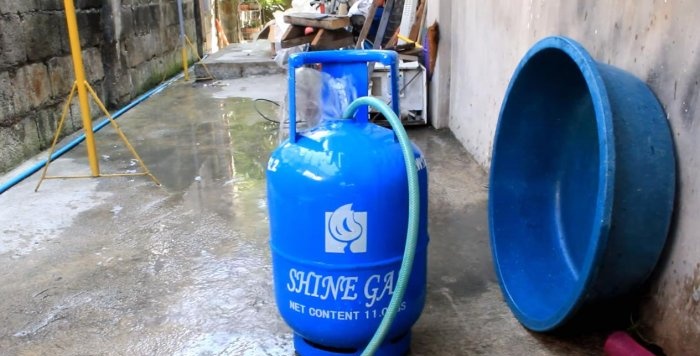
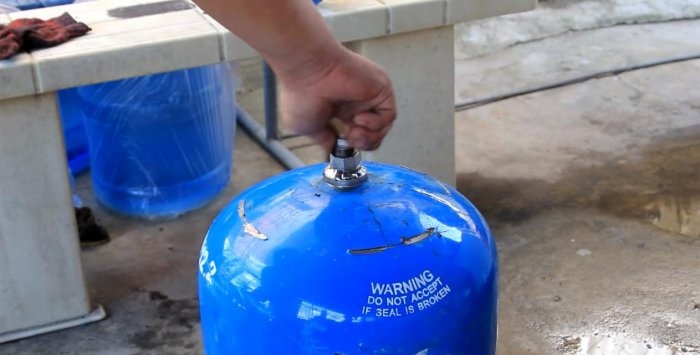
    We rinse the empty liquefied propane cylinder thoroughly with water. It is very important to remove all remaining explosive gas mixtures in this way.
    Full compressor from a refrigerator

    Full compressor from a refrigerator

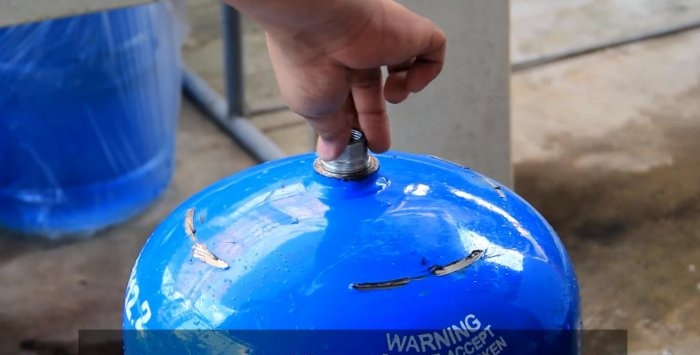
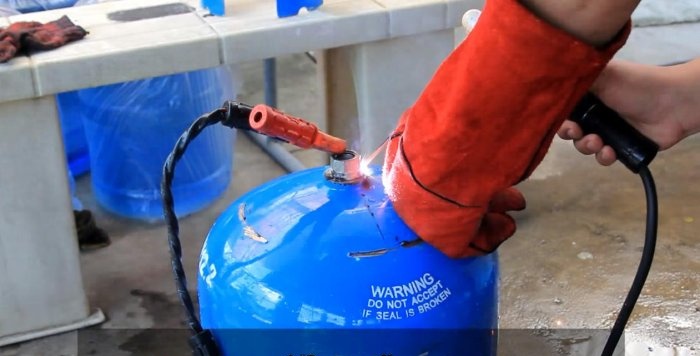
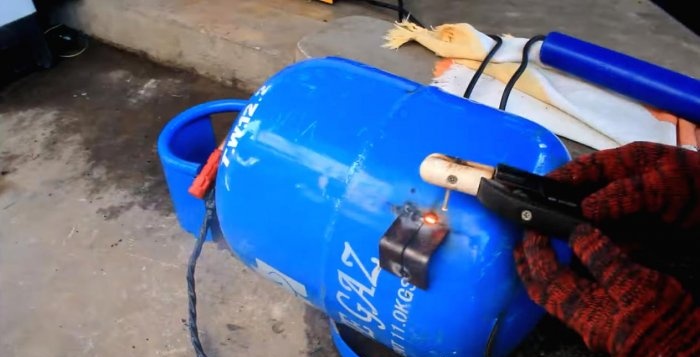
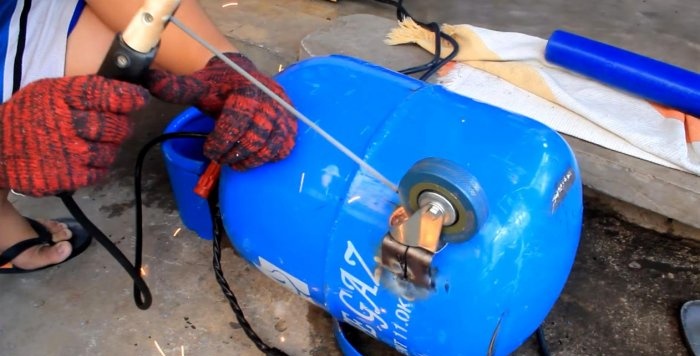
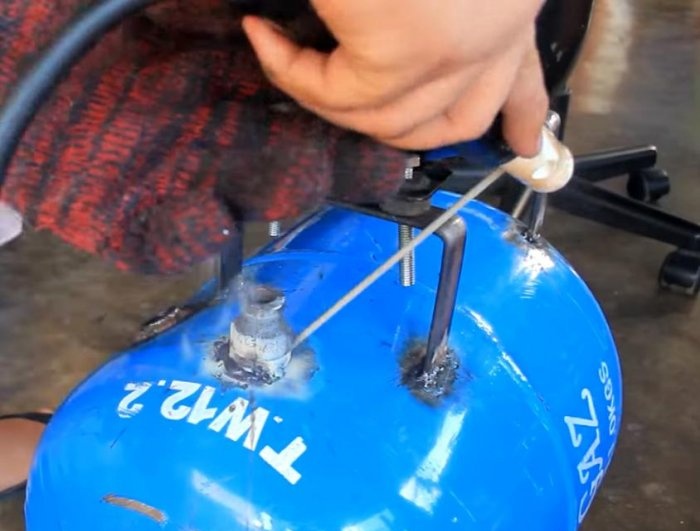
    We overlap the adapter by 1/4 inch into the end hole of the cylinder. We scald it on all sides by welding and seal it with a screw.
    Full compressor from a refrigerator

    Full compressor from a refrigerator

    Full compressor from a refrigerator

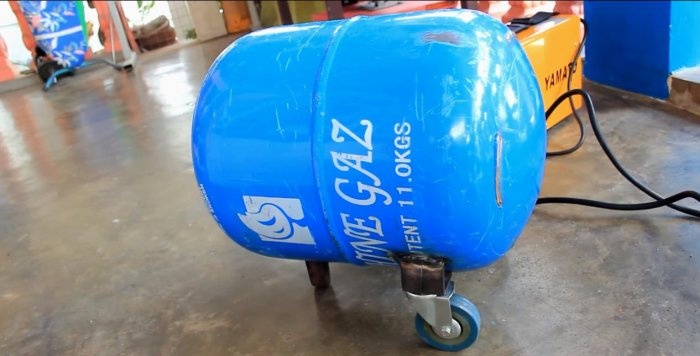
    We place the receiver on wheels and supports. To do this, we take pieces of metal plates, bend them at an angle and weld them onto the body from the bottom. We weld wheels with a mounting platform to the corners. We mount a support bracket in the front part of the receiver.
    Full compressor from a refrigerator

    Full compressor from a refrigerator

    Full compressor from a refrigerator

    Step two - install the compressor


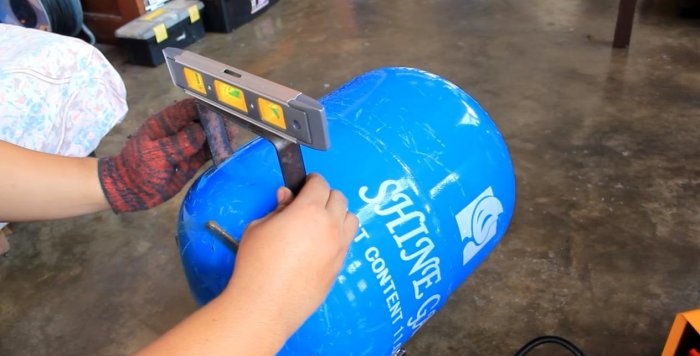
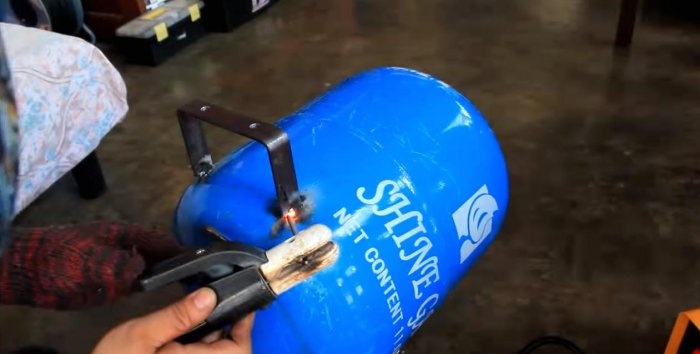
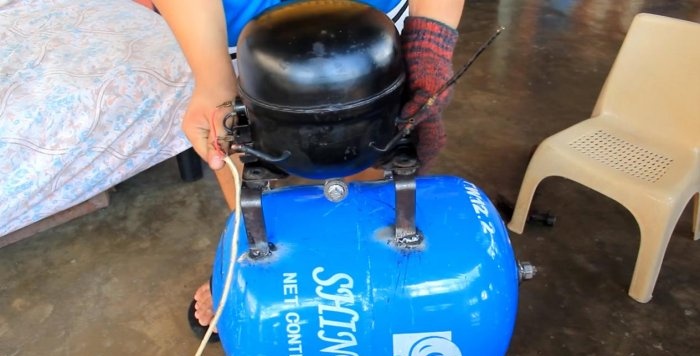
    On top of the receiver we place mounting frames for the compressor made of metal plates. We check their position with a bubble level and scald them. We seat the compressor on the clamping bolts through rubber shock-absorbing pads. This type of compressor will have only one outlet through which air is pumped into the receiver. The remaining two, which suck in air, will remain untouched.
    Full compressor from a refrigerator

    Full compressor from a refrigerator

    Full compressor from a refrigerator

    Step three - attach the check valve and adapter to the equipment


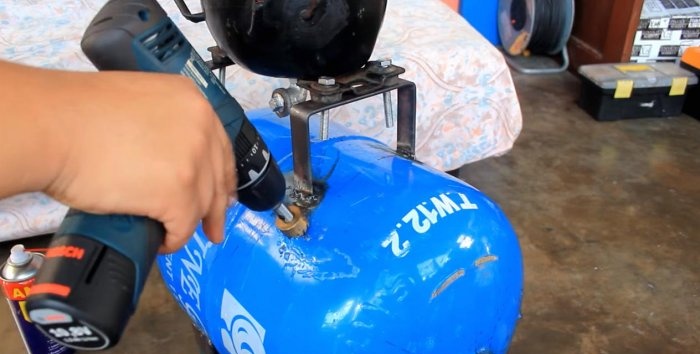
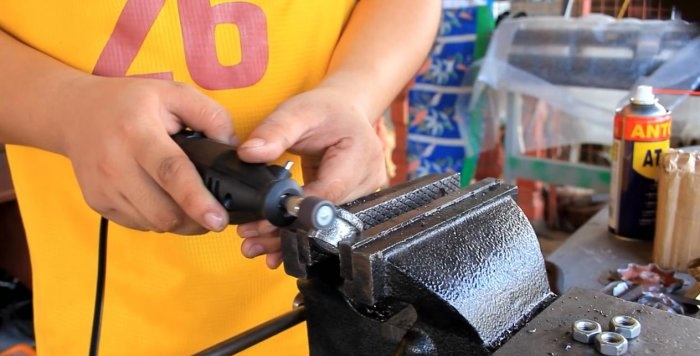
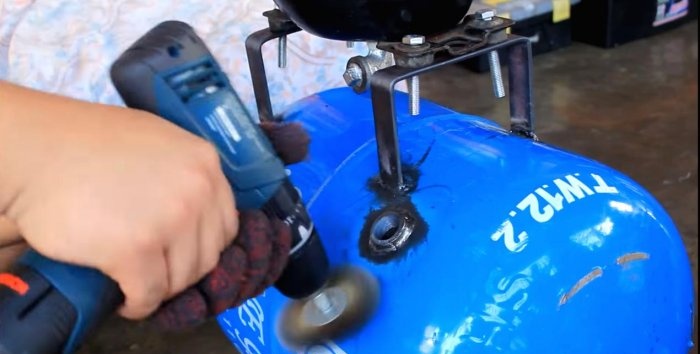
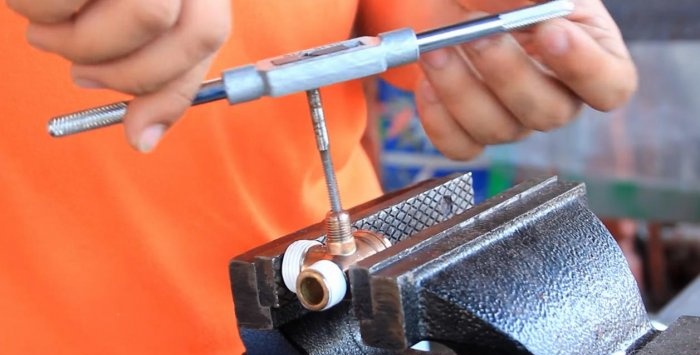
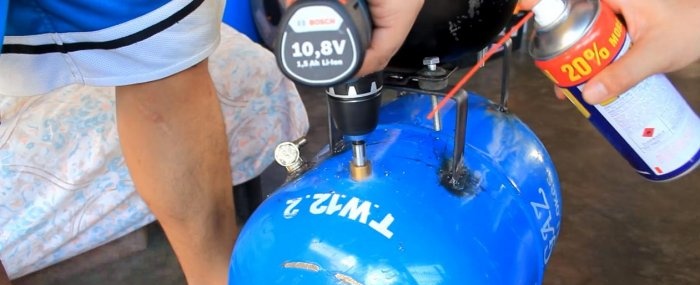
    We select a metal cutter of suitable diameter and use a screwdriver or drill to make a hole in the housing for the coupling. If there are protruding shapes on the coupling body, grind them down with a drill (you can use a regular electric sandpaper or grinder with a grinding disc for this).
    Full compressor from a refrigerator

    Full compressor from a refrigerator

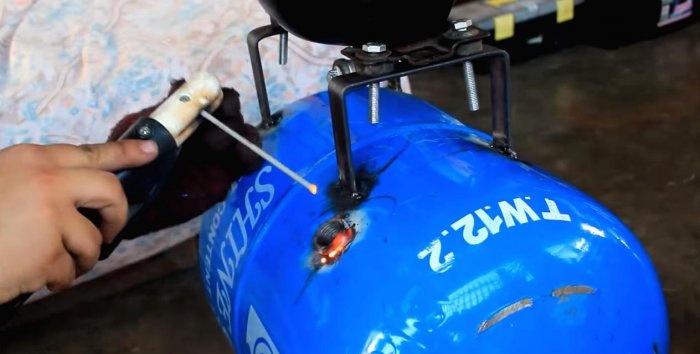
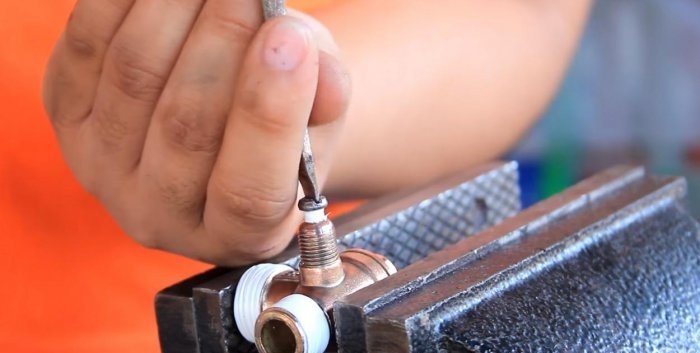
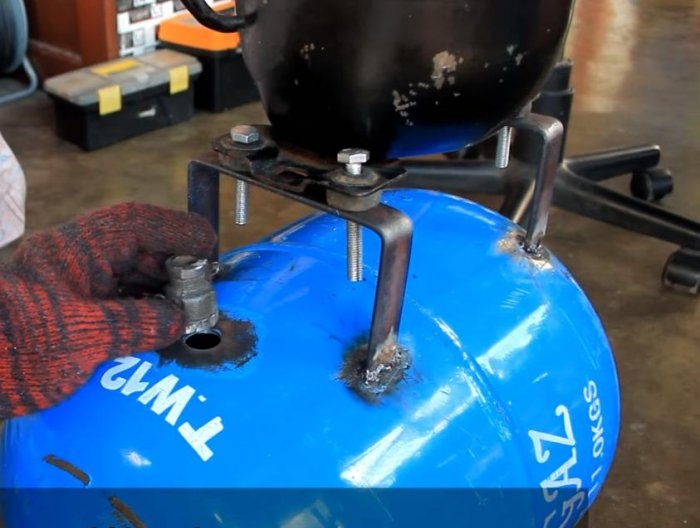
    Place the coupling in the hole and weld it around the circumference. Its internal thread must match the pitch and diameter of the mounting thread on the check valve.
    Full compressor from a refrigerator

    Full compressor from a refrigerator

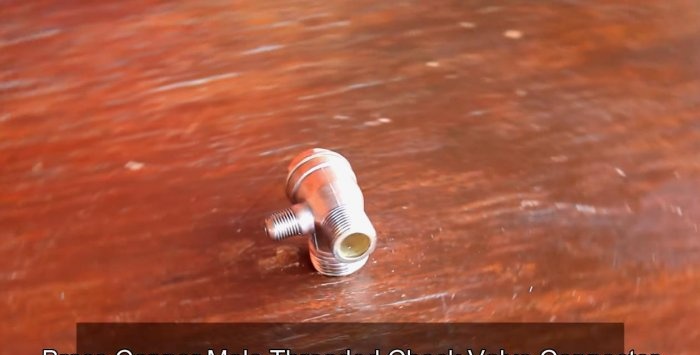
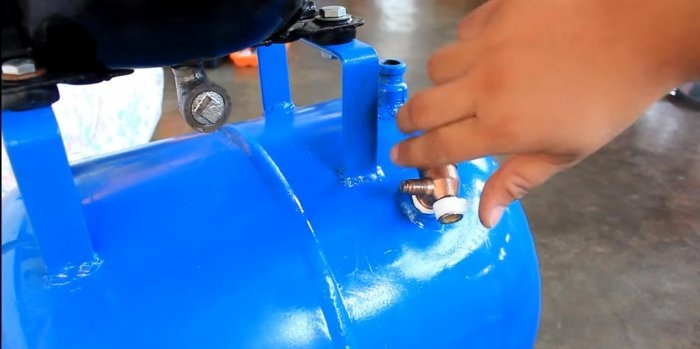
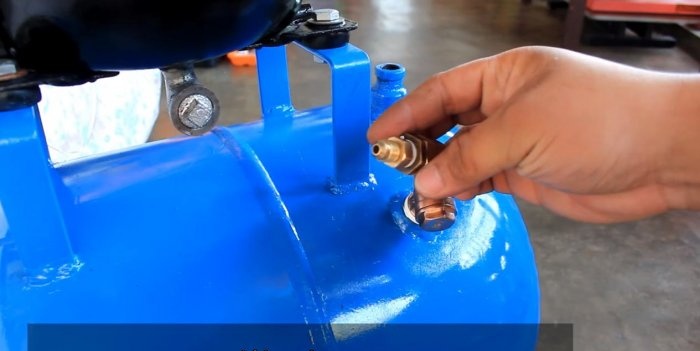
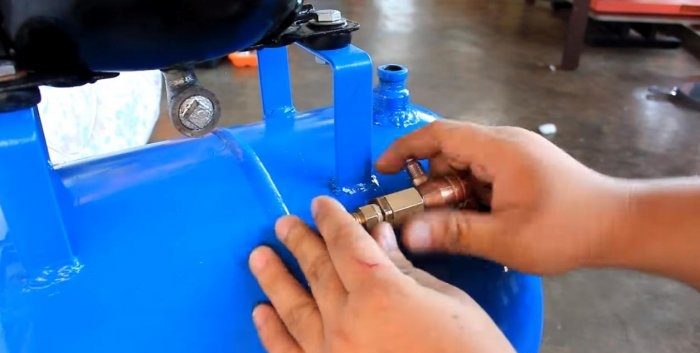
    We use a brass check valve for small compressors. We plug the pressure release outlet with a suitable bolt, since the control assembly already has a release valve.
    Full compressor from a refrigerator

    Full compressor from a refrigerator

    Full compressor from a refrigerator

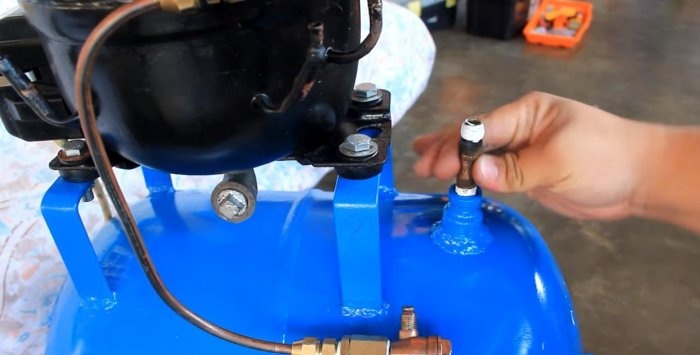
    To install a pressure switch or pressure switch with all the control equipment, we mount another 1/4-inch adapter. We make a hole for it in the center of the receiver, not far from the compressor.
    Full compressor from a refrigerator

    Full compressor from a refrigerator

    Full compressor from a refrigerator

    We tighten the check valve with a 1/2-inch adapter.
    Full compressor from a refrigerator

    Full compressor from a refrigerator

    Full compressor from a refrigerator

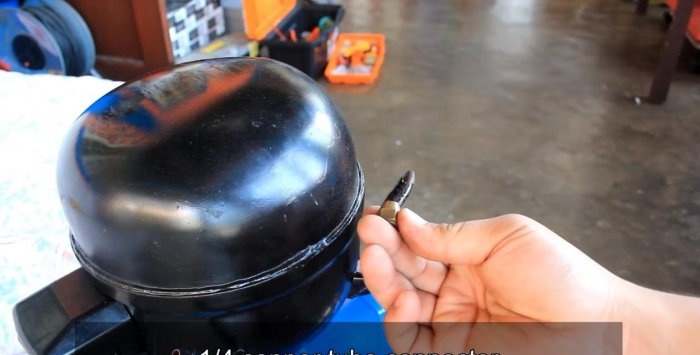
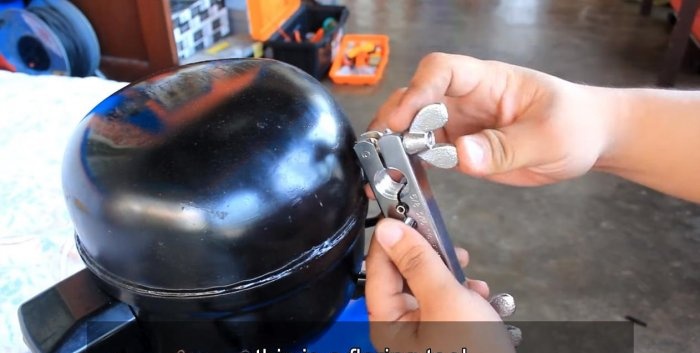
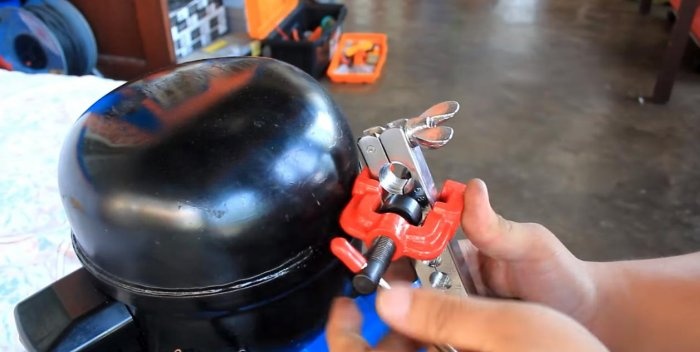
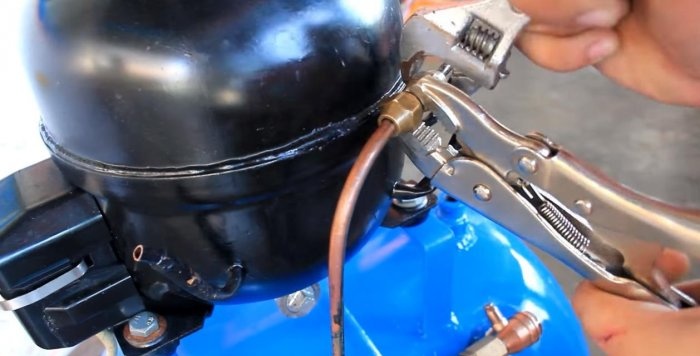
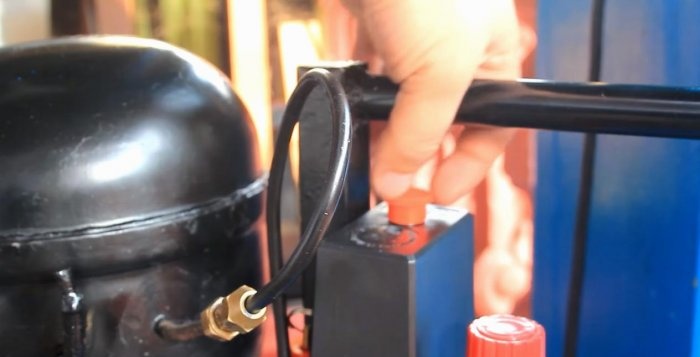
    We connect the compressor cylinder outlet and the check valve with a copper tube. To do this, we flare the ends of the copper tubes with a special tool and connect them with brass threaded adapters. We tighten the connection with adjustable wrenches.
    Full compressor from a refrigerator

    Full compressor from a refrigerator

    Full compressor from a refrigerator

    Full compressor from a refrigerator

    Step four - install the control equipment


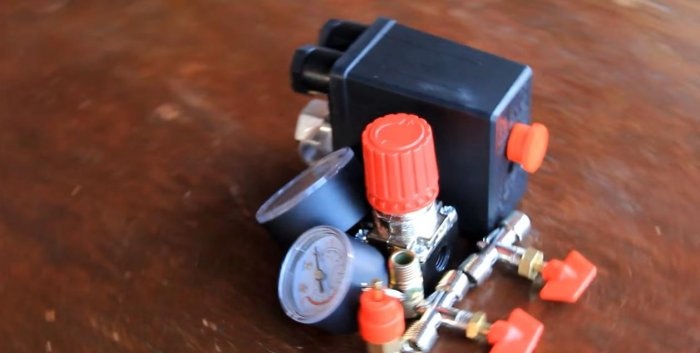
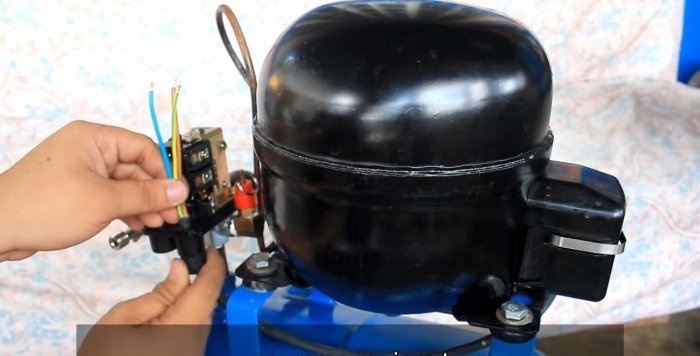
    The assembly of control equipment consists of a pressure switch (pressostat) with a control sensor, a safety valve or pressure relief valve, an adapter-coupling with external thread and several taps and pressure gauges.
    Full compressor from a refrigerator

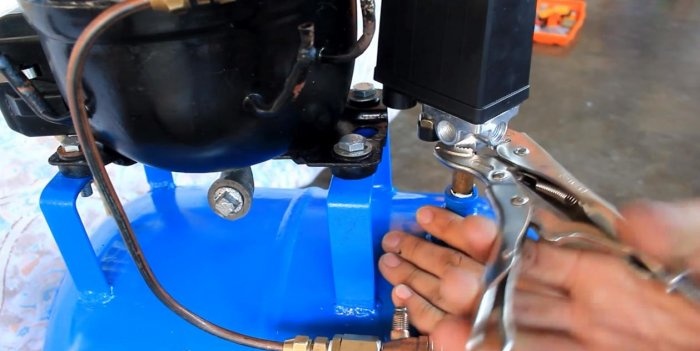
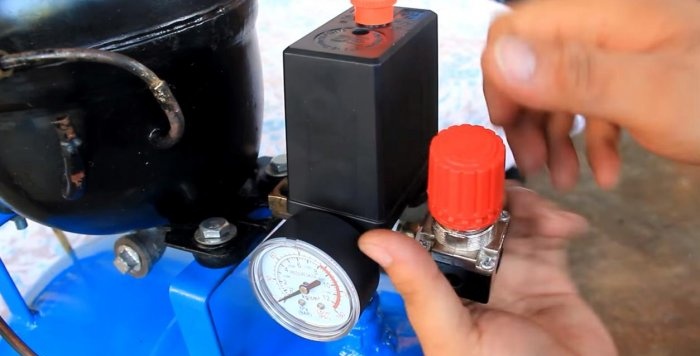
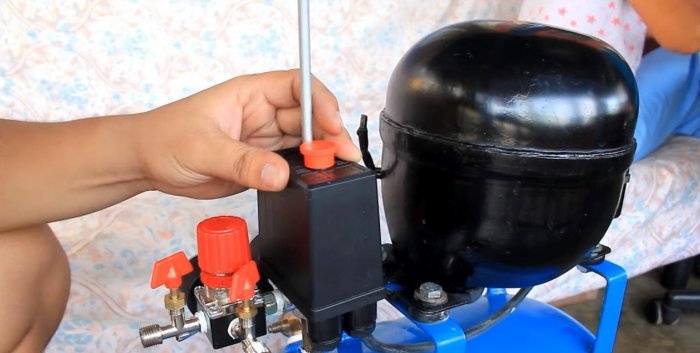
    First of all, we install the pressure switch. It must be slightly raised to the level of the compressor. We use an extension coupling with an external thread and screw the relay through the sealing tape.
    Full compressor from a refrigerator

    Full compressor from a refrigerator

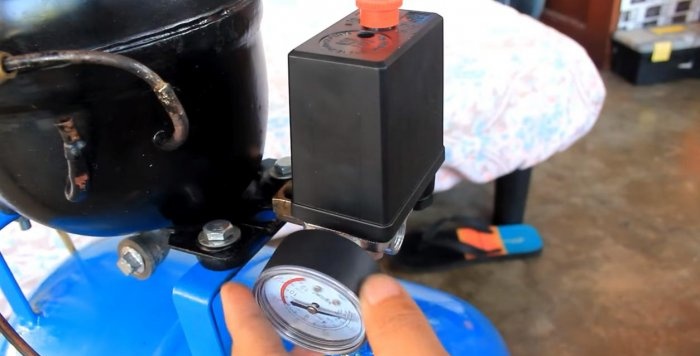
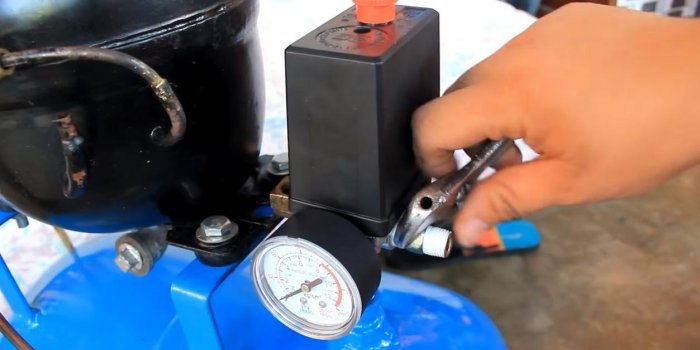
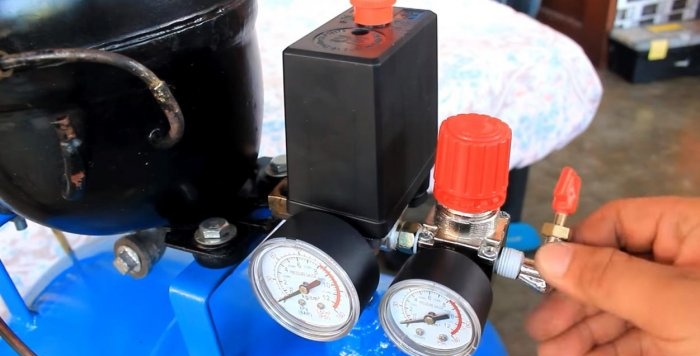
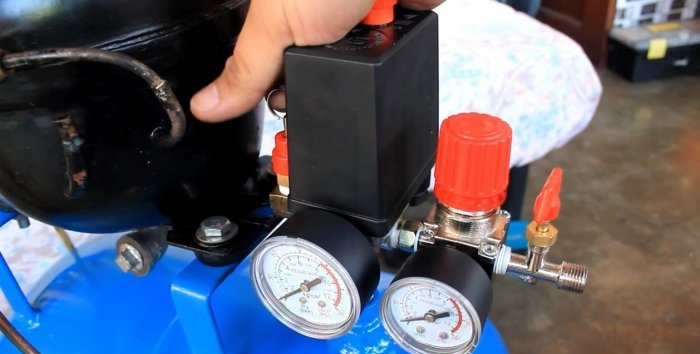
    Through the adapter we install a pressure regulation sensor with pressure gauges. We complete the assembly with a pressure relief valve and two taps for the hose outlets.
    Full compressor from a refrigerator

    Full compressor from a refrigerator

    Full compressor from a refrigerator

    Full compressor from a refrigerator

    Full compressor from a refrigerator

    Step five - connect the electrical


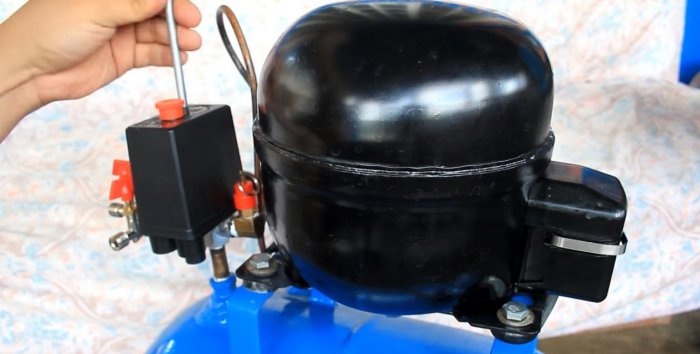
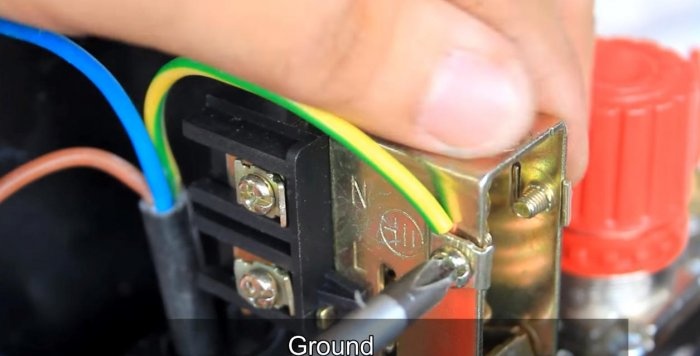
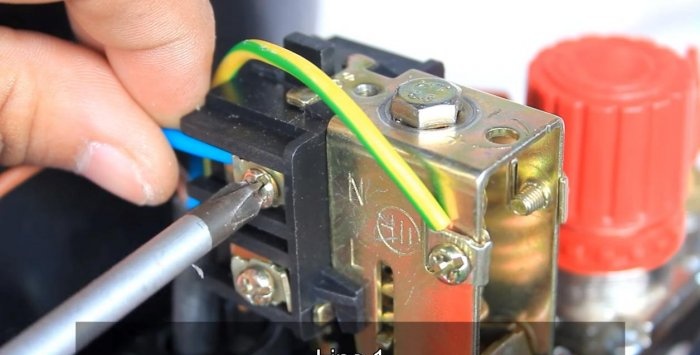
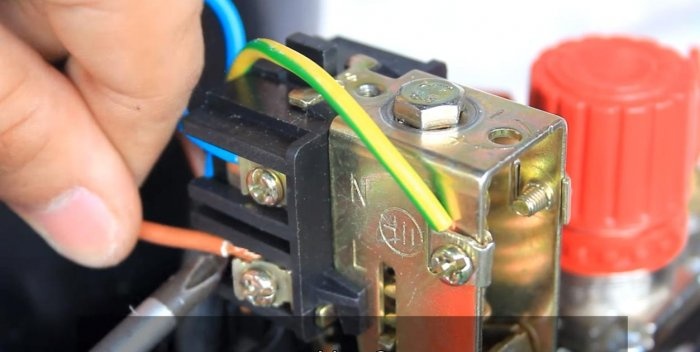
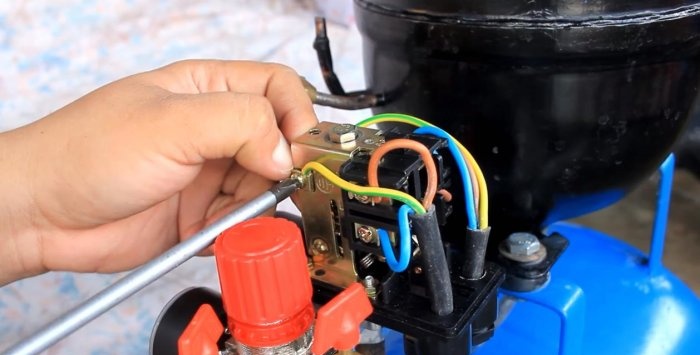
    Using a screwdriver, we disassemble the housing of the pressure switch, opening access to the contacts. We connect the 3-core cable to the contact group, and distribute each of the wires according to the connection diagram (including grounding).
    Full compressor from a refrigerator

    Full compressor from a refrigerator

    Full compressor from a refrigerator

    Full compressor from a refrigerator

    Full compressor from a refrigerator

    Similarly, we connect the power cable, equipped with a plug for a power outlet. Screw the relay cover back into place.
    Full compressor from a refrigerator

    Full compressor from a refrigerator

    Step six – revision and test run


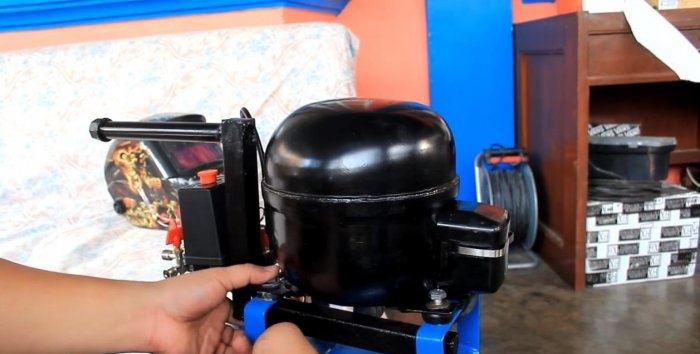
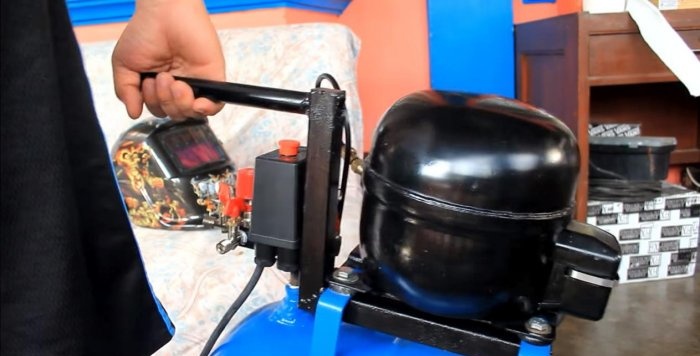
    To carry the compressor unit, we attach a special handle to the compressor frame. We make it from scraps of profile square and round pipes. We attach it to the clamping bolts and paint it in the color of the compressor.
    Full compressor from a refrigerator

    Full compressor from a refrigerator

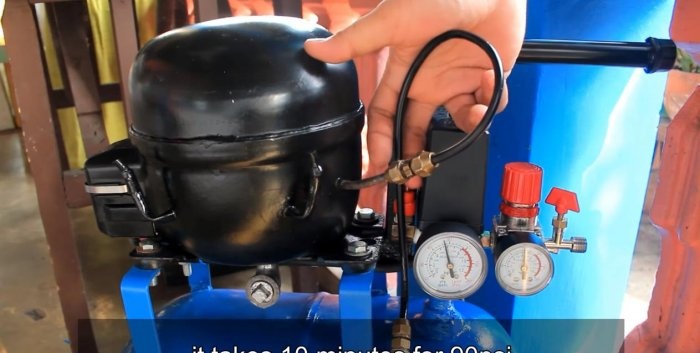
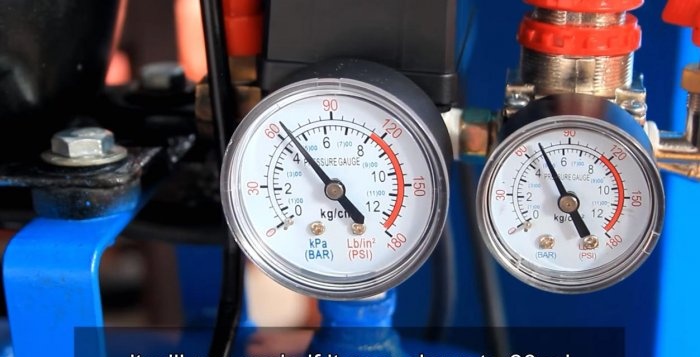
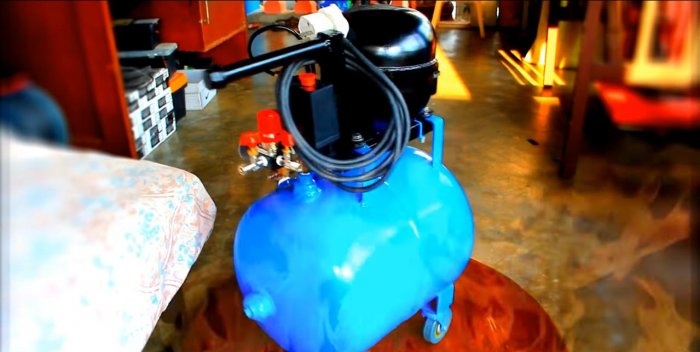
    We connect the installation to a 220 V network and check its functionality. According to the author, to obtain a pressure of 90 psi or 6 atm, this compressor needs 10 minutes. Using an adjusting sensor, the activation of the compressor after a pressure drop is also regulated from a certain indicator displayed on the pressure gauge. In his case, the author configured the installation so that the compressor would turn on again from 60 psi or 4 atm.
    Full compressor from a refrigerator

    Full compressor from a refrigerator

    Full compressor from a refrigerator

    The last operation left is an oil change. This is an important part of the maintenance of such installations, because they do not have an inspection window. And without oil, such machines can work for only a short time.
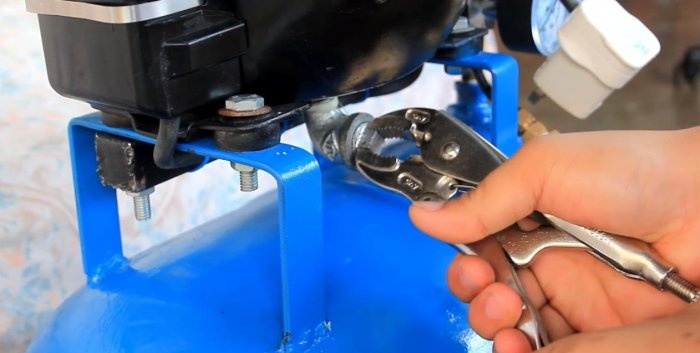
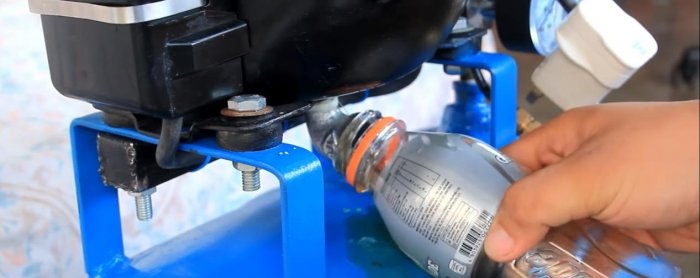
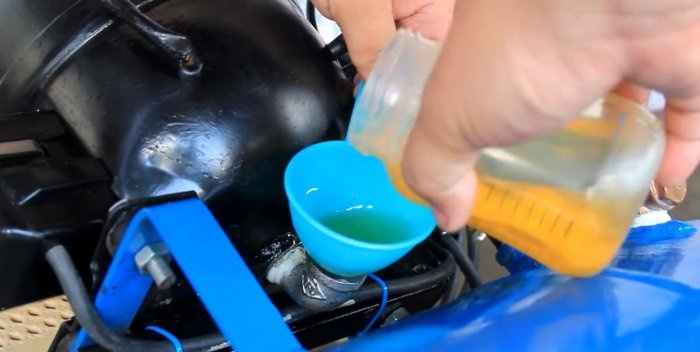
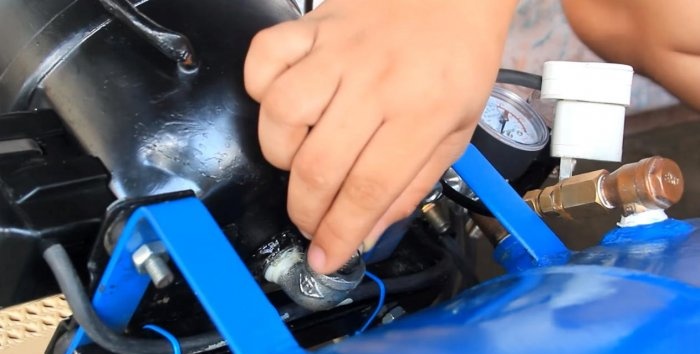
    We unscrew the drain bolt at the bottom of the compressor and drain the waste into a bottle. Turning the compressor on its side, fill in a little clean oil and screw the plug back on. Now everything is in order, you can use our compressor unit!
    Full compressor from a refrigerator

    Full compressor from a refrigerator

    Full compressor from a refrigerator

    Full compressor from a refrigerator

    Conclusion


    Compressor equipment is considered low-power and practically household. It is unlikely that it will handle the work of several pneumatic tools at once. But it can be used for low-power devices, for example, for airbrushing or tire inflation. It's also a great way to reuse an unwanted refrigeration compressor and give it a second life in your home workshop.
    Full compressor from a refrigerator

    Watch the video

come back
Comment
  • bowtiesmilelaughingblushsmileyrelaxed relaxedsmirk
    heart_eyeskissing_heartkissing_closed_eyesflushedrelievedsatisfiedgrin
    winkstuck_out_tongue_winking_eyestuck_out_tongue_closed_eyesgrinningkissingstuck_out_tonguesleeping
    worriedfrowninganguishedopen_mouthgrimacingconfusedhushed
    expressionlessunamusedsweat_smilesweatdisappointed_relievedwearypassive
    disappointedconfoundedfearfulcold_sweatperseverecrysob
    joyastonishedscreamtired_faceangryragetriumph
    sleepyyummasksunglassesdizzy_faceimpsmiling_imp
    neutral_faceno_mouthinnocent
3+three=
Comments (11)
  1. Guest Evgeniy
    #1 Guest Evgeniy Guests 29 March 2018 15:50
    4
    The fact is that compressors from household refrigerators operate in such a way that a mixture of oil and refrigerant circulates throughout the entire system. In other words, the discharge tube will expel oil along with the air! How did you solve this problem?? Back in the early 80s, we made such pumps for inflating wheels, but then we gave it up because... they simply expelled oil into the chamber!
  2. Guest Sergey
    #2 Guest Sergey Guests April 1, 2018 06:54
    5
    Absolutely right, all the oil will go into the receiver and that’s the end of the story.
    1. Guest Igor
      #3 Guest Igor Guests 27 June 2018 17:56
      0
      This cylinder cannot be called a receiver; in Russian it is a hydraulic accumulator, in which there are two cavities separated from each other by a rubber membrane. In one cavity (the larger one) there is oil, and in the other (the smaller one there is nitrogen). There is only one cavity and it is an ordinary balloon.
  3. Guest Sergey
    #4 Guest Sergey Guests 3 April 2018 14:43
    0
    It will grunt after a few hours of operation without an oil separator. Yes, and it’s impossible to paint the bedet - oil will splatter
    1. Alexander
      #5 Alexander Guests 12 April 2018 13:42
      1
      I did this about 15 years ago.The receiver was taken from a Kamaz truck and placed on a utility cart. It worked as a compressor for an airbrush for about 5 years. Not intensively. Didn't "quack". I didn't even change the oil.
  4. Petr Shestakov
    #6 Petr Shestakov Guests April 6, 2018 11:58
    2
    All the inventions are just super!!!
  5. connoisseur
    #7 connoisseur Guests 7 April 2018 12:15
    4
    In terms of money, it’s easier to purchase a ready-made budget option
  6. Guest Victor
    #8 Guest Victor Guests 12 April 2018 08:46
    11
    Very difficult to make. And expensive. There is no point in building such a fortress at all. Easier ready to buy. It will be cheaper. In general, the simplest option, if of course you have access to spare parts for trucks, is a compressor from ZIL + a 220V electric motor, but you can adapt any cylinder, even a used gas one, even from the same ZIL.
  7. Ilya
    #9 Ilya Guests 20 April 2018 12:56
    0
    It’s not clear why install a receiver if the compressor is planned to be used for airbrushing.. It will work just fine anyway - just connect it to the network via a toggle switch. IMPORTANT - when the receiver is operating, the filling-draining cycle entails a cyclic change in pressure and air flow. This is a minus for airbrushing - it’s better without a receiver...
  8. Vyacheslav
    #10 Vyacheslav Guests 26 April 2018 06:16
    2
    Everything is fine, except for the receiver, why do such a dangerous job when you can buy brake system receivers for cars with air brakes in auto shops and car markets. Or the author had the opportunity to get a gas cylinder for free. If you really like the gas cylinder, then buy a new one.
    1. Guest Alexander
      #11 Guest Alexander Guests 30 September 2019 13:47
      0
      The receiver from a used hydrophore tested at a pressure of 10 atm worked for a year at high pressures and frequent use. Worked at 6-7 atm.

Winter bag “Dutik” | Do it yourself

How to grow porcini mushrooms on a windowsill

Throw onions on the coals and get a delicacy

How to make a fence section from a chain-link mesh without welding with your own hands

«Do it yourself - with your own hands» - a site of interesting homemade products made from scrap materials and items at home. Step-by-step master classes with photos and descriptions, technologies, life hacks - everything a real master or just a craftsman needs for needlework. Crafts of any complexity, a large selection of directions and ideas for creativity.

We recommend reading

Washing machine error codes