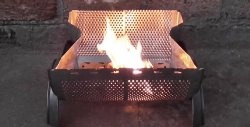
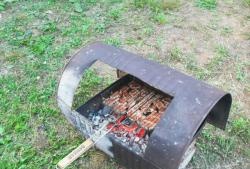
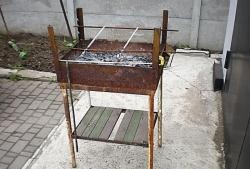
Our grill will have continuous reproduction of coals from firewood. This design is convenient because it does not require waiting for the wood logs to burn out before cooking over coals. They burn in a small chamber, the walls of which rise above the body of the grill. And the glowing coals move to the cooking area. The whole process takes a little time, so this grill will undoubtedly please all hungry travelers. So let's get started!

Required Resources
Materials:
- Sheet steel, thickness – 1-2 mm;
- Solid metal square 10x10 mm;
- Profile pipe 15x15 mm;
- Round pipe, diameter – 18-20 mm;
- Metal rod with a cross section of 4-5 mm.
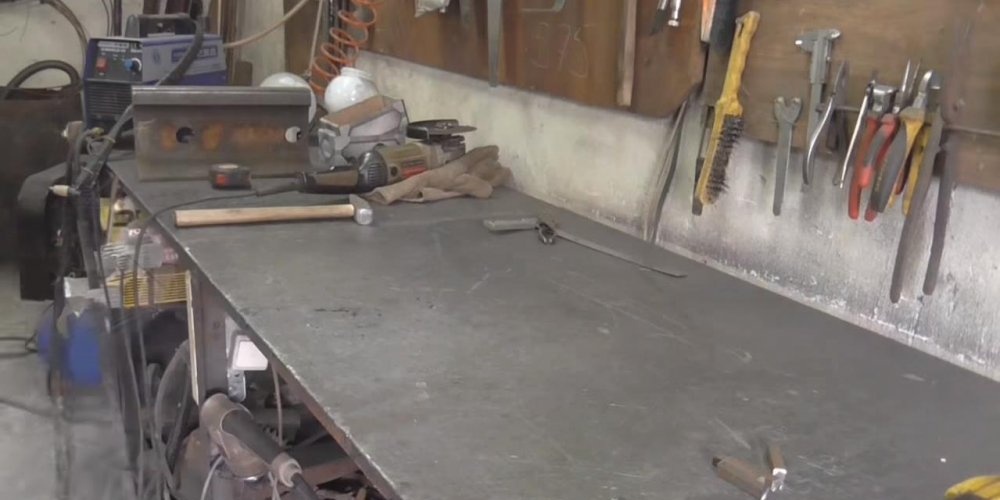
Tools:
- Plasma cutter;
- Welding inverter with electrodes;
- Gas welding or propane torch for heating metal;
- Clamp, pliers, metal brush;
- Hammer, tape measure, chalk technical pencil.

Making a barbecue from sheet steel
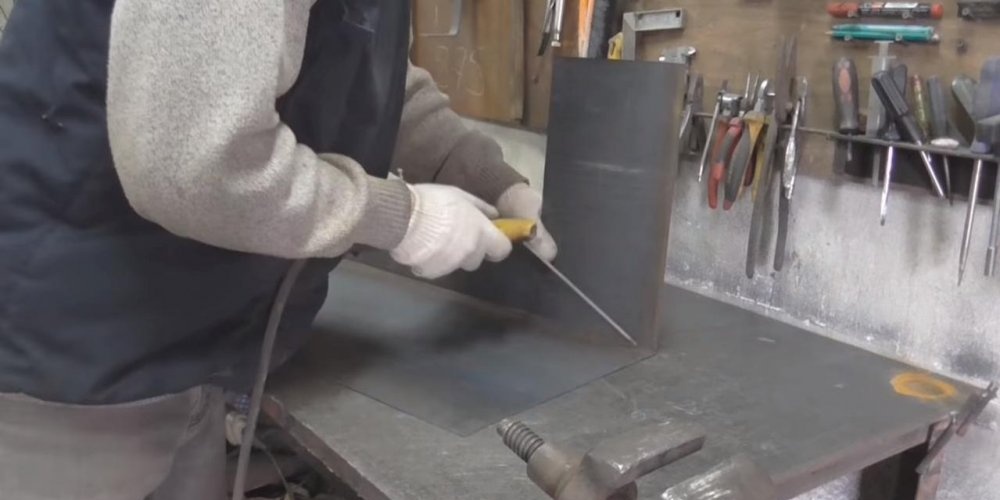
We place the sheet of steel on the trestles and begin marking the parts. Following the drawing, we cut out each structural element with a plasma cutter.
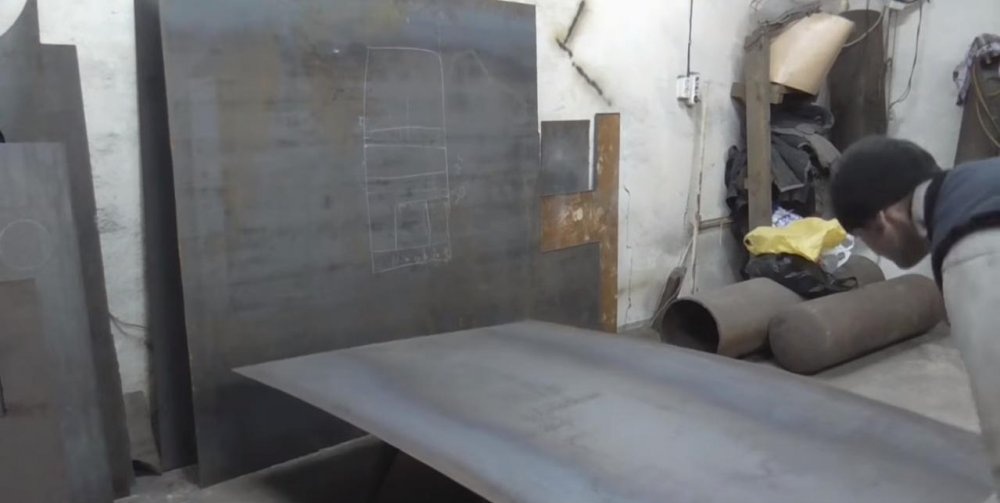
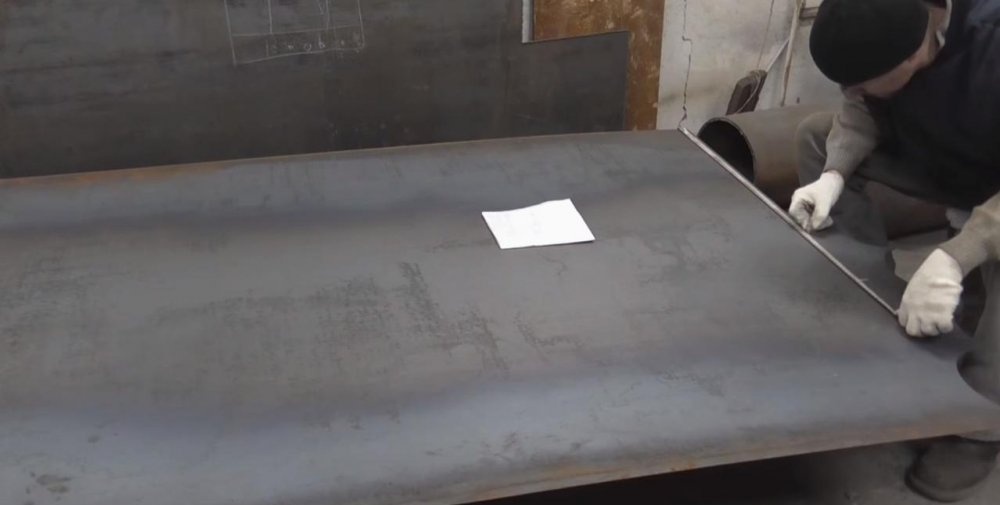
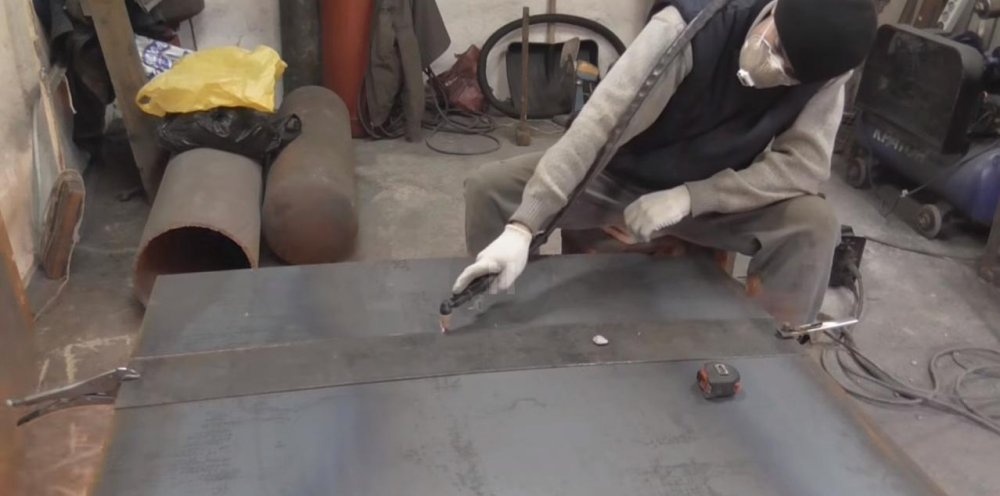
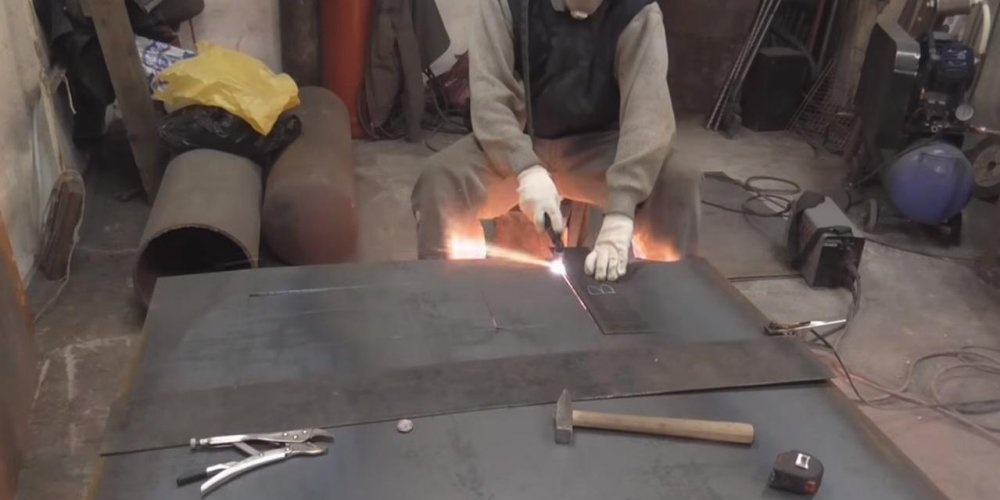
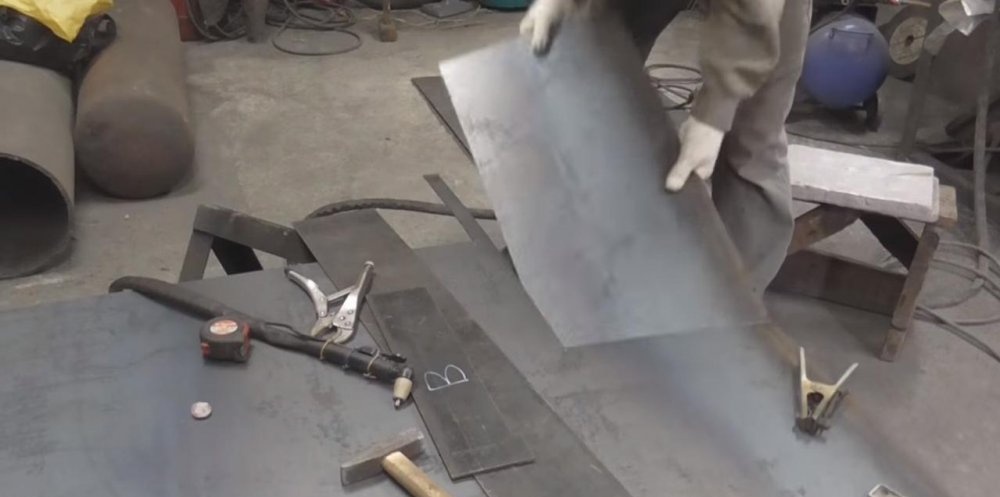
We distribute the cutting economically across the sheet so that there is less waste left. It is most practical to place the large parts first, then the small ones between them. The numbered finished parts are folded separately.
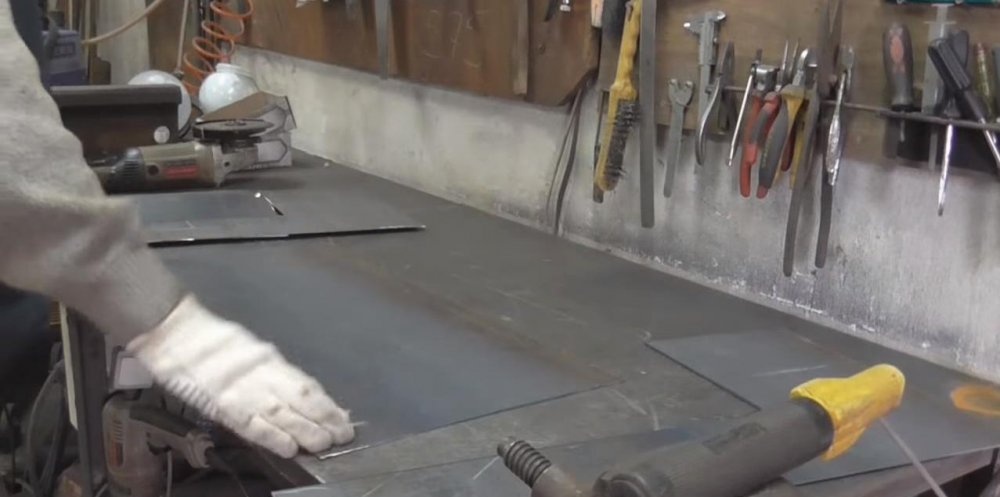
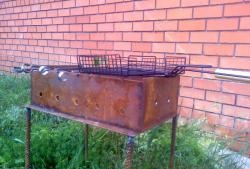
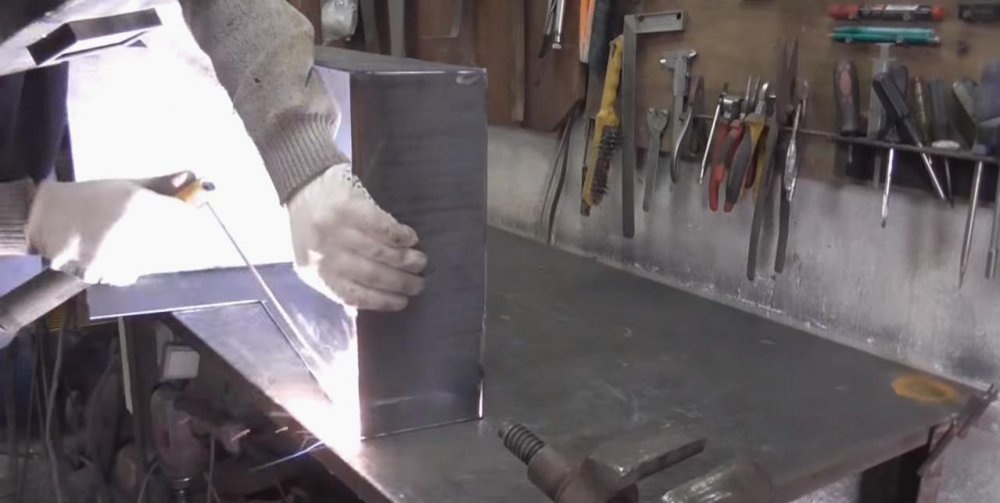
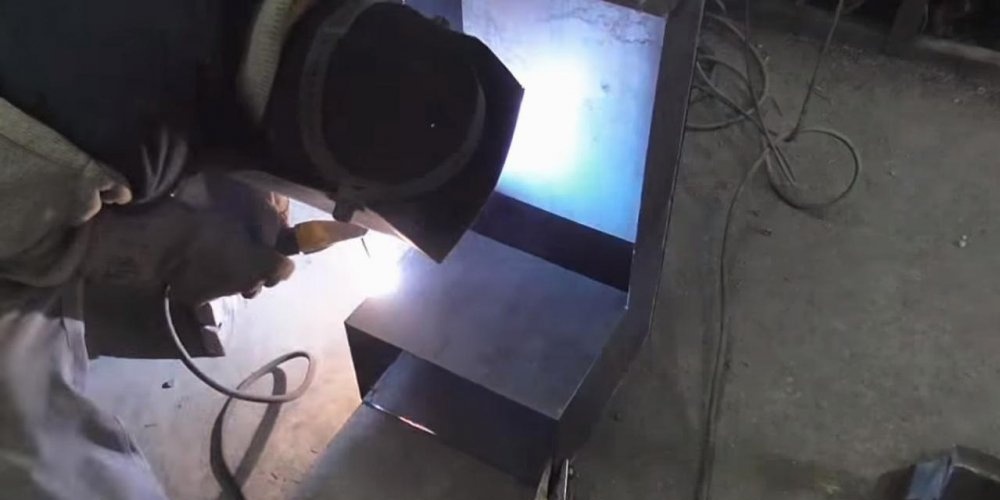
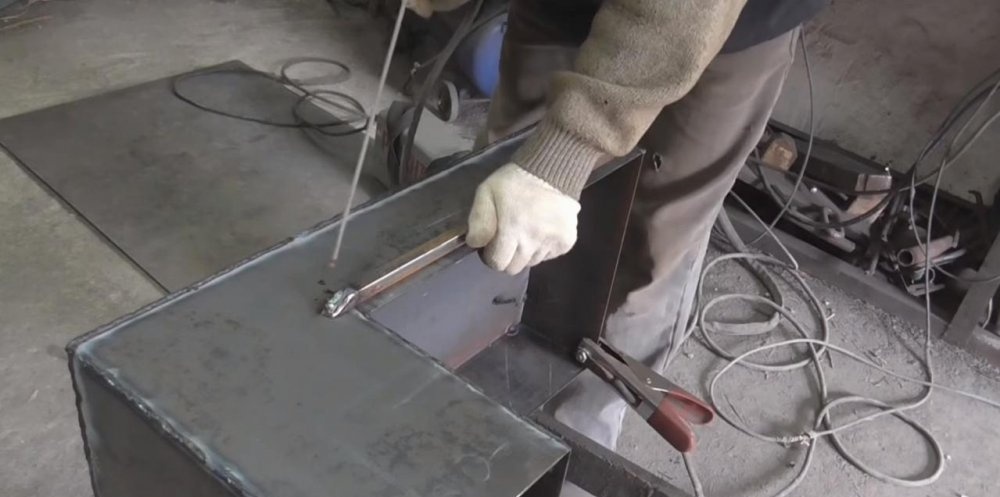
We set the side wall perpendicular to the bottom of the grill and secure it in several places by welding. Then we install the end part of the box and the second side wall. We fasten them together using the same method of short tack welding.
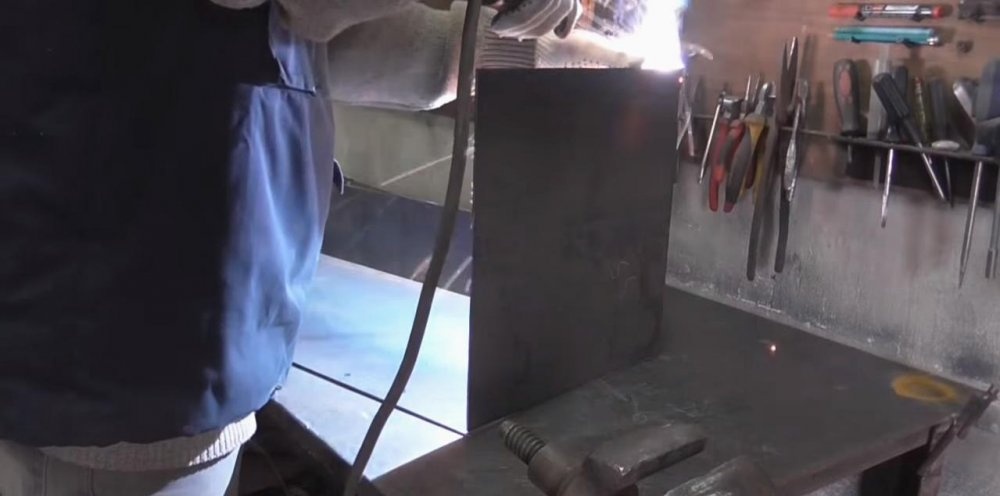
We close the box with a low end strip and limit the exhaust area with a vertical wall. It turns out something like an L-shaped knee with an open top.
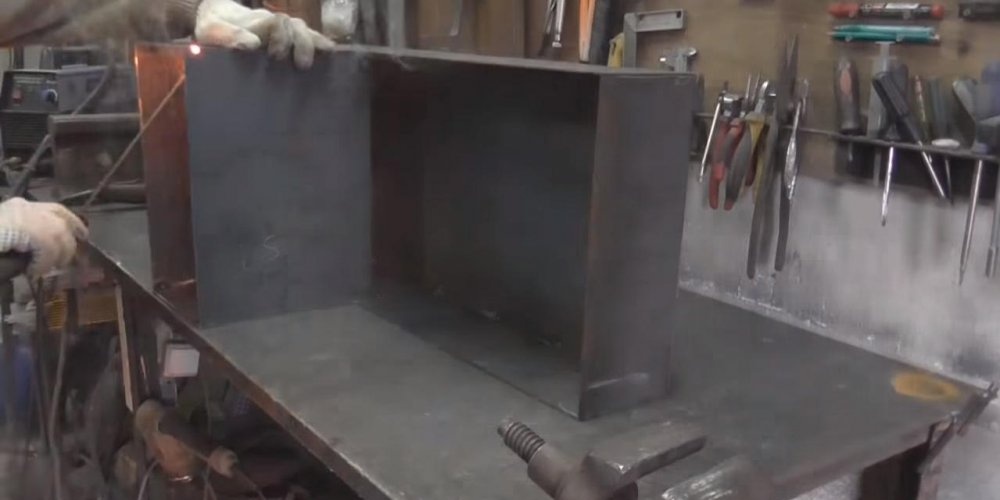
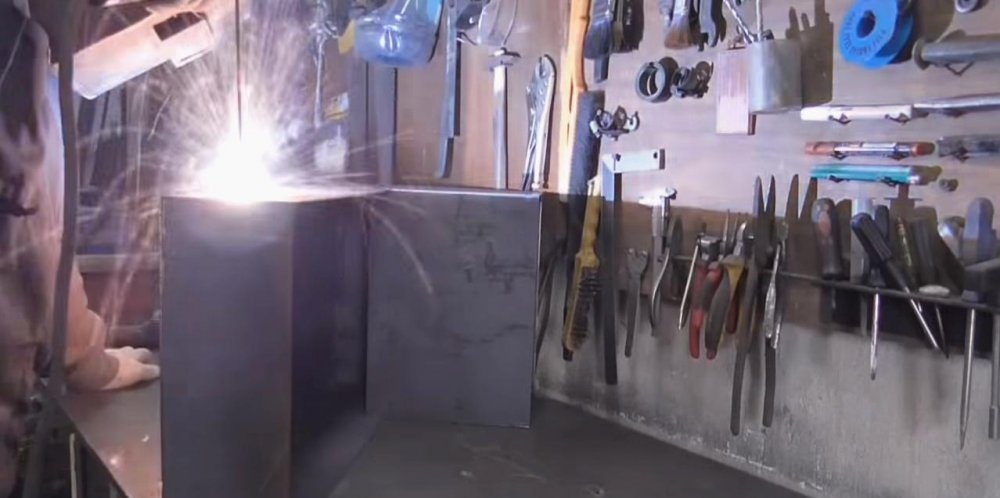
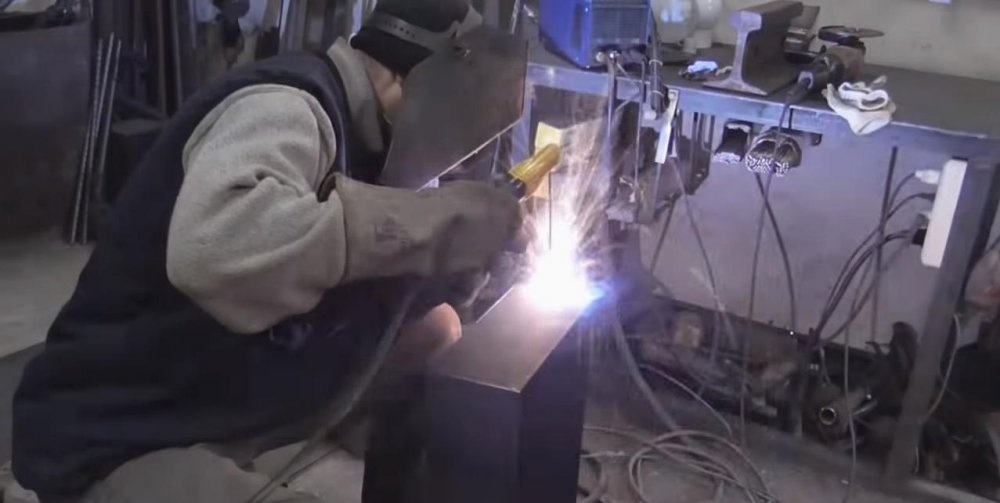
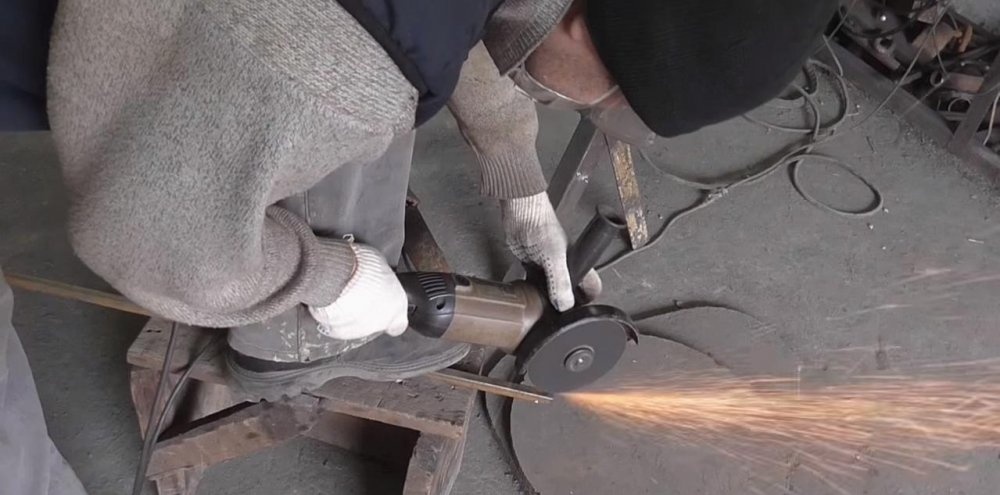
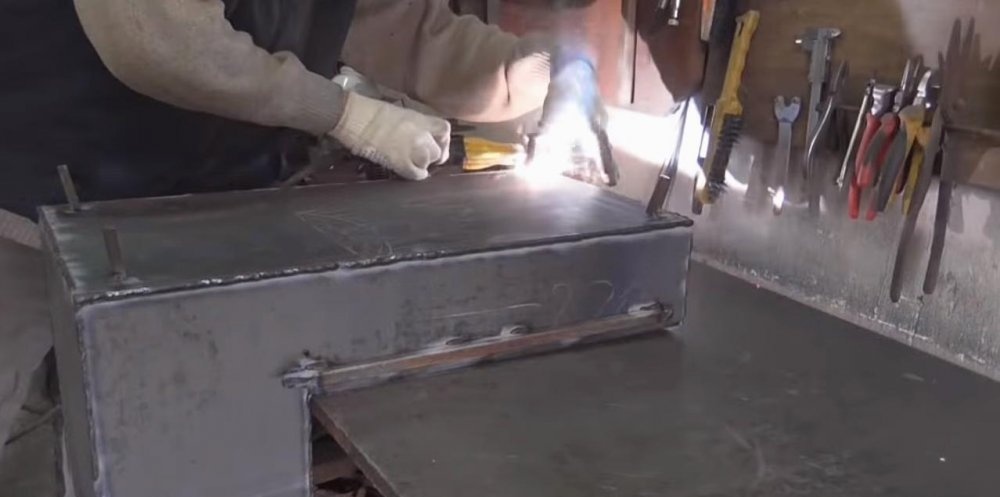
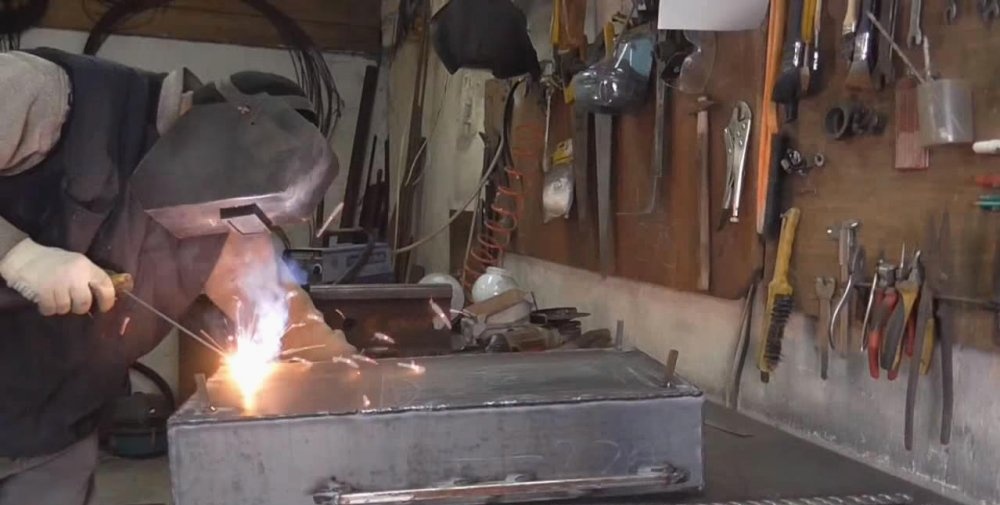
We go through all the tacked joints with a continuous seam. You can clean them using a grinder and a sanding disc.
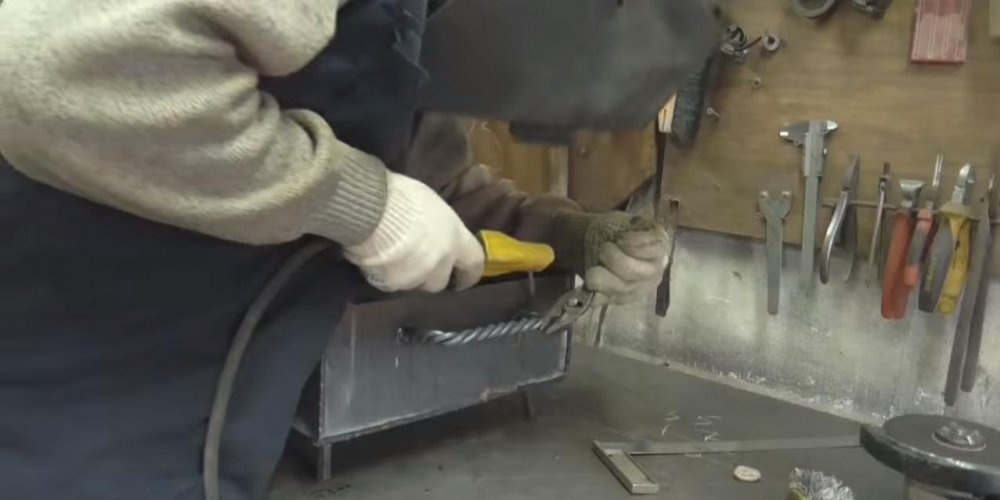
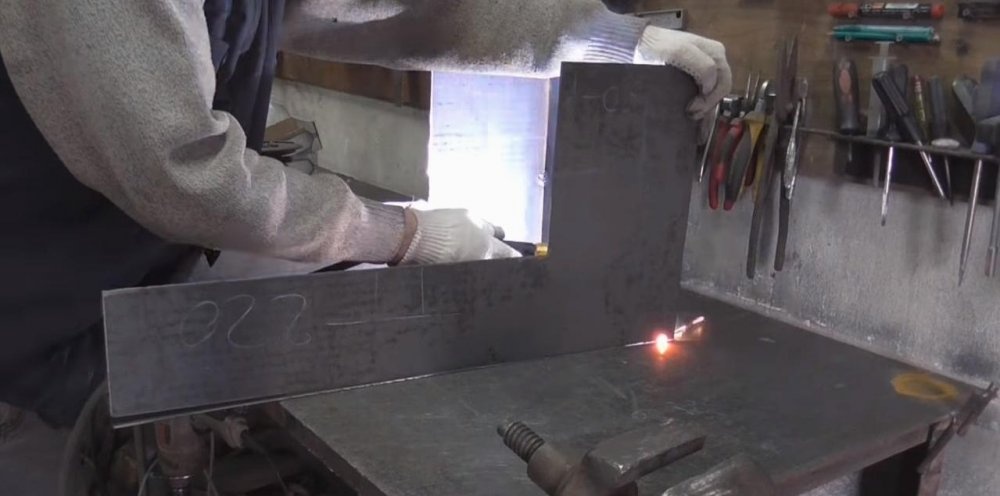
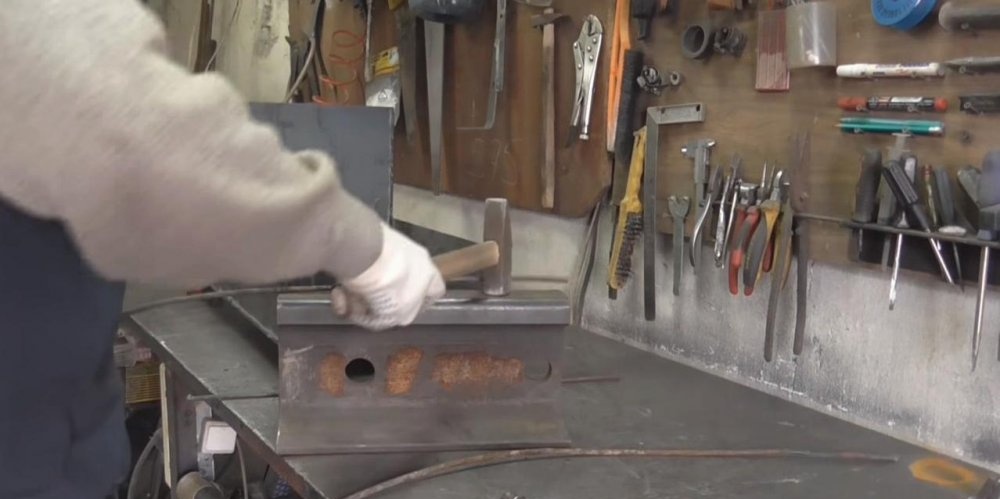
We reinforce the side walls with two handles from a 15x15 mm profile pipe. We lightly saw through the finished sections from the ends to the miter, leaving the plane intact. We subsequently bend it with a hammer and boil it.
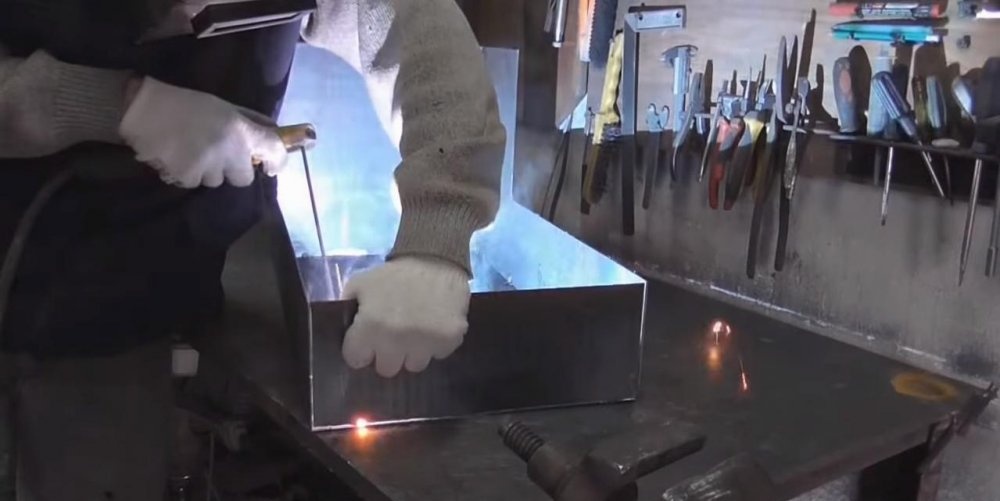
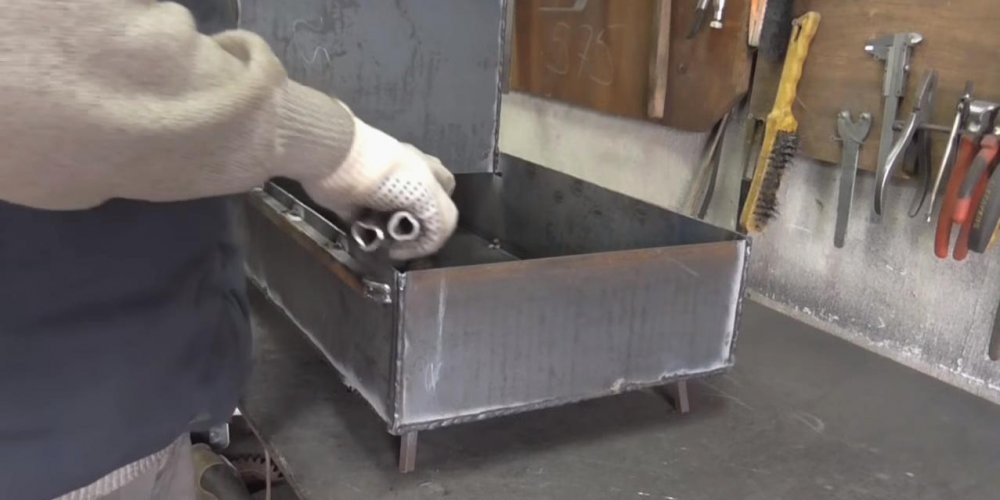
The legs for the barbecue will be removable. To secure them, we weld small pieces of cast square rod at the corners of the grill. For stability, we do this with a slight outward tilt. The angle of inclination can then be adjusted by hand. We cut the legs from a round pipe. We select its diameter so that the racks fit easily but tightly into the square stops.

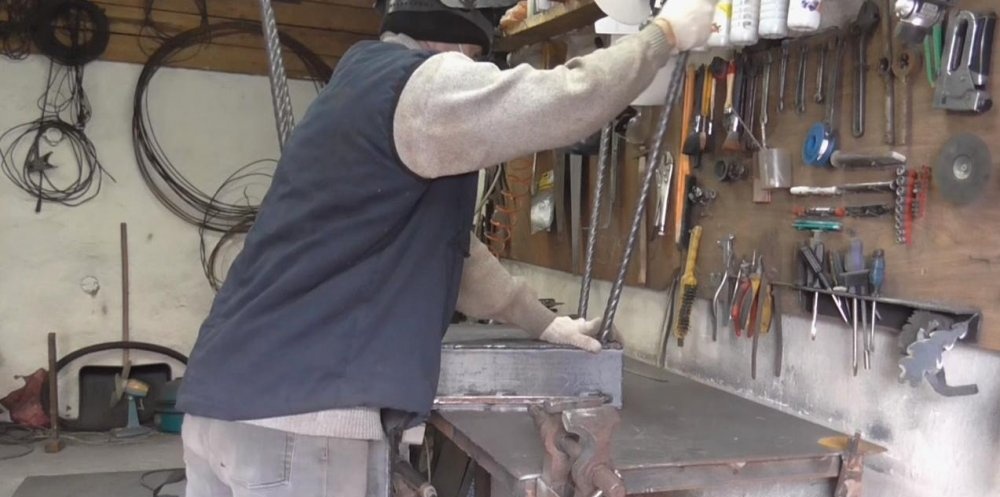
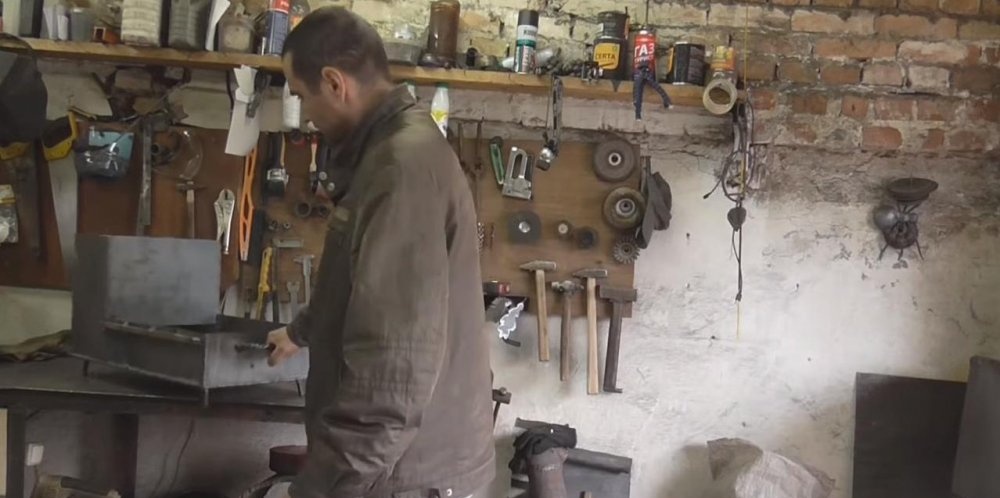
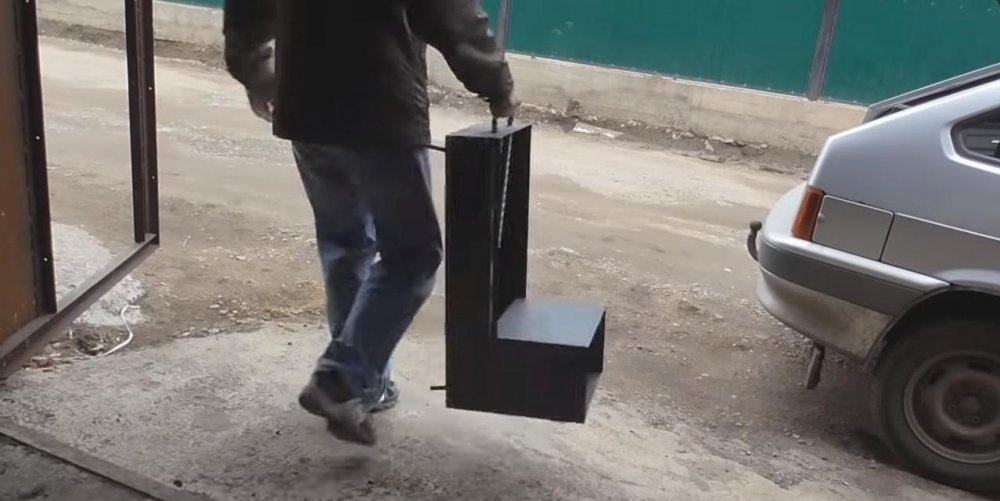
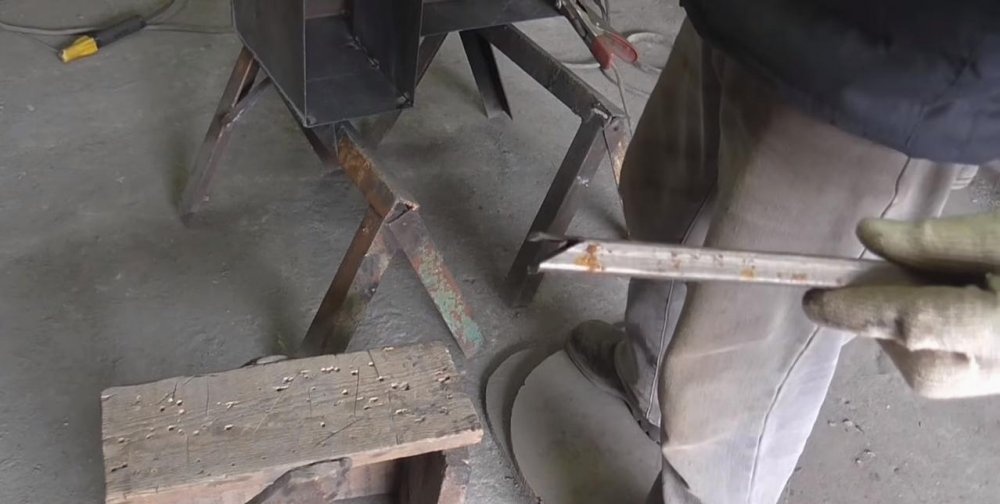
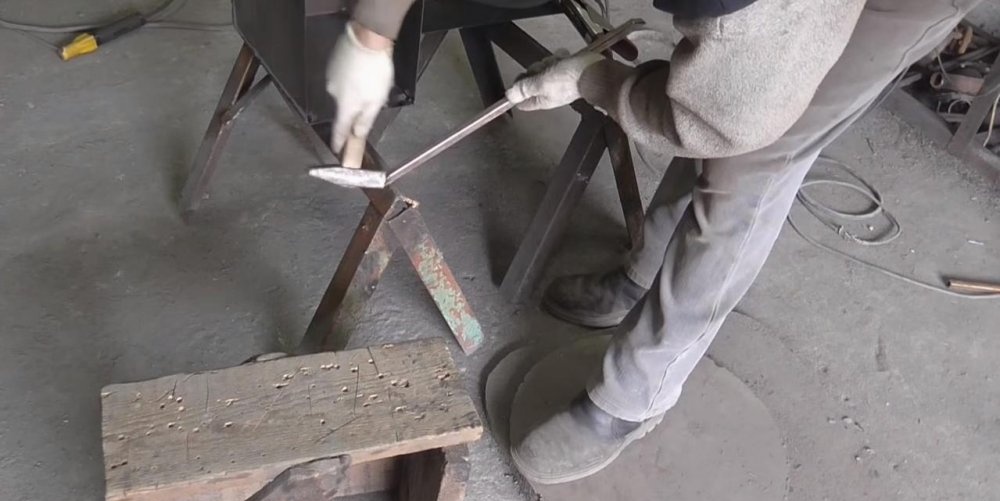
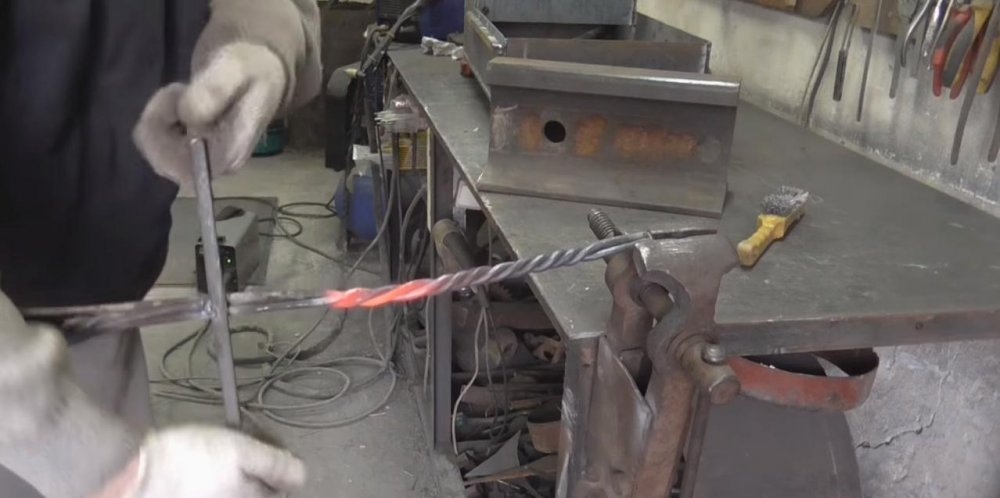
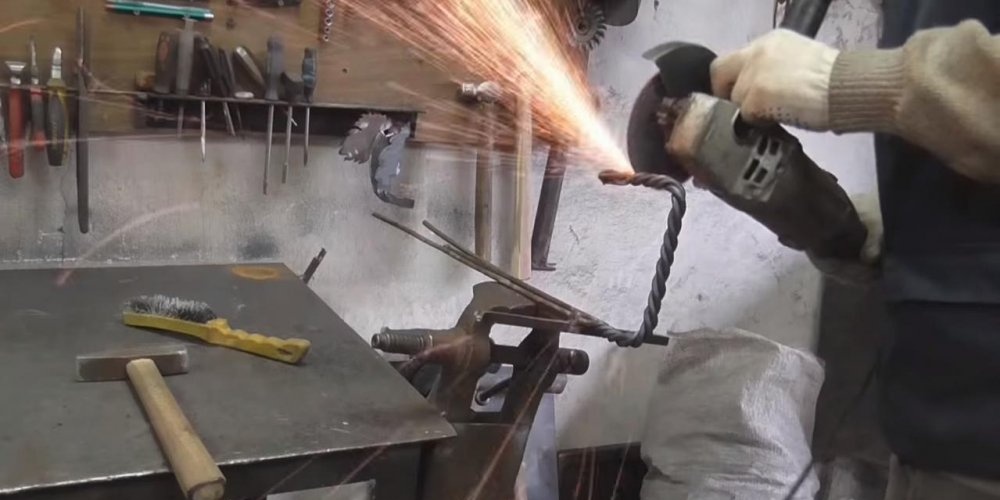
The grill is almost ready. We put the legs inside the grill body. All that remains is to attach a handle to it for easy carrying. We make it from three short rods. We weld them together at one end. We weld a cross member from a square cut to the second one.
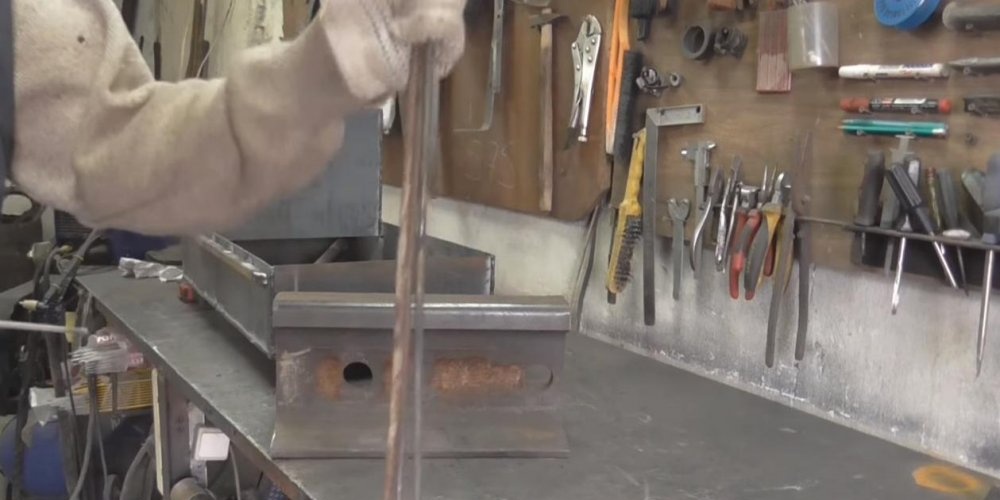
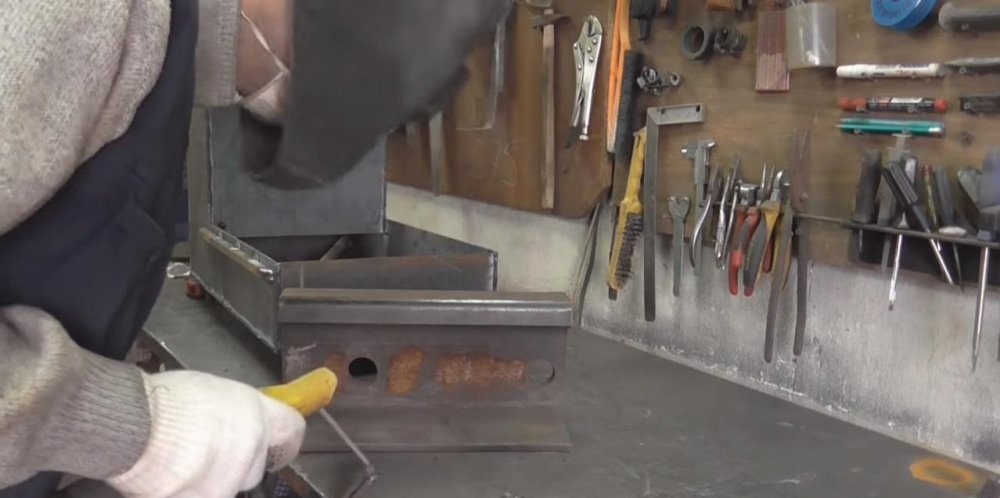
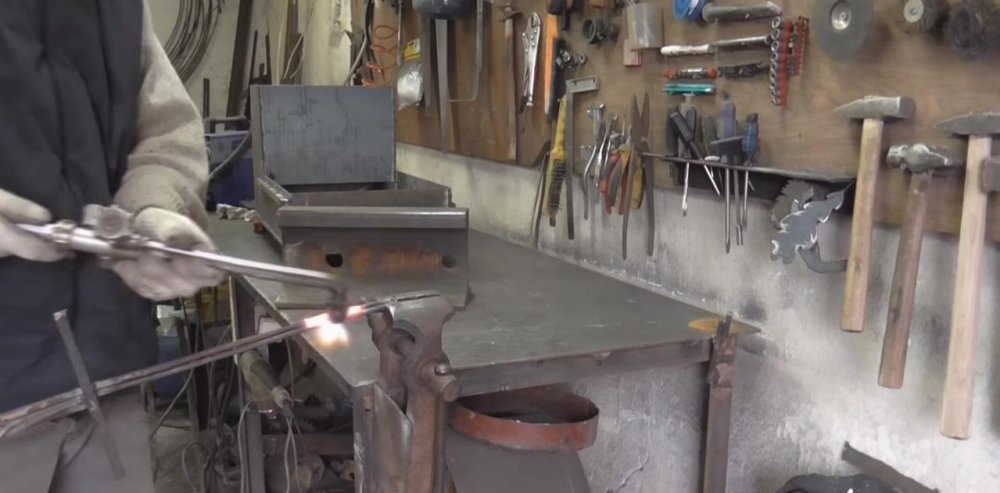
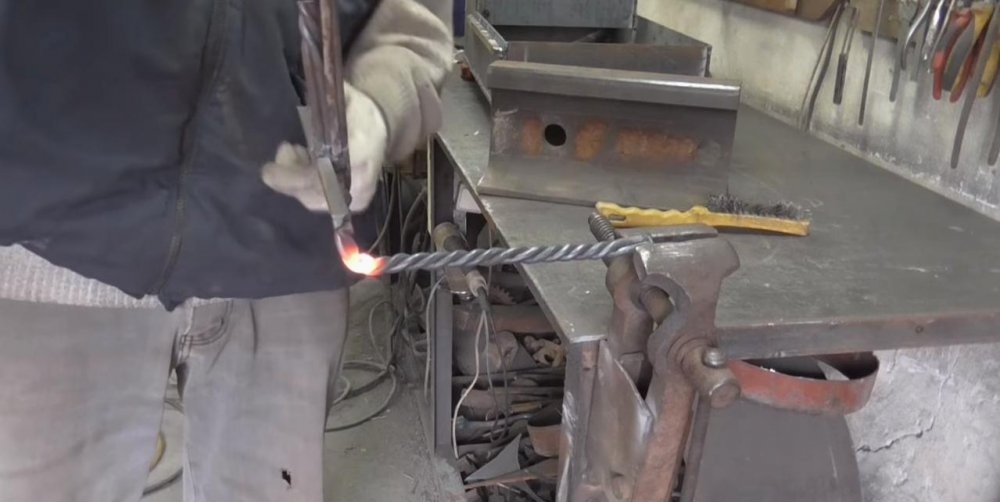
Heating the rods from the base, twist them and give them a braid shape.We heat the finished part at the bend in two places, and cut off the excess with a grinder.
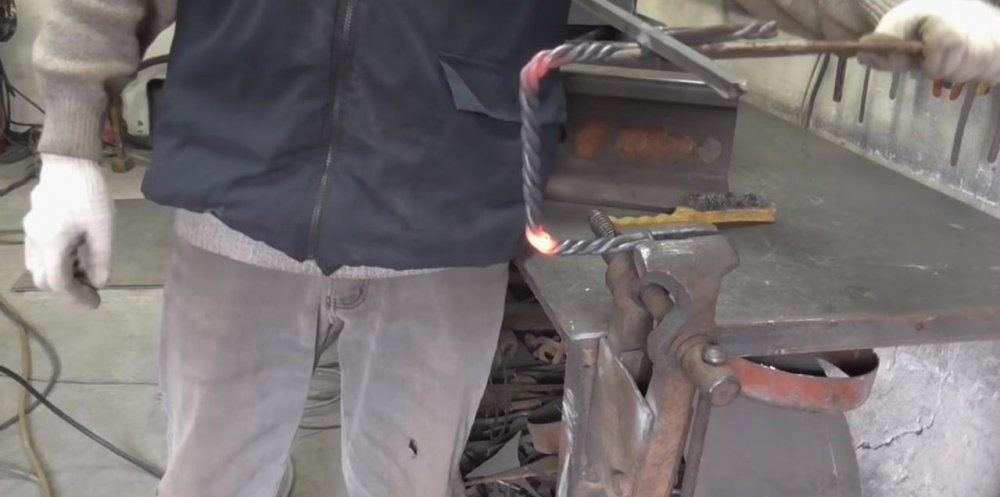
Now the handle can be welded to the end of the grill, and feel free to go on a trip to nature!