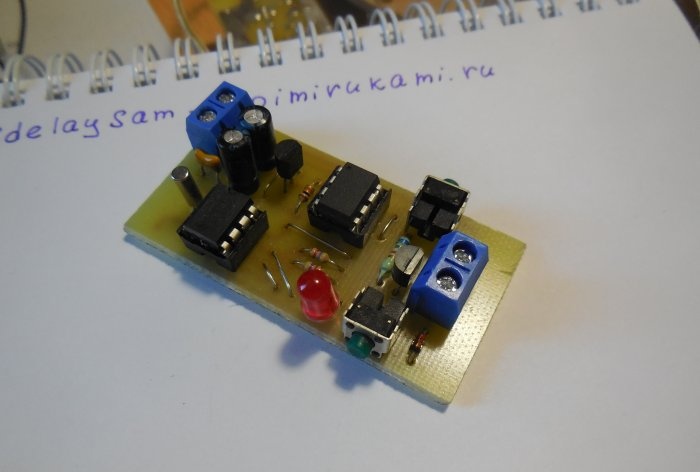
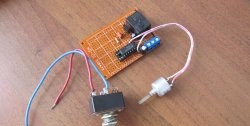
I propose for assembly another electronic device designed to automate human life. It can be described as follows: at a given time it turns on the load, and at a given time it turns off, and the next day the cycle repeats. Those. if there is a need, for example, to turn on the light every day at 10:00 and turn off at 21:00, this device will perfectly cope with such a task. It can be used, in addition to turning on the light, for example, for watering plants once a day.
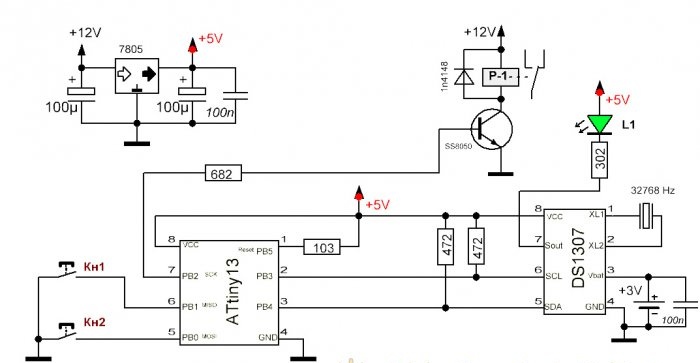
Device diagram
A few words about the scheme. It contains two microcircuits, a clock DS1307 and an Attiny13 microcontroller. Two buttons "1" and "2" allow you to set the time to turn on and off the load.
The SS8050 transistor on the circuit controls the relay, instead of it you can put any low-power NPN transistor, for example, BC547, KT315. Instead of a relay, you can use a transistor switch if the load is supplied with direct current. Between legs 3 and 4 of the DS3107 chip, a 3 volt backup power supply is connected, i.e. regular watch battery. If the main power is turned off, the clock of the circuit will continue to go and you will not have to set the time interval again. However, the circuit can work without a backup power source. A flashing LED L1 indicates that the circuit is operating. The supply voltage is 12 volts.
Manufacture
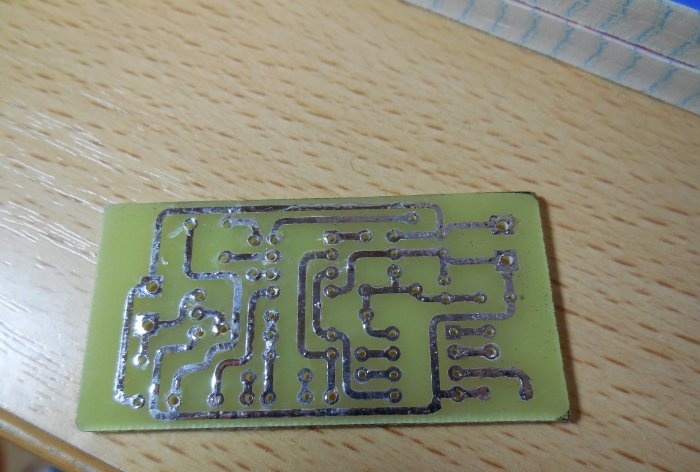
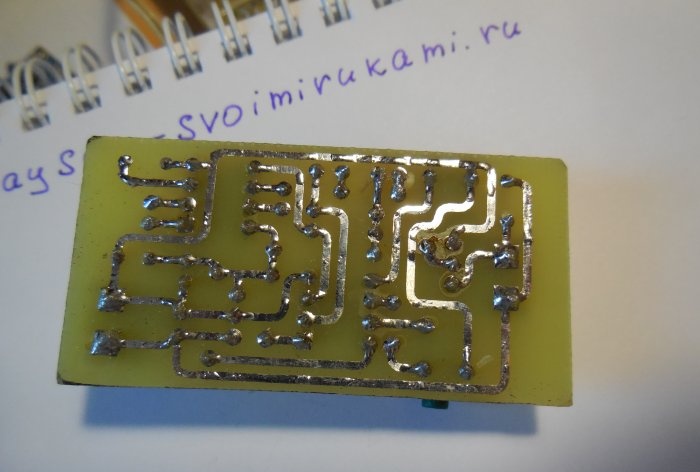
The board is made by the LUT method on a piece of PCB with a size of 55 x 30 mm. Photo of the board without soldered parts:
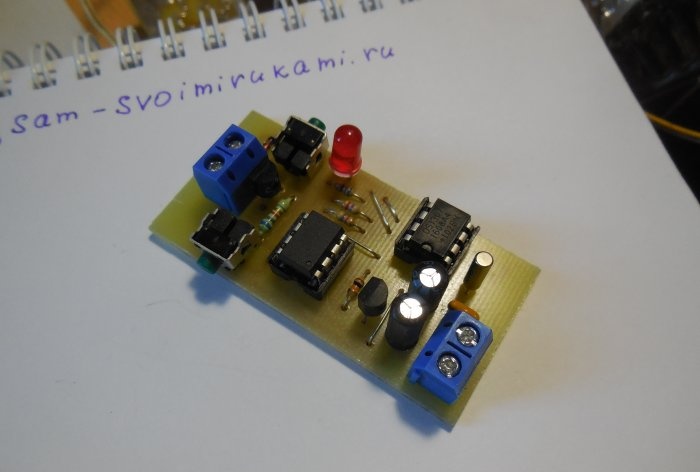
Chips for convenience and the possibility of reuse should be installed in the socket. Before installing the microcontroller on the board, you need to flash it, the firmware is attached to the article. When using the new microcontroller, it is not necessary to change its factory fuses (it must be clocked from the internal 9.6 MHz generator, the 8 divider is on).
Setting time intervals
The process of setting the on and off times is best illustrated by an example. Let's say you need to turn on the light at 14:00 and turn off at 16:30. To do this, wait for 14:00 and briefly press the button "1", then wait for 16:30 and press the button "2", this completes the process of setting the time. Now the light will turn on every day at 14:00 and turn off at 16:30. Successful assembly!
Firmware and board files
[10.9 Kb] (downloads: 671)
