In this master class, we will consider a very simple way to make a decoupage of a knife stand, which any beginner can handle. The process is quite fascinating and will take no more than one evening.

Materials
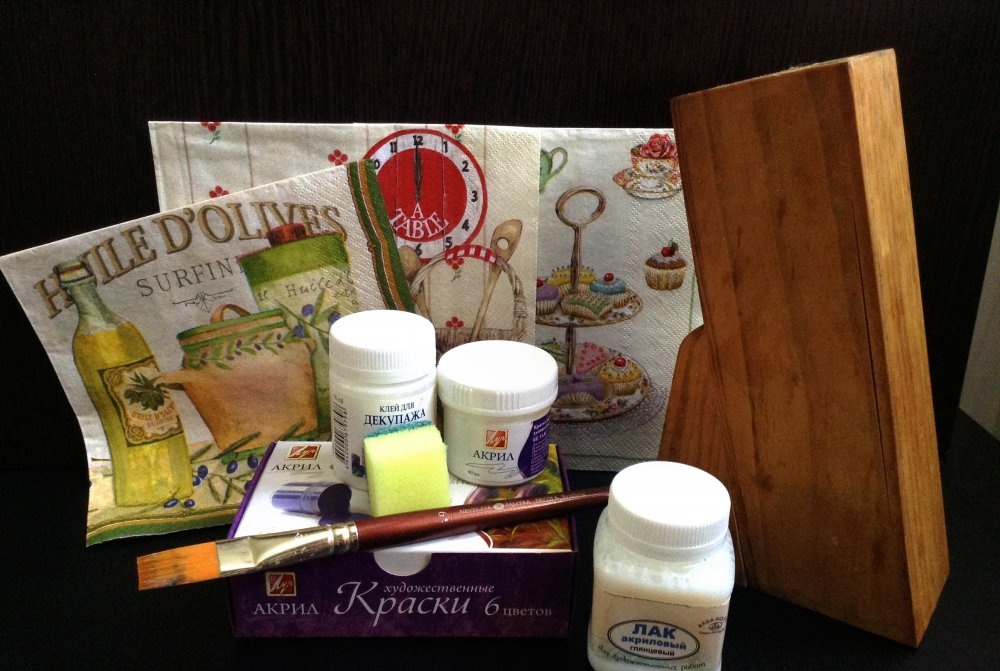
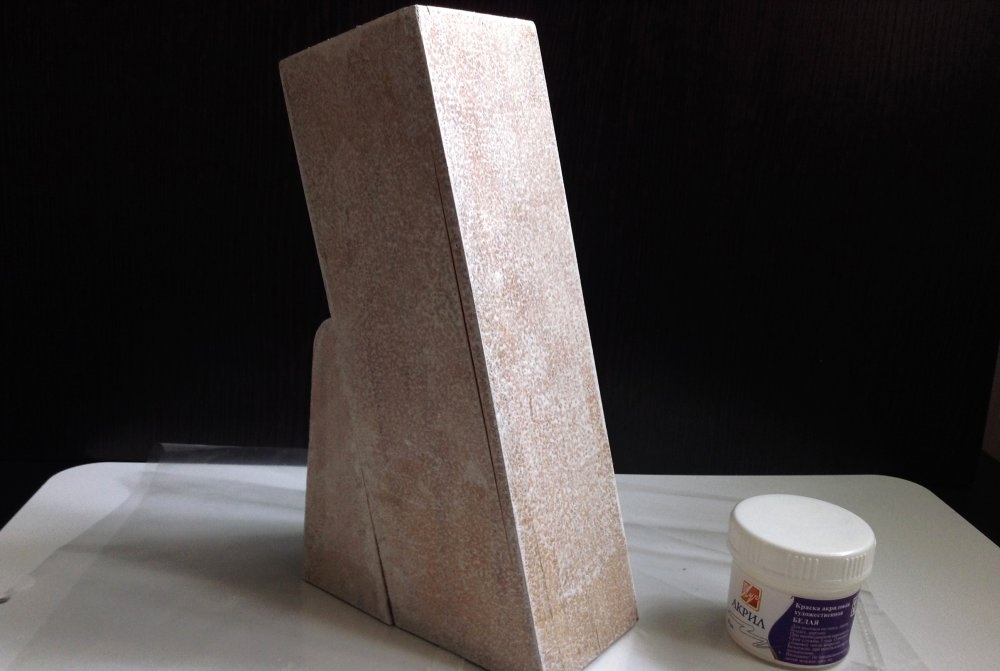
Prepare the materials necessary for decoupage:
- 1. Stand for knives.
- 2. Acrylic paints (white and black).
- 3. Sponge.
- 4. Napkin for decoupage.
- 5. Adhesive for decoupage.
- 6. The brush.
- 7. Acrylic varnish.
Decoupage Knife Stands
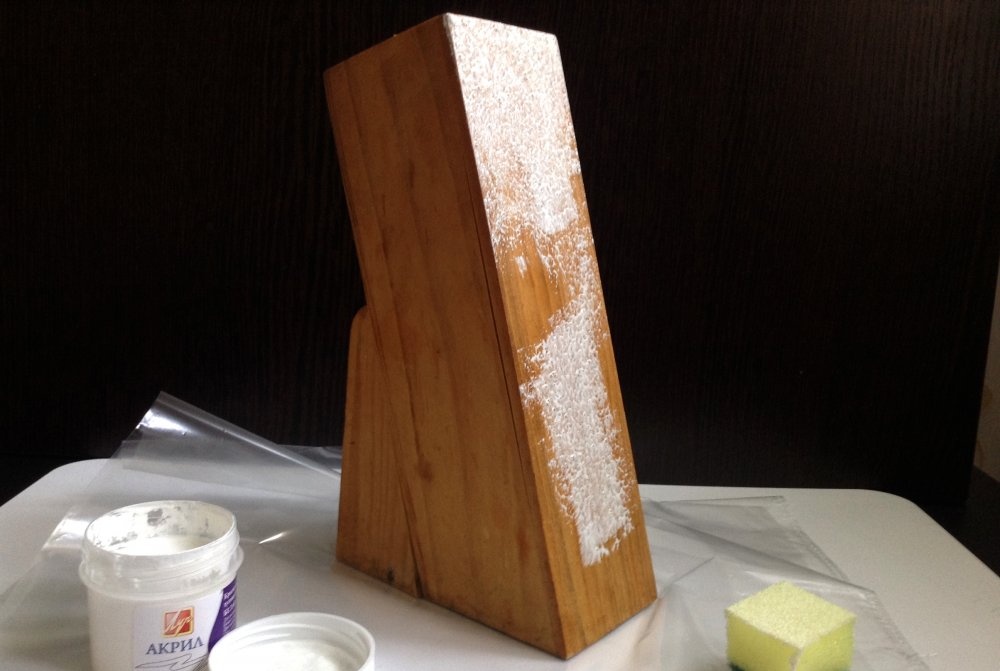
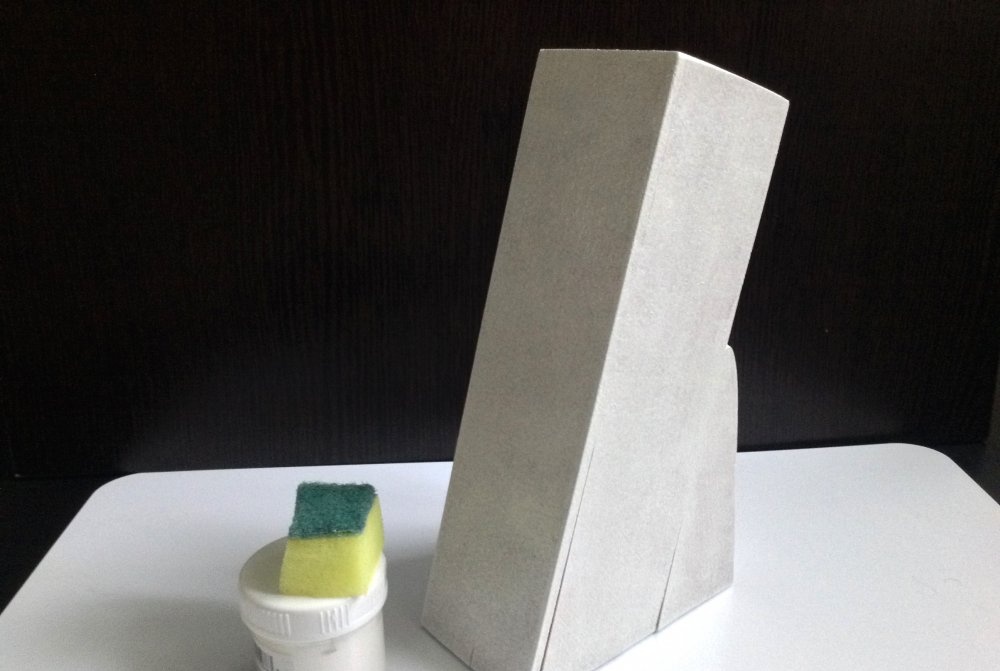
Take an ordinary wooden knife stand, white acrylic paint and a sponge (it is better to cut a small part of the sponge). Before painting, make sure that the surface of the stand is dry and clean.

Dip the sponge lightly in white paint and use dotted movements to paint over all sides of the knife stand. Instead of acrylic paint can be painted with white acrylic primer.
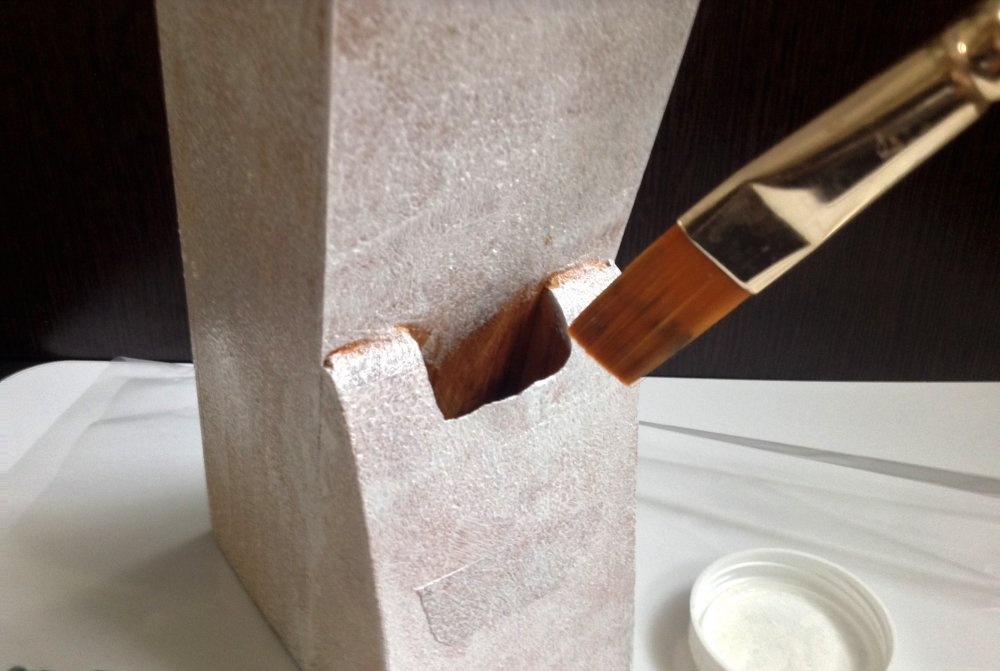
Paint the notch for scissors with a brush (like other areas inaccessible to the sponge).
Leave to dry for 30-40 minutes when all faces of the stand are painted.
Acrylic paints of different brands do not have the same hiding power, so before working with wipes, make sure that the background color is uniform and well colored. If the color is not good enough, paint the knife stand with a second coat.
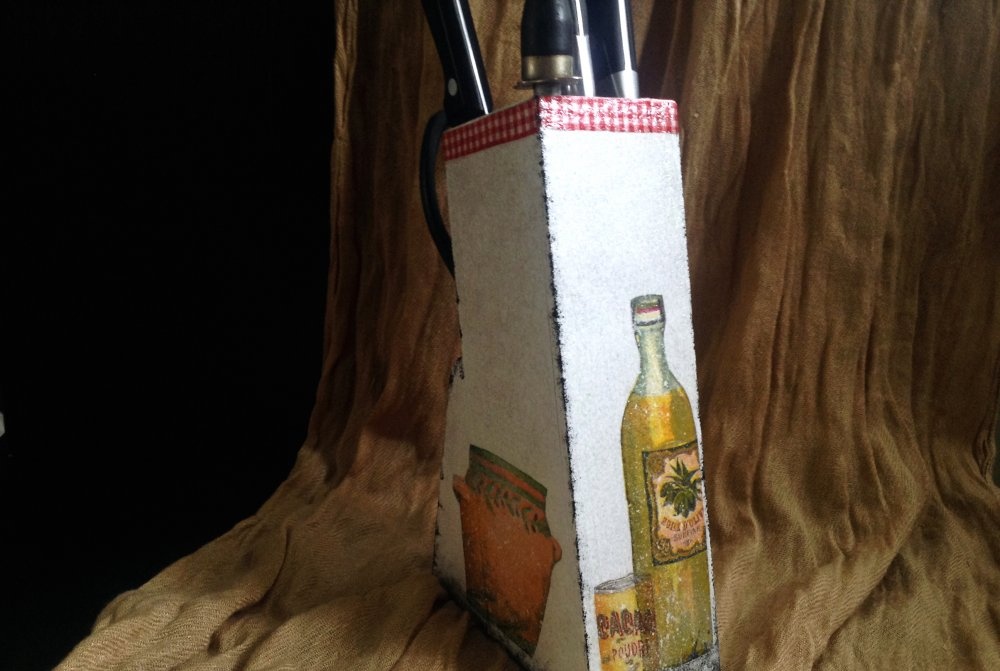
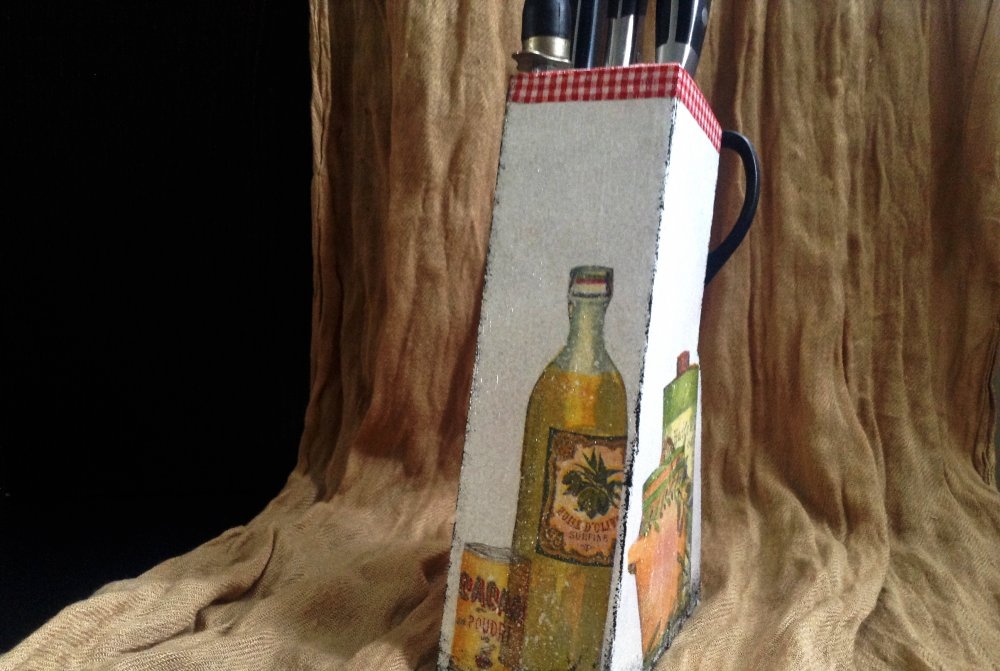
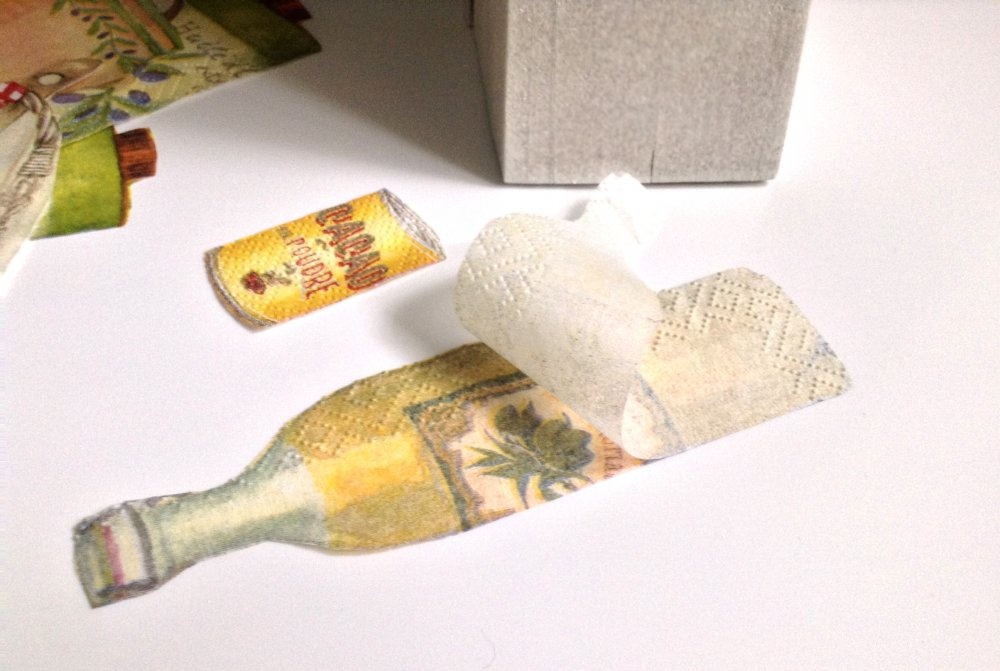
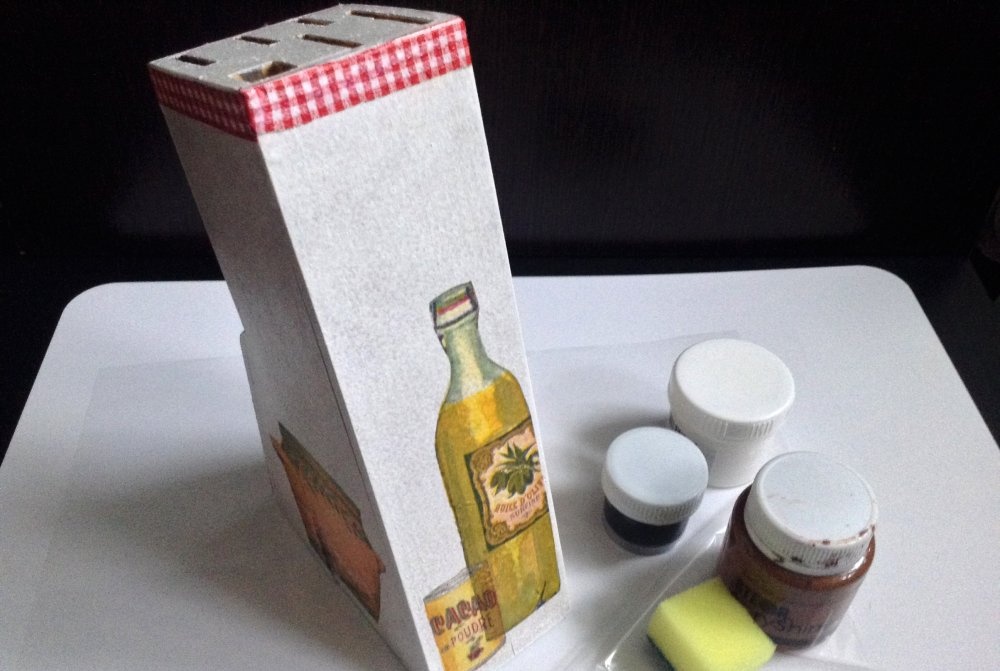
Find a napkin or decoupage card with a matching pattern. Try on a few options.
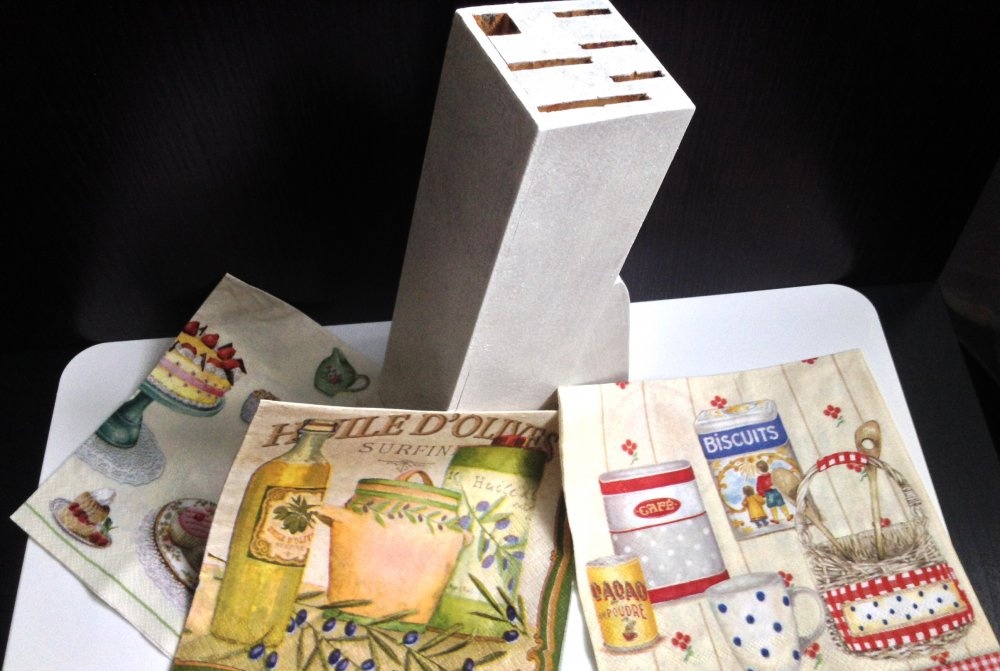
If you plan to use only fragments of a decoupage card or napkin, then it is better to choose those that have a light (and preferably white) background. It is important that after sticking the fragment there is no sharp color transition.
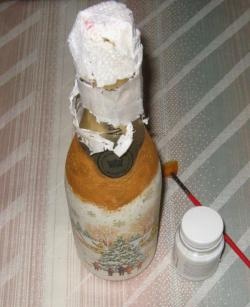
Tear off or cut off the necessary parts of the picture from the napkin. The border will be smoother and more beautiful if the fragment is carefully torn off. But in our case, the background of the napkin is too colorful, and the height is not enough to tear fragments. In such cases, it is better to just cut out the necessary fragments.
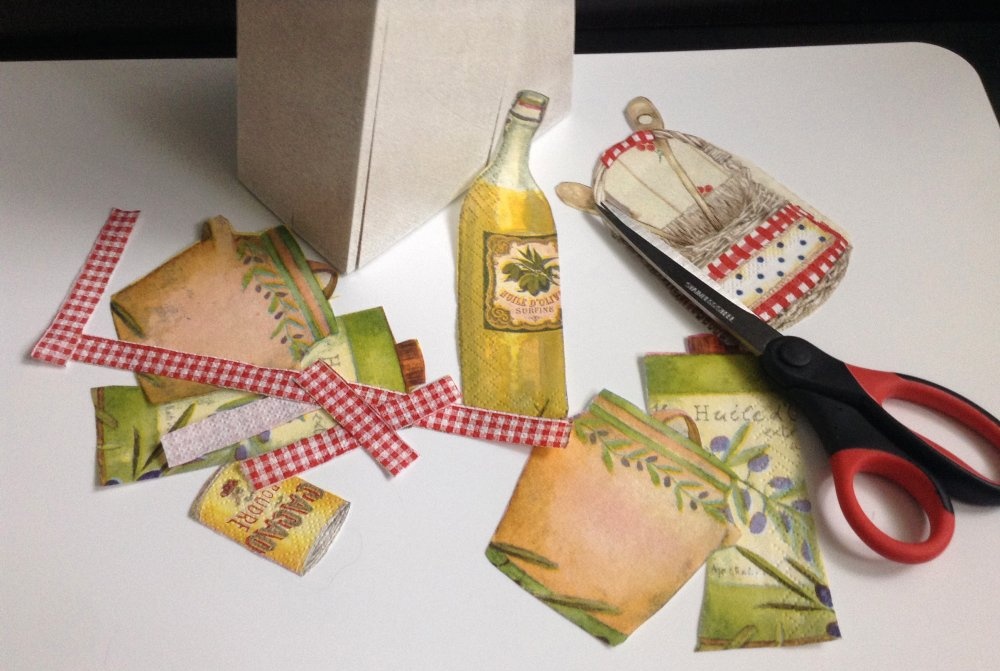
Napkins for decoupage have 3 layers. Before gluing, be sure to peel off the top layer of the cloth. To work, you need only one colorful layer.
Attach a piece of the picture to the knife stand and stick it with a flat brush and decoupage glue.
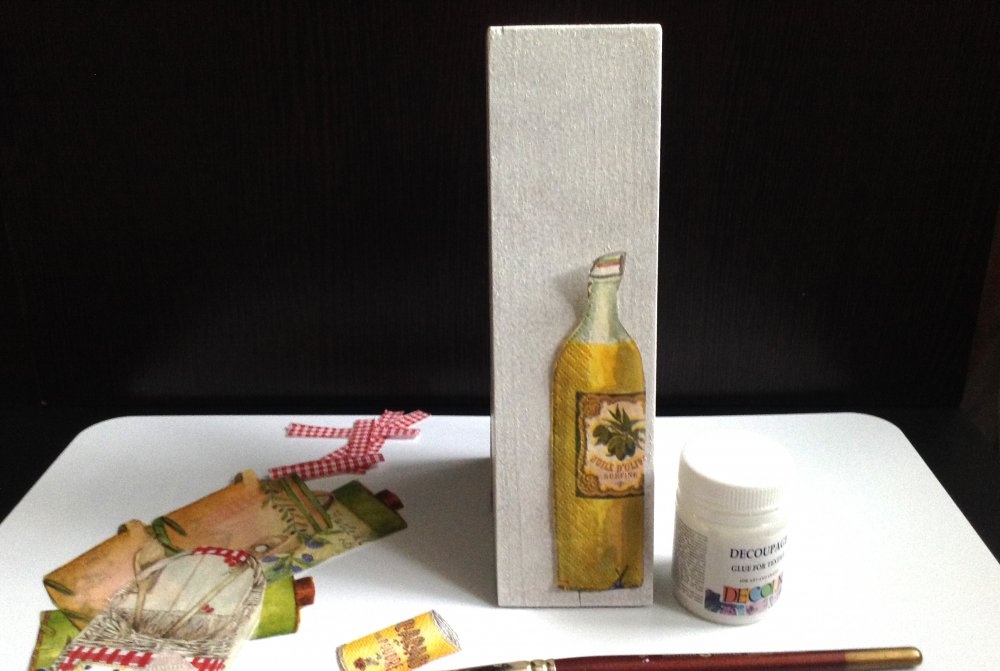
The correct direction for applying glue is from the center to the edges.
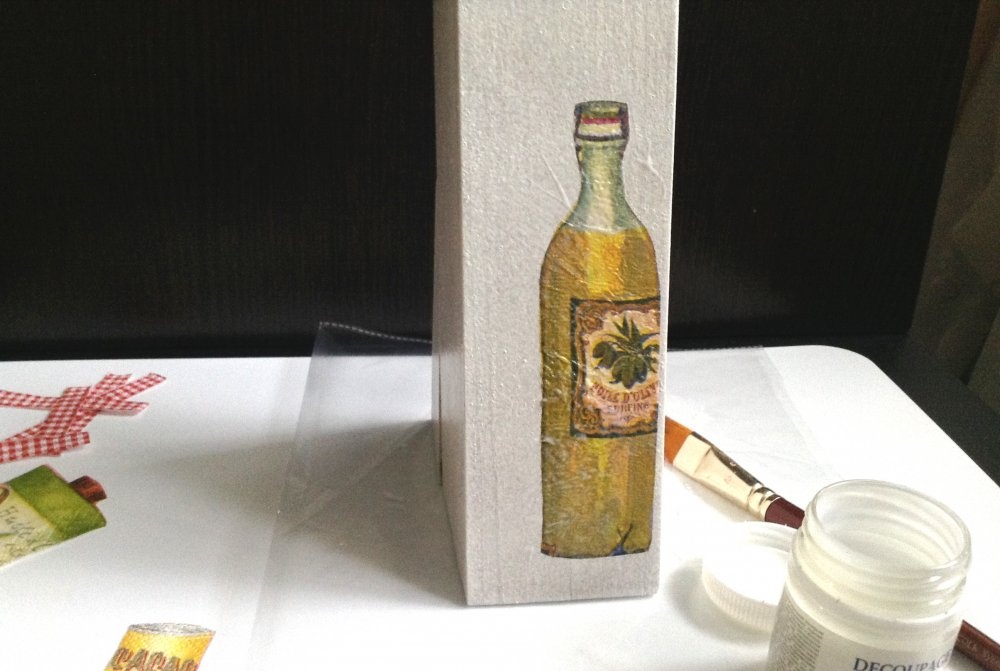
Glue all selected fragments on opposite sides of the knife stand and leave to dry for 20-30 minutes.
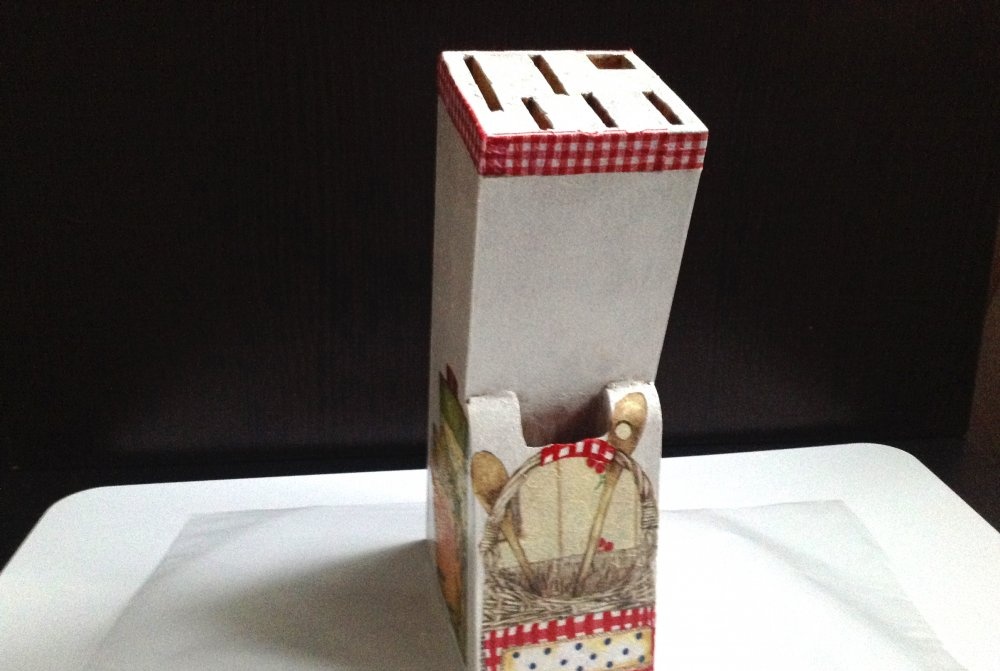
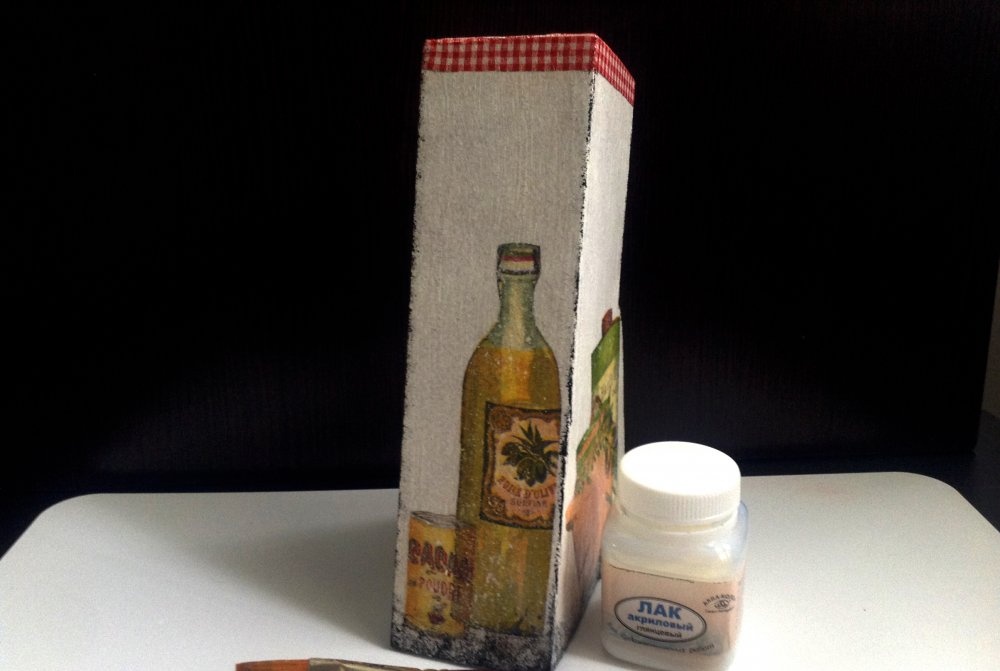
Lightly dip a sponge with dark acrylic paint on the edges of the stand if the edges of the drawings are too distinct. And to make the picture stand out less from the white background, apply a little white paint to the old toothbrush and spray randomly the sides of the stand.
After complete drying, apply an acrylic varnish with a brush and leave to dry for another 40 minutes.
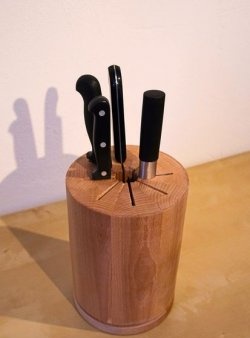
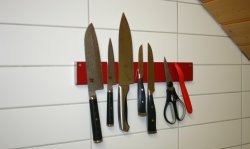
The knife stand has been updated and is completely ready for use as intended.