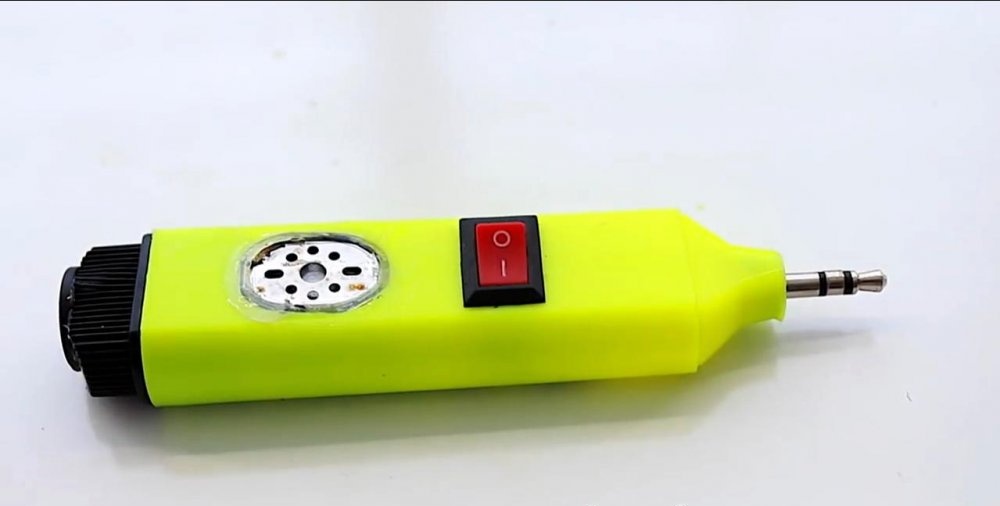
Today we want to present you a powerful external speaker made from a simple marker. And this is not a typo, we really will give a second life to the dried up and unnecessary felt-tip pen, which is usually thrown away because it no longer writes!
The miracle of technology will be small, but quite loud, and will provide decent sounding of your favorite tunes, clips or movies directly from your smartphone. This gadget is also convenient because it is as easy to use as possible and does not require any additional software. It is enough to connect it to the headphone jack on the smartphone and activate the work with the usual button-switch. And how to make this device with your own hands, we will now tell.
Essential Elements for a Homemade Column
Most electronic parts for small gadgets like this are taken today on a Chinese site . Our device is also no exception, therefore, for its manufacture, the author used a suitable tool:
- A small soldering iron for soldering small printed circuit boards and parts;
- Precision conical drill;
- Technical drill with abrasive nozzles.
The markup was carried out with another felt-tip pen, which is still suitable for writing).
It is worth noting that the author used a drill and a precision drill for greater convenience in work. However, they are easy to replace with a regular paint knife and a set of suitable drills for a screwdriver or drill. To connect the elements you will need copper insulated wires and solder.
The author carried out the installation of components using hot glue, since today no worthwhile electronic invention is complete without it)).
The following materials will be needed:
- The marker is flat;
- ;
- ;
- Mono Jack Plug 3.5 mm;
- ;
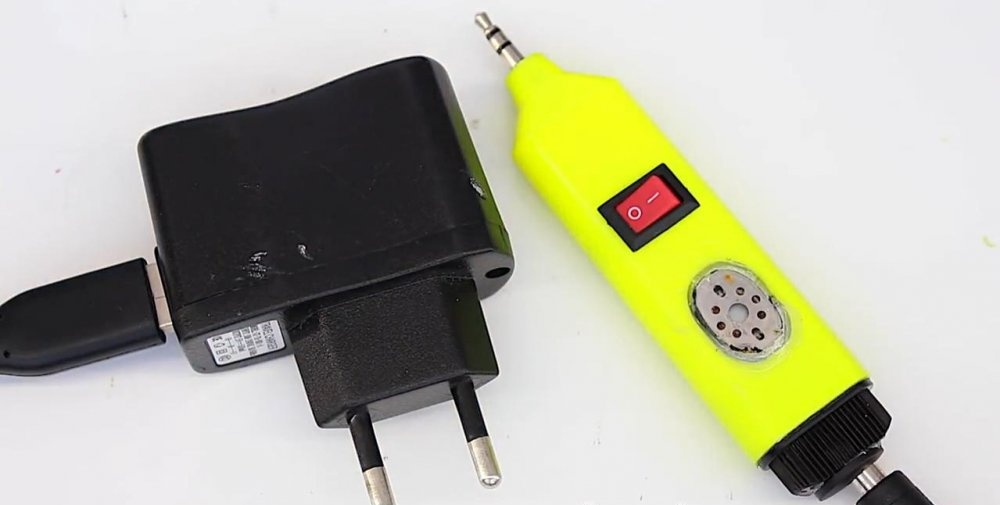
- Plug for charging the battery, 5.5 connector for laptop power supplies;
- Button switch.

Getting started making a wonderful speaker for a smartphone
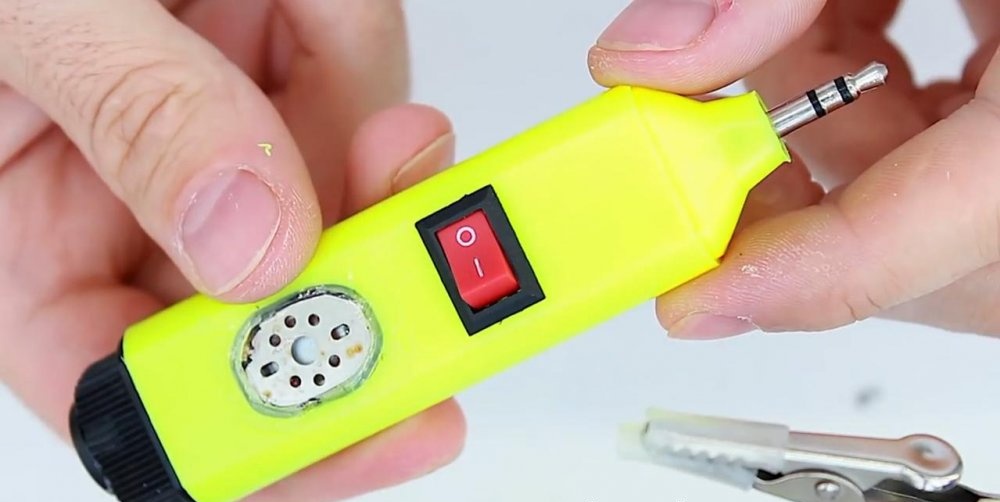
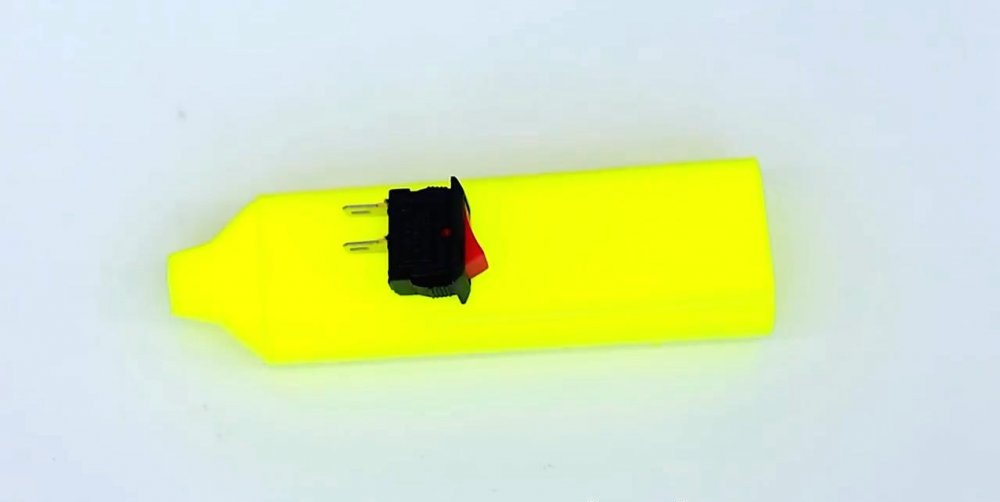
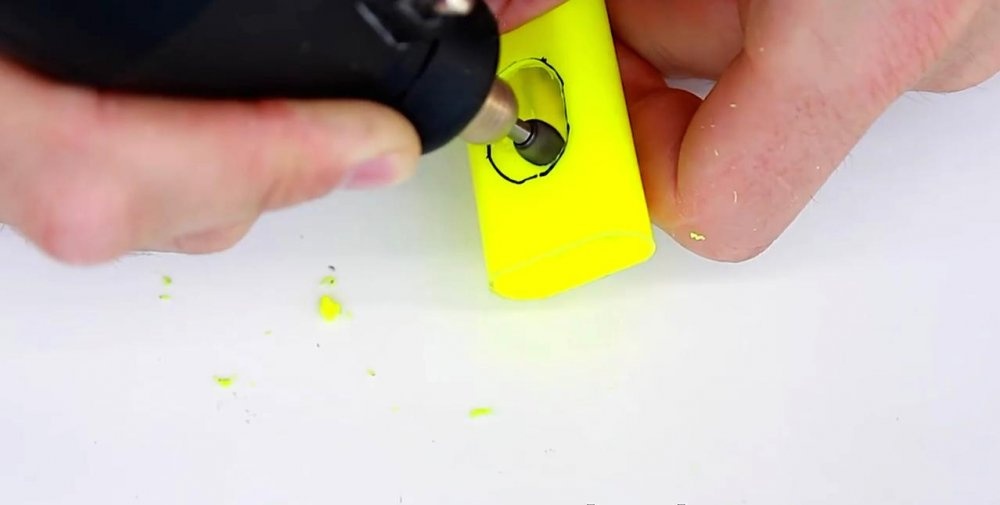
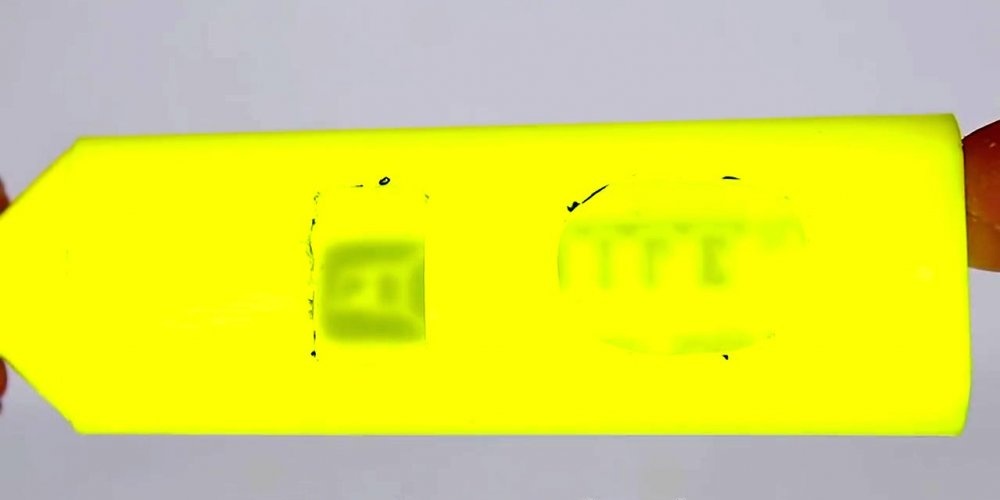
First you need to prepare the main component of our device - a marker. His body was gutted from the filling. We cut the neck with a knife, and drill the inlet with a drill for a 3.5 mm plug. We leave the marker cap and cap, we will also need them.

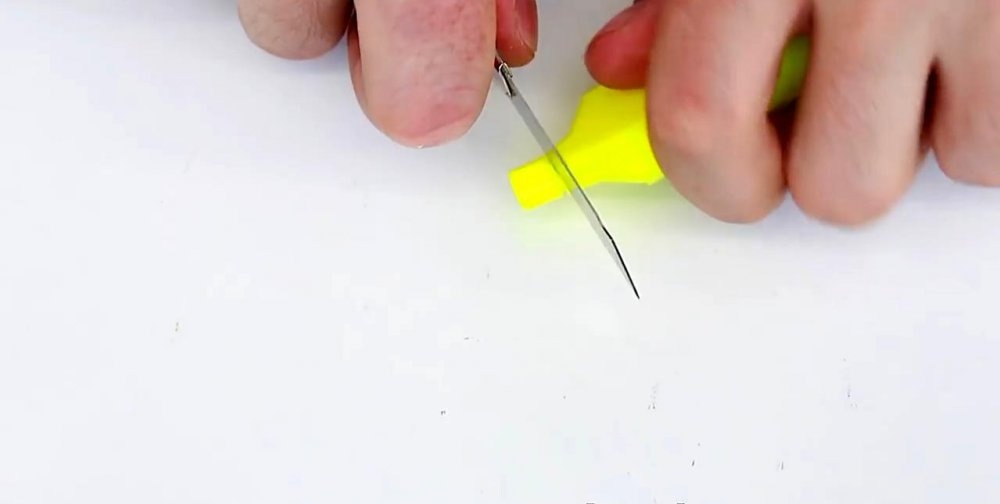
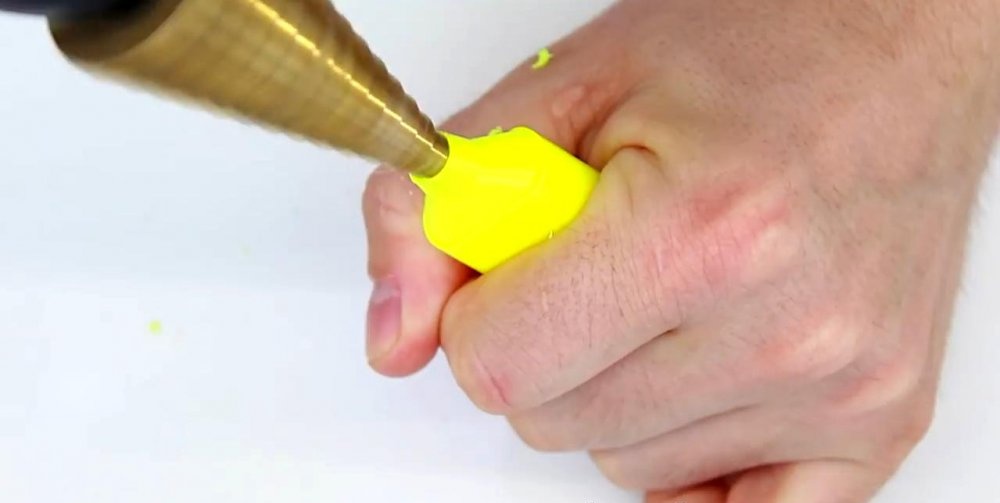
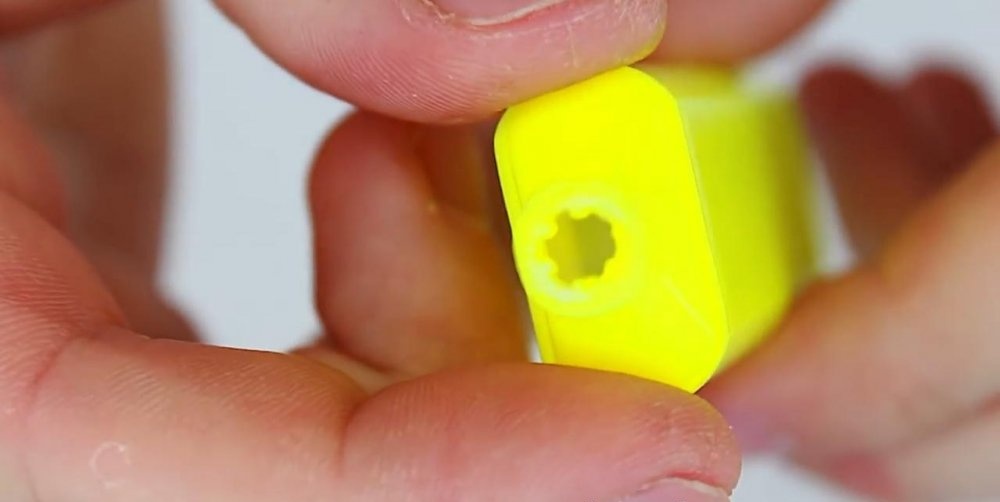

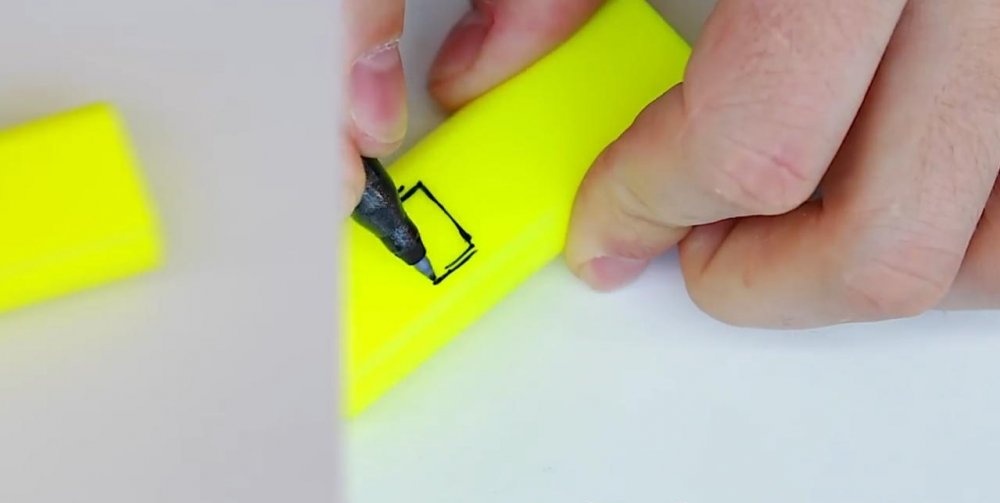
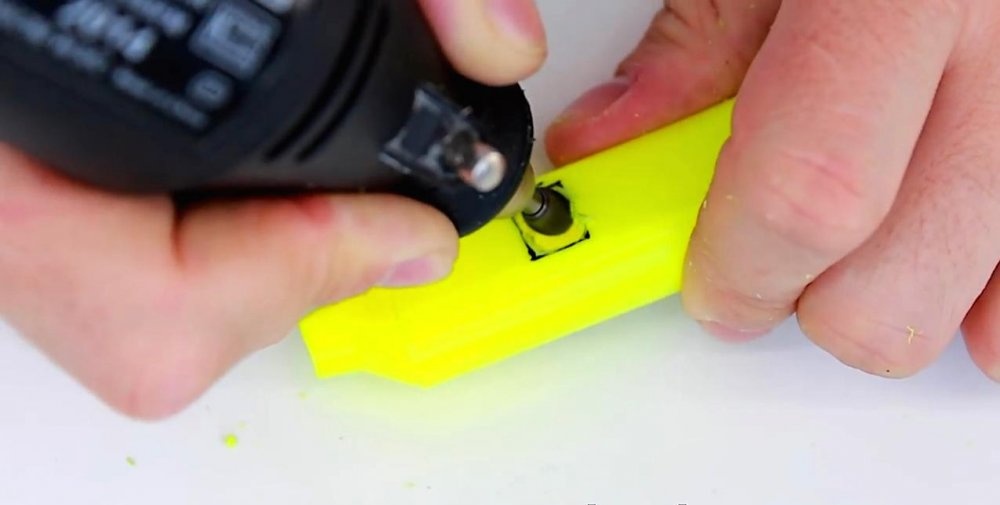
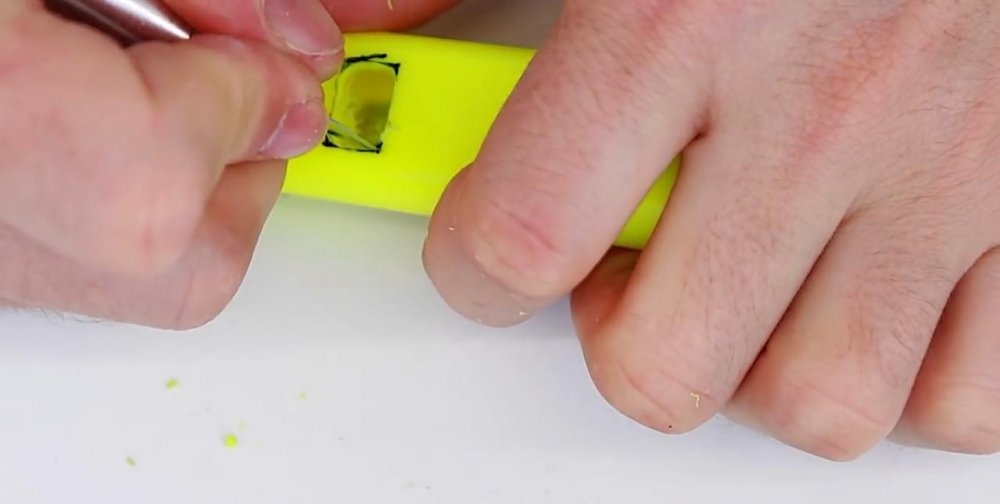
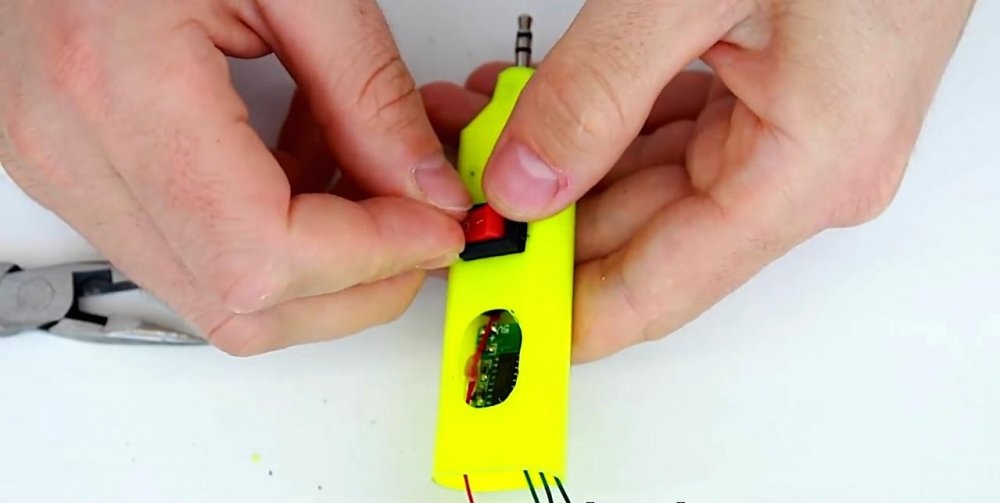
Mark the hole for the switch button with a marker closer to the neck, drill it with a drill or drill, and cut the edges with a knife. In the same way, we customize the speaker.
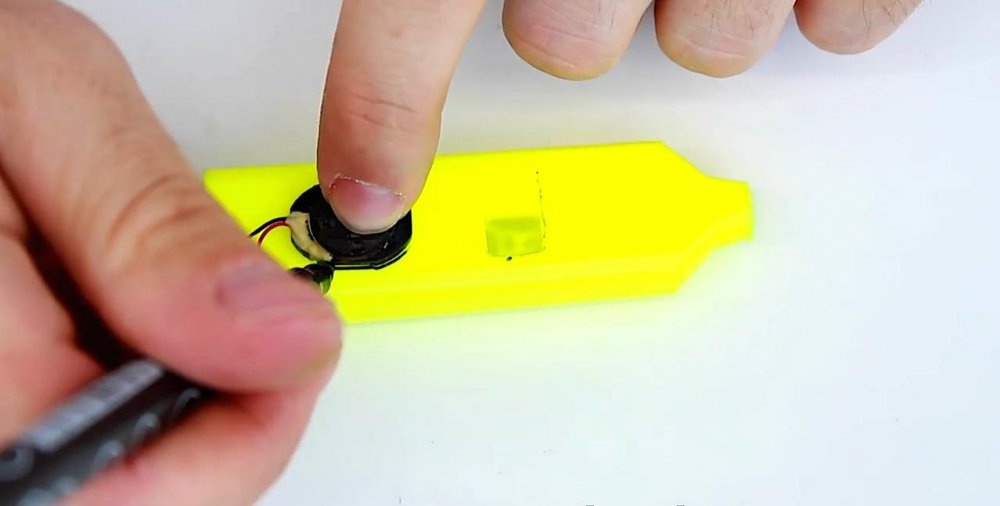
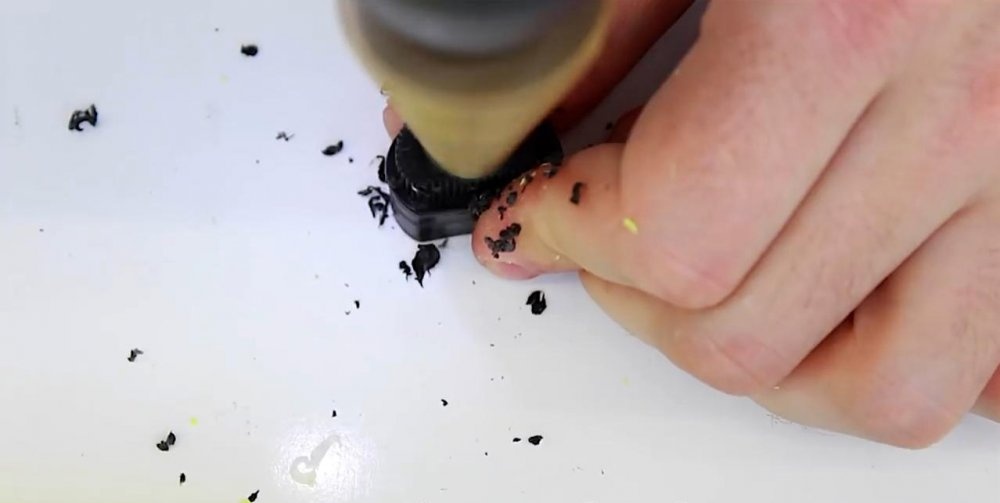
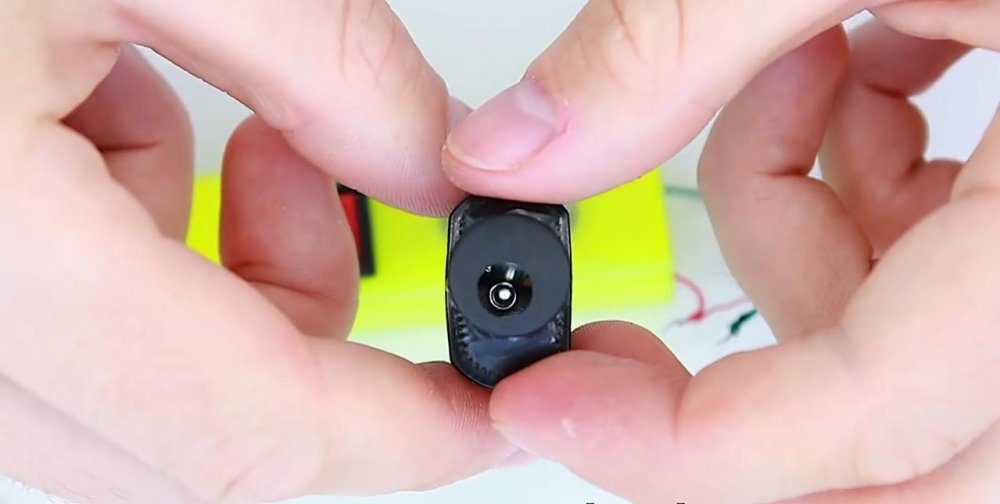
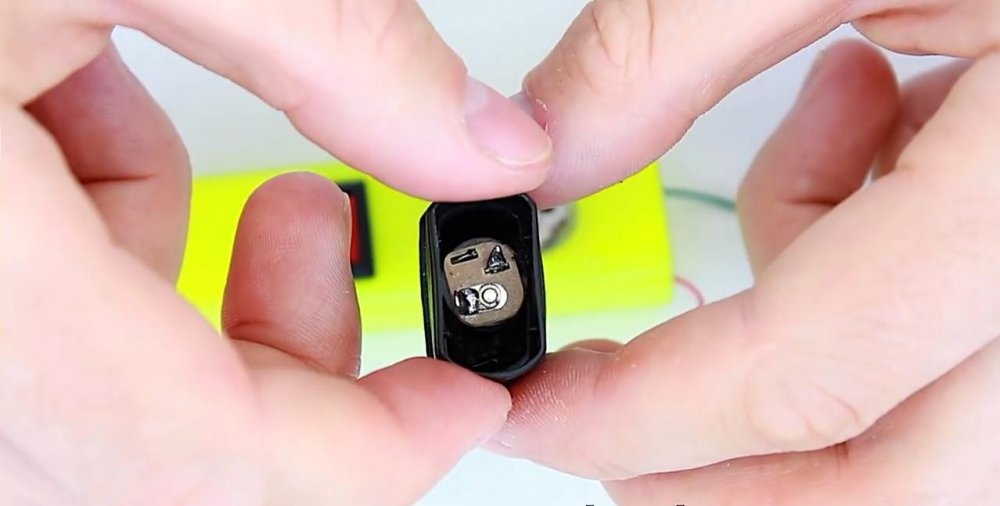
The regular speaker housing will create unnecessary volume, so we get rid of it by drilling it with a drill and cutting it out with a knife.

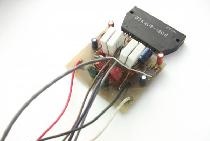
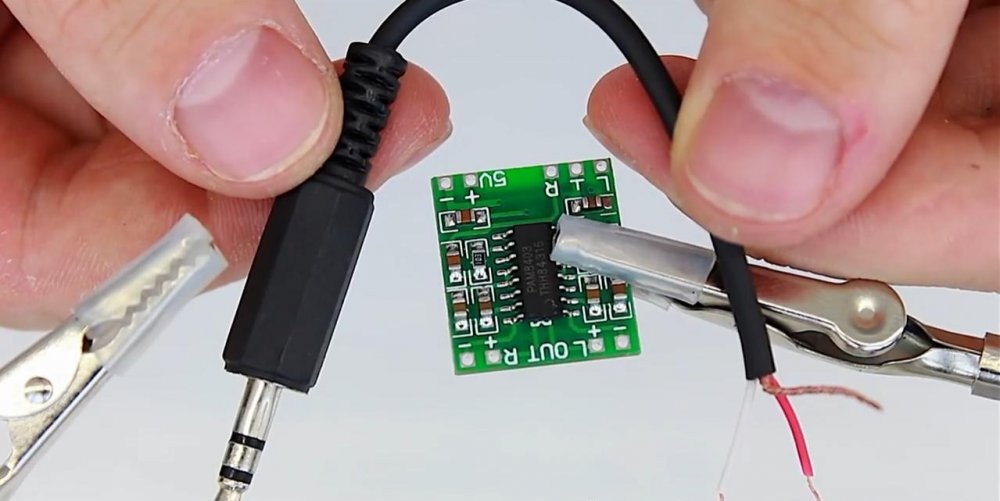
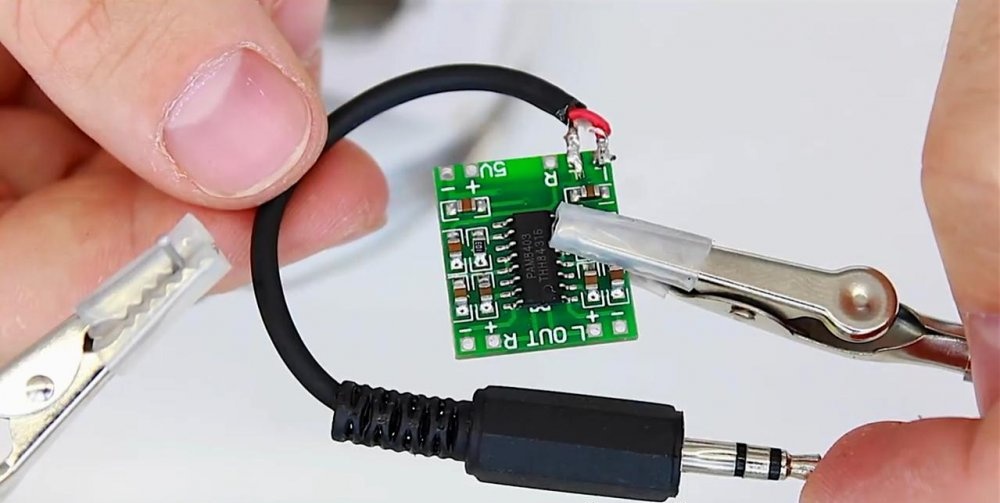
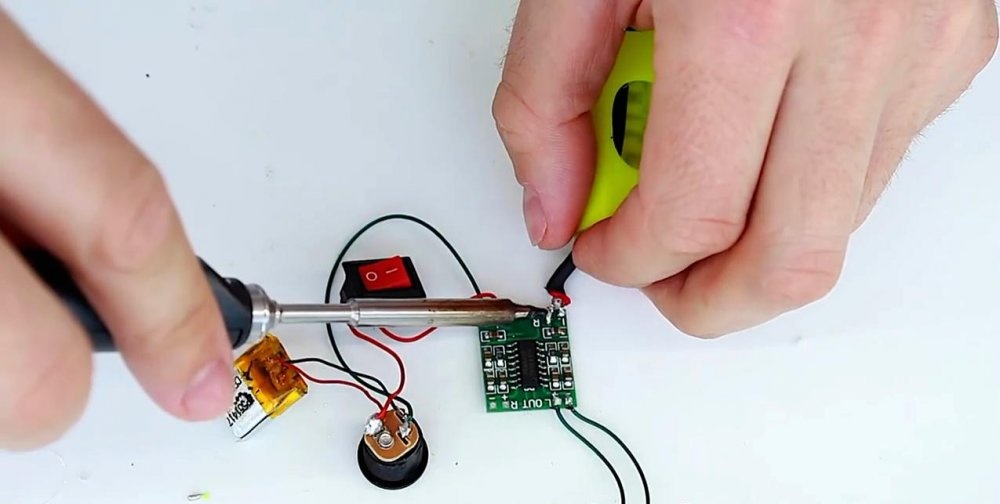
The plug must have output contacts of sufficient length. We solder them to the digital amplifier module board on the input, and the speaker on the output.

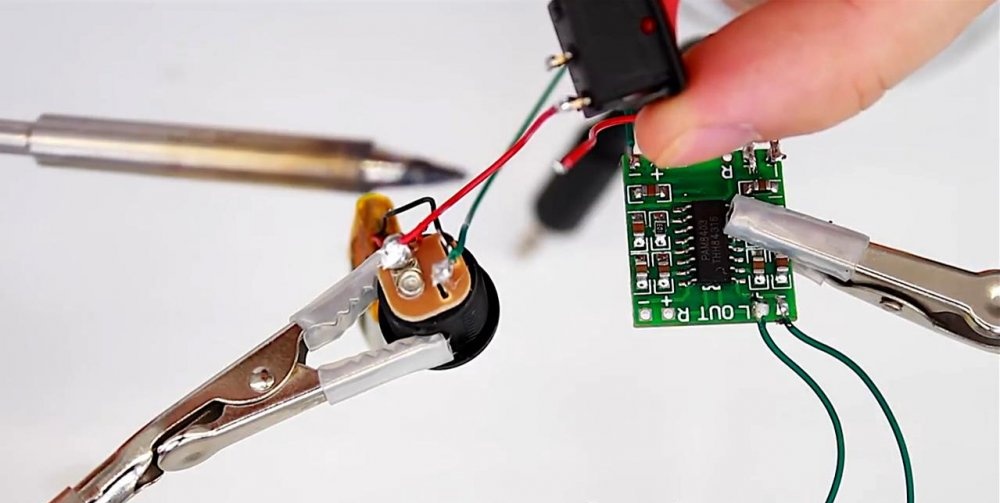
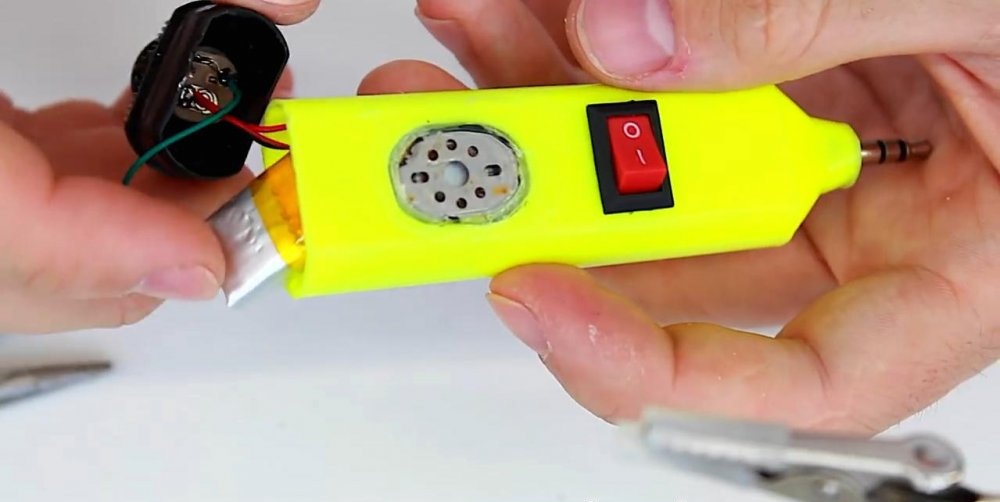
Next, we connect the solder to the charging socket and a 3.7 V lithium-ion battery, selected in advance in size.


From the charging socket, we output two supply wires through the button to the amplifier board. An exploded view of the circuit is as follows (photo).

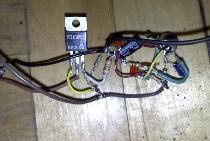
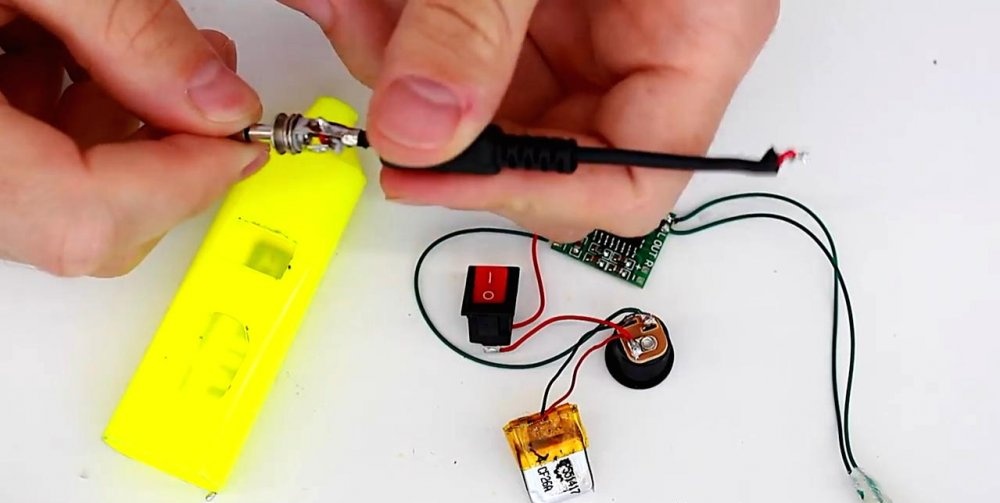
The 5.5 mm plug is too large, so the author chose to remove it by soldering the contacts. After this procedure, the plug is returned to its place.

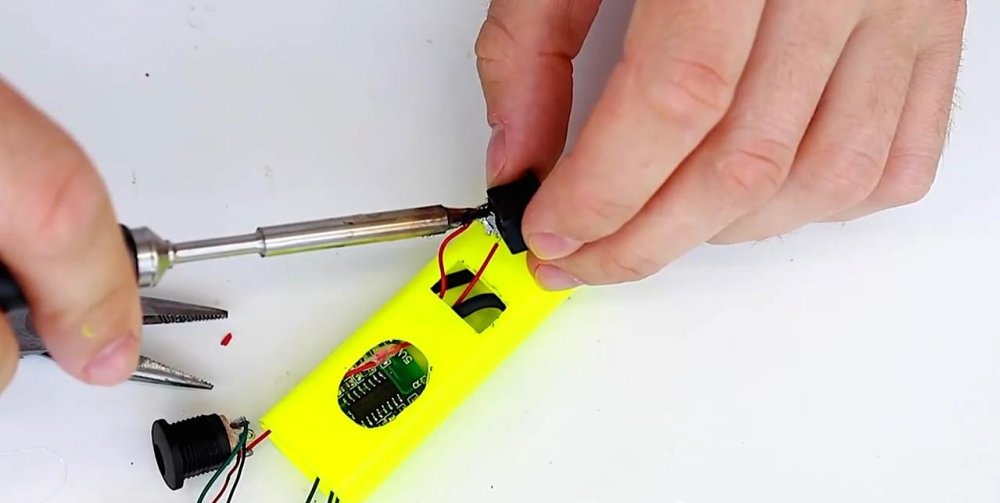
According to the author’s idea, the gadget’s charging socket is located in the back cover of the marker. We drill a hole under it, and set the nest on hot glue.We connect it using copper wiring.

Now the device can be assembled by placing all the elements in the marker body. First, we mount the distant element - the microphone, then the button with the amplifier. The locking element will be a plug that must fit snugly into the neck of the marker. We fix it and the marker cover with the charging slot additionally on hot glue.


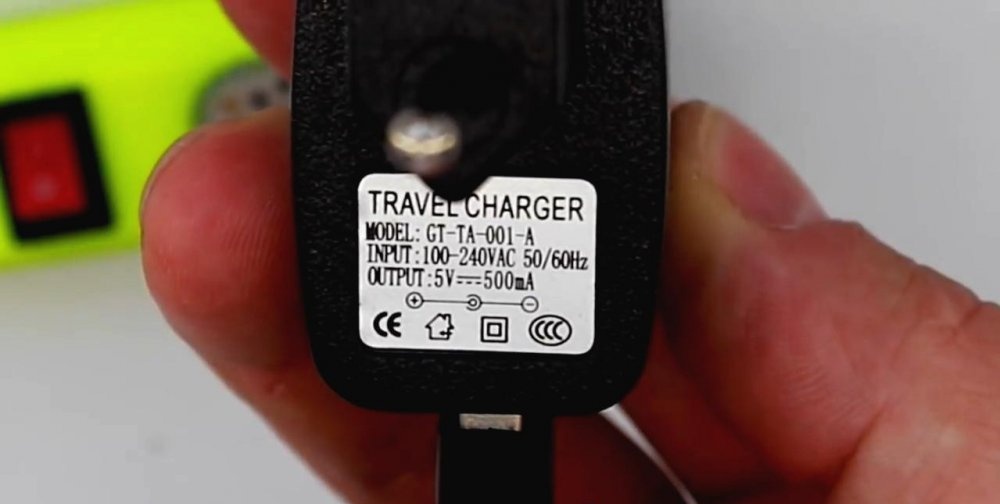
For charging, a conventional charger of the following ratings is suitable (photo). We connect it to charge the speaker battery.
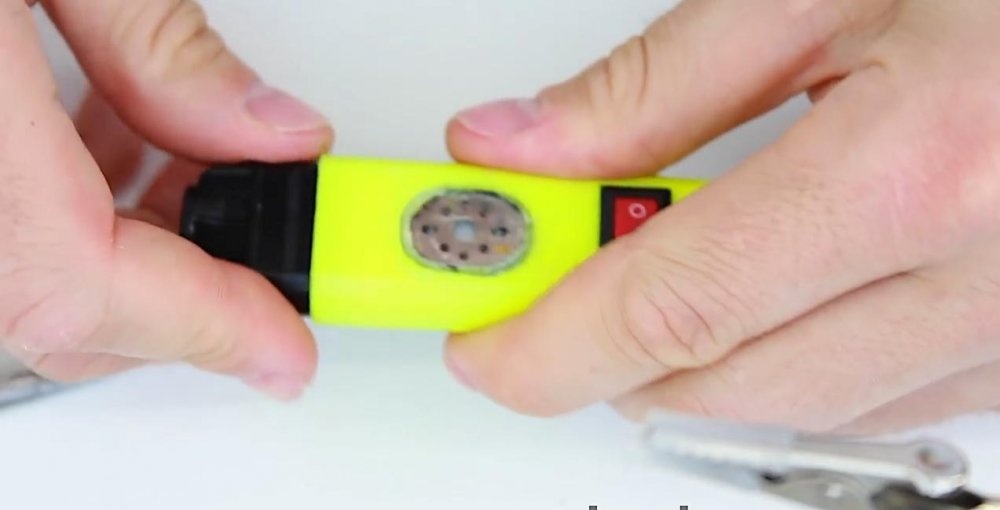
A button on the case allows you to turn on the device as desired, when necessary. When closed, such a compact device cannot be distinguished from a conventional marker at all.
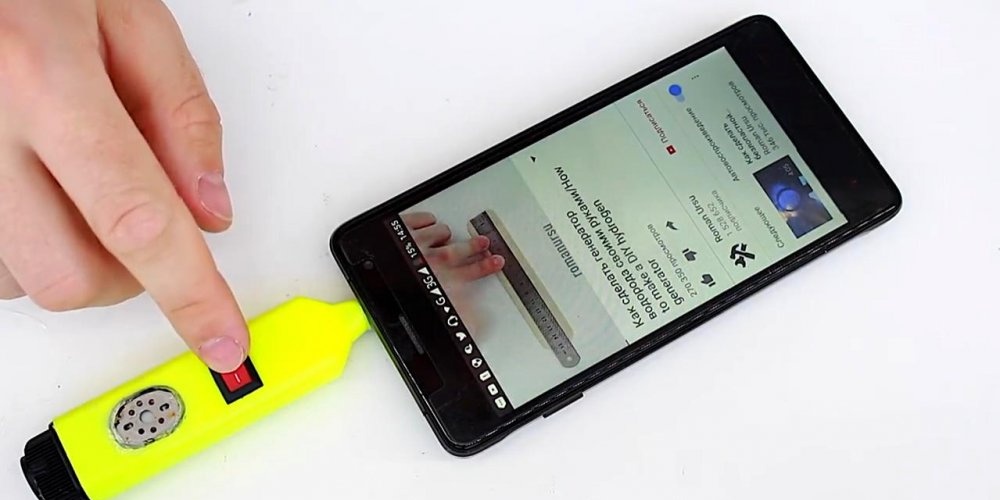

We connect the column to the headphone jack on the smartphone and enjoy powerful sound!