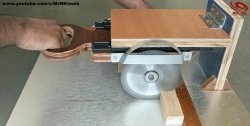
Professional pendulum saws are a very accurate tool, because this is its charm. The usual cut can be done with anything, for example, a grinder, a jigsaw or a hacksaw. Trimming is sawing strictly at a given angle, which is very important in the manufacture of metal structures, of furniture or plastic windows.
Such a professional tool is quite expensive. We offer the option of home-made trimming based on the grinder. She has enough turns, and the width of the disk will allow sawing more than one workpiece, which will make this device quite popular for any workshop.
The advantages of a pendulum saw
- Precision cutting;
- The ability to cut the workpiece at an arbitrary angle;
- Work safety;
- Versatility - you can cut wood, plastic, metal;
- Speed;
- Practicality (convenience) of work.
Resources required for making home-made trimming
Materials:
- Textolite, thickness - 1 cm;
- Axis from the bicycle carriage;
- A grinder with a 230 mm disc;
- A section of a profile pipe 40x25;
- Metal plates with a width of 30-40 mm, a thickness of 3-4 mm;
- A pair of ball bearings with clamps;
- Metal bar with a diameter of 10-12 mm;
- Elastic spring;
- Metal corner 30x30 mm;
- Paint for metal;
- Bolts, nuts, washers.
Instruments:
- Bulgarian;
- Jigsaw;
- Drill or bench drill;
- Epoxy adhesive;
- Welding machine;
- Wrenches, pliers;
- Roulette, pencil.
Manufacturing process
Bed and movable shaft
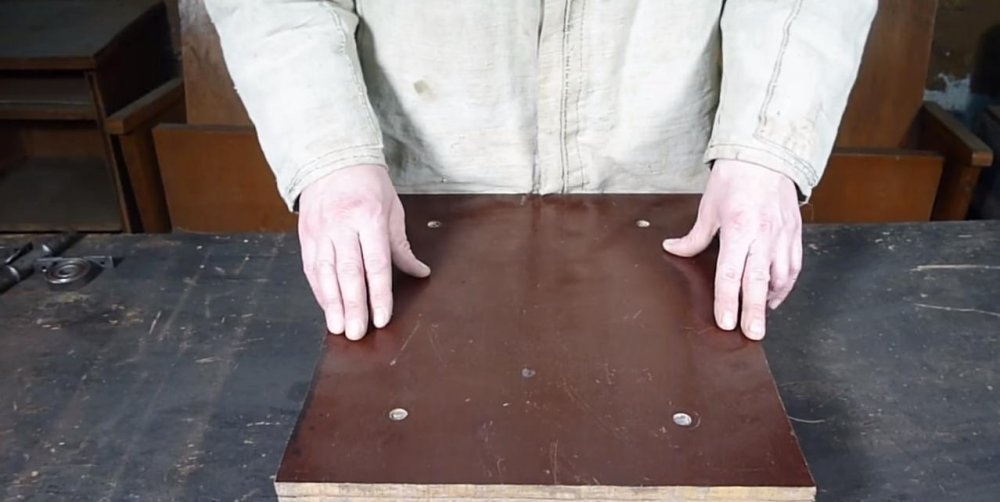
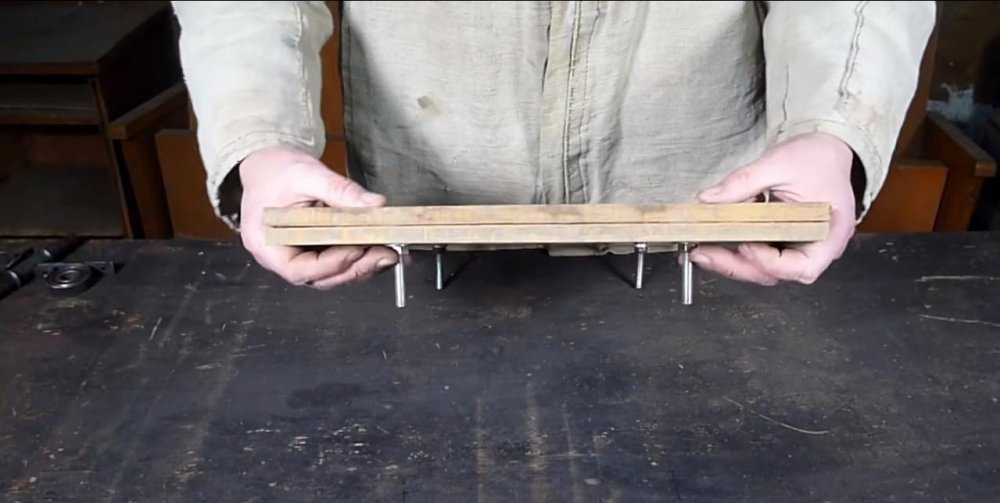
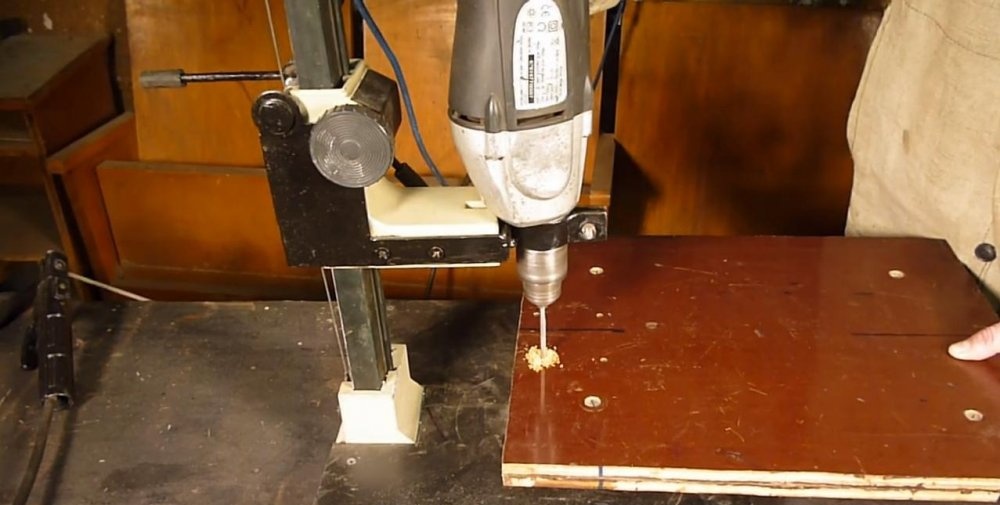
As a bed the author chose an excellent material - textolite. It does not burn, does not deform under the influence of temperature and is absolutely moisture resistant. Two sheets of PCB are spliced together on an epoxy resin, and pulled together by bolts at the corners, which in addition also act as legs for the machine.
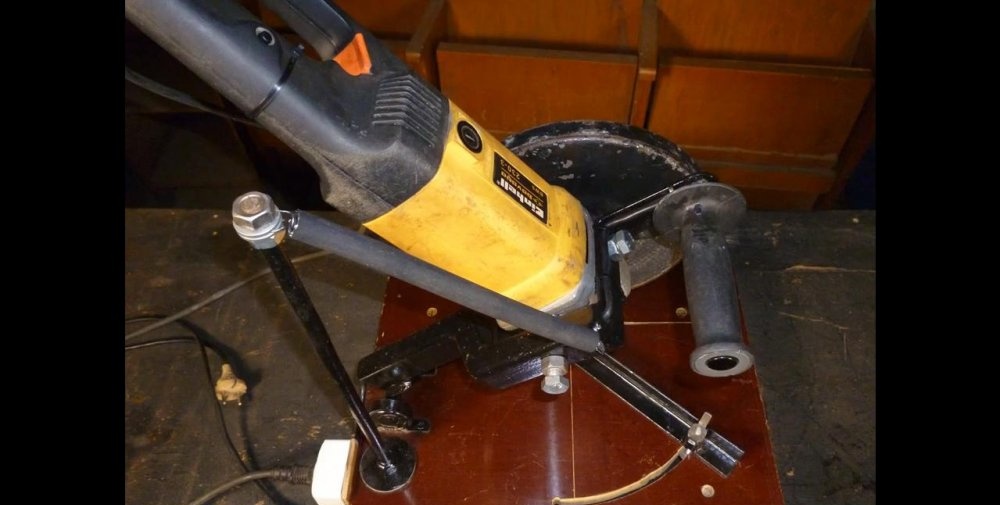
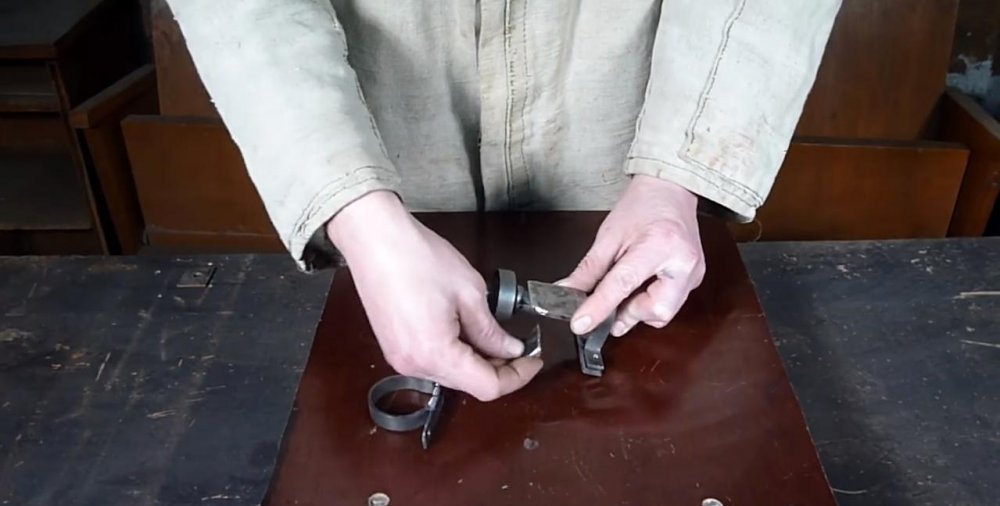
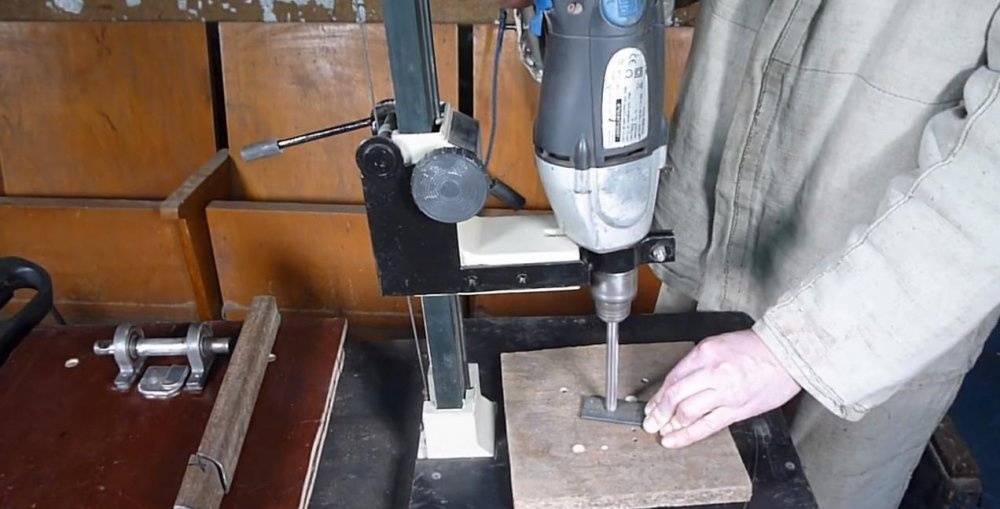
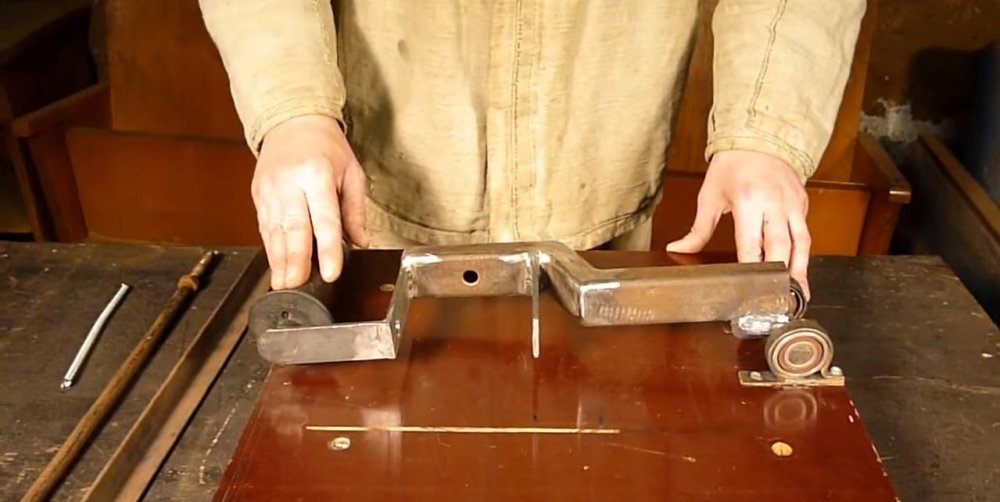
For the movable shaft of the lever, the axis from the bicycle carriage is suitable. This part has protrusions that are used to fit bearings. To fix the bearings on the bed, two clamps are needed. They can be made from any metal strip of suitable width.


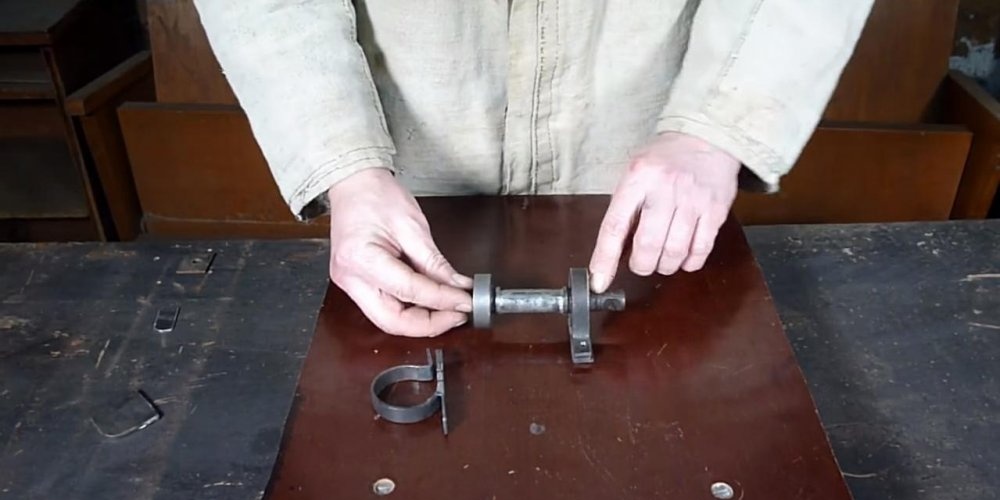
We fix the movable shaft with bearings on the bolts to the bed with clamps. The middle of the shaft axis needs to be prepared (cleaned) for welding with the lever adapter plate. Subsequently, it will be reinforced with a stiffener from a small piece of metal.
We make the lever for trimming
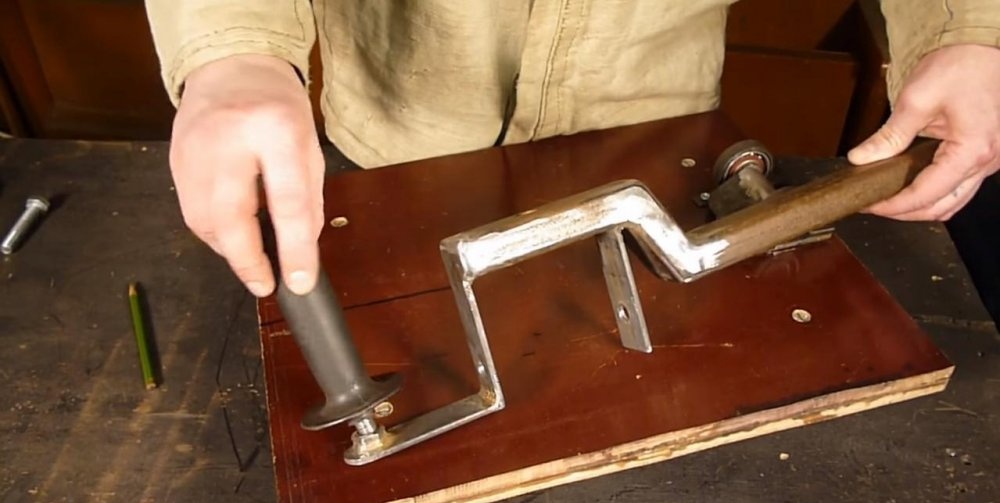
The lever mechanism is made from a profile pipe. This molding is convenient in that it has strict edges and the correct shape in cross section, which means that it will not be difficult to maintain an even path of inclination of the grinder.
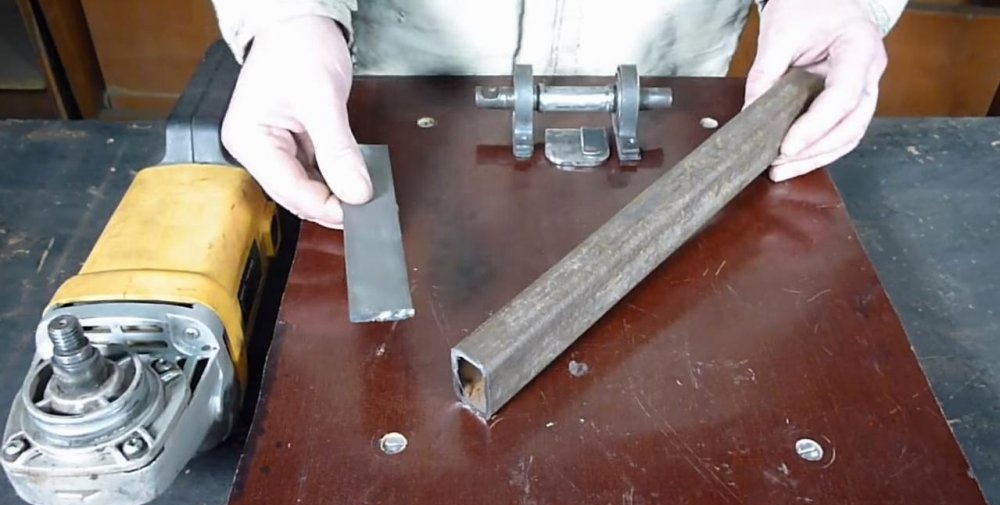
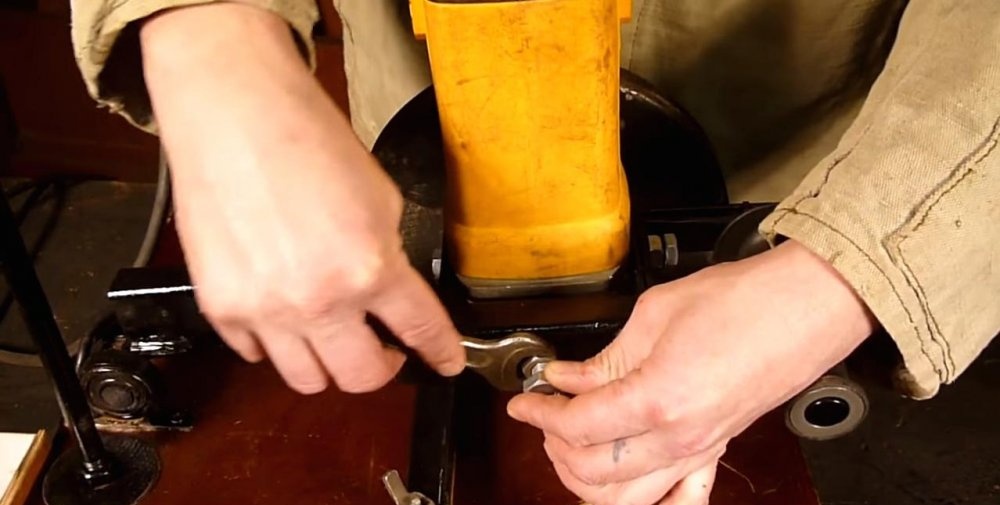
The curved part is equal to the size of the gear head of the grinder. We cut it with a grinder and boil the corner joints. It is also necessary to make holes for mounting the tool. Since it weighs a lot, the holes for the mounting bolts should be from all three planes with which the grinder is adjacent to the lever.
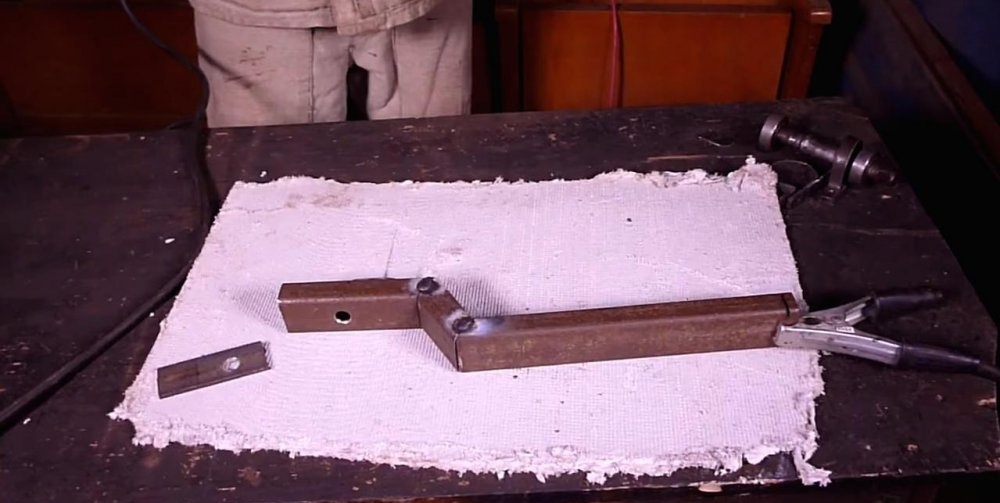
The final element will be a plate placed at right angles to the axis of inclination of the lever. The handle of our trimming will be fixed in it.
We weld the adapter plate at the end of the lever, and also fix it on the shaft. At the opposite end of the lever we mount the handle.
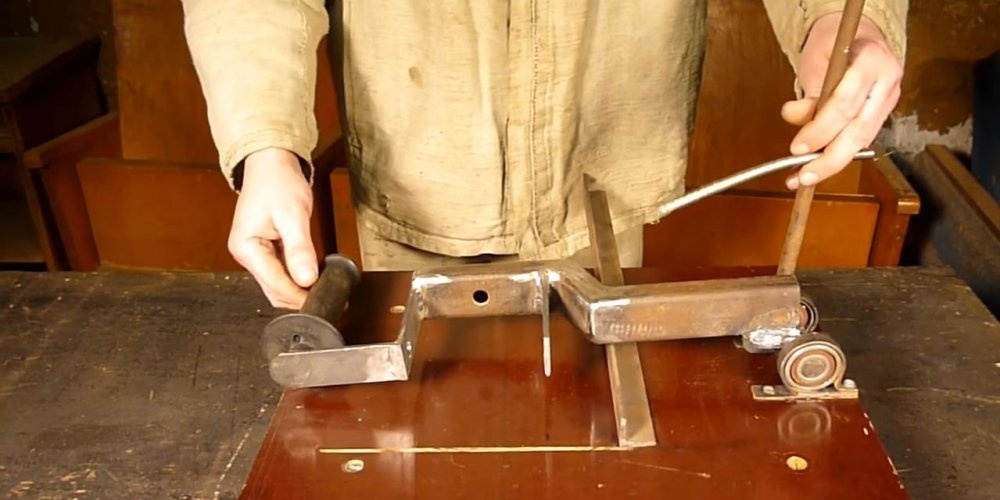
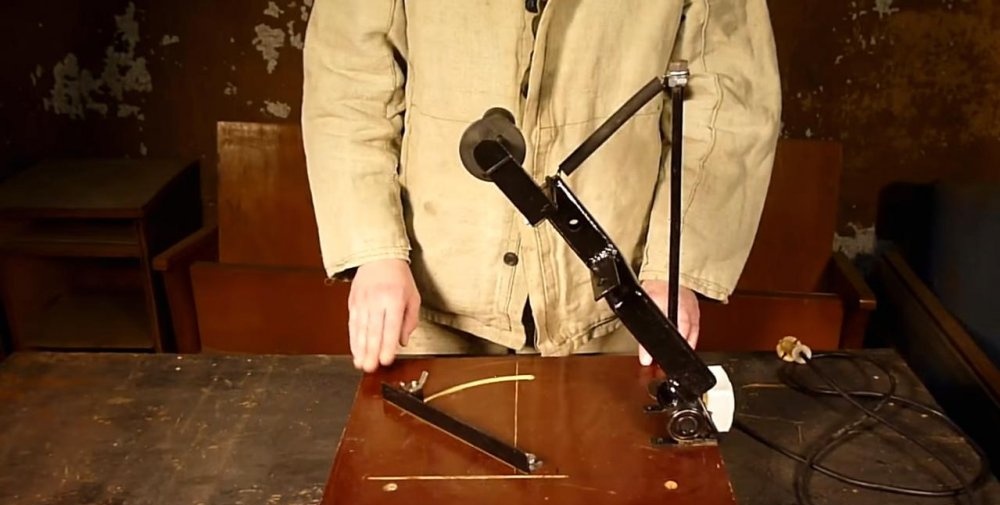
Return stand, retaining plate
The return mechanism of the lever on the pendulum saw performs various spring mechanisms. In our case, this will be a very simple option, consisting of a rod and a spring stretched over the lever. We cut a thread about 5-6 cm deep at the end of the metal bar. We screw the nut all the way, put a washer and pull the stand on the bed almost close to the bearings so as not to weaken the spring. We clamp one end of the spring with two nuts on the rod, and the second we hook onto the welded nut on the lever.
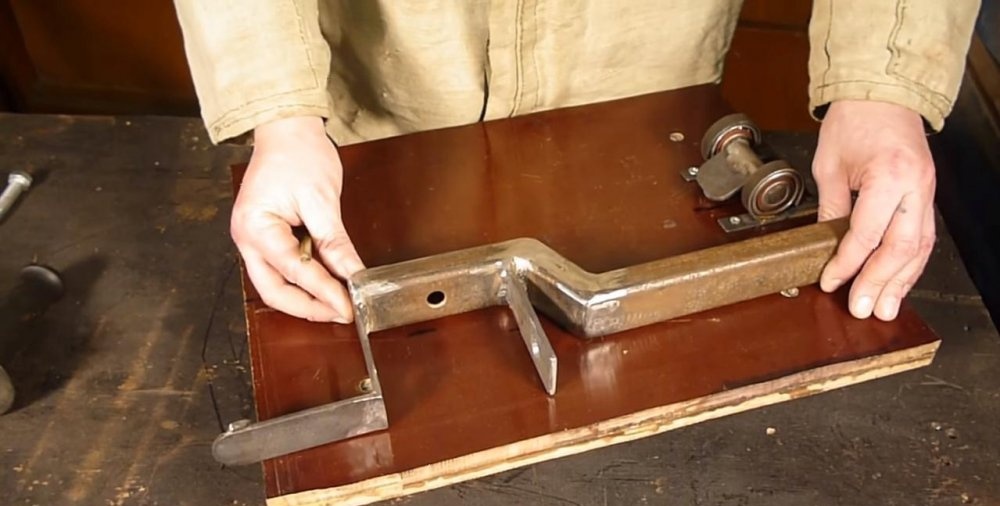
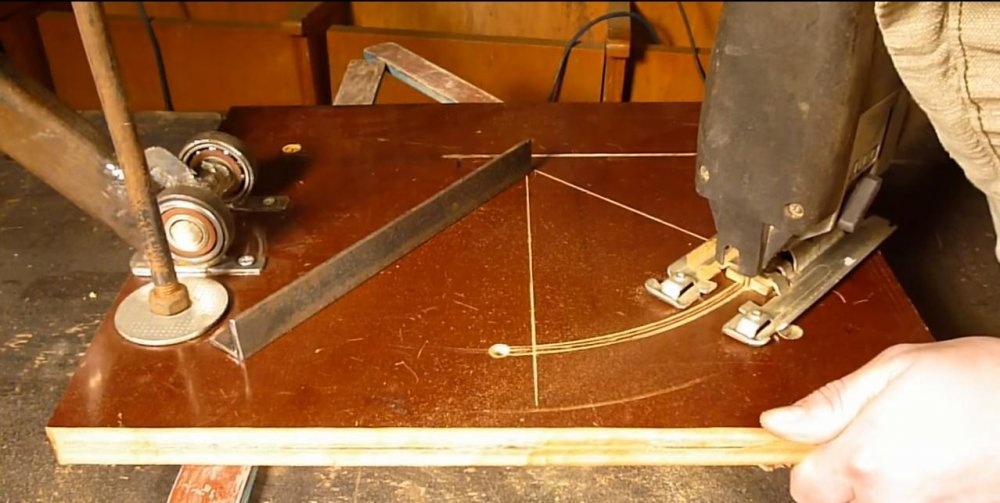
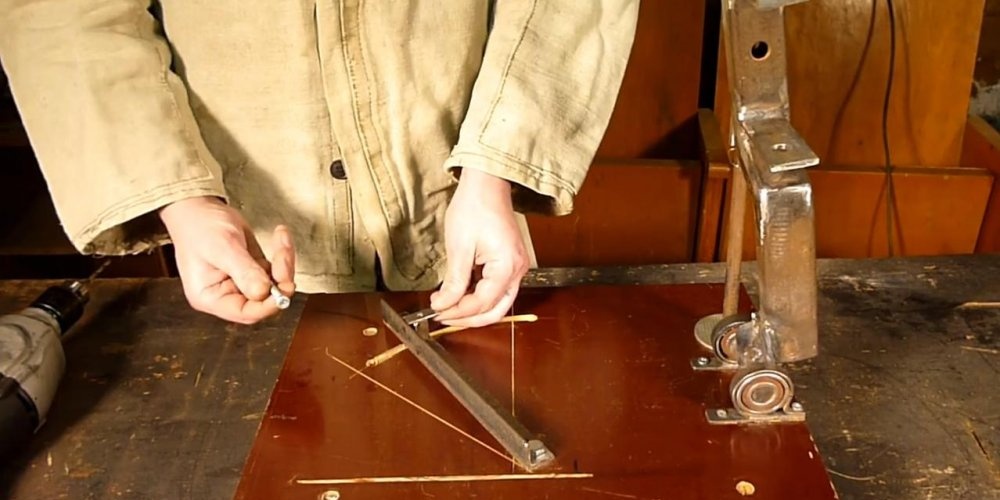
In order to more reliably place blanks on the bed, it is necessary to make a persistent bar. We make it from a small metal corner 30x30 mm. We fix it on one bolt at the very edge of the cut left by the grinder to mark the boundary of her work on the bed. Such fastening will allow changing the cutting angle relative to the workpiece stop in this bar.
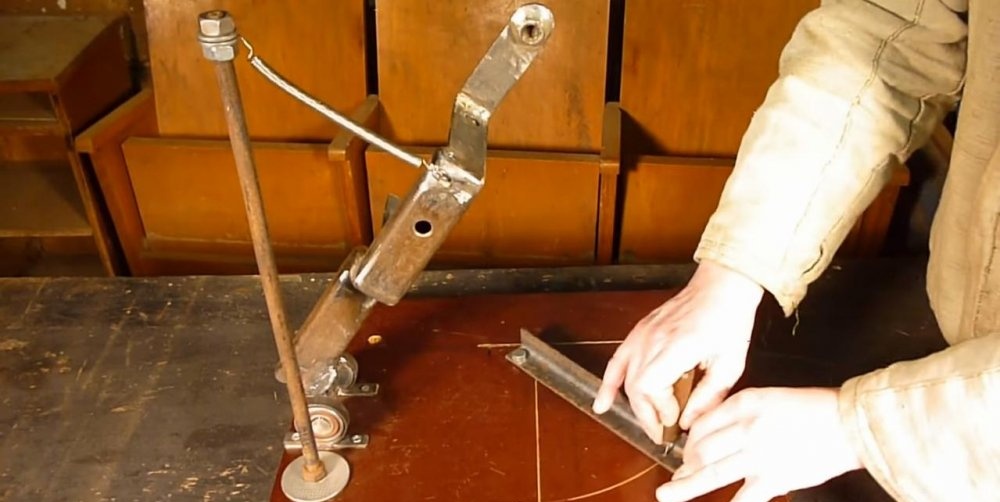
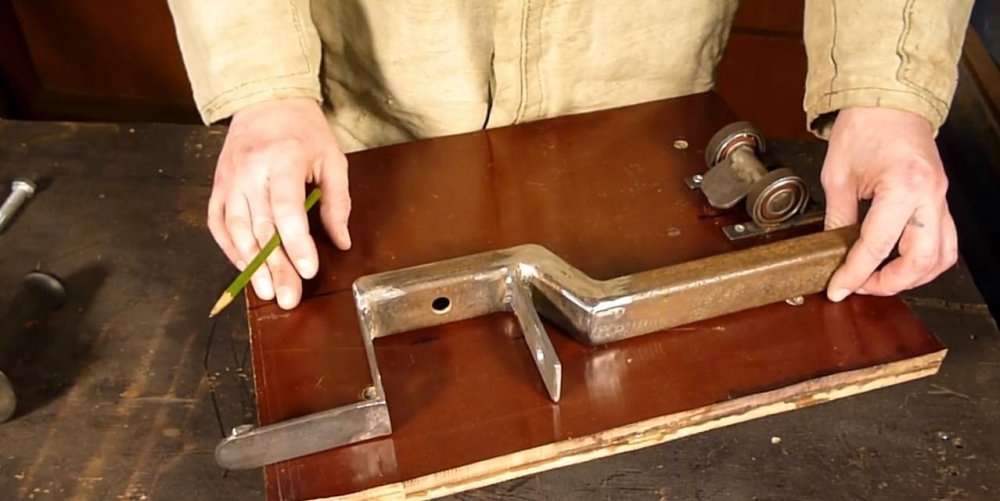
To fix the second edge of the stop, you also need to make a hole for the bolted connection. We mark the trajectory of the plank along the arc along the hole. We drill a hole for a jigsaw file and make a groove with a jigsaw wide in the free movement of the clamping bolt.


It will be more convenient to press the stop if you weld a small segment of a 15x15 square pipe with an arbitrary washer at the top of the hole. The bolt can be taken more authentically so that the wing nut can be twisted easily and quickly by hand.
The metal elements of the machine must be cleaned with a grinder or emery cloth, primed, and then painted. So the metal is better and longer stored, and will be reliably protected from corrosion.
Electrician
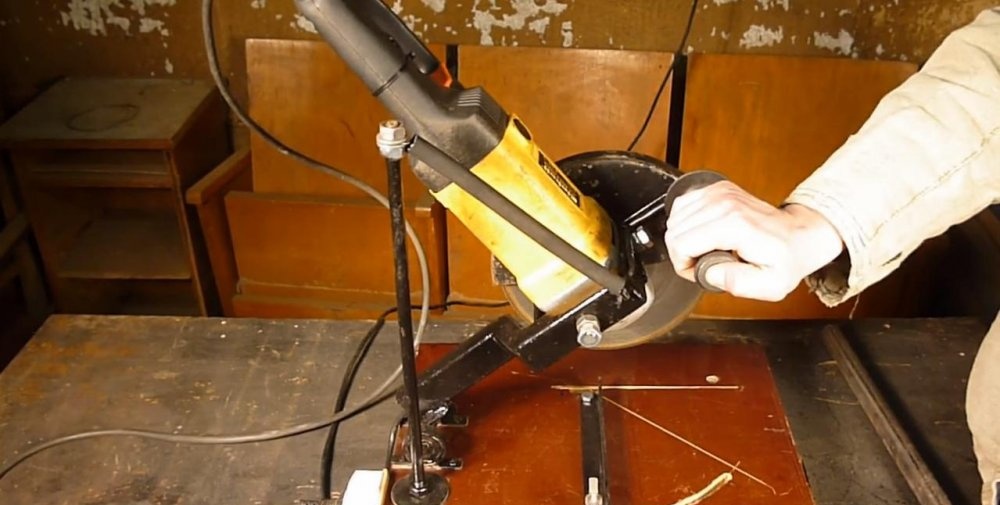
According to the scheme proposed by the author, we mount the grinder power button in the lever handle. On such angle grinders, the standard power button goes without fixing. Here we can put it at will. The instrument connection cable can be left as standard. We bring it to the outlet, which is fixed in the end of the bed. It is advisable to choose a waterproof for outdoor use, which will protect the connection and make it more durable and reliable.
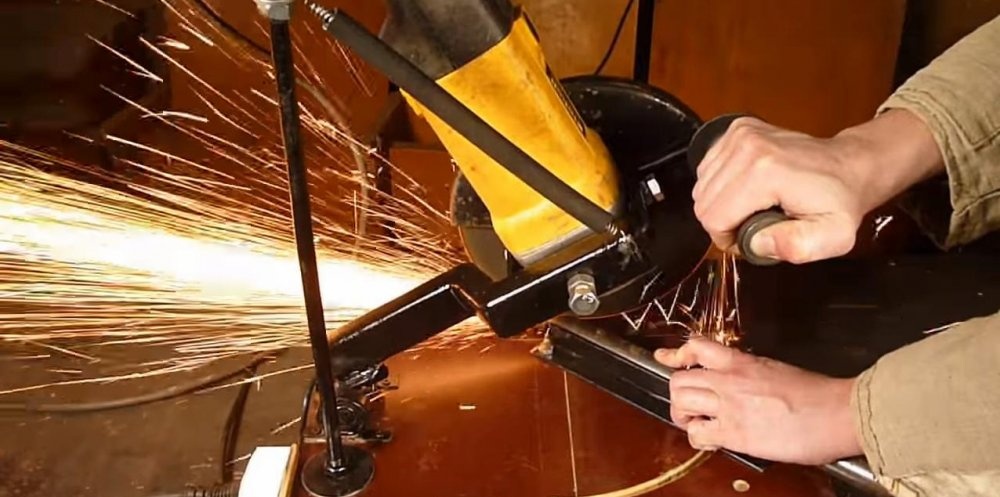
Our homemade pendulum saw is ready. Now you can clamp the grinder in it (angle grinder), and through the extension cord to test in action.

So, with the help of improvised materials you can make a simple and practical tool that is convenient to use, for example, when working on objects.


Safety precautions when working on a makeshift pendulum saw
- Do not forget about the safety precautions for working on such an instrument. Protective gloves and glasses must be worn without fail;
- The grinder must be positioned so that the burning abrasive from the discs flies from the machine, and not to the operator;
- The casing of the grinder should be firmly fixed and turned towards the operator to protect it;
- Do not put excessive pressure on the disk when sawing. Backlash in such a home-made device is inevitable, which means that the disk can jam or even break during operation.