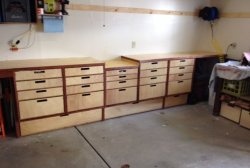
Using a band saw, you can cut flat parts of different thicknesses. Only unlike a jigsaw, both hands are free to work on this equipment, and a comfortable wide bed is offered for moving the workpiece. Most often, a band saw is used to cut blanks of complex curved lines.
The principle of the band saw
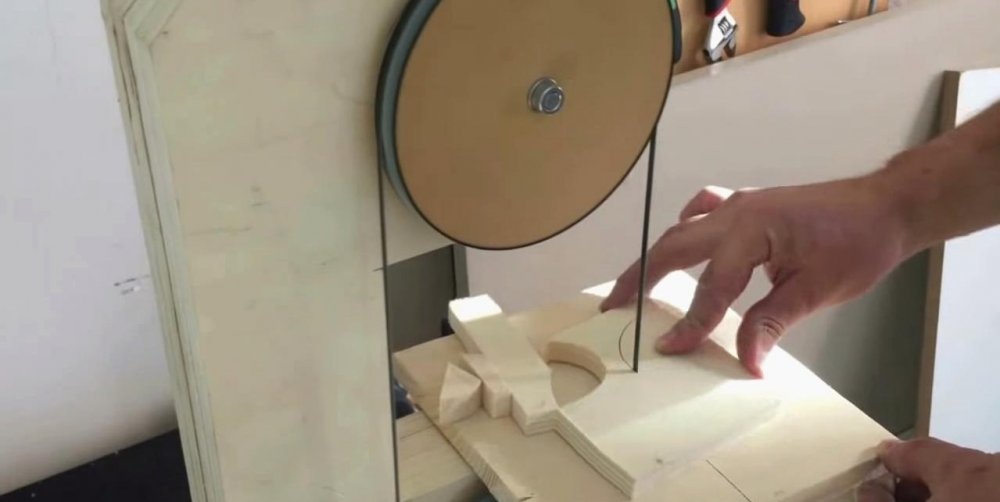
On the vertical bed are fixed two disk-drums transmitting torque from the engine to the metal sawing tape. In the sawing area on the bed there is a working table placed horizontally. On it is the movement of the workpieces and their sawing according to the principle of jigsaw.
We prepare materials and tools
Materials:
- Plywood 16-18 mm;
- Bearings for drum shafts;
- Metal studs with thread for shafts, diameter - 10-12 mm;
- Sawing tape;
- Insulating tape;
- Bolts, nuts, screws, carpentry glue or PVA.
Instruments:
- Jigsaw;
- A circular saw;
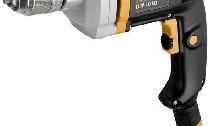
- Drill or drilling machine;
- Emery on wood;
- Clamps;
- Roulette, pencil, sandpaper.
Band Saw Making
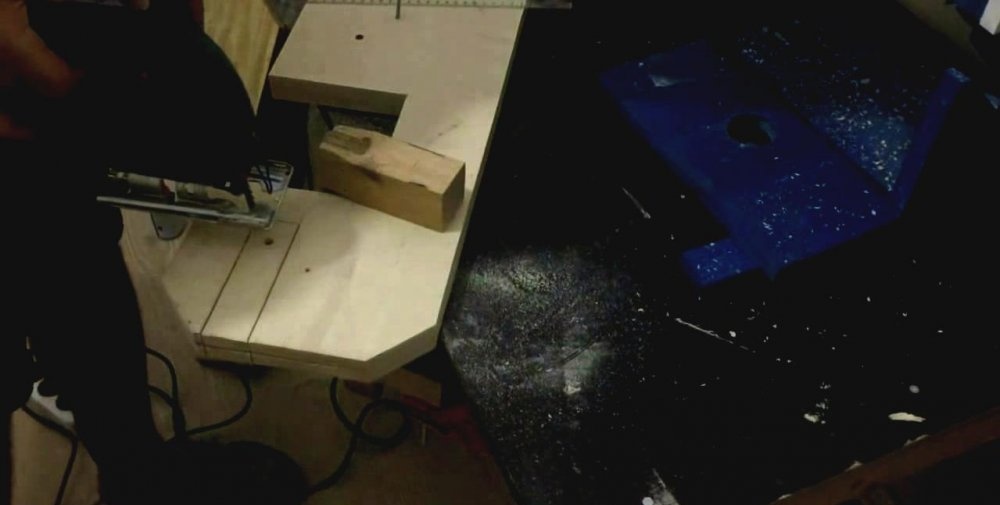
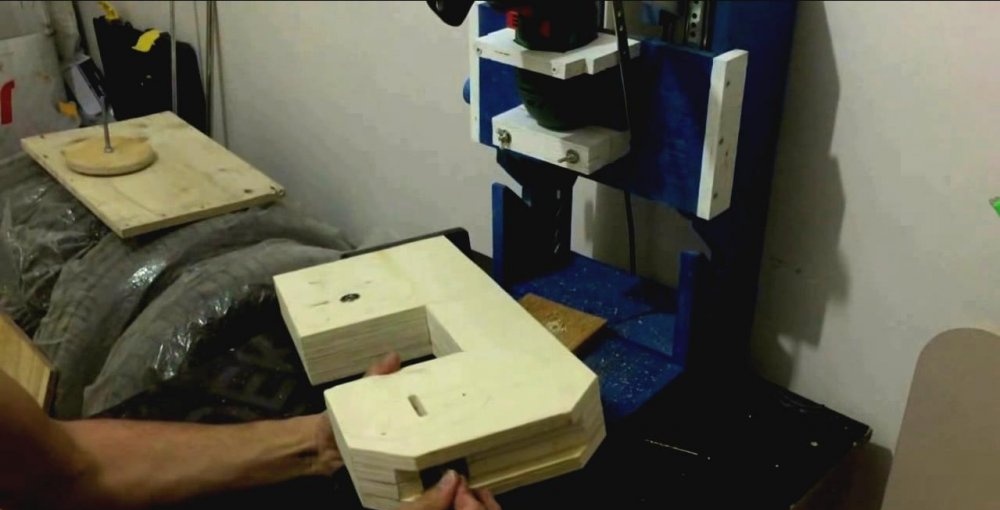
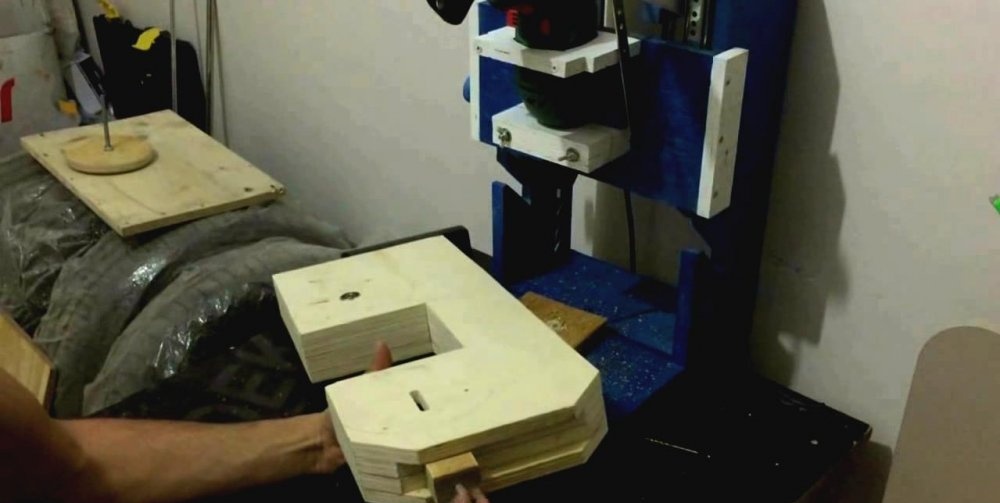
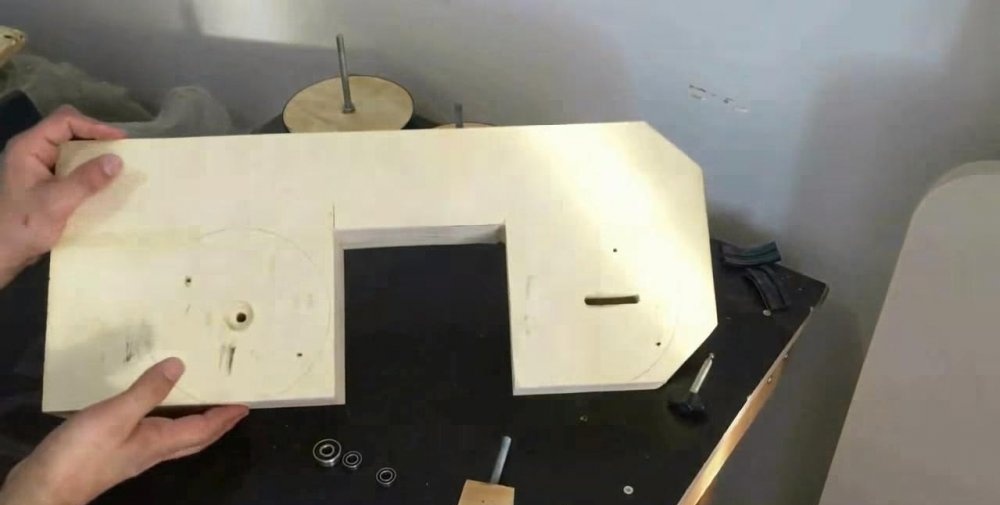
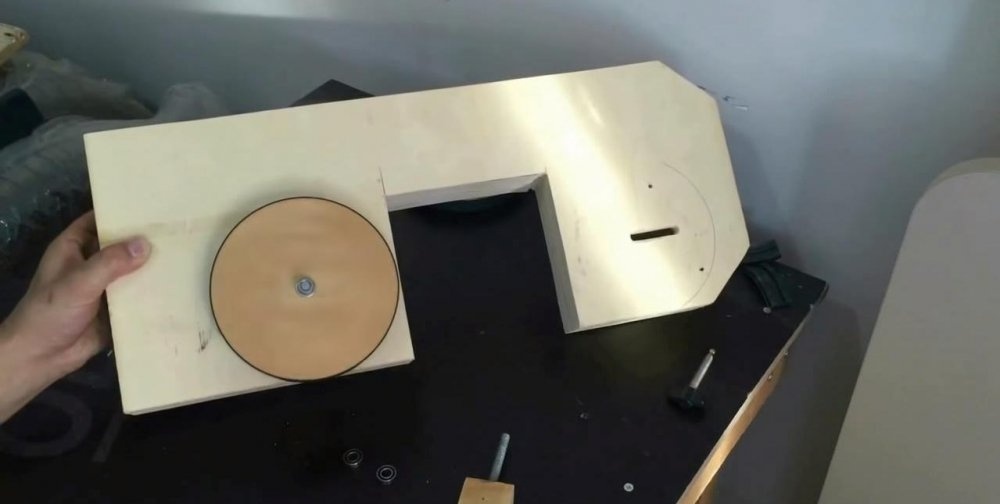
Our machine will be almost entirely made of plywood. Therefore, for the base frame, we cut four identical strips of plywood on a circular or jigsaw, as shown in the photo. It is advisable to take a larger thickness.
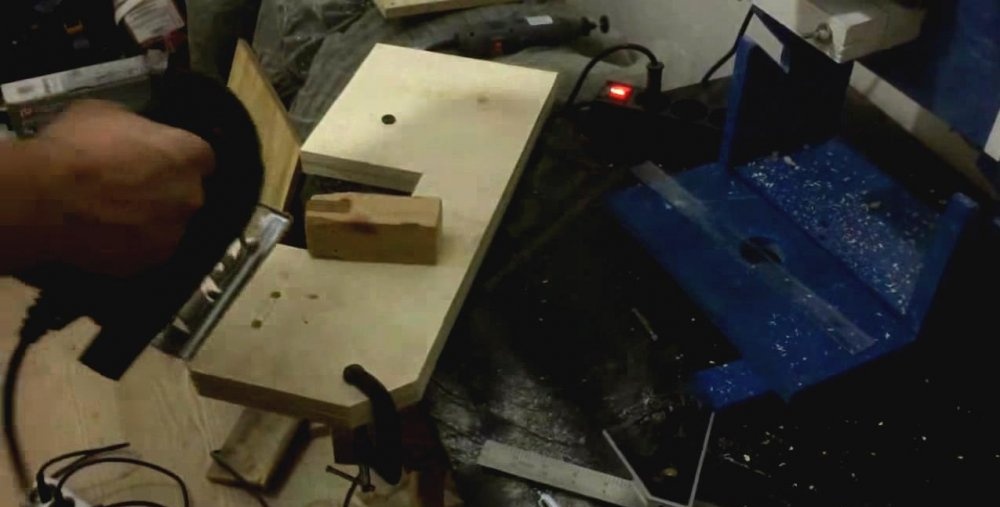
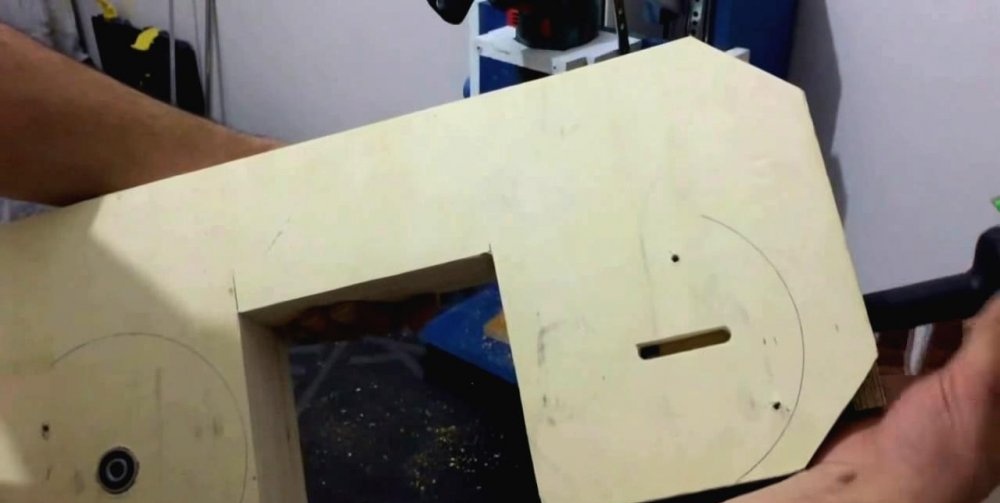
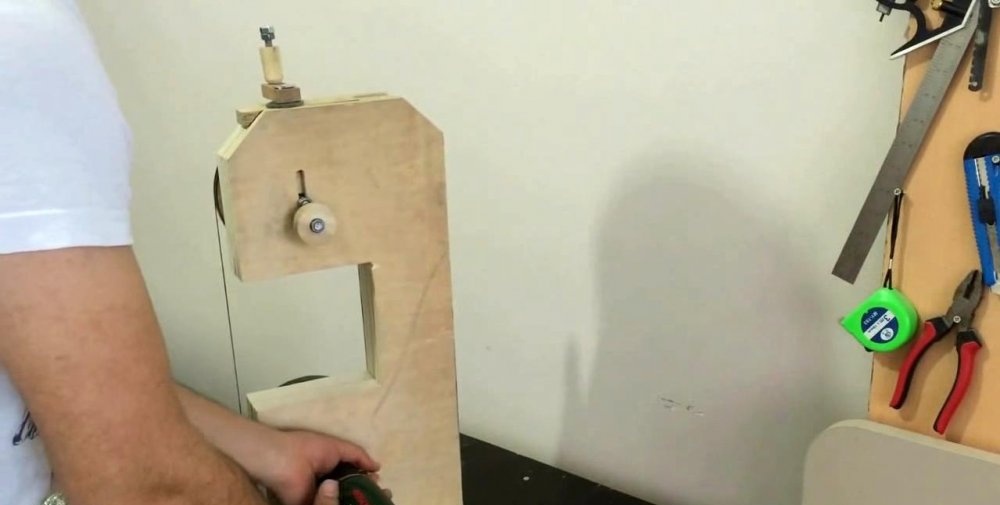
We cut out the grooves under the tensioner, bed and drum mount with a jigsaw. For greater identity of the holes and grooves, you need to fasten the parts with a clamp in a pair before sawing. As a result, we should get two pairs of different frames.
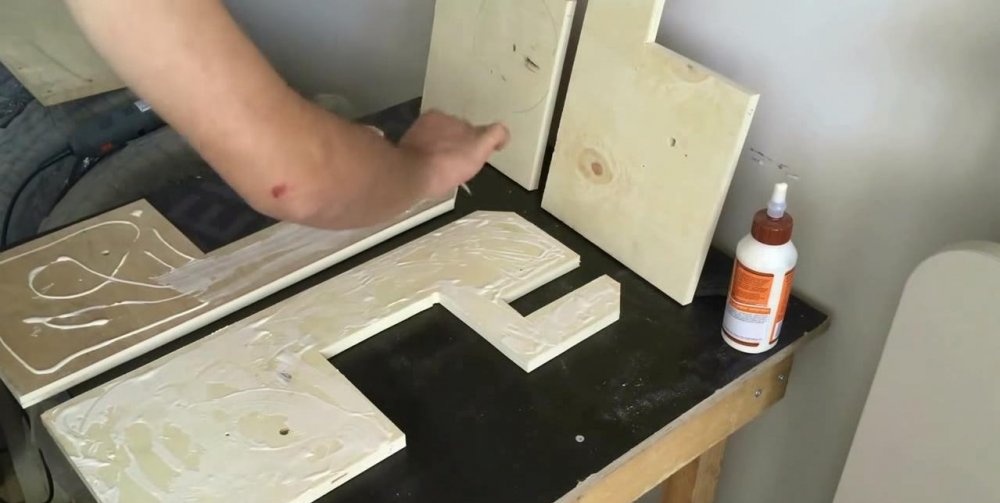
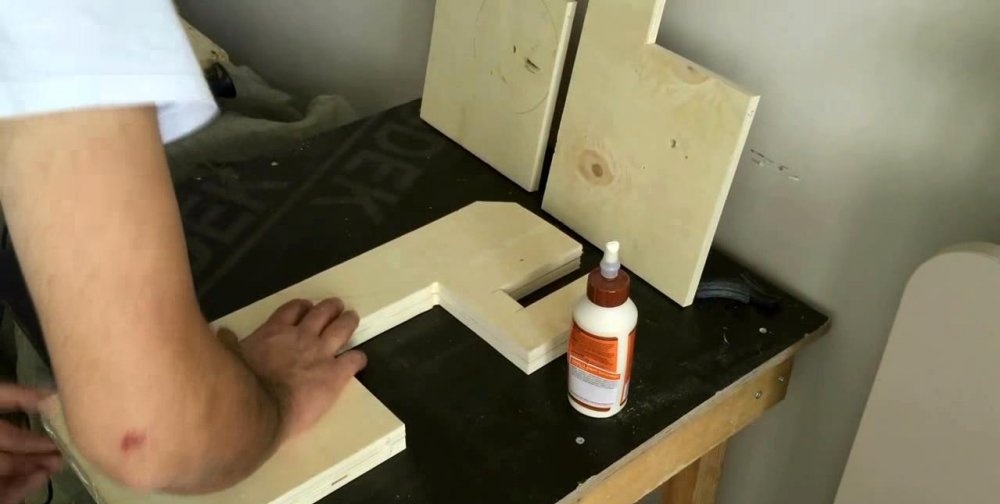
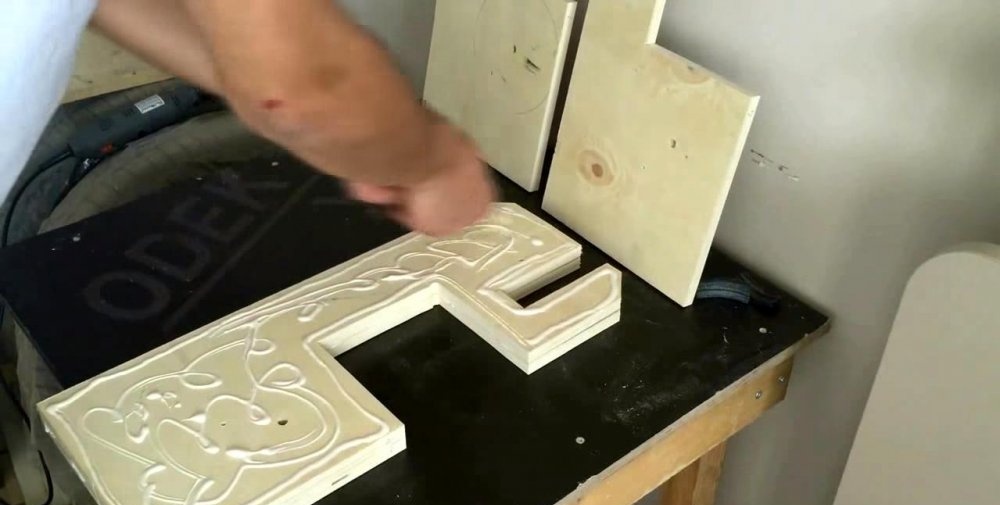
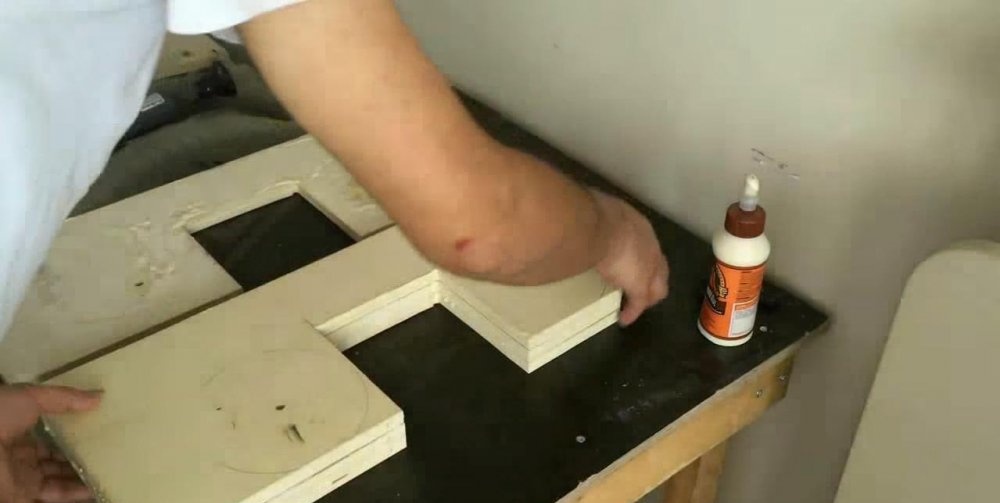
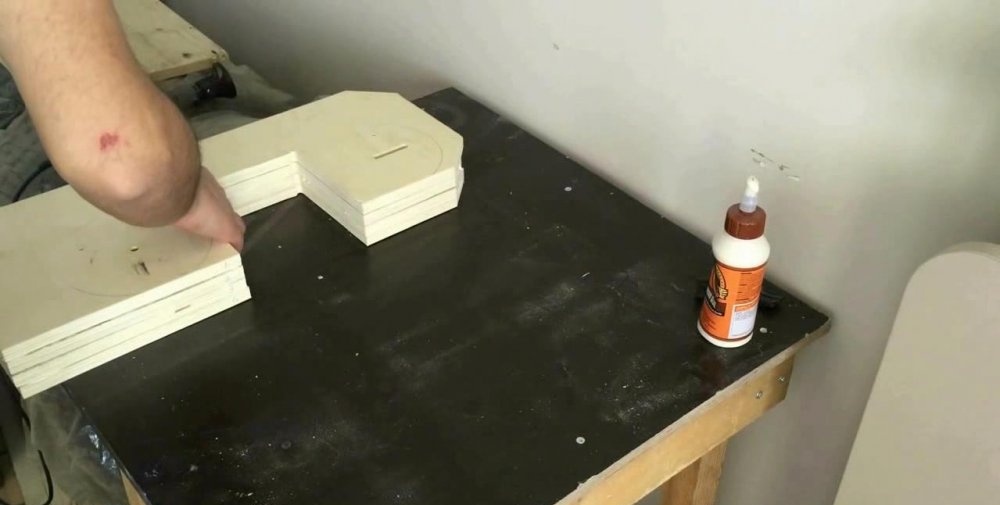
Now you need to glue the plywood with wood glue or PVA, and connect all parts of the base. For better crimping, you can squeeze the edges of the gluing with clamps.
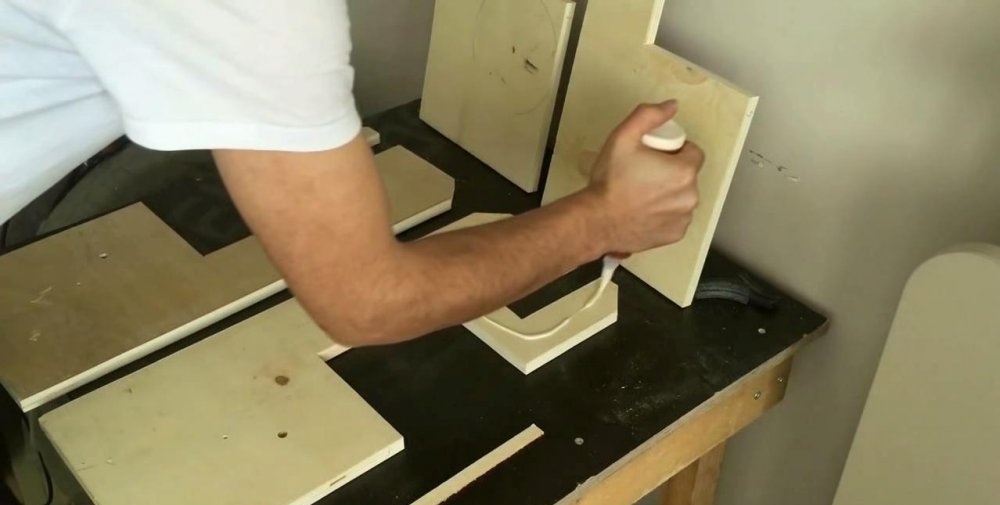
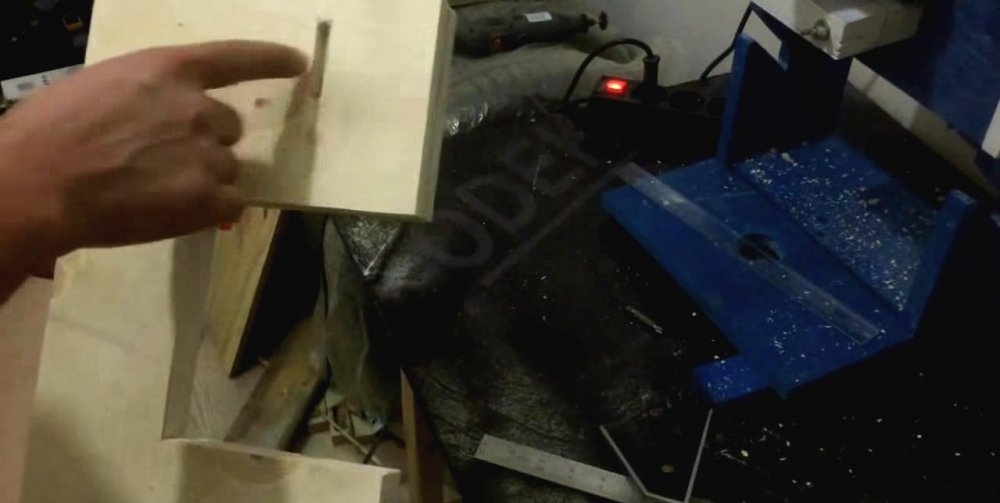
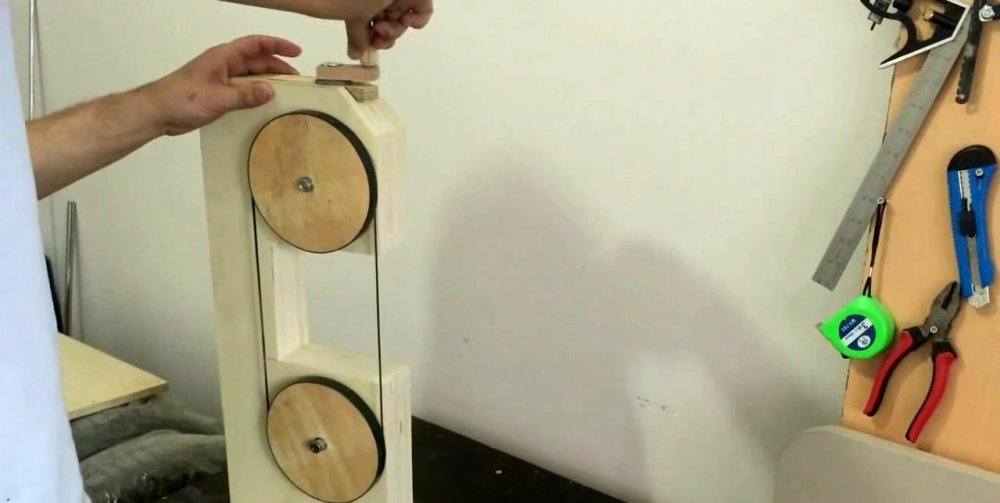
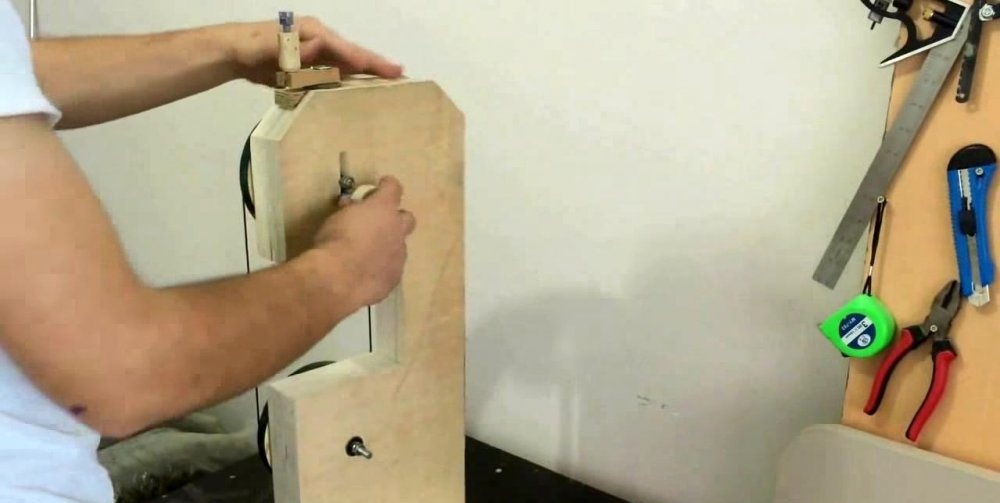
From a small wooden block or two spliced pieces of plywood, we make a belt tensioner. It should fit snugly into the groove as along the guides. We drown it with a wooden plank so that a tension screw passes through it, fixing it to the screws.
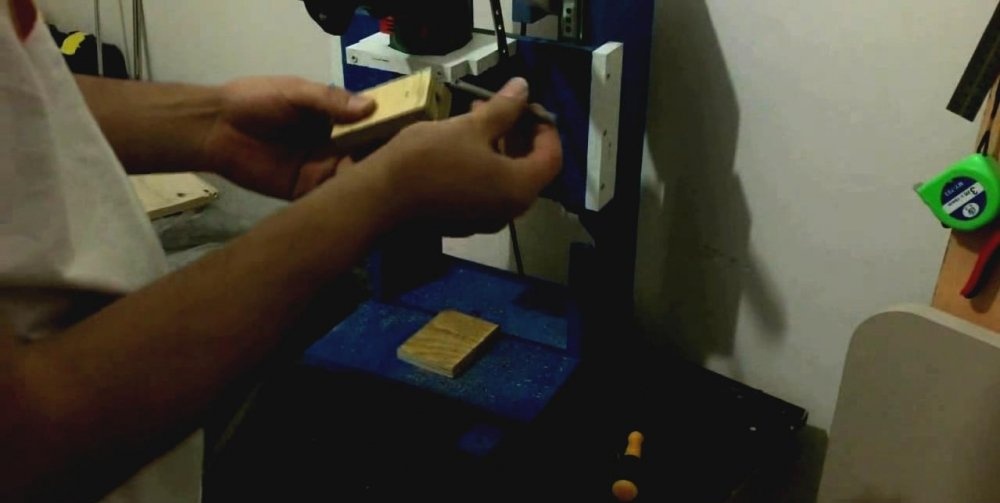
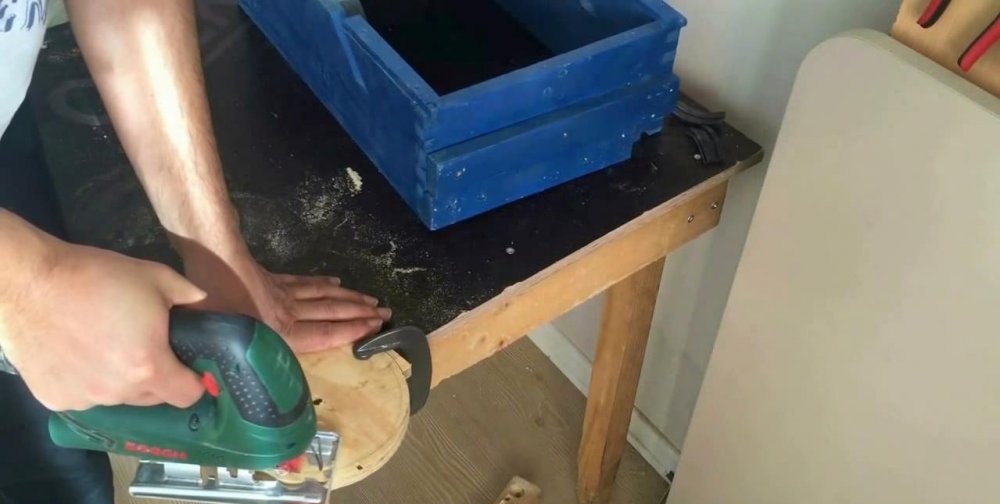
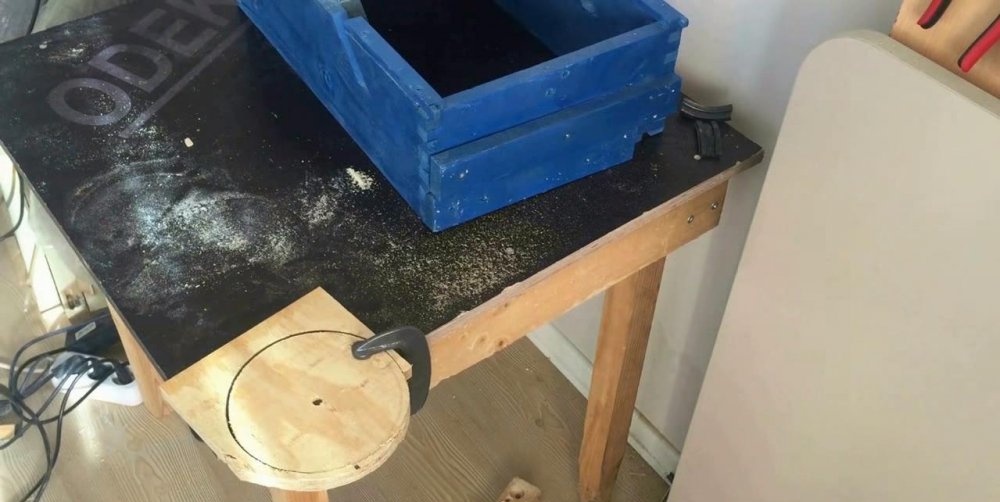
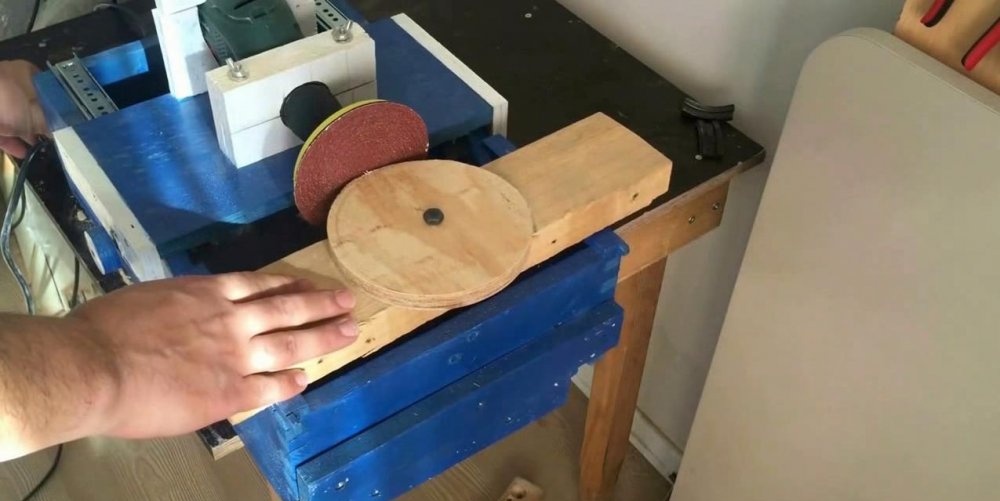
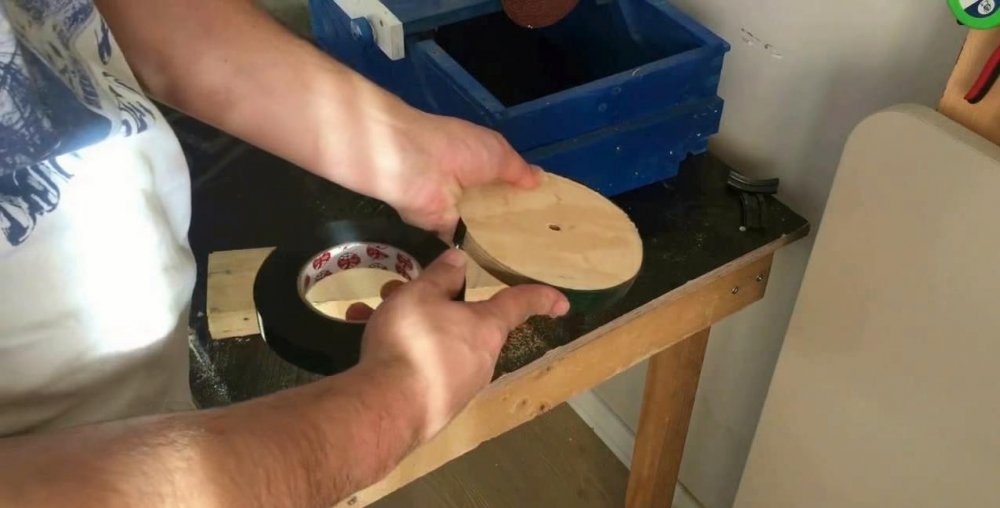
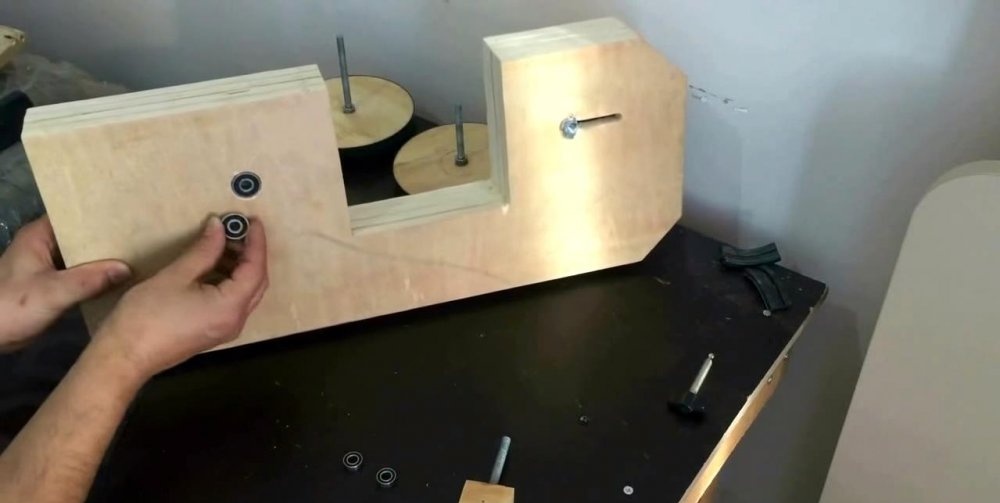
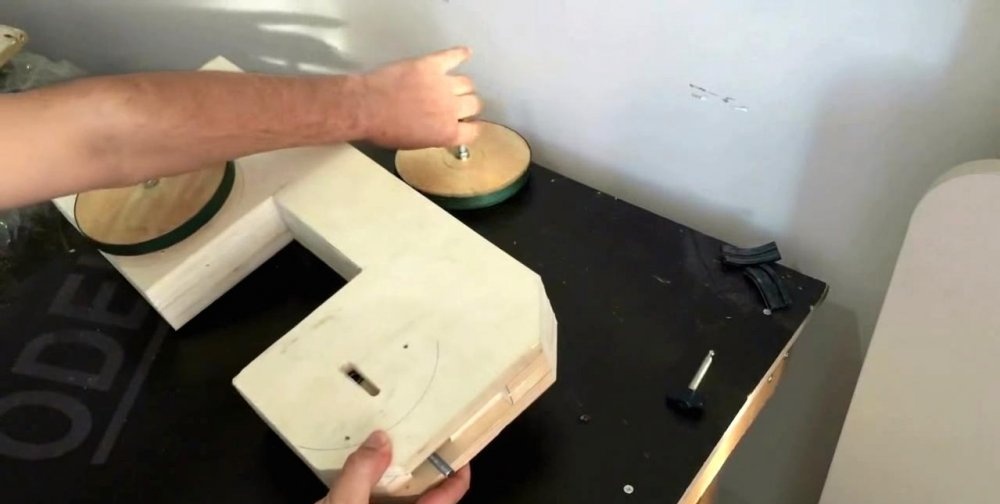
The rest of the plywood will go to the drums. Having marked them, we make a hole for the shafts, and then we saw them around with a jigsaw. We level and smooth the edges of the plywood with an emery on a tree. To exclude slipping of the tape, the author preferred to seal the ends of the drums with electrical tape.
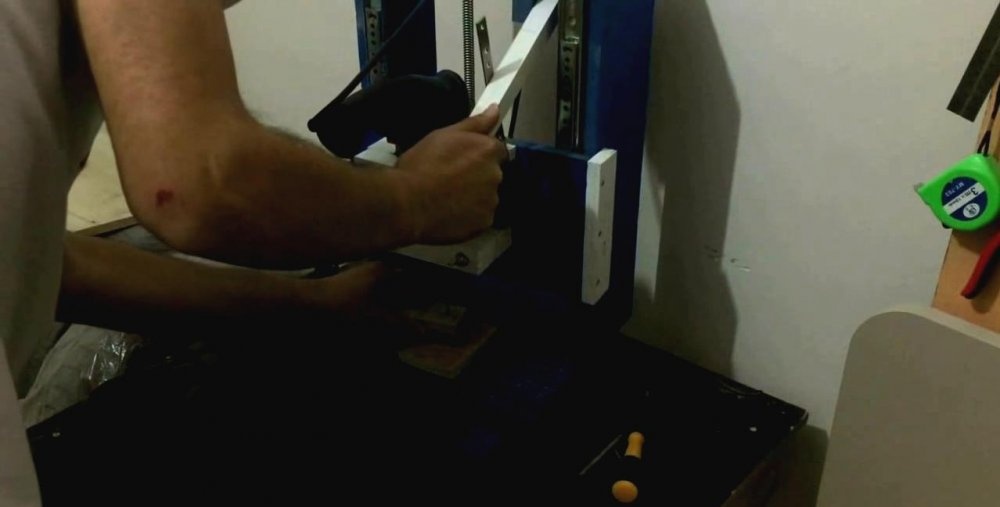
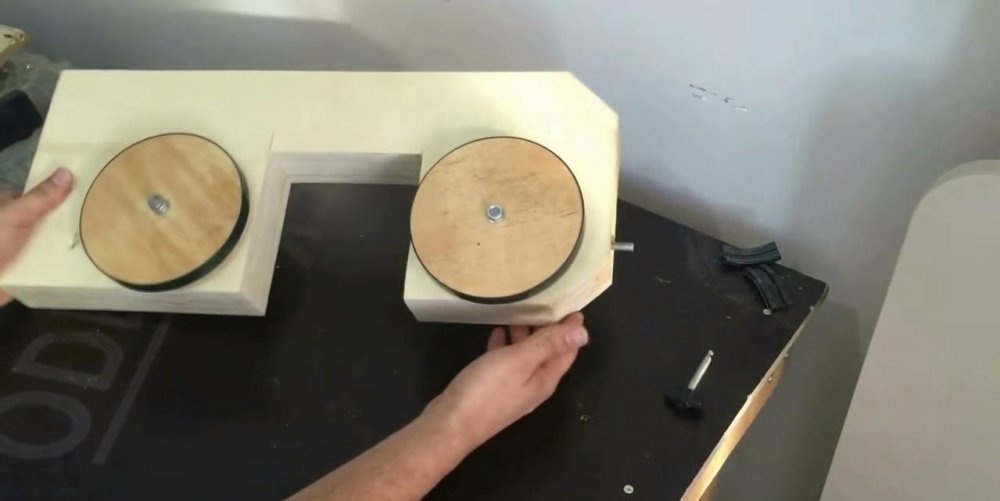
We install bearings at the shaft landing site. Two of them will be on both sides of the bed for a stationary drum. The remaining two are located on the tensioner. We also mount a locking bolt to secure the tensioner from the back of the bed.
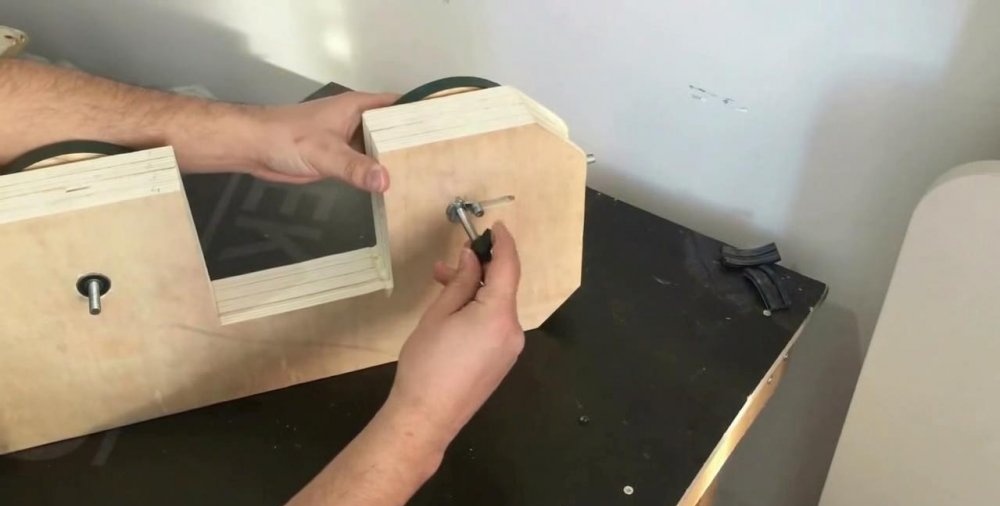
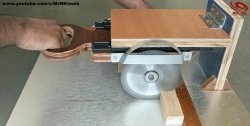
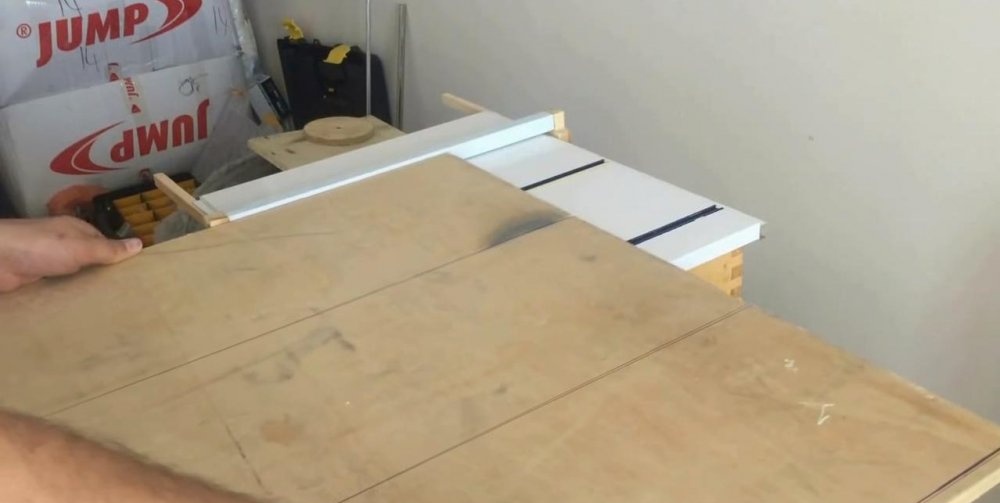
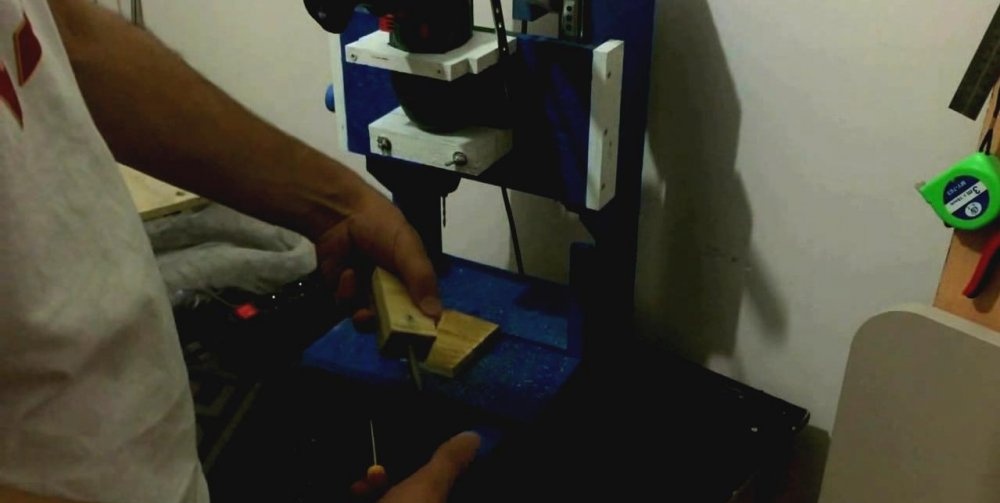
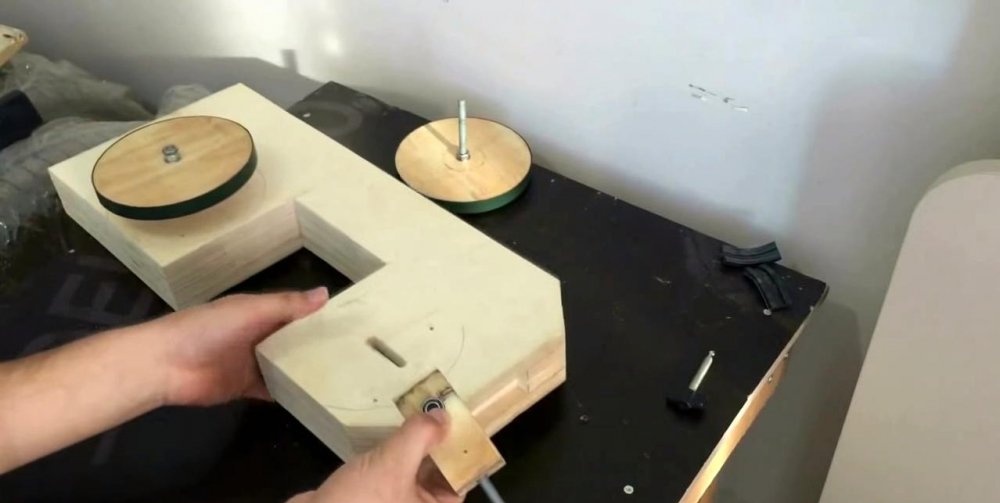
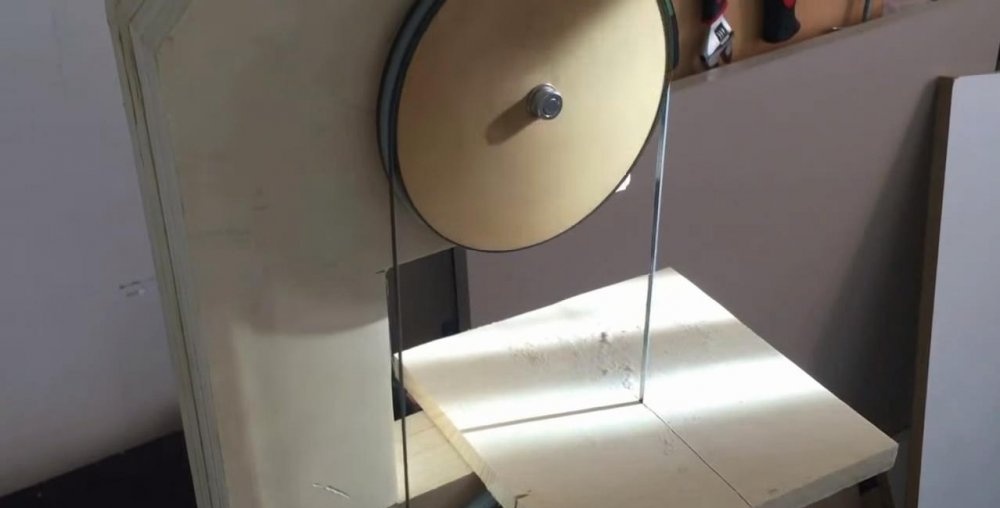
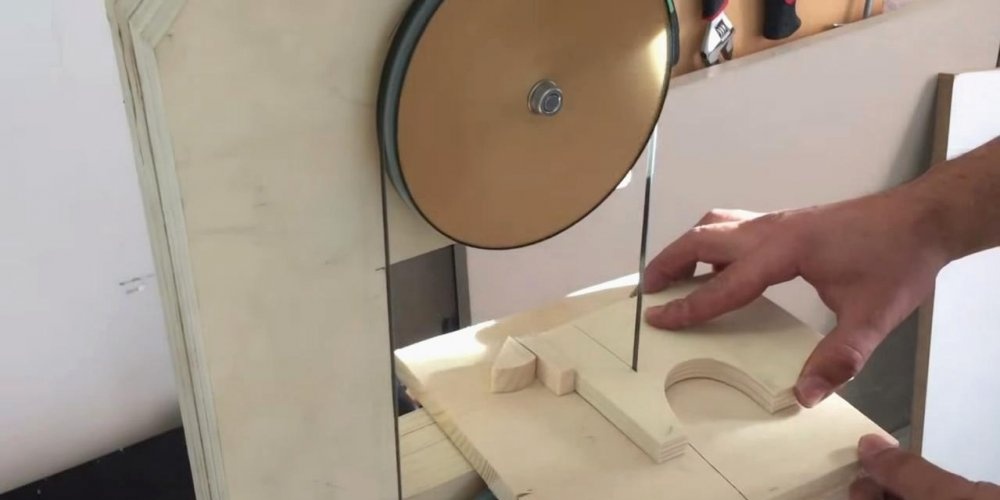
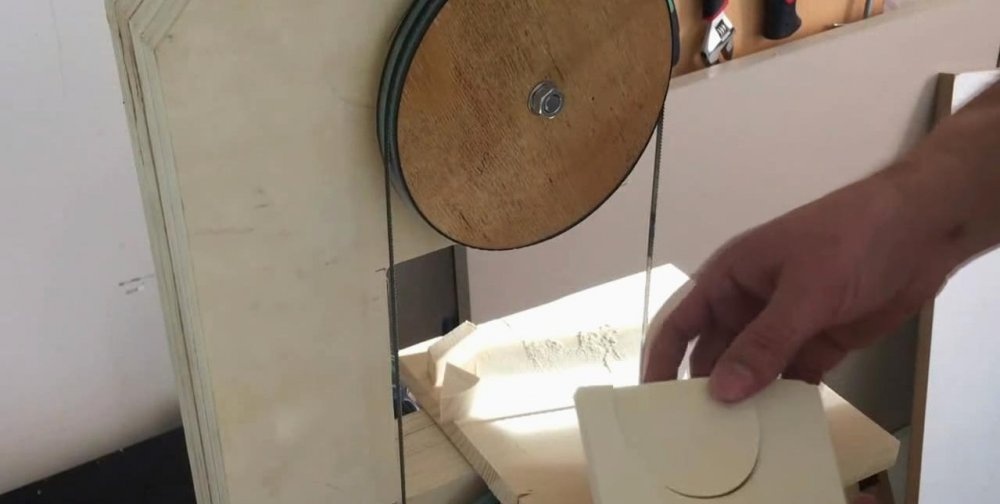
We fix both drums on the bed so that they can move freely on the shafts without clinging to the machine body. We pull the sawing tape and adjust the tension with the tensioner, while fixing it with a stopper. Since the band saw is designed for vertical sawing, it is necessary to attach a lower platform from a wide board or a piece of plywood for stability. In the sawing area, you also need a desktop on which the workpieces will move.
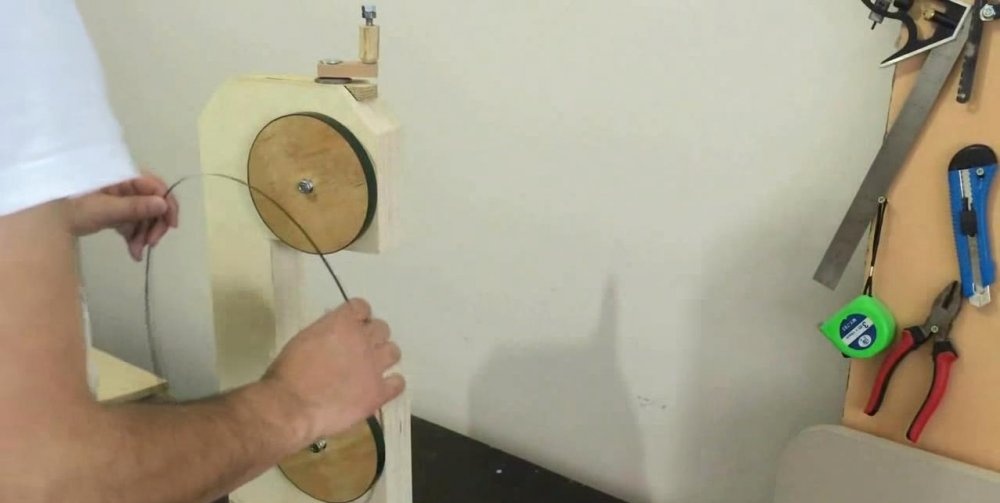
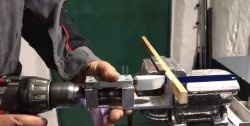
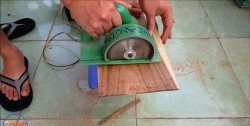
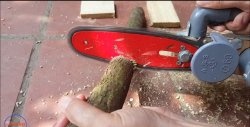
The machine is ready, and you can try it in action. We clamp the lower drum shaft into a screwdriver or drill, and give the machine speed. Despite the small power of such a device, with it you can cut parts from plywood, boards, MDF or fiberboard in a home workshop!

Practical tips
- Turnover of the machine should be selected empirically, starting with small ones.
- Follow the movement of the fingers, since the most number of injuries in carpentry is from such machines.
- In large factory machines, the drums are protected by casings so that only the area of the working table for sawing is open. It is also worthwhile to attach additional means of protection against tearing the tape to such a device, which, unfortunately, are not indicated by the author.
Good luck to everyone and bye!