To process wax raw materials, you can make a wax refiner. The operating principle of such a device is based on heating the wax raw material to the melting point. The designs of wax melters are approximately the same. But different materials can be used for their manufacture. The most effective, economical and popular material for the manufacture of solar wax melters is glass.
The sizes of the wax grinder may vary. In this case, the wax melting box will be 1 * 0.7 * 0.4 m.
Let's look at the process of making a glass solar wax melter.
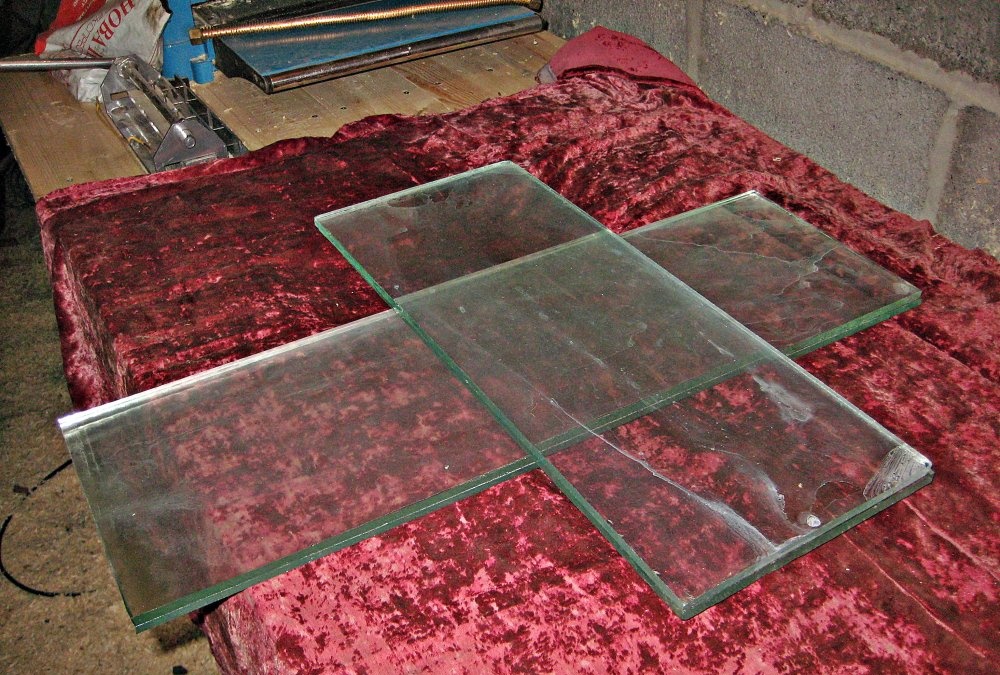
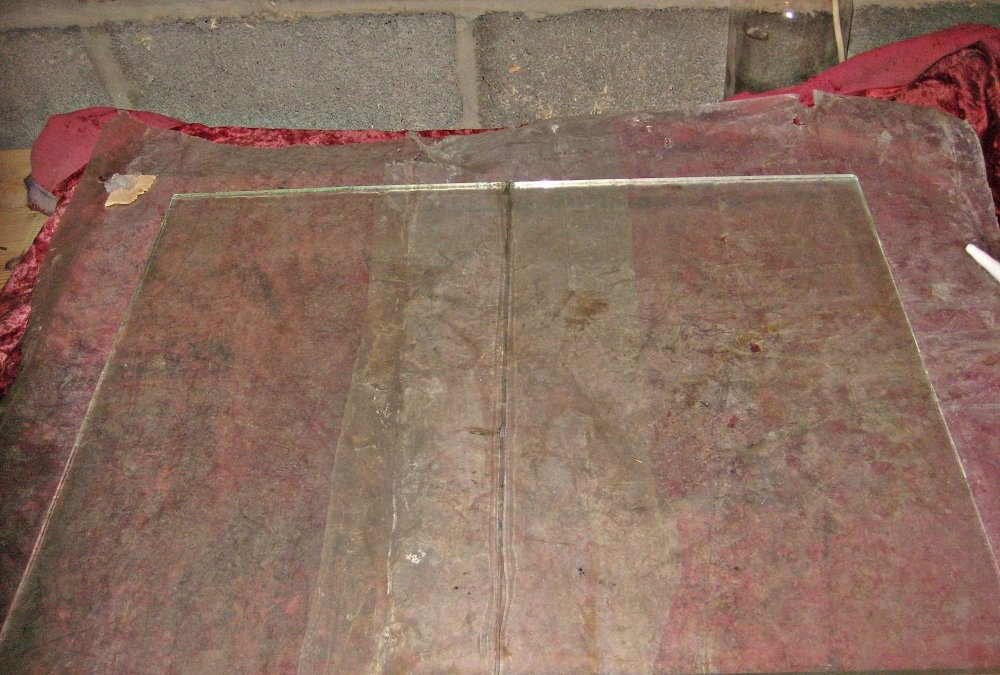
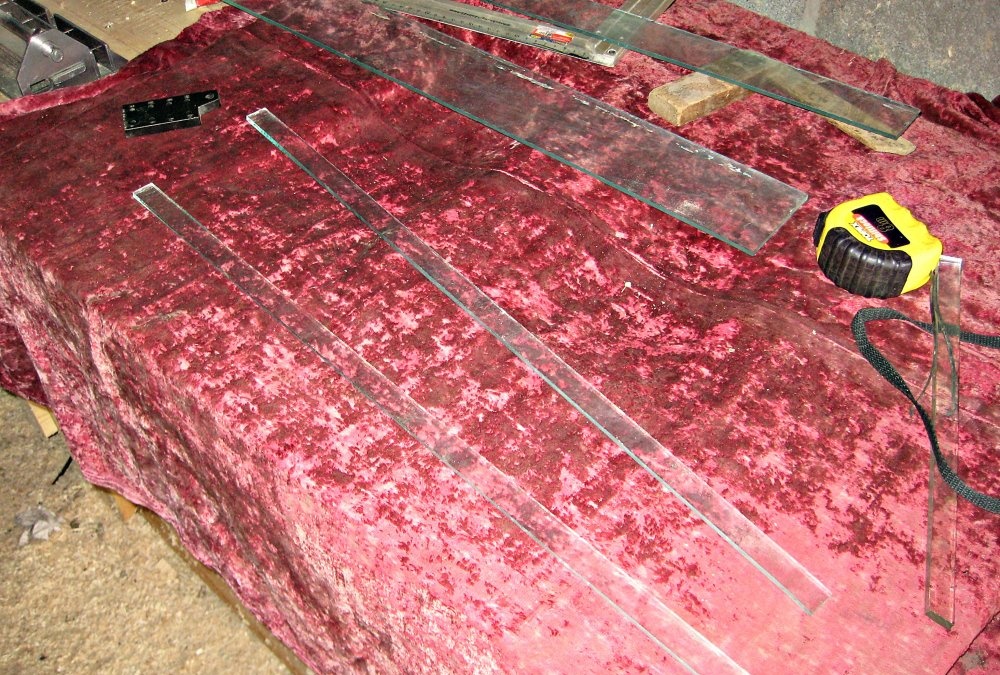
1. For work we will need pieces of glass of the same thickness. You can use not whole glasses, but assemble the walls of the wax furnace from parts. The glass must first be washed and dried.
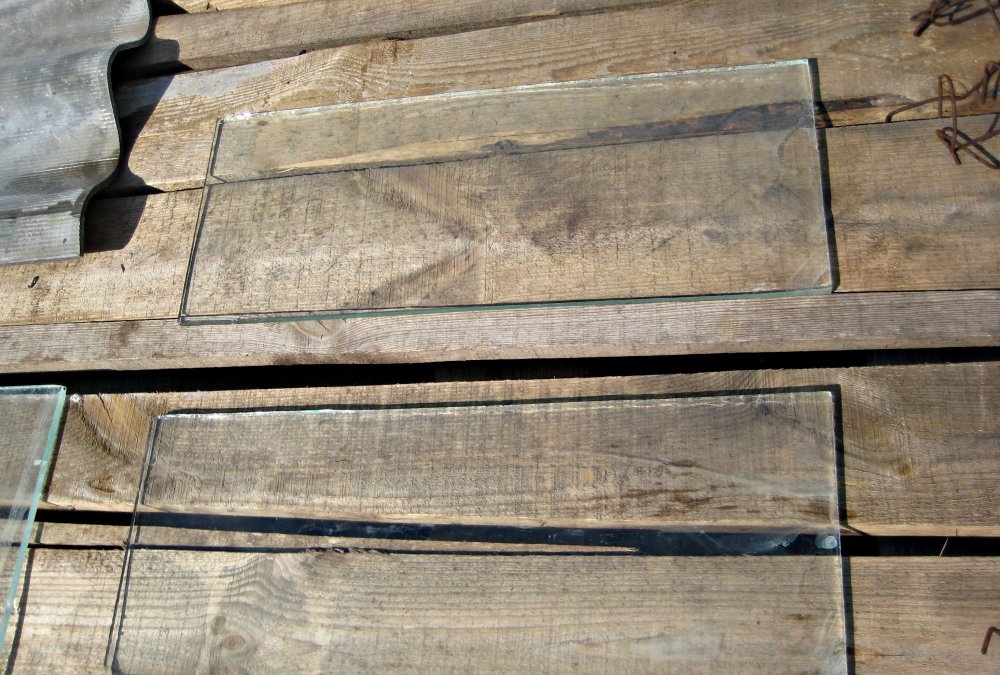
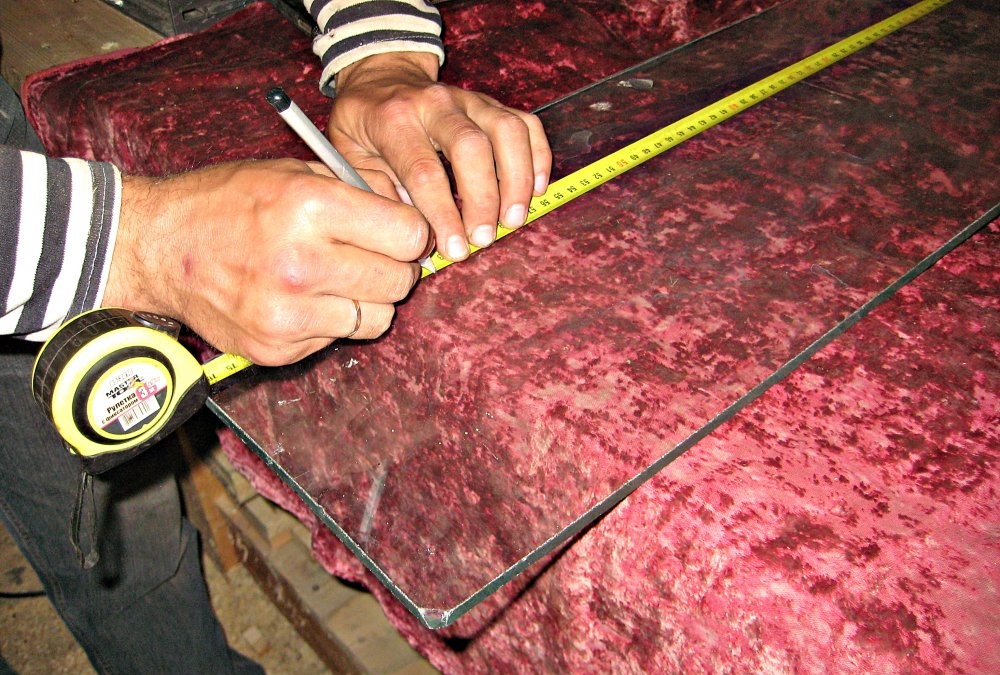
2. Let's start marking the glass. To do this, cover the work surface with a thick cloth. Then we place the glass on the table and use a ruler and a simple pencil to mark the glass blank.
3. Then mark the cutting line using a glass cutter.
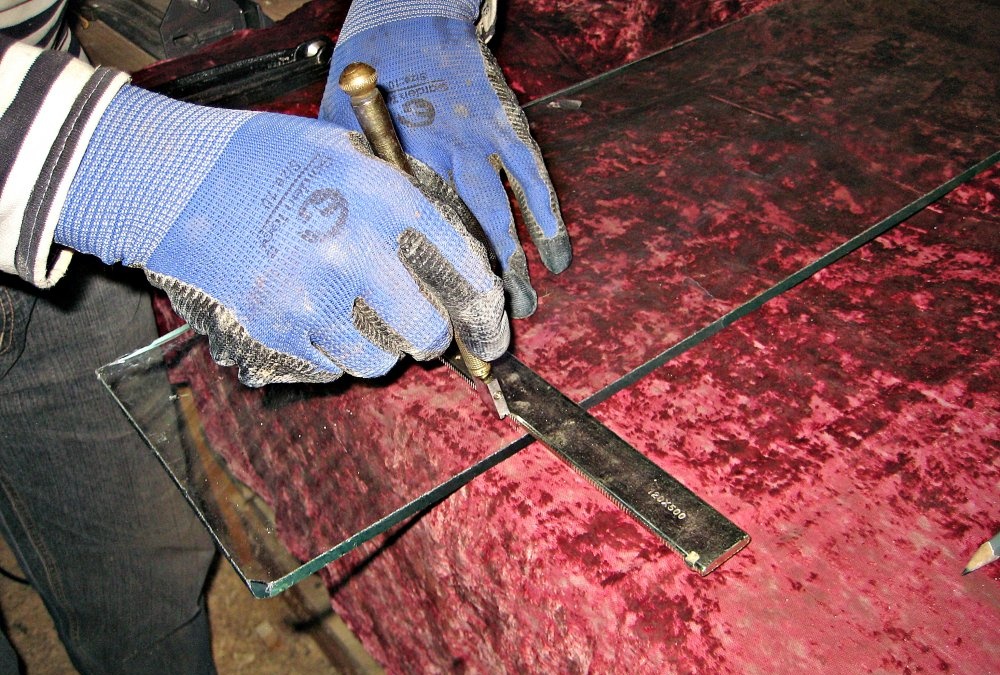
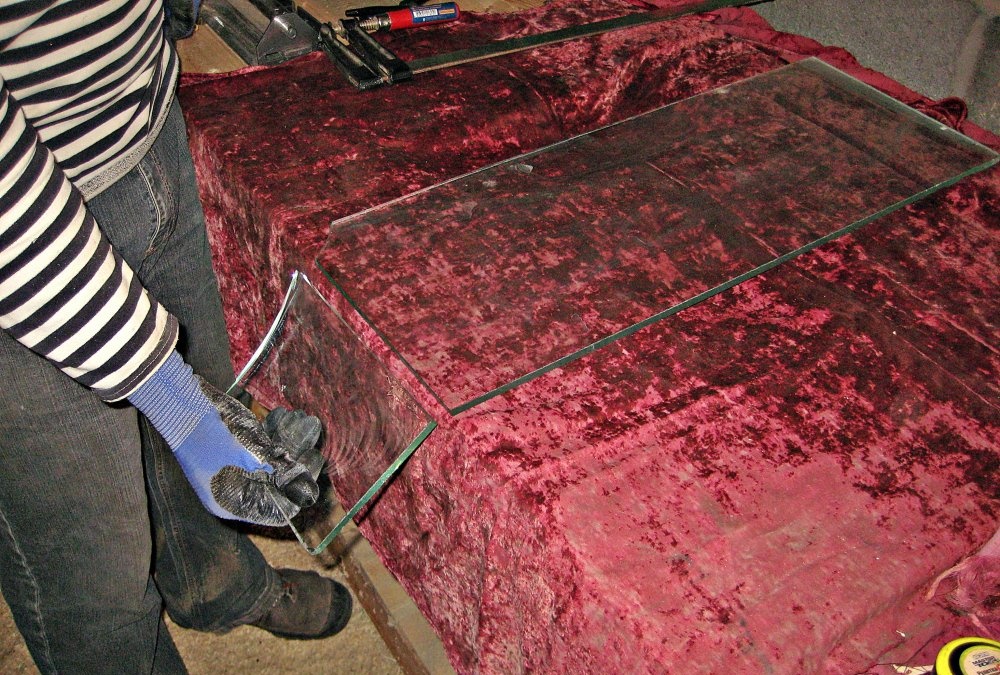
4. Place the glass on the edge of the table so that the cut line is on the edge. Carefully and sharply break off the glass along the cut line.
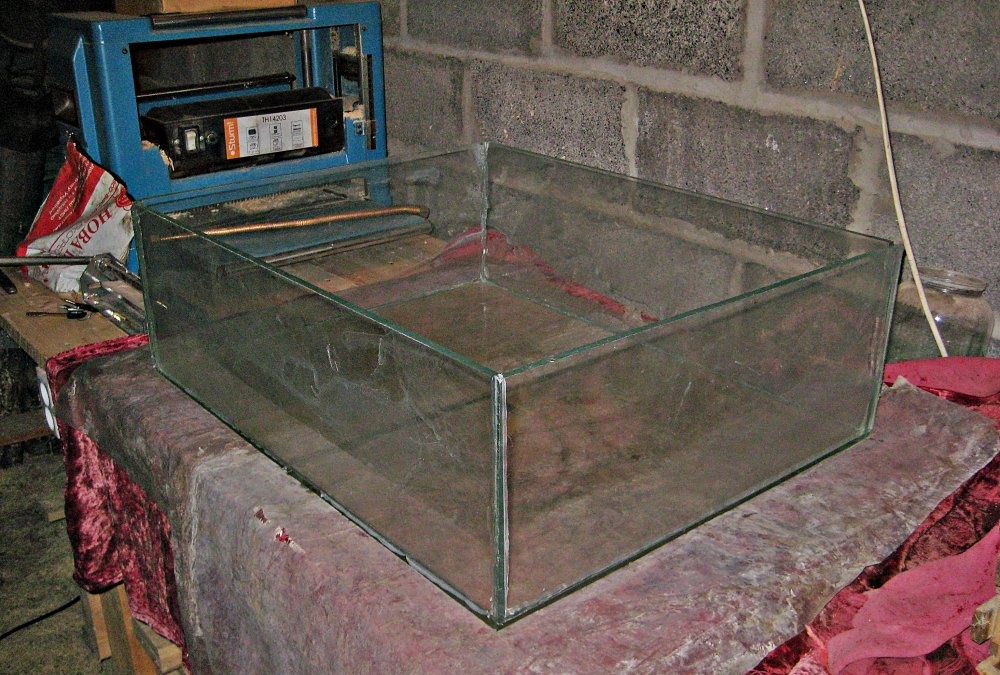
5. We do this with all the parts for the wax melting box. In total, in this case we will need 4 pieces of glass for the walls and 2 pieces for the bottom.
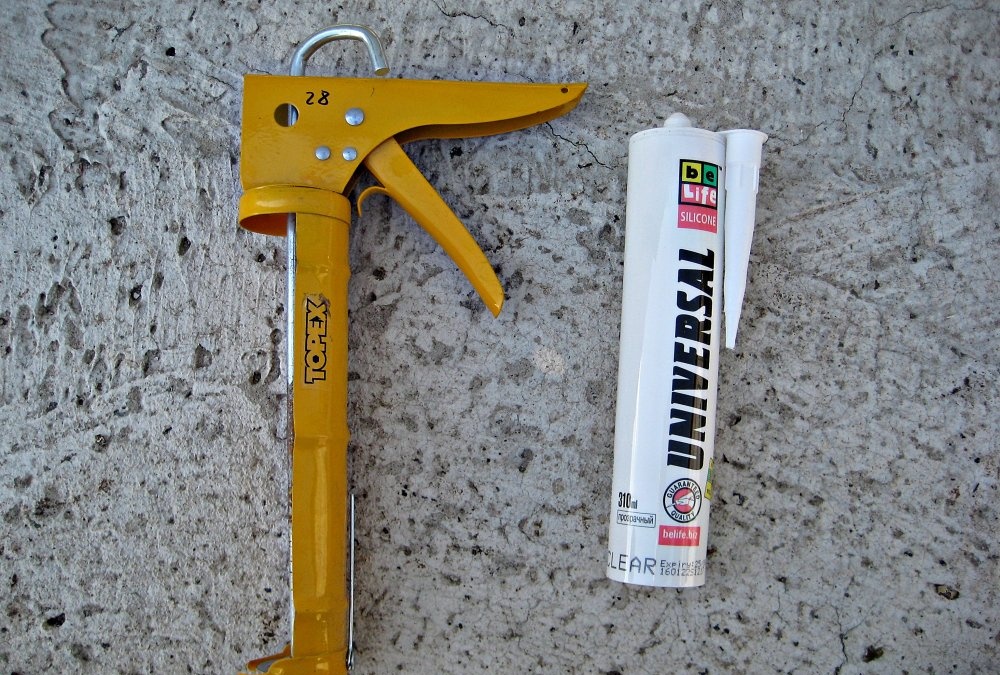
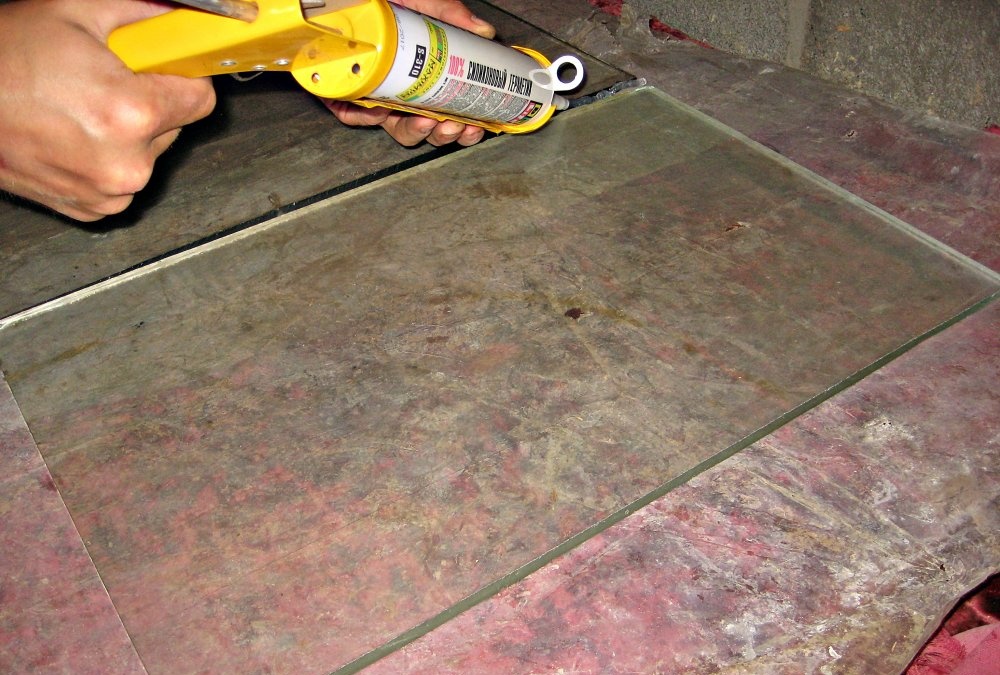
6. To glue the pieces of glass together, we will need transparent silicone and a special gun.
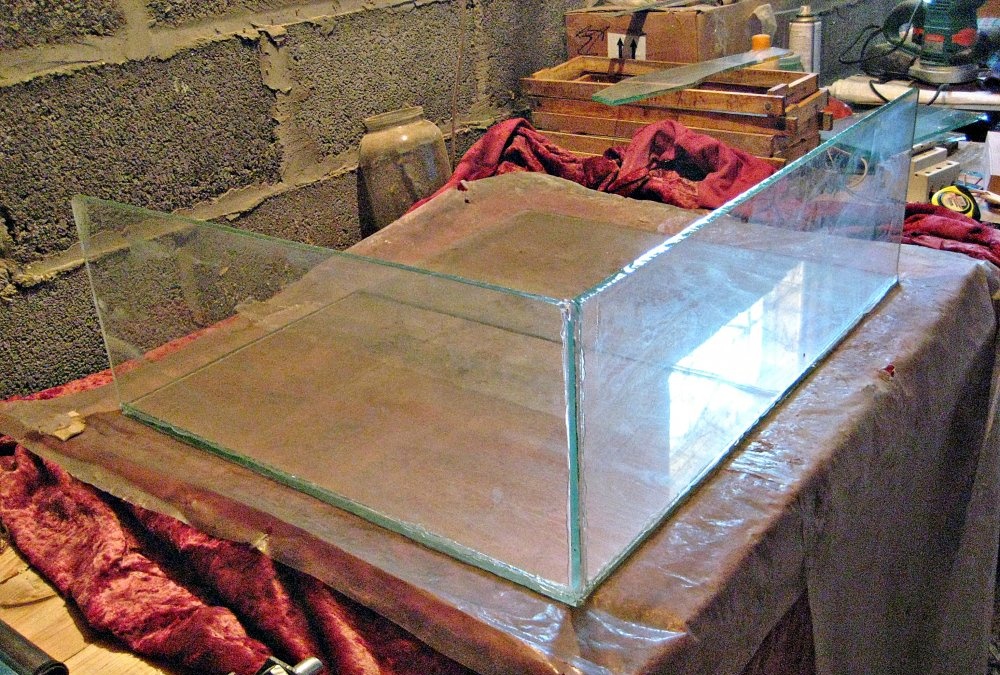
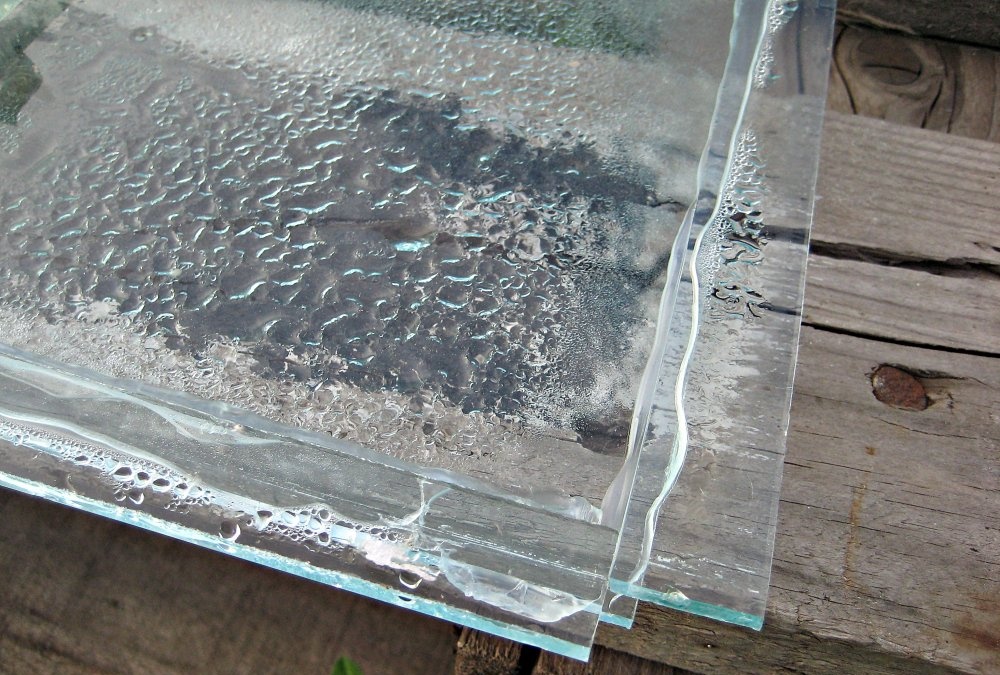
7. Cover the work surface with oilcloth. Then we lay out 2 glasses that will serve as the bottom of the box. We glue both glasses together using silicone.
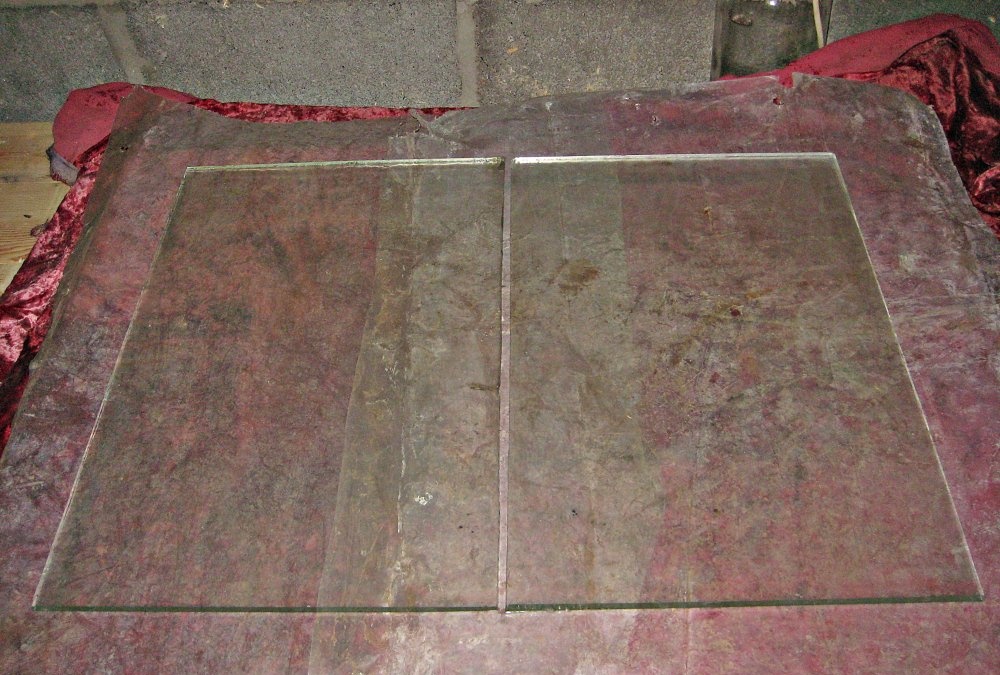
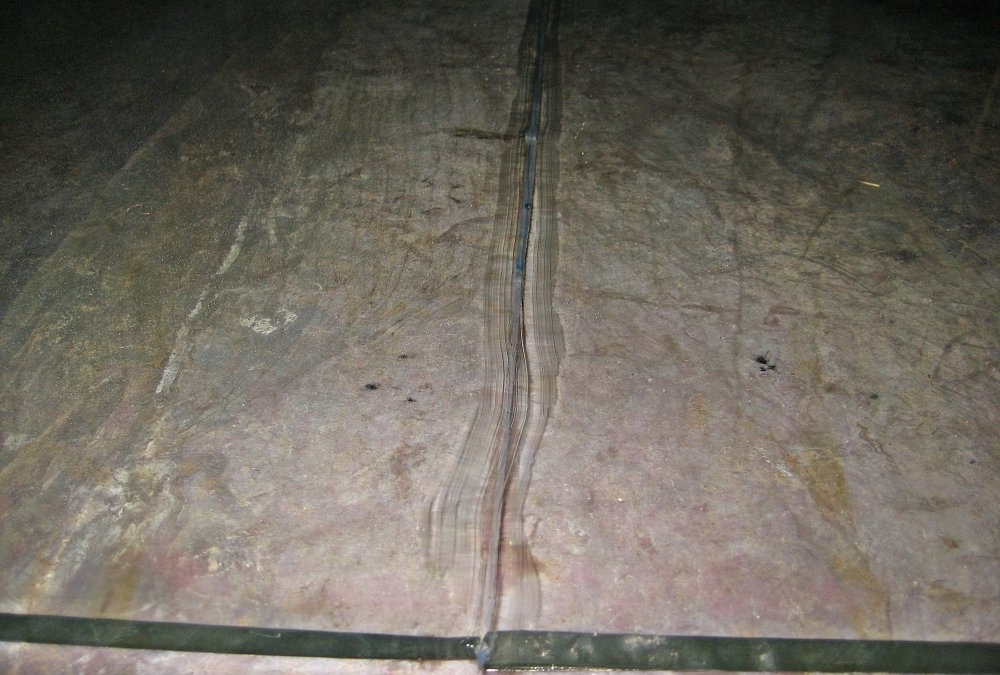
8. Press the glass halves well against each other. Remove excess silicone using a rubber spatula.
9. This is what the bottom of the box looks like:
10. Next, lubricate the adjacent long and short sides of the bottom of the box with silicone.

11. Attach 2 side windows. In this case, we connect the sidewalls with silicone at the corner joint.
12. Lubricate the remaining sides of the bottom with silicone.
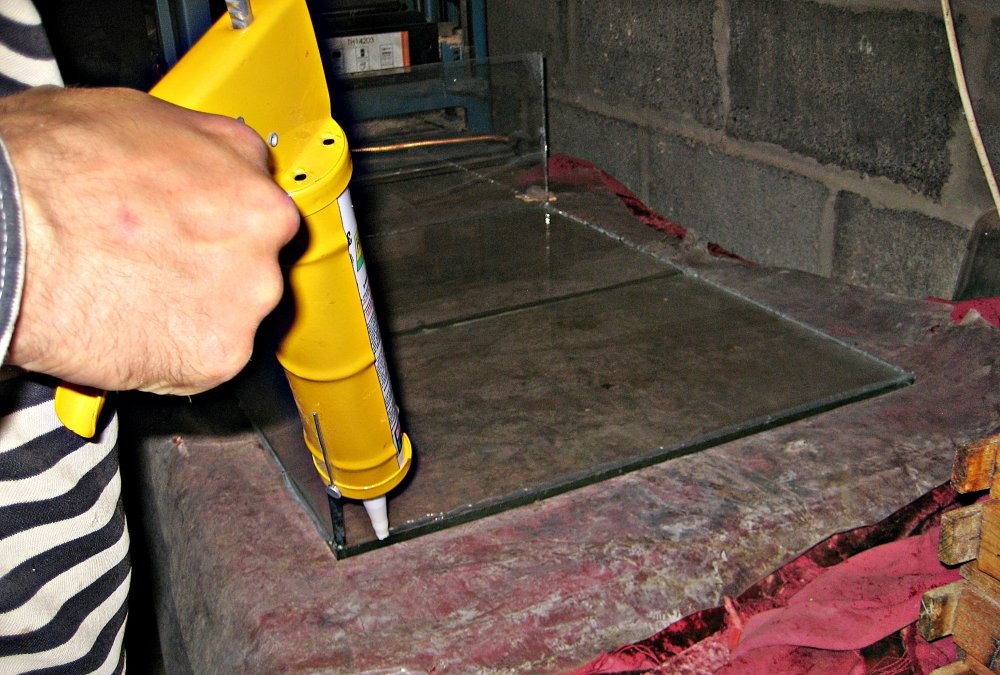
13. First, we attach the long side of the box.
14. Then we attach the short side of the box.
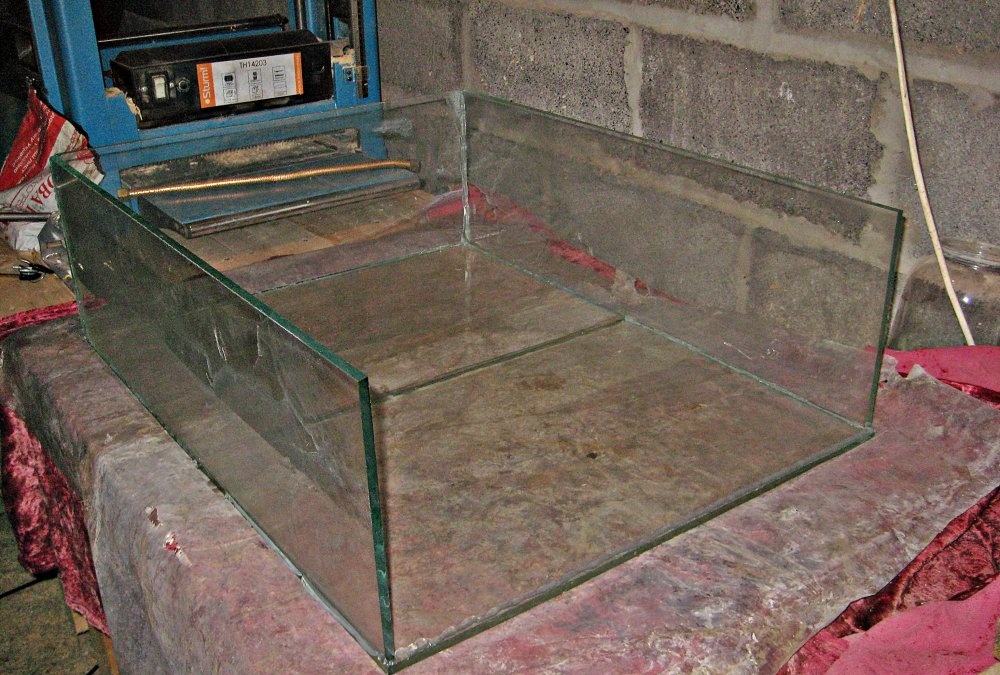
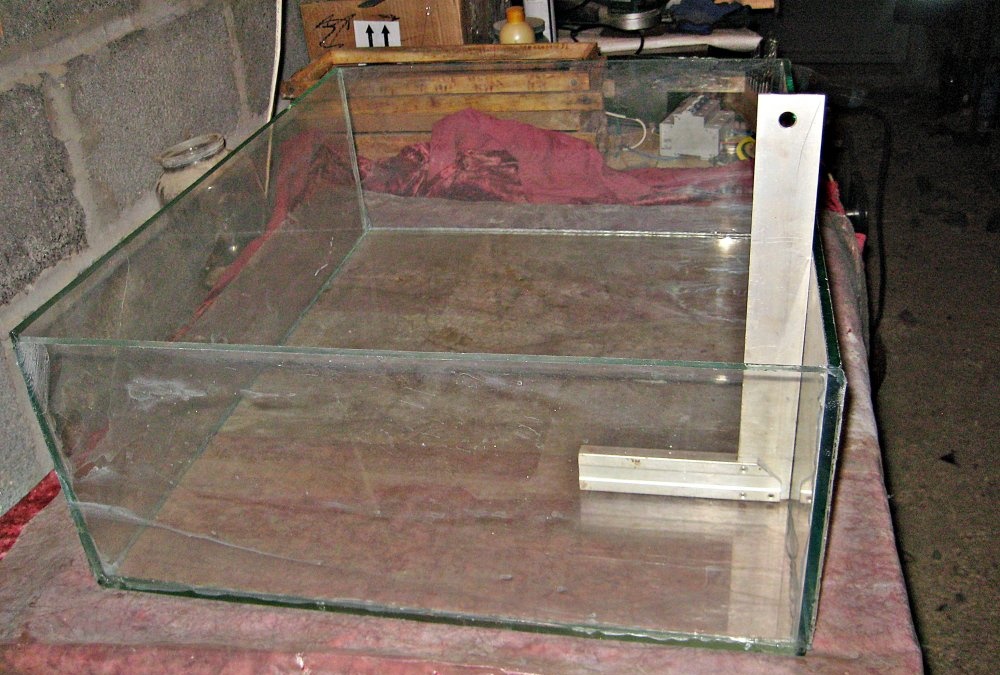
15. While the silicone is still wet, check all sides using a square.
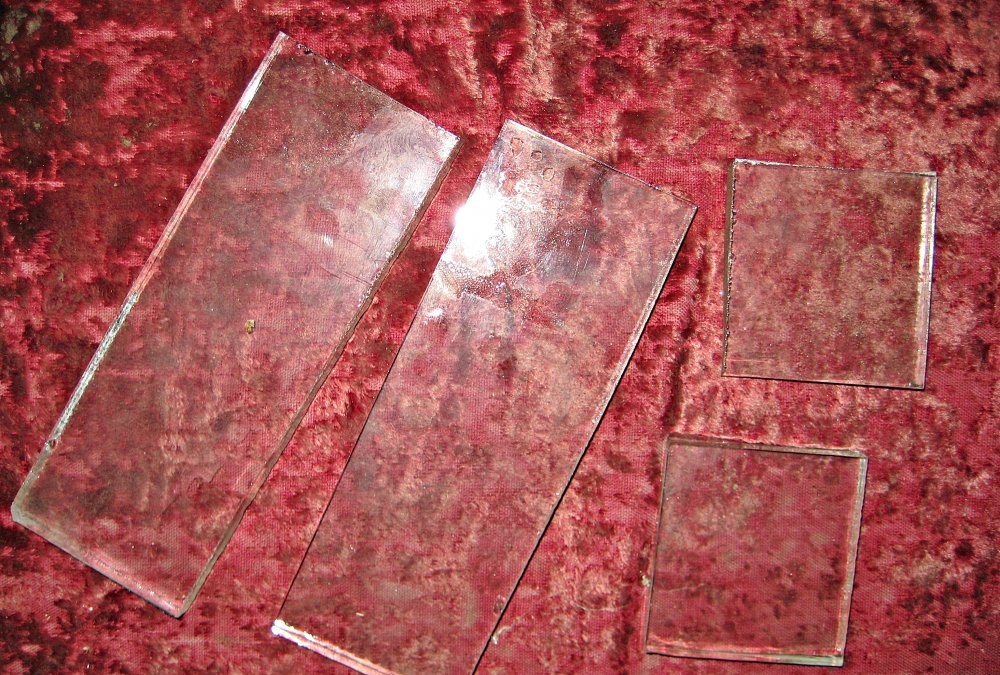
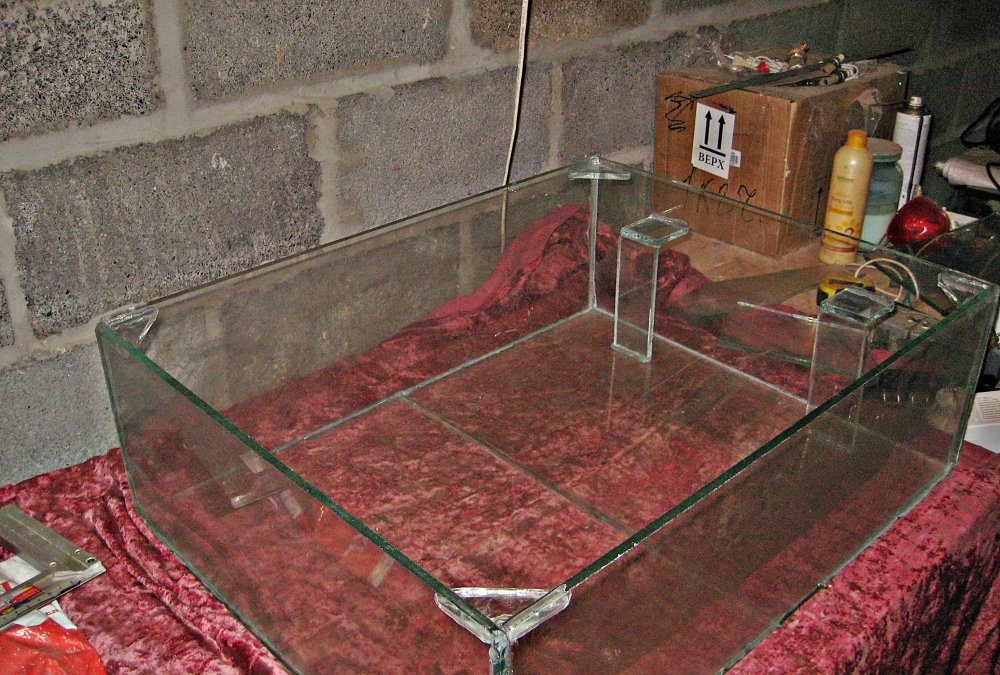
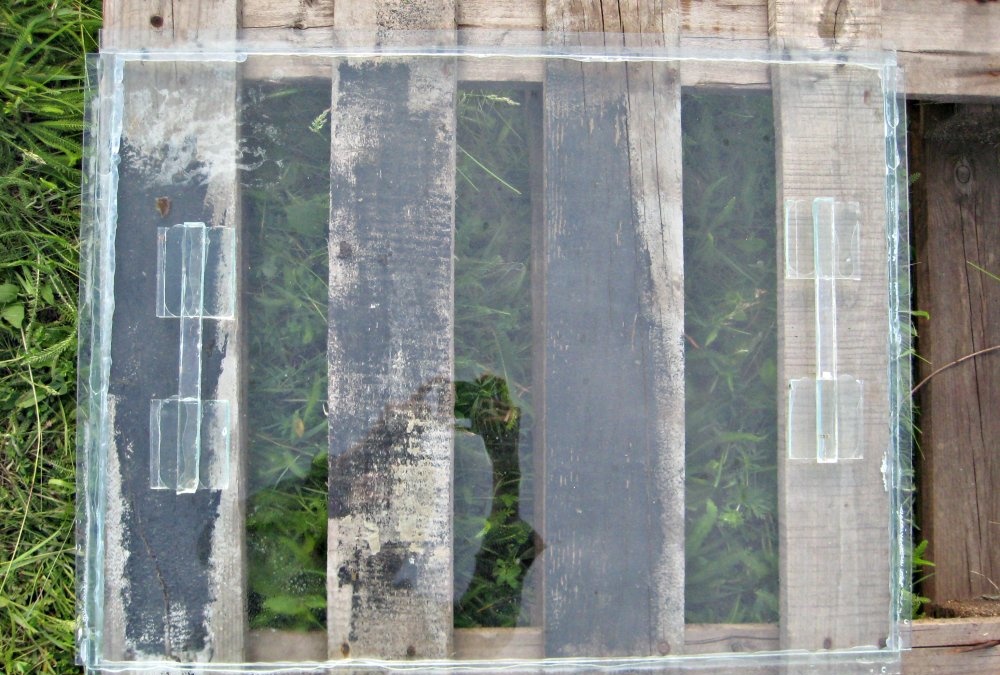
16. Next, you need to cut out glass stands for the container in which the wax will be located. To do this, cut out 2 squares measuring 5*5 cm and two rectangles measuring 5*30 cm.
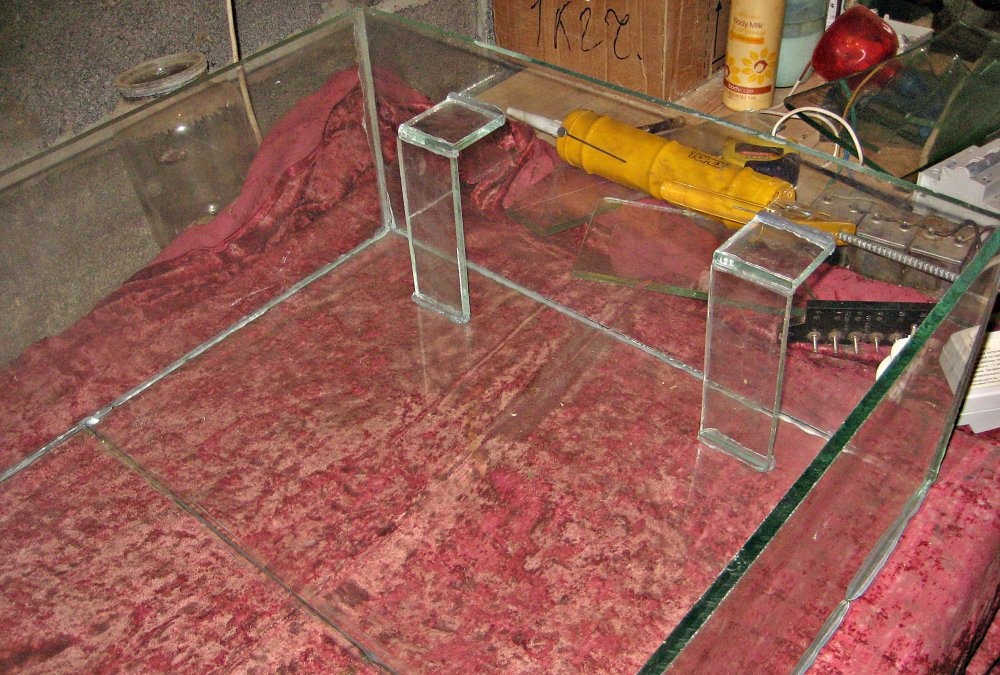
17. Glue the stands at a distance from each other, stepping back from the edge on each side by 10 cm.
18. You also need to cut 4 triangles to support the lid.
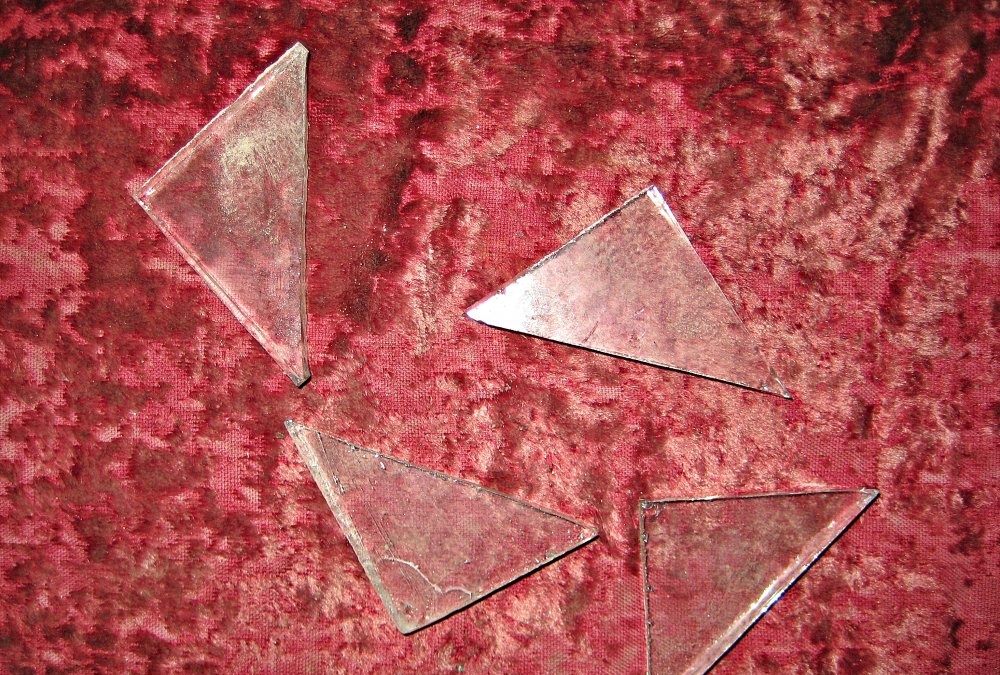
19. Attach the triangles to the corners of the box, departing from the top edge an amount equal to the thickness of the lid glass.
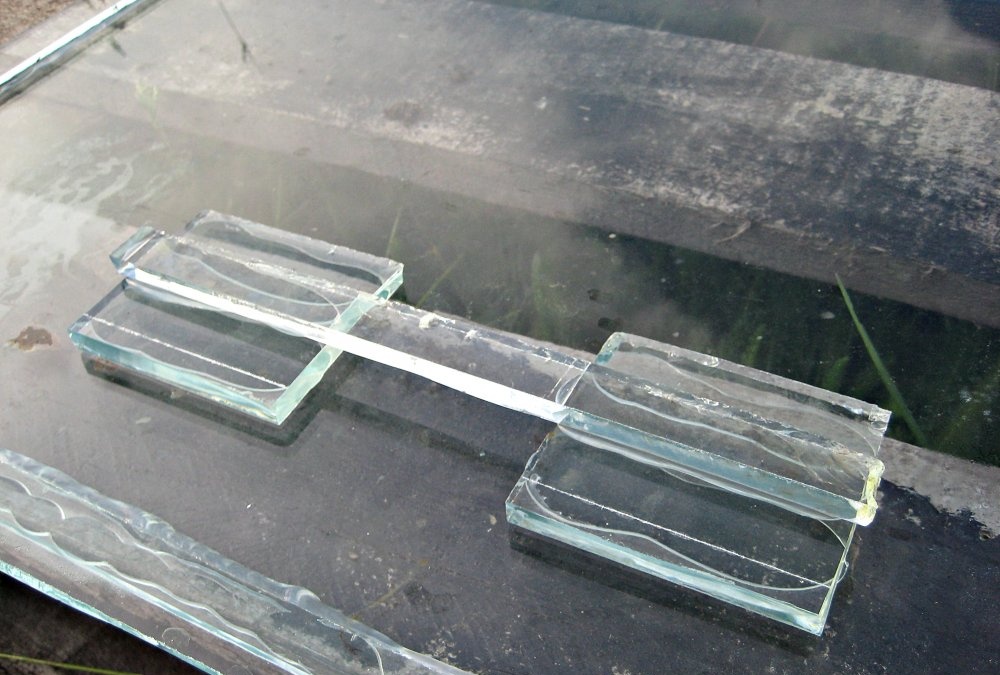
20. The lid on the box will also be made of glass. For ease of use, you need to make handles on the top of the lid. To do this, cut out 2 squares and 2 strips of the required size.
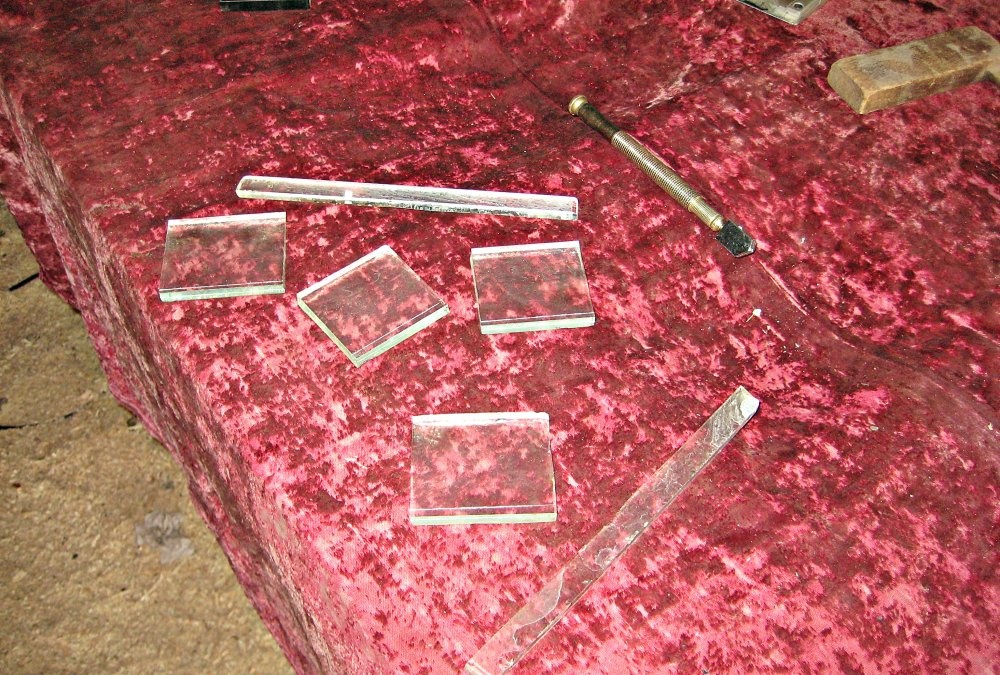
21. Glue the parts of the handles onto the lid.
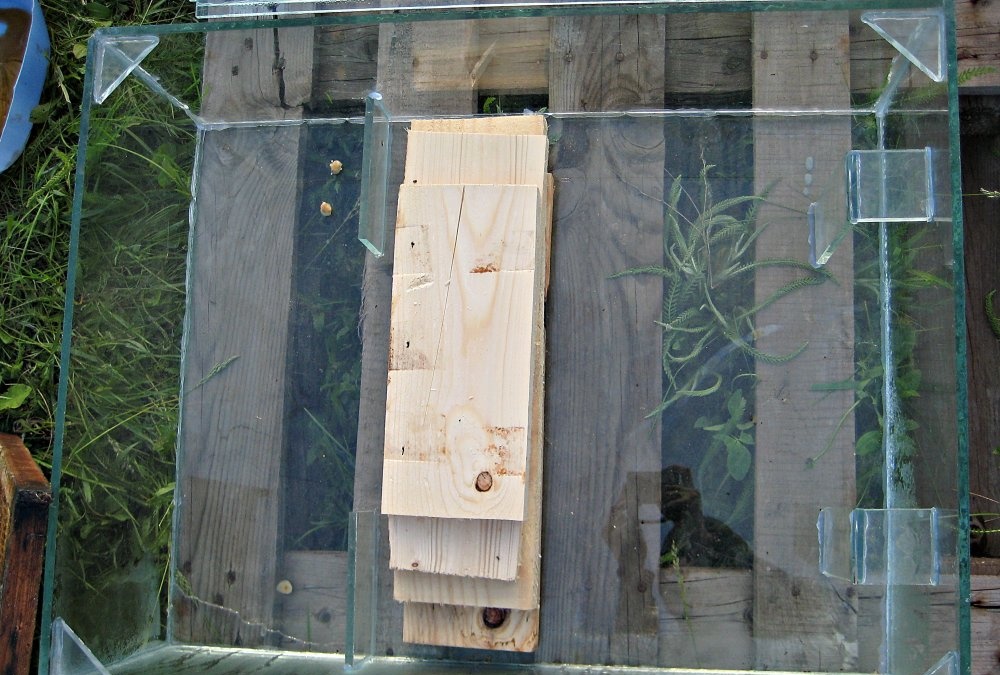
22. Cut out the protective parts for the lid.
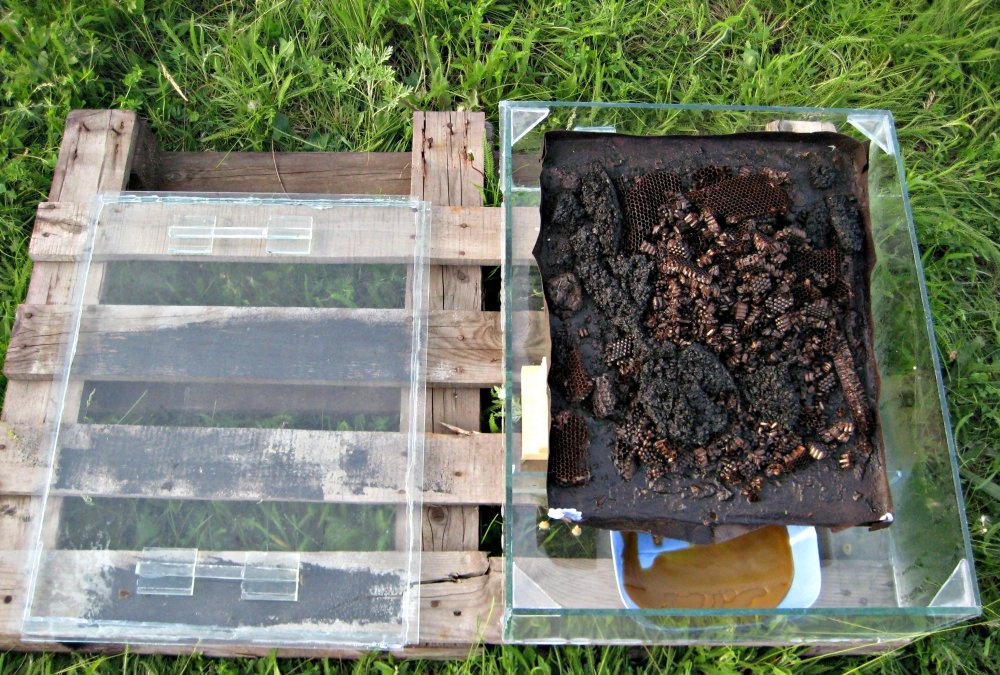
23. Glue the protection on the outside along the edges of the lid.
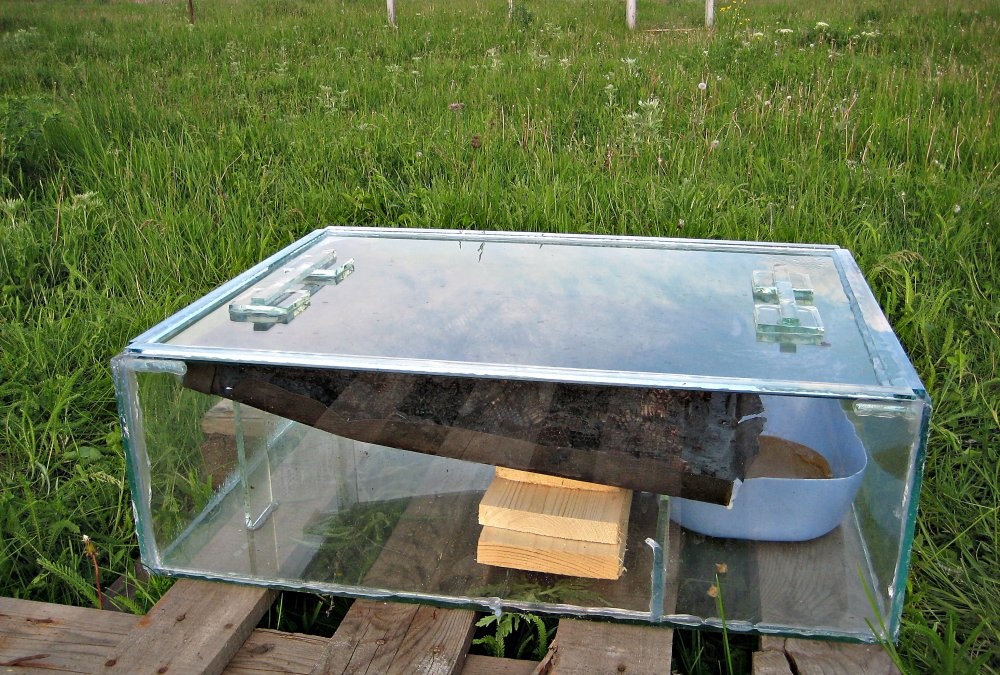
24. Inside the wax melter box, you can glue several auxiliary glasses to support the wax container. The height of the container can be adjusted using boards.
25. In the finished wax melter we place a container with wax raw materials and a container for clean wax.
26. The glass structure will be warmed up by solar heat from all sides. This way the wax will melt faster.

27. Thanks to the internal inclined design, clean wax quickly runs into an empty container.