Do it yourself
Life hacks, master classes, useful tips, recipes.
home » Electronics » DIY electronics » Mini electric heater 12V 80W
In this master class I will show you how to make a small electric heater that runs on 12 volts and consumes 80 watts of power. It gives a nice warm breeze which is enough to warm your hands. The mini heater is very easy to make; it can be made from a computer cooler in less than 30 minutes.
Mini electric heater 12V 80W

Heater Parts and Tools


Mini electric heater 12V 80W

Mini electric heater 12V 80W

Mini electric heater 12V 80W

Mini electric heater 12V 80W

Mini electric heater 12V 80W

Mini electric heater 12V 80W

Mini electric heater 12V 80W

Parts you will need:
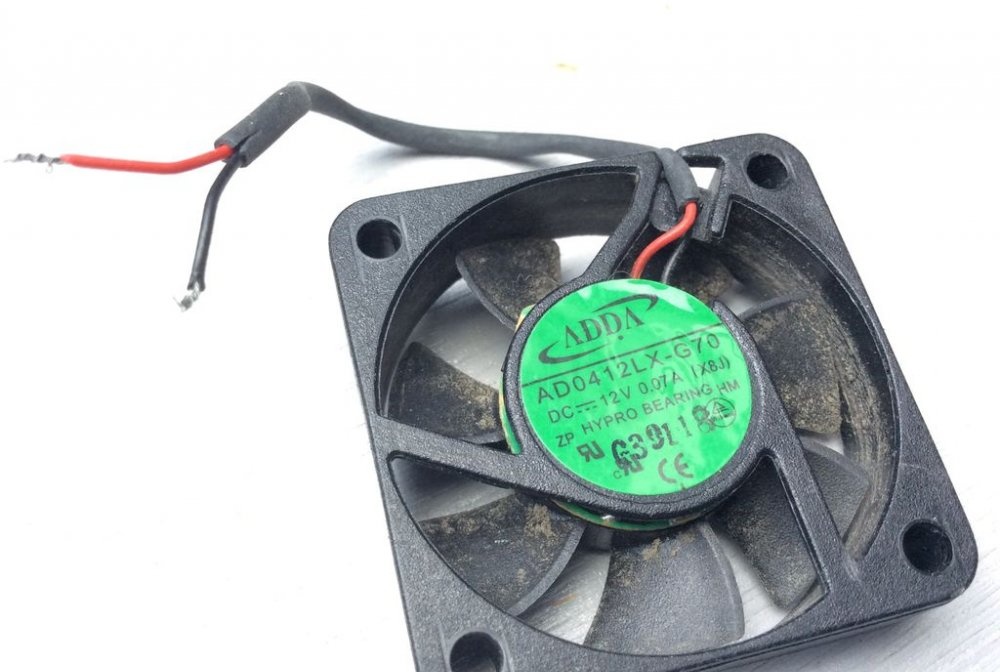
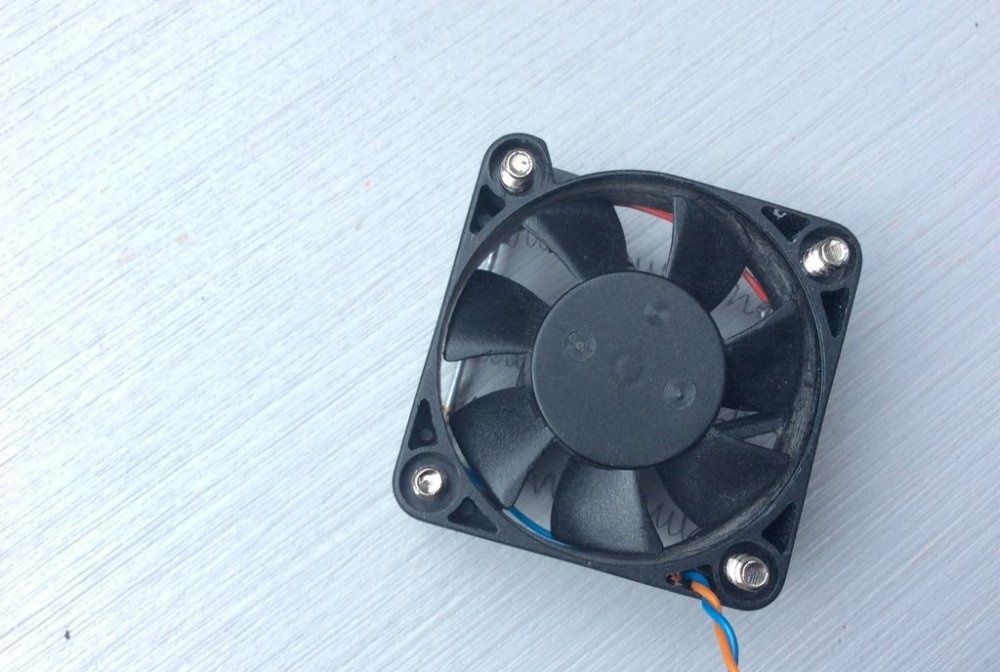
  • Computer fan 12 V, with dimensions 40x40x10 mm.
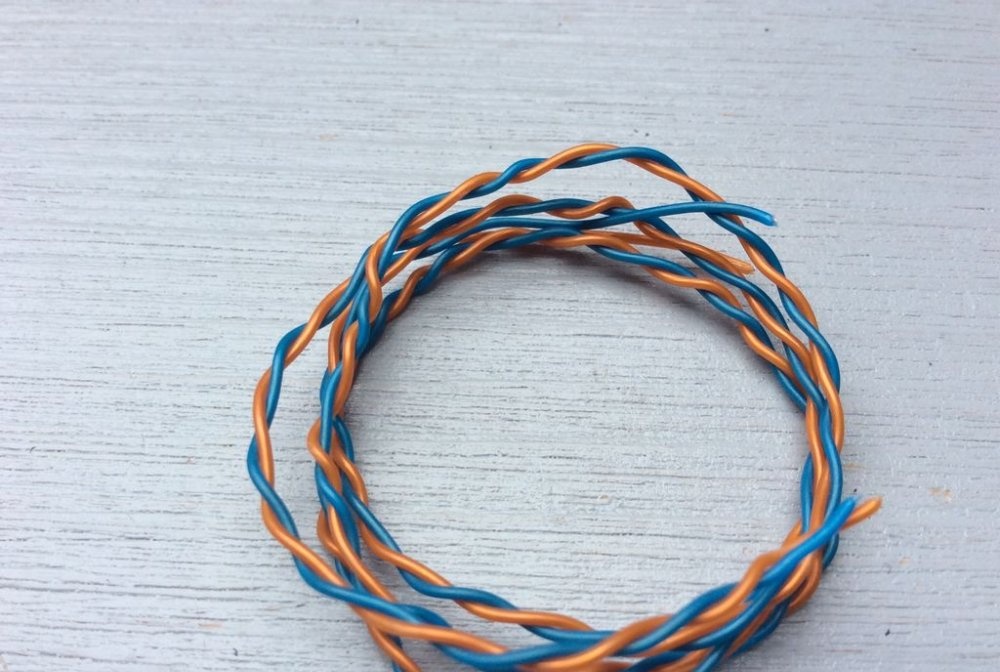
  • Wire for connection, at least 1 square millimeter in cross-section.
  • About 1 meter of thin nichrome wire can be taken from a burnt hair dryer.
  • Approximately 15 cm of thick copper or steel wire.
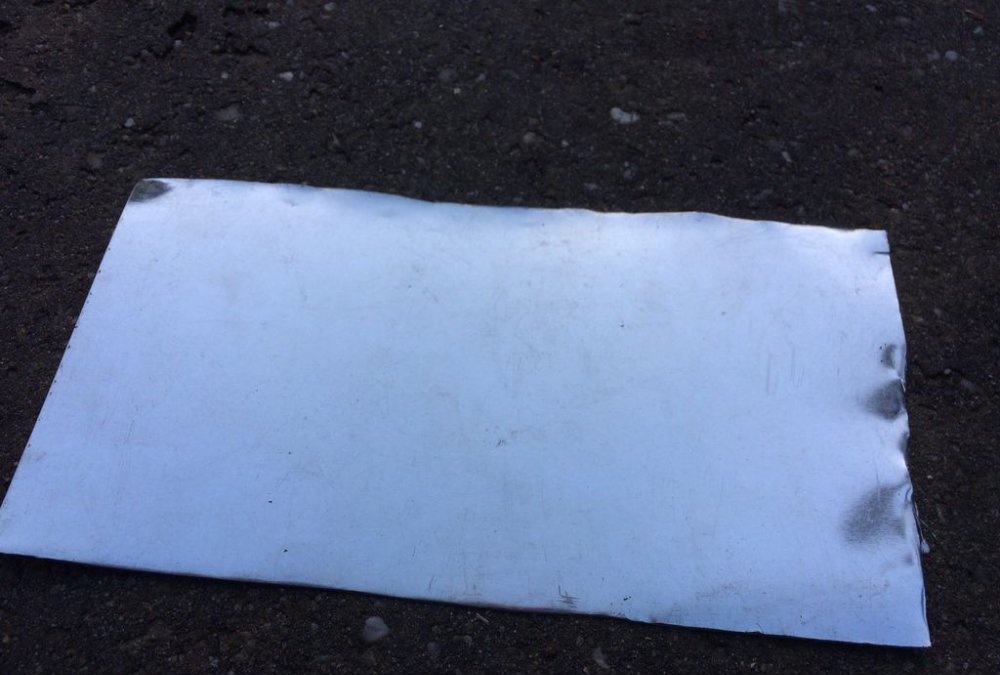
  • A piece of sheet metal, about 40x160 mm. You can take it from a tin can.
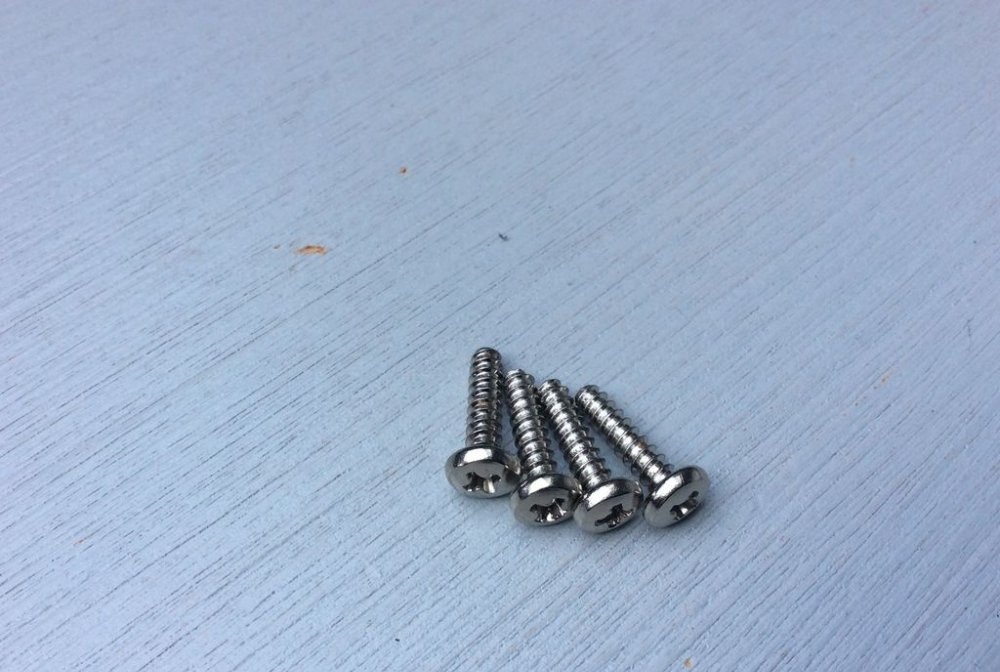
  • 4 screws with nuts for fastening to the fan.
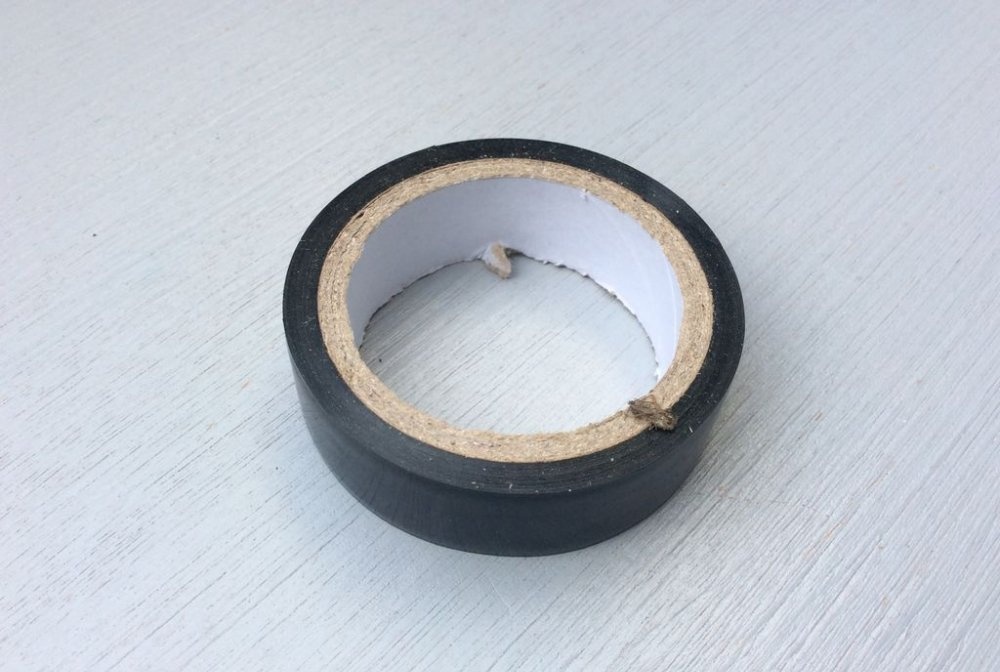
  • Insulating tape.
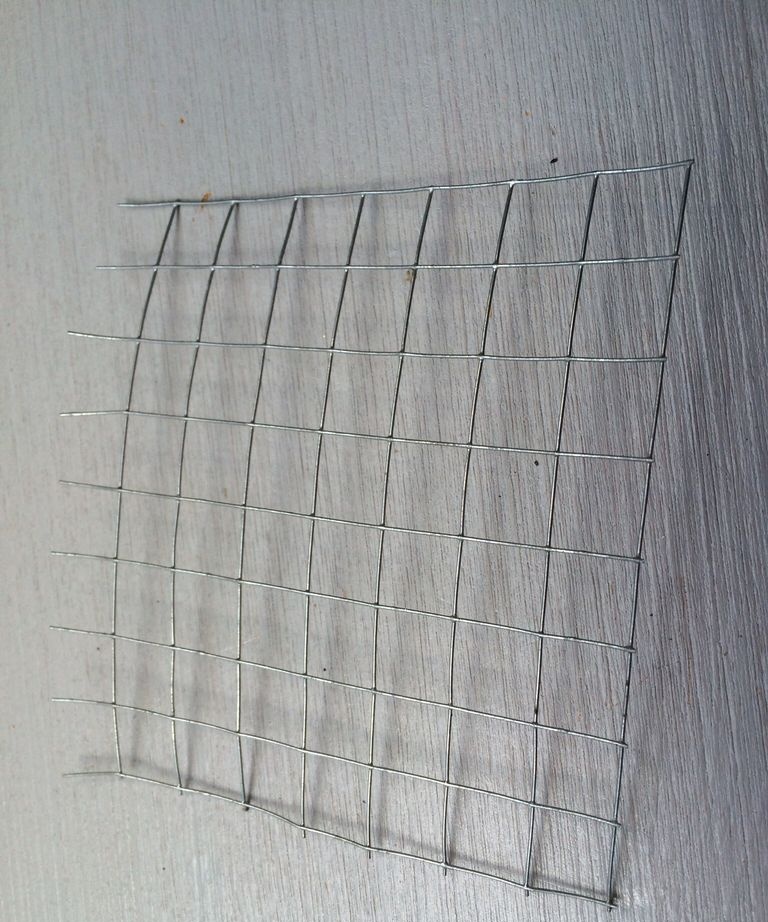
  • A piece of wire mesh.

Tools you will need:
  • Soldering iron with solder.
  • Hacksaw.
  • Multimeter.
  • Lighter.
  • Screwdriver.

Making a heating element


Before you start making the heating element, you need to select the size of the nichrome spiral to ensure even heat distribution.
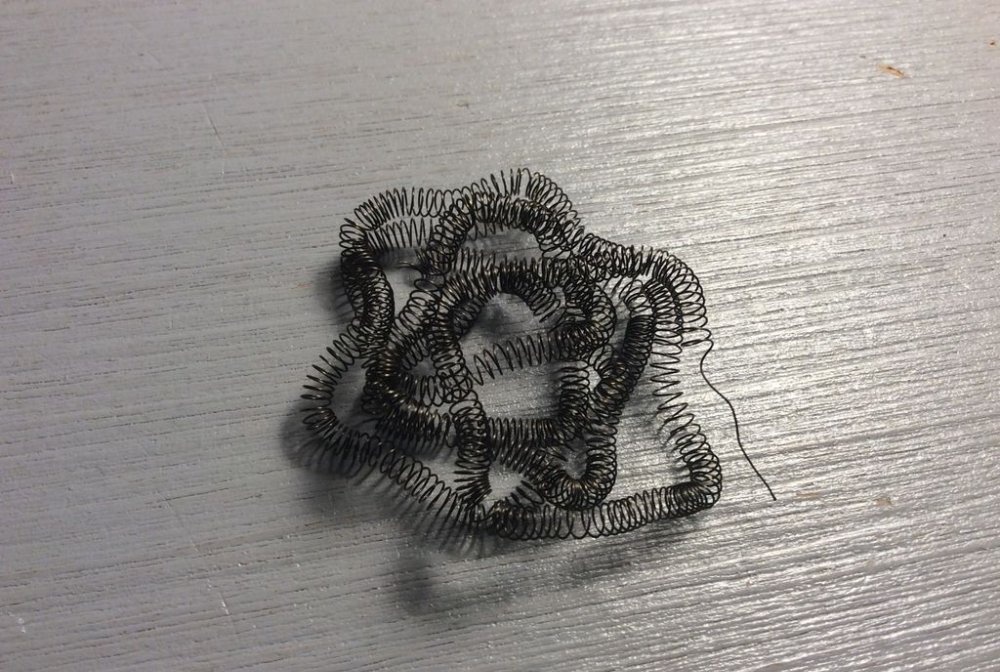
I cut pieces of the spiral and measured the current of each. Initially, I chose the distance where to cut by measuring the resistance of approximately 8.6 ohms. As a result, each section will consume approximately 1.4 A of current. There will be five such segments and the current will ultimately be slightly less than 7 A. I do not take the fan into account.
Mini electric heater 12V 80W

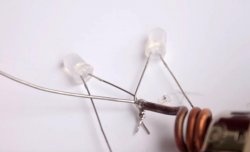
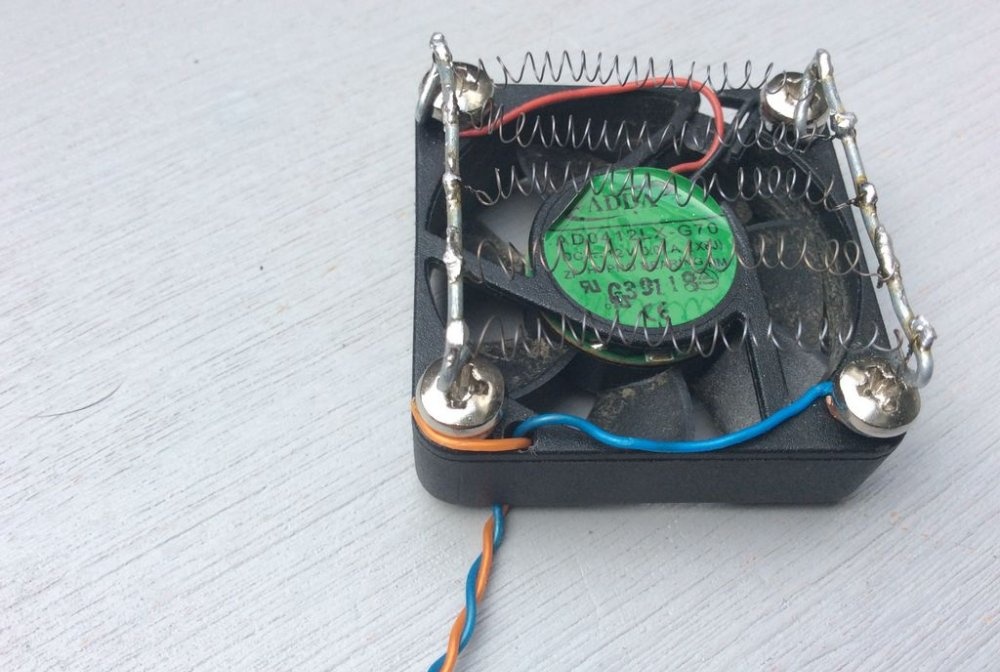
After preparing the spirals, we proceed to making holders for them. They are made from thick wire. We bend such squiggles as in the photo.
Mini electric heater 12V 80W

We try on nichrome spirals for them so that when installed they are at some distance from the fan. And they didn’t touch anything except the ends.
Mini electric heater 12V 80W

Mini electric heater 12V 80W

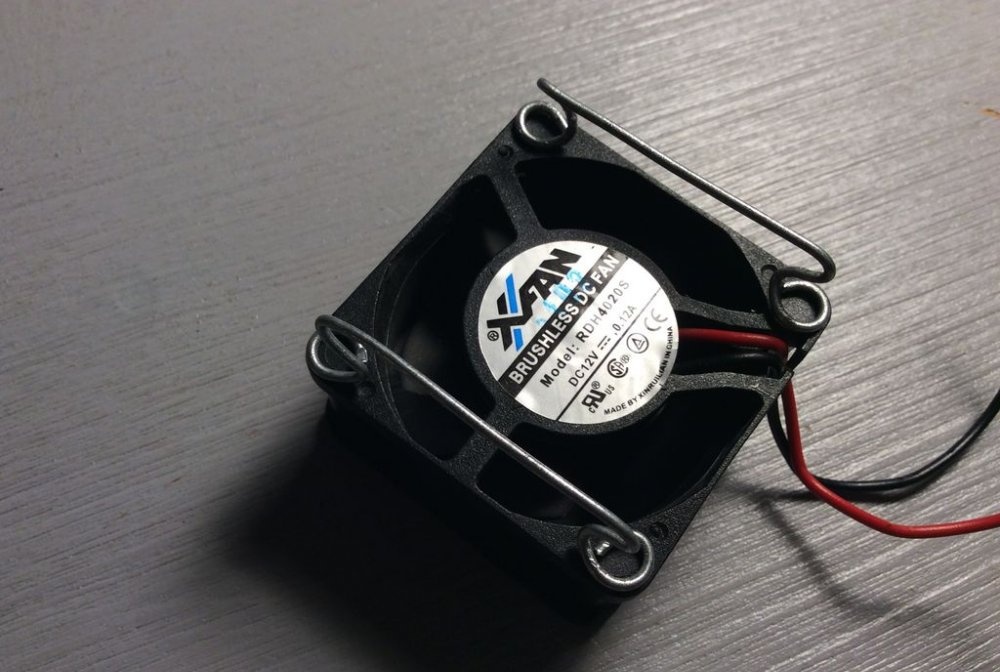
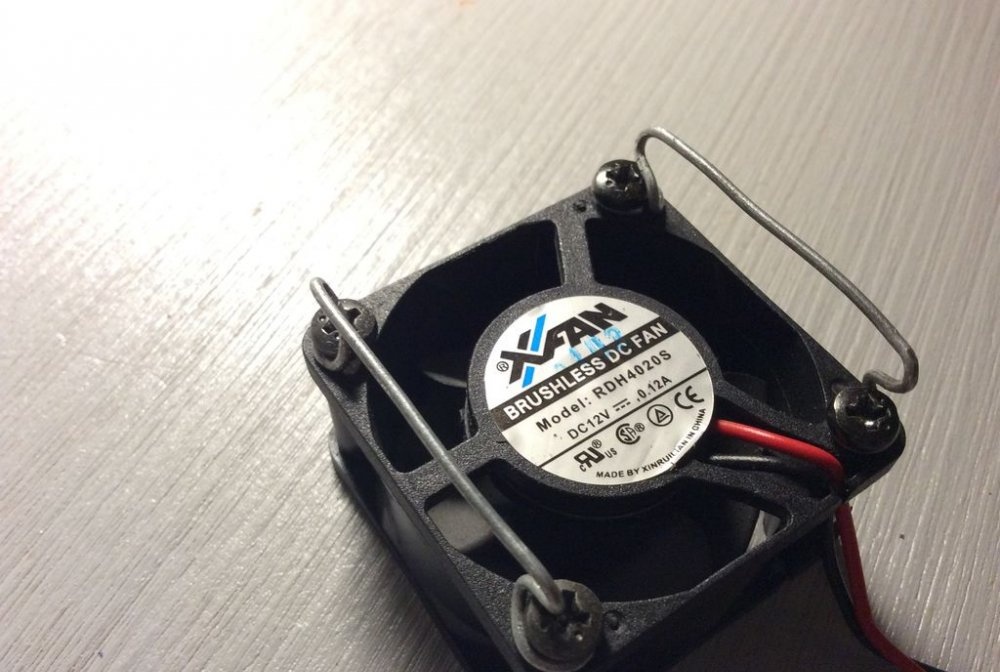
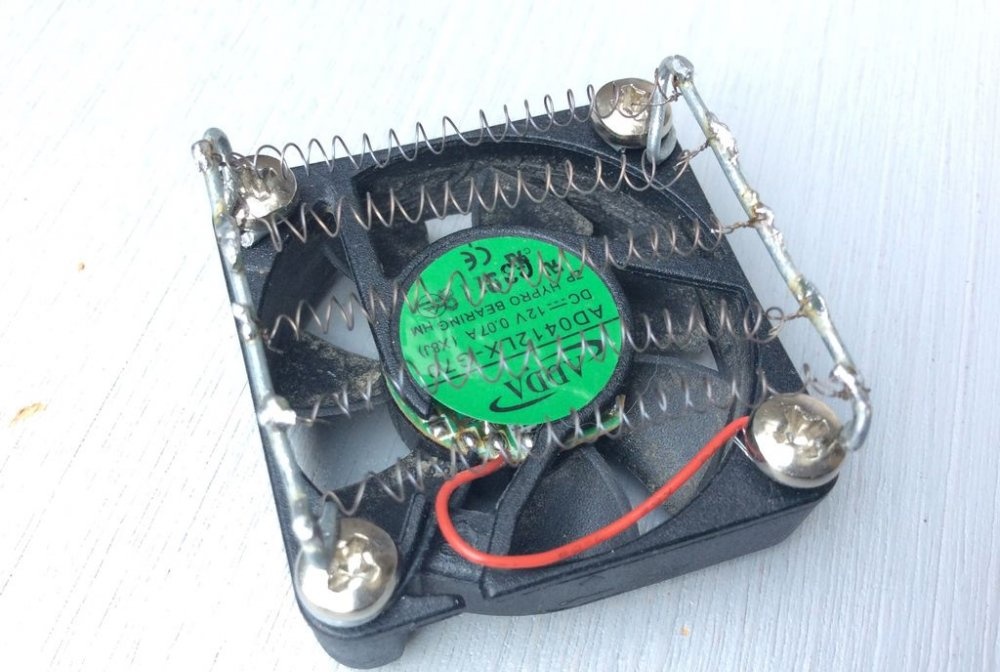
We fasten the holders to the fan with screws.
Mini electric heater 12V 80W

We put on all the heating coils.
Mini electric heater 12V 80W

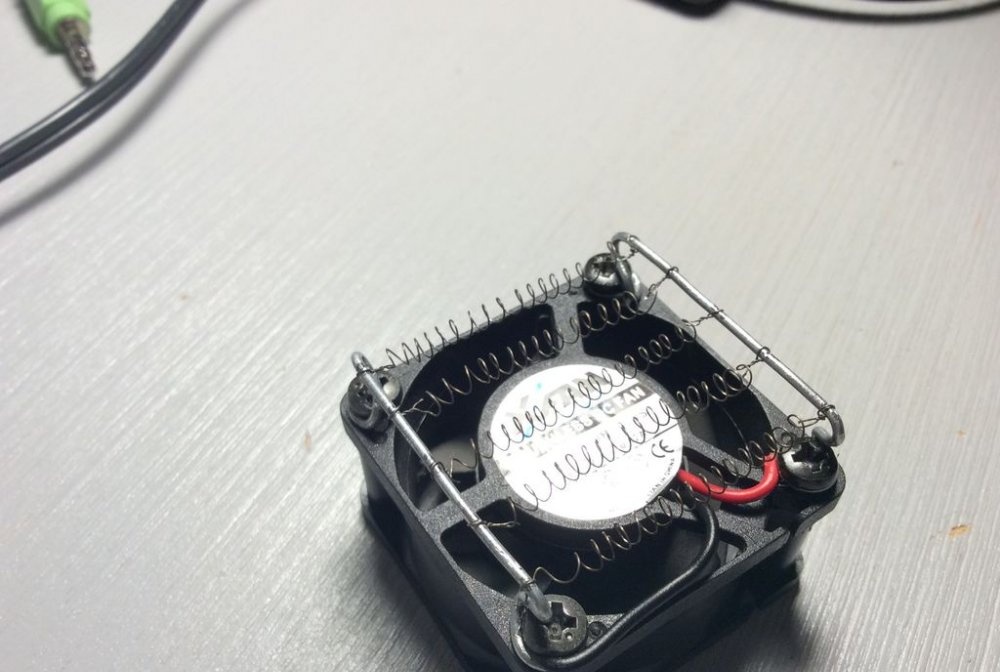
Solder the connection points. Solder using active flux, since nichrome practically cannot be soldered.
Mini electric heater 12V 80W

Connecting wires


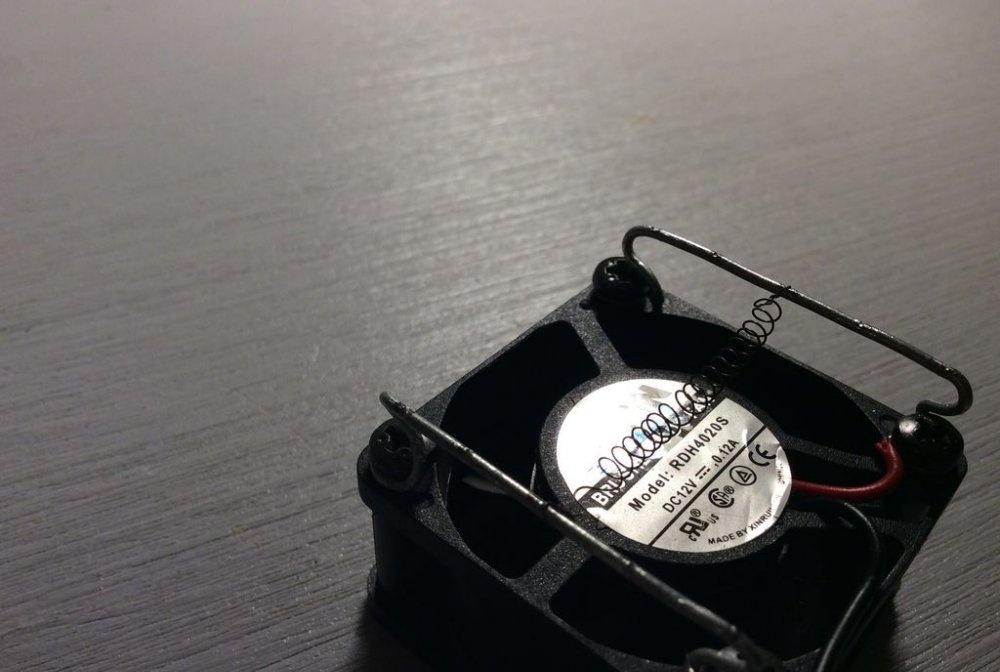
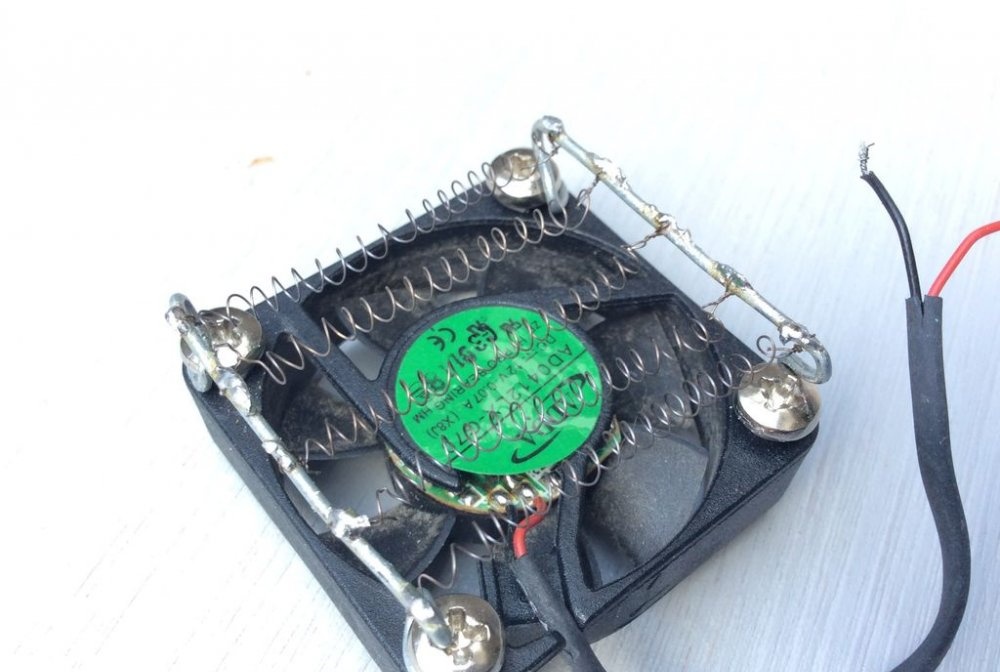
We strip the fan wires and connect them to the heating element, clamping them with screws on both sides.
Mini electric heater 12V 80W

Mini electric heater 12V 80W

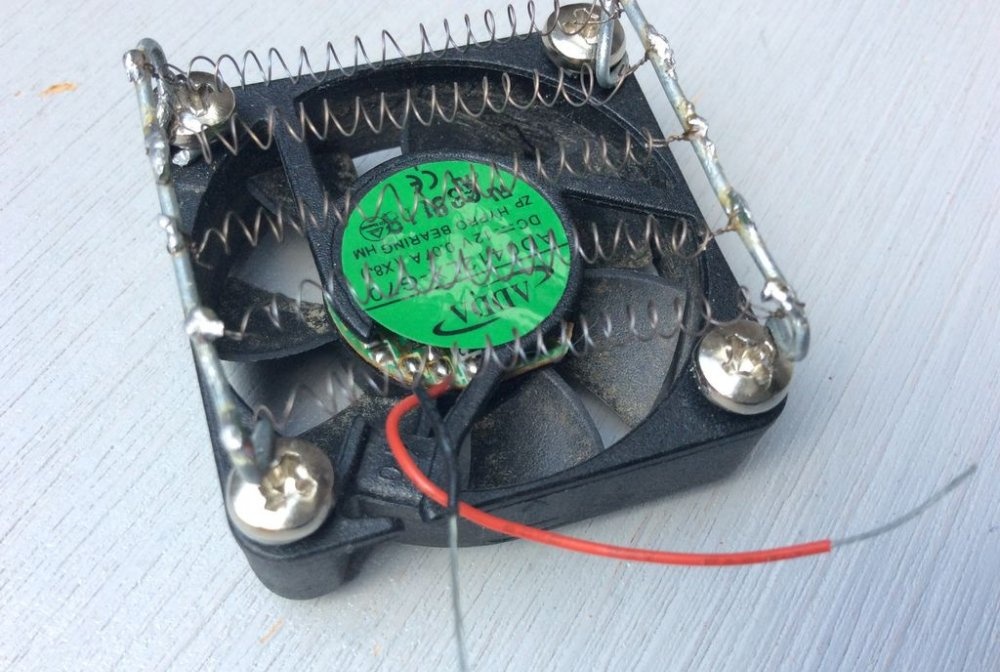
From the other side we pass the power wire through and connect it to the heating element on the other side.
Mini electric heater 12V 80W

Mini electric heater 12V 80W

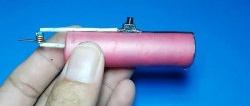
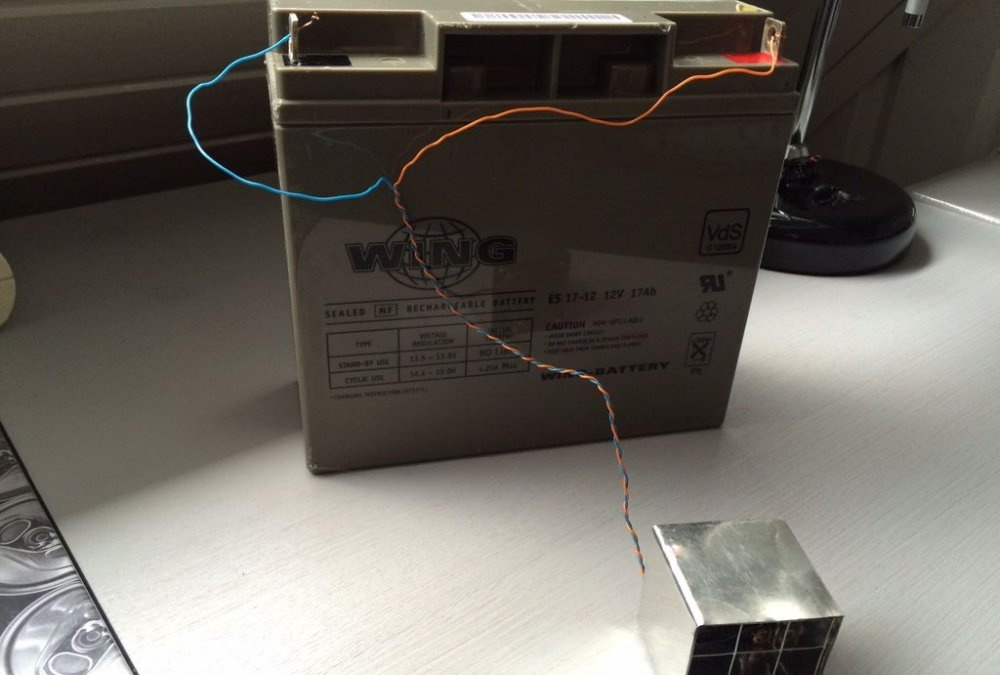
To test the operation of the heater with a fan, we will use a powerful power source. I took the battery. We connect and measure the current consumption. As calculated, it is about 7 A. All elements are heated evenly, blown with air from a fan and hot air comes out.
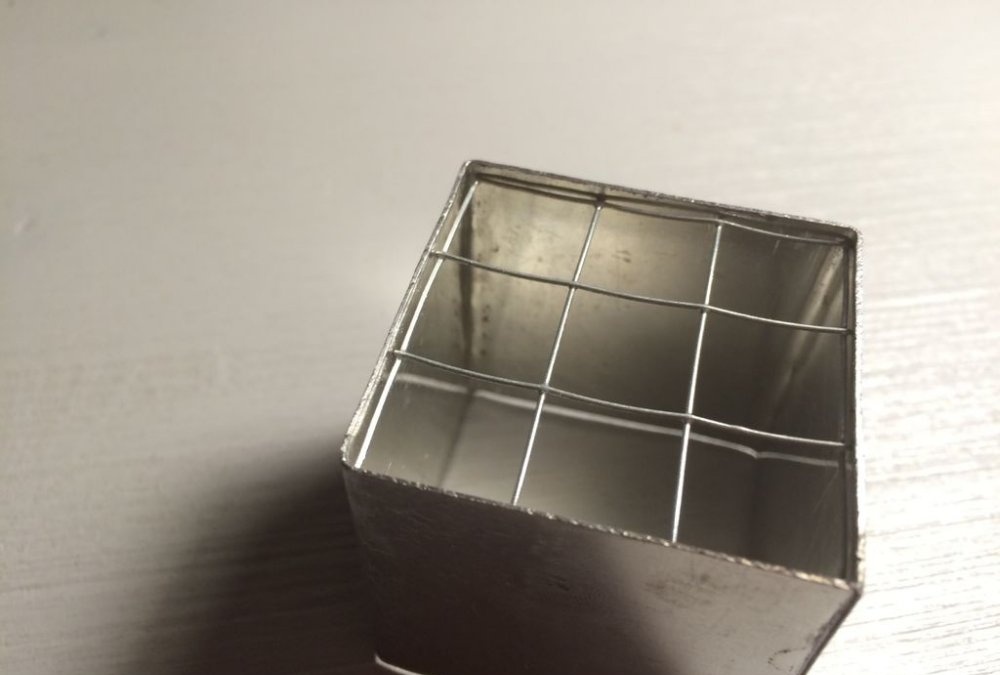
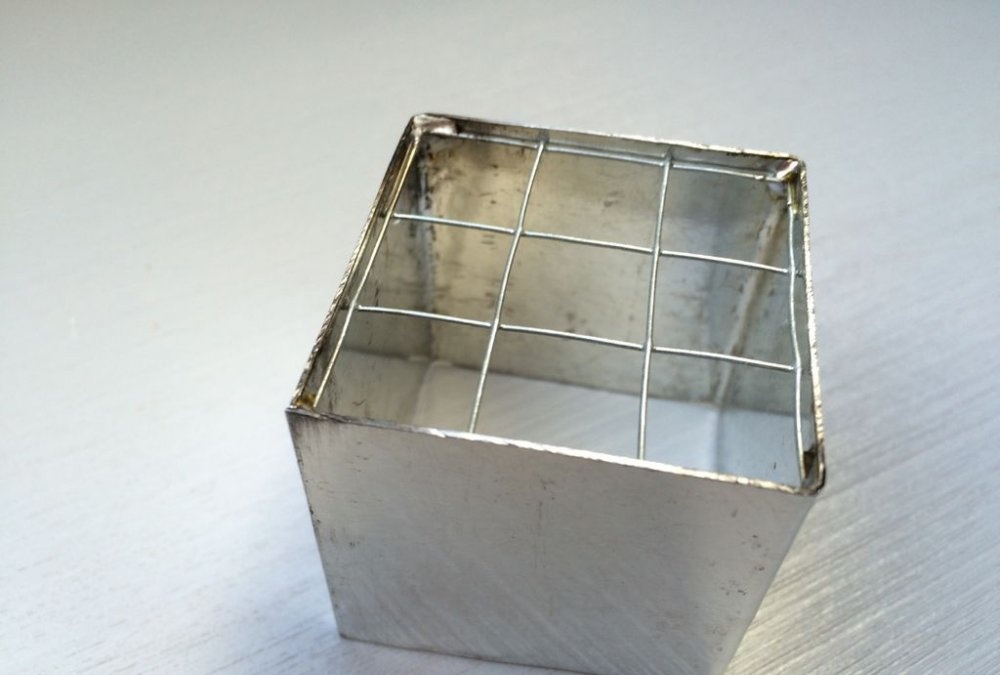
Heater body


Mini electric heater 12V 80W

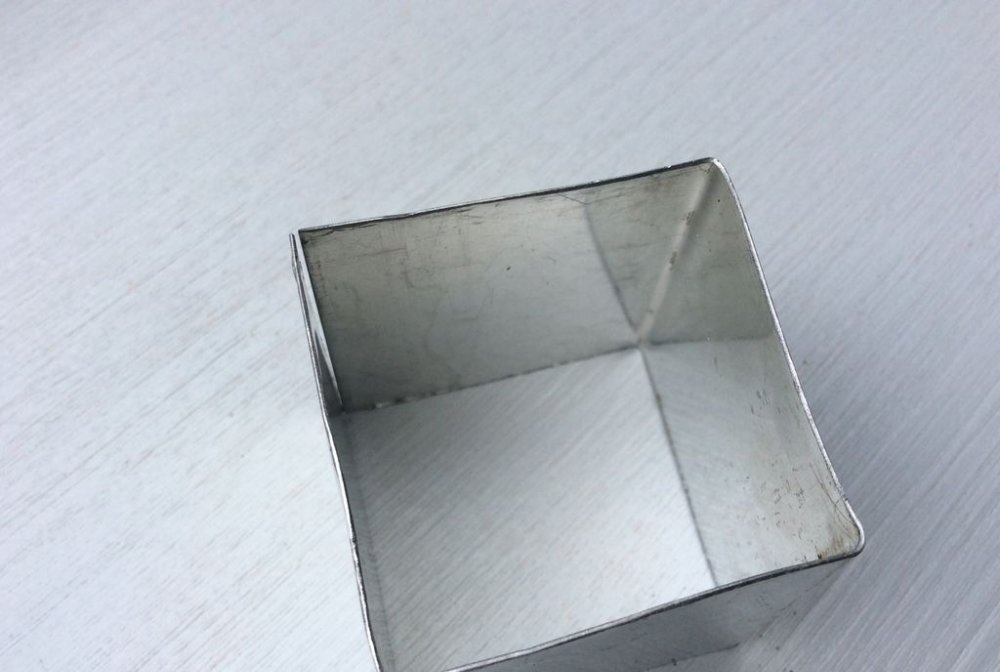
The body can be made from tin from cans. Take a sheet of metal and cut a 4x16 cm strip from it, bend it into a 4x4 cm square. Then solder everything with solder and the case will be ready. Make sure the fan fits into the case.
Mini electric heater 12V 80W

Mini electric heater 12V 80W

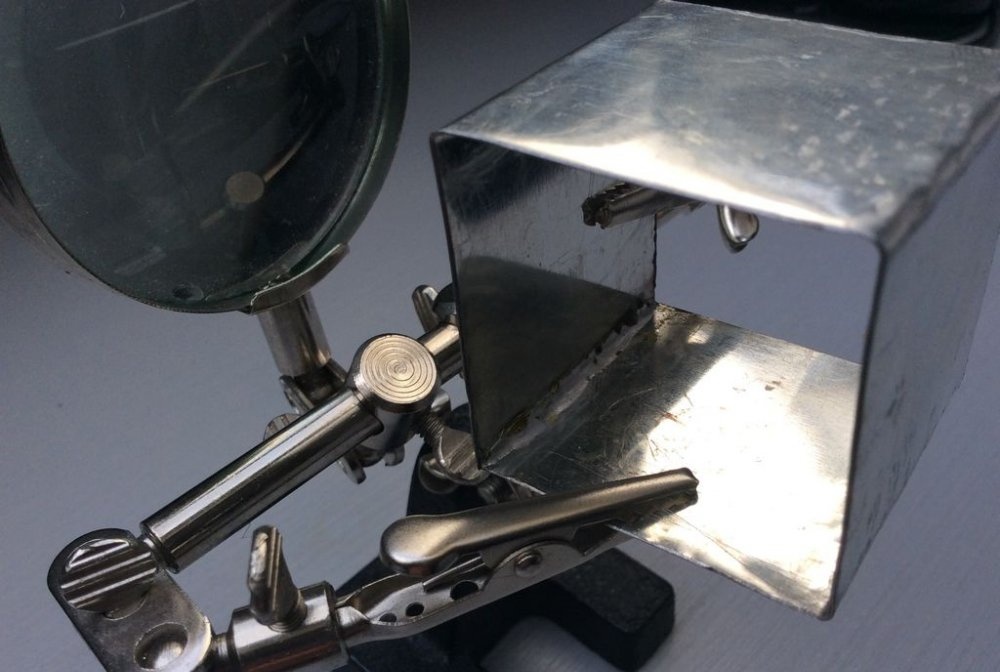
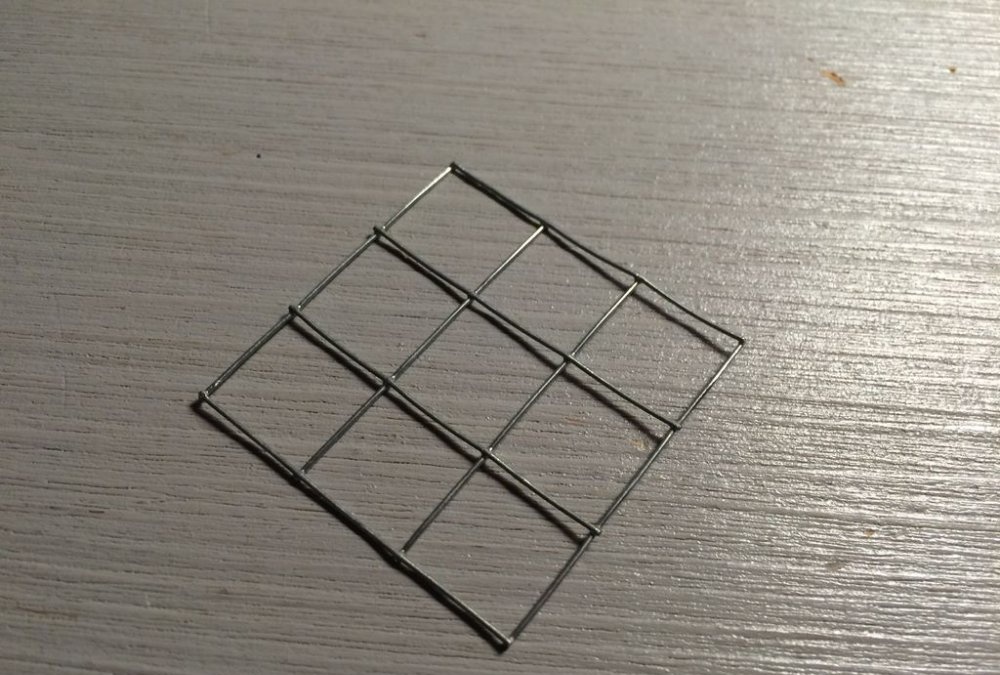
You can take the mesh or solder it yourself from pieces of wire. We take the dimensions according to the body. We insert the mesh into the body and solder it in the same way.
Mini electric heater 12V 80W

Mini electric heater 12V 80W

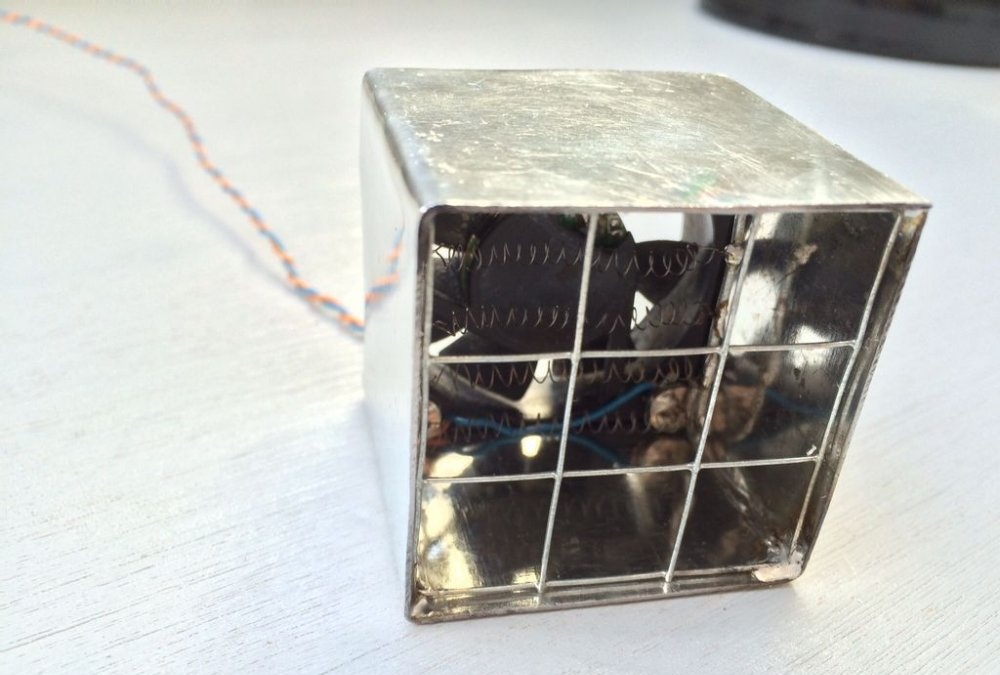
To keep the entire heating element tightly, you need to wrap the fan in a circle with electrical tape, it will add density. And forcefully insert everything into the body.
Mini electric heater 12V 80W

Ready-made small heater


Our mini heater is ready. In principle, it seems almost safe to me, but you shouldn’t leave it unattended.
Mini electric heater 12V 80W

Mini electric heater 12V 80W

Mini electric heater 12V 80W

Total power is about 80 W. This heater can be used in a car. Take power from the cigarette lighter socket. Of course, you can’t warm up the interior with it, but you can warm up the windshield or your hands.
I hope you liked my DIY. If you have any questions, please leave them in the comments. See you again!
Original article in English
come back
Comment
  • bowtiesmilelaughingblushsmileyrelaxed relaxedsmirk
    heart_eyeskissing_heartkissing_closed_eyesflushedrelievedsatisfiedgrin
    winkstuck_out_tongue_winking_eyestuck_out_tongue_closed_eyesgrinningkissingstuck_out_tonguesleeping
    worriedfrowninganguishedopen_mouthgrimacingconfusedhushed
    expressionlessunamusedsweat_smilesweatdisappointed_relievedwearypassive
    disappointedconfoundedfearfulcold_sweatperseverecrysob
    joyastonishedscreamtired_faceangryragetriumph
    sleepyyummasksunglassesdizzy_faceimpsmiling_imp
    neutral_faceno_mouthinnocent
3+three=
Comments (3)
  1. Guest Alexander
    #1 Guest Alexander Guests 17 May 2018 16:24
    0
    Wouldn't that be a short circuit? I don’t understand a little why it doesn’t shorten here?)
  2. DjAntony
    #2 DjAntony Guests 4 December 2018 22:29
    3
    Because the wire acts as a load! When you plug a light bulb into a socket, you don’t say that it’s a short circuit?! wink although there the spiral also closes + and -
  3. Guest Alexander
    #3 Guest Alexander Guests 15 November 2019 13:10
    3
    Hello, I’m thinking about making something similar, but I want to organize a more powerful heater, about 250-300 watts, without blowing. And I also need a temperature of about 400-450 degrees. I also plan to power it from 12 volt batteries, I’m thinking of assembling it from 18650. I’ve also decided how I’ll control the temperature. The question is how to test this design without assembling it from batteries. Please advise the power supply or how to assemble it, it is necessary to measure the capacity required for assembling the batteries.

Greeting card with flowers | Do it yourself

Do it yourself - crafts and master classes | Page 149

How to remove garlic for winter storage without unnecessary hassle

Teddy Bear Photo Stand | Do it yourself

«Do it yourself - with your own hands» - a site of interesting homemade products made from scrap materials and items at home. Step-by-step master classes with photos and descriptions, technologies, life hacks - everything a real master or just a craftsman needs for needlework. Crafts of any complexity, a large selection of directions and ideas for creativity.

We recommend reading

Washing machine error codes