The disadvantages of this design are that it cannot be washed, and if the paper is wrinkled during operation, it will be impossible to restore the original shape. However, this disadvantage is offset by the low cost of the product. Whatman is also suitable for the role of blinds, which, if desired, can be painted in any color or created images on it.
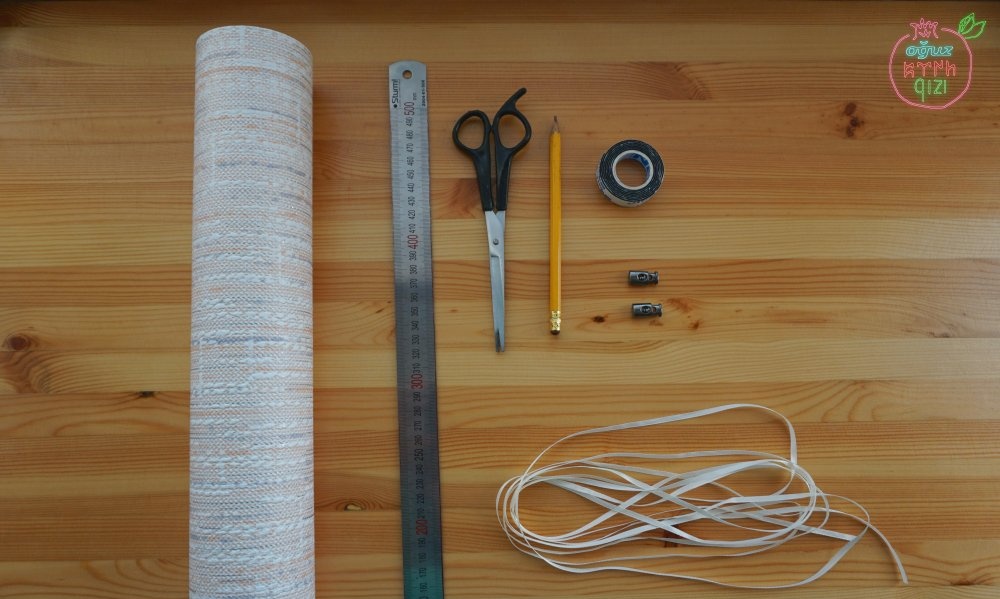
Materials for work:
1. Wallpaper;
2. Thin satin ribbon;
3. The drawstring;
4. The trailer;
5. Puncher or drill;
6. Double-sided tape;
7. Ruler, pencil, scissors.
Pleated blinds manufacturing sequence
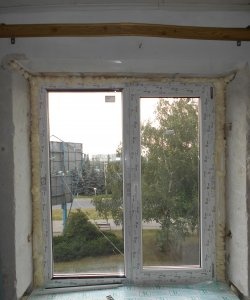
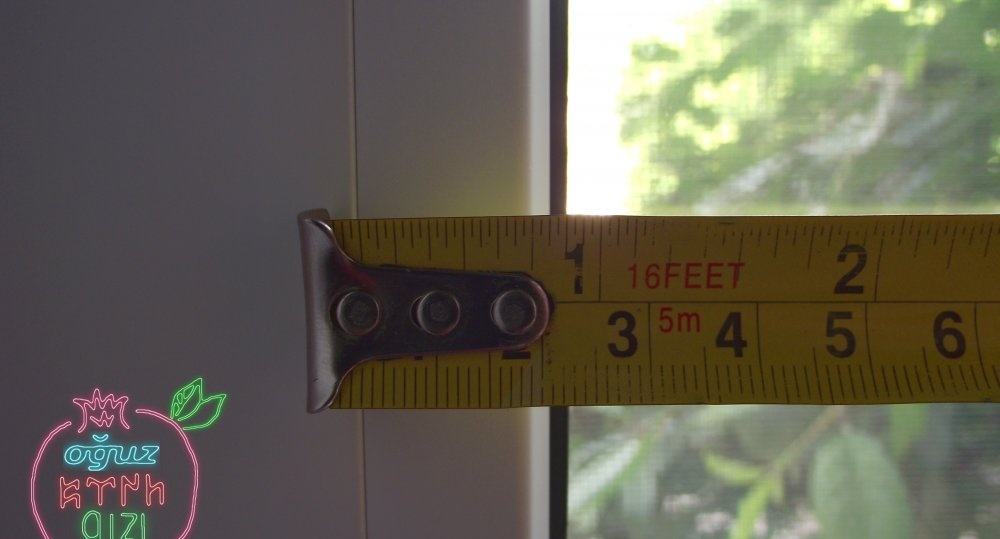
The main thing in the manufacture of window-mounted blinds is to correctly calculate the size of the canvas. To not only shade the room from the sun, but also to hide the interior from prying eyes, the pleated should be about 2 cm wider than the glass on each side. The length of the wallpaper should be one and a half times the height of the window.
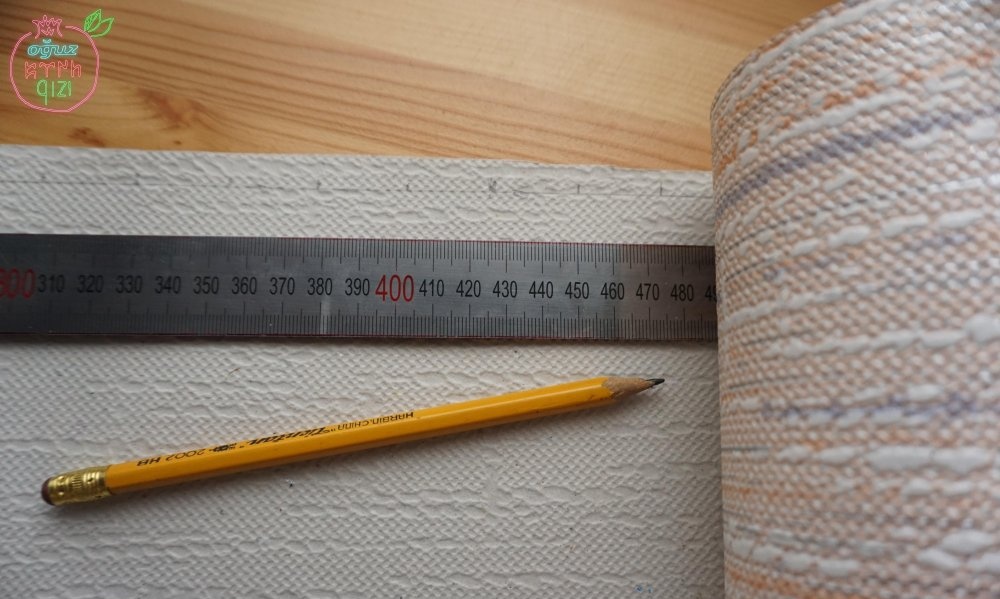
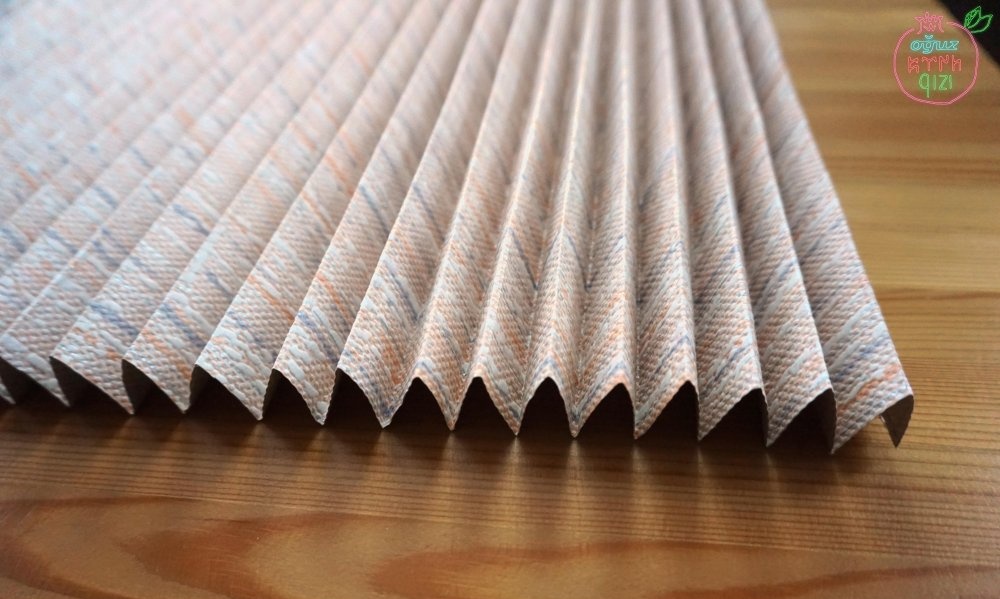
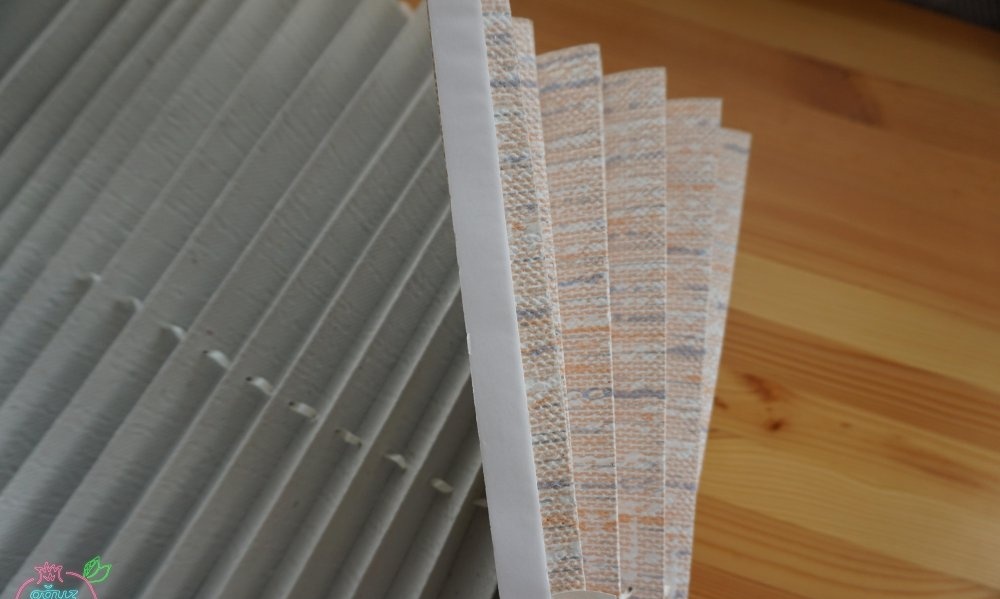
Having cut off the required volume of the canvas, we proceed to the most crucial part - folding the accordion. The width of the so-called lamellas should not exceed 4 cm, otherwise the curtains will not look aesthetically pleasing. Using a pencil on the wrong side, mark the places of future folds.
Using a ruler, we make folds.
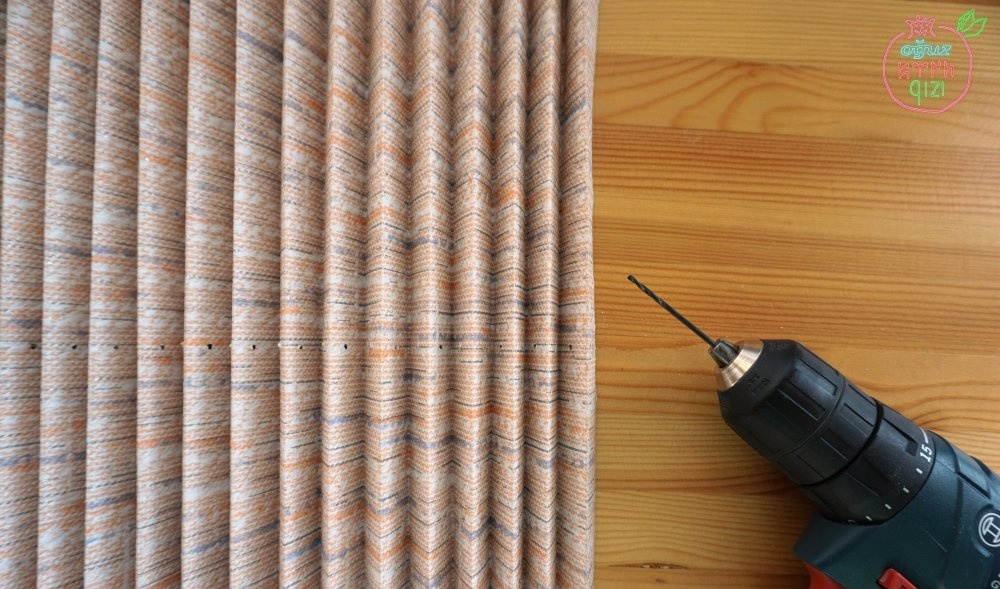
We make a hole in the middle of the workpiece with a puncher, awl or drill.
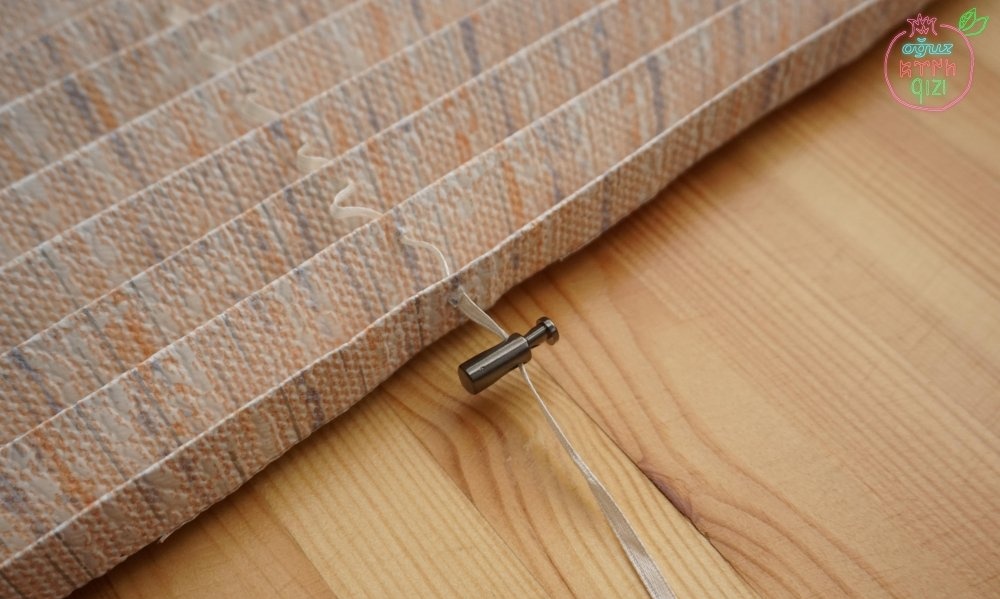
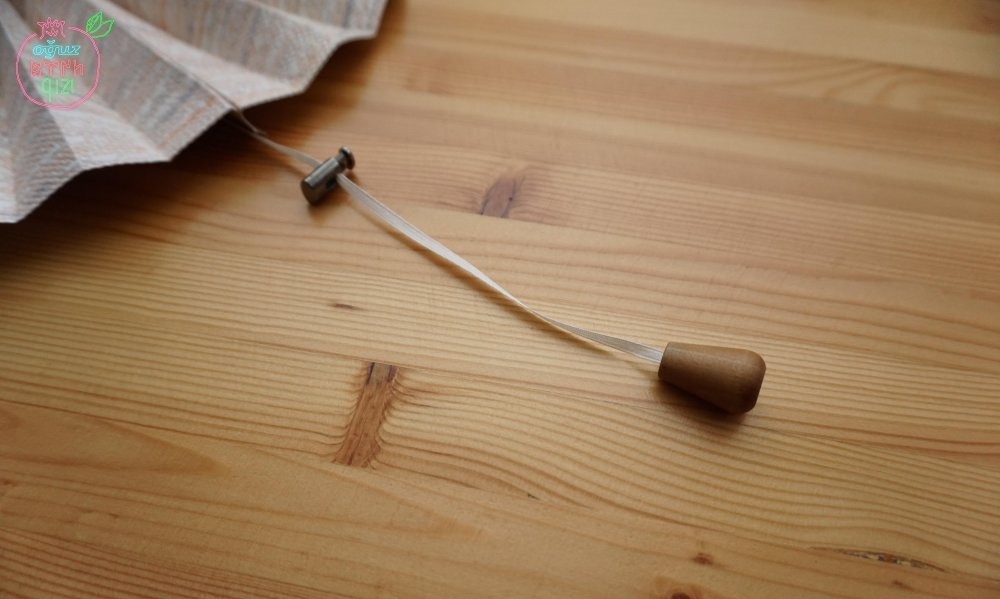
We stretch a satin ribbon through it, tie a knot on top. Instead, you can use a silk cord, but the advantage of the tape is that it is easier to pick up to match the wallpaper.

At the bottom, insert into the drawstring, which will adjust the height of the pleated.
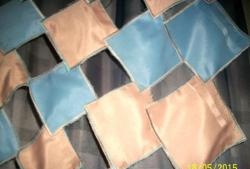
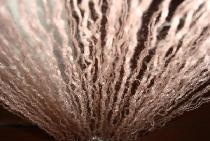
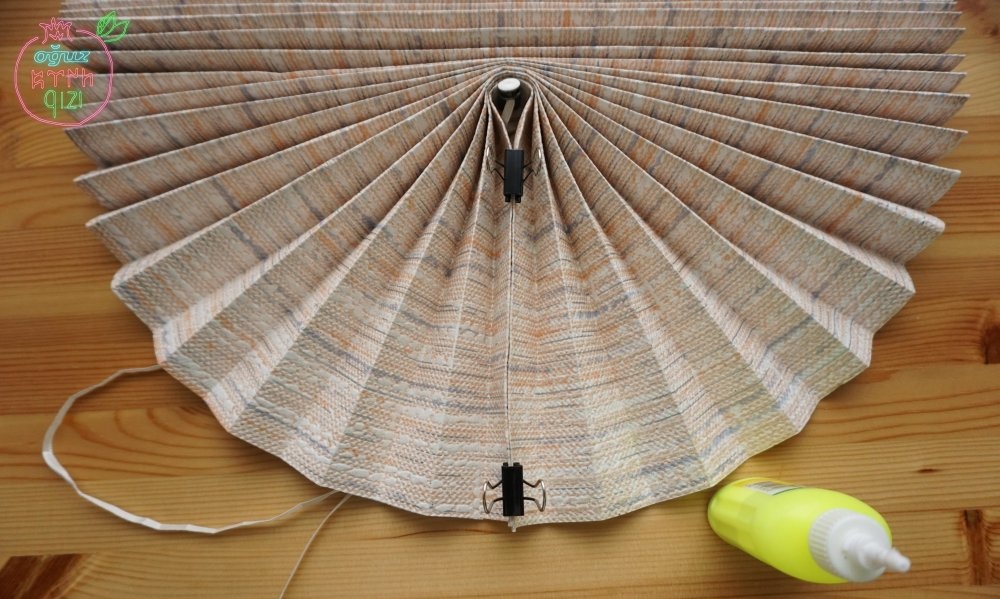
Now you need to connect the edges of the lower fold. This can be done with glue, magnets or double-sided tape. We apply glue, not reaching the middle, and then connect both ends, forming a peacock tail. For better grip, we put paper clips or simple paper clips on the crease, and hold until the glue dries.
As a weighting agent, a wooden trailer is used.
Glue double-sided adhesive tape over the entire edge to the upper edge.
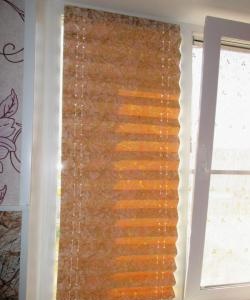
Remove the protective layer from the double-sided tape, glue the upper fold on the frame and adjust the height of the curtain, shifting the drawstring to the desired level.
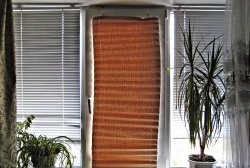
Do-it-yourself blinds-pleated from the wallpaper is ready!