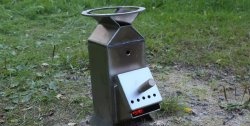
I'll tell you how to make a simple, lightweight and foldable tile-based cooking stand. You can place a frying pan or pots on it. It is also possible to use the stove as a barbecue.
A camp stove can operate either on liquid fuel, such as an alcohol burner, or on solid fuel, such as camp candle.
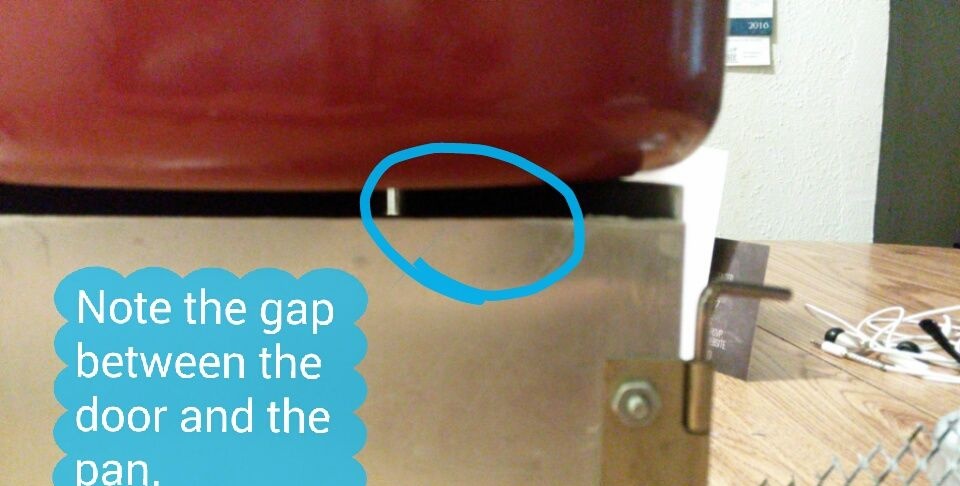
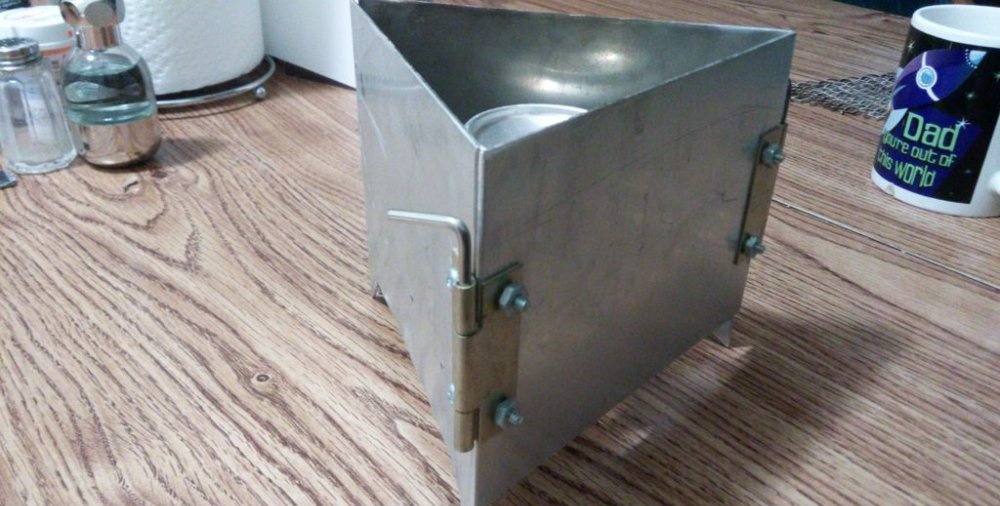
Due to its size, the entire structure takes up minimal space, whether assembled or disassembled.
Materials and tools that will be useful
Materials:
I used what I had on hand.
- - Aluminum sheet 3 mm thick.
- - Steel wire for making pin wedges.
- - small door hinges for furniture.
- - Aluminum can - optional.
- - Nuts and bolts.
Tools:
- - Pencil and ruler.
- - Stationery knife.
- - Drill and drill bits.
- - Screwdriver.
- - Jigsaw.
- - Wire cutters.
- - File.
- - Sandpaper.
- - Cutting metal sheets.
Marking parts for further cutting
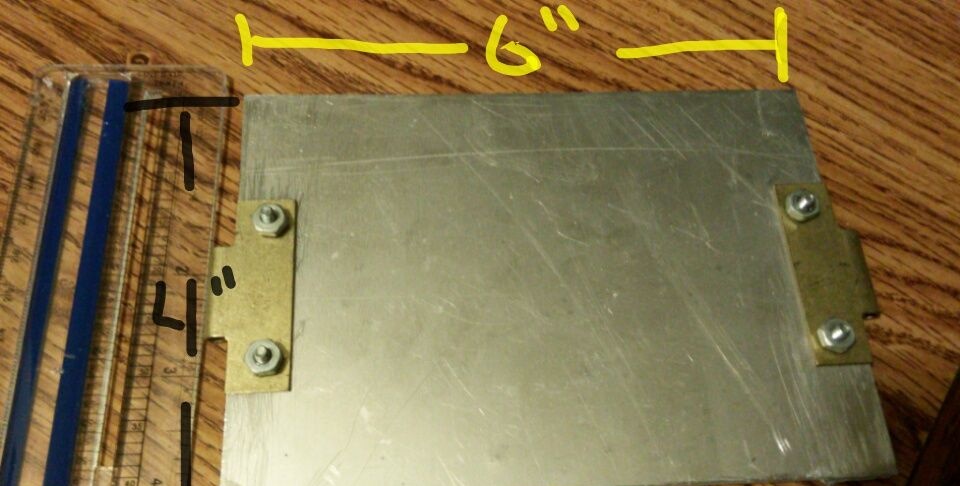
You need to make 3 parts, see photo. Two measuring 15 mm x 13 mm, with legs - 2.5 mm cutout. And one without legs, measuring 15 mm x 10 mm. Dimensions shown in the picture are in inches.
Cutting out the parts for the camp stove

We take an aluminum sheet and draw out the parts of the future slab with a simple pencil or scratch it with a nail. Then we cut it out with a jigsaw or other saw.
Be careful when working with metal. Follow safety precautions and avoid getting hurt.
Aluminum is a good metal - lightweight, easy to cut, and most importantly, does not rust.
Cleaning up the edges
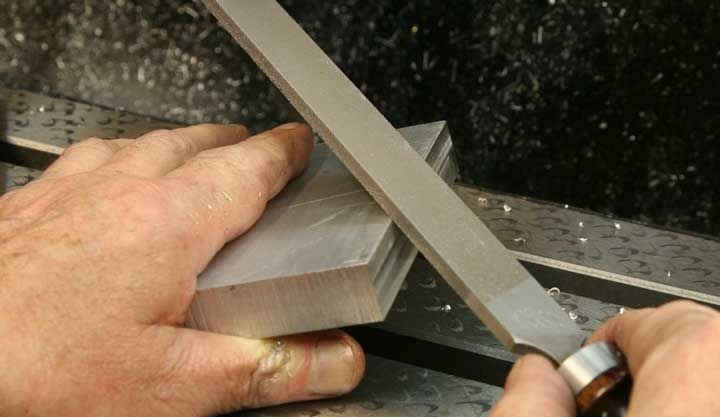
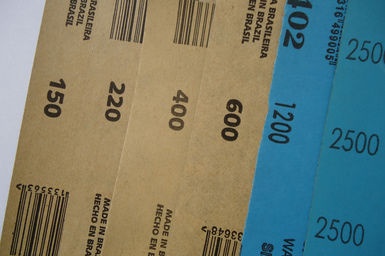
After all the parts have been cut out, they must be cleaned of various burrs. It is also necessary to dull the sharp edges. For these purposes, use a metal file and sandpaper. First, we went through it with a file, filling the radius of the sharp edges over the entire area. And then we go over with fine sandpaper to make all parts smooth.
Adding loops
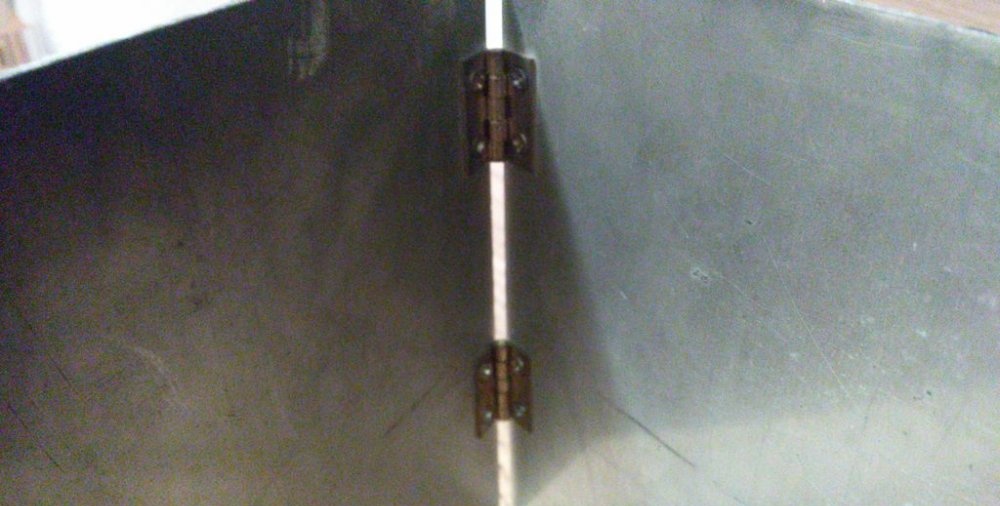


Next, you need to add loops to the existing parts. But first you need to disassemble them by pulling out the central cotter pin. Since the tile has the shape of a triangle, we need three such disassembled loops.
After the hinges are disassembled, they need to be attached to the sides of the slab. To do this, we apply loops, notice holes, drills. And we put hinges on the bolts and nuts.
Make your cotter pins from steel or copper wire. Their thickness is the same as the original hinge pin or slightly less. The shape is L-shaped, the length is at your discretion, about one and a half times the length of the loop.
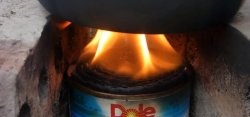
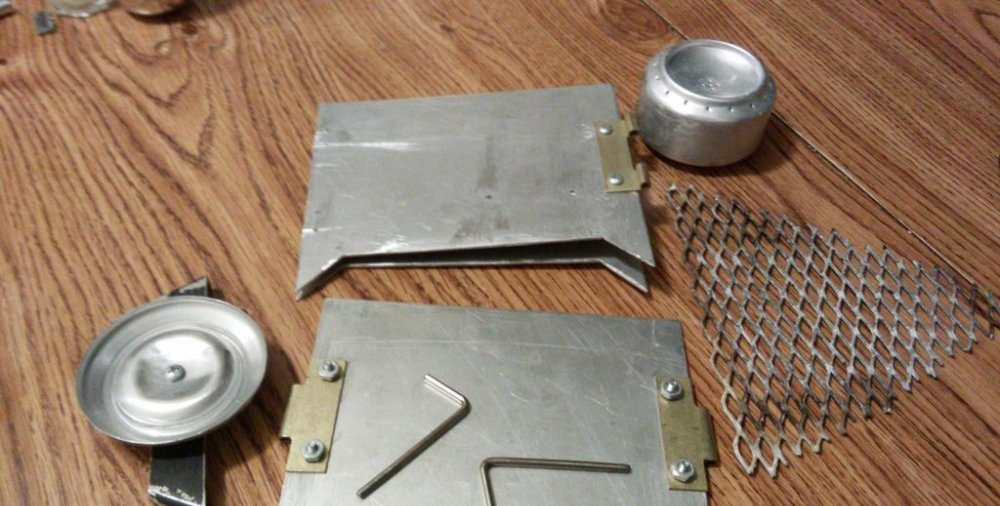
Burner stand
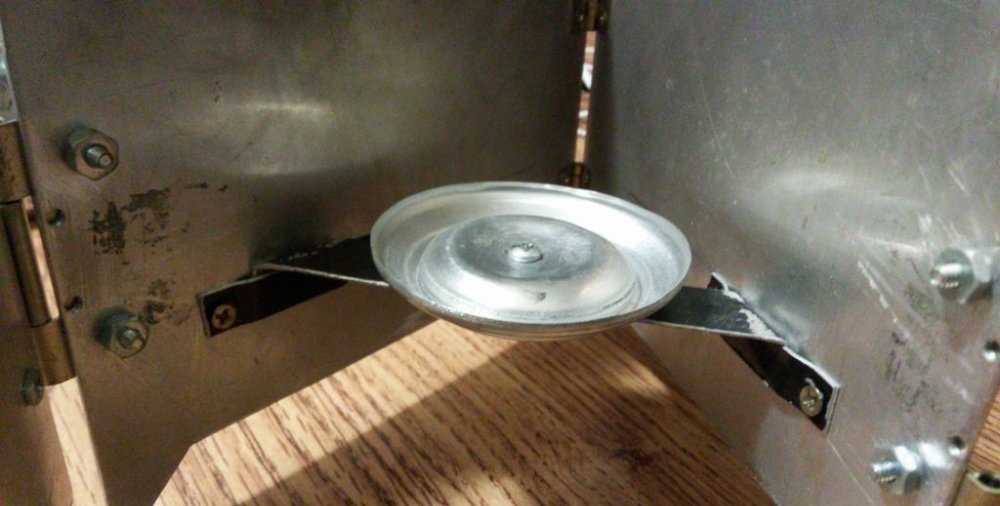
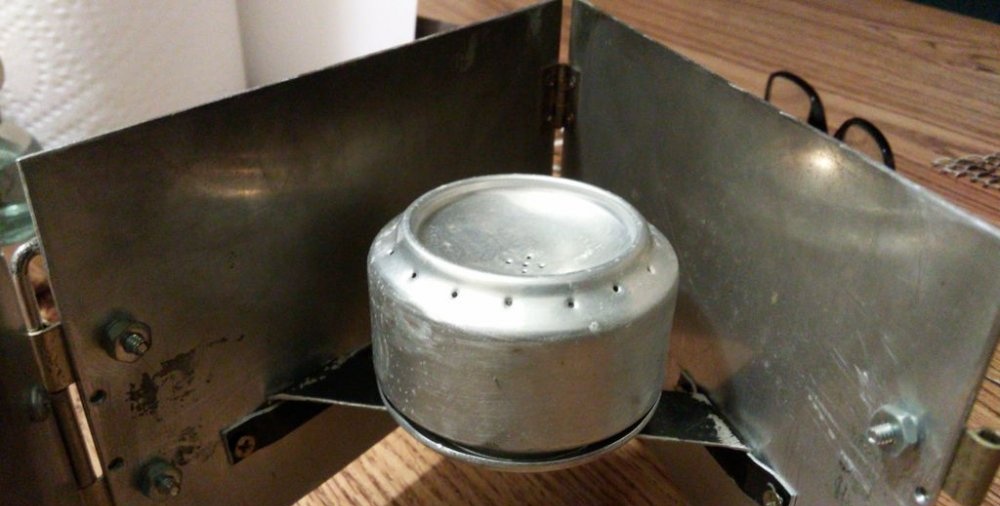
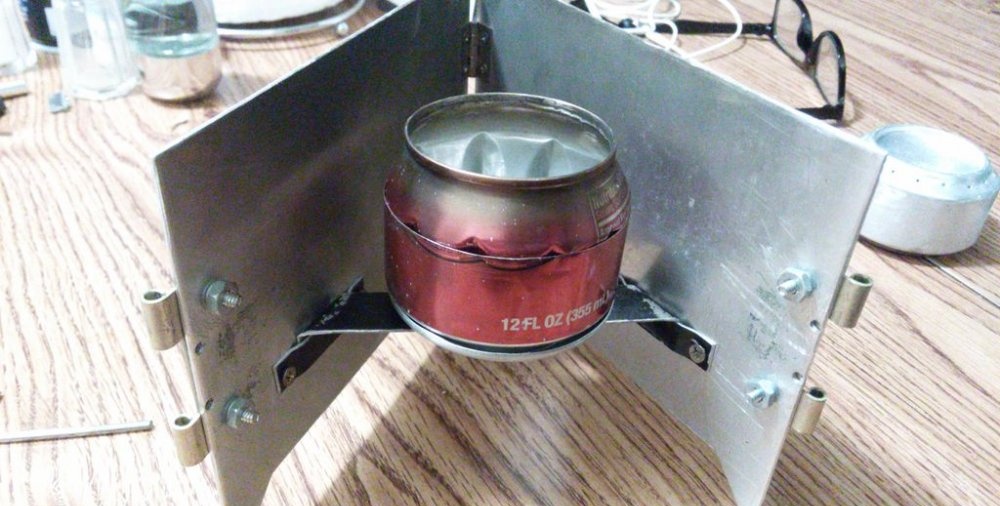
This step is not necessary since the burner can be placed directly on the ground. Although this device gives stability to the entire structure. Since my alcohol burner is small. And if you put it on the ground, the flame will not be enough. That's why I took this step.
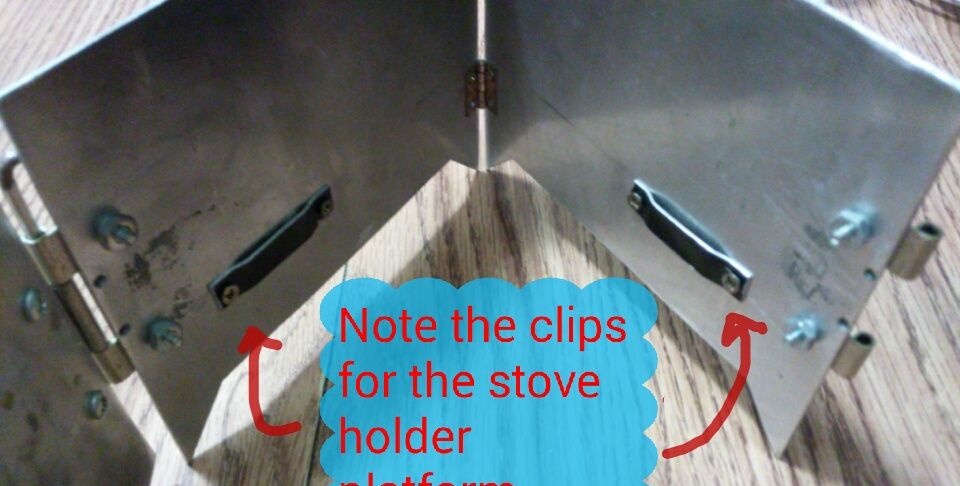
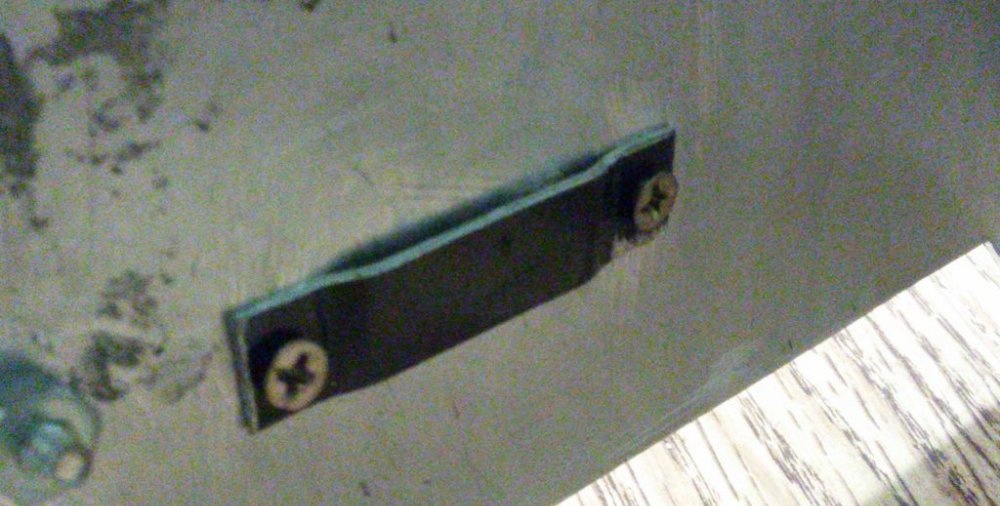
The stand is made of thin steel and is also screwed on with bolts and nuts, see photo.The bottom of an aluminum can acts as a holder.
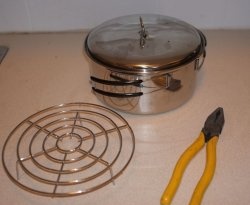
Grill grate
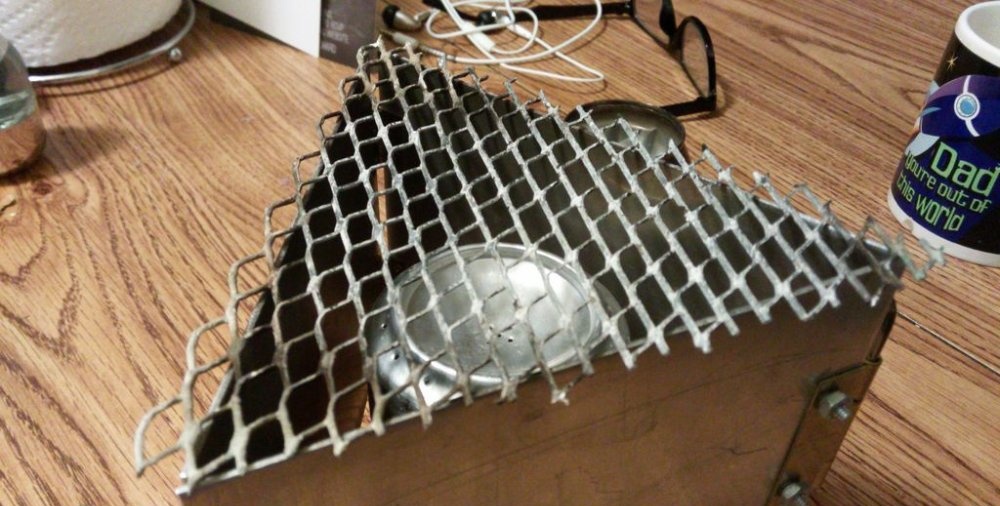
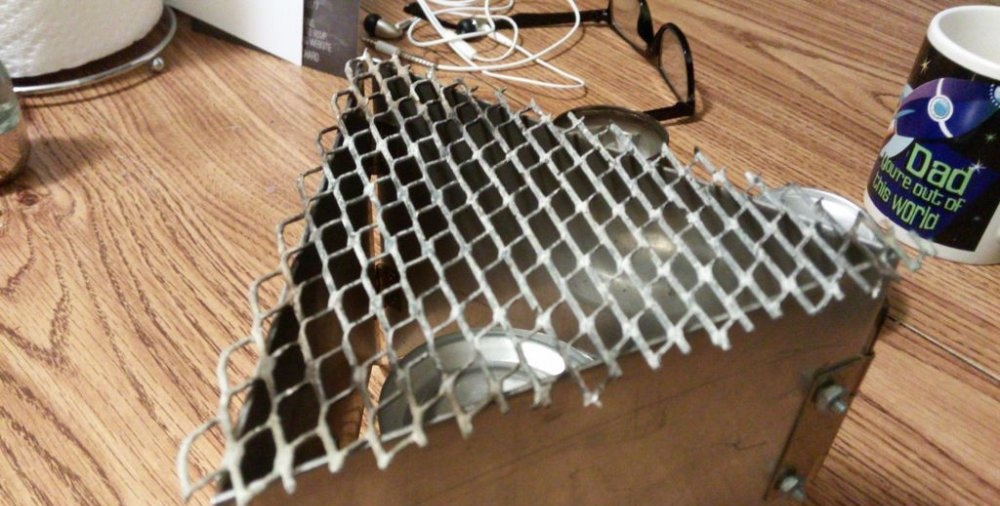
You don’t have to do this either, but if you suddenly want to cook a nipple or meat on the fire, then such a grate can come in handy. It is simply cut out of a metal mesh using metal knives to a size slightly wider than the sides of the plate.
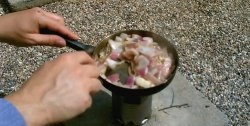
The camp stove is ready
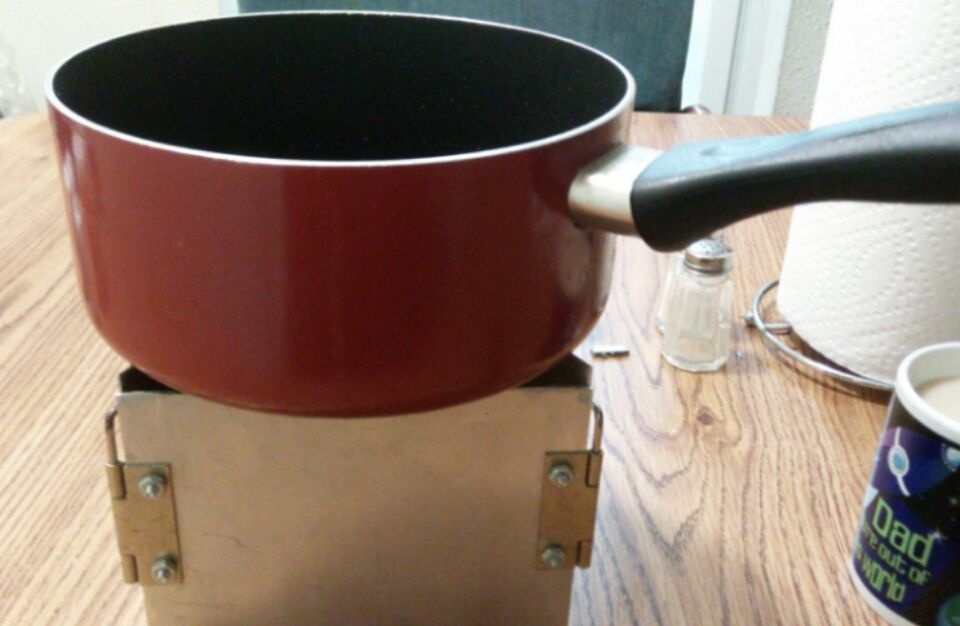
With this my camp stove is ready. I hope this master class is useful to you too. Until next time.
Original article in English