Required Parts
- Radiator from the processor of any computer.
- A pair of alligator clips.
- A pair of self-tapping screws.
- Fan.

Tool
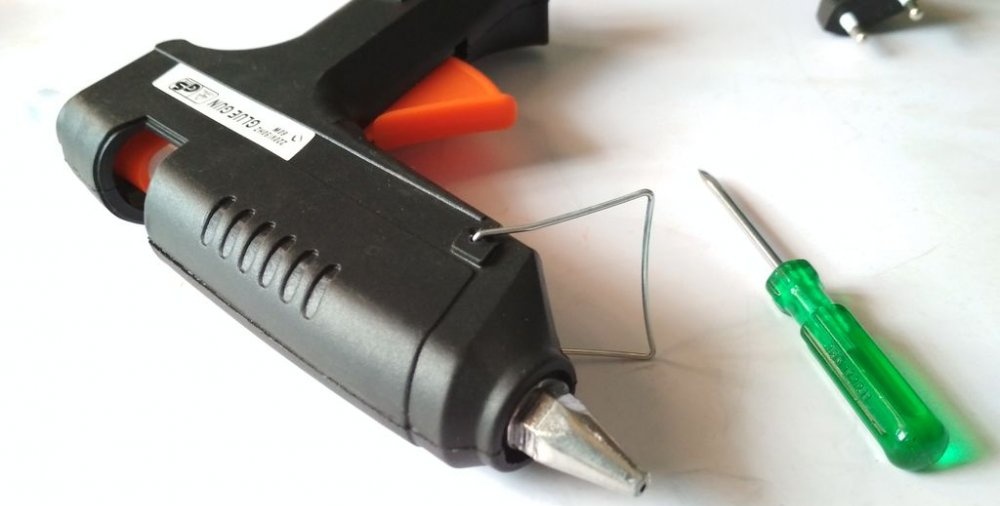
- Hot glue gun.
- Screwdriver.
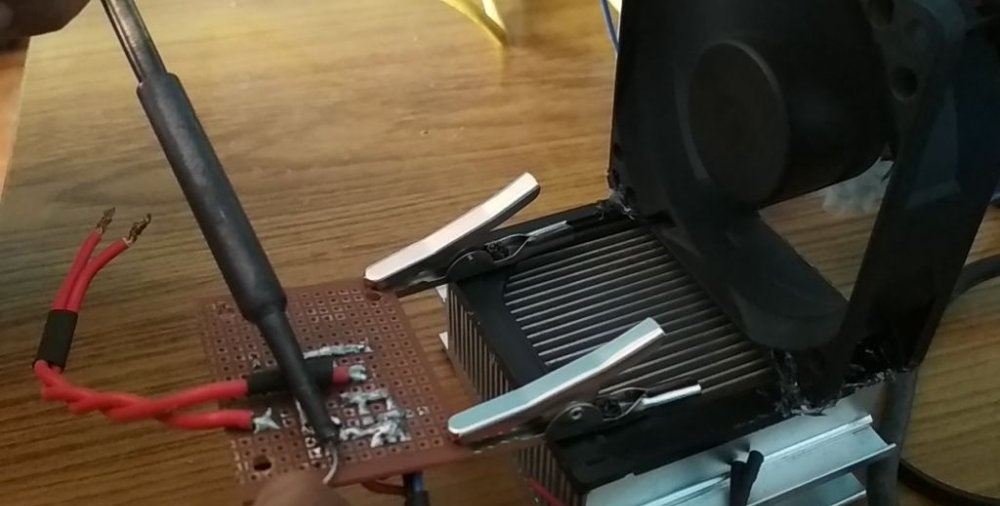
Making a soldering fixture
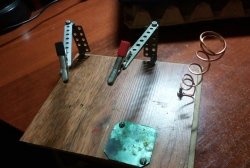
All you need to do is screw the screws into the radiator along the edges. Like this:
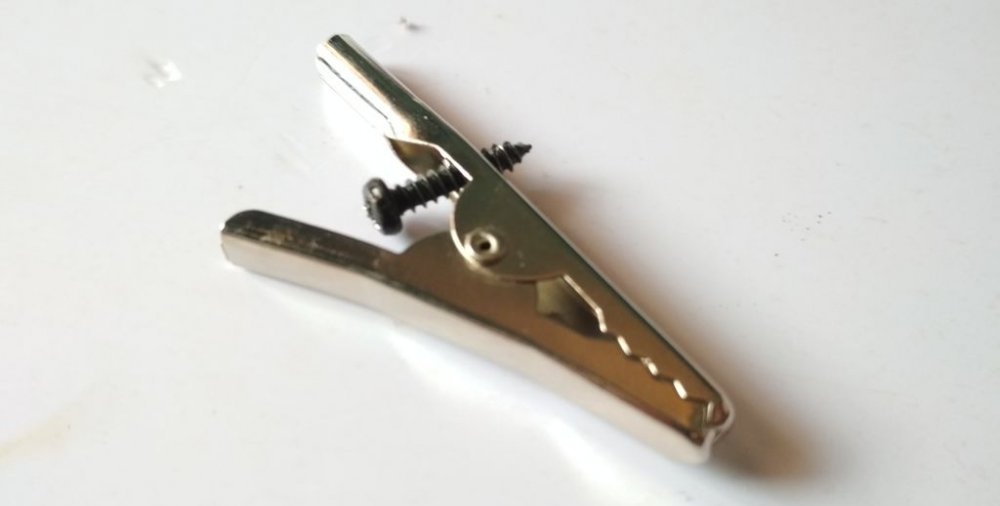
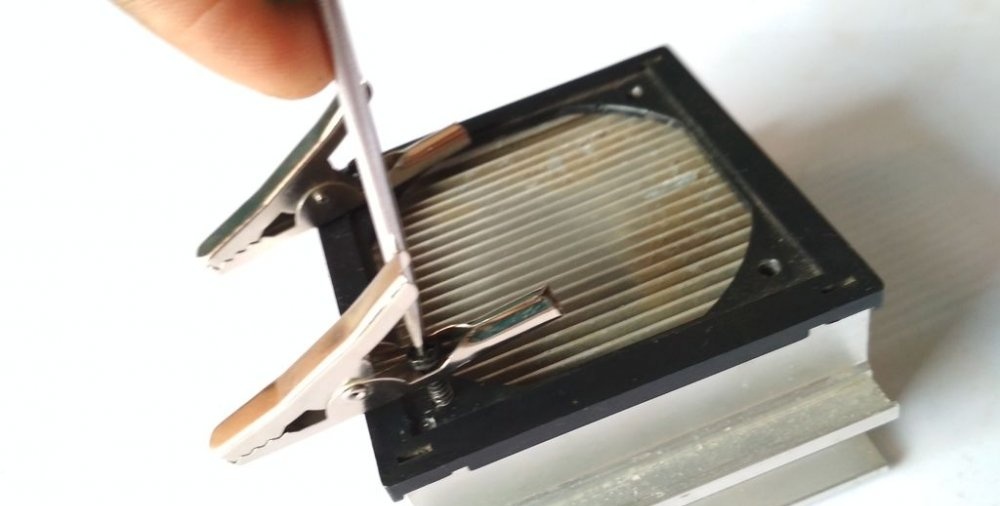
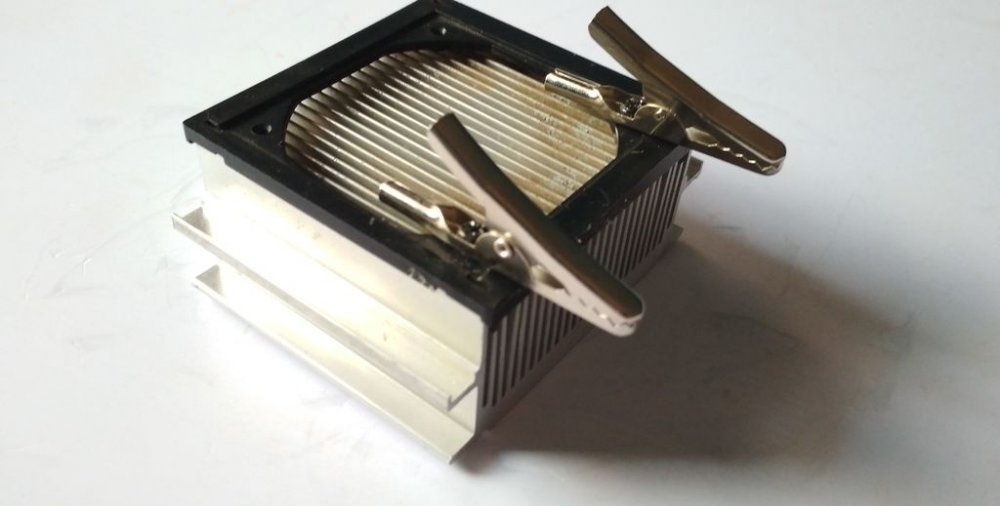
If your clamps do not have a hole, you can simply drill one with a thin drill bit or pierce it with a nail.
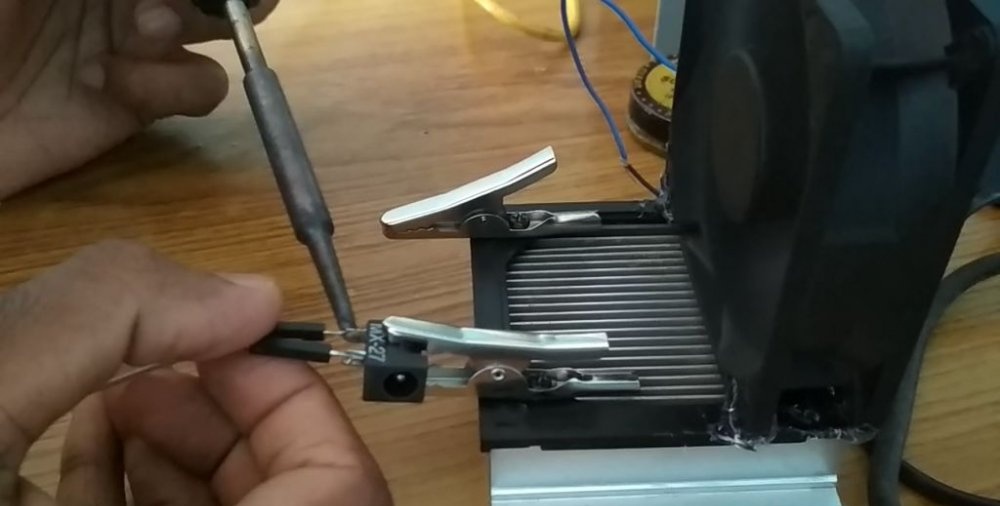
Ultimately, you need to screw the clamps very tightly to the radiator, the main thing is that they do not dangle, otherwise soldering will be impossible.
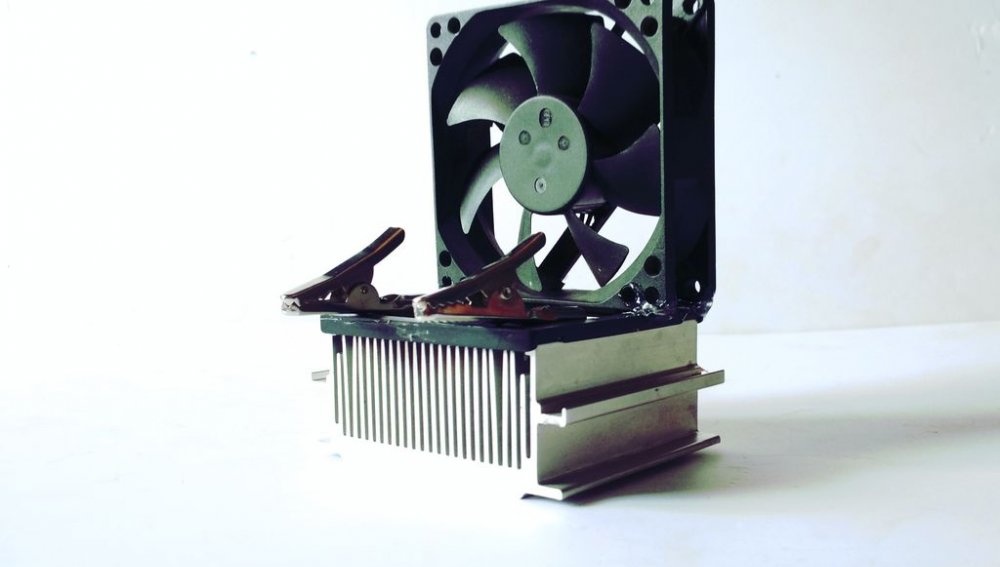
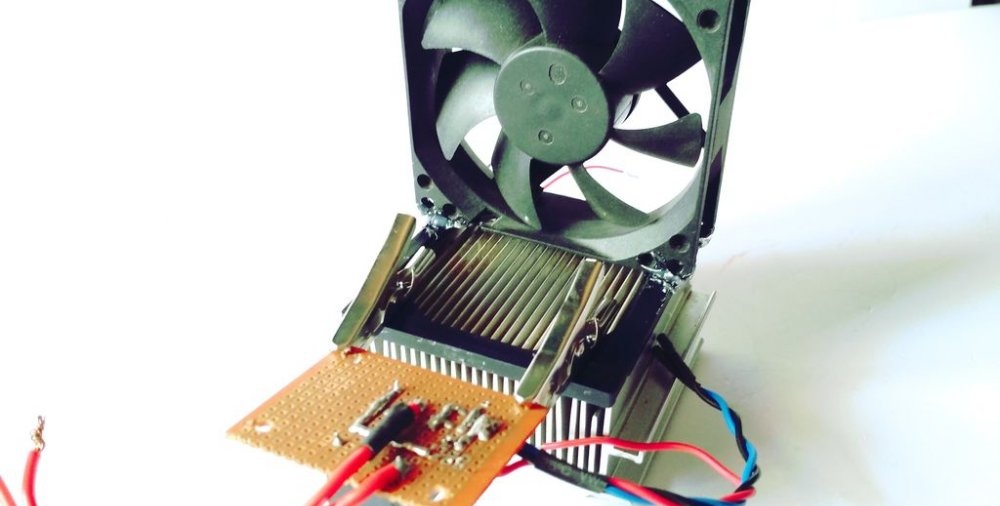
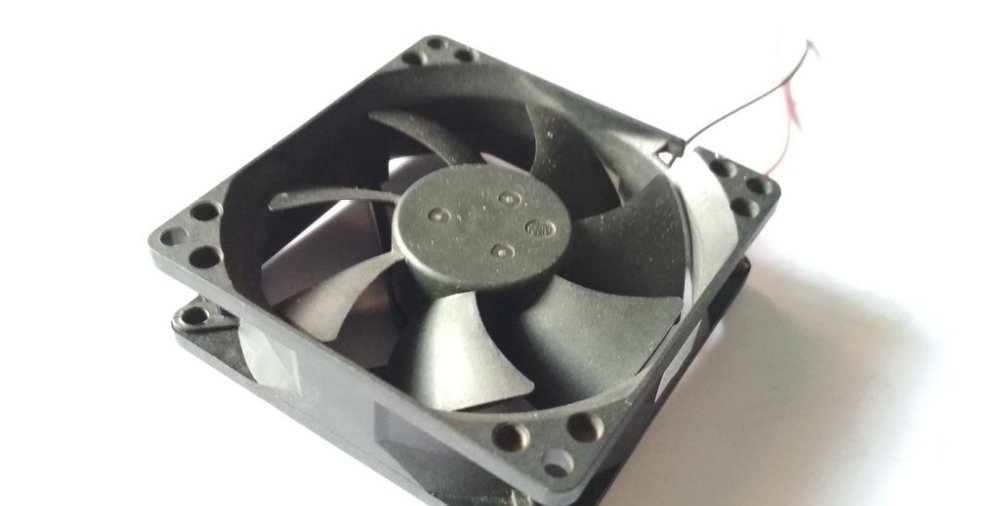
Next we take the fan.
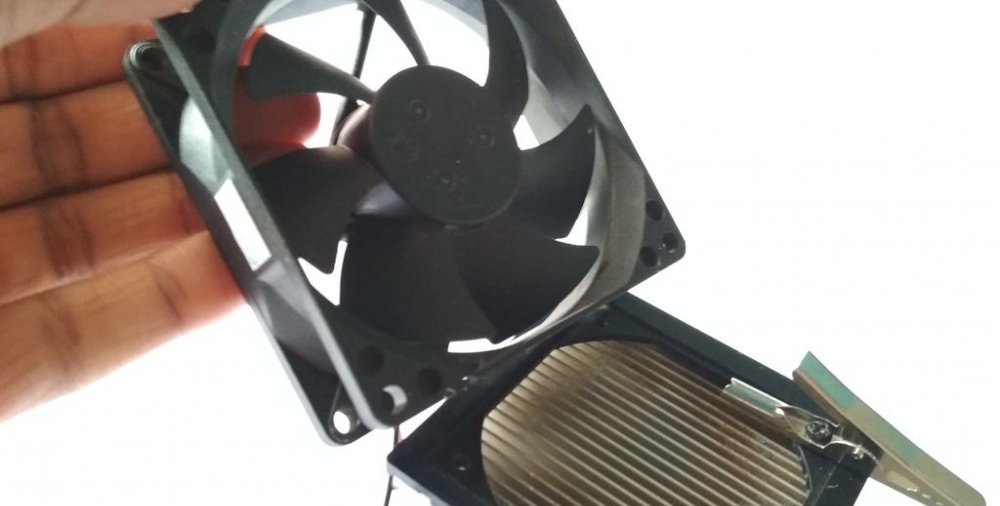
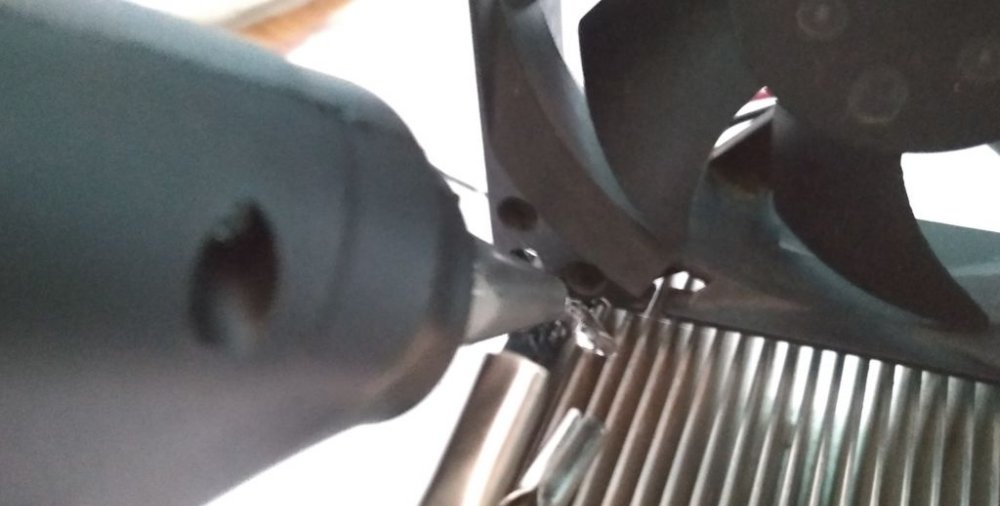
And use hot glue to glue it to the opposite side of the radiator.
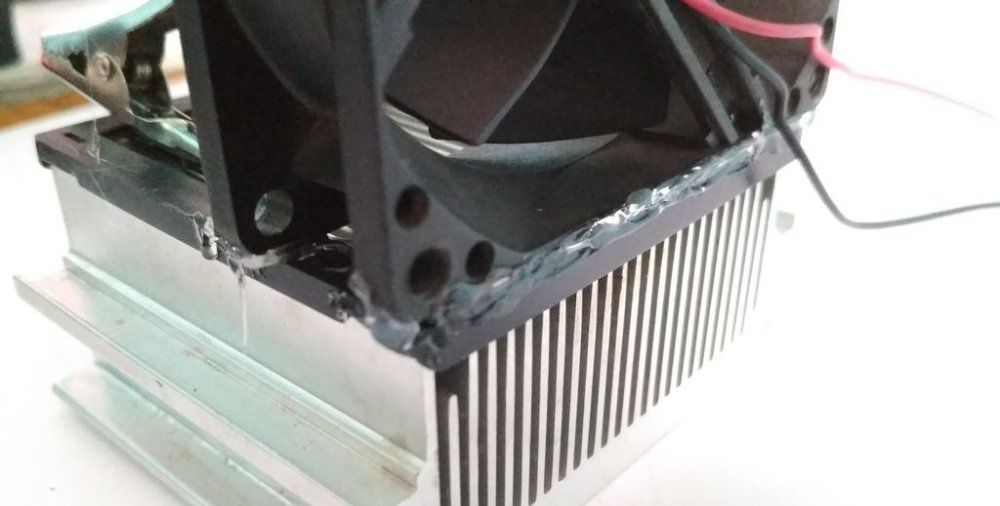
We connect the fan to a 12 V power supply.
This fan performs several functions at once: it removes smoke from the soldering area, and also cools the elements heated by soldering faster.
That's it, our soldering device is ready! It is perfect for a beginner radio amateur.
Pros of this device:
- Details available to everyone.
- Simple design.
- Portability.
It would also be possible to add a small LED spotlight to this device to illuminate the soldering area. And power it the same way as a fan from 12 V. But this is just an idea, for those who want to go further and not stop there. Good luck.